
New Hope For Peanuts

New hope for Peanuts?
In short the jury is still out, please enjoy the photos……..
Ok, ok I’ll elaborate.
Disclaimer first, after spending the last two days with the jig I was very close to calling this post the Peanut Saga #4 and telling all and sundry to avoid this piece of equipment at all cost!
Day two of the project had gone better but only after I figured out a few things and got the jig set up for easier use, this post isn’t going to give a step by step how to - that one is for a later date - but rather a form of a review explaining where I am in my relationship with this jig and why you may want to consider adding one to your own workshop, or not.
You may be aware that my initial experience with the Peanut had not been good, if you haven’t, read more here. This is a weird one and I think it might be getting a bad rap in my workshop, more as a result of factors not related to the product directly but rather how I intended to use it or what I hoped the solution would bring to the table.
Let’s start with the lead up to this post and why I chose to give the jig another go.
The Peanut Jig was actually acquired for the garage cupboard that I was building for a customer some time ago.
I wanted to flat pack the garage cupboard for easy delivery to site and not wanting to invest into the Festool Domino connector system due to entry cost and wanting the connections to be invisible, the Peanut ticked both boxes with initial layout cost and consumables being relatively cheap and the connections being completely hidden.
After some much needed retail therapy I got the system home and as soon as I tested it I realised that this solution did not excel with solid wood joinery because the Peanuts (plastic fastener that gave the system its name) simply tore through the end grain of the pine boards I tested it on. I then went ahead and tested it on MDF and plywood just to make sure that I didn’t purchase a white elephant and these joints held up much better.
And there it is, the first “shortcoming” of the jig from the guys at Intelligent Fixings, it most certainly performs better on man made laminates than solid wood but this is not the fault of the system and frankly all the demos that I’ve seen were on man made materials and my desire to use it on solid wood may fall outside it’s original design.
After all of this I started to look for a project that would allow me to use the jig on material of the man made sort and it wasn’t long before one cropped up.
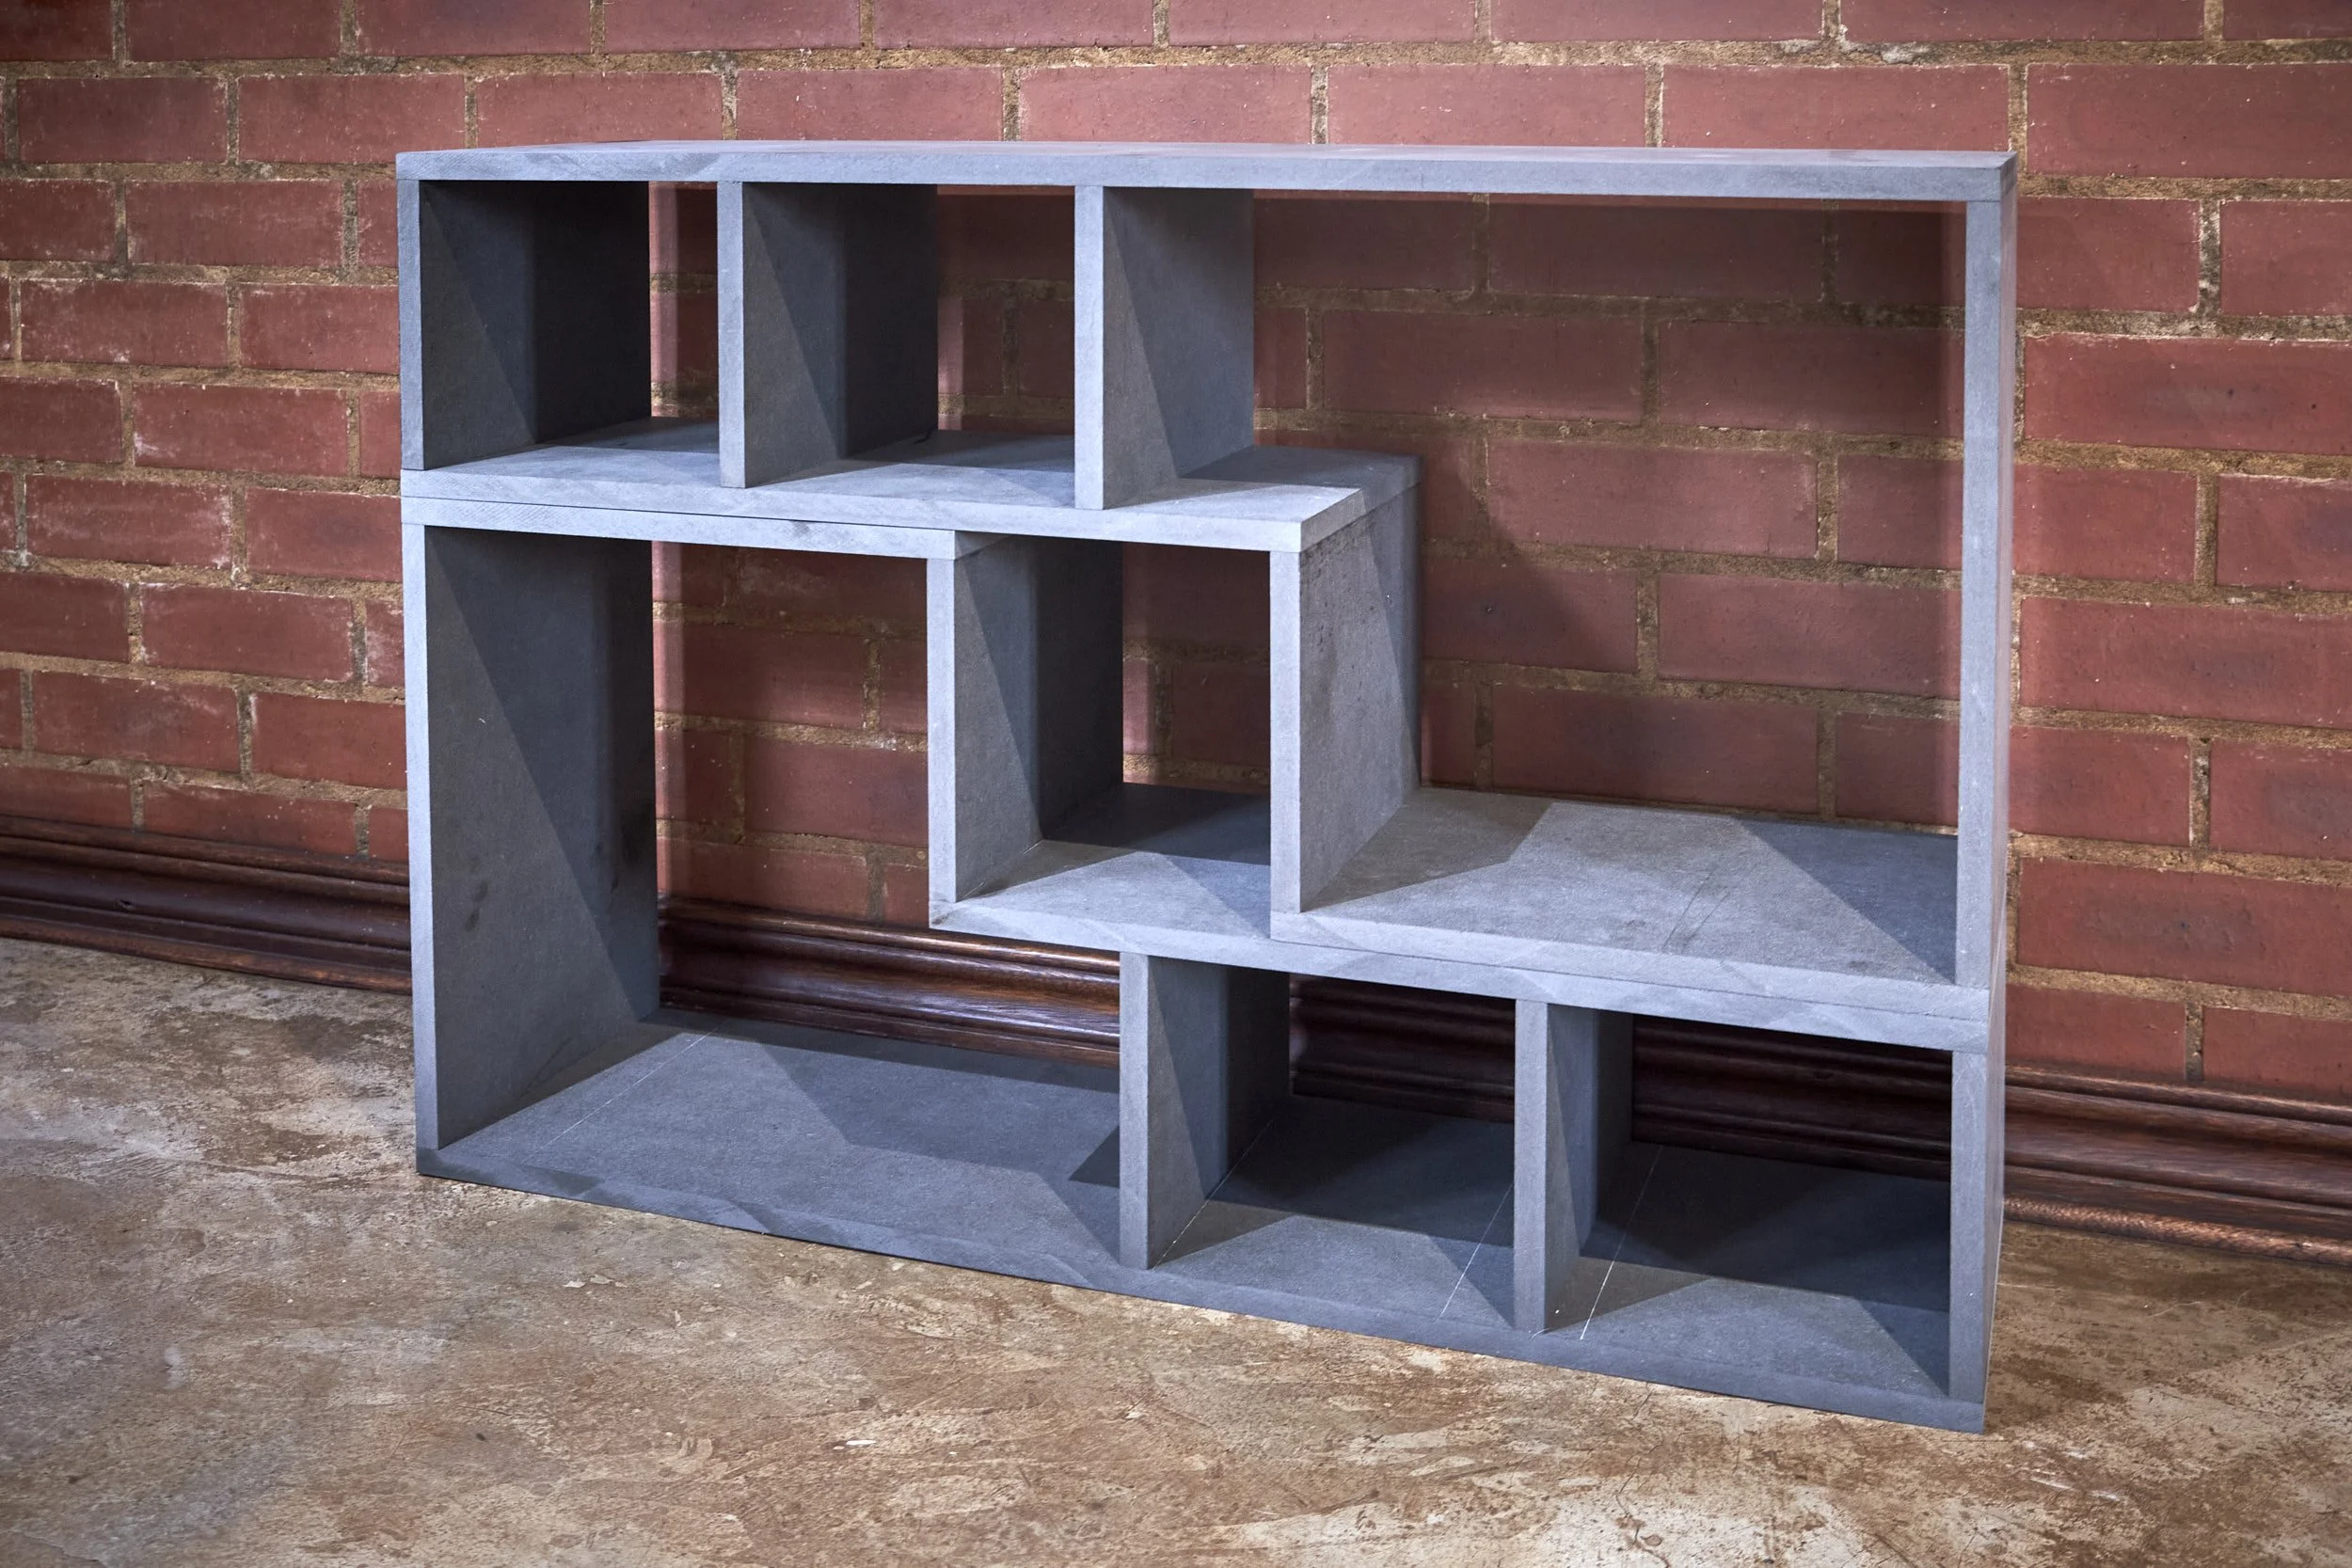
A neighbour’s son approached me to make a TV stand for him. He’s budget for the project was limited and we agreed that I could use HDF or high density fibre board for the construction. This project proved to be an ideal opportunity for me to have another look at the Peanut Jig, and once we had a design finalised I placed an order and had a sheet of HDF delivered to my workshop.
A note on HDF that may be of interest. The stuff will remind you of MDF until you try to pick it up, It’s heavy but not only that, it’s black! The product I used is called Compact 88 and apparently has only come into our market in the last six months or so.
I’ll start on day 1 of the project, hold on to your seat as this one promises to be a rough ride, but if you prefer not to join on this road trip you are welcome to skip this part and jump to the end where I summarise the pros and cons.
For the rest, let’s go.
Day 1
The day started bright and full of promise of a productive day in the workshop. I was quietly confident that I would be spending quality time with the Peanut and my new CAT cordless tools that I purchased the weekend prior to the build.
What can be better than standing in one’s workshop, coffee in hand, admiring the sleek black lines of clean, brand new power tools, contrasted by a modern white jig and a stack of neatly cut HDF in the background. The anticipation of a good day in the workshop was thick in the air.
I was not prepared for how this day would turn out though.
The wise woodworker that I am, I had some ply stock prepped for test cuts just to make sure that I had the jig setup dialled in. With everything in place I first cut the slots along an edge using a router and the unique cutter supplied in the kit, this went ok and I then installed a side piece against the jig fence making sure that I referenced what was to be the “outside” face against the fence and proceeded to drill the very first hole with my brand new drill, using the 6mm drill bit and guide supplied with the kit.
Next I installed the peanuts into each hole and drove the 50mm screw home using my brand new impact driver.
You might have guessed that I am rather impressed with my new drill and driver, I will do a full review at some point I promise.
Then the moment of truth.
The peanuts slotted home just fine but the side piece did not align with the slotted piece at all with bottom edge being about 20mm lower than the other workpiece. Ok, calm down it isn’t broken yet, I told myself and I spun the side with the peanuts around 180º and this time the top and bottom edges lined up just fine. There was only one problem, the sides of the stock didn’t line up resulting in an inward offset of about 2mm.
That told me that I referenced the correct side of the stock against the fence but that the peanuts were positioned incorrectly in relation to the slots.
This can be fixed, so I flipped the side piece around and drilled holes and installed the peanuts as before but on the opposite end. I slotted the peanuts home and, no luck, same problem! Out came the instructions and with a frustration cup of coffee in hand the documentation was closely scrutinised and according to this I was doing it right.
Having tried about 780 variations of how the pieces could slide together I went back to Intelligent Fixings’ YouTube video on the jig and here they mention that the jig inserts need to be turned over to cut the slots on the opposite end of the panel. Well if that held true, it would be the same for the peanuts themselves and I turned the inserts around and drilled holes and fitted peanuts into a new piece. Another test fit and YES it slid together perfectly!
I was heading in right direction.

Not being able to blame the fact that I was using the wrong kind of raw material on the Peanut Jig any more, blame shifted to the instructions but the jig itself remained untarnished.
Ok, it was on to cutting the joinery for the project but I was still skittish and it’s here that the fun really began. I work on a traditional Nicholson workbench with a central flip stop and for hand tool work it has all the work holding options I need. To secure the Peanut Jig to the bench I had to work through a few clamping options to attach the jig to the top in a manner that allowed me to quickly rotate, align and secure the components in the jig before cutting slots and drilling holes.
After some clamping gymnastics I finally settled on attaching the jig to the end of the workbench which allowed me to easily line up the middle of each panel on the jig as well as cut the slots and drill holes without having to remove the jig from its position.
Once again my frustration wasn’t as a result of the jig itself but rather a traditional workbench with less than ideal clamping options for attaching a modern jig to its surface. I didn’t think I would ever say this but here I blame the ubiquitous apron that is so much a part of this style of workbench. All blame shouldn’t go to the Nicholson necessarily but rather the fact that Intelligent Fixings don’t offer an MFT table as part of the kit! All demos I’ve seen on YouTube use a variant of this work surface and it would have made a world of difference in the setup.
The jig though, remained blameless.
I however, remained hostile towards the Peanut and in an effort to ensure that I didn’t screw anything up I cut slots, installed peanuts and built the structure of the project piece by piece. Not ideal nor efficient.
Added to all of this, I also struggled with dust extraction and it didn’t improve my mood.
At least the new drill and driver worked well and were a joy to use, until they weren’t. I was happily driving in screws and decided I needed a bit more oomph when installing the peanuts so I bumped up the settings on the driver and almost split a section in half driving in a screw. Luckily I was making two units and I “borrowed” a piece from the other stock pile as a replacement and quickly had it installed, but only after bringing the setting on the driver down a notch.
There were four mid panel joints that I needed to cut and after removing the fence I was able to slide the panel in under the jig and line the layout mark up with the lateral centre line of the jig and it didn’t! Well, it did but the the centre line on the jig is situated on either edge of the jig and my boards being 300mm wide didn’t “reach” the ends of the jig and I was forced to temporarily clamp a long straight edge to the jig so that I could line my marks up.
Not the jigs fault this one. Intelligent Fixings have two versions of this jig and I acquired the larger of the two so that I would have more capacity to work on wider stock when needed.
I finally finished off the day with one unit complete but frustrated with the process to get this far. At least I was at a point where I had tweaked the setup in such a manner that I was able to swop out and align stock without too much of a fuss and I left the setup in situ for an early start the next day.

Day 2
Day two started.
It just did ok, you can take my word for it, it just did.
This was to be the day that the Peanut Jig would redeem itself and become my all time best friend, at least I hoped it would.
I started the day by replacing the “borrowed” piece from day one and sorting all the components between those that would receive slots and those that would get peanuts. I was planning to go into production mode and cut all the slots in a single session before moving on to the drilling and peanut installation.
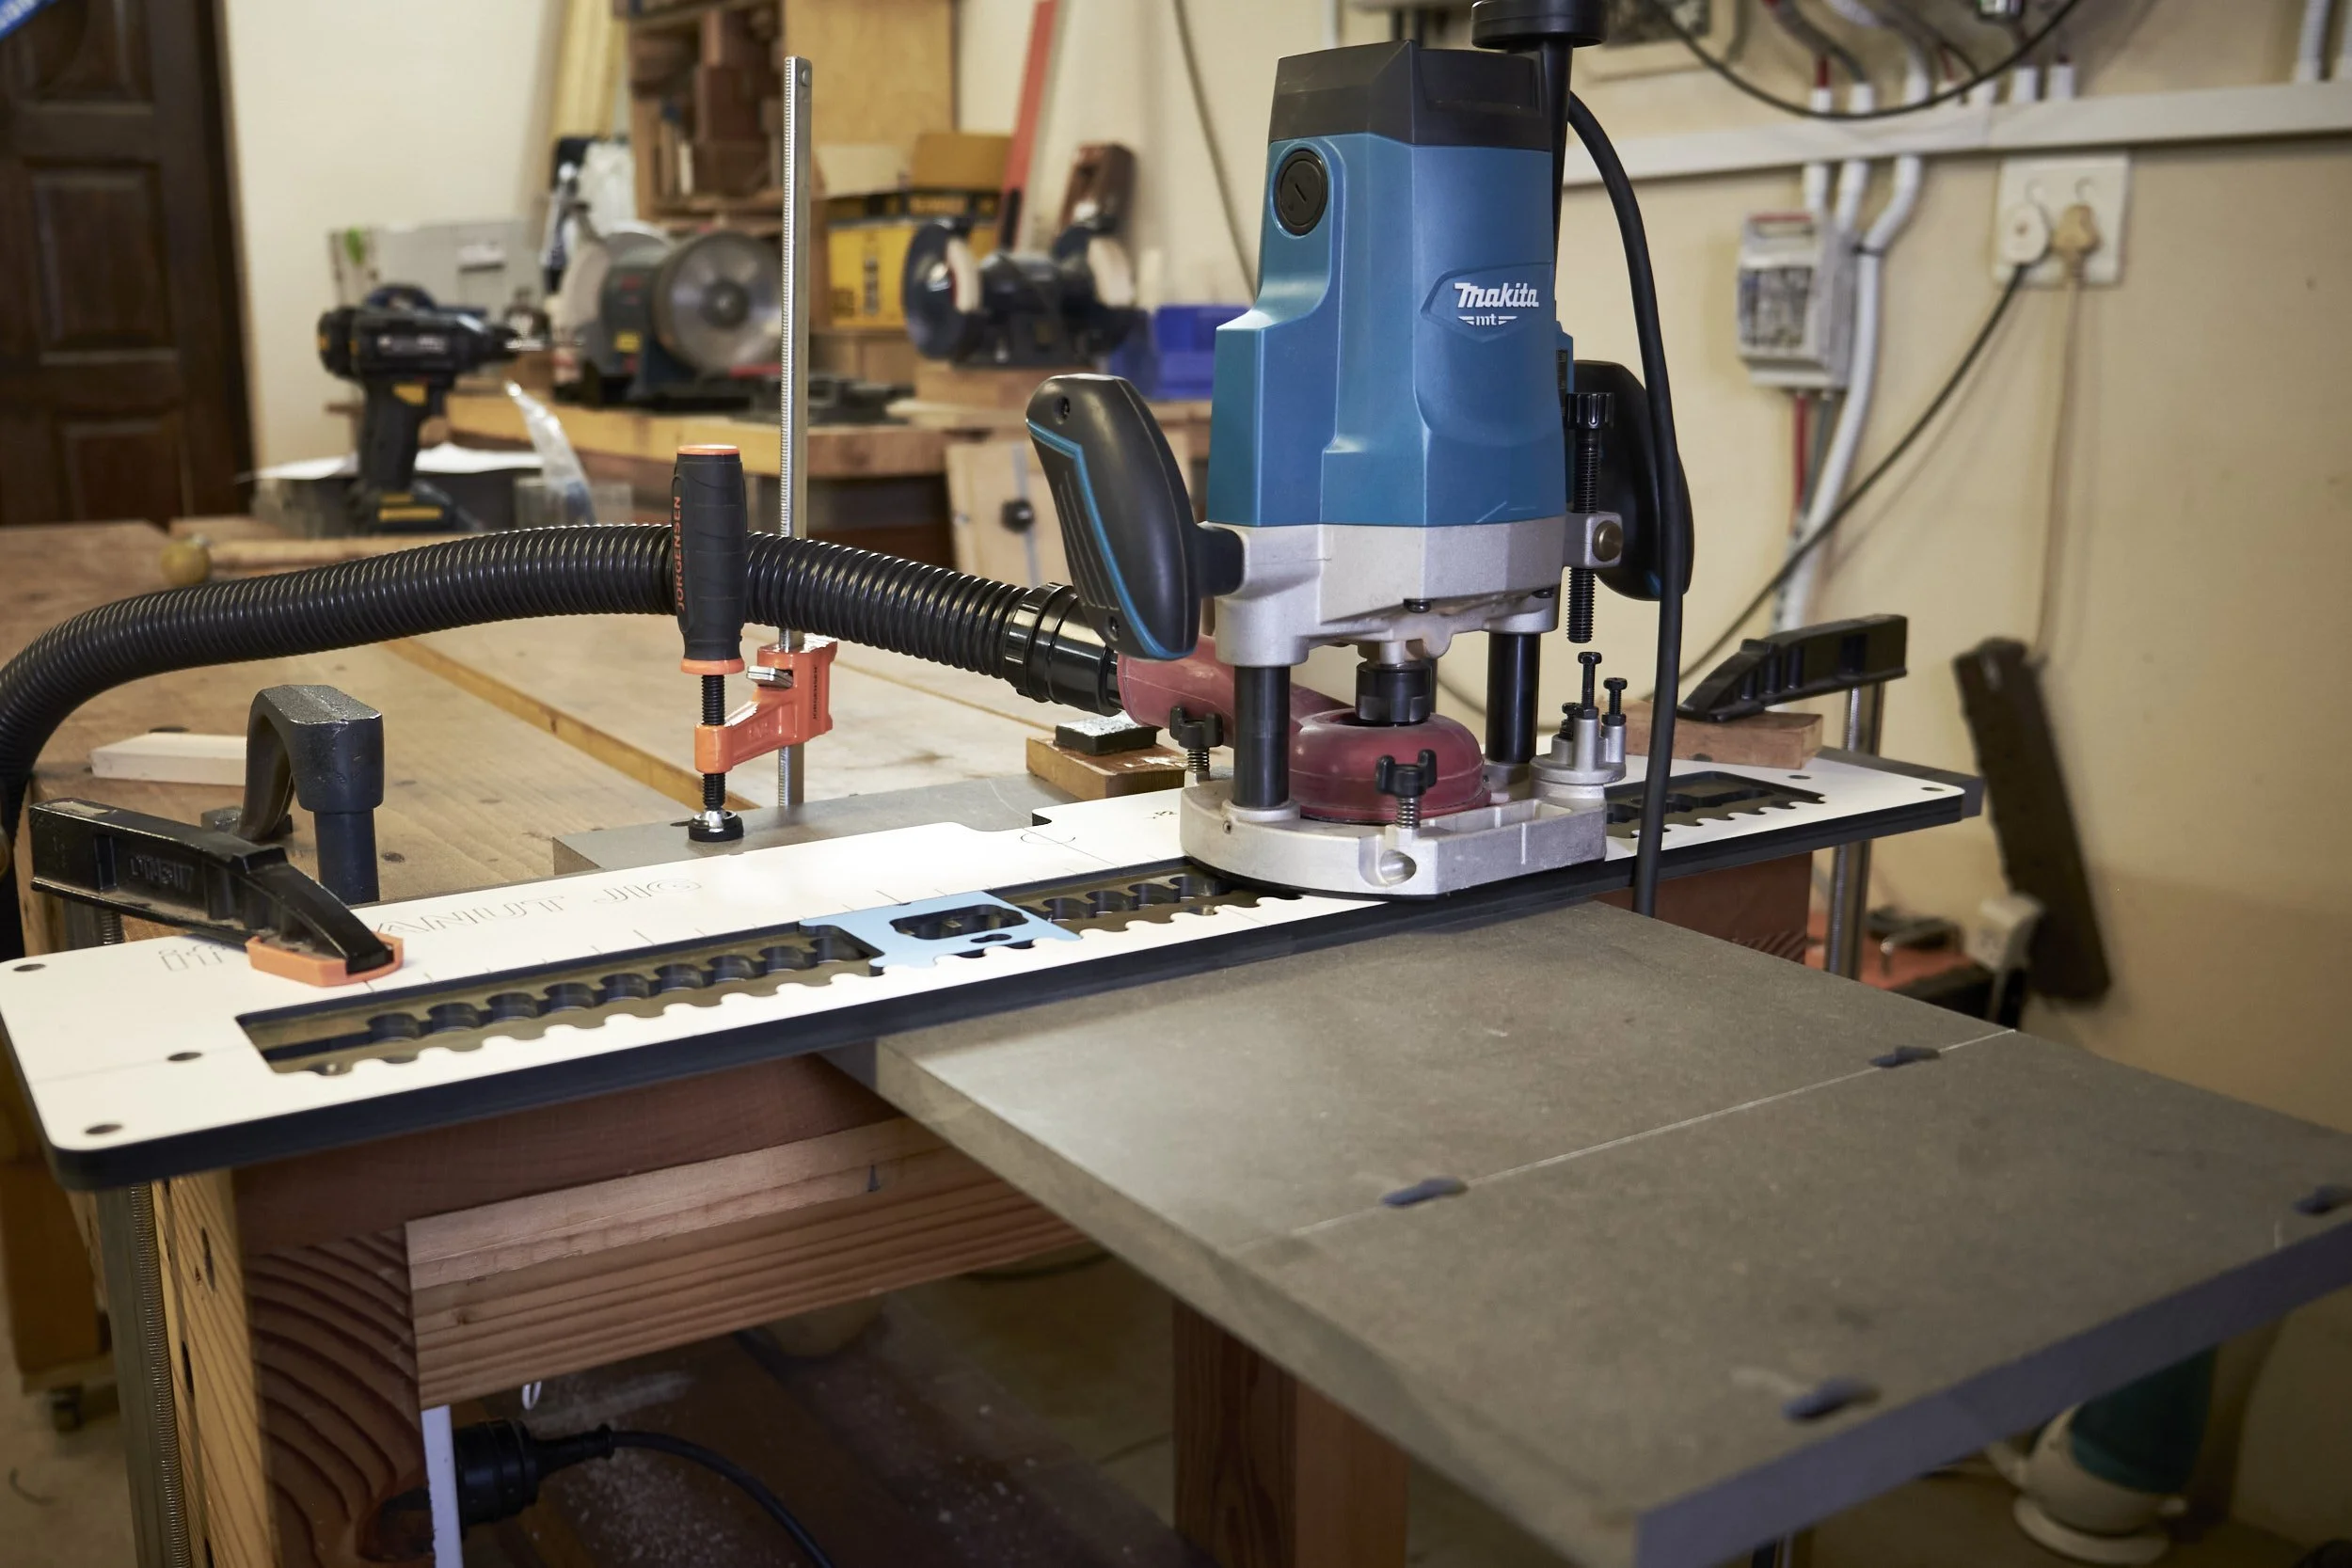
Slots first and this went relatively quickly even the mid panel slots went fast because rather than using the metal rule trick on every cut I installed it only once and then marked the boards I used as spacers, effectively extending the middle mark up to the components being cut.
I did make a booboo when cutting the upper horizontal panel by cutting all the slots on the same face when I was supposed to cut a set of slots on the bottom face and another in the top on the opposing end. I redid the slots on the correct face and these slots now looked like a key hole rather than a “blind” slot. This mistake left very little “meat” in the slot for the peanut to grab onto but I decided to push on and that I would replace the panel if there were any issues during assembly, none occurred.
All went well up to the very last panel where a single peanut was set too far from the the slot and investigation showed that I placed an insert into the wrong position on the jig when flipping it around to drill a hole for the peanut. Fortunately the offset between the holes were large enough so that the new hole didn’t interfere with my previous mistake.
As soon as I corrected the error the panel slid into position and before I knew it the whole unit was together, mistakes and all.
Surprisingly the whole process of assembling the second unit took less time than it took to figure out the setup and attachment of the jig to the bench on day 1!
With two TV stand units assembled and taking up space in the dining room would I consider the Peanut Jig redeemed?
I’ll be honest and say that I am about 70% there and I am itching to try it on another project before I give my final verdict. I have its attachment to the bench and the concept of how it works mostly figured out and it’s just getting used to the workflow that needs some work but that will only come from using it more.
How does it stack up in the Pro and Cons equation?
Pros:
Cost of getting into the system is relatively cheap, at least compared to other knock down options out there, I’m mainly thinking of the Festool Domino and the Lamello Zeta P2.
The fastening hardware i.e. the peanut is dirt cheap and significantly cheaper than the options offered by Festool and Lamello.
It is a true invisible fastener and the peanut is not visible after assembly, to use other fastening systems you need to have access holes to lock components in place and although the holes can be capped it requires more planning as to where the hardware will be placed if it needs to remain unobtrusive.
The Peanut Jig can be used to cut three types of joinery namely peanuts, dowels and loose tenons which makes it much more versatile than other options especially when considering the cost of entry.
The jig allows any of the above joinery methods into 45º edges.
The peanuts provide enough tension in the joint to glue edges together without having to resort to any clamping.
Peanuts provide surprisingly strong joints, the claims by Intelligent Fixings are impressive and I was unable to remove peanuts that were installed incorrectly into test pieces.
Easy layout, you only need to mark the middle if the face or edge you are working on.
Cons:
It is not the best joinery system for solid wood.
Can be fiddly to set up.
Although no tool should ever be used without paying attention one needs to be especially present when using the Peanut Jig.
A 30mm guide bush that Intelligent Fixings claim will fit most routers is included in the kit. I have yet to find a router that it just fits into as stated and you would likely need to purchase an after market bushing. I had to buy a full metric bushing set from MilesCraft.
The cutter can only be used at 14 000 rpm max, you will need a variable speed router. I realised this one only after overheating and blunting a rather expensive cutter.
Instructions are nowhere near detailed enough.
More pros than cons, and I will be first to admit that some of the tension between me and my Peanut Jig may be of my own doing although the lack of clear instructions have gone a long way in compound this.
All in, I think there is hope for the system but you may ask what this infatuation is that I seem to be having with the system? After all, this is the 4th lengthy post regarding the product.
It’s simply this.
With the Peanut Jig able to cut three kinds of joinery, one would be hard pressed to find a better do-it all system for use in the smaller workshop. The fact that it can be used to cut loose tenons is especially useful and when that capability is matched to the Mini version of the Peanut Jig it opens up many possibilities to the woodworker who cannot afford to or don’t want to fork out the funds for a Festool Domino.
Granted the Peanut is a bit more laborious to use but if speed isn’t a factor or you don’t get paid by the hour it may be a game changer in many workshops.
Also, I don’t like spending money on equipment I can’t use and my options are simple, make it work or sell it.
I am now firmly in the making it work stage of this relationship.
I really do hope that the next time you hear about the Peanut Jig it will be a step by step how to with me extolling its virtues, until then I will be writing about something else for a change.


