
The peanut saga - part iii
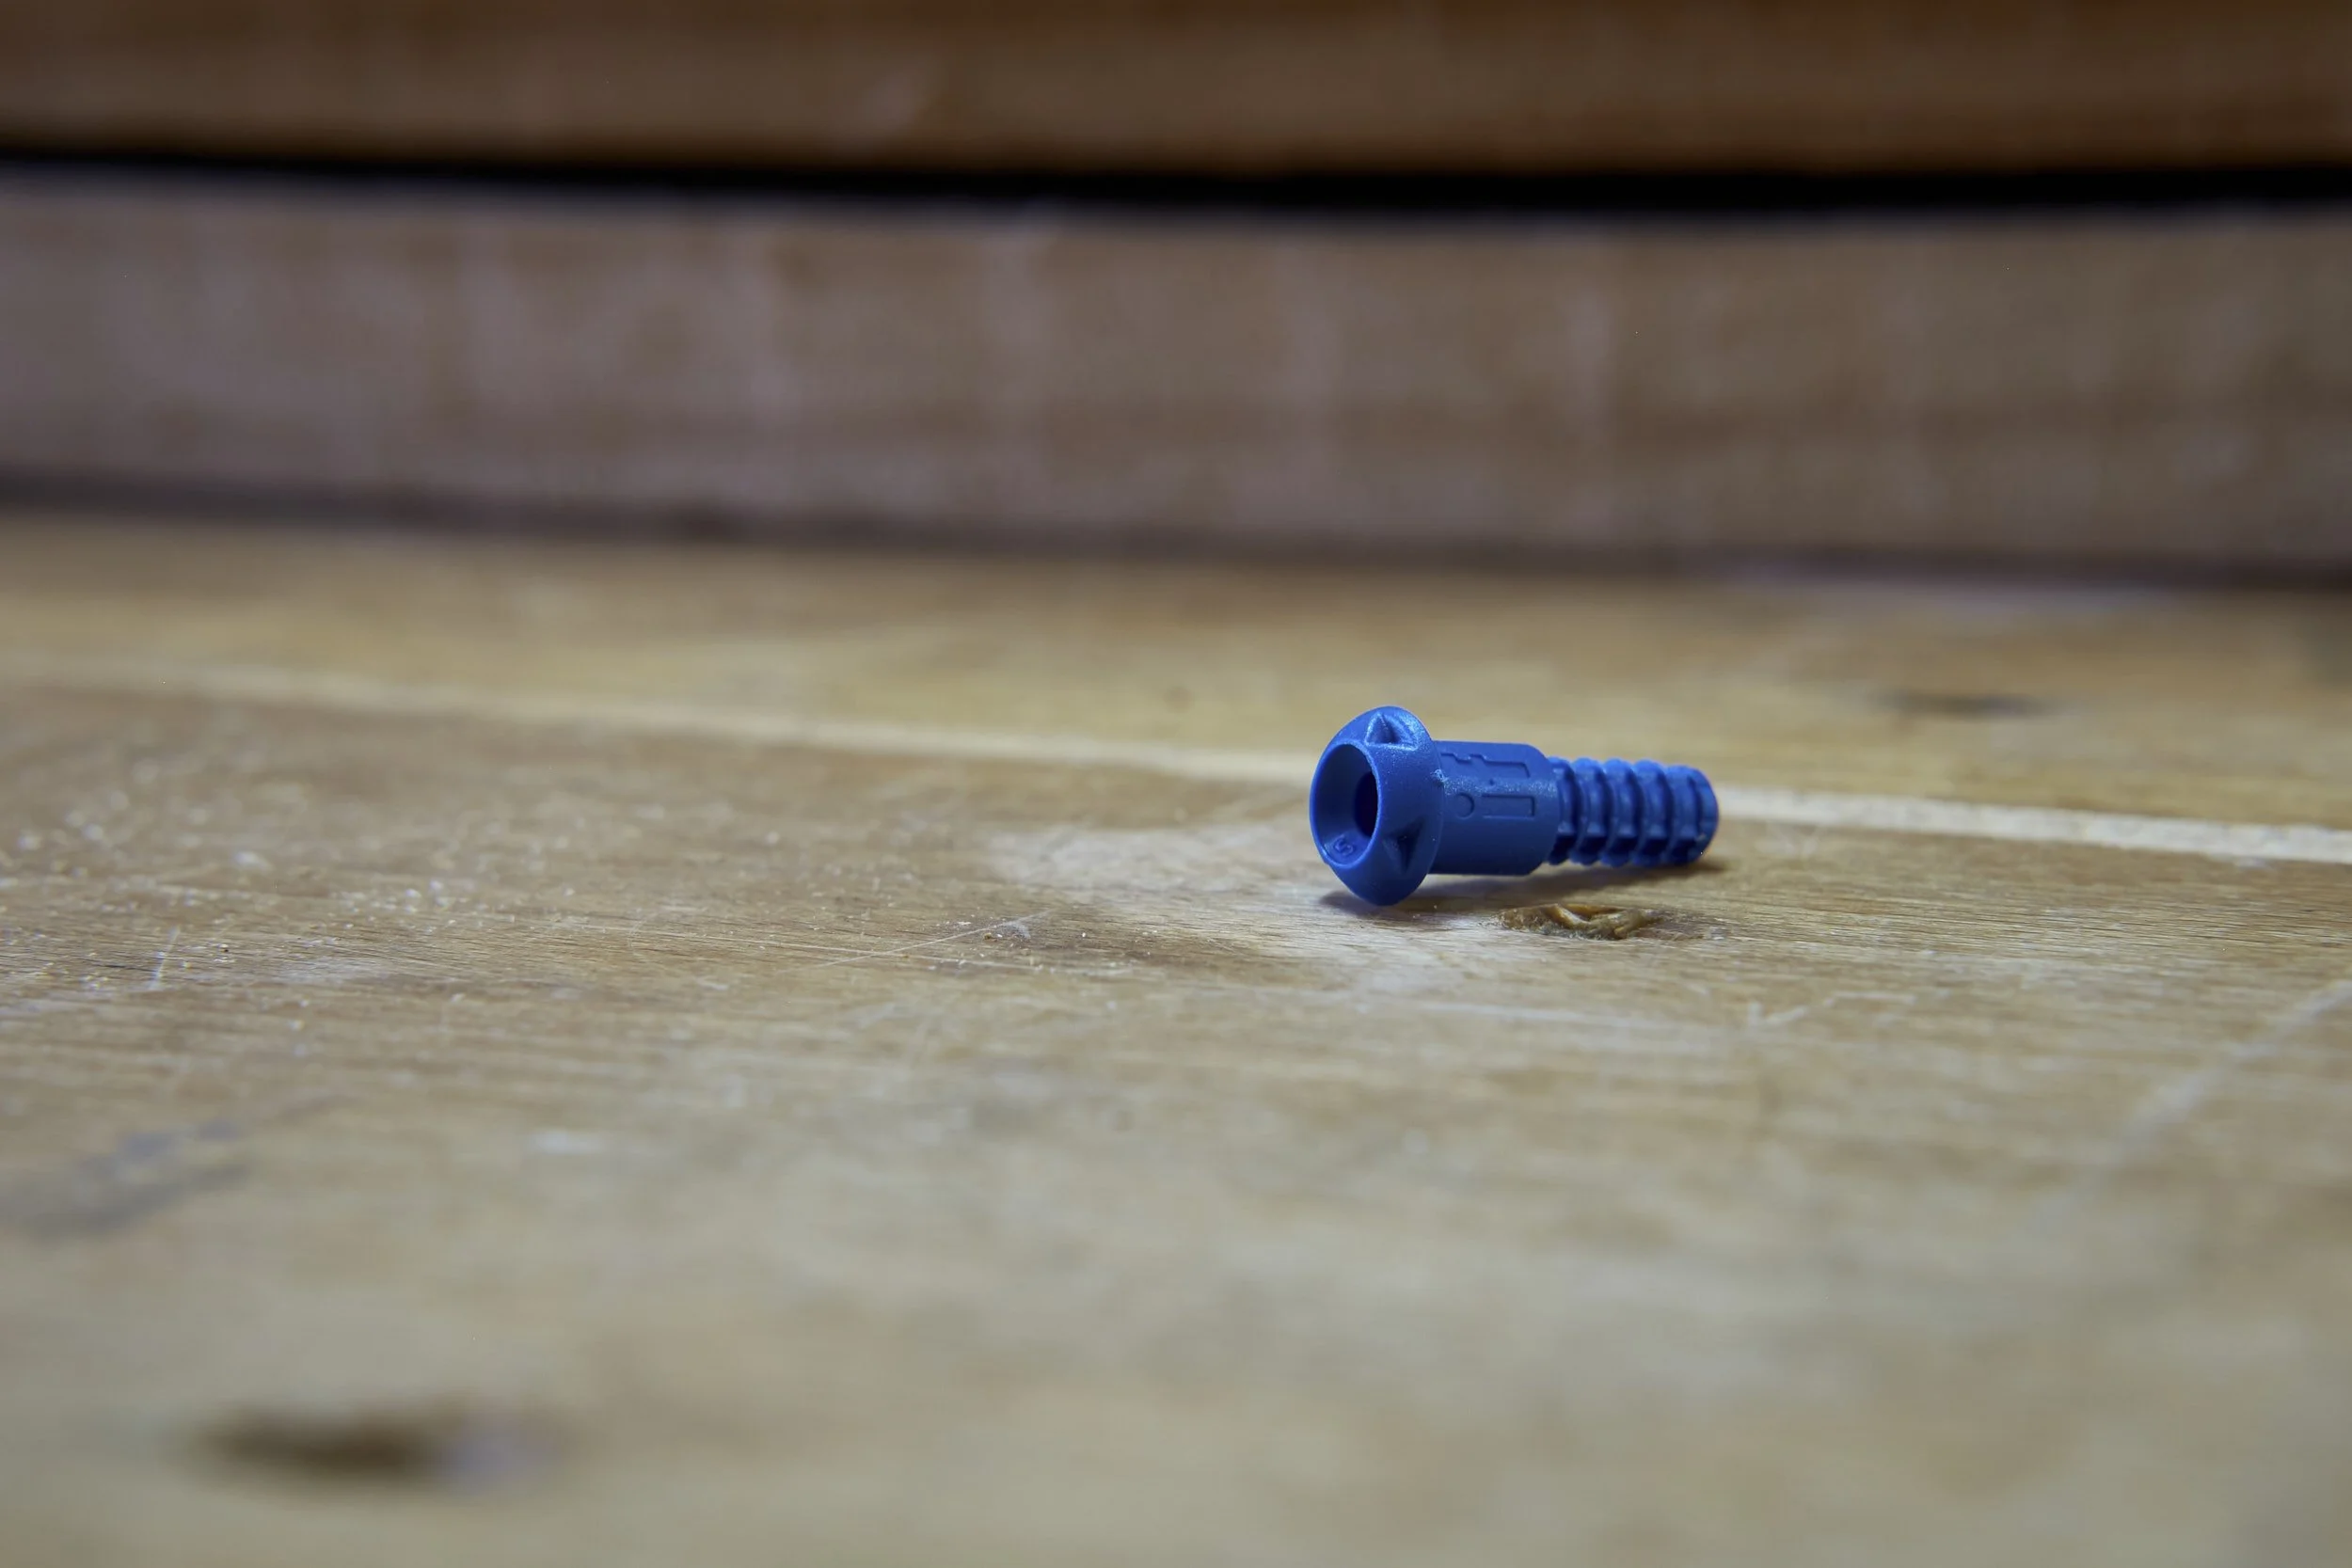
Will the Peanut make the cut? Let’s find out.
Being in three minds is hard work but the fog finally starts to clear in Part III.
Recap, using Peanuts with Pine came up short in our complicated and scientific structural test - hand pushing down on joint.
Pictures say a thousand words they say.

As a reminder this one says it all.
After the aforementioned structural failure, some things became glaringly obvious.
The first, that if I remain set on delivering the project as a flat pack, that assembly in the workshop and on site could be likened to building a house of cards. If any component moved or twisted during assembly the Peanuts would likely be torn from their slots and and my insistence on using Peanuts would at best cost me some face and at worst force me to repeat or repair some sections. Not an option while installing at the customer and would also not help their confidence in the structural strength of the cupboard if I need to assemble the unit with the level of care that would be required.
Needless to say, not being one to walk away from a challenge I was considering all my options for assembling the carcass to the point where the back boards would be installed, giving the unit rigidity and making the rest of the process easier and less likely to come apart. Corner clamps became a firm favourite at this point.
One of the most important considerations in what we do as woodworkers is understanding when we need the right tool for the job and this was clearly not the case with this particular combination of joinery and raw material. I thus conceded defeat and went back to almost square one to find a solution to my conundrum, which was primarily ease of construction over transportability.
Unfortunately pocket holes were still not an option but dowels and dominoes remained viable. The joinery for our upcoming project took the back seat though, as a more pressing question came to mind.
Did I just waste a lot of money in an effort to satiate my curiosity and add another arrow to my proverbial joinery quiver.
One thing that was clear was that the Peanut jig was more than likely developed to operate with manmade materials such mdf, plywoods and other laminates. More testing then.
Not having much in the way of man made materials in the workshop, I raided the off cut bin and came up with small pieces of mdf and plywood which were promptly cut in half to make up two sides of a “box”. The setup of the Peanut jig went much quicker this time and I passed on using a stopper block just to check if lining up with the reference line by eye would suffice? Also the components weren’t exactly the same size so a stopper would be of little use.
The slots were cut and the necessary holes were drilled, keeping in mind the lessons learnt previously when making the boxes and once the Peanuts were installed the hand was calibrated to the previous settings and the test commenced. Not without some trepidation I might add.
First up the mdf and I was pleasantly surprised by the fact that the components flexed slightly under pressure whilst in our standard testing position, also known as the pyramid configuration or configuration 1. The good news was that the components did not separate even under significant pressure and we needed to get aggressive by placing opposing pressure on each component in configuration 2 (gripped an end in each hand) before the joint failed.
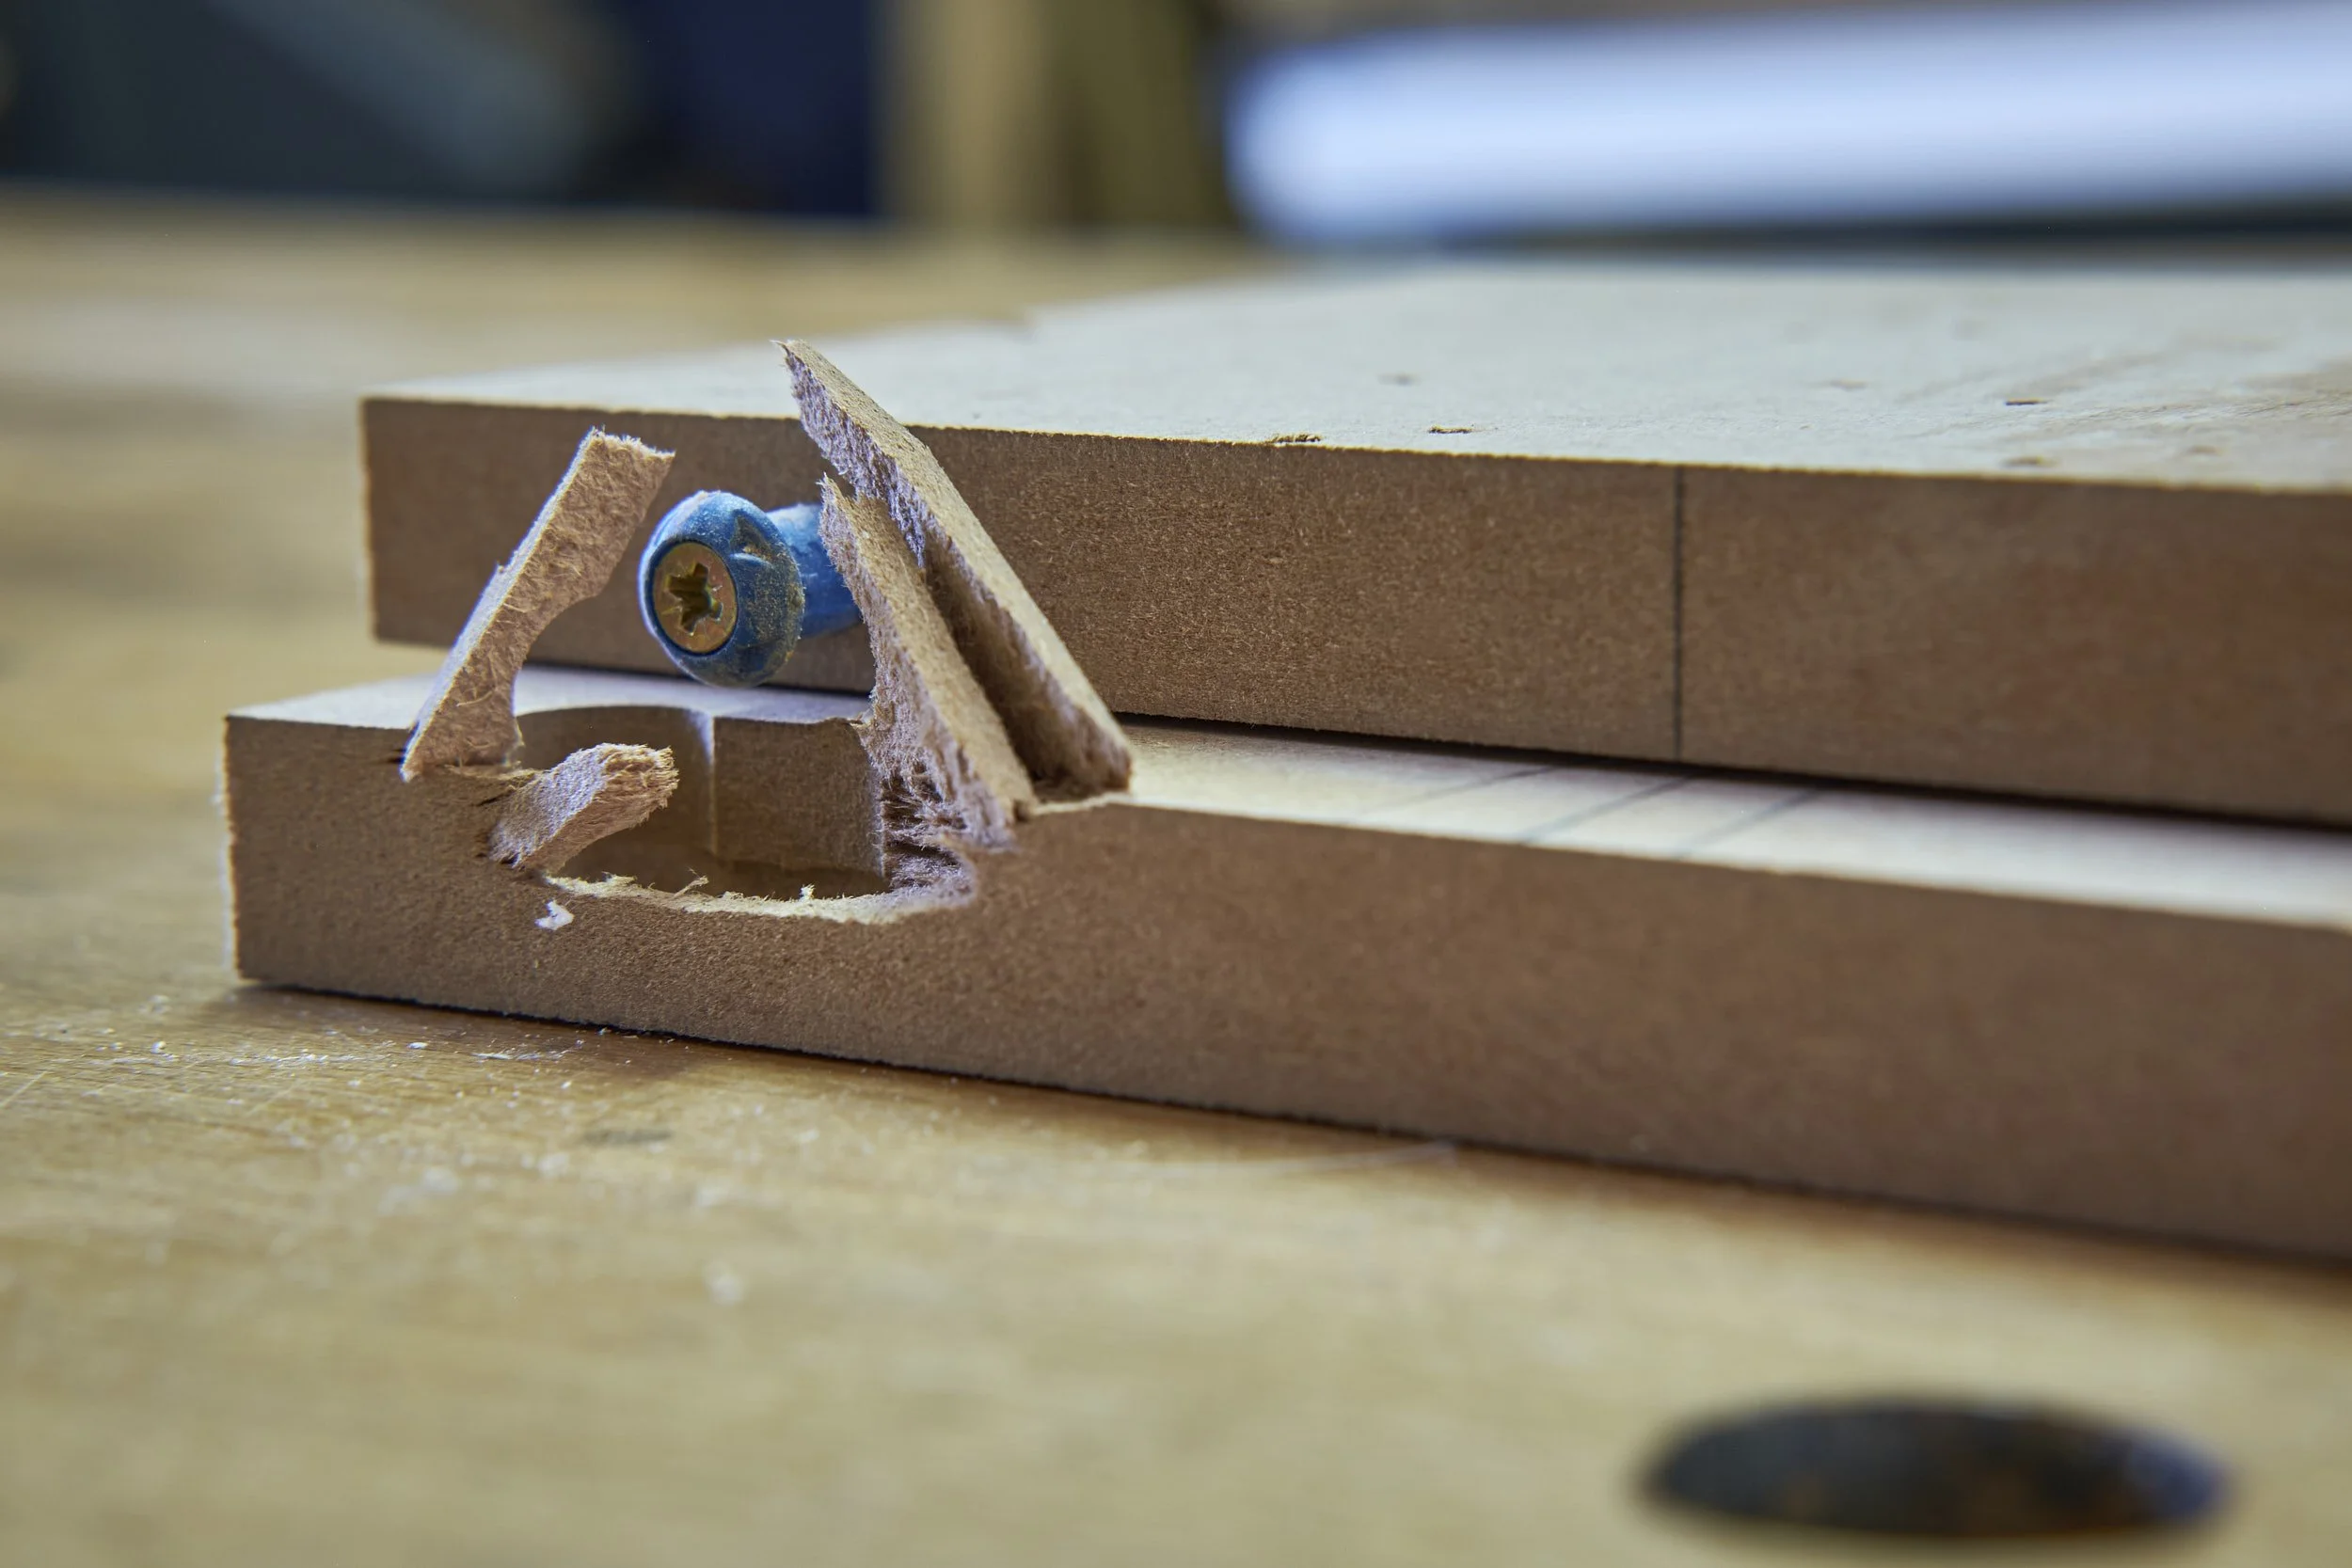
I expected less from mdf but it seems as if it will hold up quite well during construction with the Peanut system.
Next up the plywood and here I had higher hopes than with the mdf as the construction of ply lends itself to strength in all directions, it is plywood after all.
I was not disappointed!
Not so much as a budge in configuration 1 nor 2, a good sign. This lack of movement necessitated a move to configuration 3 which involved clamping one side into the bench vice and applying body weight to the joint to inspire failure. Fail it did, but shockingly not at the slots as has been the case with tests up to this point but rather the Peanuts themselves failed and then pulled from the slots as the components separated.
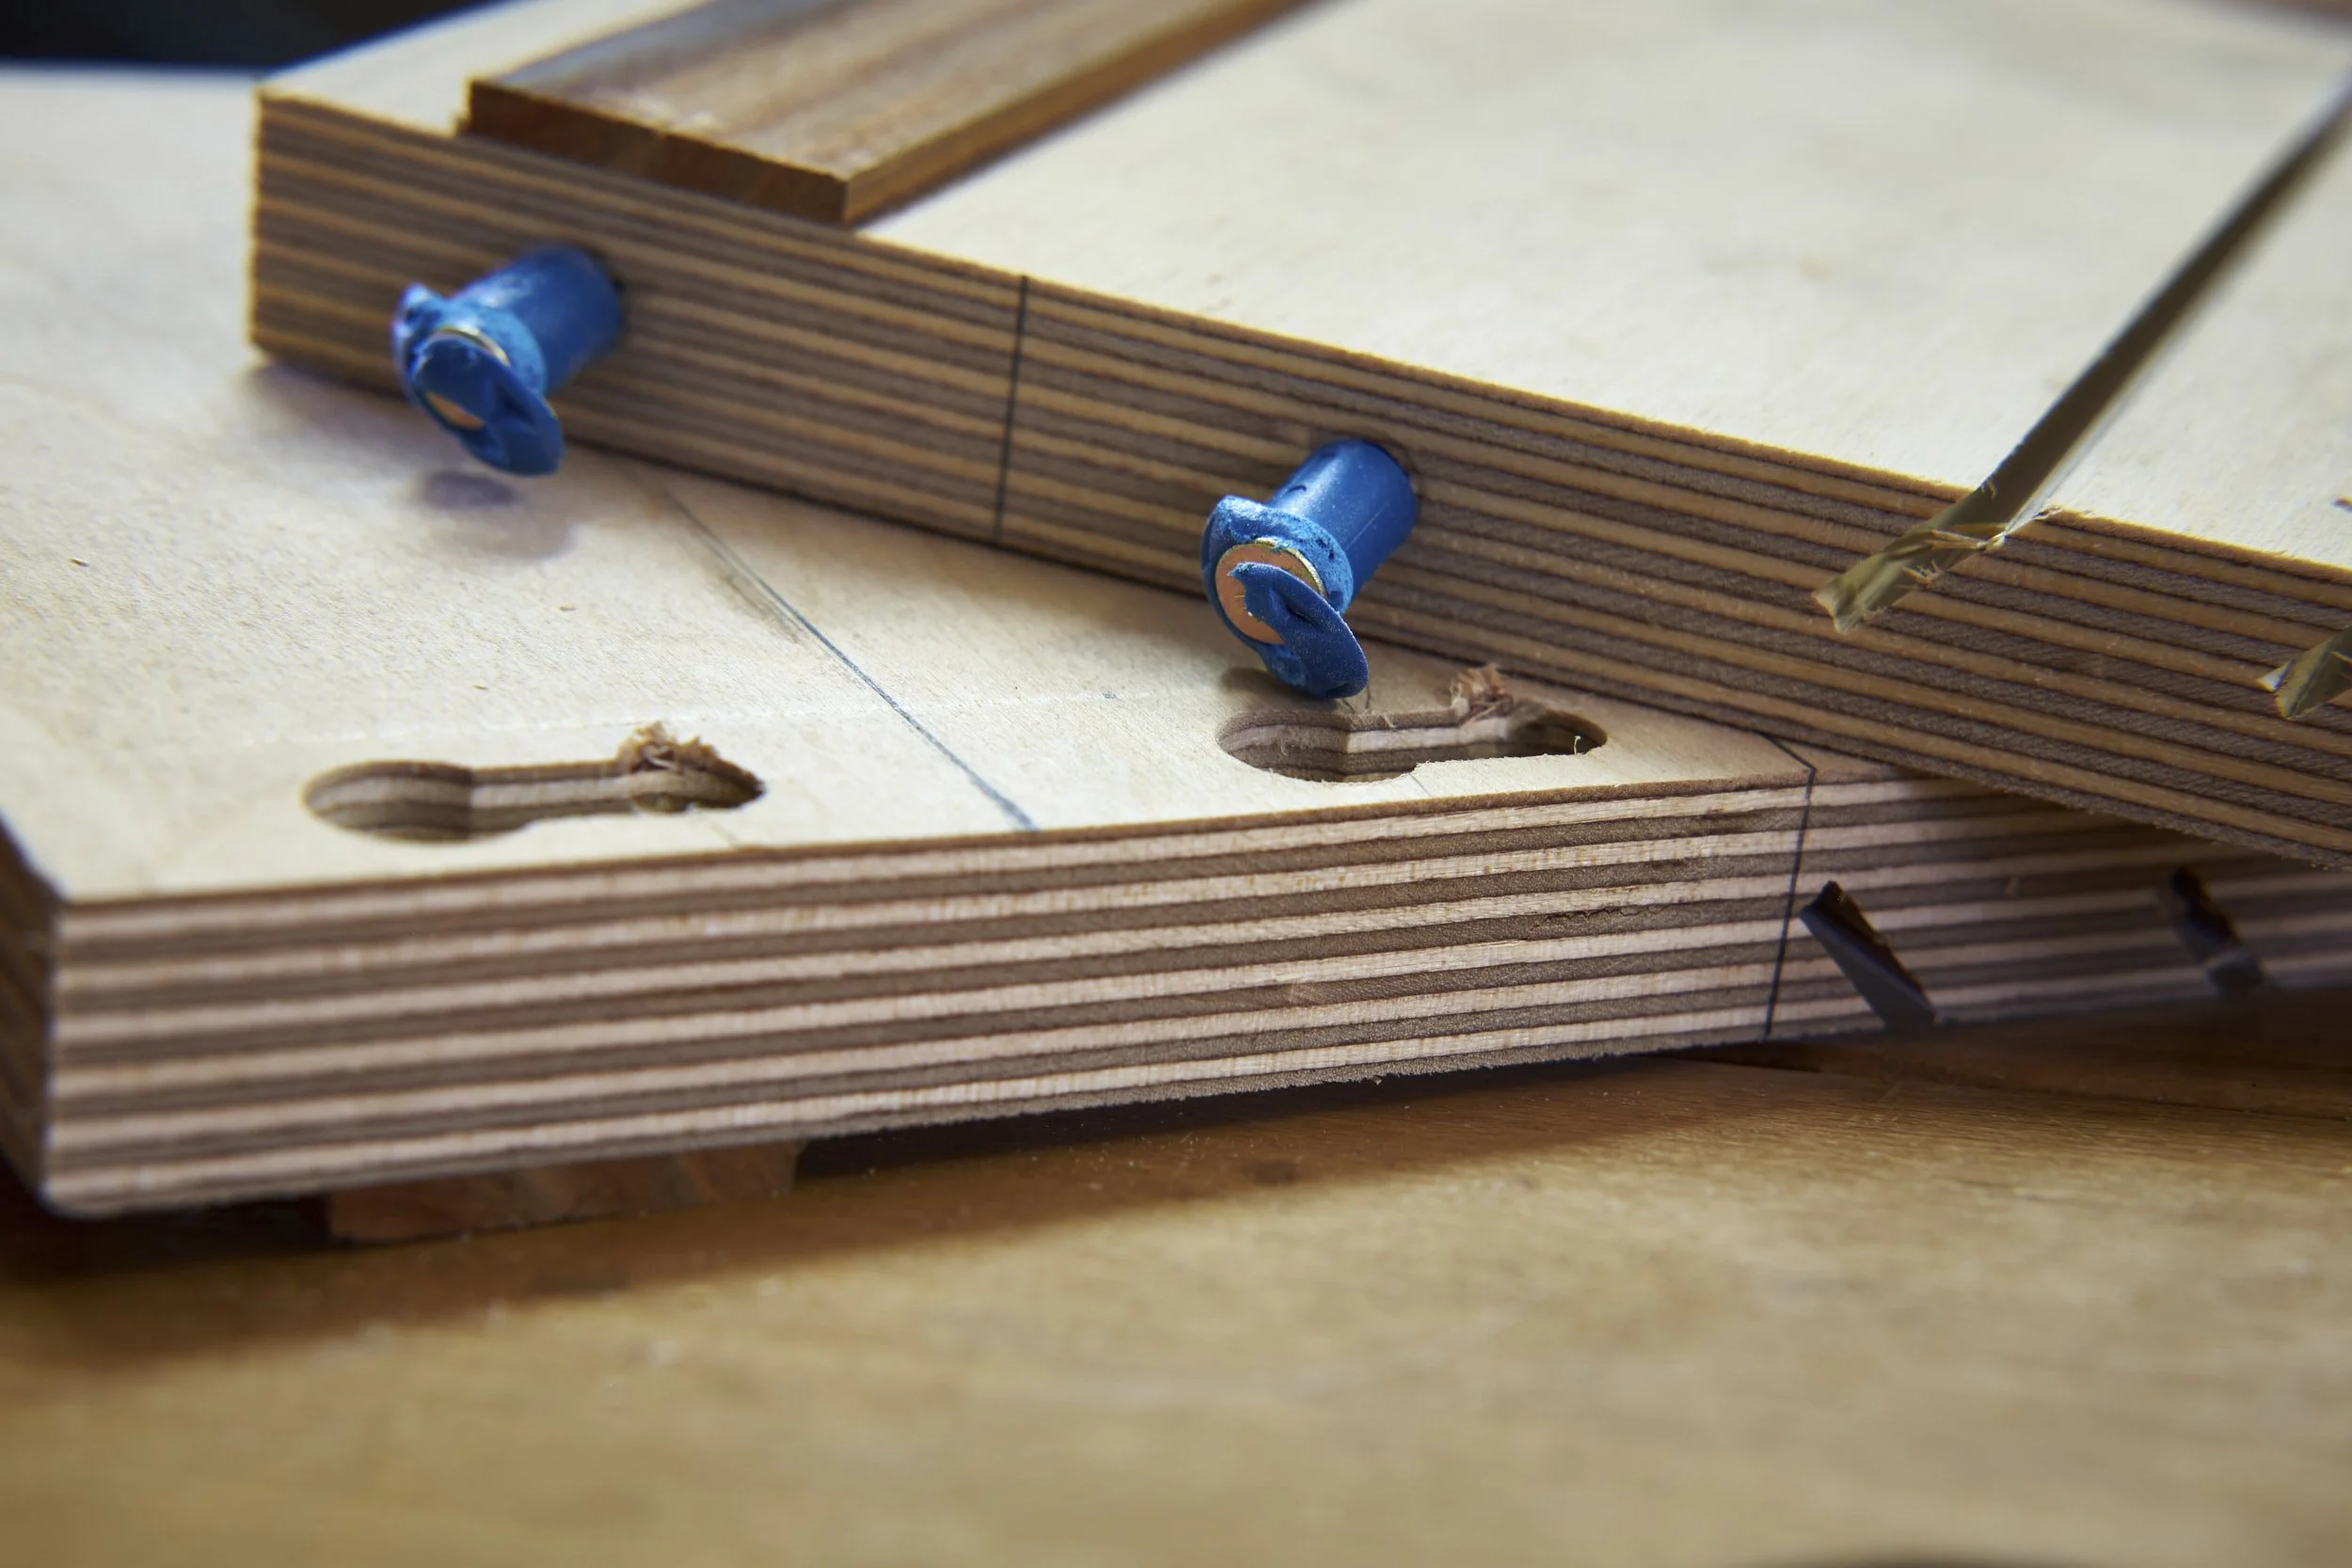
Satisfaction goes some way to describe the feeling over the test result and relief and surprise the rest. Relief that I didn’t have a dud with more hype than usefulness on my hands and surprise at how well the mdf performed. Investigating the damage in each case confirmed that it was likely the end grain structure of solid wood and the proximity of the slots to the side of the component that caused the joint to fail in Pine.
Man made materials for the win.
Happy that I didn’t waste money and time on research, but sad that I would need to find another way to deliver the cupboard to the customer. With ease of delivery mostly out of contention, ease of construction was still very much in and we deliberated over our remaining options.
With pocket holes and Peanuts out of the way we turned our attention to dowels and Dominoes and this is what we came up with.
Where we are able to easily cut rebates on components not too large to manage alone we will do so and strengthen the joint with dowels i.e. the top panel.
Grooves to accept shelves will be replaced by Domino construction that will provide strength without the need to cut grooves on either the table saw or using a router.
Not exactly what we were hoping for but a happy medium that will simplify construction without compromising strength albeit harder to deliver to site.
You may recall that I mentioned in one of the prior blogs (Part I) that the Peanut jig can be used as a doweling jig? Well guess what! When installing the dowels to strengthen the rebate joints, rather than marking out the position of the dowels and making the effort to keep the drill perpendicular to the joint, as well as making sure I drill straight, I can simply set up the jig with the router guides in the correct spacing and use the drill guide to drill straight and perpendicular holes without having to mark anything out apart from the middle of the component before aligning the jig to a single mark.
The right tool for the job.
We are now here:
Dowel - yes to strengthen the rebate joints
Pocket hole - still nope
Domino - install the shelving and base instead of using a groove
Peanuts - disappointingly no but the jig will be used in the dowel configuration
And as I come to the end of a three part post that was only supposed to be one I have a sneaky suspicion that a blog about the setup and use of the Peanut jig may be forthcoming, possibly as a Part IV………