Garage Unit Stock Prep
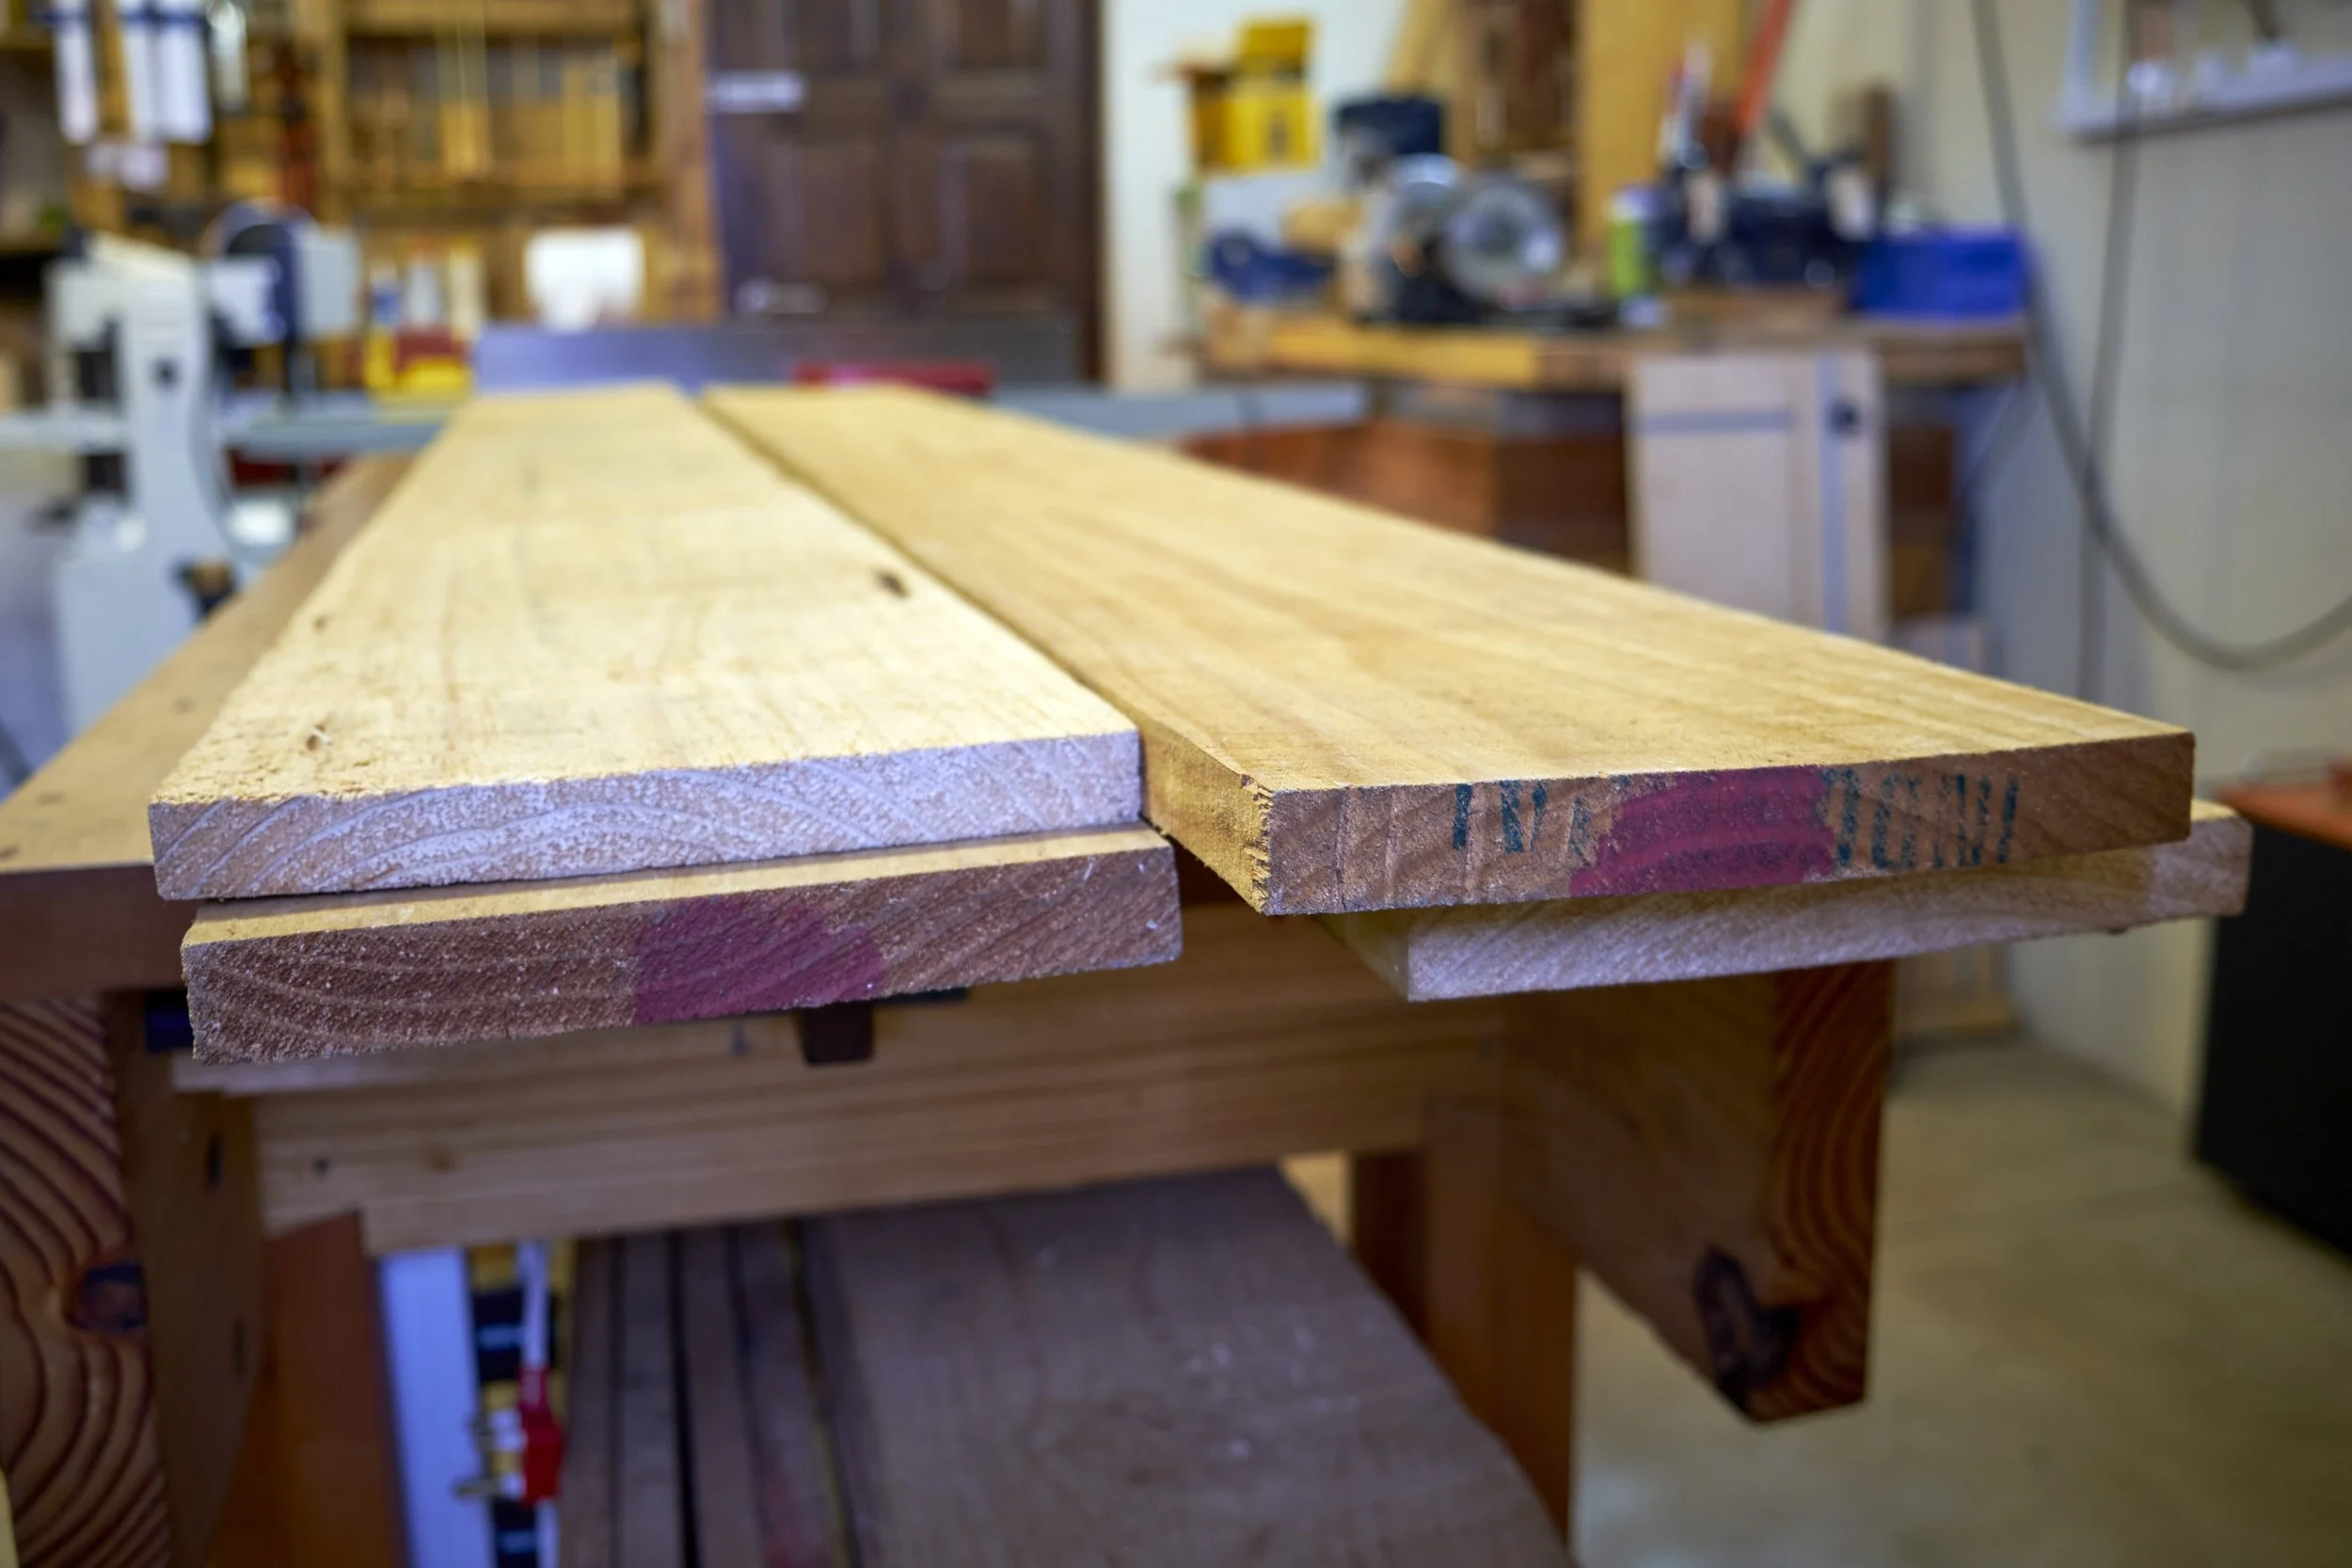
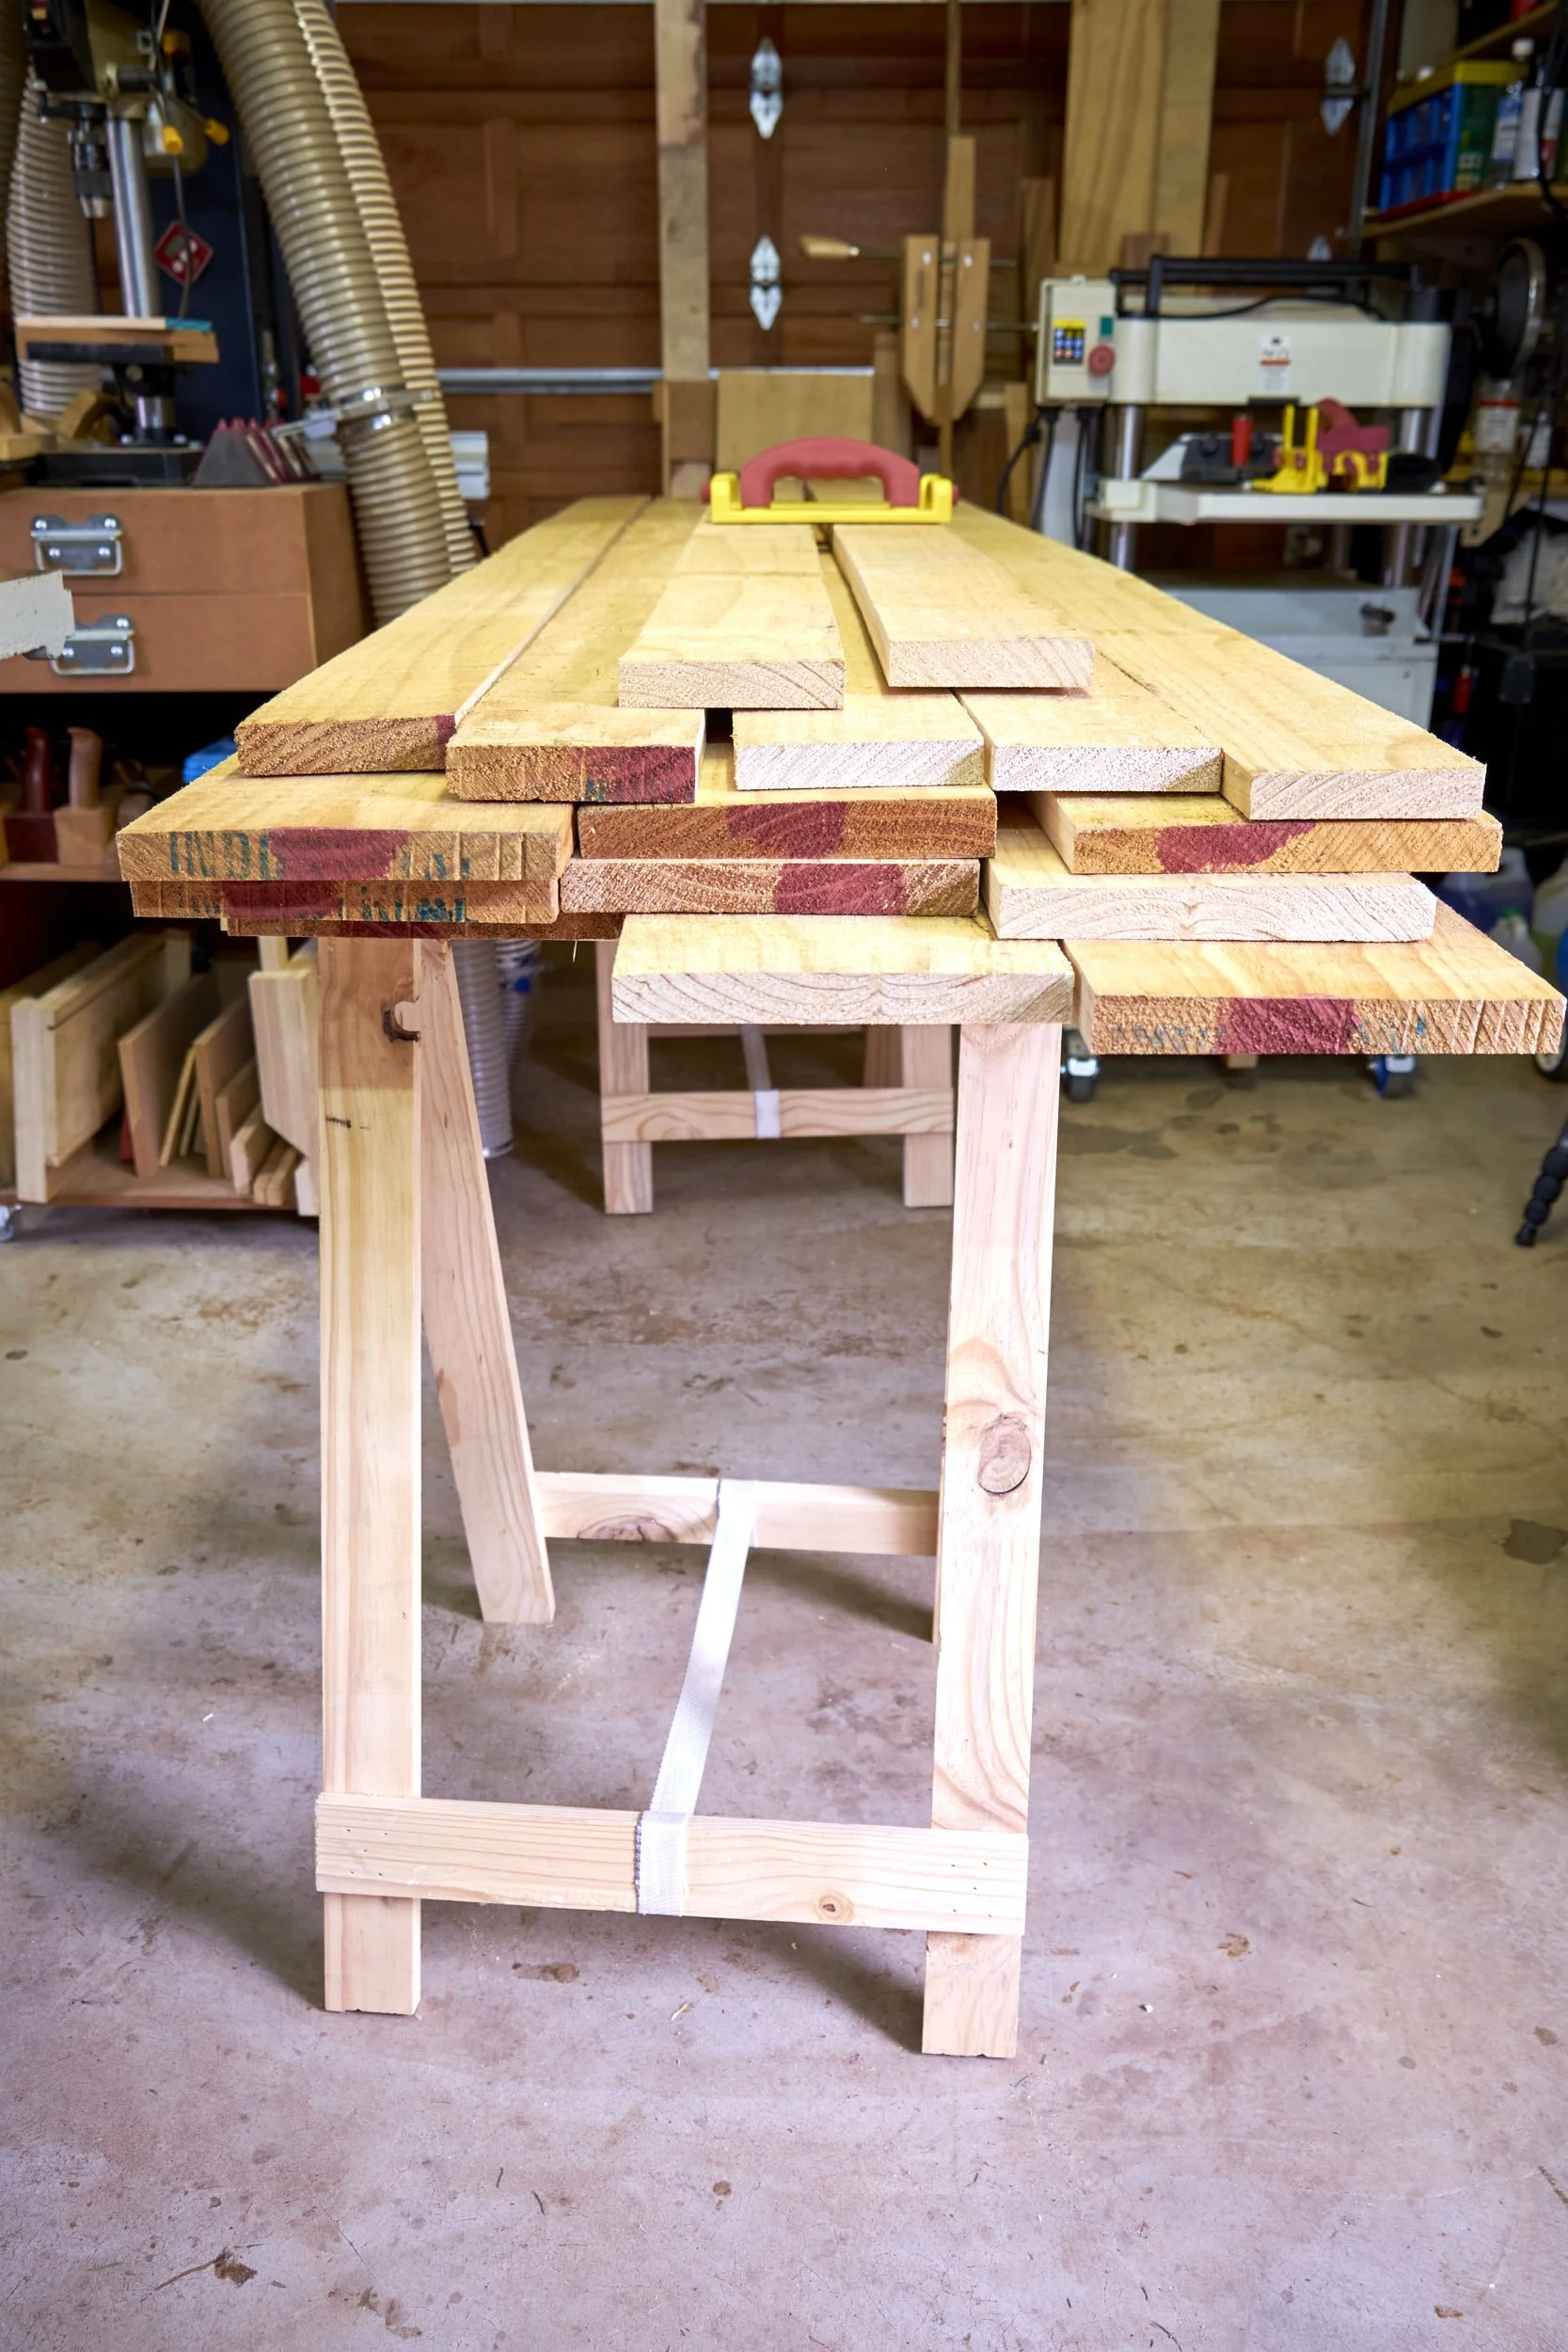
Raw lumber acclimated and ready to be processed
So we finally got going on our latest customer project and if you haven’t read about the run up to this one you can head over to Part 1, 2 and 3 of the great Peanut Saga where we had our hopes of using a new joinery system on this project dashed.
We also attempted to start our journey into the world of YouTube by documenting the stages of this project and we can say with much confidence that this was not a moment that could be marked with great success. We remain undecided if we would like to share the results, maybe if you ask nicely we could send you a link to a password protected page with the vid.
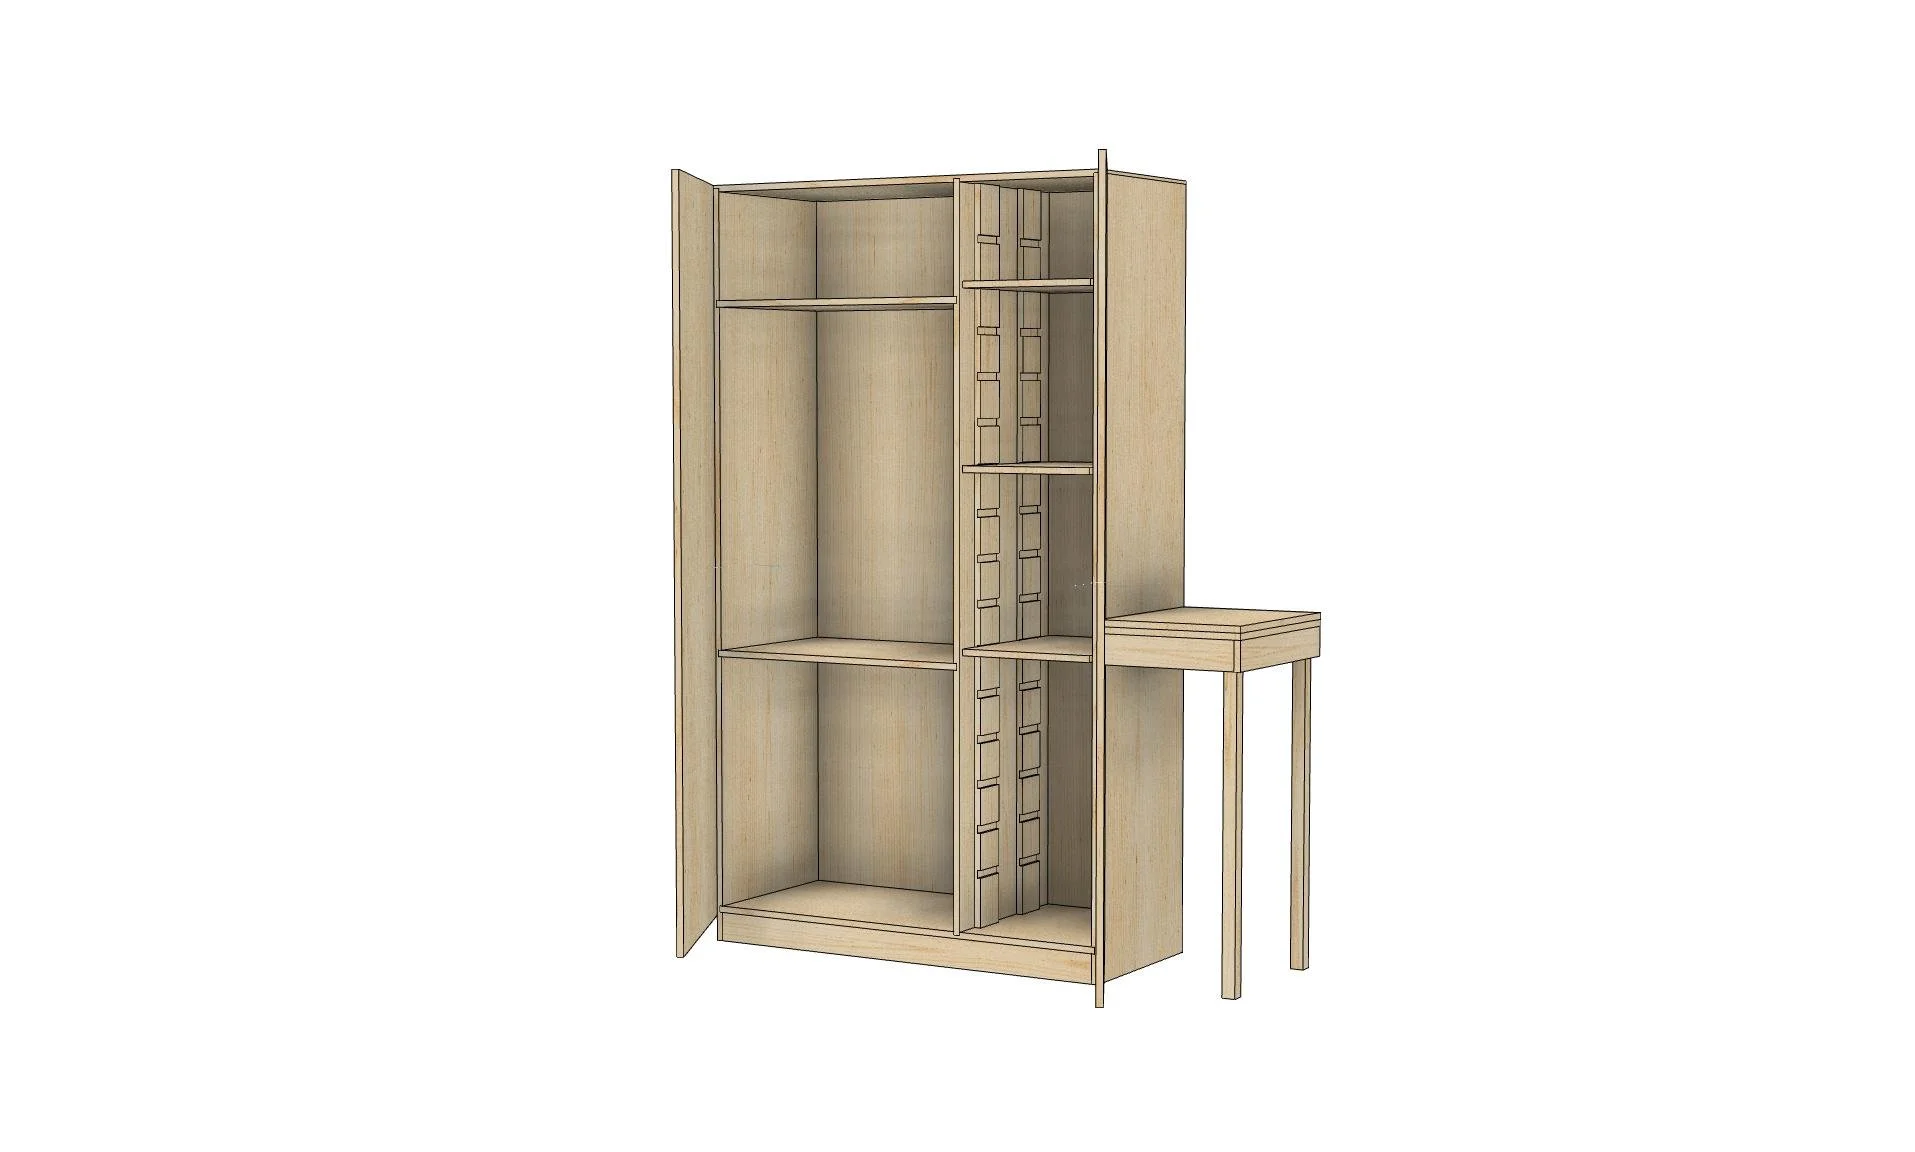
Back to project “garage unit”.
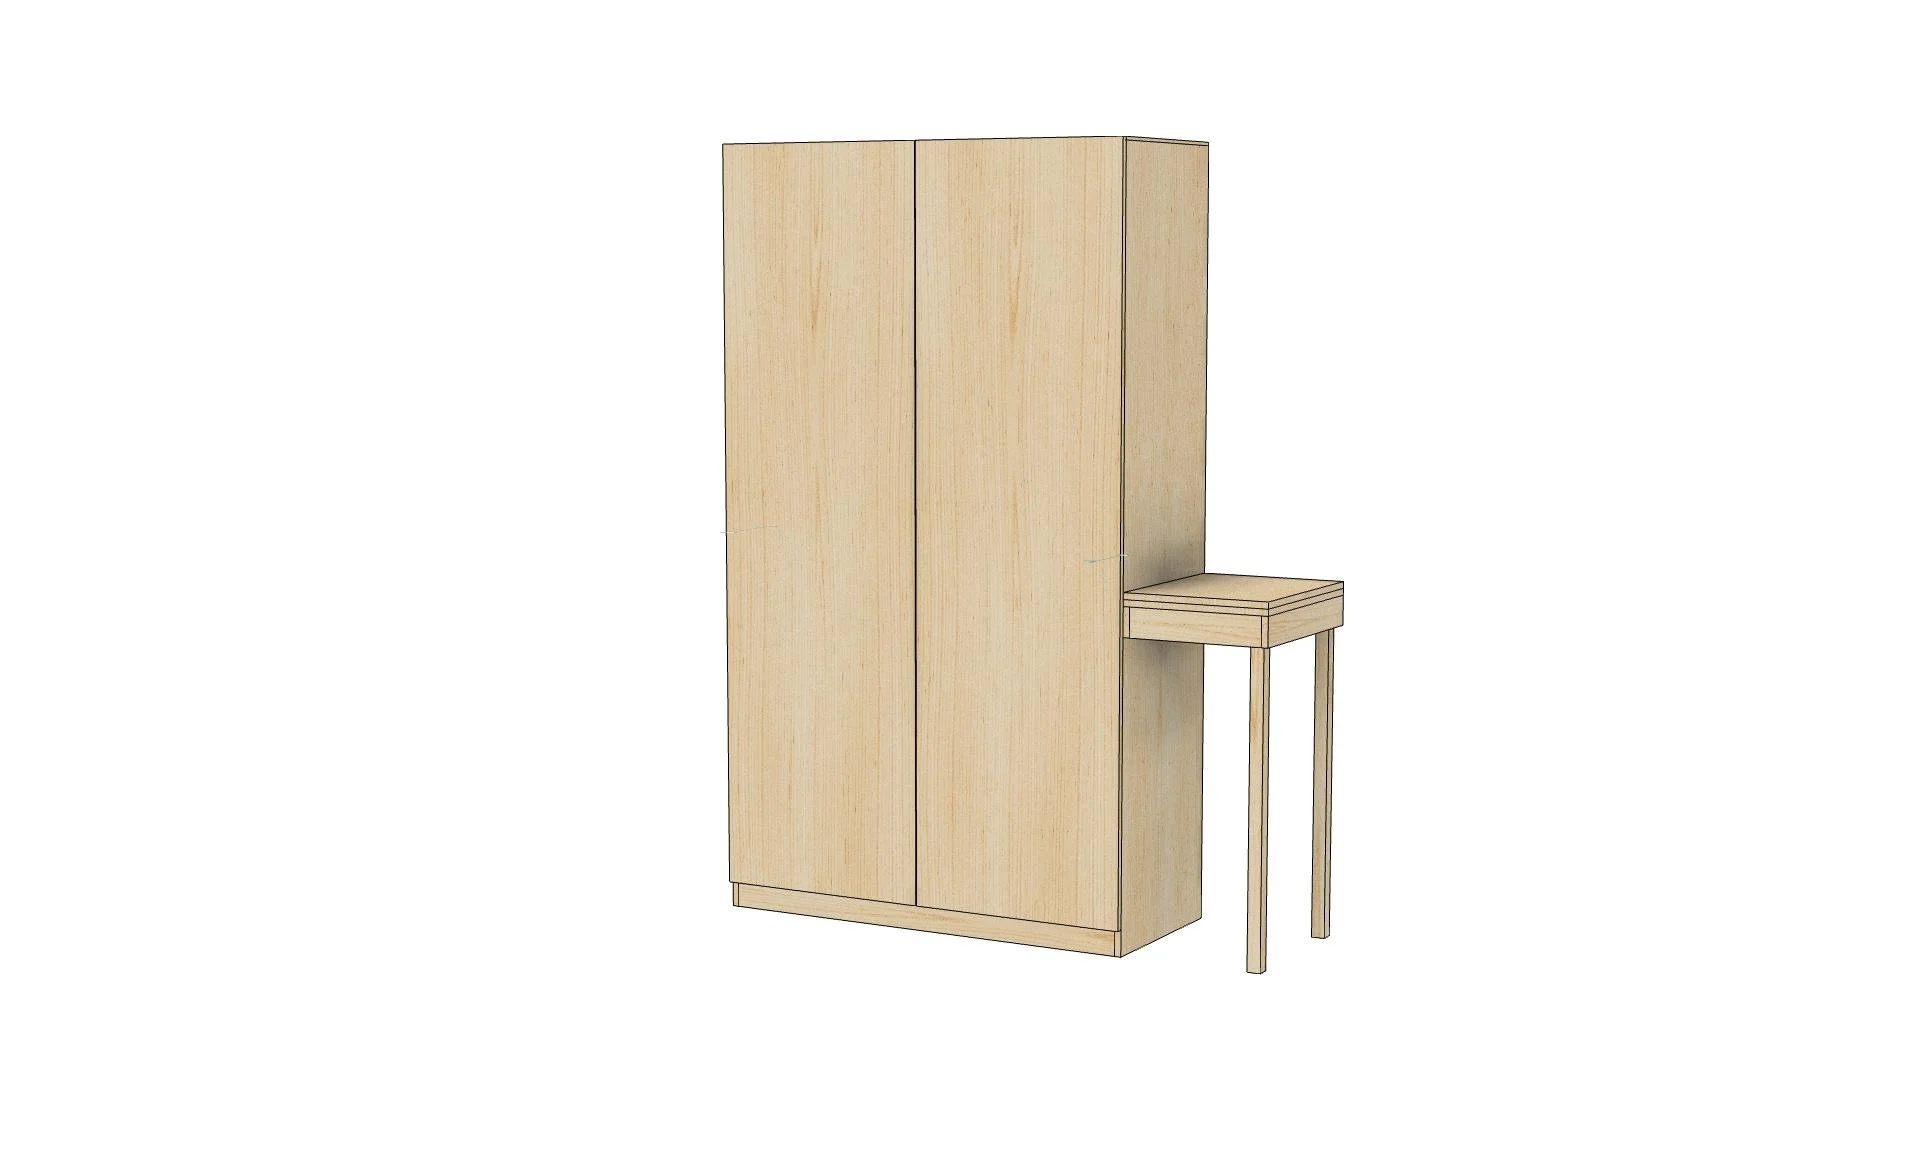
As with all our customer projects we usually kick the process off in our design software of choice and in this case the design was rather straight forward as the customer submitted a technical drawing of their own which helped a lot in meeting the design specs required. Once our initial design was completed we sent a render off to the customer for approval of the concept, just to make sure we are heading in the right direction. In this case the customer also had specific requirements regarding the dimensions of the unit, we included a technical drawing for approval and after some tweaks we had a plan in hand.
We quoted to build the unit in either pine of birch ply. The customer went for pine and as soon as we received the agreed deposit we were off to the lumber yard to shop.
I came home with a large pile of pine planks and as is custom, stuffed as many of those as I could under my workbench. Oh’ the joys of working in a small space!!
The lumber was left under the bench to acclimate to my workspace and every time I moved the bench around the shop the wheels groaned in protest. I really need to find another working solution for moving that Nicholson around.
Acclimation complete and with plan in hand I started the process of dimensioning the stock into workable sections. Workable in my workshop means a maximum width of 200mm or ideally just over. Why 200mm? Easy! My jointer is an eight inch version and 200mm is the widest face I can flatten. In addition to this the total depth of the unit we are building is 500mm and I decided that we will make up that dimension by laminating components up with two planks of 200mm wide and one of 100mm, making up the total width.
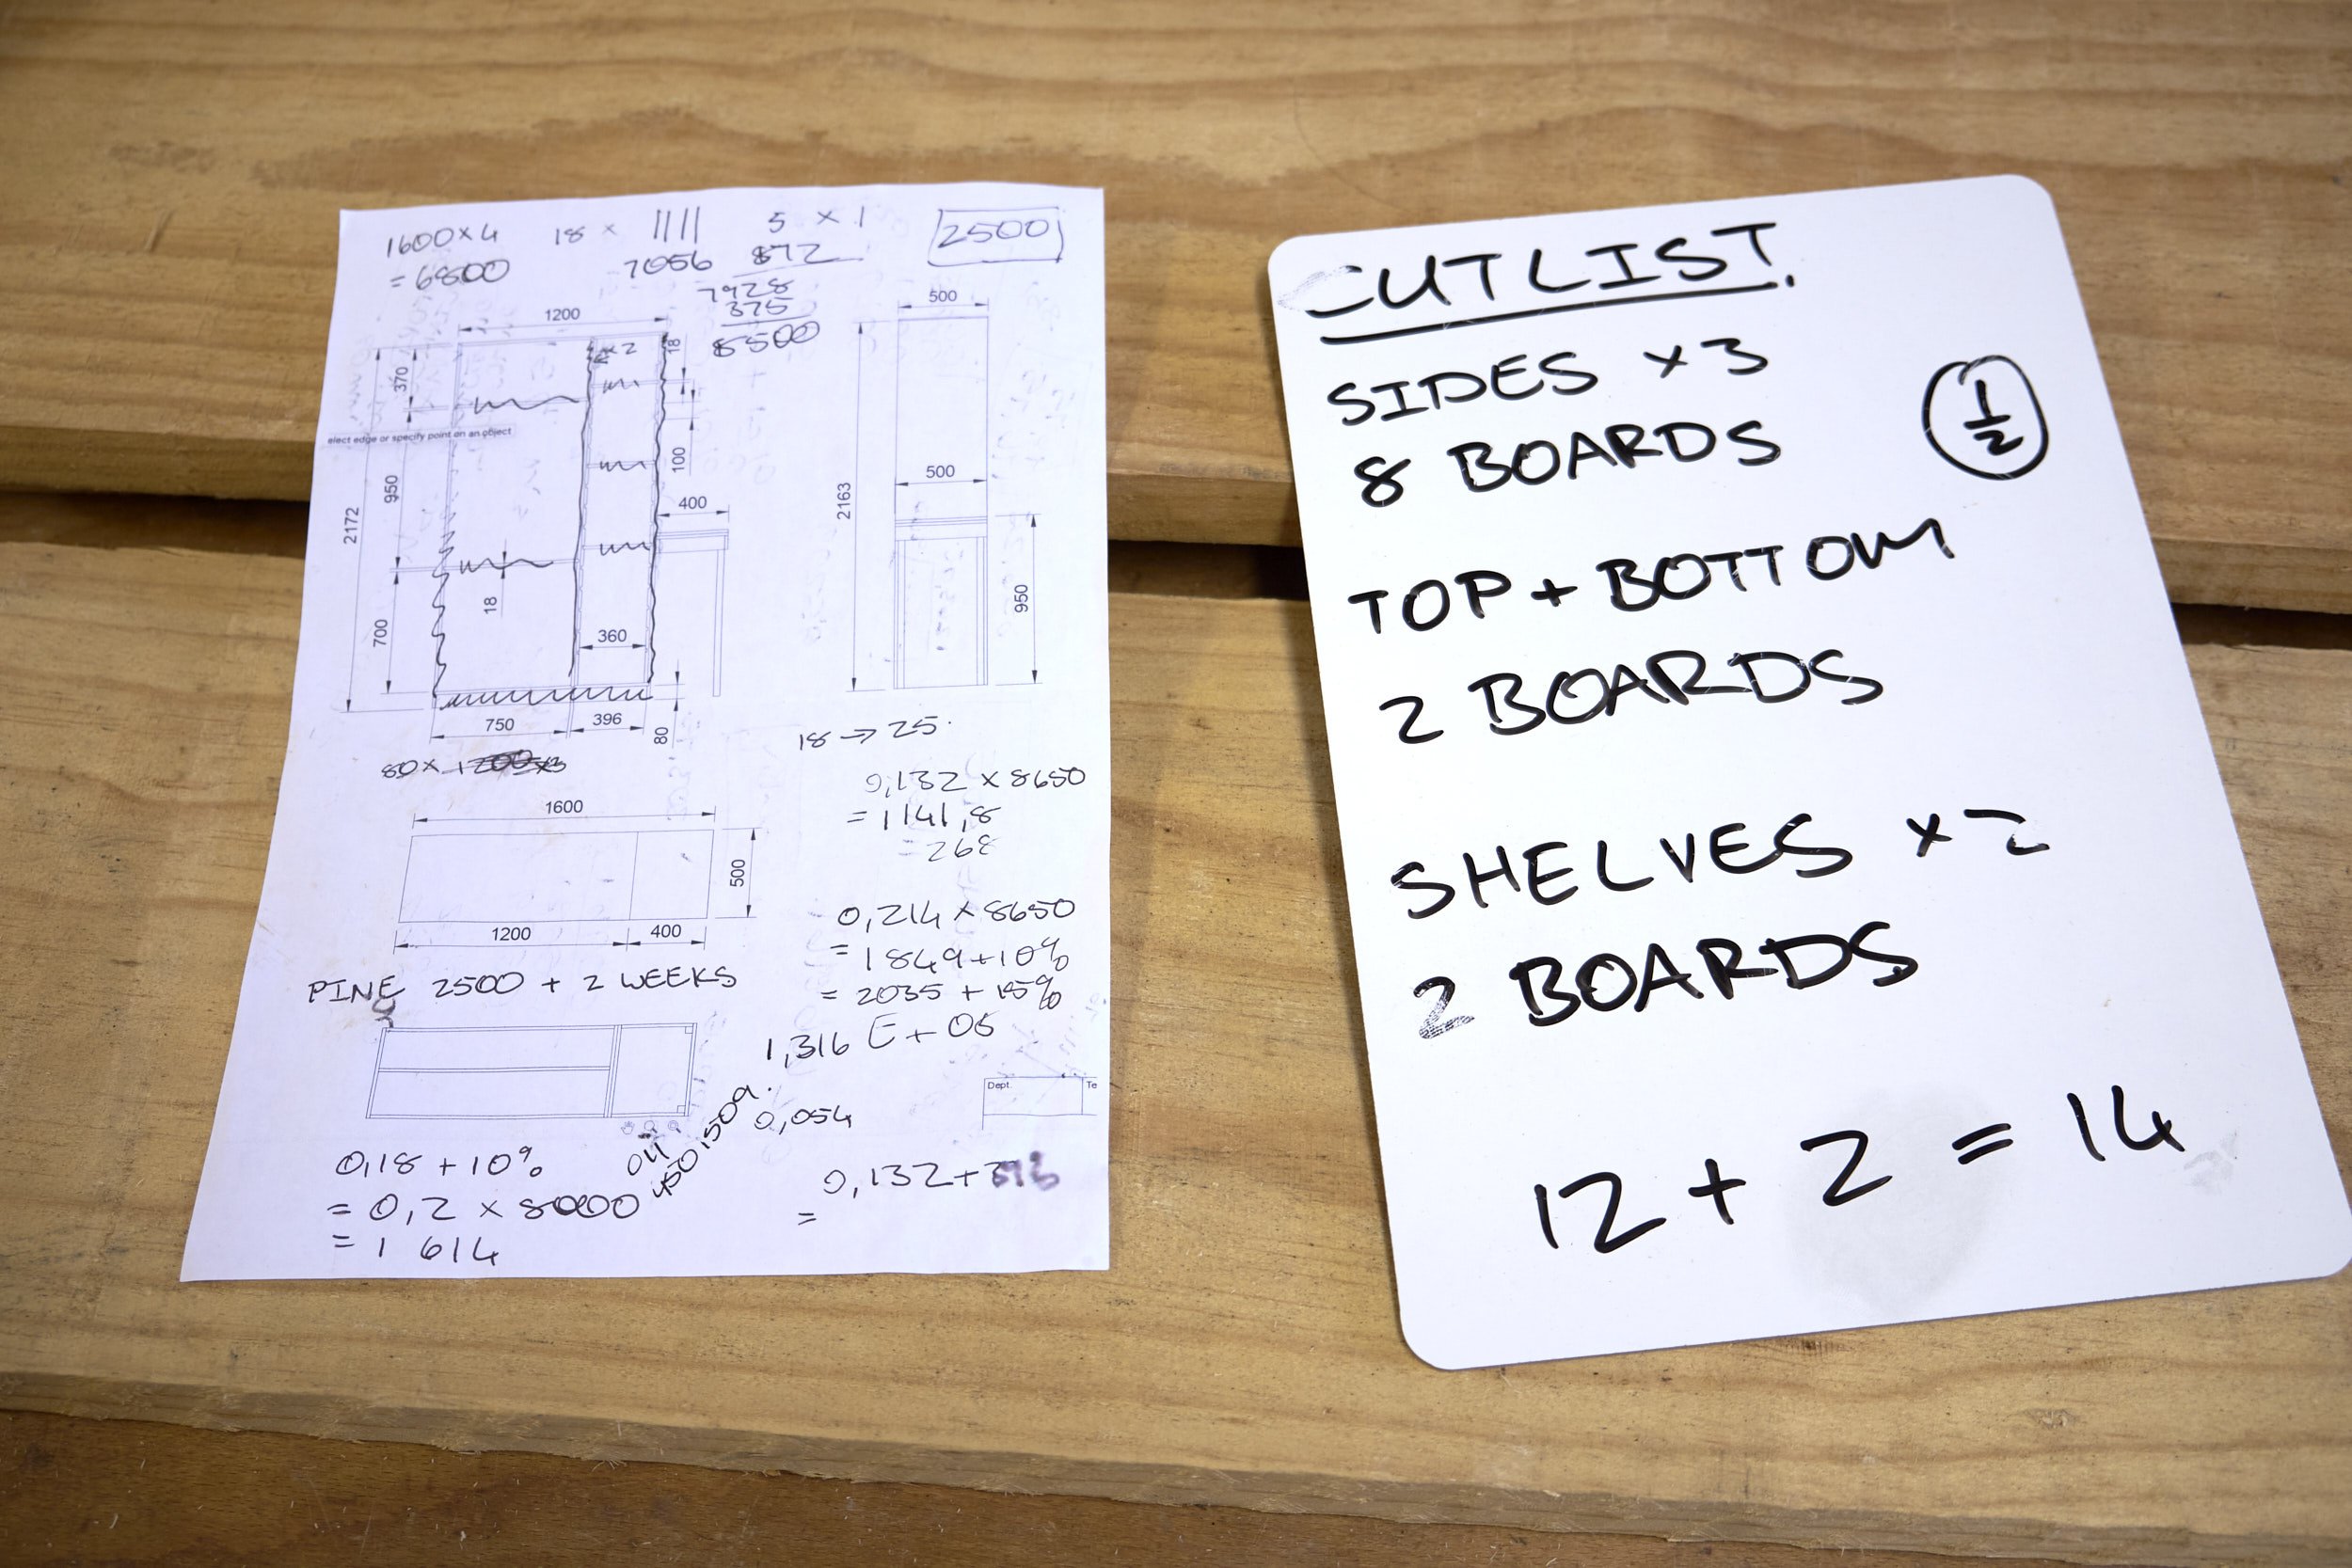
With the width of each plank decided we could use the drawings to decide what the cut list should look like and this is how we got to it.
I first considered how many components I would like to put together at this stage of the project and decided that I needed to start on the sides (x3), top, bottom and the fixed shelves.
At a total of just over 2.1m high none of the planks would need to be cut to length. These being cut at the lumber yard at just over 2.4m, would allow all the sides to be laminated in one go and then cut to length later. The top and bottom come in at 1.2m in length, meaning that the raw lumber would be sufficient for both a top and bottom if a full length section of 2.4m is cut in half. In the case of the shelves which are 750mm long, these would also fall nicely within the length of the raw lumber dimensions with room to spare.
Next up is the depth of the unit and as already mentioned this is 500mm. The width of a single plank of raw lumber happens to be just over 220mm. Cutting two planks to 200mm width and one in half to give 100mm results nicely in a single side. We now know that two and a half planks will make up one side and that processing 8 planks will provide enough material to make up the sides, leaving one section of 100mm spare.
At just over 2.4m in length the raw stock will allow the top and bottom to be formed by cutting a full length plank in half. Carry the 100mm section left over for the sides, add two more planks for the 200mm parts and we only need two more planks to make up the top and bottom.
At this point we are needing ten planks in total.
On to the fixed shelves and here we need a further two planks to have enough processed stock in hand before the laminations get under way.
We are now at twelve planks and considering that we may screw something up along the way we will process two extra planks, just in case. One to 200mm in width and one cut in half to give two 100mm sections. If not used, these will become the kick plate and base for the unit.
I need to point out that the stock isn’t really cut to exactly 200mm or 100mm as sections still need to be jointed, so all pieces will be slightly oversize in width to accommodate further processing.
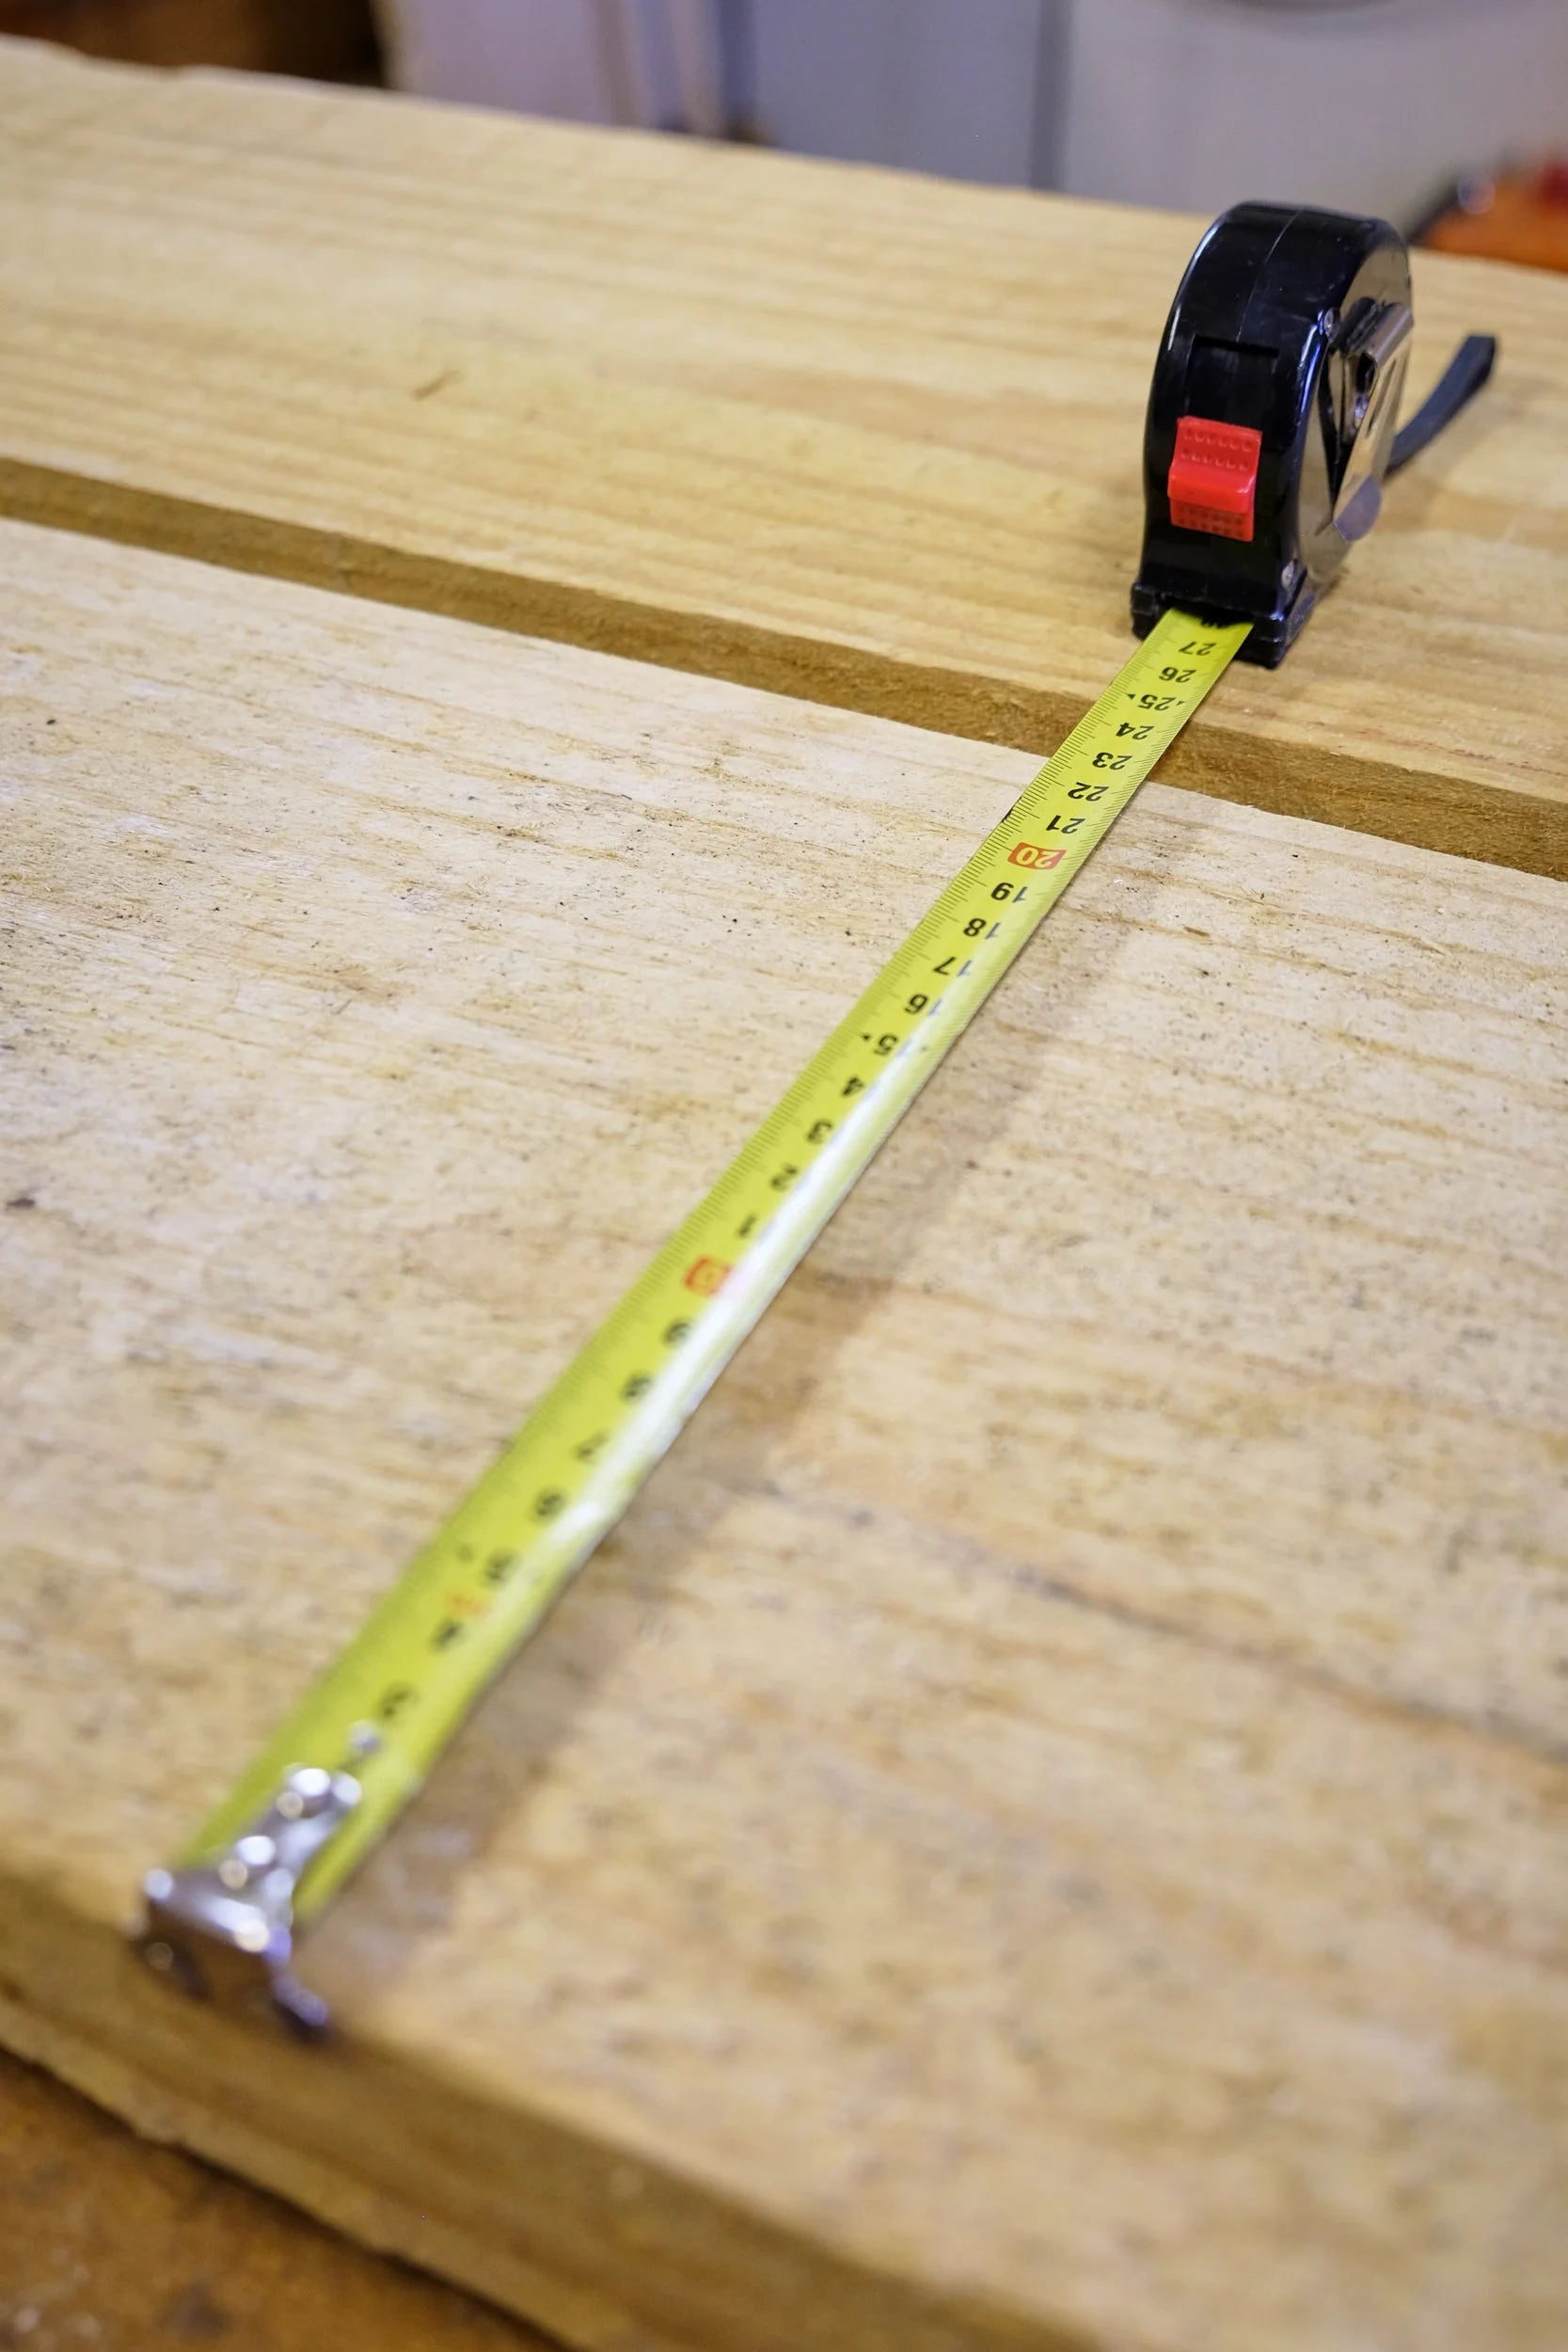
Thickness is another consideration and our design calls for a minimum stock thickness of 18mm. As a start we will aim for 20mm at least as this will allow us to take some material off the planks should they decide to “move” after the initial jointing and thicknessing. The stock we are using is construction lumber and movement after initial processing is almost a given!
Having stock at the same thickness makes the cutting of joinery much simpler and faster, it is notoriously hard to process fresh raw material to the exact dimensions of the first batch so having extra material in hand is a good practice.
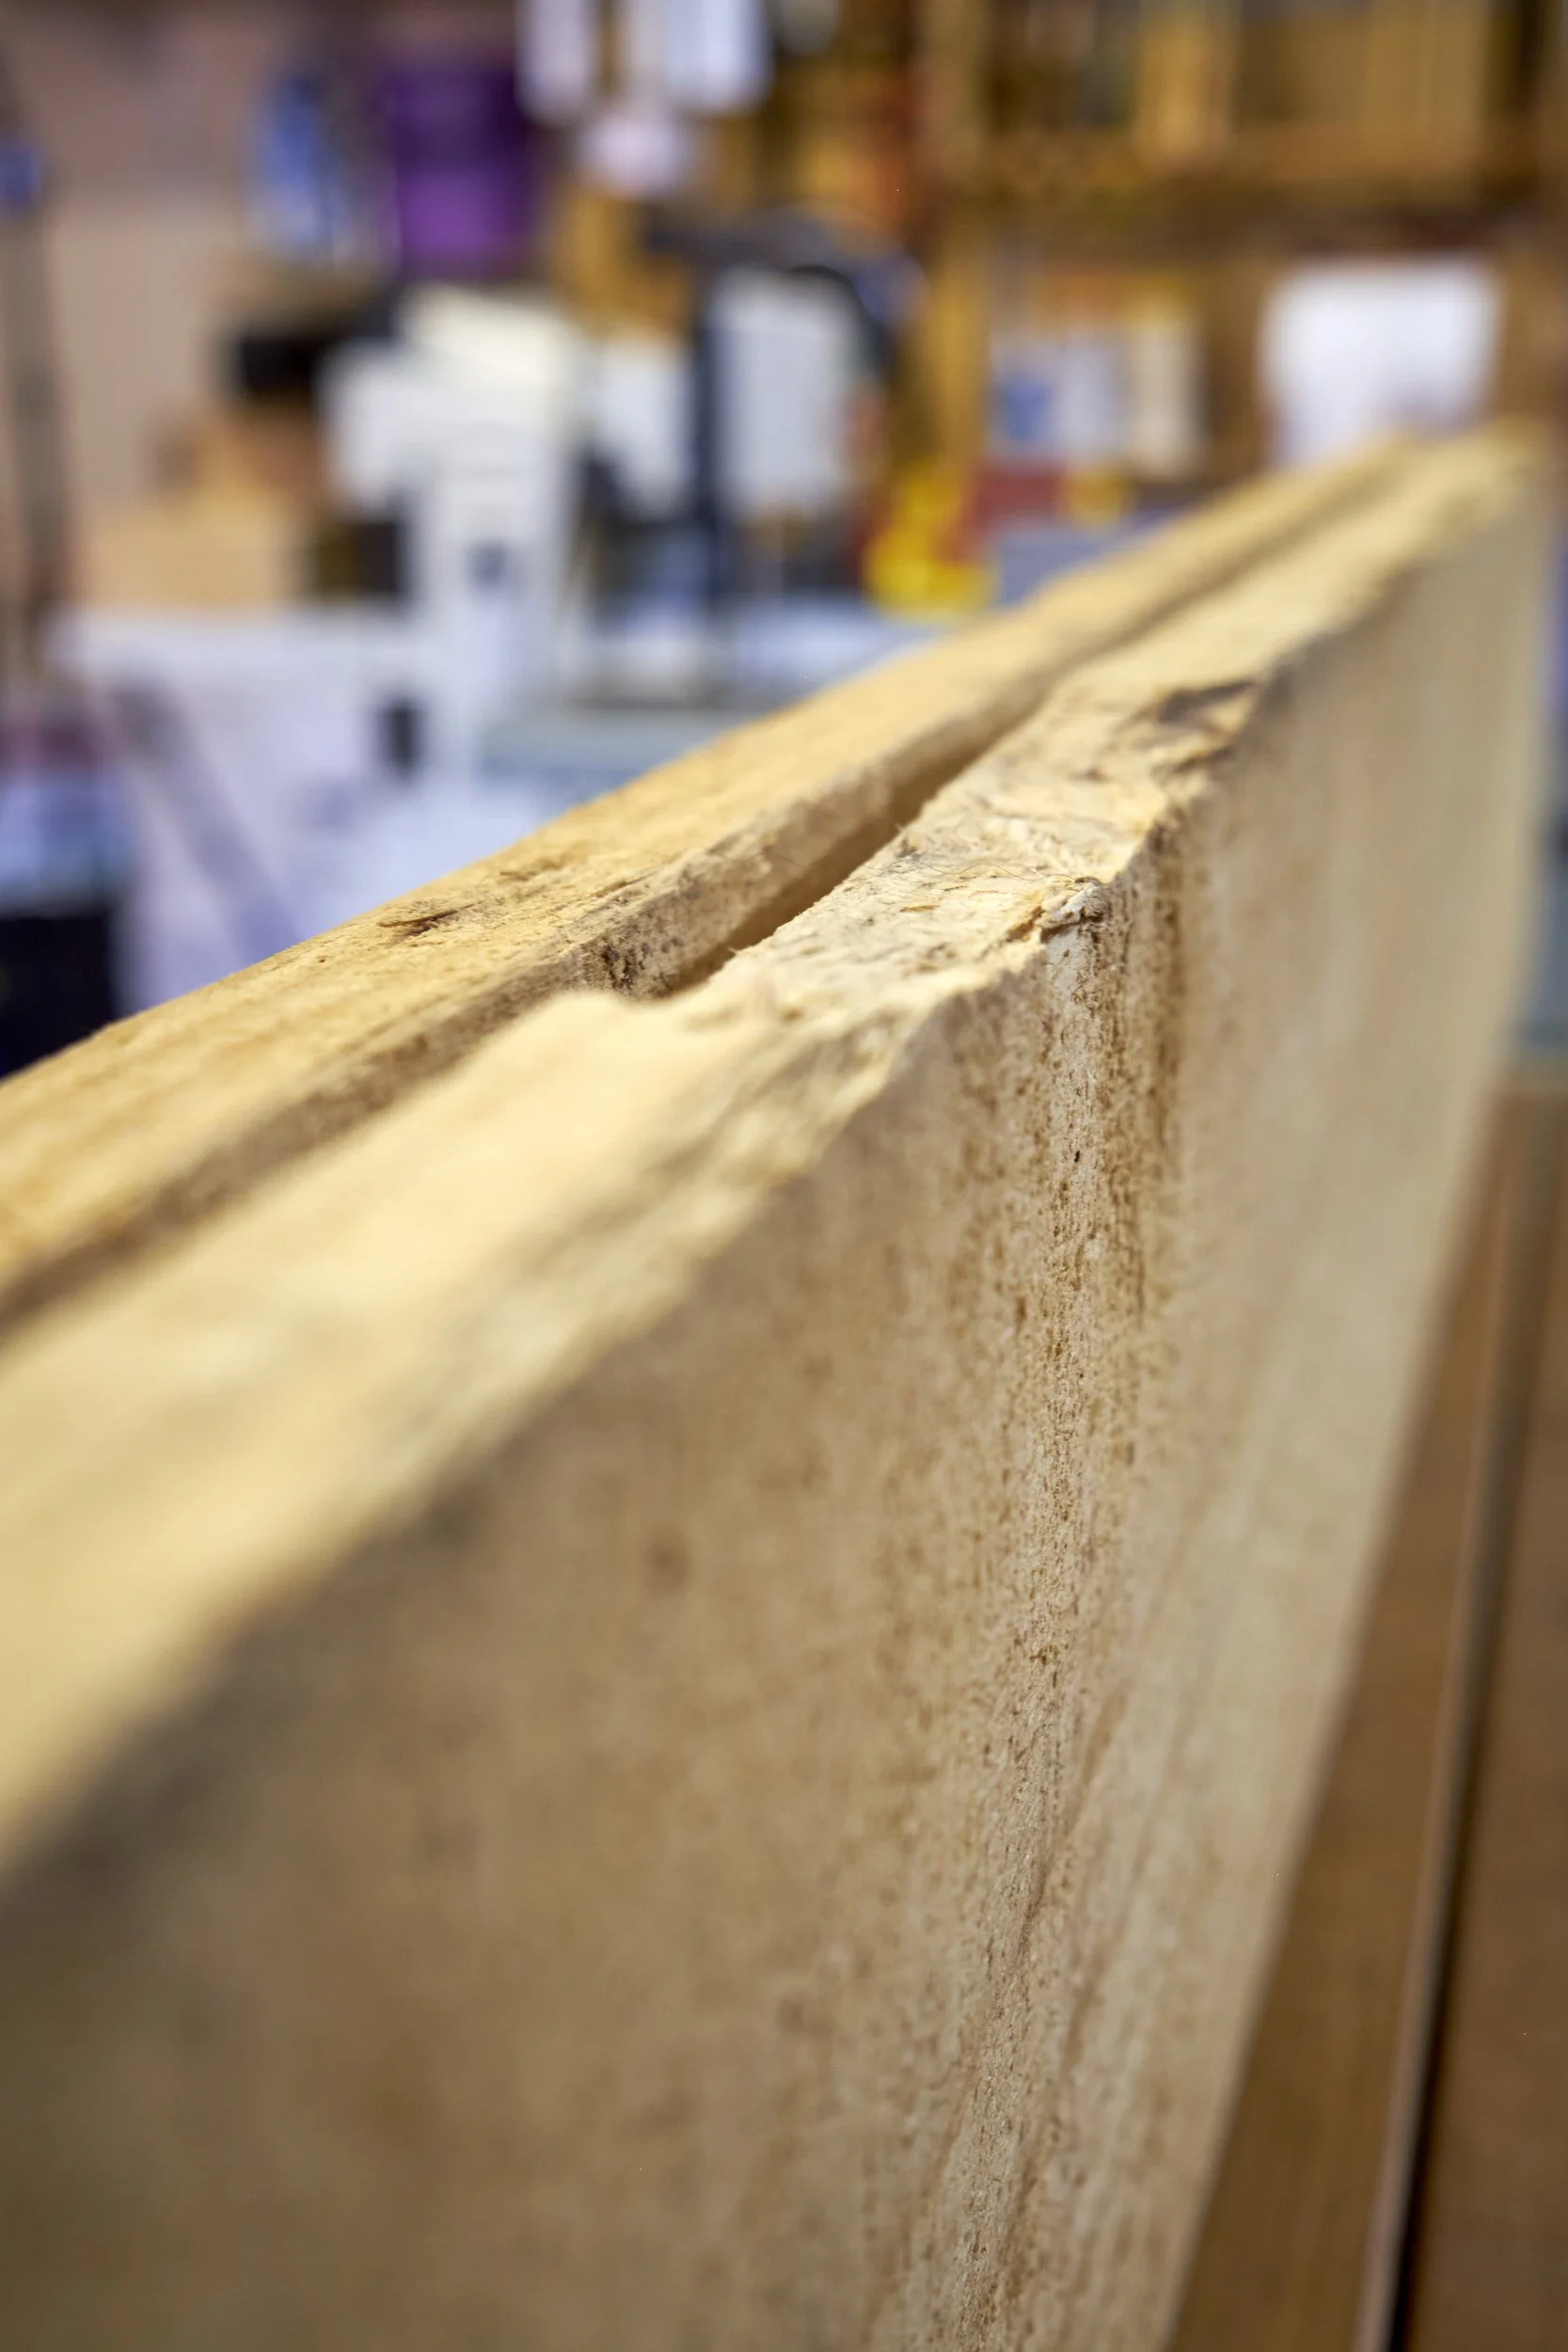
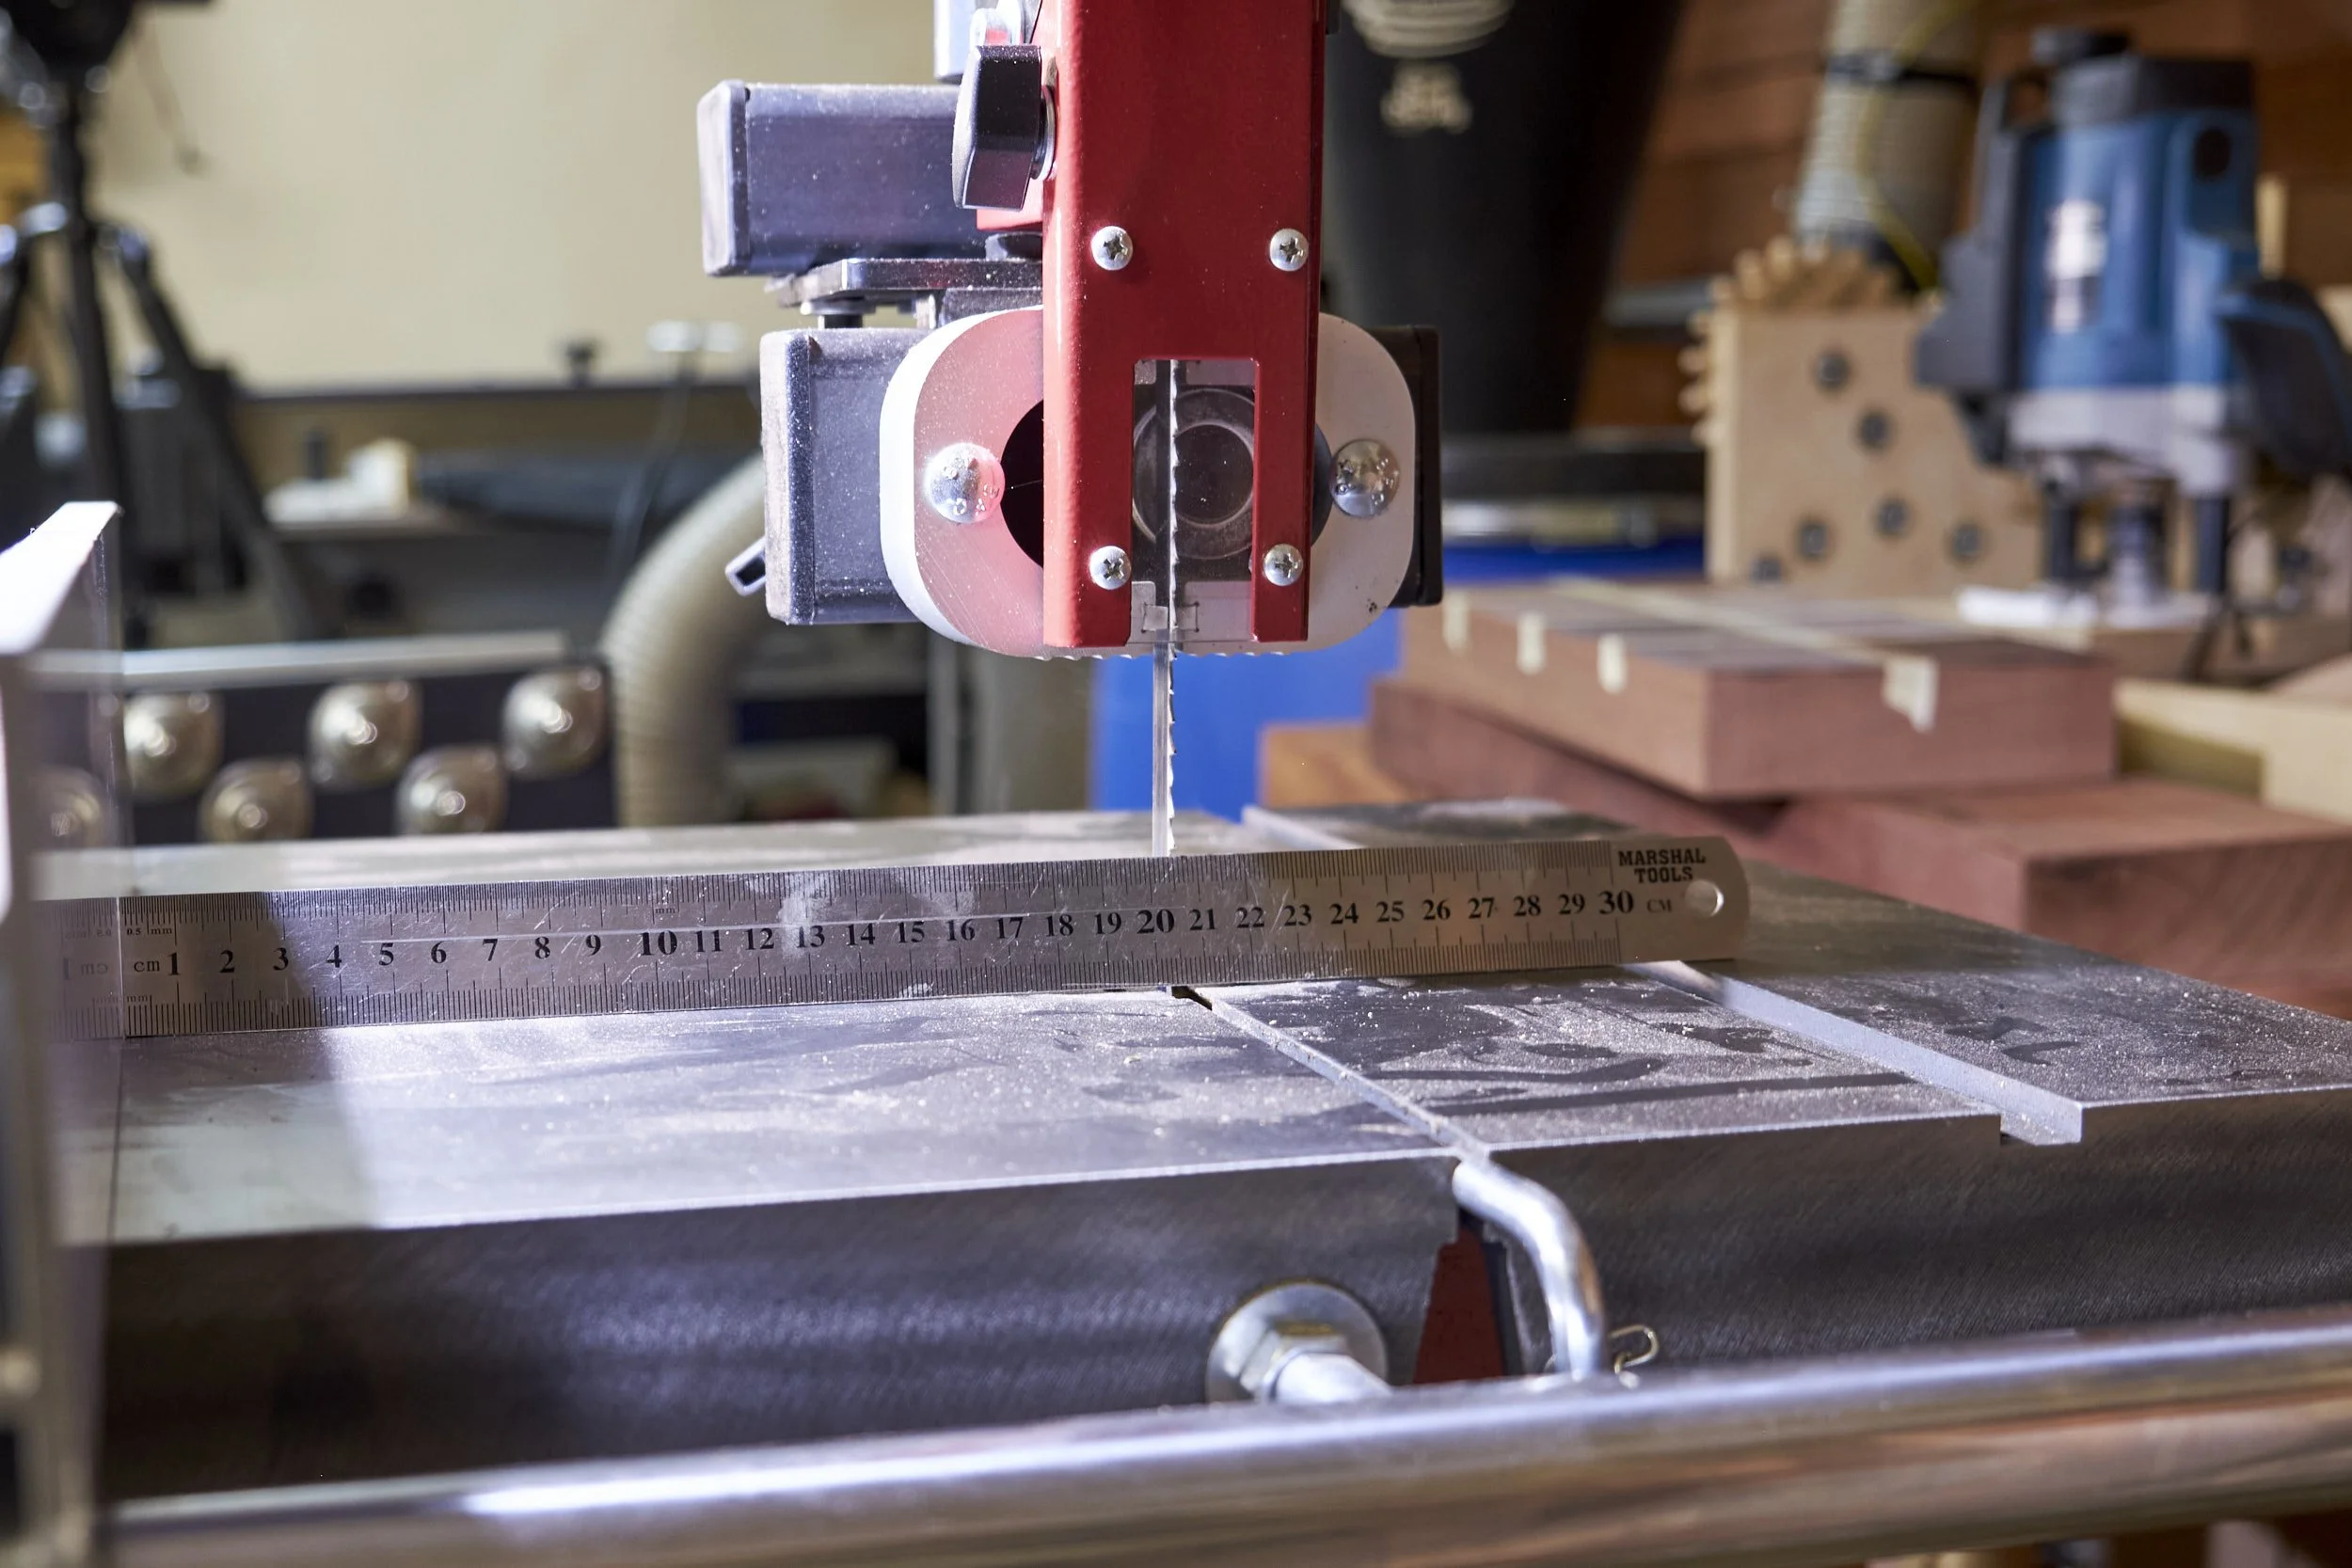
Now we have a cut list in place and we head off to the bandsaw to rip our raw materials to width. With the raw stock being construction lumber, careful consideration needs to be giving to what edge will be removed and with some edges badly damaged care needs to be taken to reference the cleanest edge against the bandsaw fence, this will also help with the jointing later in the process.
As planks are ripped to rough width we set them aside and wheel out the jointer to flatten a face on each plank, before we do though, we orientate the planks in the direction that we will be pushing the stock through the jointer being cognisant of the grain direction. The face we would like to flatten, taking into consideration any bows, cups of twists in the material is pointed towards the bottom.
With the stock orientated, flattening can commence and the newly sharpened and aligned blades in my jointer makes light work of this process - apart from the odd knot - and the flattened stock starts piling up on our newly purchased saw horses.
Some pieces are quite badly warped and twisted and on these I check the thickness with a measuring tape as we go along just to make sure we aren’t removing too much material in an effort to get the stock flat. This is one of the reasons to rip more stock than is necessary and if a piece is too badly affected by movement it becomes something else in the project that doesn’t require the nominal thickness of 18mm. I’m happy to report though that all pieces came out at above nominal thickness.
And that is where we are, one face flattened and ready to head over to the thickness planer.
One thing that caught my attention was that I couldn’t remember the last time I filled up the shavings drum, not only that, but we managed to fill two bags during this session! A weird year thus far indeed…..
In our next instalment we plane the planks to 20mm or 18mm whichever comes first and laminate them before they can move. Woodworking isn’t as gentle a pastime as many would like you to believe, clamping wood into submission is an age old practice and needs to be done be before movement takes place.
I do sound like a brute, don’t I?