
Prototyping 101
Woodworking is no stranger to prototyping.
I just don’t do it much.
Whilst developing 3D-printed products for my website, I am becoming reacquainted with the basics, and this is what I’m learning.
By the way, these lessons are just as relevant to woodworking as they are to 3D printing.
Prepare to adapt
The final product you come up with is very rarely the same as the original idea. Some would argue that this is the whole point of prototyping in the first place.
I have long believed that the final product needs to be forced into the shape of the original idea through the process of ideation and prototyping. That is not the case. The whole process of prototyping is there to validate the idea and find the best way to make it a functional reality.
That reality might be markedly different from the original idea.
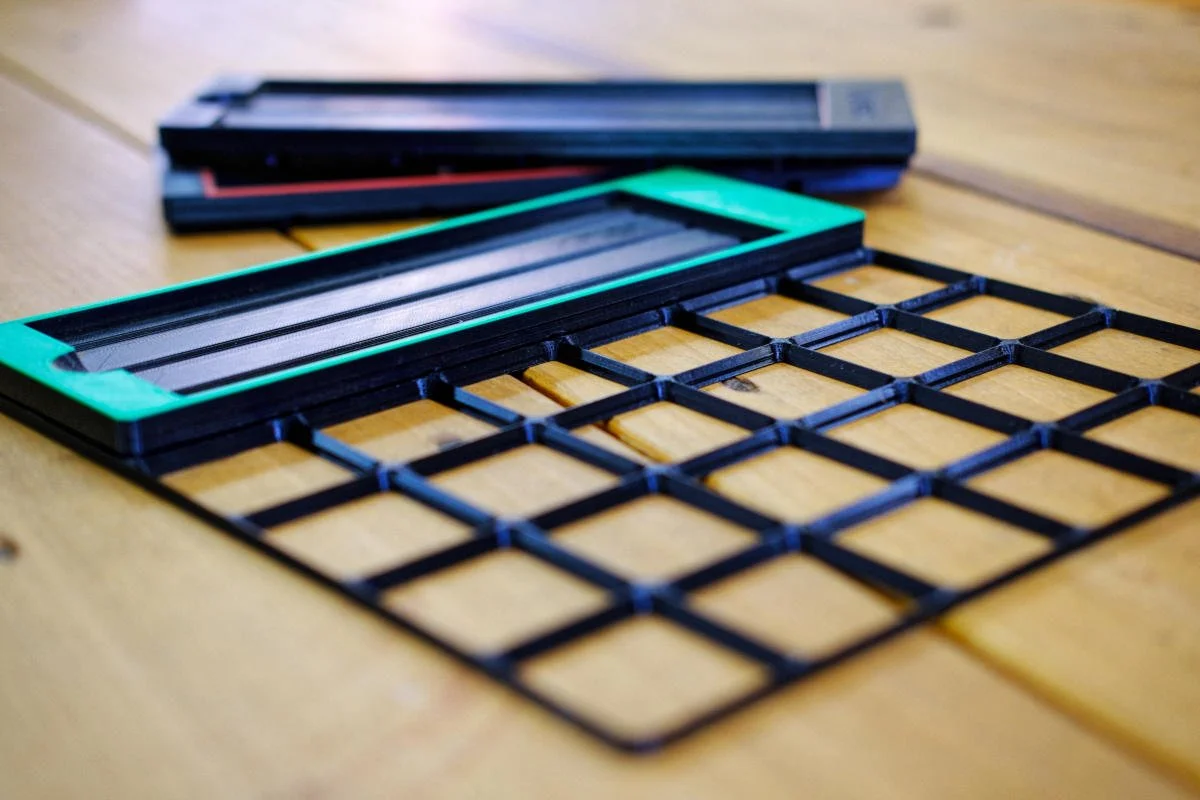
As an example, I’ve been working on a base for my diamond sharpening stones as an alternative to having them sit on top of a dedicated sheet of plywood, as they do at the moment.
The idea started as a complete base with an integrated fence that would allow it to be secured against a workbench. The base had three dedicated recesses, one for each grit, which allowed the plates to be moved easily between the slots. This is necessary when flattening the backs of chisels and plane blades.
The current iteration is now a Gridfinity-based system with a separate holder for each stone, placed into a 6 × 7 Gridfinity baseplate. This can then be recessed into a wooden base with an integrated wooden fence.
It’s not the original format, but it still does the same thing and is, in many ways, a simpler and better solution.
This is probably the hardest lesson I have learned: don’t become emotionally attached to a design.
Design for the method
It goes without saying that making something from wood is not the same as printing it. It might also not come as a surprise that, although there are some interesting similarities, both methods have distinct advantages and disadvantages.
I can cut almost any angle into a section of wood, but when it comes to 3D printing, angles can quickly become your enemy.
Filament is heated before being deposited onto the previous layer. Any overhang beyond a certain angle, usually around 45°, may need to be supported so that the hot filament doesn’t sag or eventually collapse under its own weight.
There are ways to support these overhanging surfaces, but they often leave a poor-quality finish and may require a fair amount of cleanup.
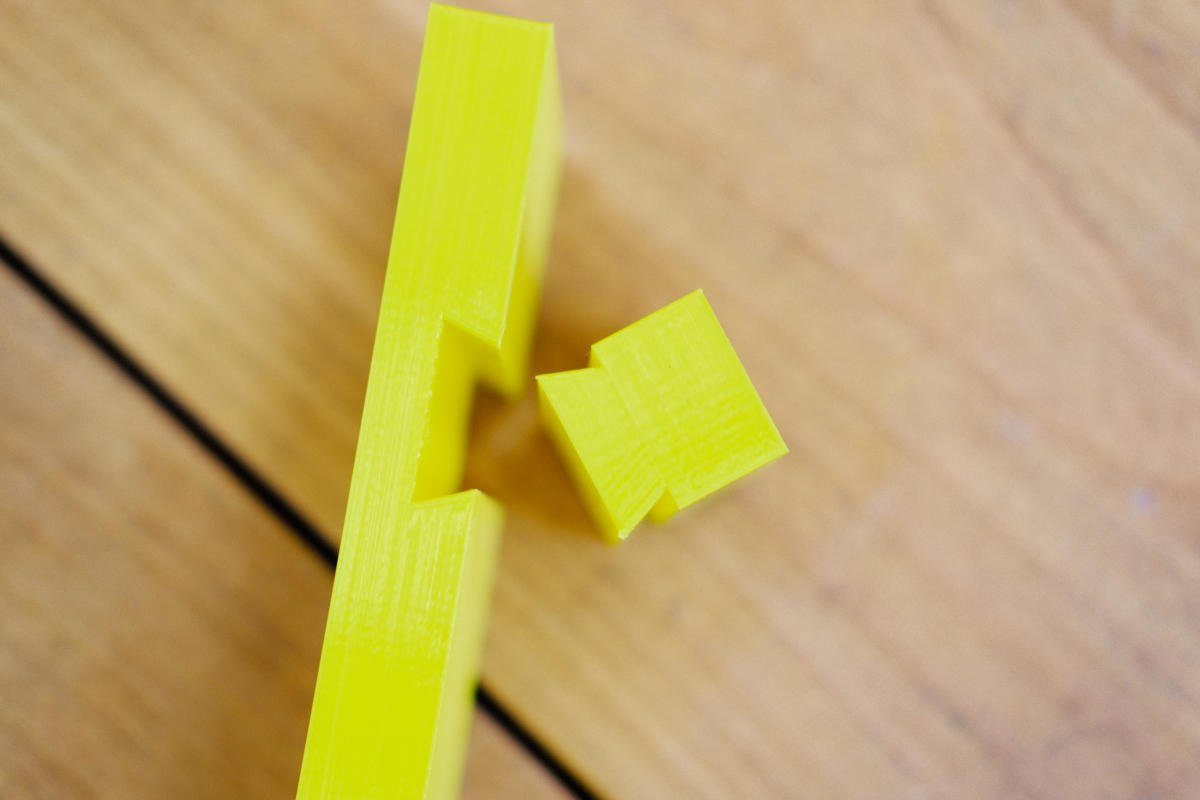
Coming back to the sharpening base example, the fence I originally wanted to incorporate would have caused serious issues during printing. The solution was to print the fence separately from the base and then find a way to bring the two together.
I settled on a dovetail joint between the two, and it worked well in my first prints. However, moving to the Gridfinity-based solution, which can be mounted onto a wooden base, removed the need for an integrated printed fence altogether.
Consider the raw material
This is a tricky one.
Wood and filament are obviously not the same, but the need to consider their individual properties and how those properties affect the final result is remarkably similar.
Many factors determine the strength and longevity of a 3D print. Filament types, along with their strengths and weaknesses, become important here.
You might think that the first and easiest filament to reach for would be PLA. However, it is not particularly impact-resistant, nor does it handle higher temperatures very well. As a result, PLA prints have a bad habit of deforming when they get hot.
PETG is a better option for use in a potentially hot and abusive workshop environment. It handles higher temperatures well, offers some chemical resistance and doesn’t fall apart when it receives a hard knock.
It also doesn’t print as easily as PLA, which means it takes more tweaking to get the print looking as good as it can.
Print for strength
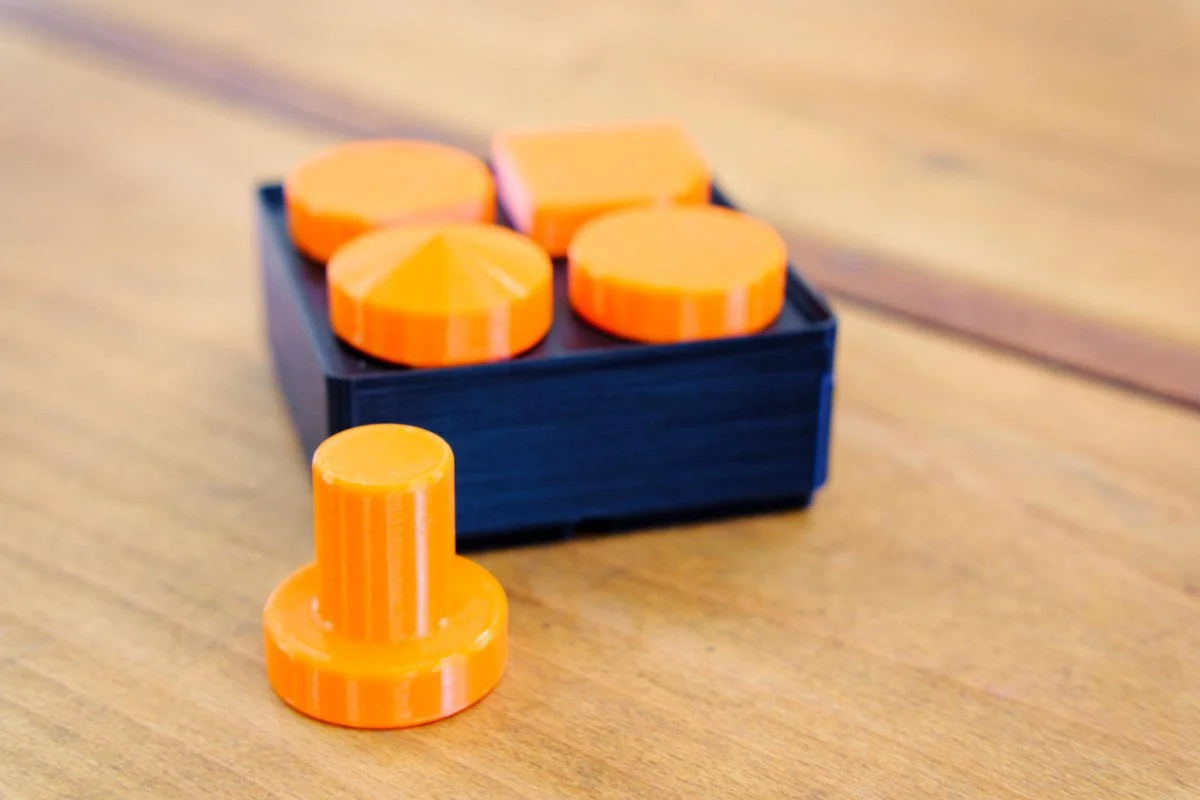
These dogs need to be extra strong where the head meets the shaft that goes into the doghole.
3D prints have a grain direction.
More accurately, they have a print direction. As with wood, the direction of the “fibres” has a lot to do with the ultimate strength of the finished object.
This has less to do with the CAD design than with the settings inside the slicer, which figures out how to print the design you give it. The orientation of the model on the build plate also becomes important.
You need to remain aware of where the highest stresses will act on the finished item and then determine the optimal print direction and slicer settings.
Of course, if you run into a situation where none of the available print orientations or settings are ideal, you need to go back to the drawing board and add strength to the design itself.
Simply increasing the infill until a print is effectively solid does not necessarily solve the problem. If the layer lines run across the likely point of failure, the part may still snap along one of those lines.
A better option may be to keep the body mainly hollow, use a strong infill pattern at an appropriate percentage and increase the number of wall loops to provide strength.
Somewhat counterintuitive.
Take small bites
Printing takes a lot of time.
Rather than printing the whole item, break it down into the areas where fit or clearance matter most and print only those sections. Get them working as intended before incorporating them into the greater whole.
This will save both time and raw materials. Believe me.
Again, let’s look at the sharpening base.
When the incorporated fence was still being considered, I printed a scaled-down section of the base together with three separate fences, each using a different clearance. It was then easy to select the best-fitting fence and lock those dimensions into the design.
There is nothing quite as frustrating as having something print for eight hours, only to discover that the parts don’t fit.
Research
If you are planning to sell your latest invention, research is absolutely crucial.
That great idea that woke you from your slumber last night might solve a problem for the masses. It might also solve a problem that is uniquely yours.
Even if it does, a bit of research will give you a solid place to start. Look at existing products, read the complaints and questions surrounding them, and consider the dimensions, materials and manufacturing methods already being used. Most importantly, try to understand what potential customers actually need rather than assuming that they experience the problem in the same way you do.
It may even open your mind to other ways of solving the problem.
Just don’t copy someone else’s design and present it as your own.
Research is possibly one of my favourite parts of prototyping, especially during the early stages.
Get help
Run your idea or design past someone and see what they think.
A fellow woodworker struggling with the same issue might be able to provide valuable insight. They might not even have realised that they had this particular problem until you showed them your solution.
A potential customer, perhaps?
Here is another option to consider: run it past AI.
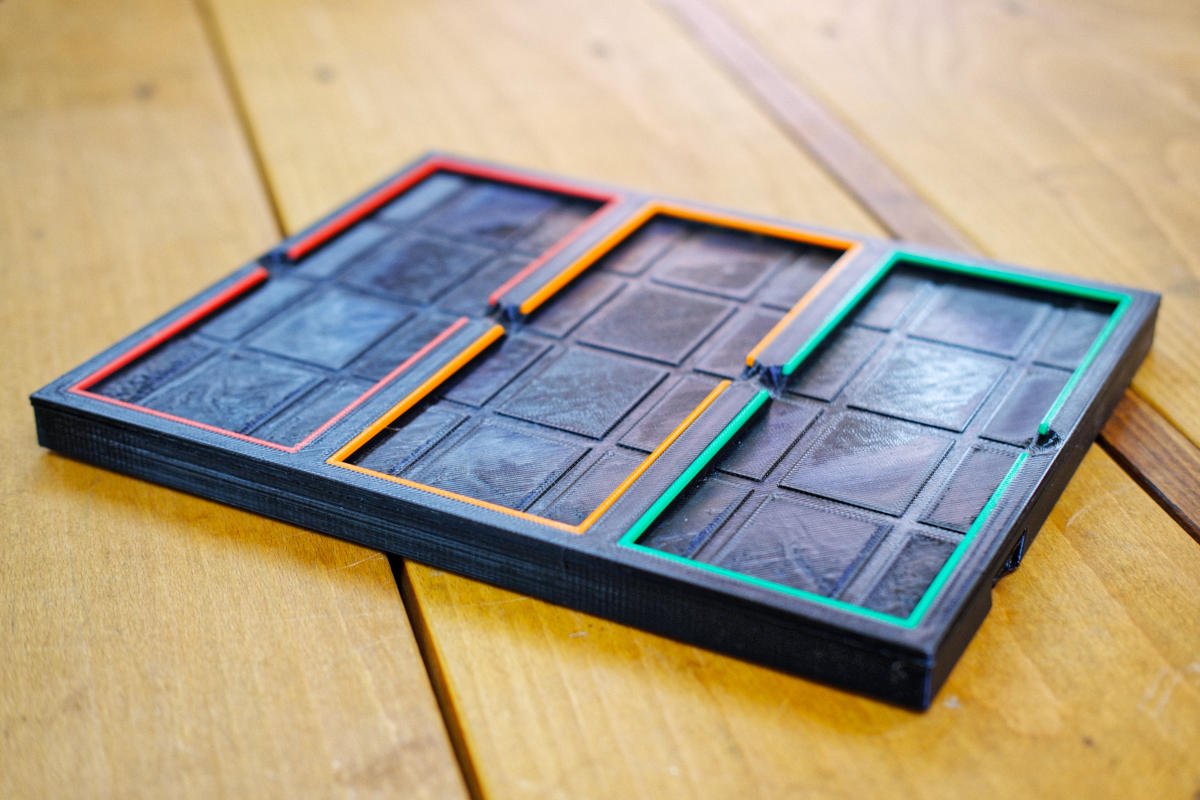
I showed ChatGPT my sharpening base design, and it suggested incorporating some form of texture or structure into the bottom of the recess that holds the sharpening stone. This would prevent the two flat surfaces from “sucking” together.
I thought, “Yeah, right,” promptly snuck back into the workshop, placed my smoothest stone upside down in the base and, guess what?
I couldn’t get it back out!
Structure was promptly added to the bottom of the recesses in CAD.
Also consider showing your idea to someone who has nothing to do with woodworking. They can often ask exactly the right questions or make suggestions you would never have considered.
Stay organised
Finally, this is a reminder to myself as much as to anyone reading this.
Stay organised.
A small component within a larger design might require multiple tweaks before you are happy with it. Now consider the number of potential tweaks across several small parts.
It all adds up!
Keeping multiple design or slicer files for every part in a single catch-all folder, assuming you went to the trouble of creating a dedicated folder at all, can become confusing very quickly.
You might remember what is going on now, but life happens. When you eventually return to the design, you are bound to forget what’s what. There are few things as frustrating as starting a multi-hour print, only to realise halfway through that you are not printing the latest iteration of the design.
I have started creating separate folders for individual parts within each project folder. I am also making sure that the filename for each version indicates what was changed.
I am currently reorganising some of my older folders and files as well.
As I said, I’m preaching to myself here.
If you can, take notes!
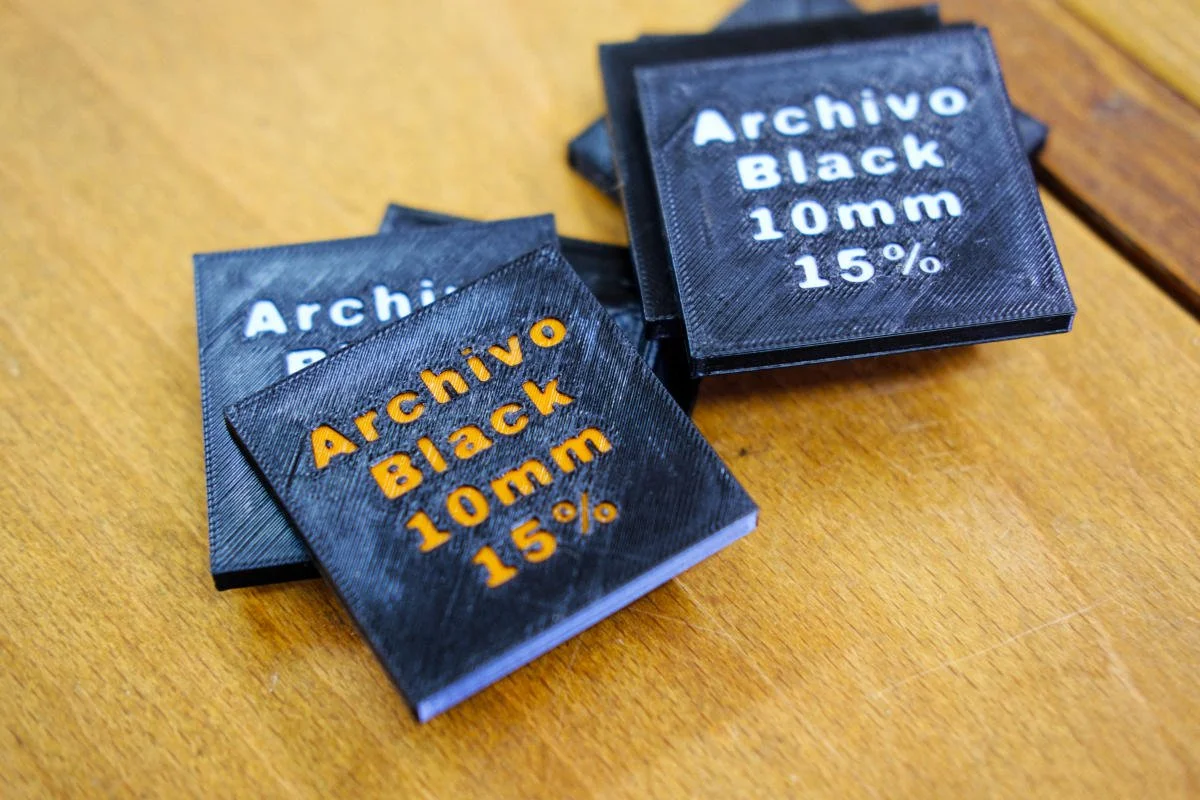
Easy way to remember the settings for setting up 3D printed lettering!
Prototyping and woodworking
I’m making an educated guess here, but prototyping is probably as old as the act of making and might be just as important as the final product.
It’s just not usually a major part of my woodworking life.
This is what a project in my workshop typically looks like:
Time available for prototyping: one week.
Time required to build the project: three weeks.
Deadline: two weeks.
As a result, I have come to rely heavily on CAD to tell me whether the parts are going to come together as expected. Any unforeseen snags are then handled during the build.
I’m not a complete savage when it comes to prototyping.
I will sometimes practise a new joint or a new way of cutting one on scrap before committing to that step in the project. I mean, a table is usually a variation of millions that have been built over the centuries, but not all of them use an unusual arrangement of Festool connectors to attach the apron to the legs.
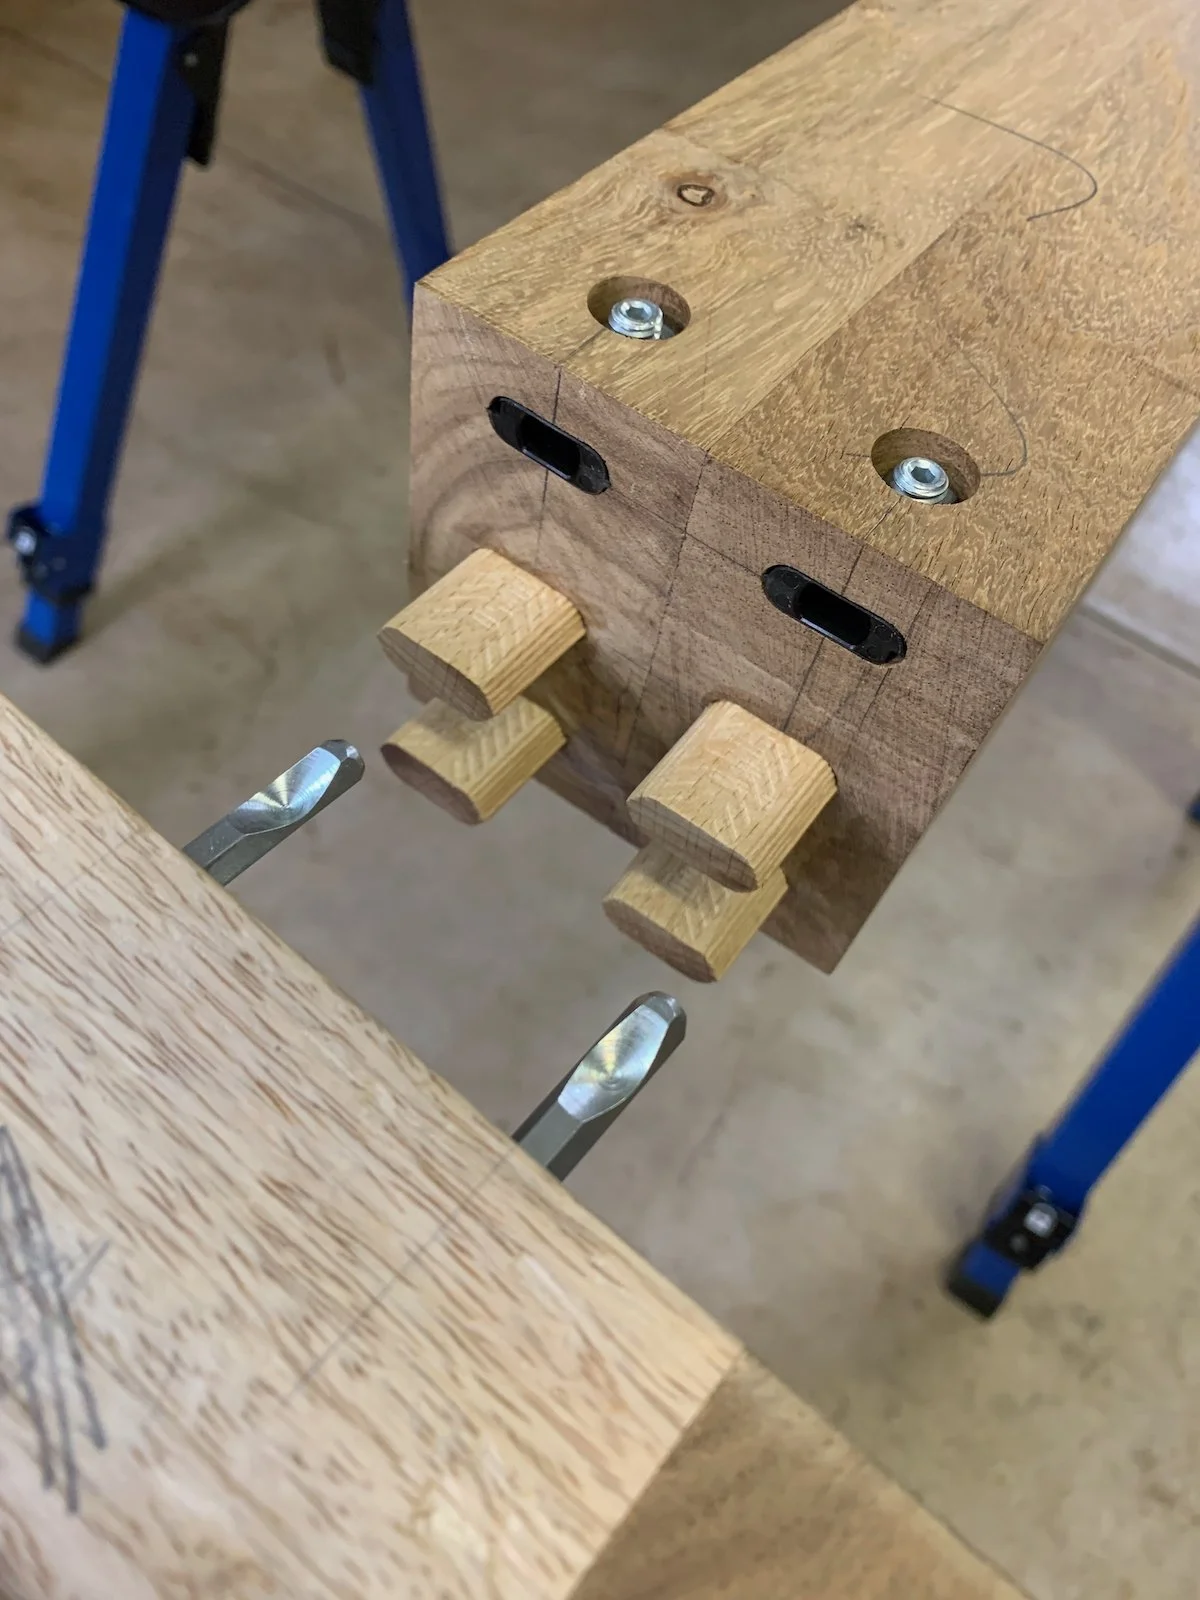
3D printing has changed this in a big way, and prototyping has become a major part of my daily life.
This is what I’m learning.
Be willing to change the idea. Design for the manufacturing method. Understand the material. Test the smallest critical part. Ask for input, and keep track of every version.
Most importantly, the principles behind a good prototype aren’t unique to 3D printing. They transfer just as readily to woodworking.
Who would have thought…?
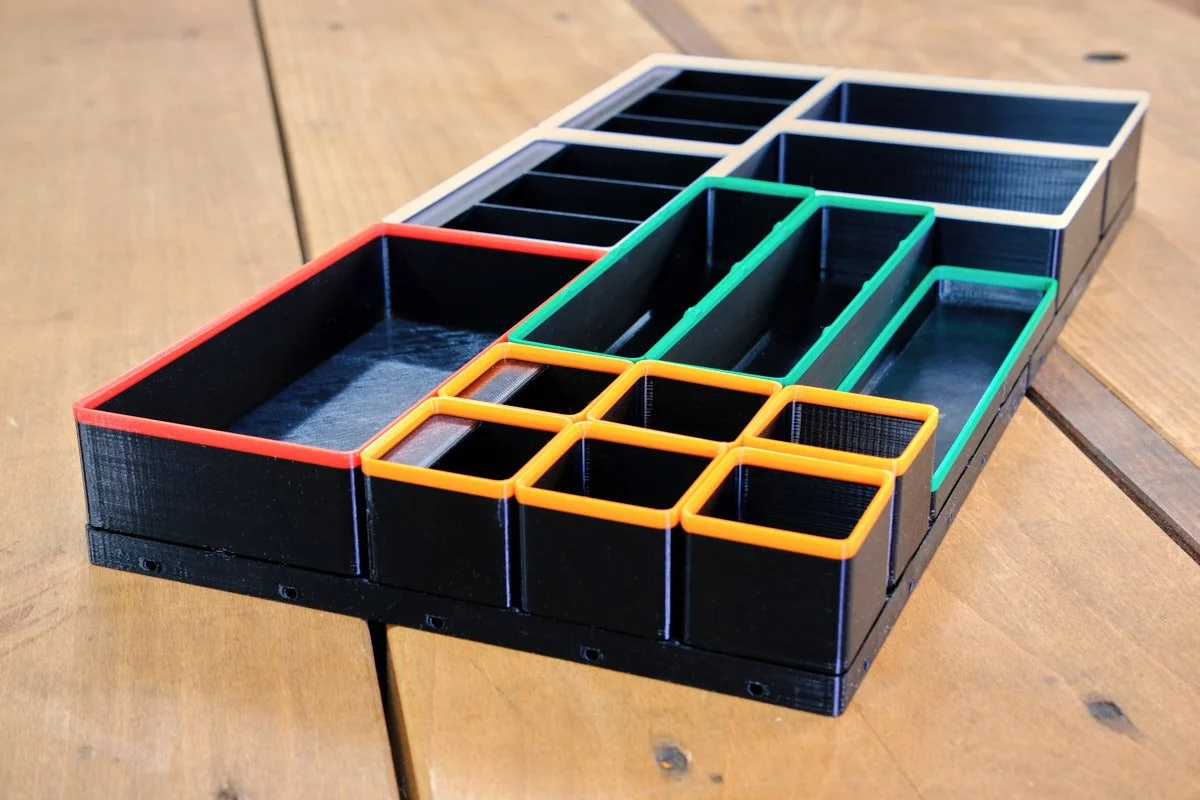
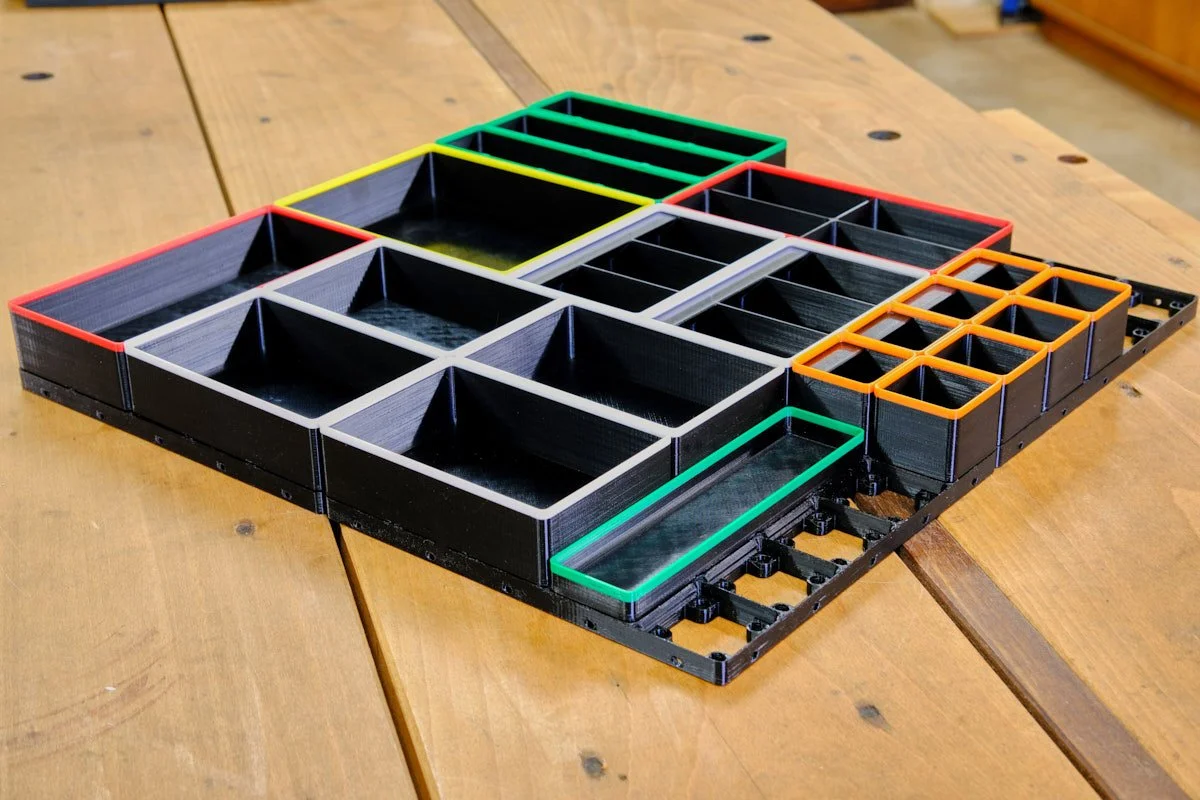
A ready-to-use workshop storage kit with one connectable 5 × 5 baseplate and 8 versatile Gridfinity-compatible bins, all magnet-ready and designed and 3D printed by PlyCreations.