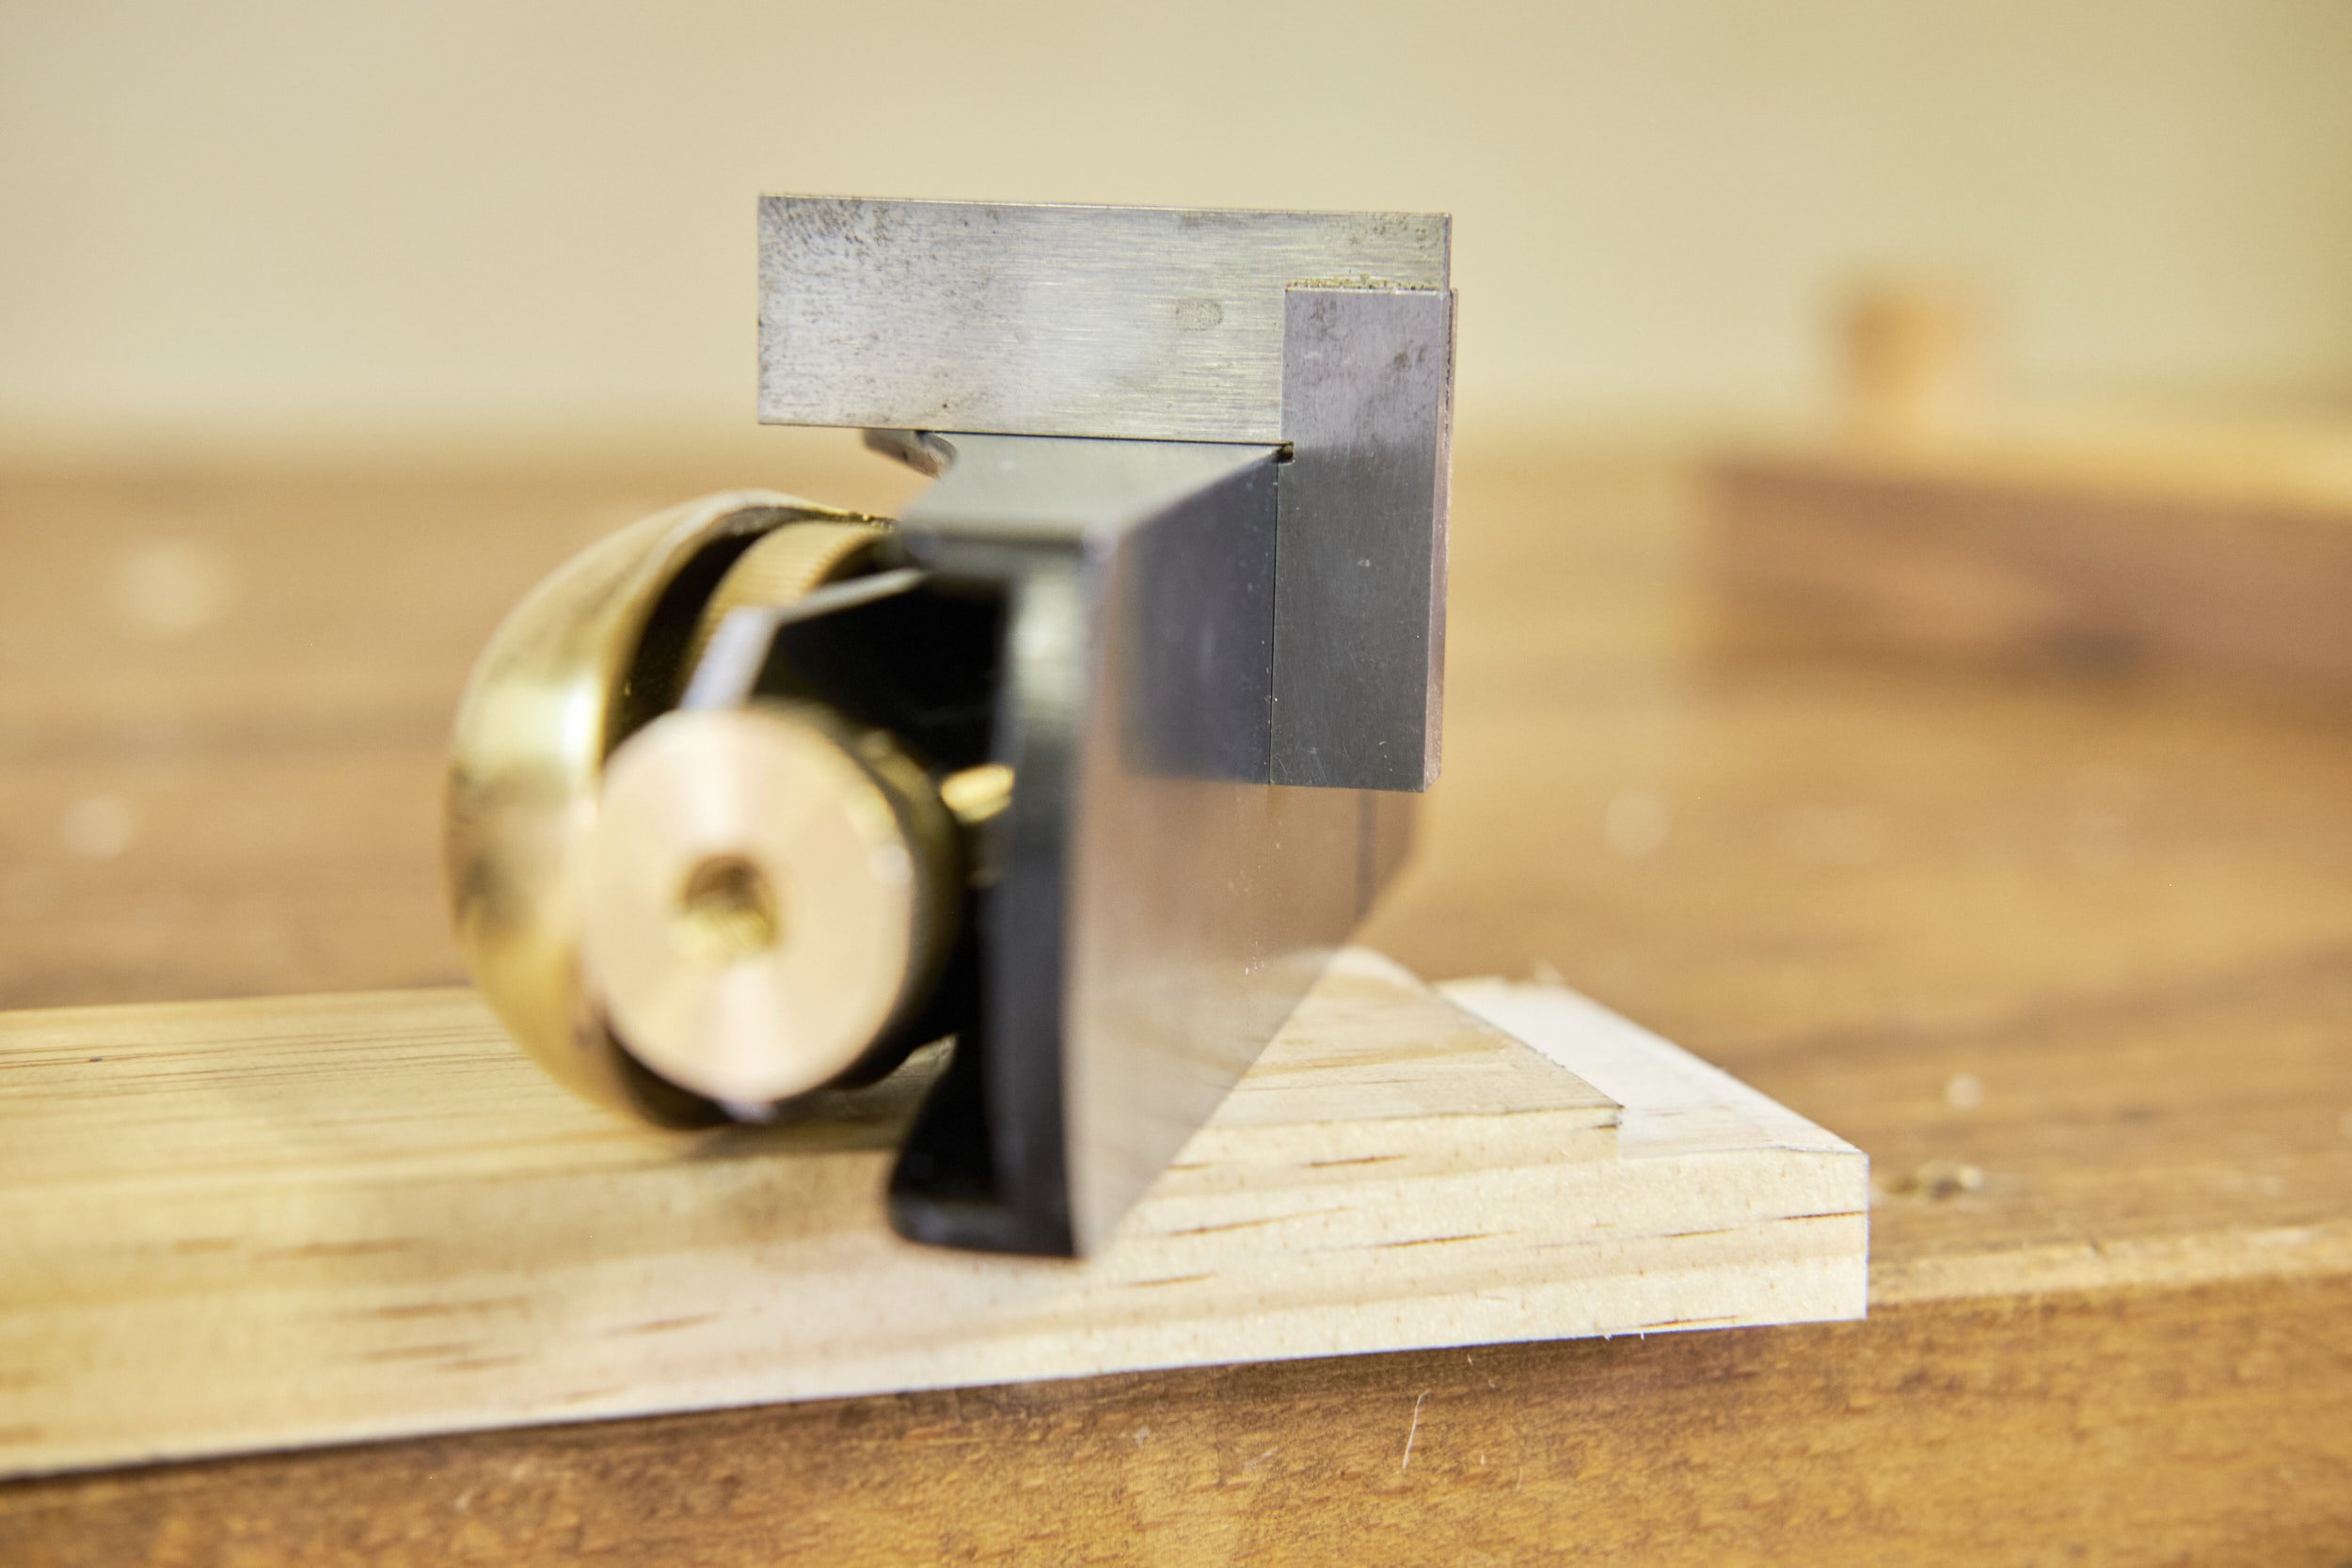
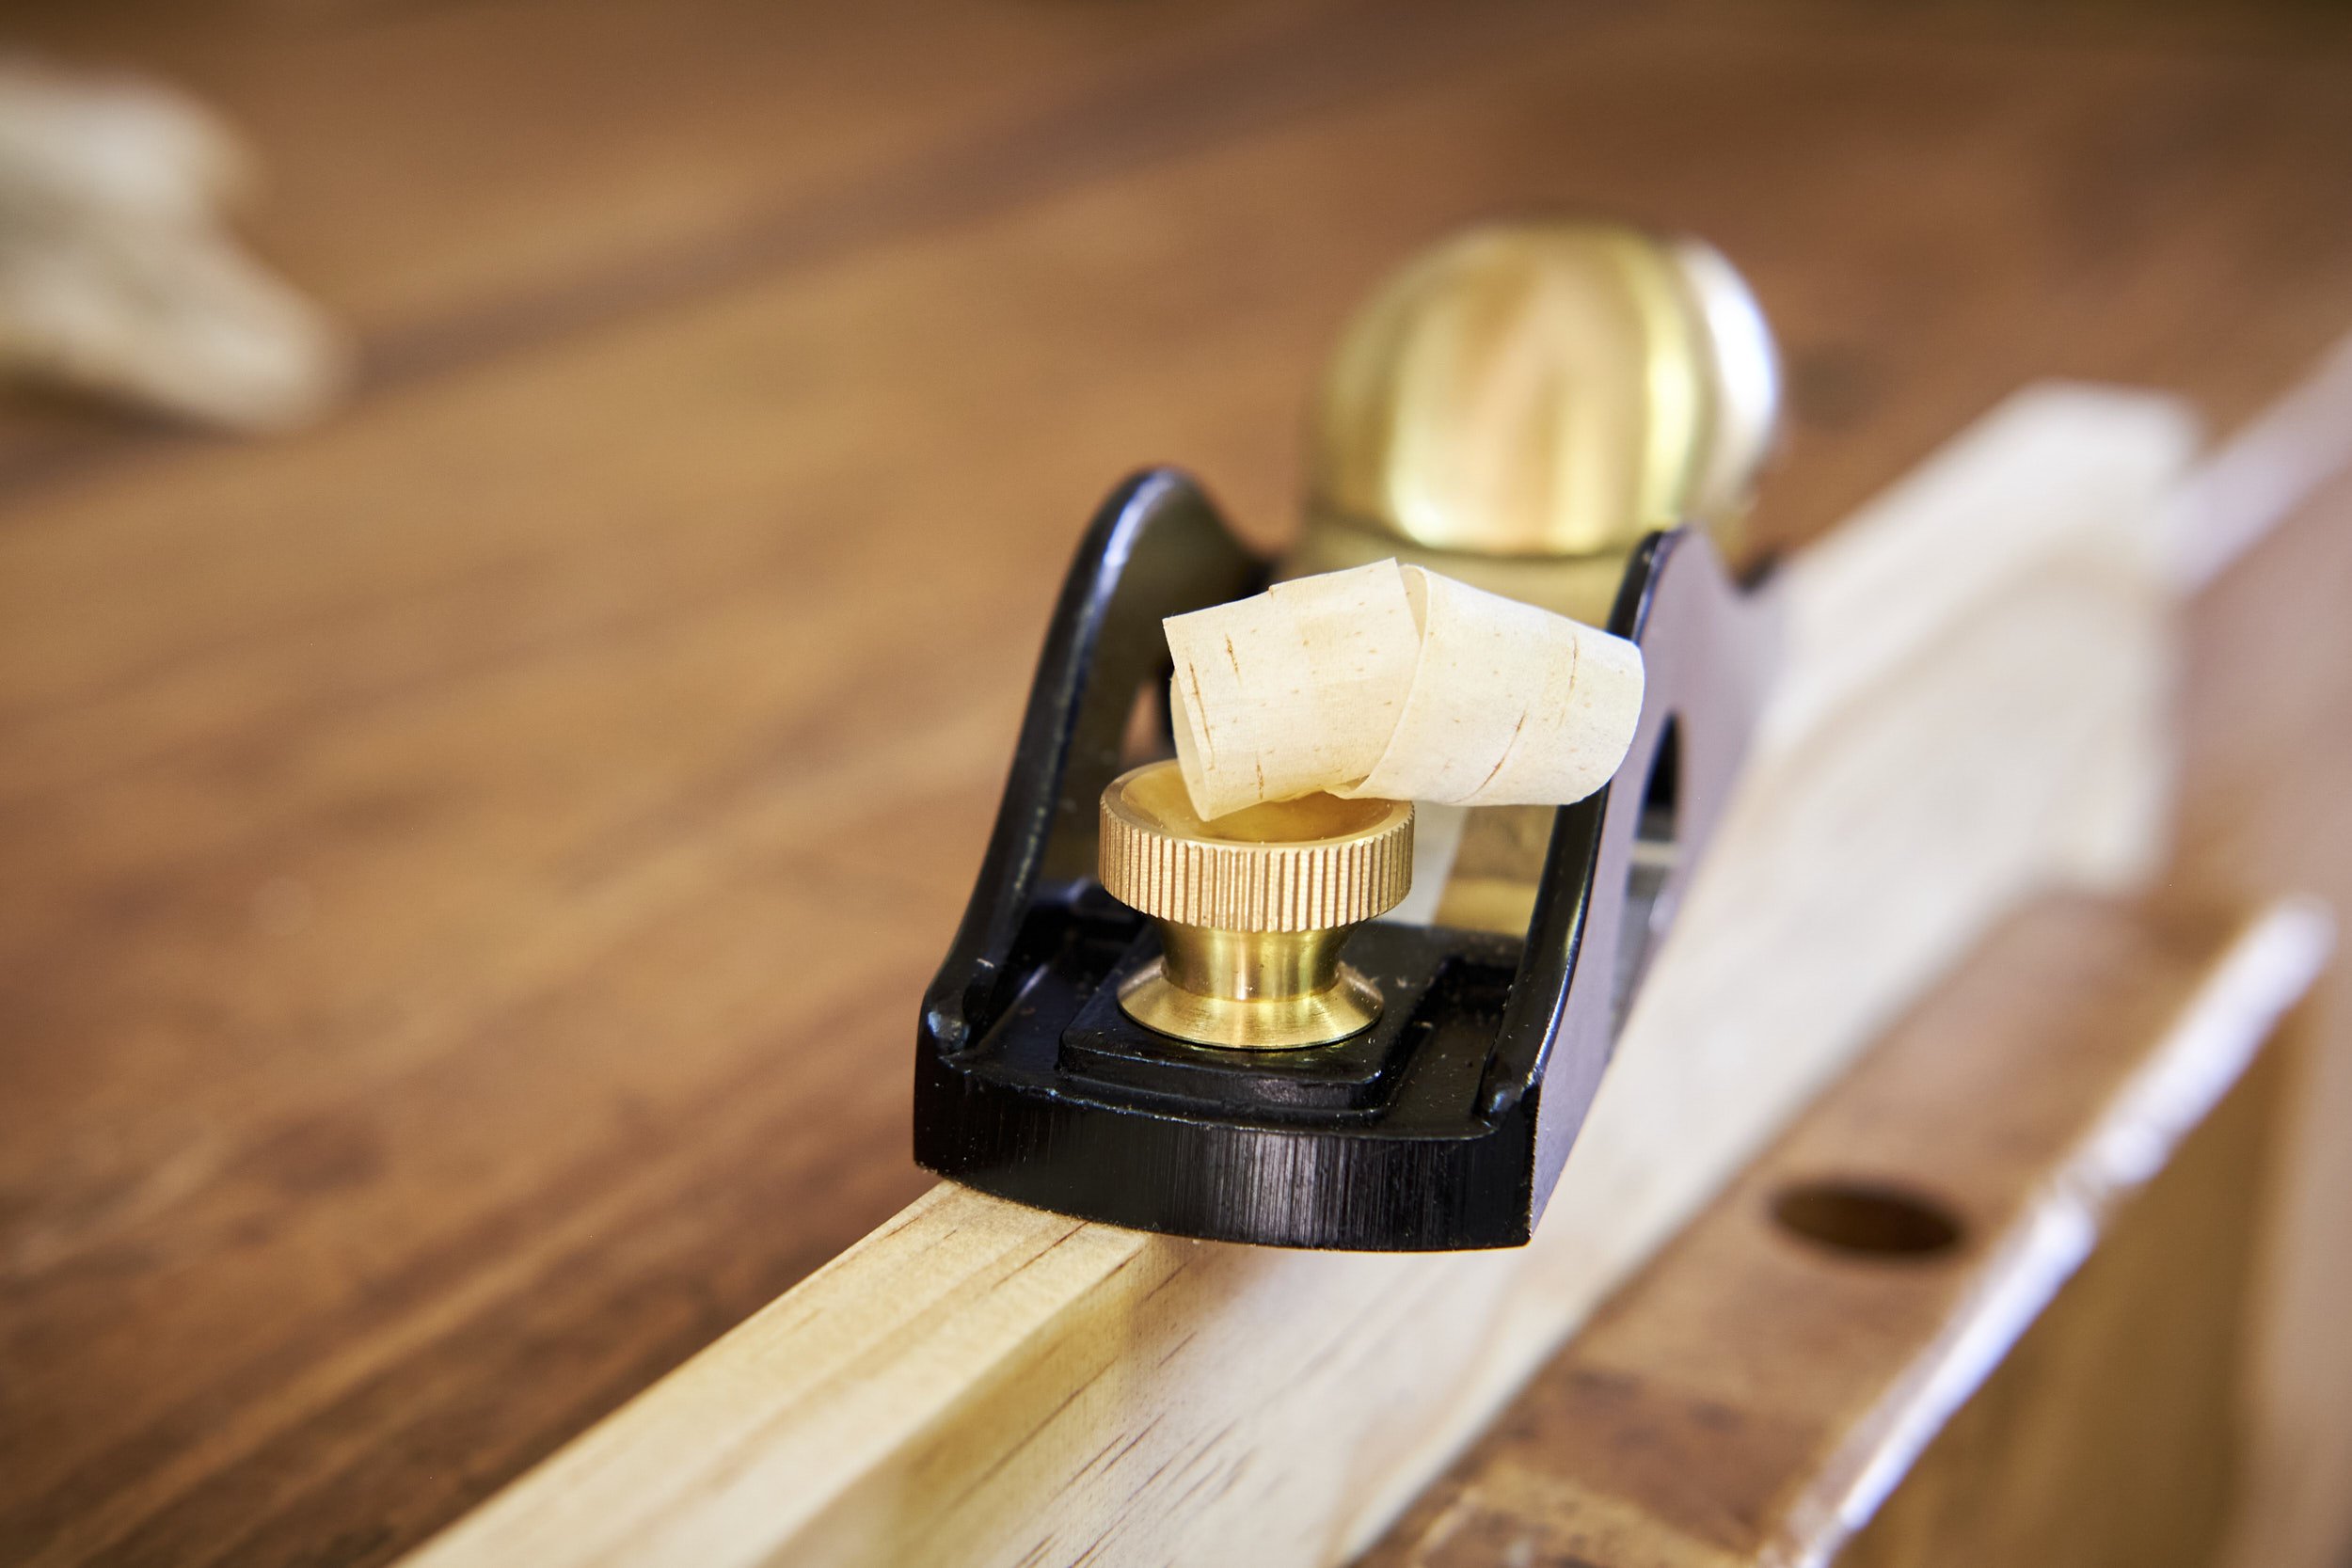
Why The Luban Rebate Block Plane? Useful, Lust or Beauty.
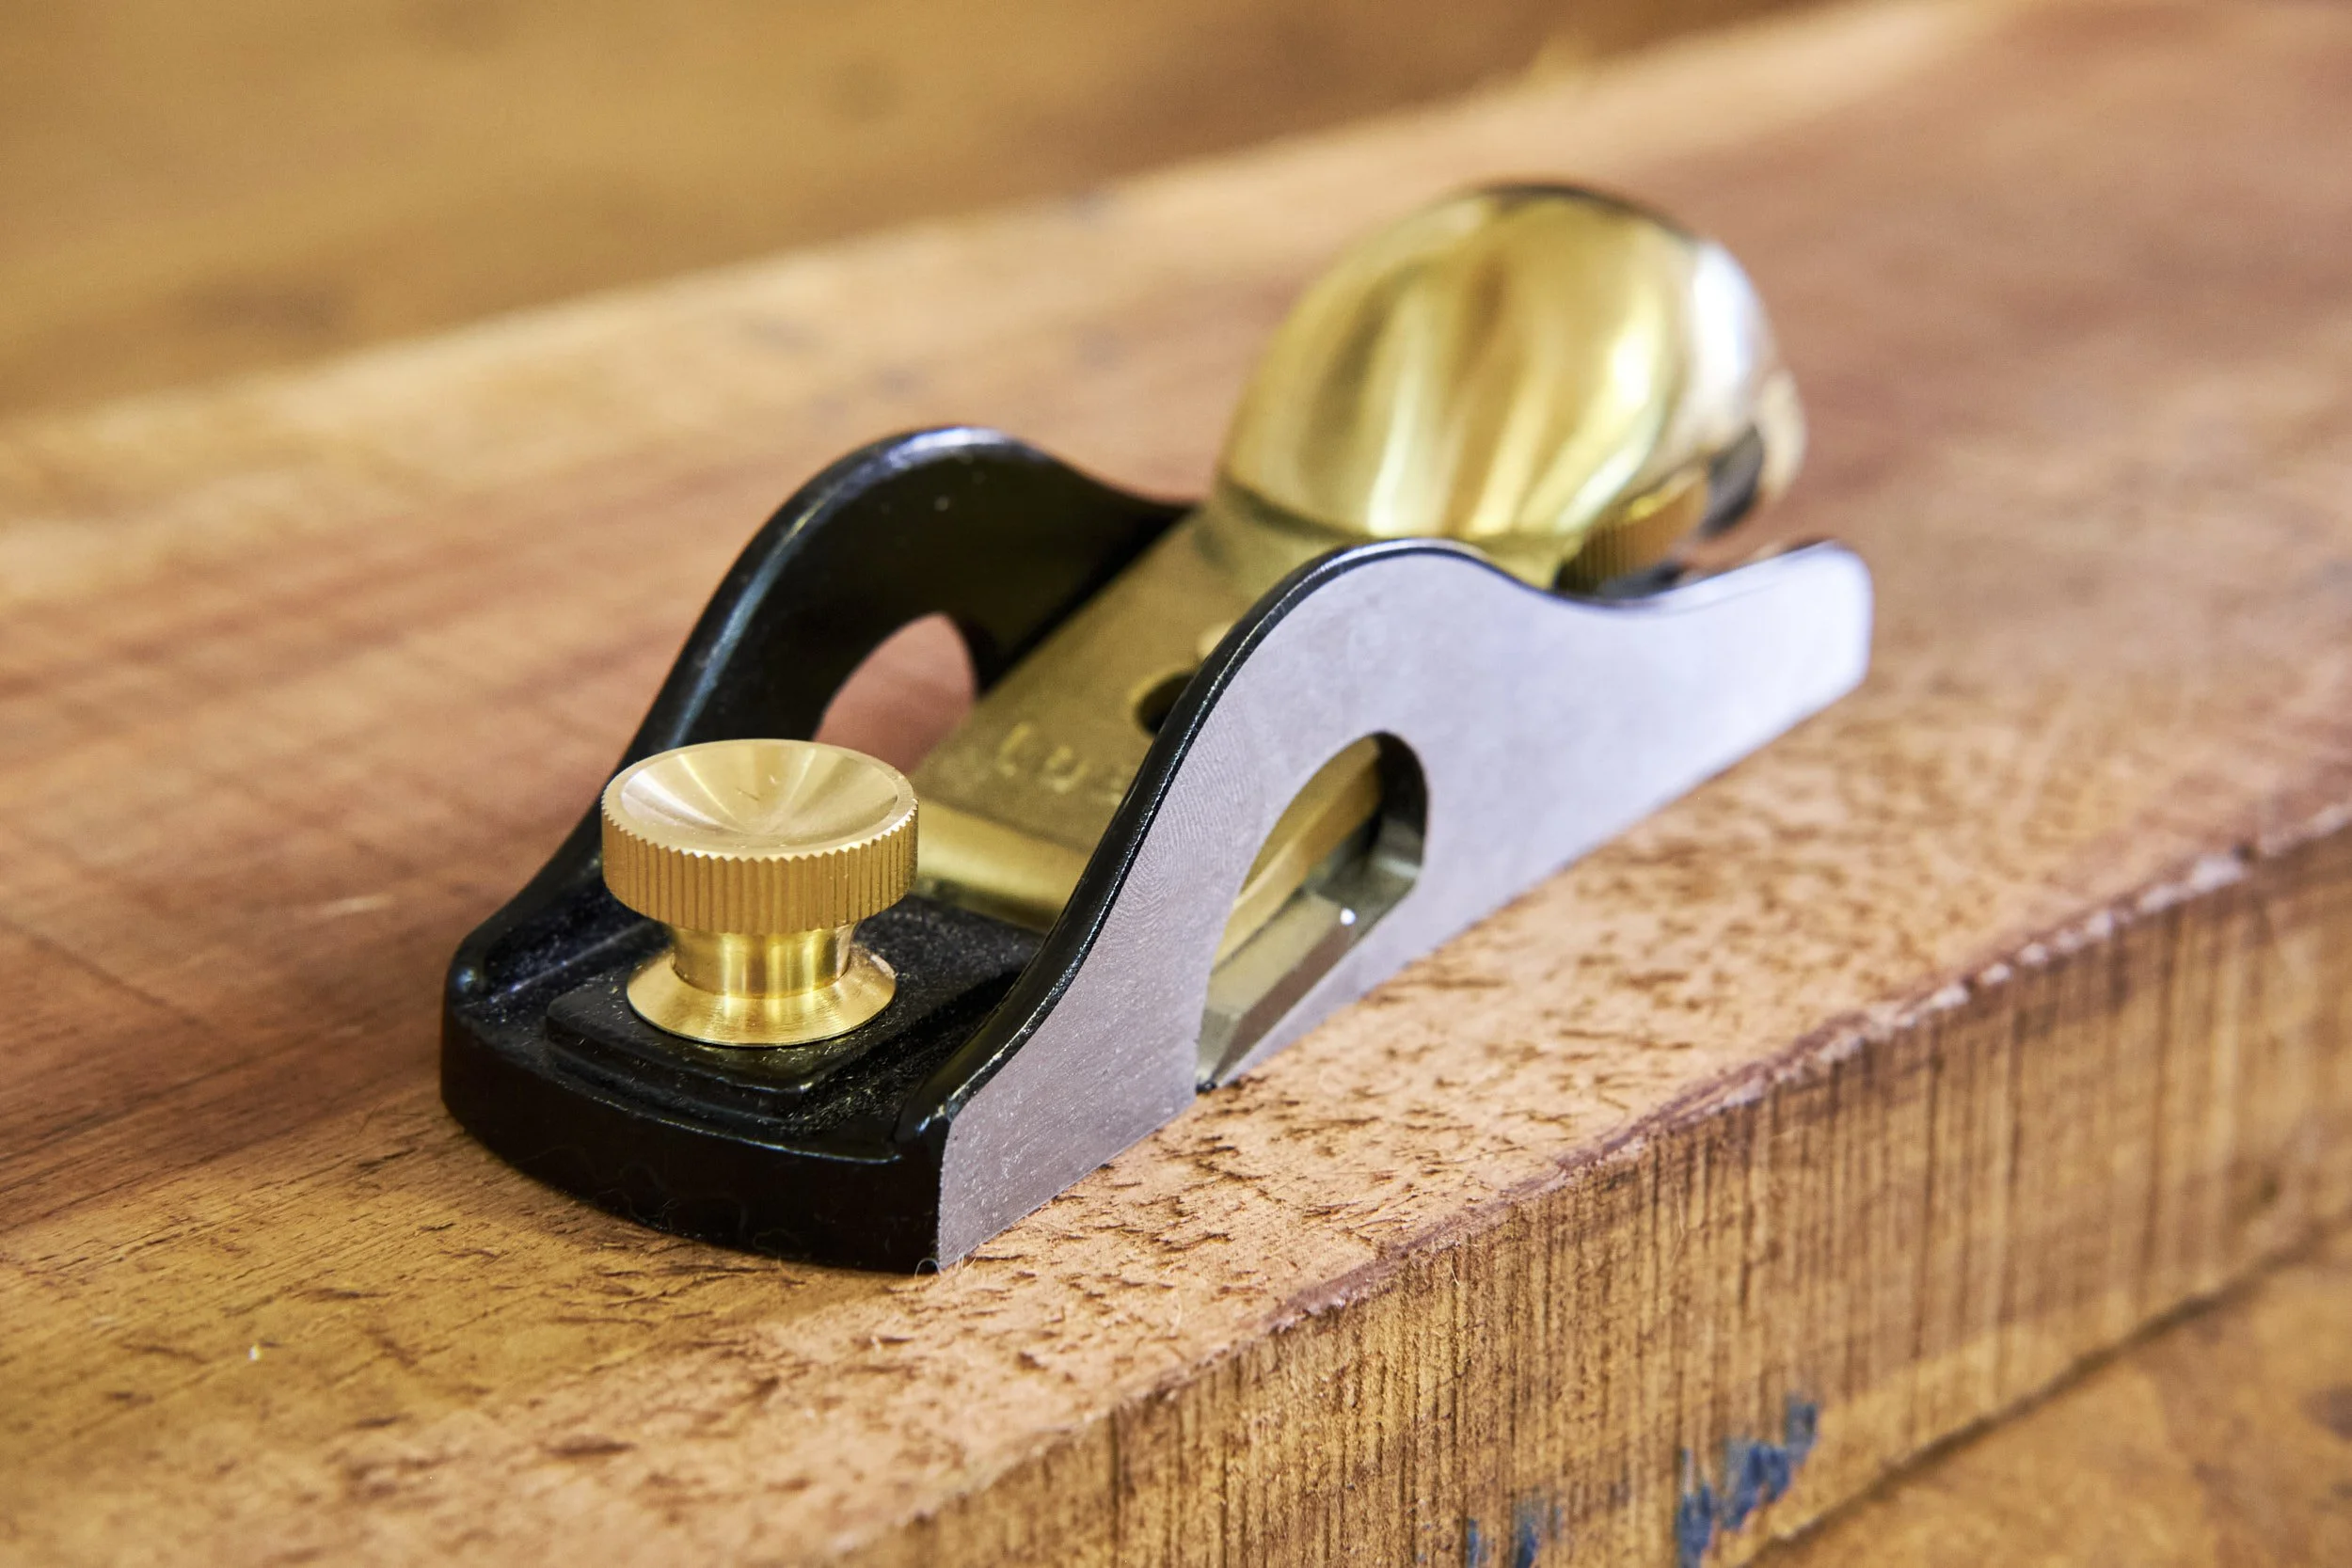
I have recently become the owner of a Luban rebate block plane.
But does one need a rebate - rabbet for some - block plane in the workshop?
I’m not sure either. I can tell you this for sure though, and that is that my standard low angle example, also from the Luban stable, is by far one of the most used hand planes in my arsenal and likely also one of the most used tools in my workshop.
But this post is not focussed on the usefulness of this beautiful little plane, at least not yet, but rather the unboxing and my first impressions that will likely be followed down the line with a more detailed review of the tool in question.
I have let the cat out of the bag proverbially speaking by labelling this latest edition to my hand plane collection as beautiful. That it is, and one may say that only a very specific cross section of society will understand why one would name a hand plane beautiful.
However it is true that if you are both a lover and a regular user of hand planes, that looks alone may not sway your decision to get your hands on one and I would encourage you to read on as I provide an overview of this little beauty from Luban.
One aspect I wish to address from the get go is who makes this range of tools. My understanding is that Luban forms part of the Quangsheng portfolio and although I am unable to speak to the quality of all the products manufactured by Quangsheng. As far as Luban goes, I am the owner of a range of Lubans and I can confirm that in general I find their planes to be both affordable and of good quality.
Let’s kick off with the packaging.
Packaging:
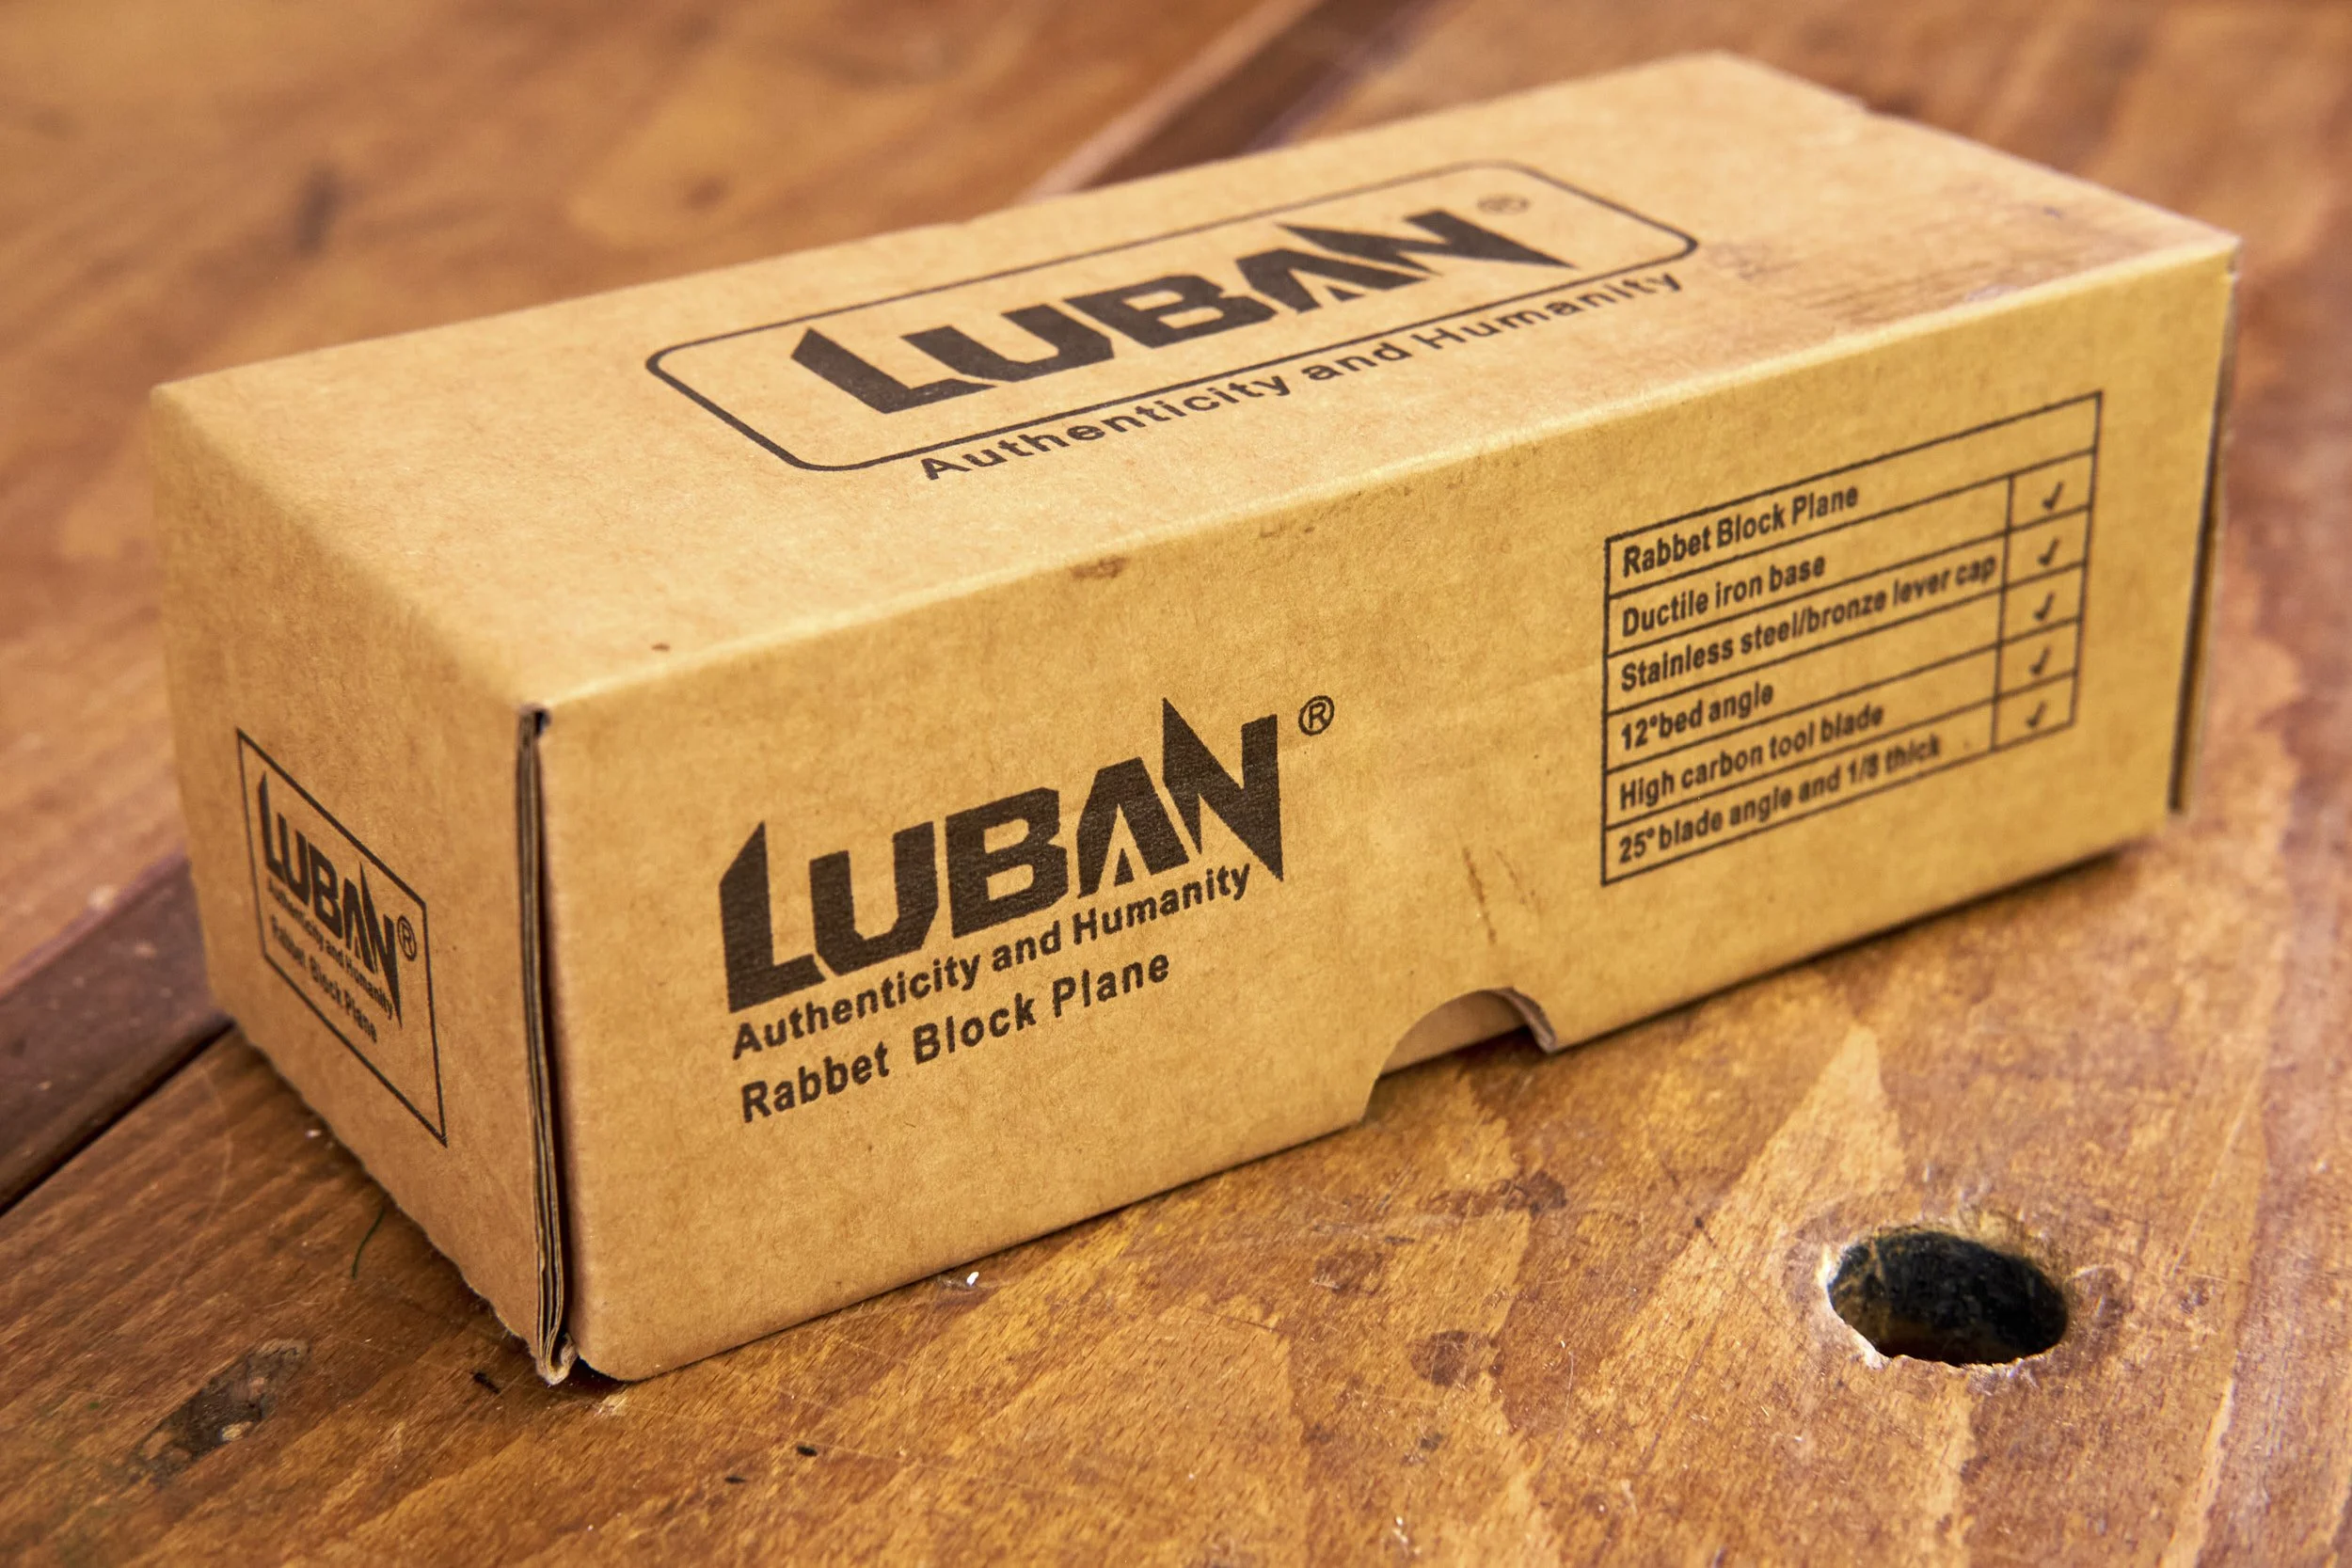
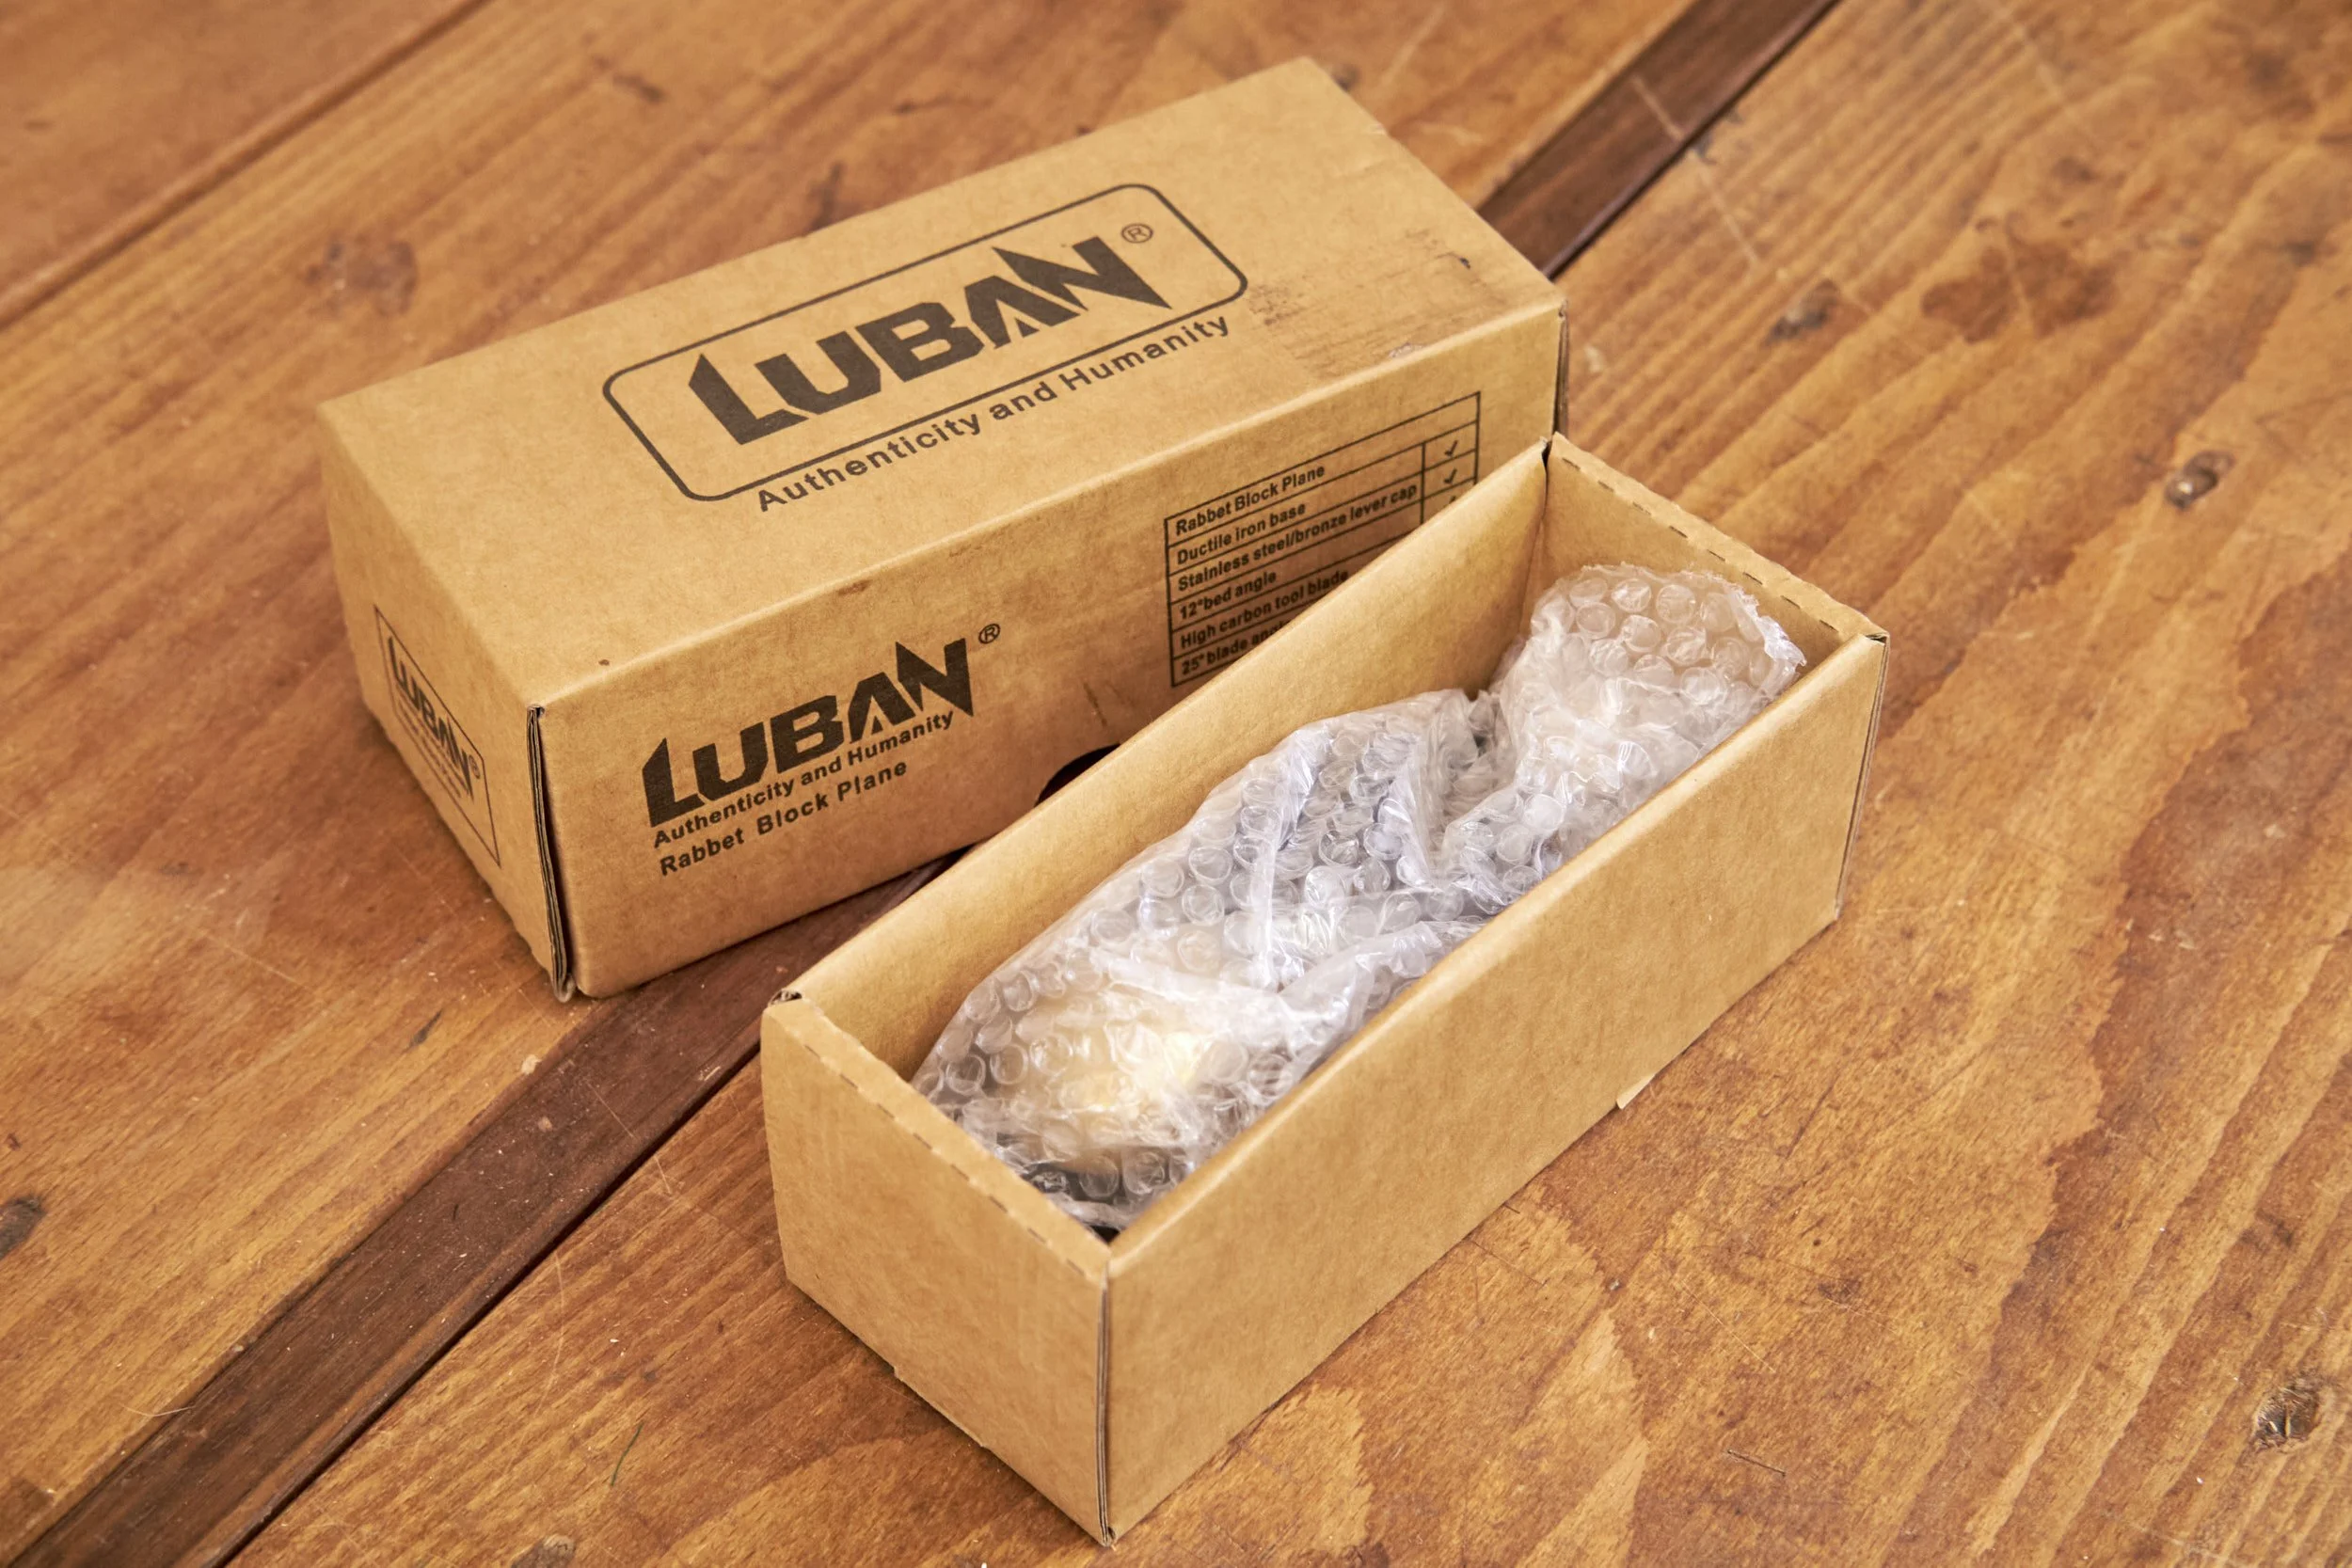
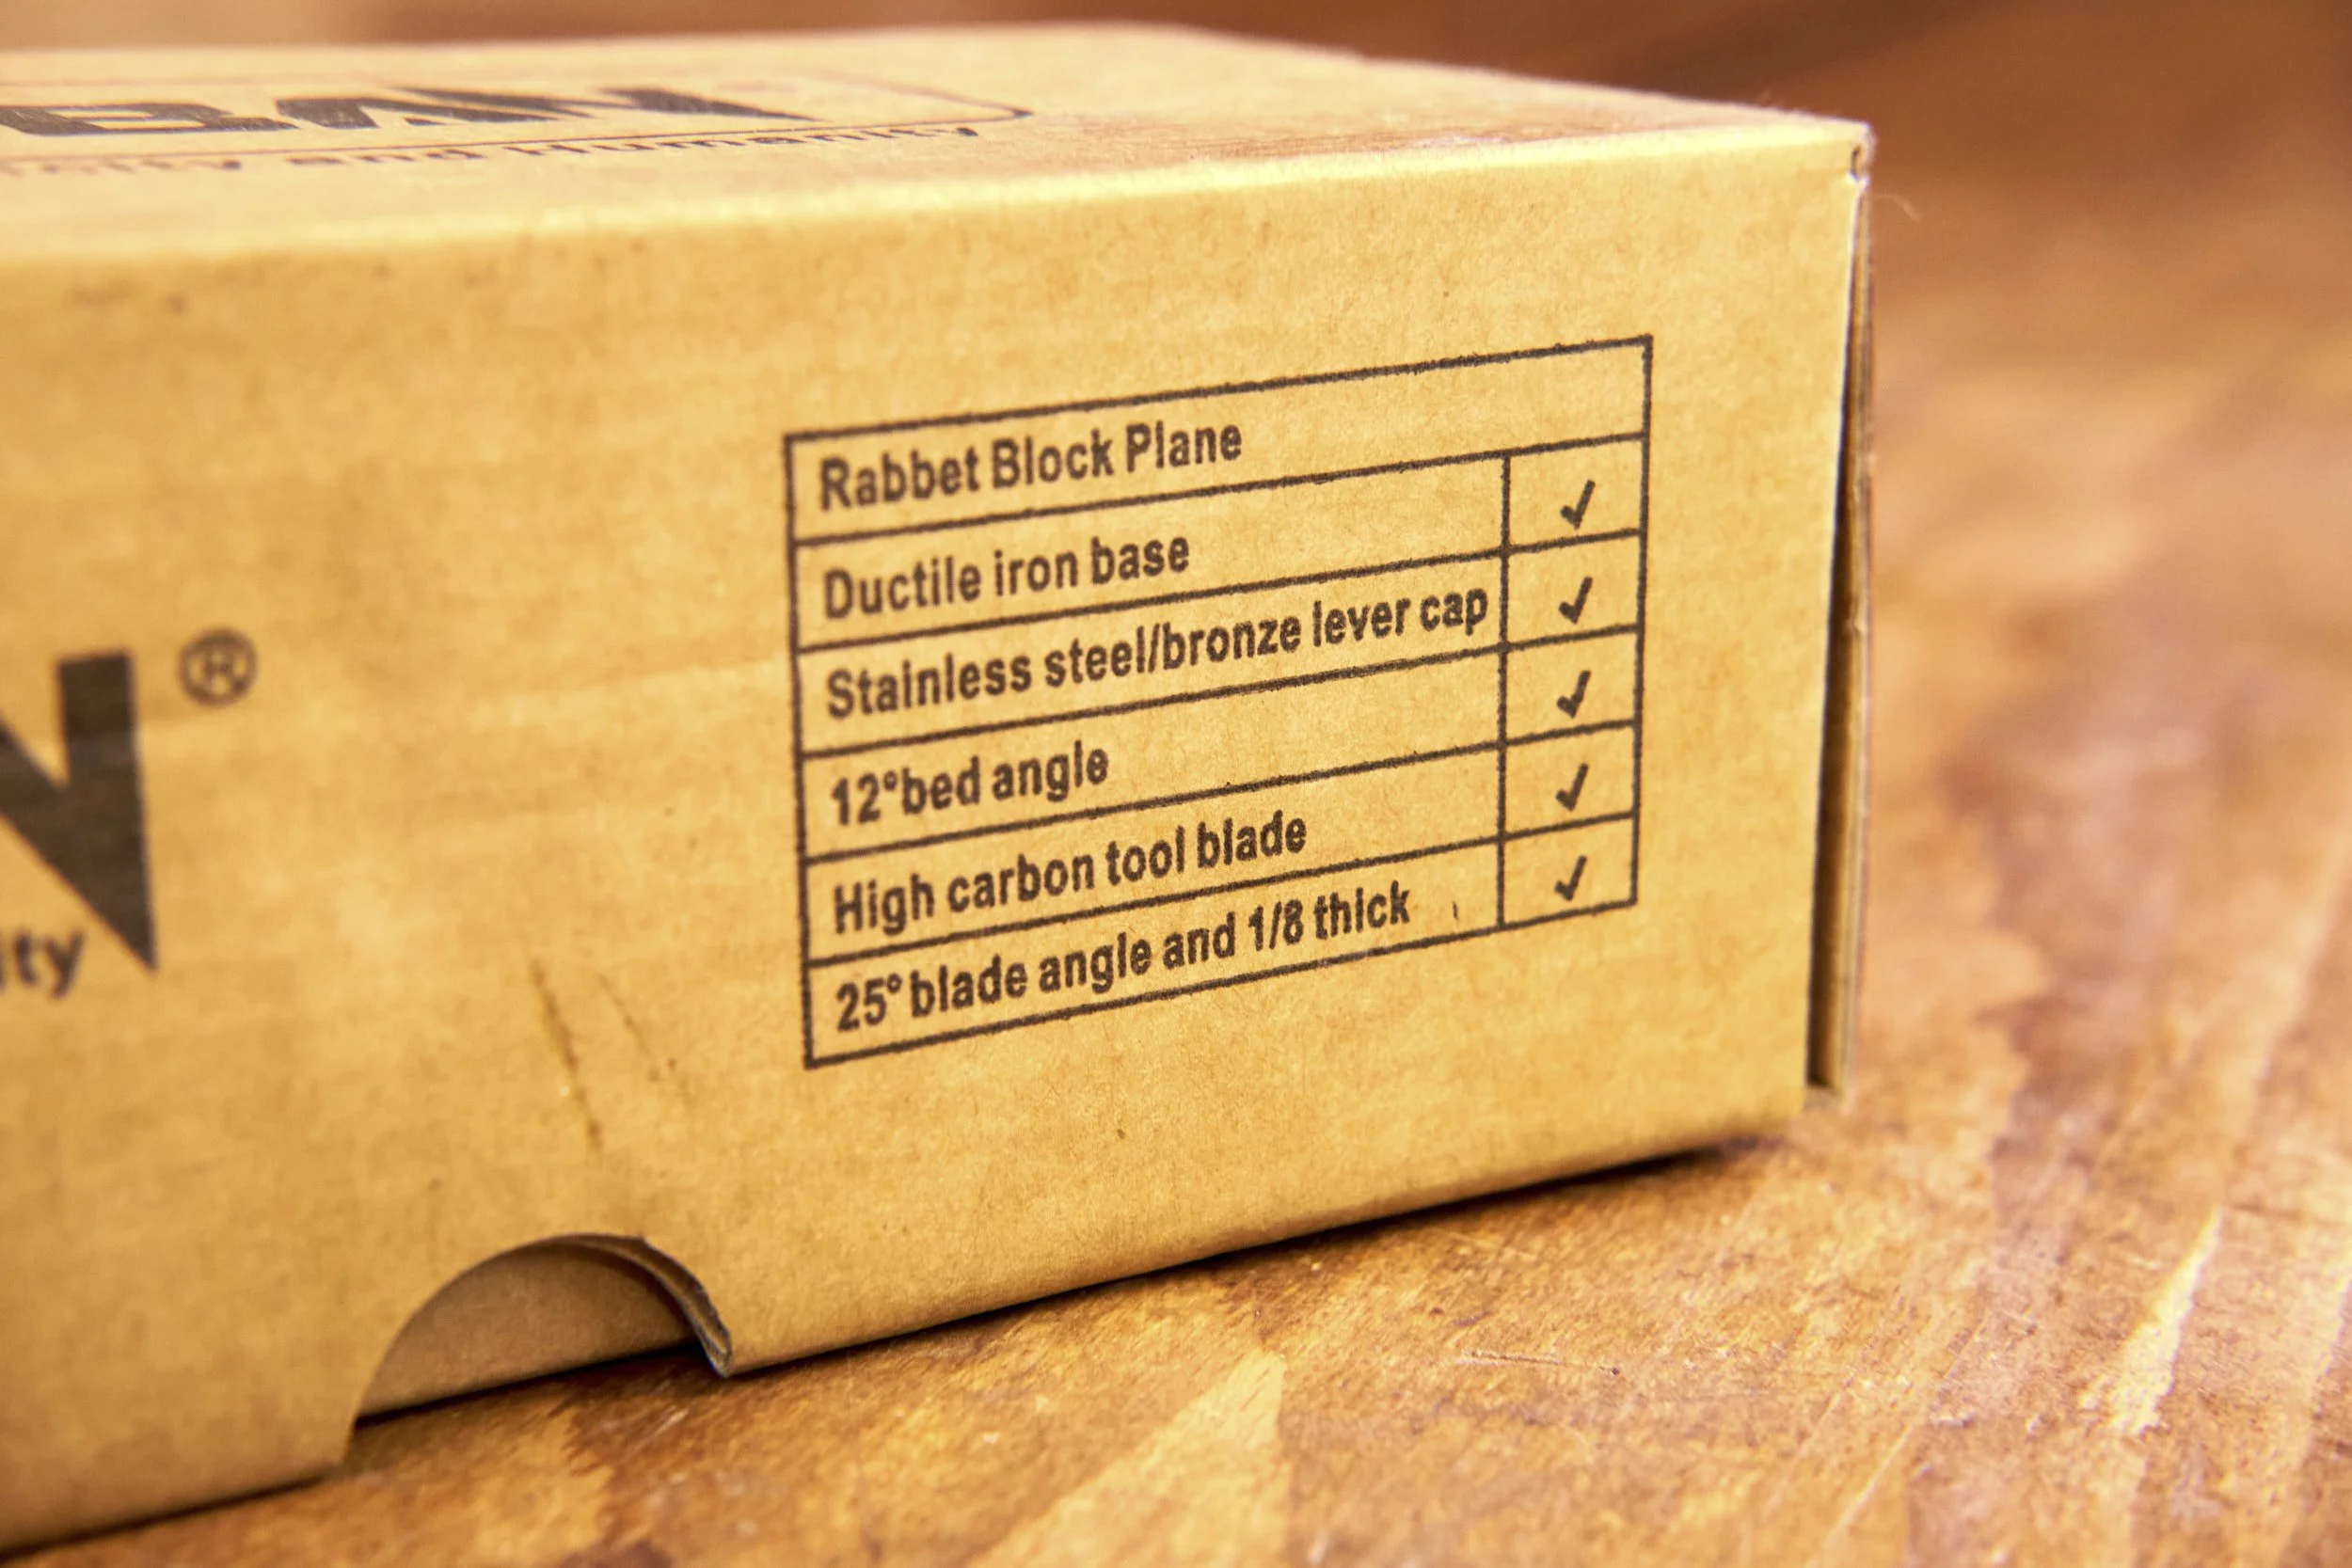
The hand plane was purchased from a local importer based in Cape Town and arrived at my workshop in its own sturdy cardboard box.
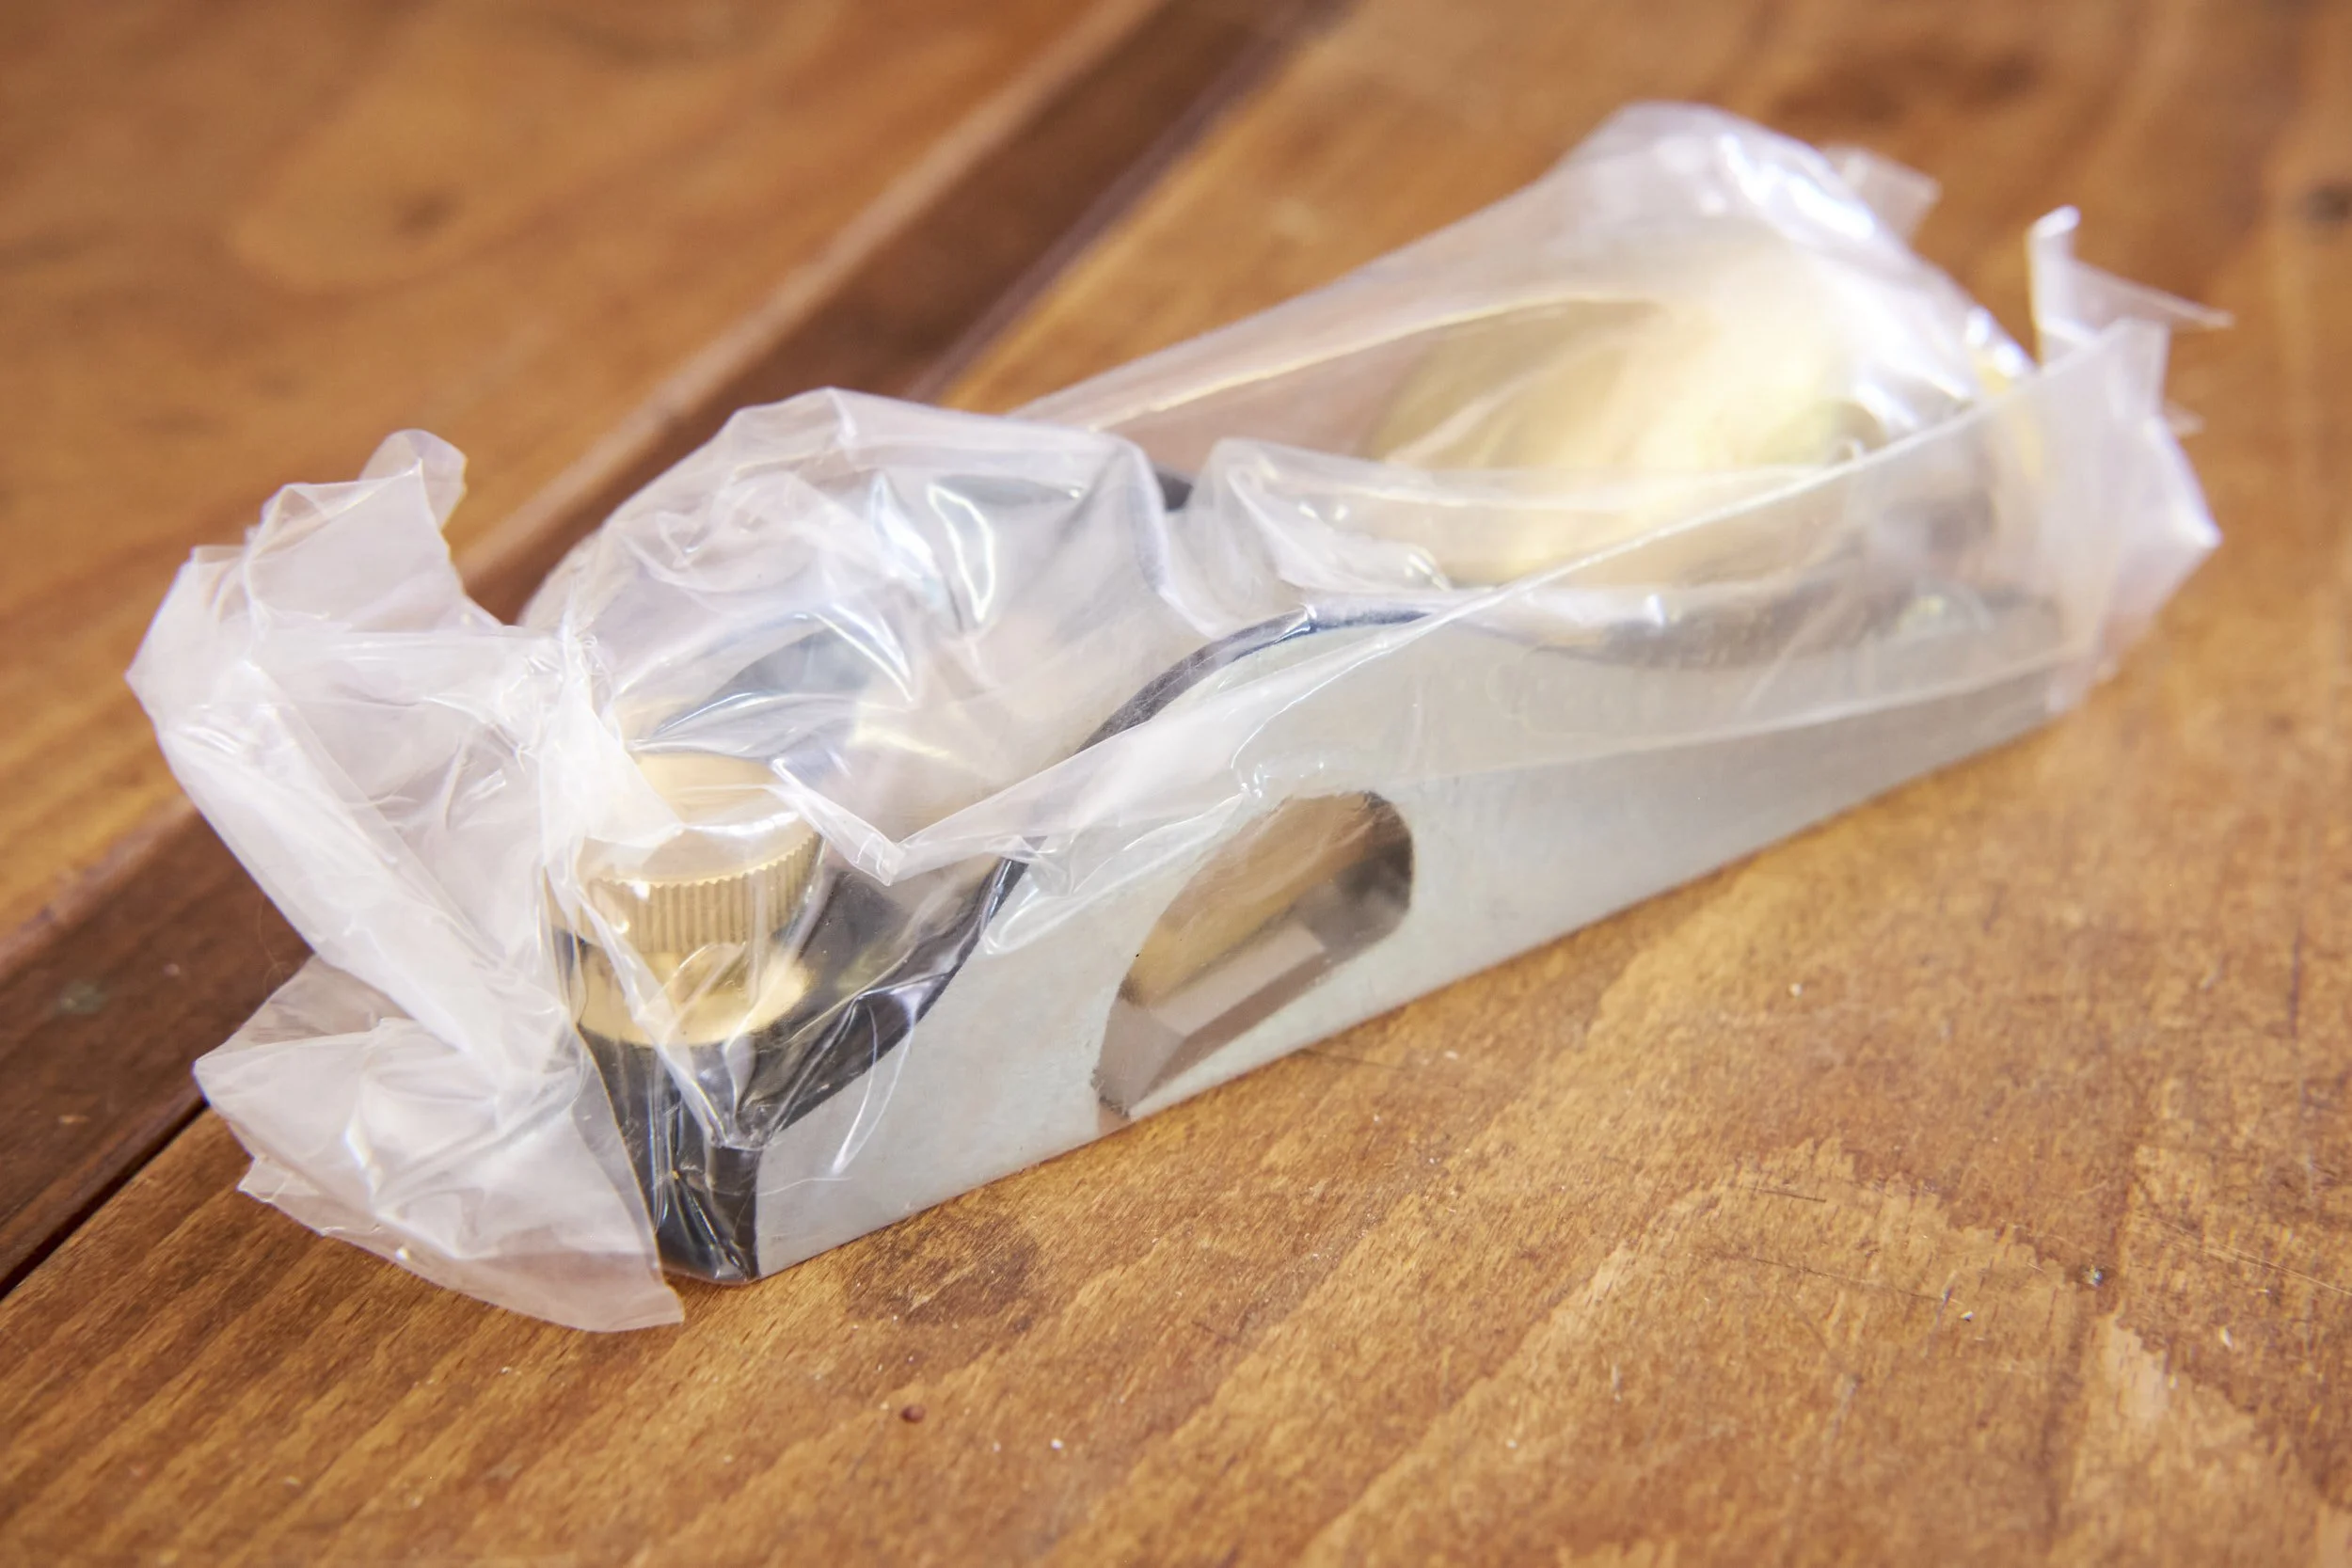
Inside, the plane was sealed in a plastic bag and wrapped in a small section of bubble wrap. Once freed from the packaging and plastic wrapping I found the plane to be in pristine condition with a healthy coating of oil on all surfaces.
Build Quality:
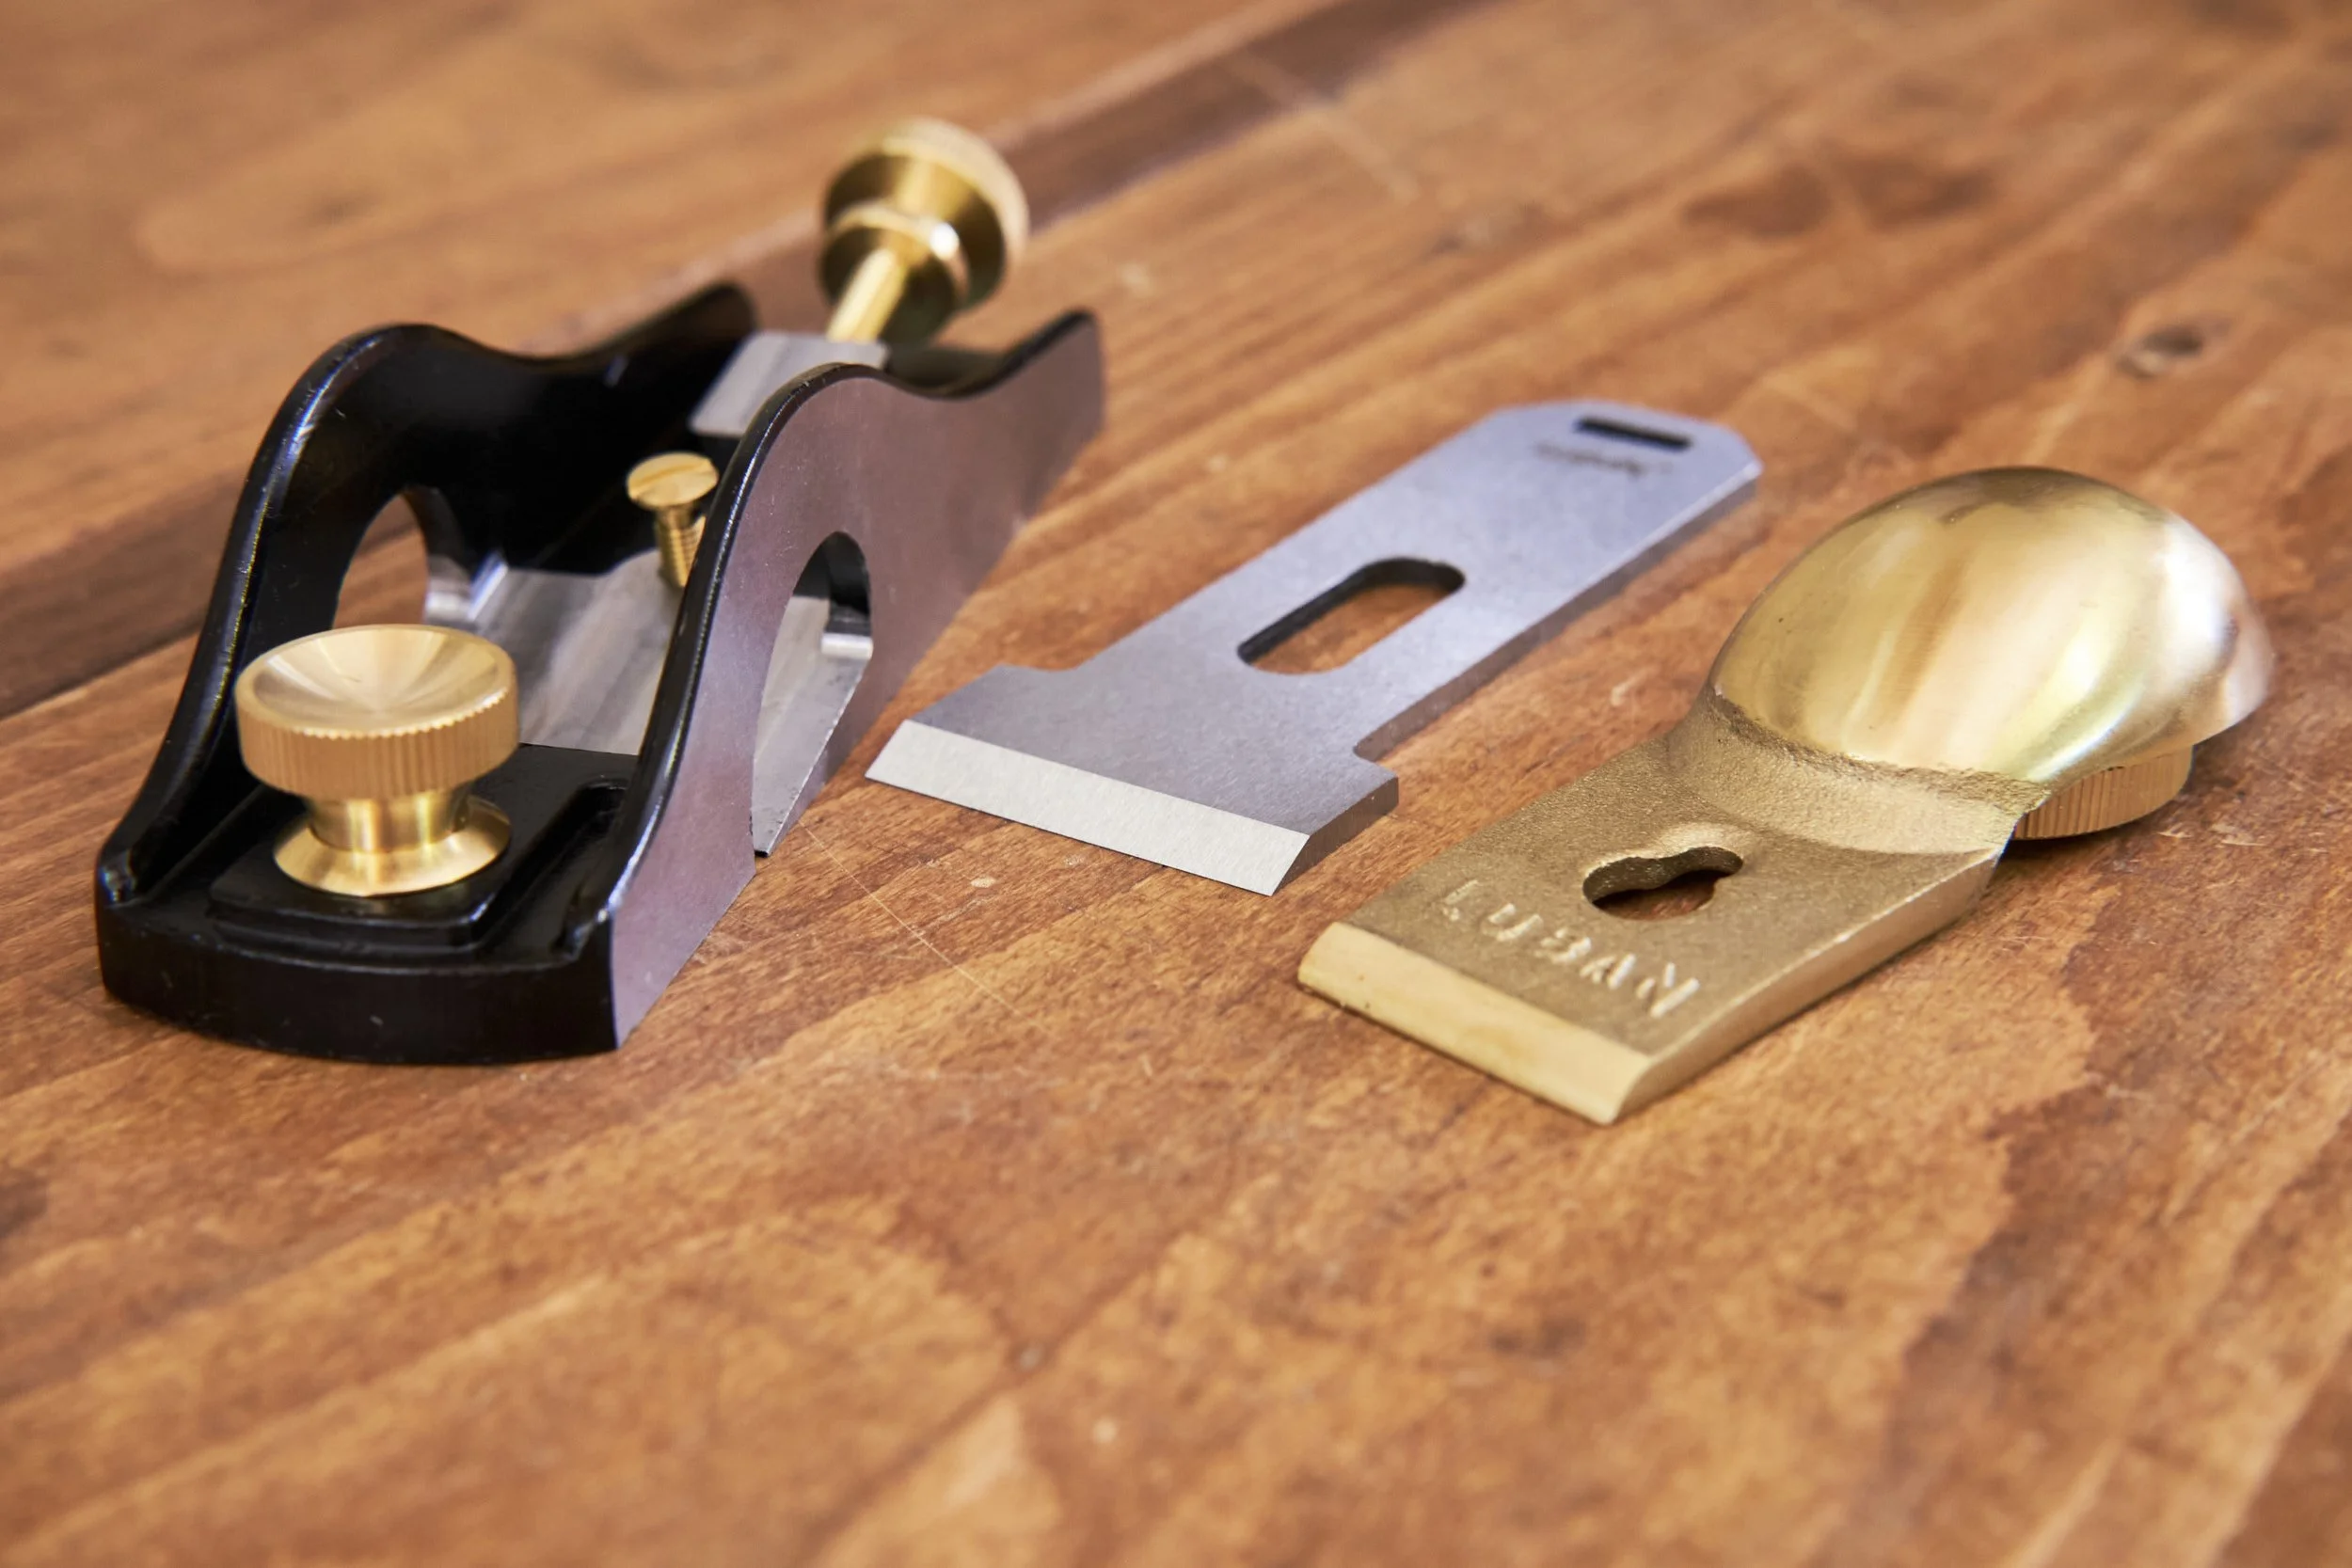
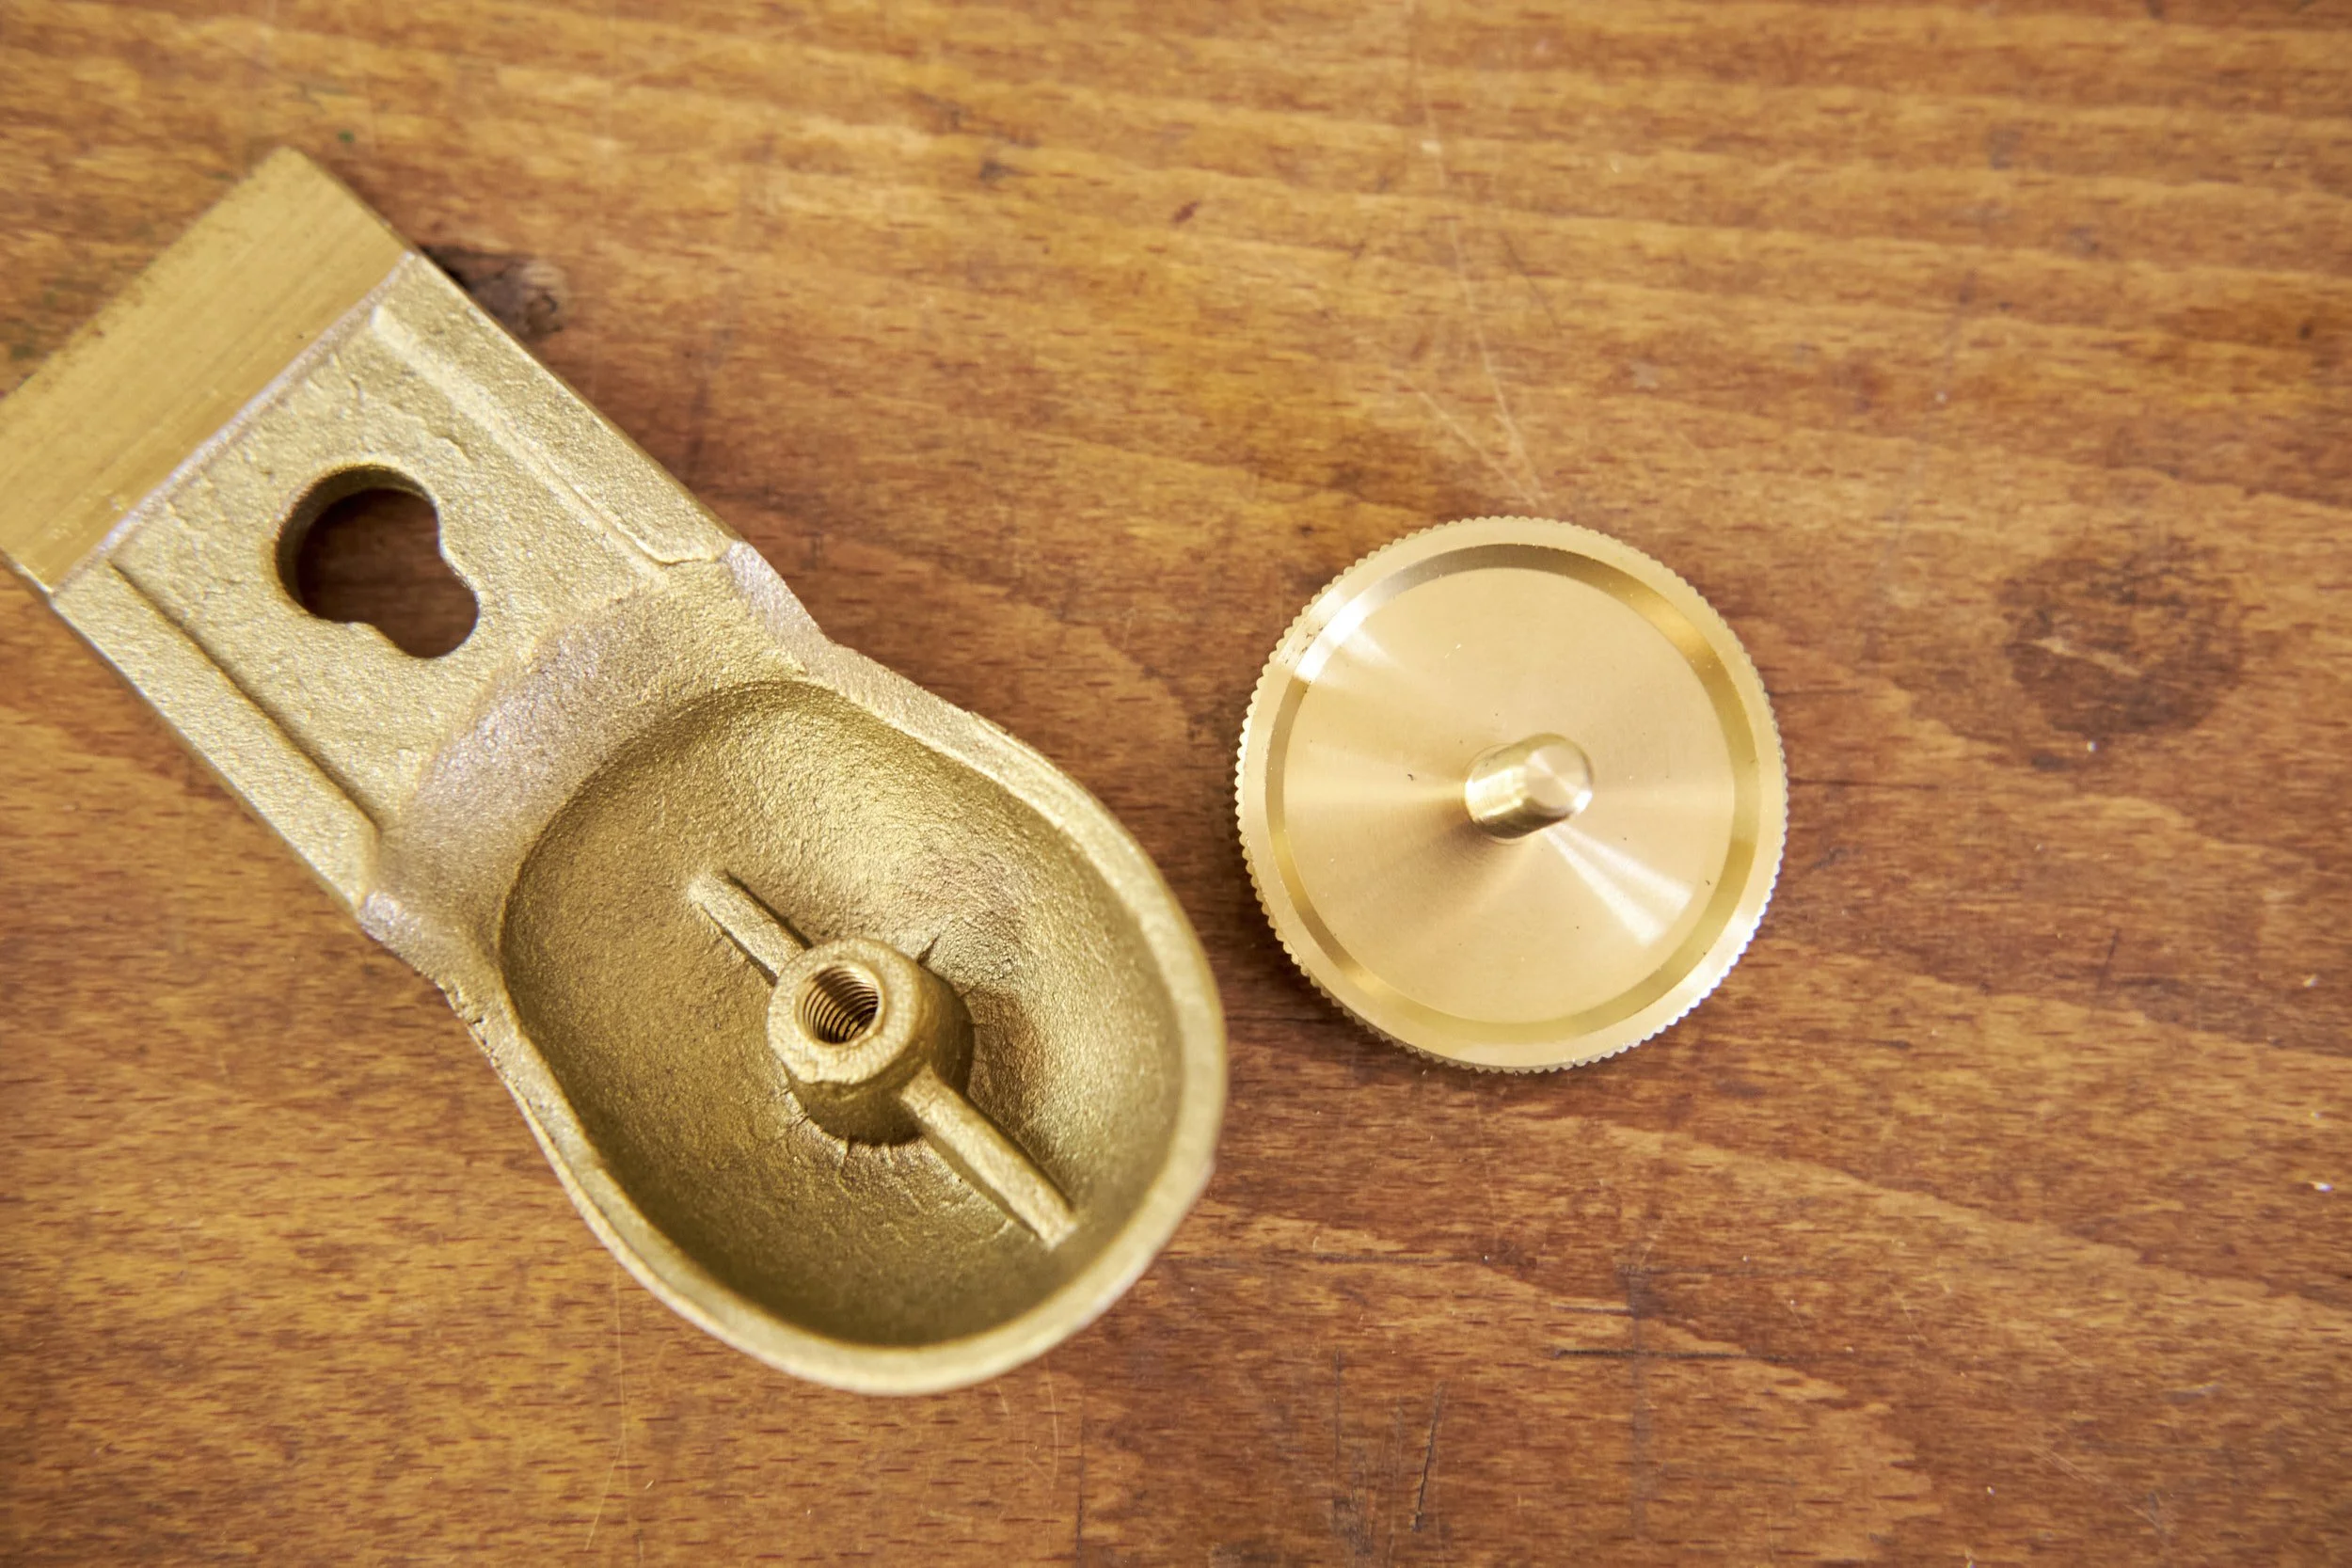
I usually like to spend some time disassembling new hand tools and give them the once over to assess if there is any damage due to shipping or if quality control at the time of manufacture was lacking.
I needn’t have worried in this case as all surfaces were clean, well machined and without any signs of damage or wear.
An area that I always spend more time on during this initial assessment is the paint job on the plane. I have on occasion found small marks or chips on planes that would be considered in the premium class but unless its major damage I generally don’t bother returning the item for replacement as we only see one or if we are lucky two shipments of any major manufacturer’s products annually, so if an item arrives at my workshop in a working state and it happens to have a small superficial nick in the paint I will not fuss and just get on with using the tool.
It is likely that I will cause more damage to a paint job during routine use anyway.
Cosmetic evaluation complete I found that the moving parts fit well and anything that was supposed to screw in and move around did so smoothly and with little to no play.
The edges between the sole and sides were very sharp though, and I needed to ease these back with a fine metal file. Not a big issue as I tend to do this with all my planes to make them more comfortable in the hand but some woodworkers may shy away from applying a metal file to their brand new, shiny hand plane.
I am aware that a lot is said about the quality, fit and finish of midrange hand tools and in regards to quality, this little plane could quite comfortably stand on its own amongst its more expensive “premium” brethren out there.
Blade:
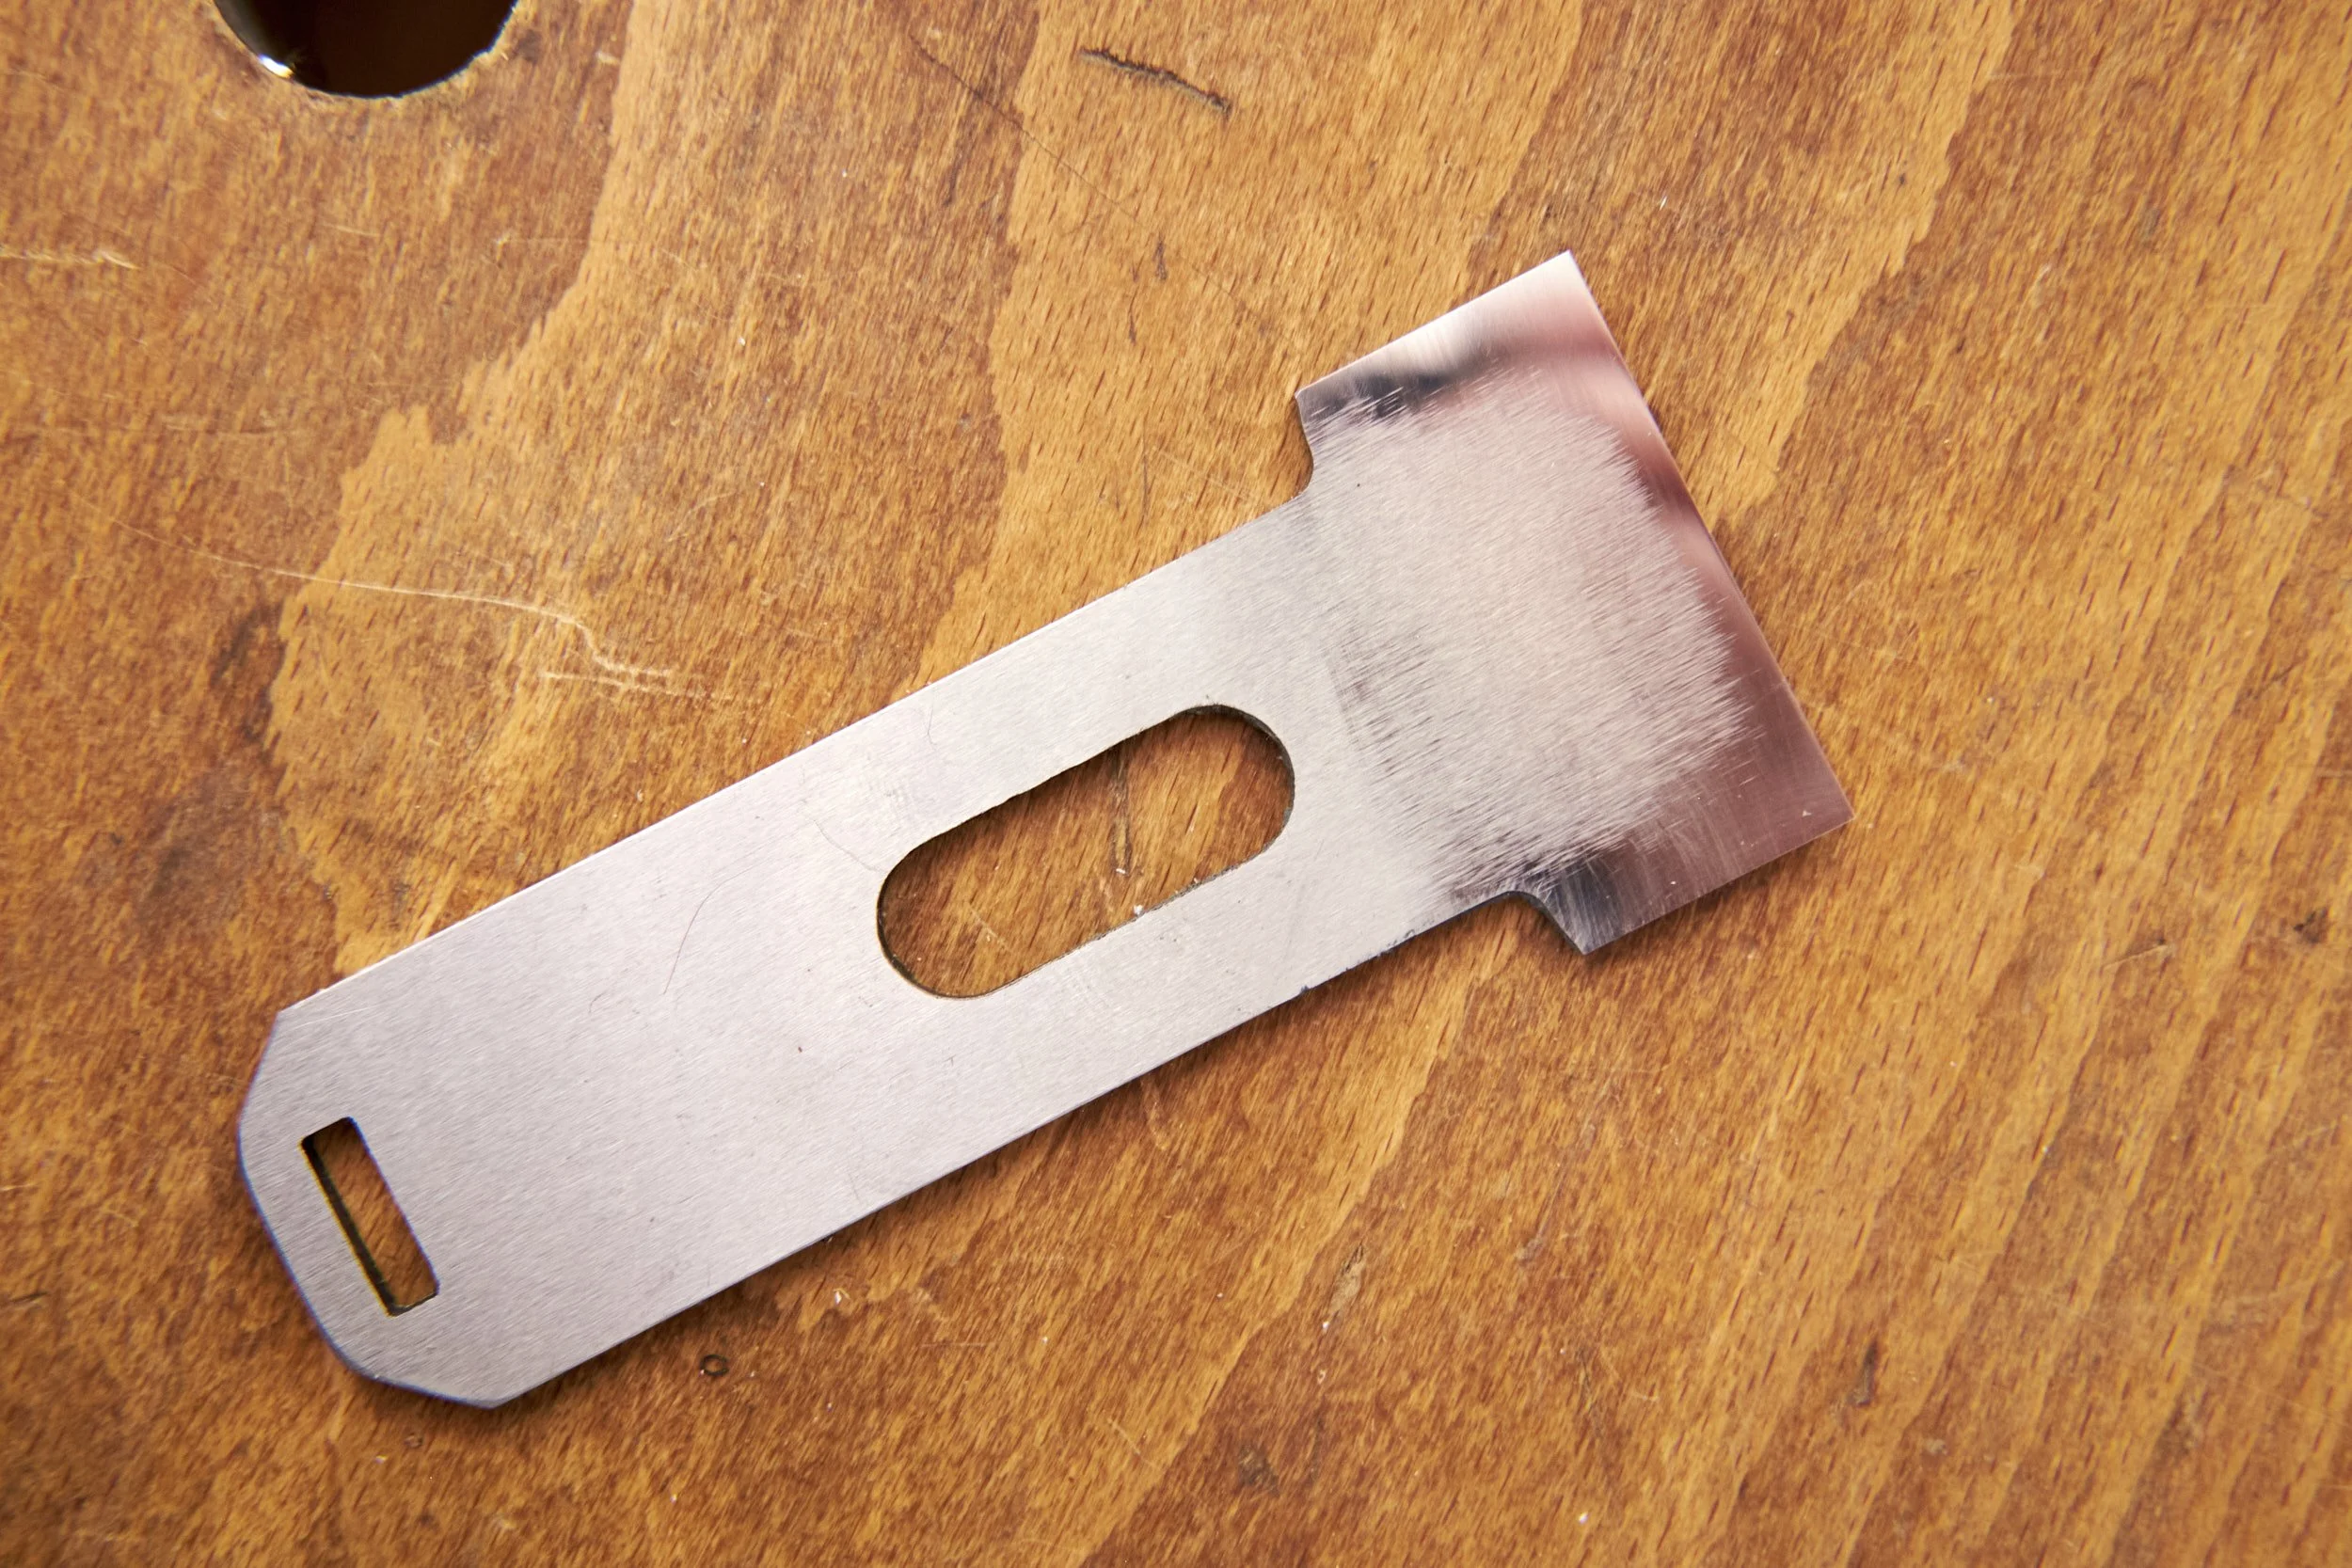
Here is another area that in my experience differentiates a quality tool from one that is less so, at least when a blade of some sort is involved.
I have found that the amount of time it takes to flatten the back and hone a blade is more often than not a clear indication of the QA systems in place during manufacturing. The less time needed to get a sharp cutting edge is a sign of a better quality product.
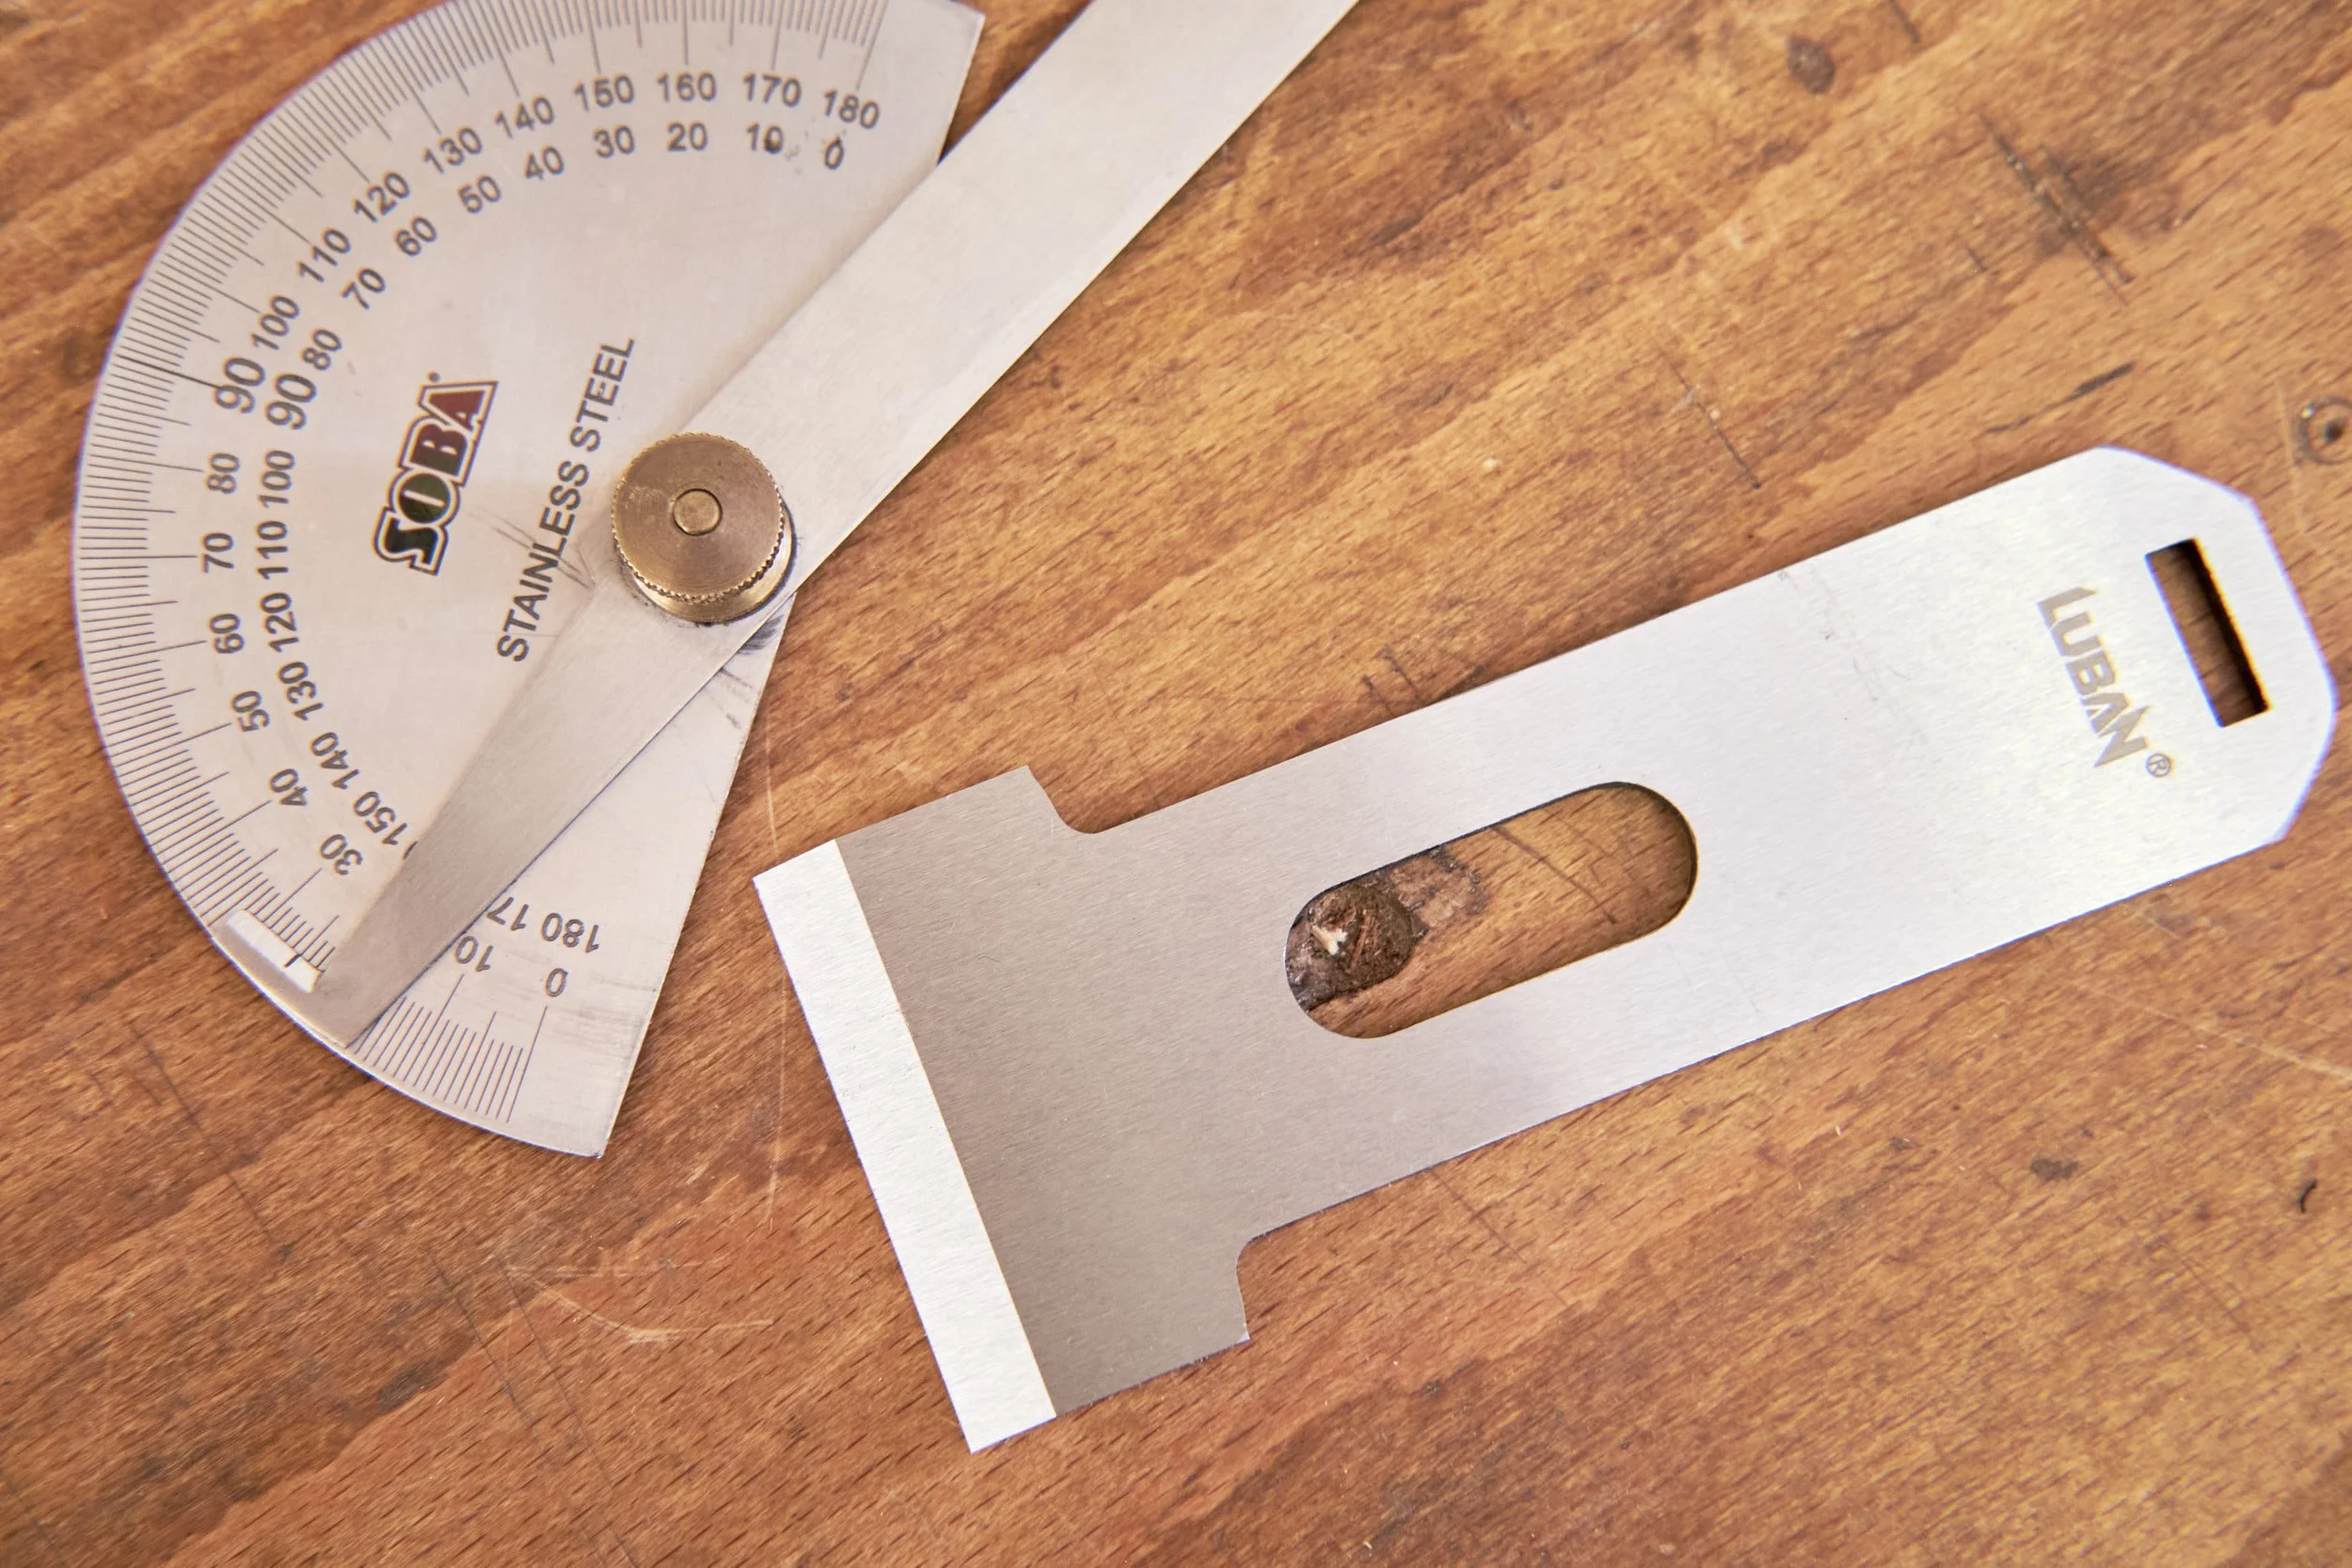
First off the primary bevel was ground to a consistent and accurate 25º angle.
Secondly, it took all of 5 minutes to flatten and polish the back of the blade to a mirror shine and then sharpen and hone the secondary bevel to a “shaving” edge.
I have on occasion refurbished old planes or set up cheap ones and it isn’t unheard of to take hours to get the blade to a level of sharpness I was happy with.
Iron Bed:
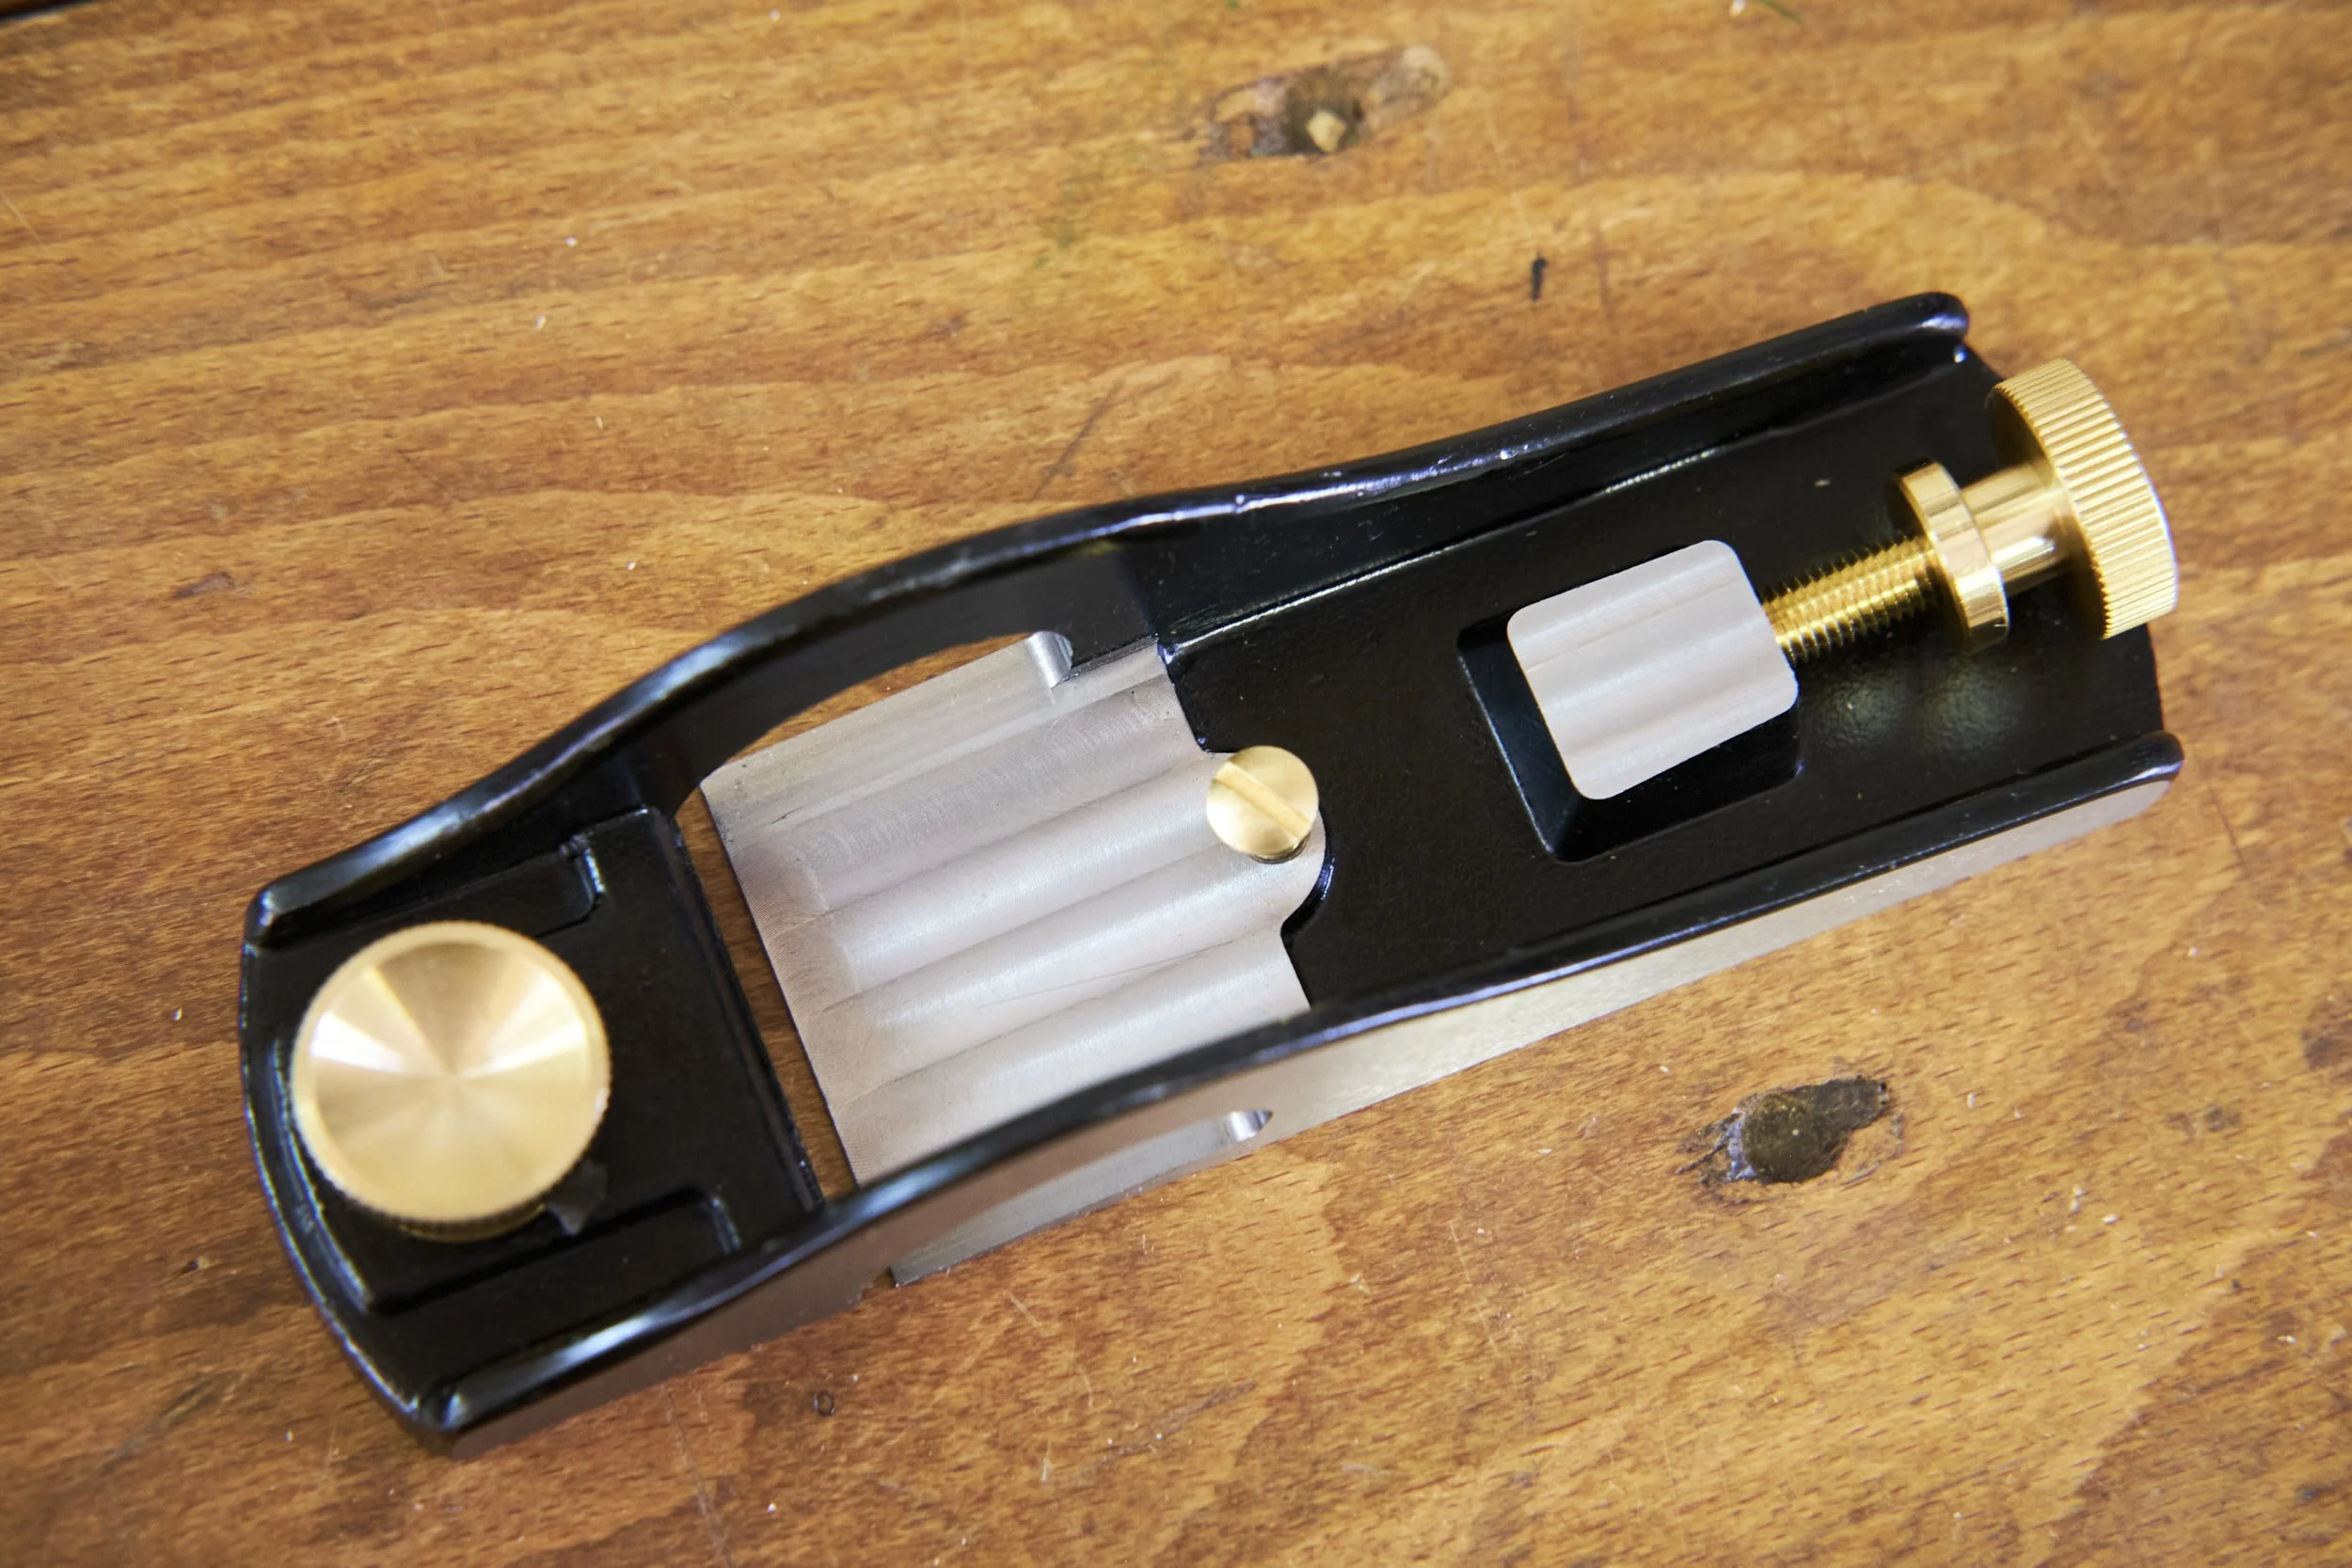
This is the flat area in the body of the plane on which the blade/iron rests and the quality of the machining can make or break a hand plane.
In this case the bed was machined both smooth and precise with the back of the blade sitting flush against the bed with no rocking at all once installed. As important as blade fitment to the bed is in all styles of hand planes it is especially so in the case of low angle and wooden planes.
Nothing to find fault with here.
Assembly and Test:
Before putting it all back together I placed a small drop of light machine oil on all the screw threads, the bed and the blade itself, this helps fight corrosion and eases the movement of all components.
With the blade set parallel to the mouth and at a depth that I guessed to be sufficient for a medium thickness cut I took it to some pine and I got beautiful even shavings on my first try. They were maybe a bit thick and I backed the blade into the plane and tried again but with no change in shaving thickness. I backed the blade into the body even further but still, no change in shaving thickness.
Problem.
I cranked the blade depth adjustment nut back some way and found that the blade was hard to retract with seemingly a lot of resistance to movement. I let off some pressure from the lever cap, tried again and moving the blade became easier but not to the point where I was happy. Some experimenting resulted in finding the correct combination of lever cap pressure and blade adjustability that I was happy with.
Of course I made the assumption that the adjustment of the rebate block plane would feel similar to my well used standard low angle block plane, in spite of a slight difference in the adjustment mechanism between the two.
This was not the case and I have a suspicion that this plane either needs to be worn in or that it might have its own adjustment quirks that I would need to get used to.
I also found that when the lever cap was a bit tight I felt a slight metal to metal grinding when turning the depth adjustment nut to advance the blade but that this eased off completely when letting up on the lever cap pressure on the blade.
I am THAT guy who tightens a screw until it snaps and then eases it back half a turn, so I may need to work on my finesse when using and adjusting this particular plane.
More to follow on this one in an in-depth review and if I needed to tweak anything to get it to ideal I will let you know.
Before you say that I wouldn’t need to tweak anything on a premium product I would say that I find that not to be the case. Anyway, the fettling part is most of the fun of setting up a new hand plane!
Re-Sharpen:
Some will point out that the steel used to manufacture the blade is a clear separator between a premium and a cheaper tool. I have PM-V11 steel in my Veritas low angle Jack and I love it! I sometimes even feel guilty for not needing to sharpen it as often as some of my refurbished Stanley blades. The blade in my existing block plane is a very close second to the PM-V11 in sharpness and durability and it doesn’t even have a fancy name.
Anyway I resharpened the blade for the next test just in case and it took an edge fast and cleanly.
If the steel is anything like my older block plane it will likely keep an edge just as well but only long term use will answer longevity.
The Next Test:
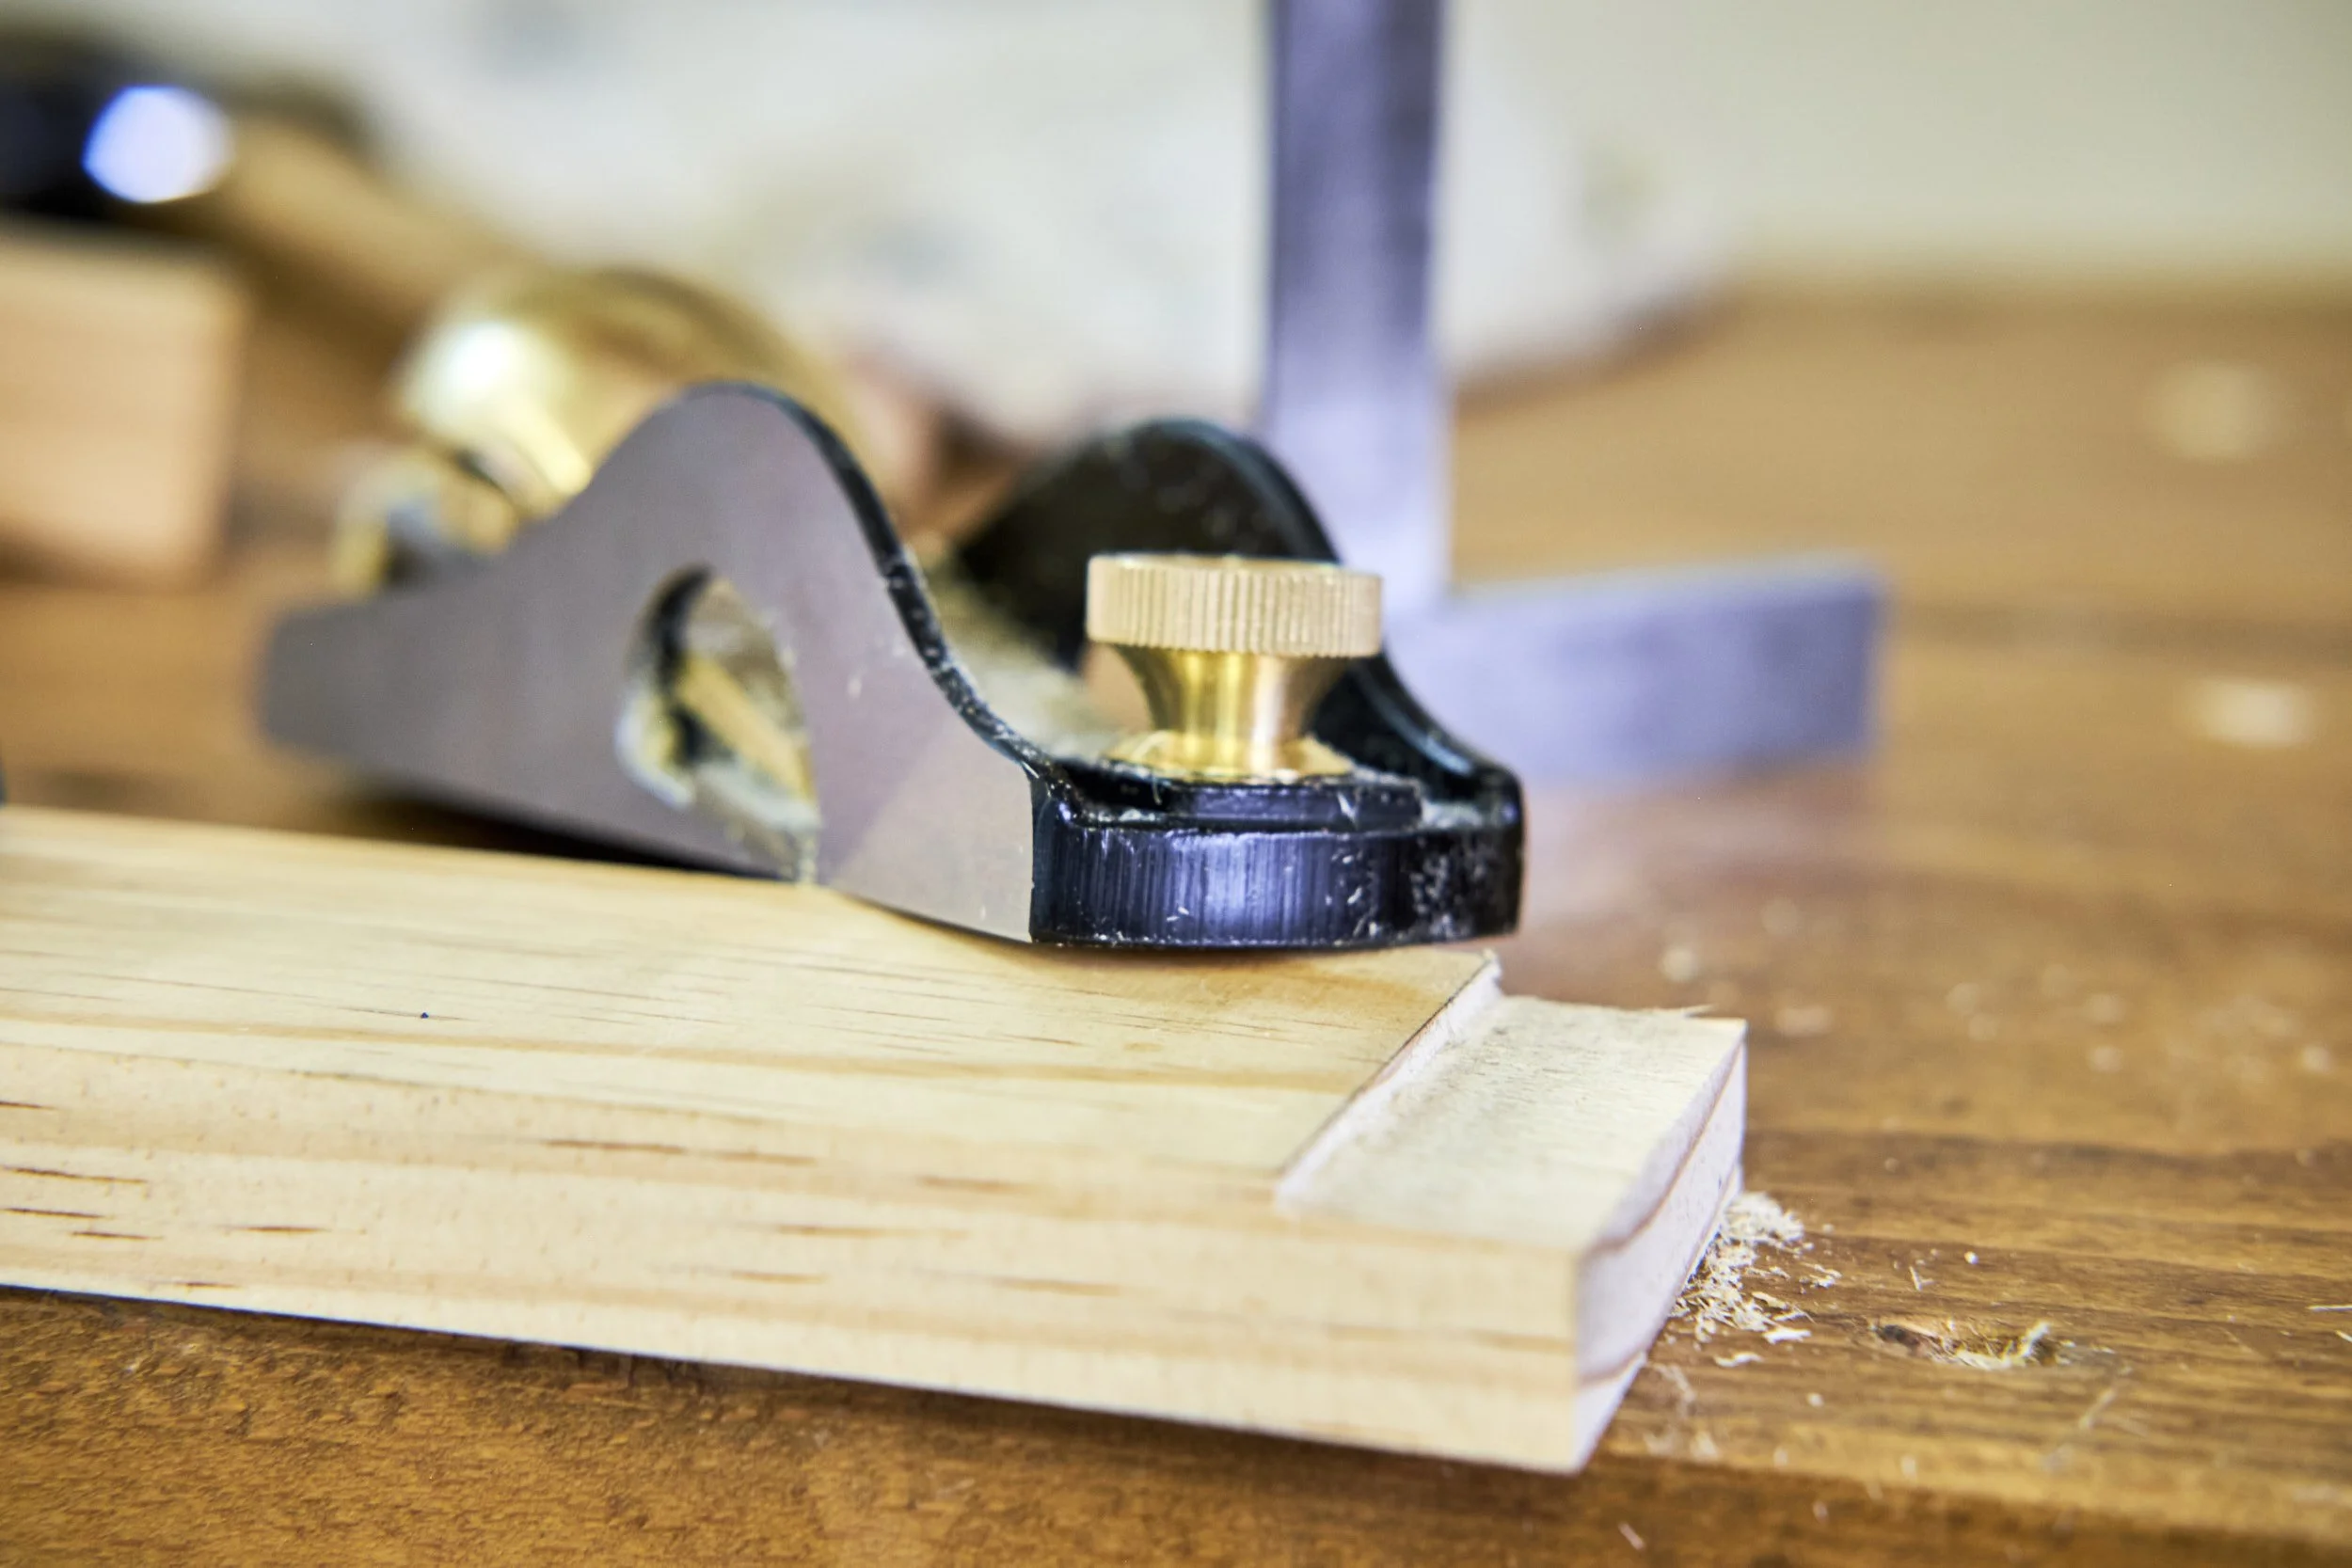
I clamped a narrow section of pine to the top of my workbench and struck a knife line 10mm back from the end and across the grain. I then placed a fence (another plank) along the line and proceeded to push the rebate plane across the grain whilst referencing the wing of the plane against the fence.
After a few swipes I had the start of a rebate forming and after a few more I had a fully fledged rebate with a nice clean inside corner. It is a rebate plane after all so it should make rebates and this test shows that it does indeed.
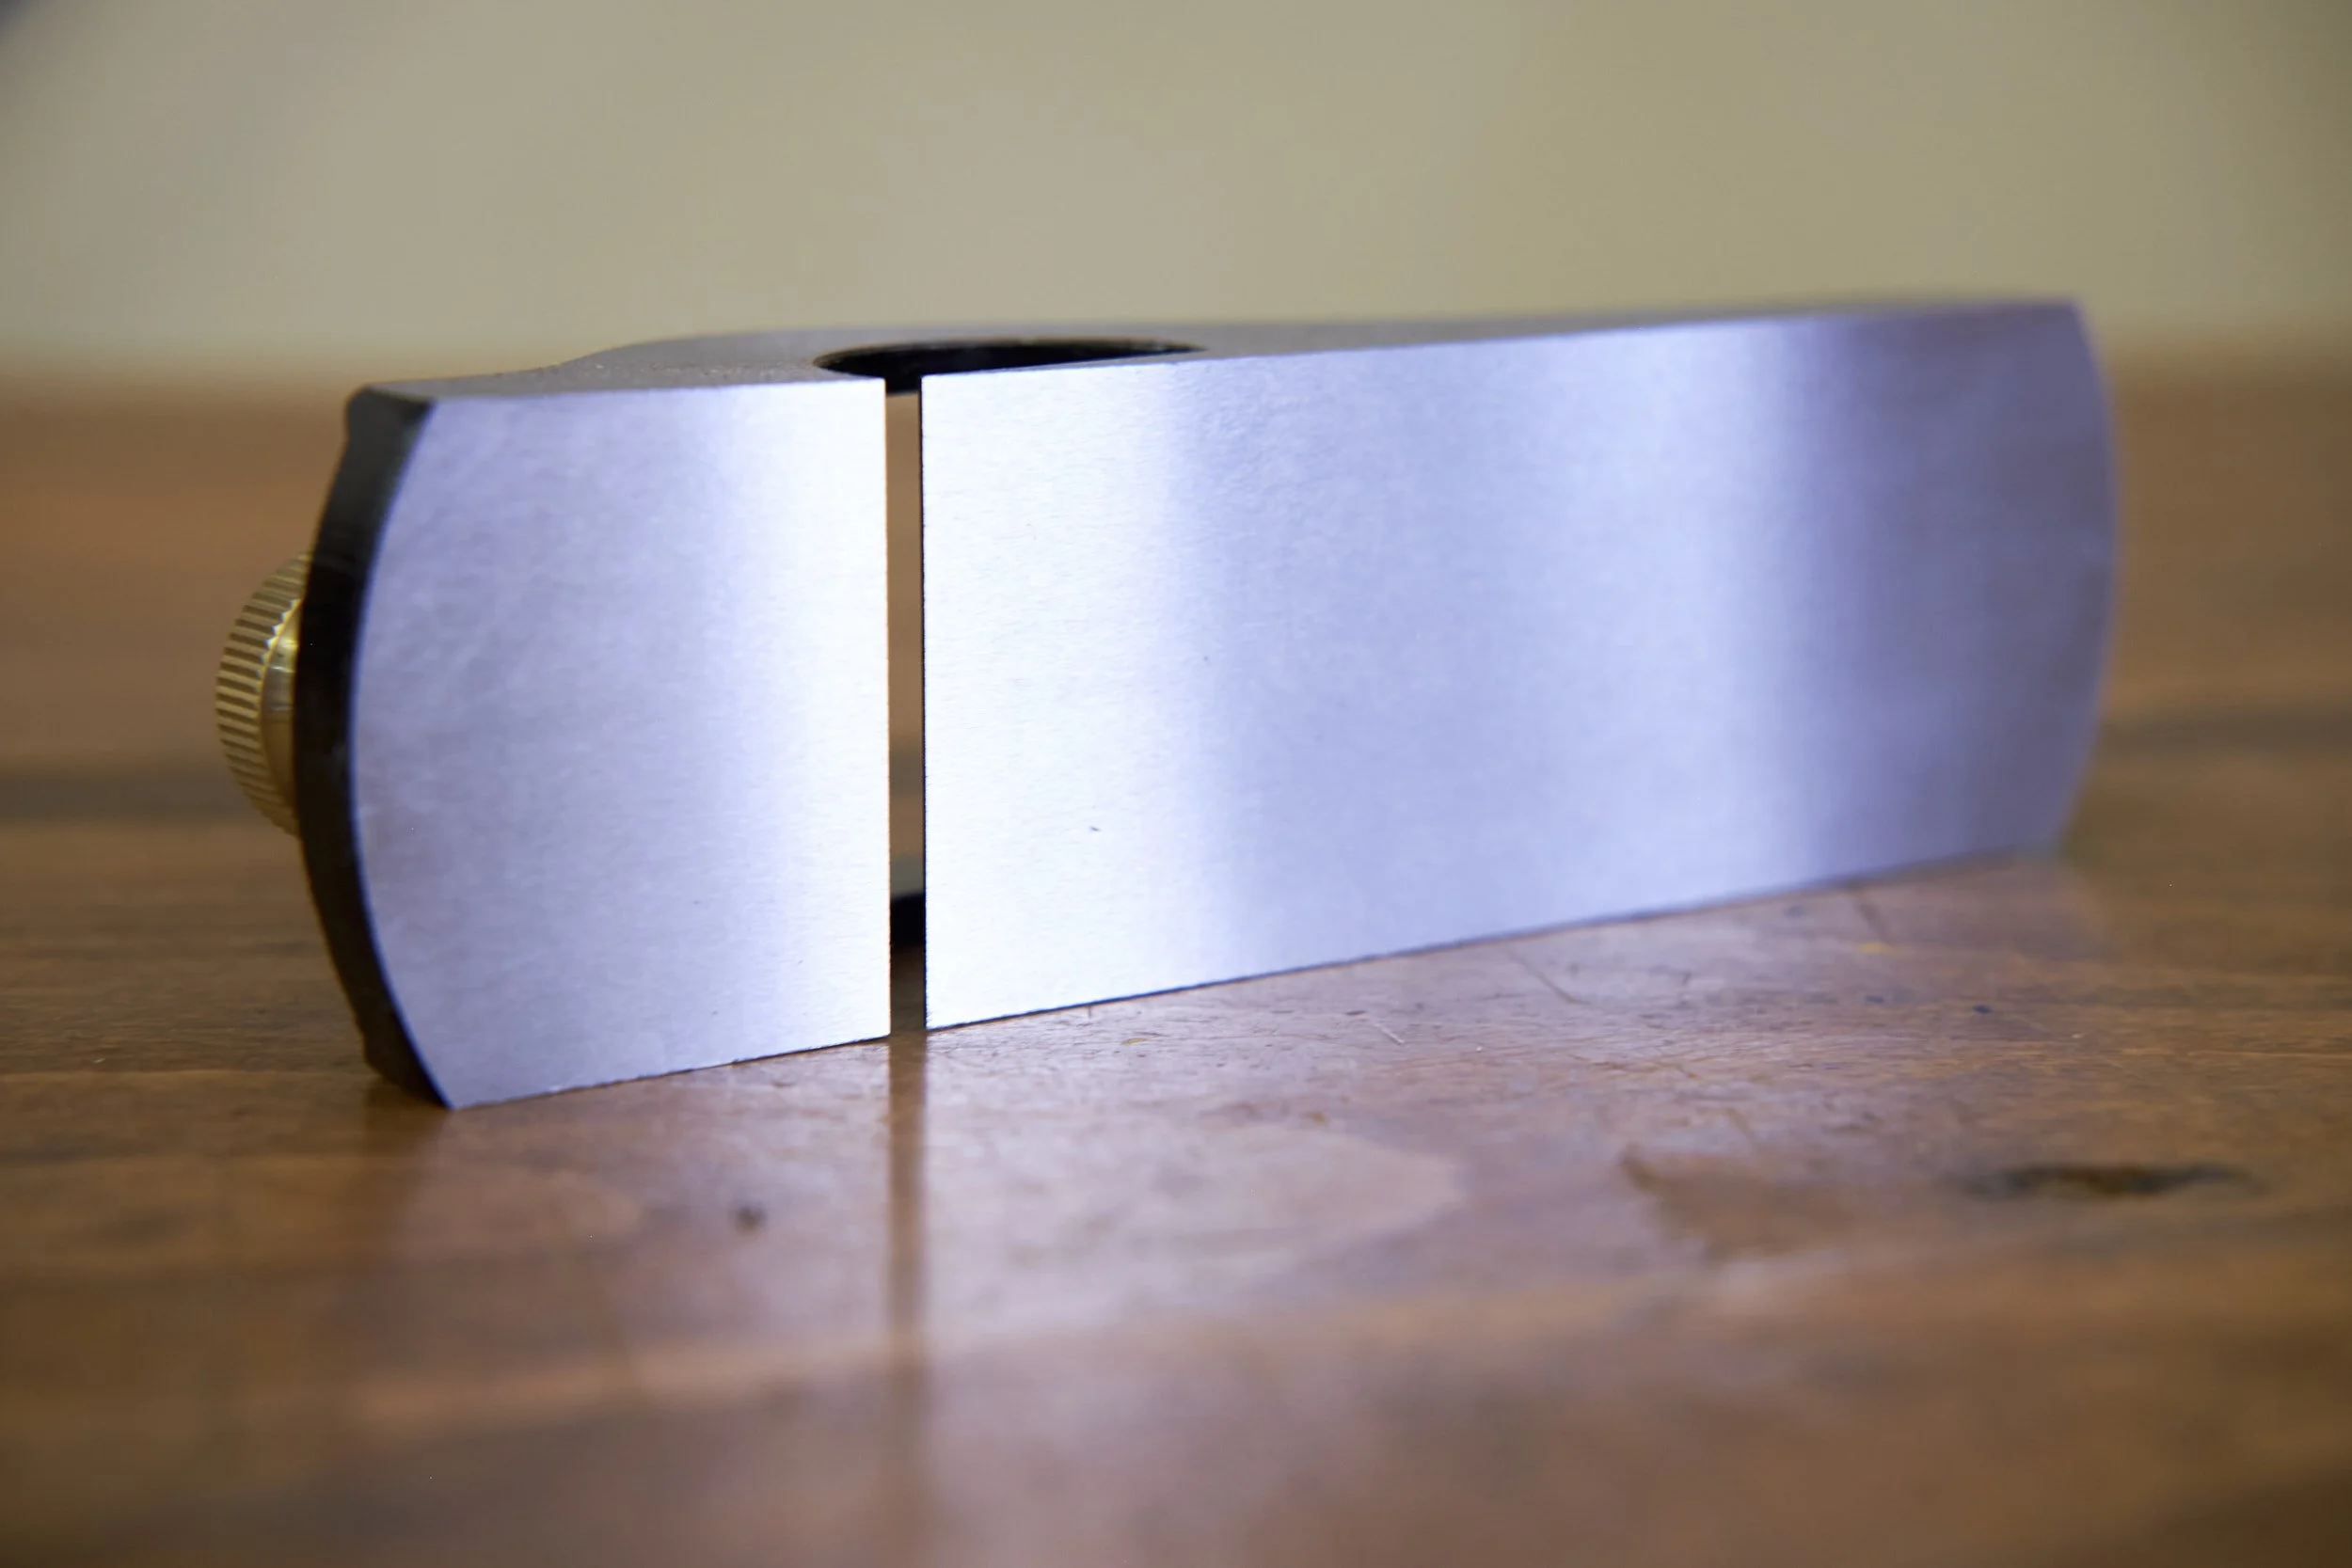
I don’t pay too much attention to the squareness of a hand plane’s wings to the sole but for making rebates with square shoulders it becomes rather important. I only checked this after making the rebate but my smallest engineering square confirmed very square faces between the sole and the wings.
Quirks:
This plane offers no mechanical lateral adjustment of the blade and this is not an issue as I usually use a Japanese plane setting hammer to make lateral adjustments on my low angle planes anyway. This plane though is different in that the rear section of the blade is narrow and I cannot get the hammer in between the body of the plane and lever cap to make lateral adjustments.
To cut the rebate described above I lay the plane on its side on the workbench top and pushed down to make the blade edge flush with the side of the plane, similar to how one would adjust a shoulder plane and this worked well.
Also, unlike my current low angle block and Jack planes, this one has no adjustable mouth and I will elaborate more about this in a minute.
Summary:
All in all I really like the Luban rebate block plane.
It is built solidly and accurately using quality materials with top class accuracy where it matters. The fit and feel of the individual components and the assembled plane belies the price I paid for this pretty little hand tool.
I do say little but it feels balanced and solid in use and I have little doubt that if looked after it will likely outlive me. They do mention in the description on the retailer’s site that one should be careful not to drop this plane as the space left in the wings to allow the blade to protrude flush with the side results in a natural weakness and I can almost guarantee that if this plane is to snap it will do so at this “weak” point.
I’ve mentioned that my Luban low angle block plane is likely the most used hand tool in my workshop but it is also most likely the most dropped tool by some margin. The fact that it's still in one piece and functions as well as the day I got it is a testament to the build quality of Luban hand planes!
So what are the pros and cons?
Pro:
Quality materials and finishing
Reasonable cost
Good build quality and accurate machining
Well machined blade requires little work to set up and sharpen
Bedding surfaces are accurately machined
Components fit well
Con:
Blade depth adjustment might need work
Blade lateral adjustments are tricky
Edges between plane sides and sole were very sharp and needed some fettling
It may not be the “do it all” tool some claim it to be
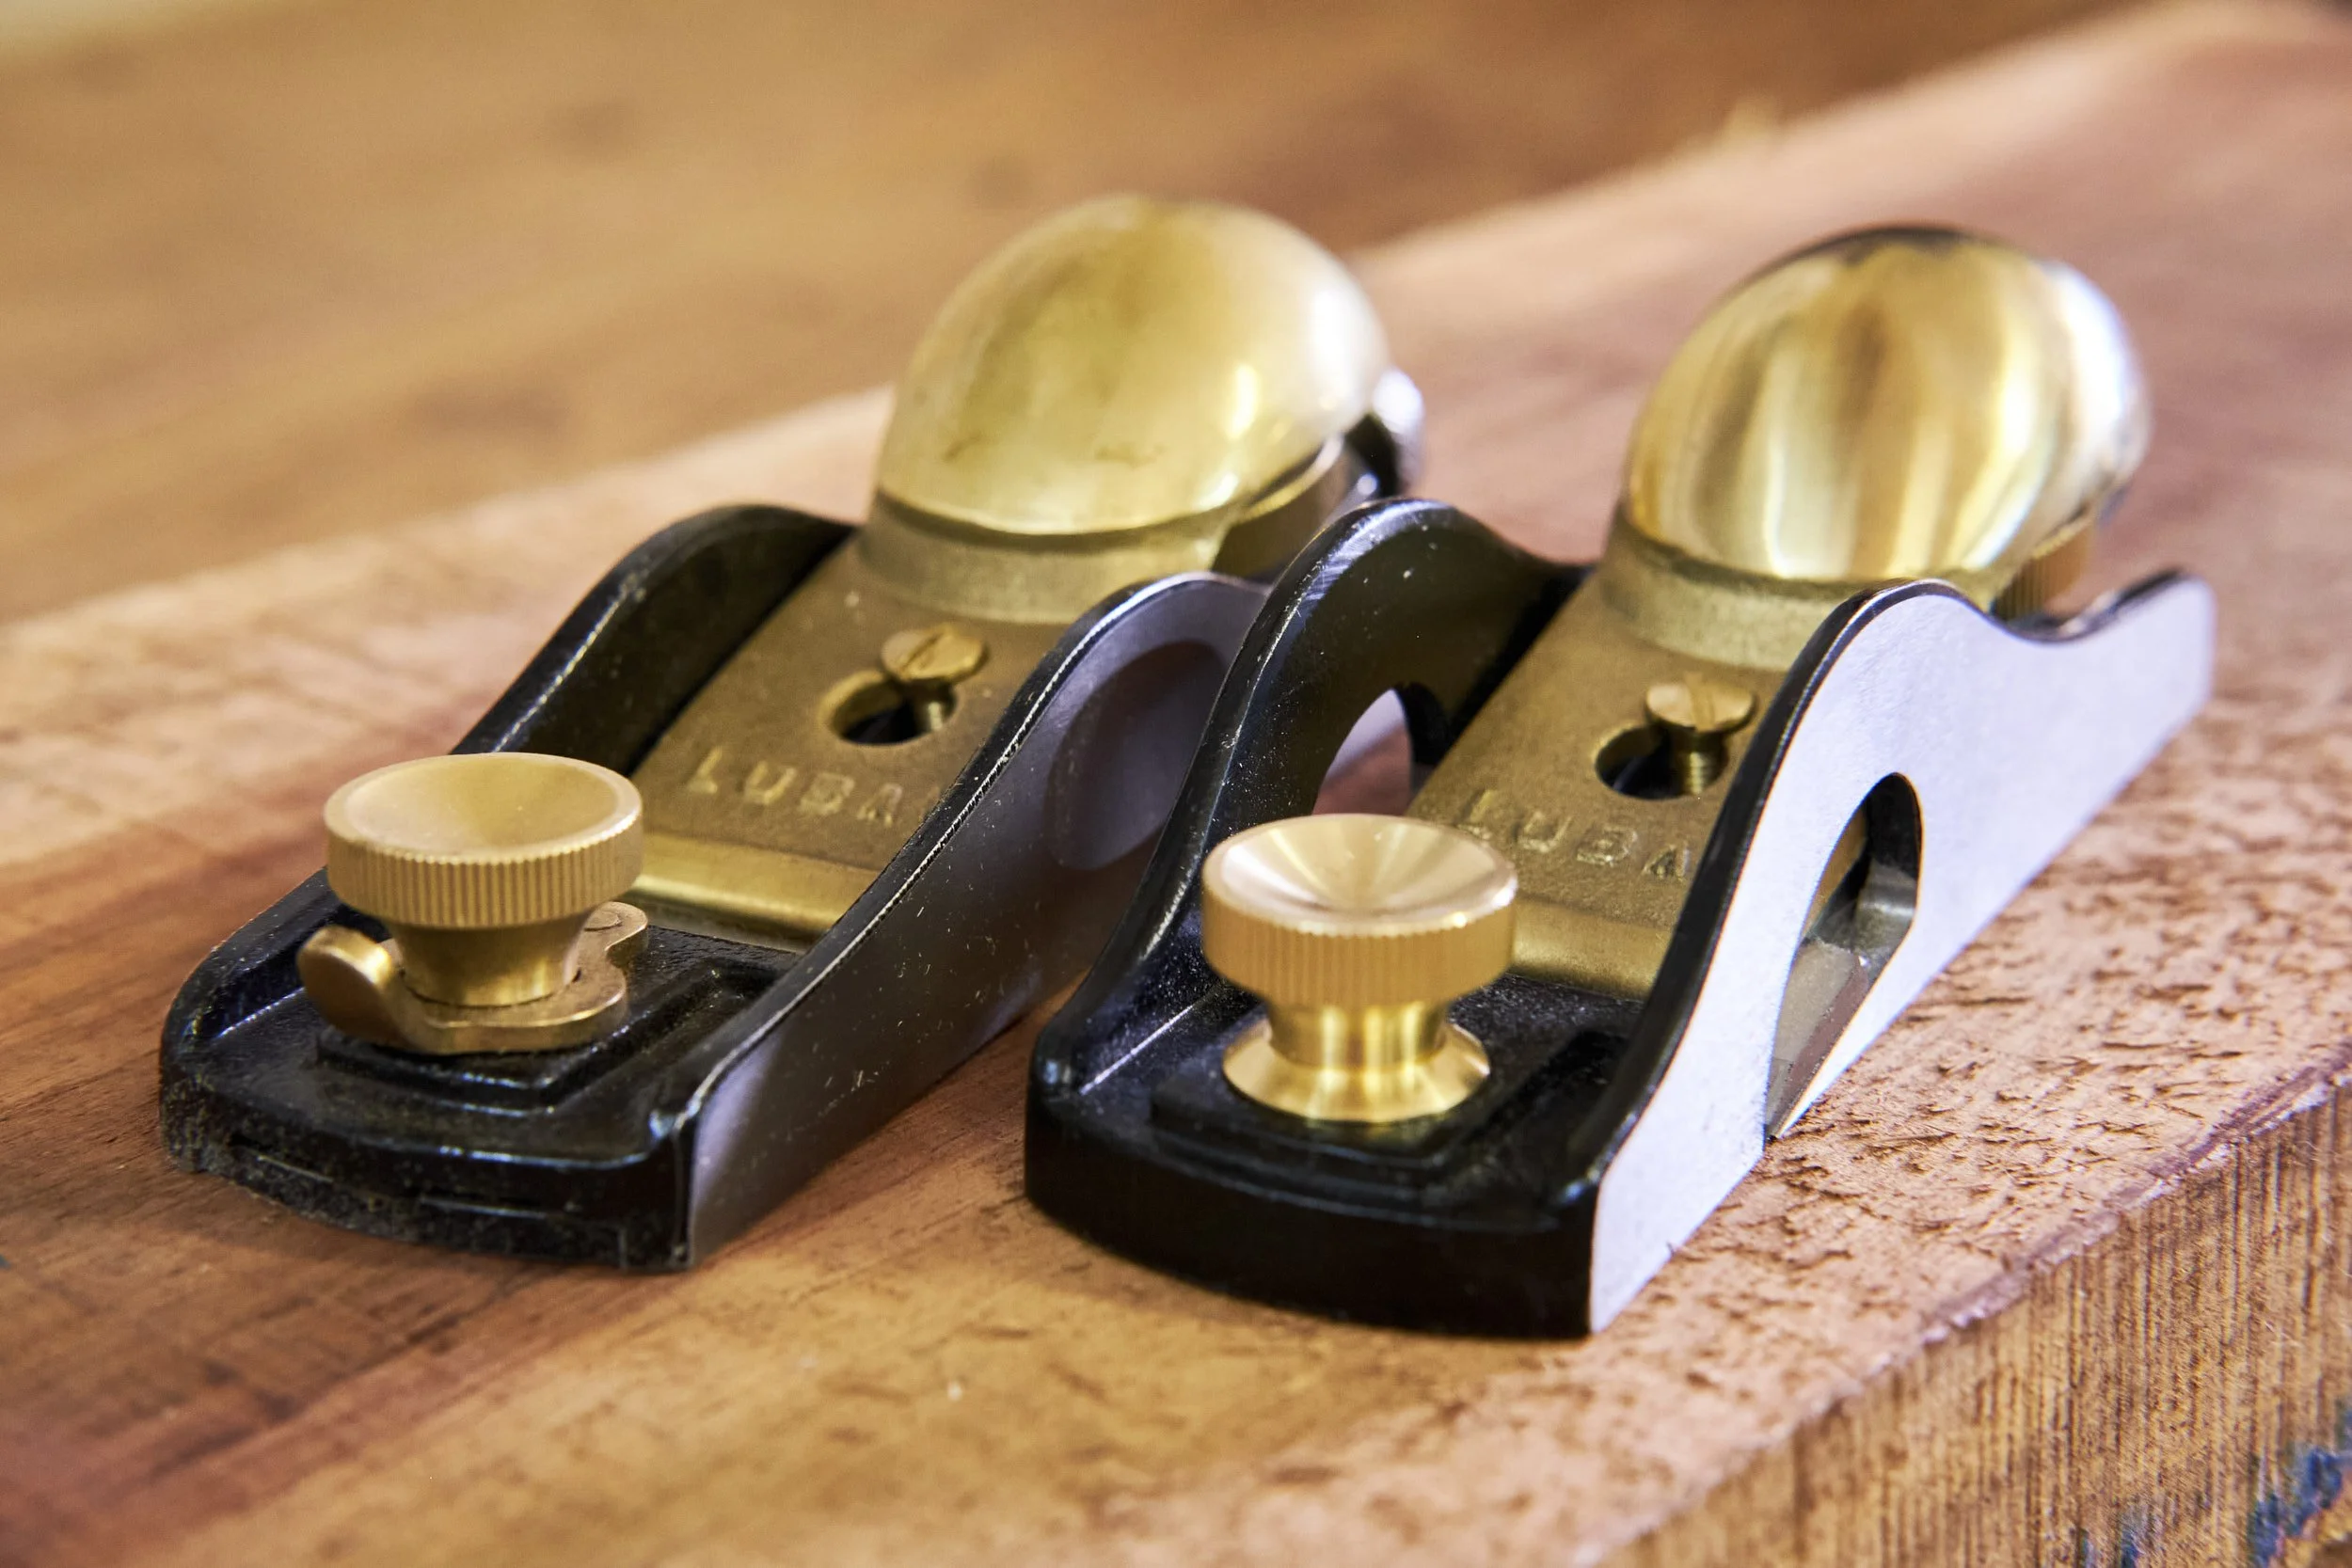
In closing I would like to share some thoughts about the tool and its place in my workshop.
One of the first pundits of the rebate block plane that I ever listened to sold the tool as the “same as a standard low angle block plane just more versatile” but after the little time I’ve spent with it I would disagree with that sales pitch and here’s why.
By far the bulk of the work I put my existing block plane to is for chamfering and breaking the edges of individual components or fully built workpieces. I do sometimes use it to flatten or surface smaller components, especially when end grain is involved. If I was to use the rebate plane as a general use tool I would require similar functionality from it as I do from my existing block plane.
The difficulty of lateral adjustment would likely frustrate some of the tasks I would need it to complete and the inability to adjust the mouth size to manage tear out may contribute somewhat to further make this a temperamental tool to use.
However, considering the two factors that make this hand plane less that ideally suited in a general sense of the word may contribute to make them part of a specialist tool that cuts rebates and gets into corners really well leaving you with a purpose made tool fit for jobs that standard planes simply cannot master and that is the way I think this plane should be considered.
Full disclosure here.
I have now built two Moravian workbenches and I have found the final finishing and fettling of the tusk tenons to be problematic. In the video series by Will Myers he uses a carriage plane to get into the corners of the tusk tenons. I have found this hard to do with a standard hand plane and chisels.
Although I have ogled the rebate block plane for some time purely as result of GAS (Gear Acquisition Syndrome) combined with the selling pitch mentioned earlier the timing of having to do battle with uncooperative tusk tenons and the arrival of fresh stock of rebate block planes greatly assisted in jumping at the opportunity of owning one of these hand planes.
My final thoughts are that I believe this tool to be a specialist item optimised to excel at a specific task in the workshop and honestly it seems to be designed to do that task well rather than be the catch all workhorse some may claim it to be.
So in light of my experience while evaluating the performance of the Luban rebate block plane I have also become curious about its possible usefulness for cleaning up tenon shoulders, so watch this space……