The Simple Cross Cut Sled You Need To Build

Actually you don’t really need a crosscut sled, at least not that very complicated one with all the functions you MIGHT need down the line, or not.
I’ll get to the reason for that statement in a bit, bear with me.
A short personal tale.
When I started my woodworking journey around 2020 I could not watch YouTube without a video popping up from some influencer claiming that the sled they were about to show me being, THE ONE. As that year progressed these sleds became more and more “functional” and as a result more complicated, larger and heavier.
Of course I took the bait and although I didn’t go for the multifunctional kind I did go for the large variety, believing that I would need the capacity to cross cut wide stock down the line and having some inkling as to what I wanted to build in the future I was off to the shops and came home with some good quality birch ply.
Using the basic build methods I saw on the internet I set to building my own sled and learnt a few more uncouth words whilst using the famed 5 cut method to dial the fence in to a level of perfection that boggled the mind. When done I had a sled, likely the most important piece of kit in any woodworking shop, or so I was led to believe.
I did mention that I made it large? As a result it was heavy too so it lived on my table saw almost permanently, only being moved to the floor of the shop when making rip cuts. Yes, the floor, I work from a two car garage.
Soon it became a chore to have to move this thing around the shop and I came to realise that it wasn’t worth having the sled in my way so it was left on the floor more often than not. At around the same time the sled started living on the floor, I was coming down with a case of GAS and during a visit to Cape Town I got my hands on an INCRA Miter V27. After installing a sacrificial fence and a stop system for making repeat cuts on my shiny new gauge the INCRA became my go to for cross cuts and the sled became permanently relegated to the floor, only being used for cross cutting stock that was too wide for the miter gauge.
Eventually I got tired of stepping over the sled and it was chopped up to make other jigs.
Of course life isn’t that simple and I soon ran into projects that required wide stock to be cross cut and I was forced to relook the cross cut sled but this time I was a lot wiser, the “make the jig when you need it” lightbulb had been switched on.
Yes I built another one but not the same and if you sign up to receive my newsletter here you can have free access to the plans.
Ok, let’s discuss your sled options.
Who needs the amazing version?
If you are someone who makes a lot of the same items, let’s say picture frames it may be a good idea to have a multifunction sled in the workshop that allows you to make accurate repeat cuts all day long without having to think too much about it.
However, here again the sled can be built to suit the functionality required so you might want to combine the ability to make repeatable miter cuts with the added ability to cut rebates. The nice thing about going this direction is that you can build the sled to a size that will handle the scale of the pieces you make.
If on the other hand you have the storage space and access to the block and tackle required to move the sled off the table, knock yourself out. You can find plans on the net that will allow you to build a sled that will likely cover any kind of crosscut on any size stock you could think of.
Who may not even need one at all?
If your table saw came with a decently accurate mitre gauge or if you have upgraded the gauge with a good quality after market example and the capacity between the fence and the blade is such that it will handle the bulk of your needs you may very well not need that sled just yet and you could easily build one when the need arises.
Also if you have access to a chop saw that can handle your needs you may not need a sled.
I have mentioned that a mitre gauge needs to be accurate. The gauges that we get with our table saws as standard are notoriously inaccurate or really hard to set accurately and keep it there. If you do not have access to aftermarket gauges or find them too expensive, build a sled. It needs not be large nor complicated, just accurate. I can help you there, have you signed up for my newsletter yet?
O’yes an extra titbit.
You do know that you can extend the capacity of your mitre gauge slightly by using it backwards, don’t you?
The middle way
Build it when you need it but do so simply, cheaply and accurately without adding complexity by asking too many what if’s?
By now you may think that I’m anti sled but that couldn’t really be the further from the truth. I mentioned earlier that I ran across a project that required cross cuts on wider stock that exceeded the capacity of my mitre gauge.
I needed a sled so I built one.
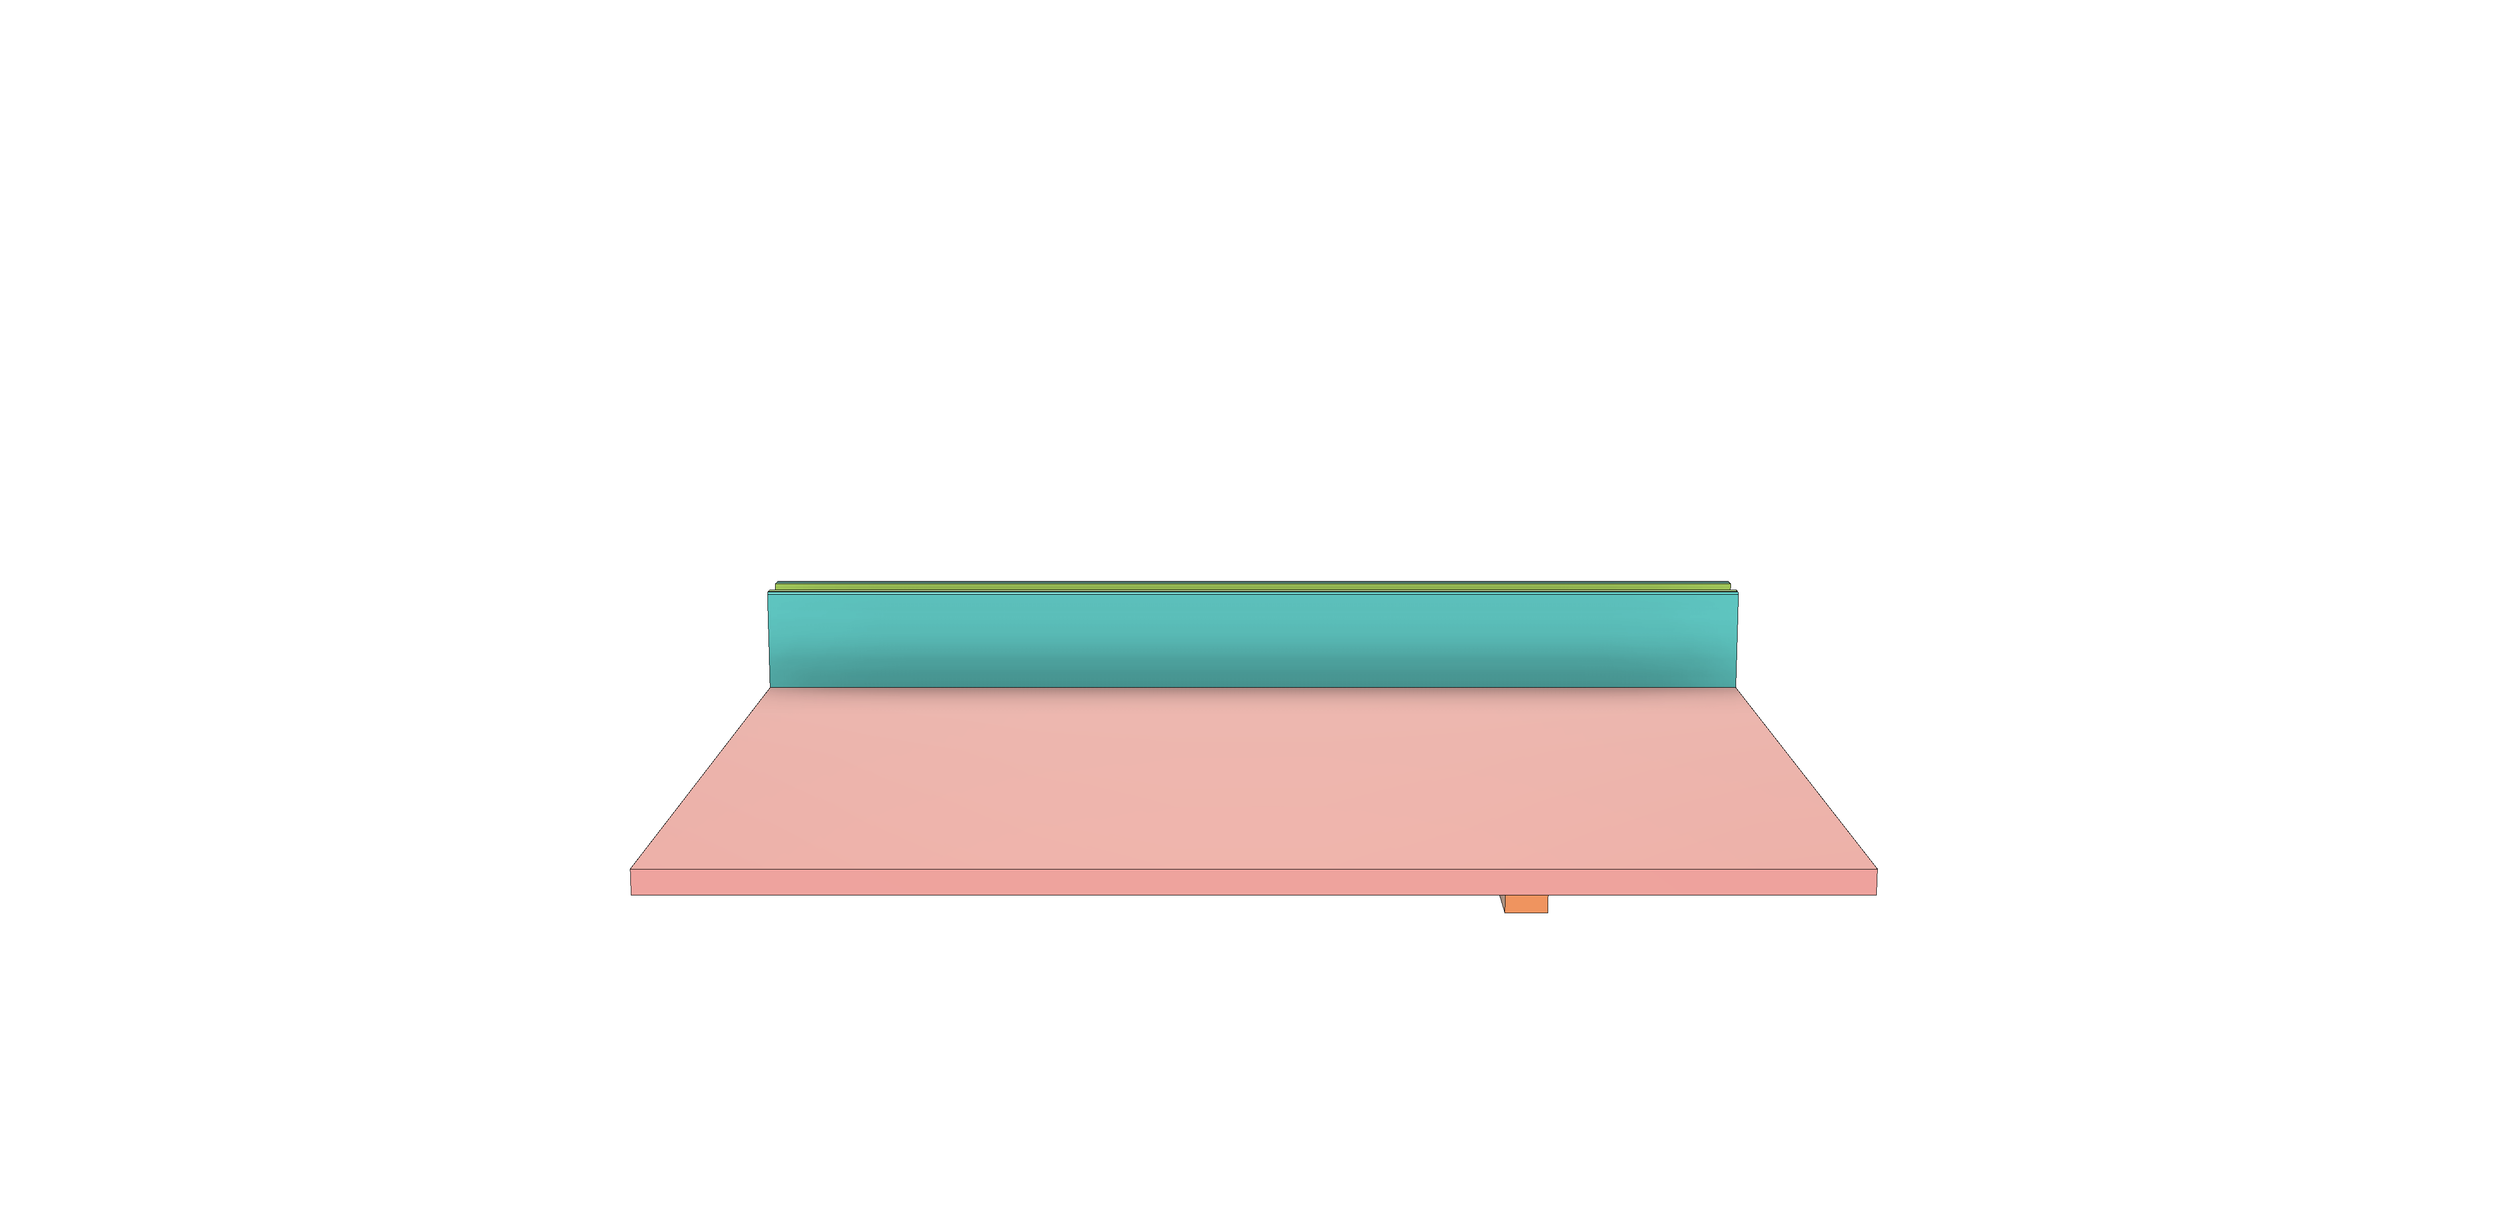
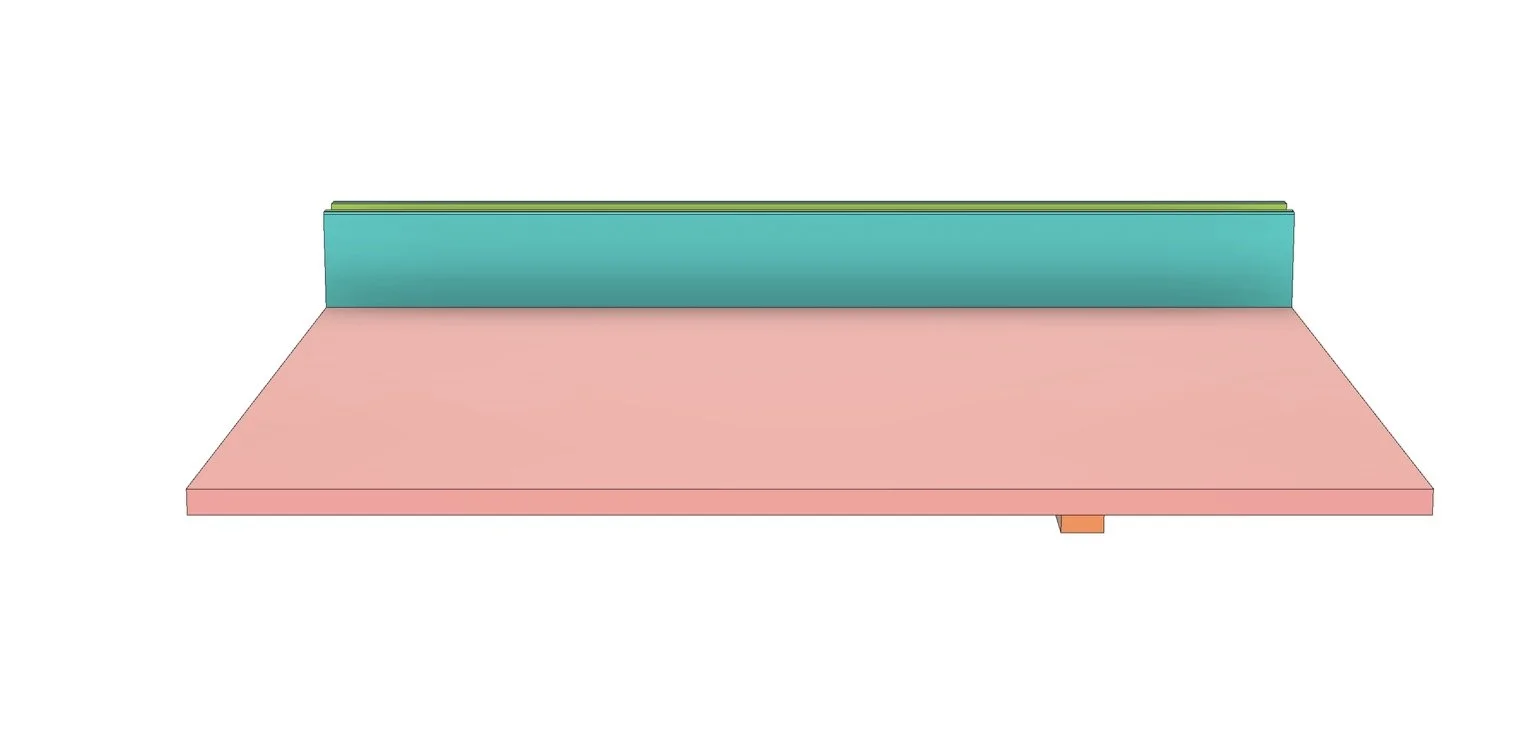
This is what I used:
Base - Cheap ply, actually an off cut from the same project I needed the sled for.
Fence - Left over Luna Wood from a garden bench.
Stops/Track - Taken from the large sled - always remove the hardware from a retired jig.
Mitre Rail - Hardwood runner from a stash I keep on hand for jigs on the table saw, I alway cut extras and keep them in the shop.
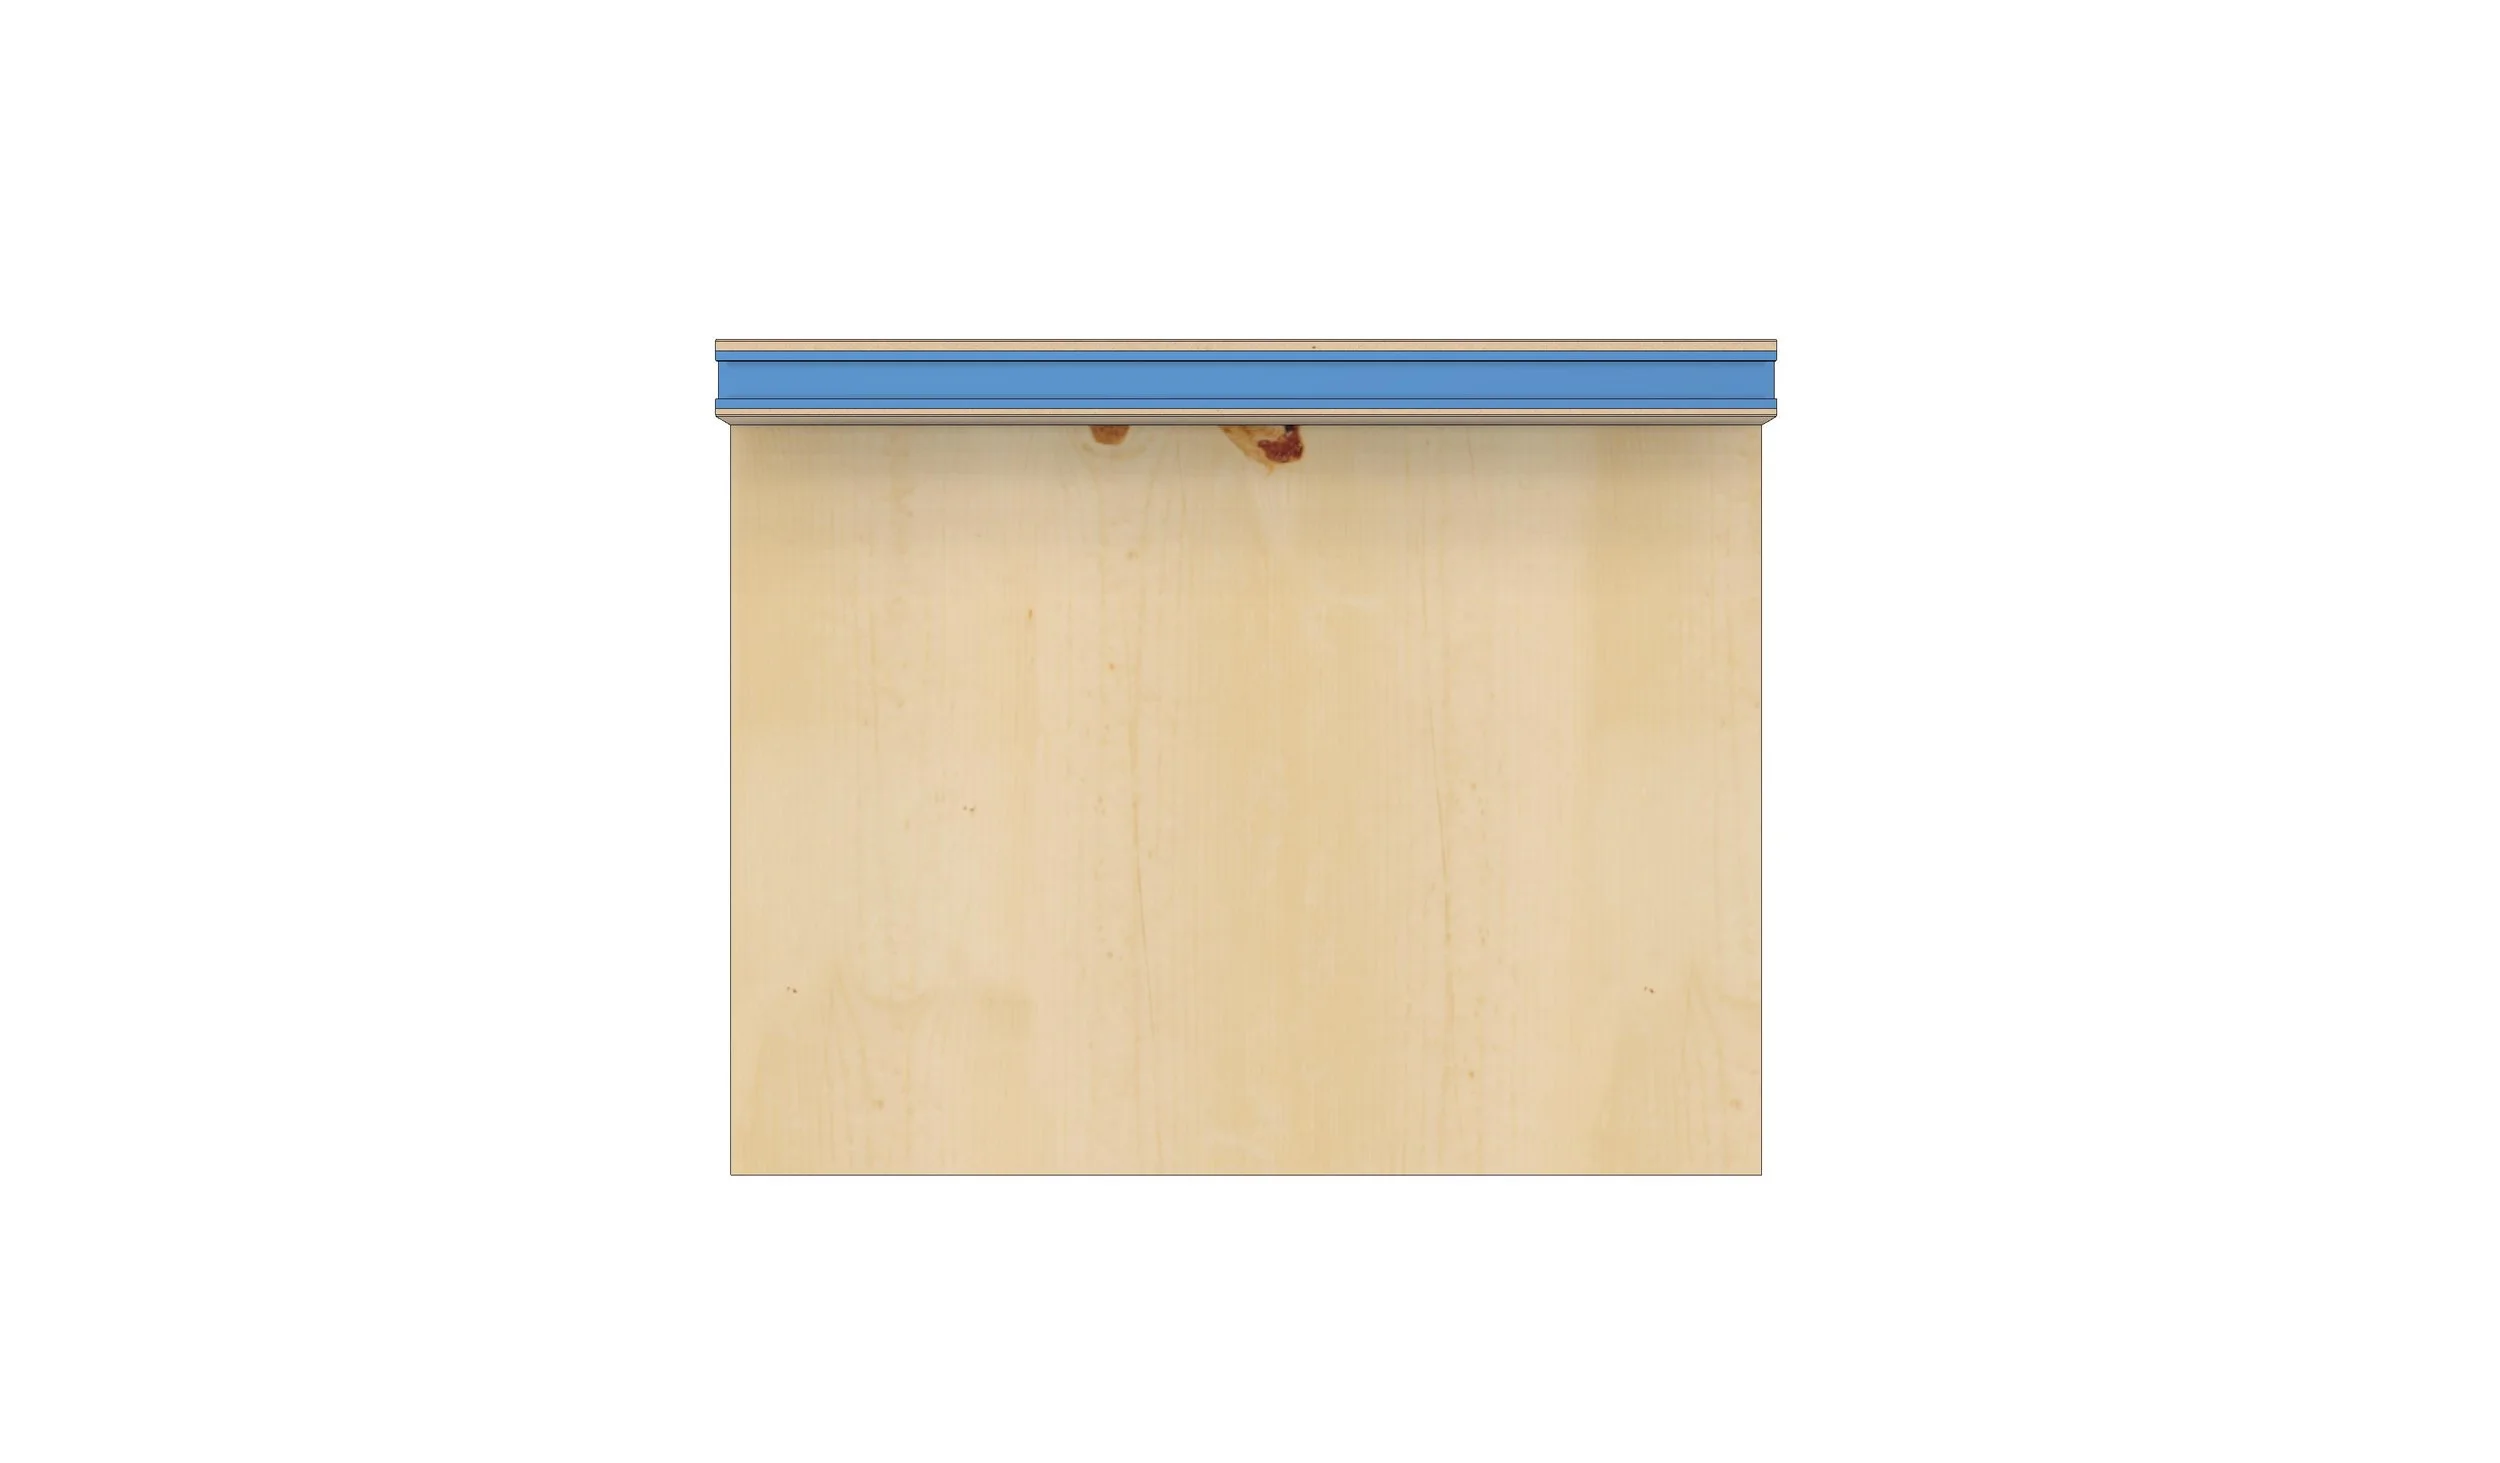
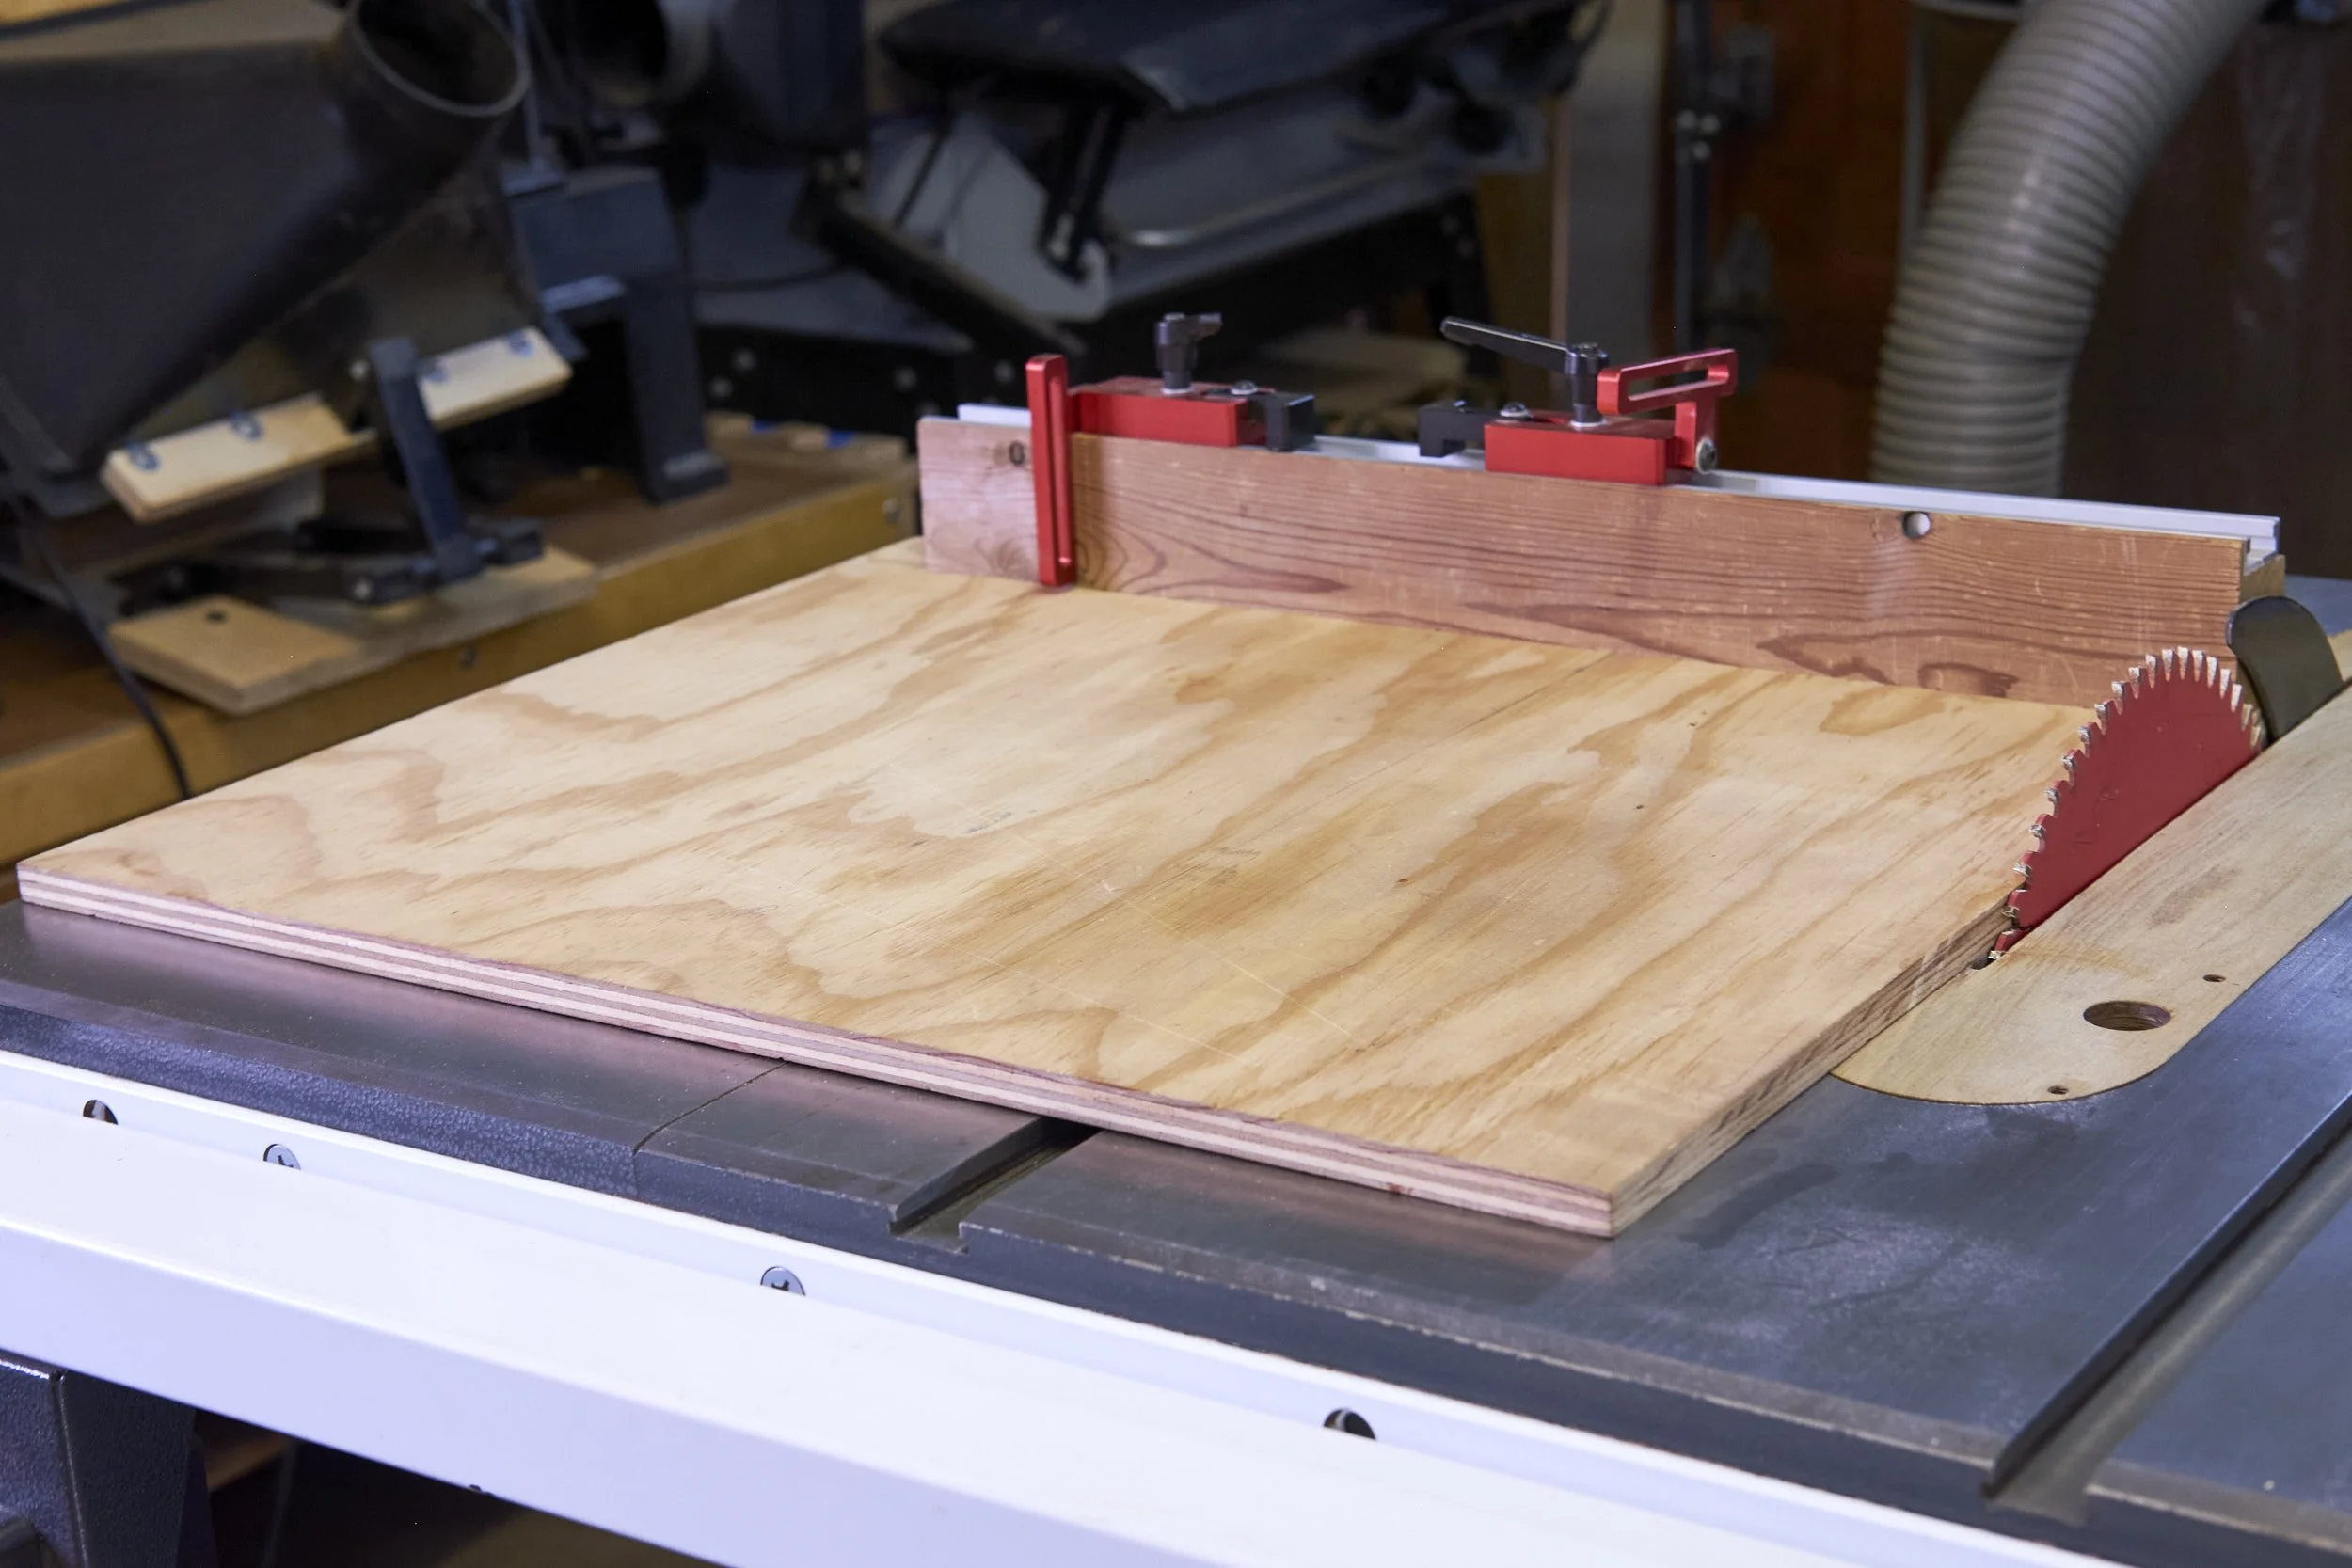
What makes the sled I built unique is that the fence of the sled is positioned away from you and that it runs on only one mitre slot to the left of the blade. Running the sled on only one side of the blade negates the need for a second “fence” to keep the sled together on either side of the blade. Having a single fence significantly extends the cross cut capacity of the sled, even beyond the actual footprint of the sled itself.
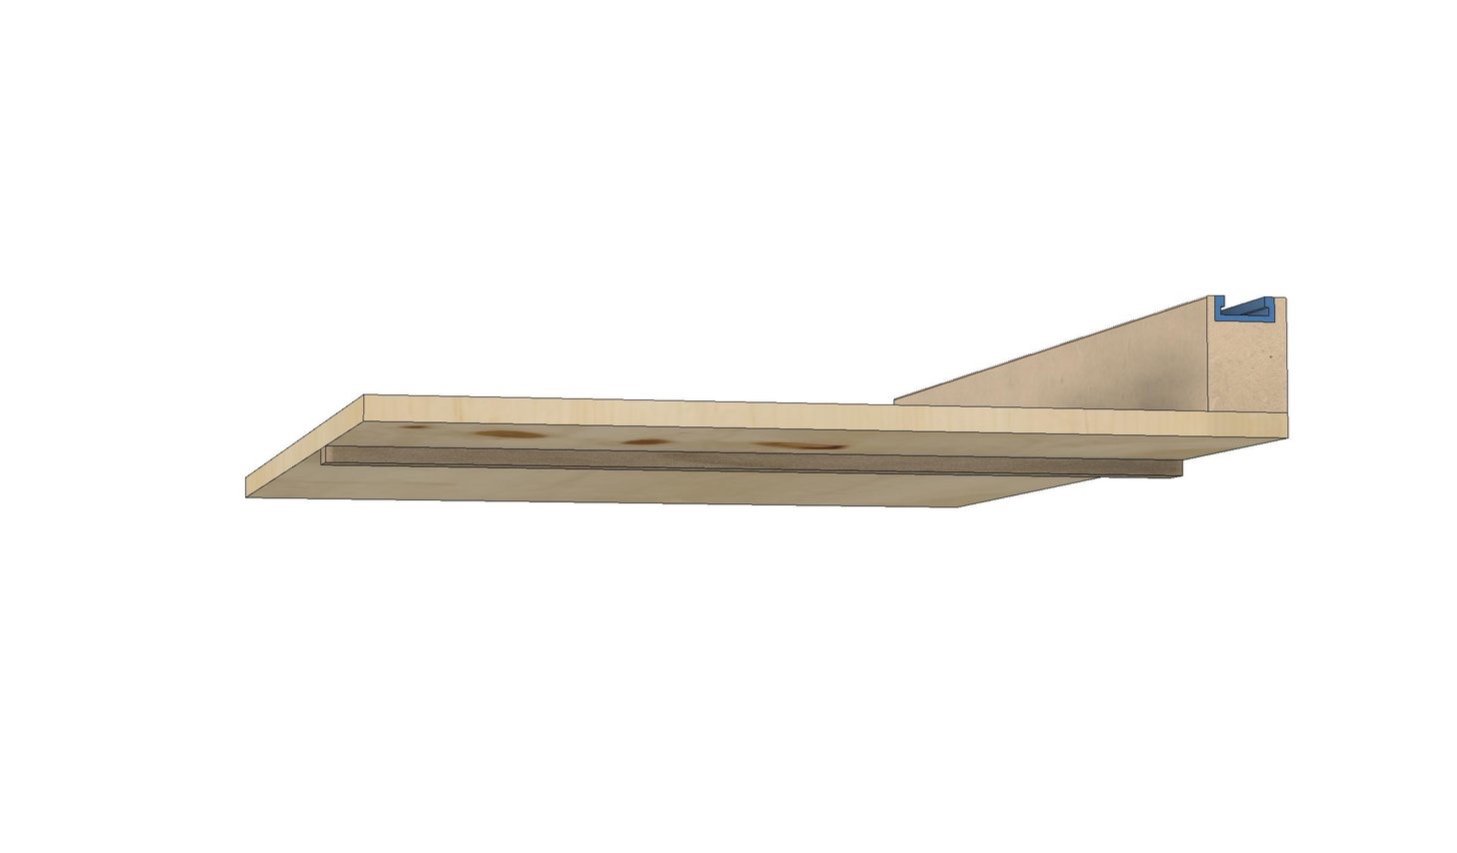
I used the table saw rip fence and a accurate square to line up the cross cut fence and didn’t even need the famed “5 cut method” to set anything up and although not absolutely perfect I have found it to be good enough. No more uncouth language required.
I now have a crosscut sled that handles anything I need it to do in my shop at the moment and I only need a single hand to lift it off the table saw!
Is it perfect?
Nope, I need to remember to put downward pressure onto the base while making cuts as the cheap ply has developed a bit of a warp that lifts the base off the saw table at one corner and in my haste to build the sled I didn’t undercut the fence to make space for dust to accumulate so I need to clean the sled off every so often to make sure the workpiece sits flush with the fence.
In short, it works, doesn’t weigh a ton, is easy to move and doesn’t get in the way. My kind of jig!
Having the fence on the “other” side of the fence does mean that this sled has its own quirks in use and it would be remiss of me not to draw your attention to the following.
Safety
With a “traditional” sled the fence sits closest to the operator and the motion of the blade pushes the workpiece against the fence. In the case of this version the blade wants to push the workpiece away from the fence and this is especially so with dense woods or large workpieces. This force away from the fence can cause the workpiece to move diagonally away from the fence and this can potentially cause the blade to jam in the cut.
As a result of the above mechanics one should pay attention when using this particular style of sled and keep any workpiece firmly pushed up against the fence at all times, especially when using a flip stop to cut multiple pieces to the same size. The last thing you want is for the workpiece to jam up between the flip stop and the blade
Frankly you should be paying attention to what you are doing when using any tool in the workshop anyway, says the guy who struggles to use his left index finger while typing, thanks to a run in with a hand plane blade the day before.
This sled is no more dangerous than any other tool in the workshop, however one area where I believe this sled is safer is that you can see the blade all the time during the cut. On sleds where the fence is on the side closest to the operator and a spinning blade may surprise the user when exiting the fence, unless the exit is clearly marked.
I really like using this sled and the INCRA sees much less use these days as a result.
If you want to get your hands on the plan for this useful jig, sign up to become part of the community and get exclusive access to the plans and remember.
Build them as you need them.