
The Amazing Domino To The Rescue!
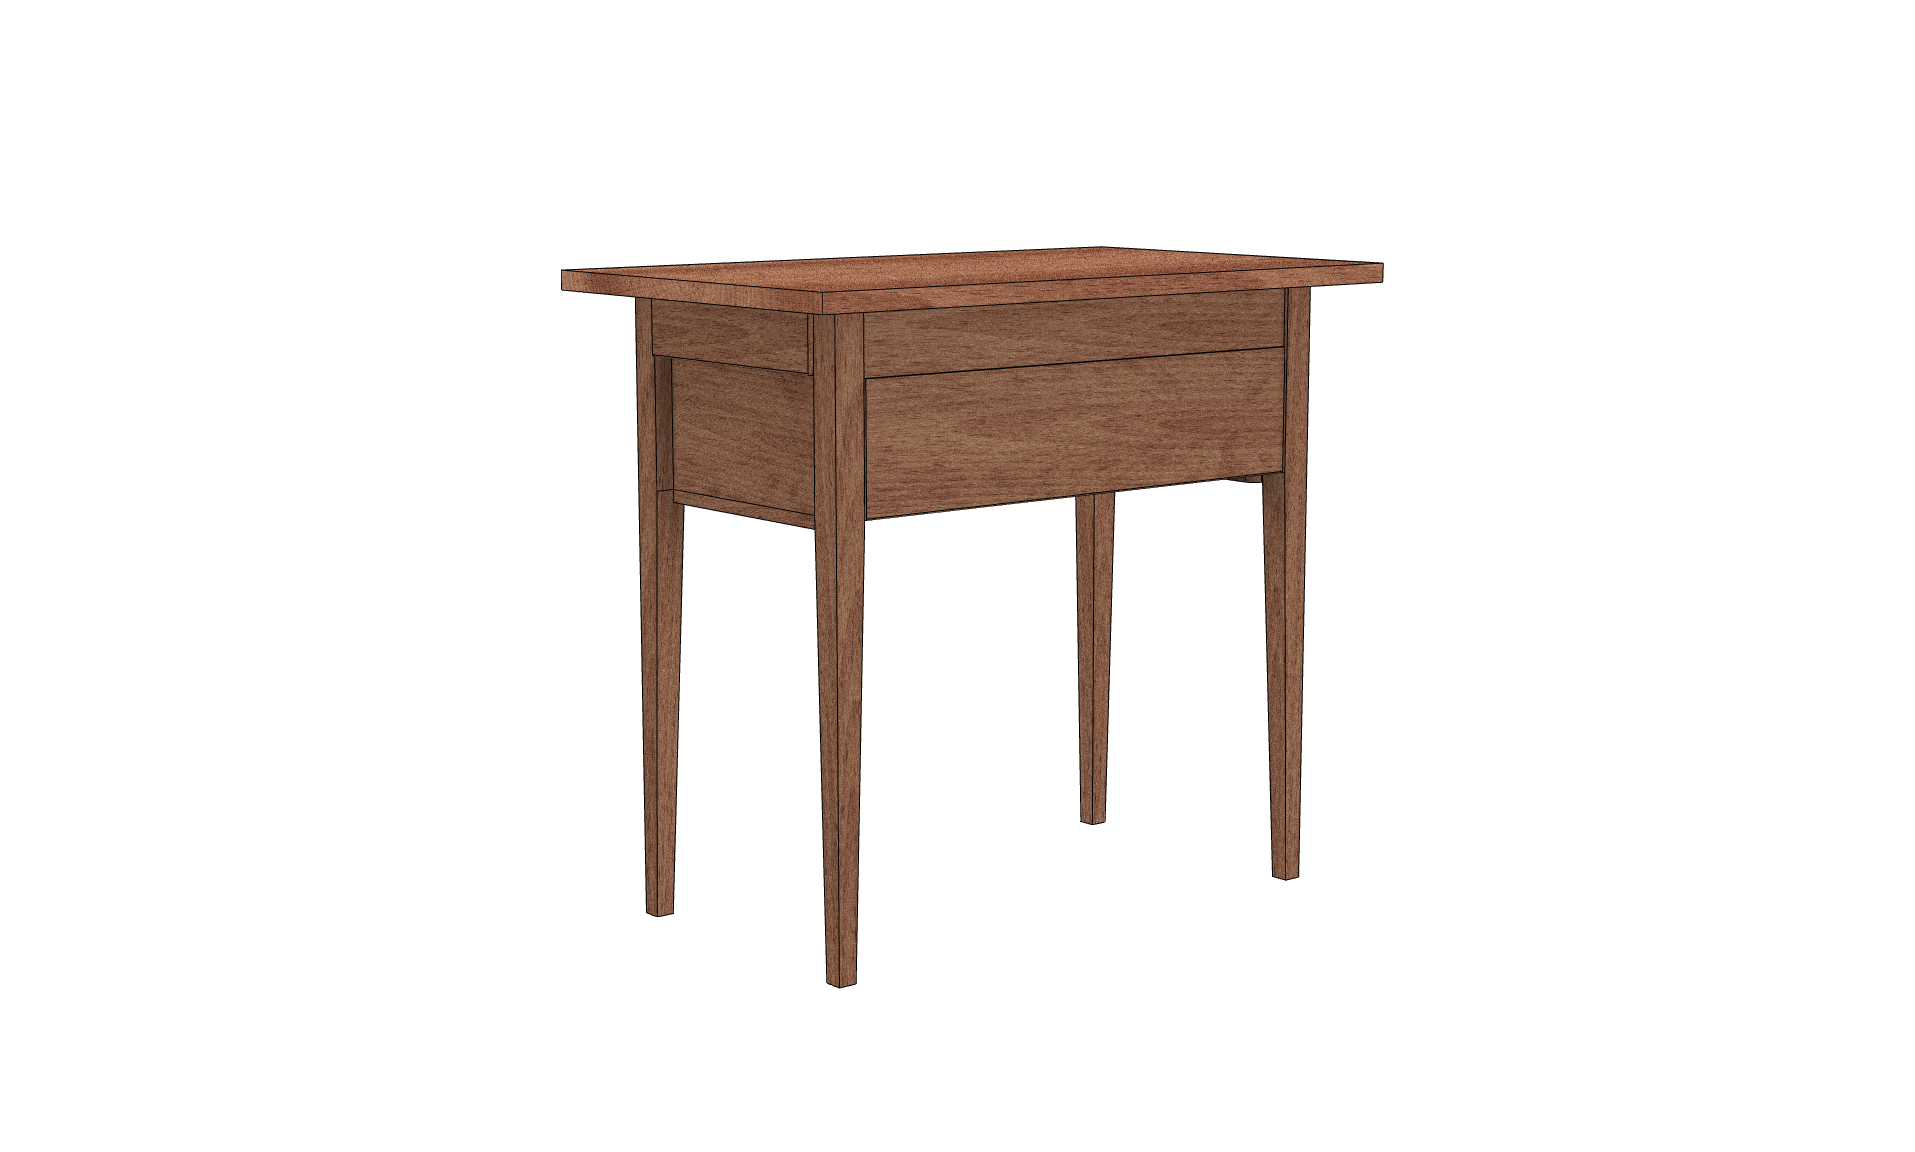
The title for this post should actually be the “The major screw up that actually saved me time!” but the headline analyser that I use felt that the title at the head of the post was the more reader friendly.
This is a build log detailing a recent project where I designed and built a set of Shaker style bedside tables for an internal customer i.e. my wife. These were also made as a group project for our woodworking association’s annual expo as part of the cabinet maker’s contributions.
Being the guy who actually put the bedside tables forward as an option for the group it also fell to me to find a suitable subject!
After trawling the net I found a picture of a suitable example which offered a little something extra in the form of a “hidden drawer” which I rather liked. Of course having just an image to work from wasn’t ideal, especially on a group project, so I spent a few days drawing up plans for the tables using the photo as a basis and provided the members with some basic drawings to work from.
This post will be the first in a build log series detailing this particular build and will supplement the plans I’m hoping to have for sale on the website soon.
Intro done. Let’s get on with it, shall we?
We’ll get to the details of the title in a minute.
Step 1: Stock Prep
As part of this project I recently wrote a detailed post on 10 simple steps to process rough lumber into dimensioned stuff that can be used to build things, you can read more here.
So why the title of this post?
It all started after I somehow managed to take the length measurements of the aprons between the legs as the final length of the parts without including the tenons that were supposed to go into the legs. This resulted in aprons that were too short on the front and back as well as the sides!
A design change was on the cards.
Measure twice and cut once I hear you say? Well I did, I just used the wrong measurement twice, thrice actually and now had aprons that were under length.
Pro Tip: Components of the same thickness can be processed at the same time, this will ensure consistent dimensions across components without having to fiddle with depth settings on your thicknesser at a later stage in an attempt to match dimensions.
Pro Tip: When cutting aprons to final length it helps to pair aprons and cut them together i.e. front and back together and the sides together. This will ensure that the pairs are exactly the same length which will hopefully result in a square assembly down the line. Getting this right will make all the difference when fitting the drawers later.
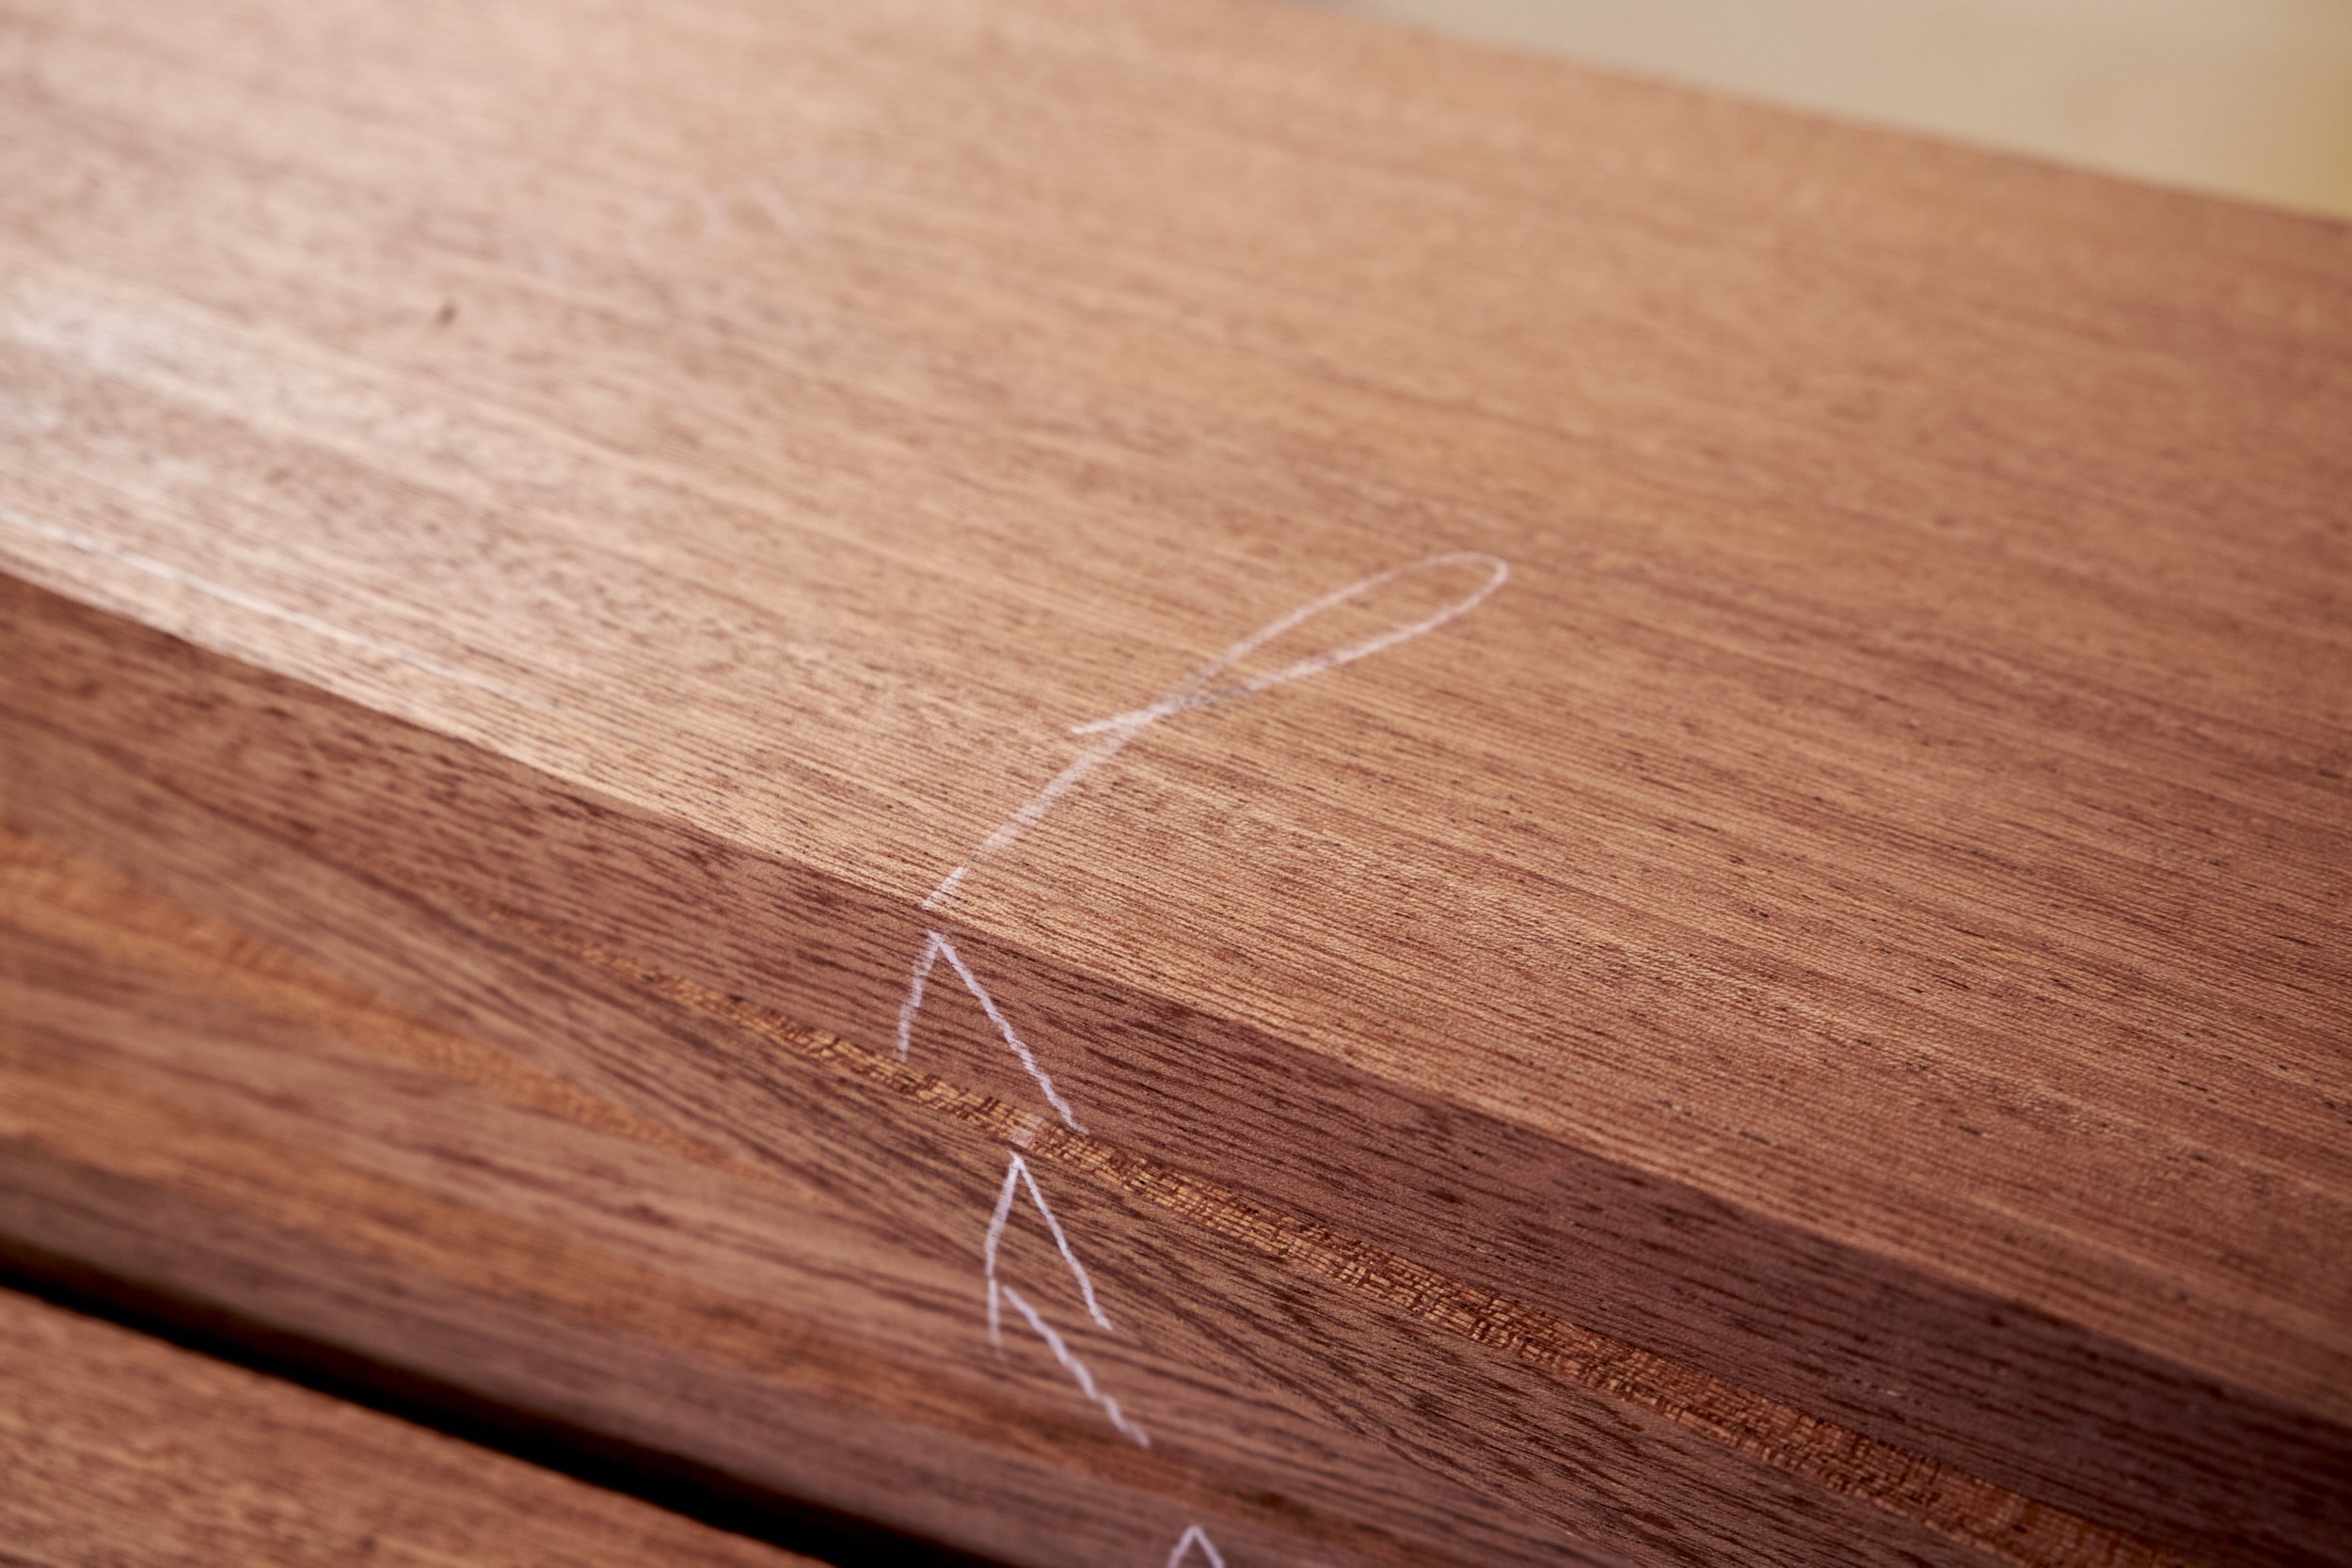
Mark, mark, mark! Remember to mark your components clearly and legibly. If you decide to take up this project you will likely be building a set of two which means that you will be prepping two sets of components which makes marking even more crucial to help keep track of all the parts. In my case I named one set A and the other B.
There may be another deep dive on its way, this one looking at marking components
With a pile of parts in hand it’s on to joinery and it is here that the Festool Domino came into its own.
Step 2: Joinery
We head into the joinery section with some notes.
The plan set shows the joinery as traditional mortise and tenons but this project can be assembled using both dowels and loose tenons.
The picture of the table I found showed that the reveal between the legs and aprons on the sides were much “deeper” than the front. This makes for interesting joinery!
In this design the drawer isn’t surrounded by a frame but it seems to float under a single narrow apron. One of the design elements that attracted me to the project from the start.
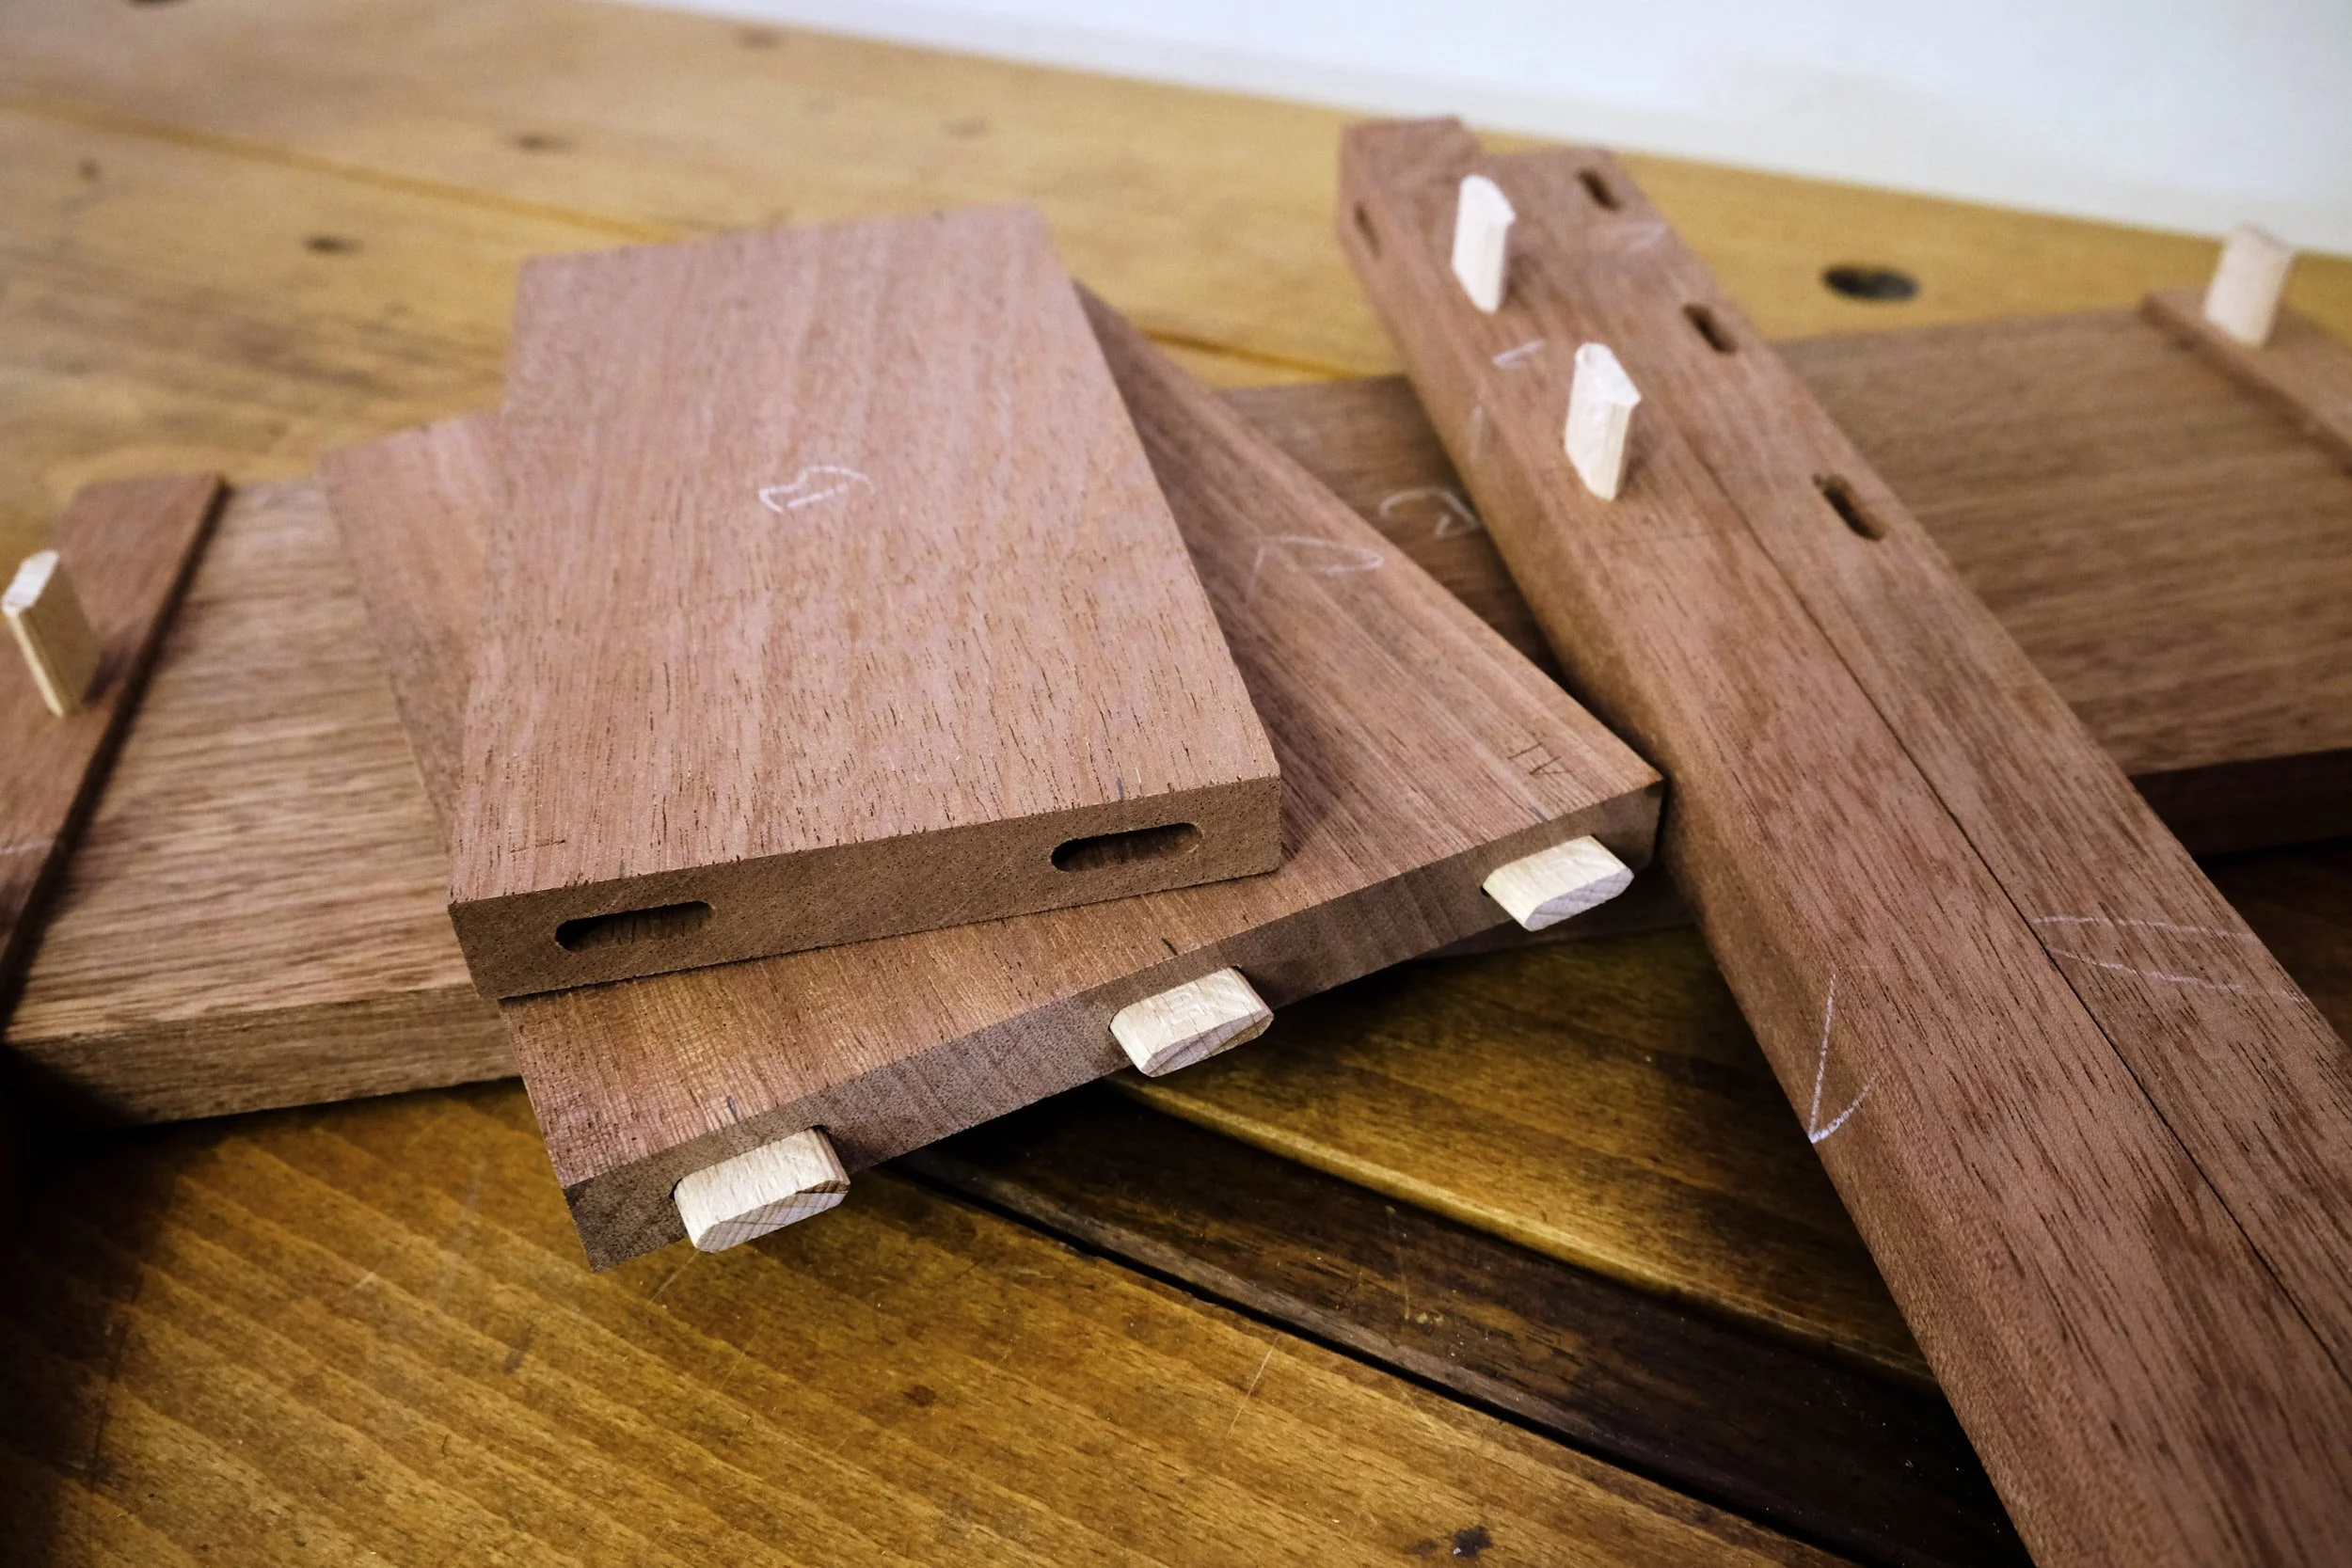
In light of my slight hiccup during during step 1 a change in joinery method became prudent, nay crucial if I was to finish this project in time for the expo and it was here that the Festool Domino became the perfect alternative to the traditional mortice and tenons that I had planned to use.
I did neglect to mention that this project saw some delays due to other commitments and that I was short on materials and time heading into this build, so not only did the Domino save my bacon after my measuring bungle but it also saved a bunch of time too.
The latter would become very much appreciated as it turned out!
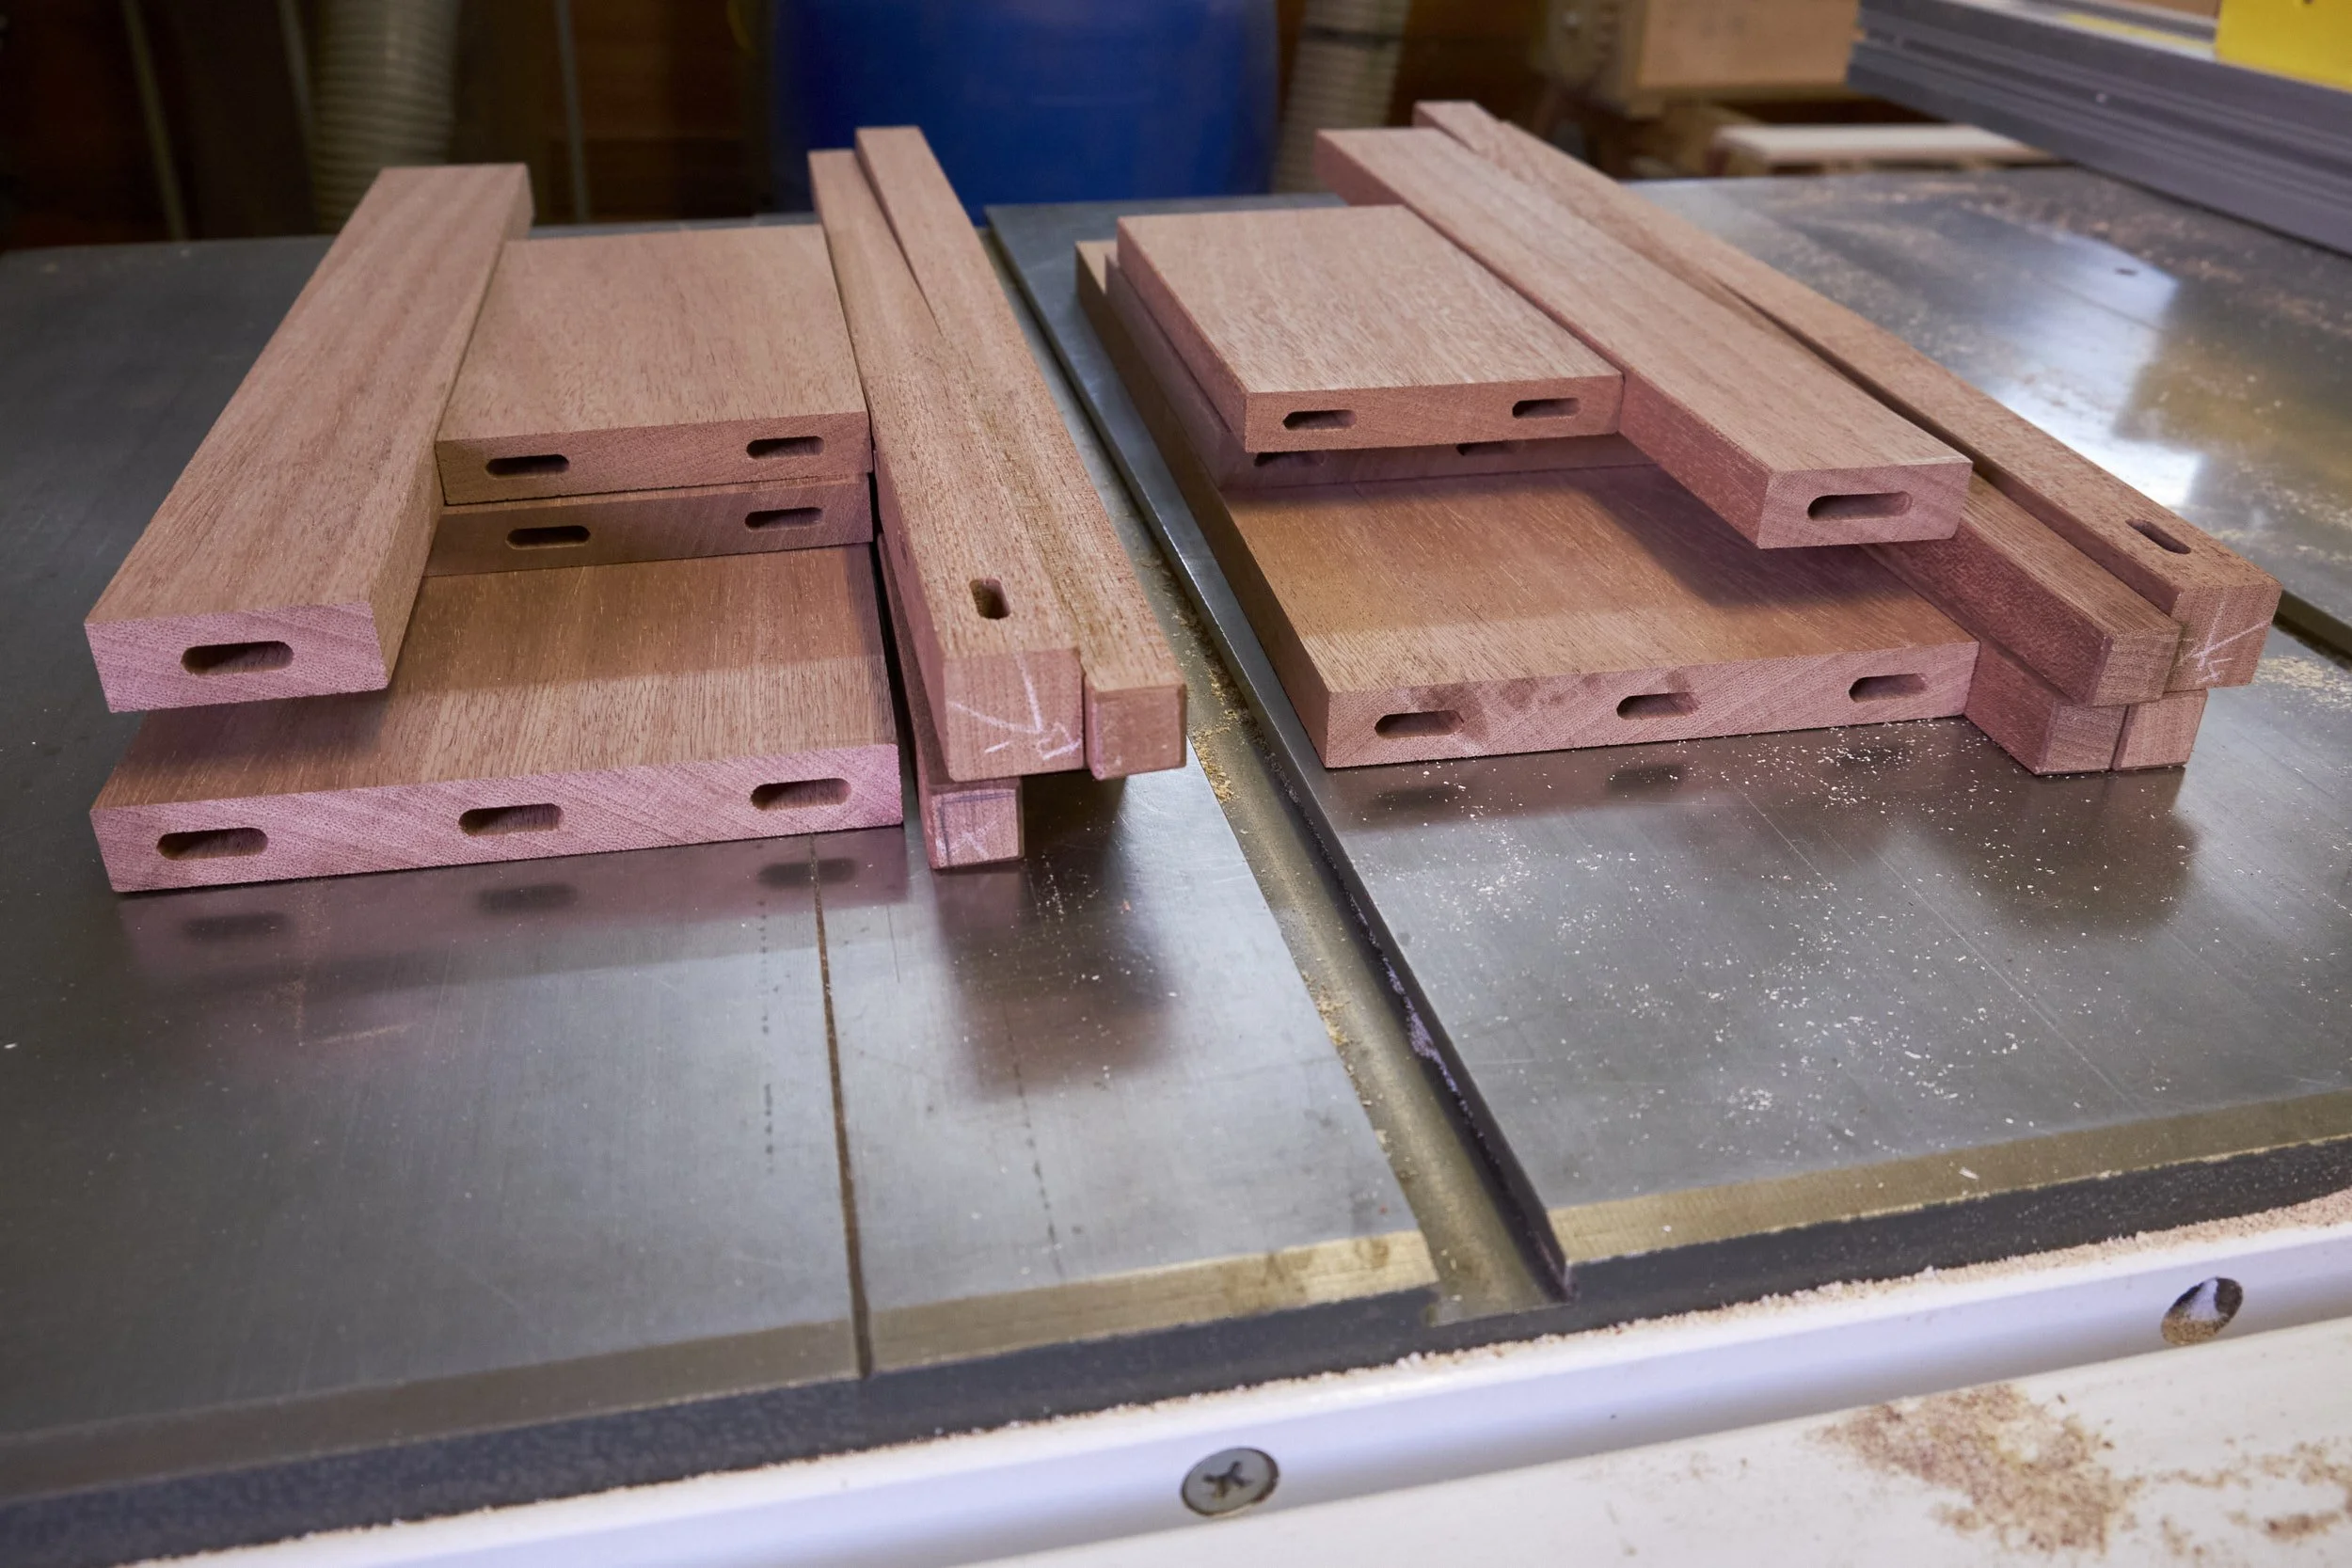
With the final thickness of all the aprons at 15mm the 5x30mm Dominos became the perfect solution for the joinery and I started out by measuring and marking the mortises on the front and back aprons. Three equally spaced mortises on either side of the back apron and a single centralised mortise on each side of the front apron.
On the side aprons the mortise positions were determined in a manner that would hopefully not interfere with the front and back aprons.
Be sure to mark the joinery for each table using the parts belonging to each. The last thing you want is to find out that the apron for table A doesn’t line up to its legs because you used the apron for B to transfer positions to table A’s legs.
This is how I went about it.
Separate all components for each table and keep them well apart.
Measure and mark the joinery for the mortises on a single table’s aprons.
Bring the second table’s aprons over and mark the mortise positions directly from the first table’s aprons. Doing it this way saves time by not needing to measure out the positions of the mortises on the second set as well.
Split the aprons between the A and B pile of components.
Mark the mortise positions directly from the aprons onto the legs.
Marking complete I cut the mortises. In the case of the side aprons I made the mortises deeper in the apron than in the legs. The legs are only 25mm square and if I kept to the 15mm depth for the tenons into the legs I would have cut into the front and back apron’s tenons to make the mortises.
Pro Tip: If the legs are to be tapered as is the case in this project keep them square as long as you can. Marking and cutting joinery of any kind is much easier with the stability offered by square components, without having to juggle parts that do not sit still on the workbench due to tapers.
Step 3: Taper the Legs
Before the tapering part do a dry fit of all the components to check the fit.
I have never tapered legs before and I made some extra legs to practice this step. Thankfully I did and this would go down as another Pro Tip.
Pro Tip: If you have never before cut a particular kind joinery or shaped a specific component make sure you dimension extra parts to allow you to practice the joinery or shape a component. If you choose not to practice and go ahead with the new technique anyway you will at least have extra parts to fix mistakes.
In the design process I guessed what taper would look nice but the 3D render didn’t provide a clear idea of what I could expect as the final look, so I used one of the extra legs I made for this purpose to experiment with the final taper.
I made a temporary jig to keep the legs stable so that I could taper them using a hand plane. After lots of fiddling and harsh language I had some idea of the taper I liked. Just enough so that you would see it but not so much as to look like a new born giraffe.
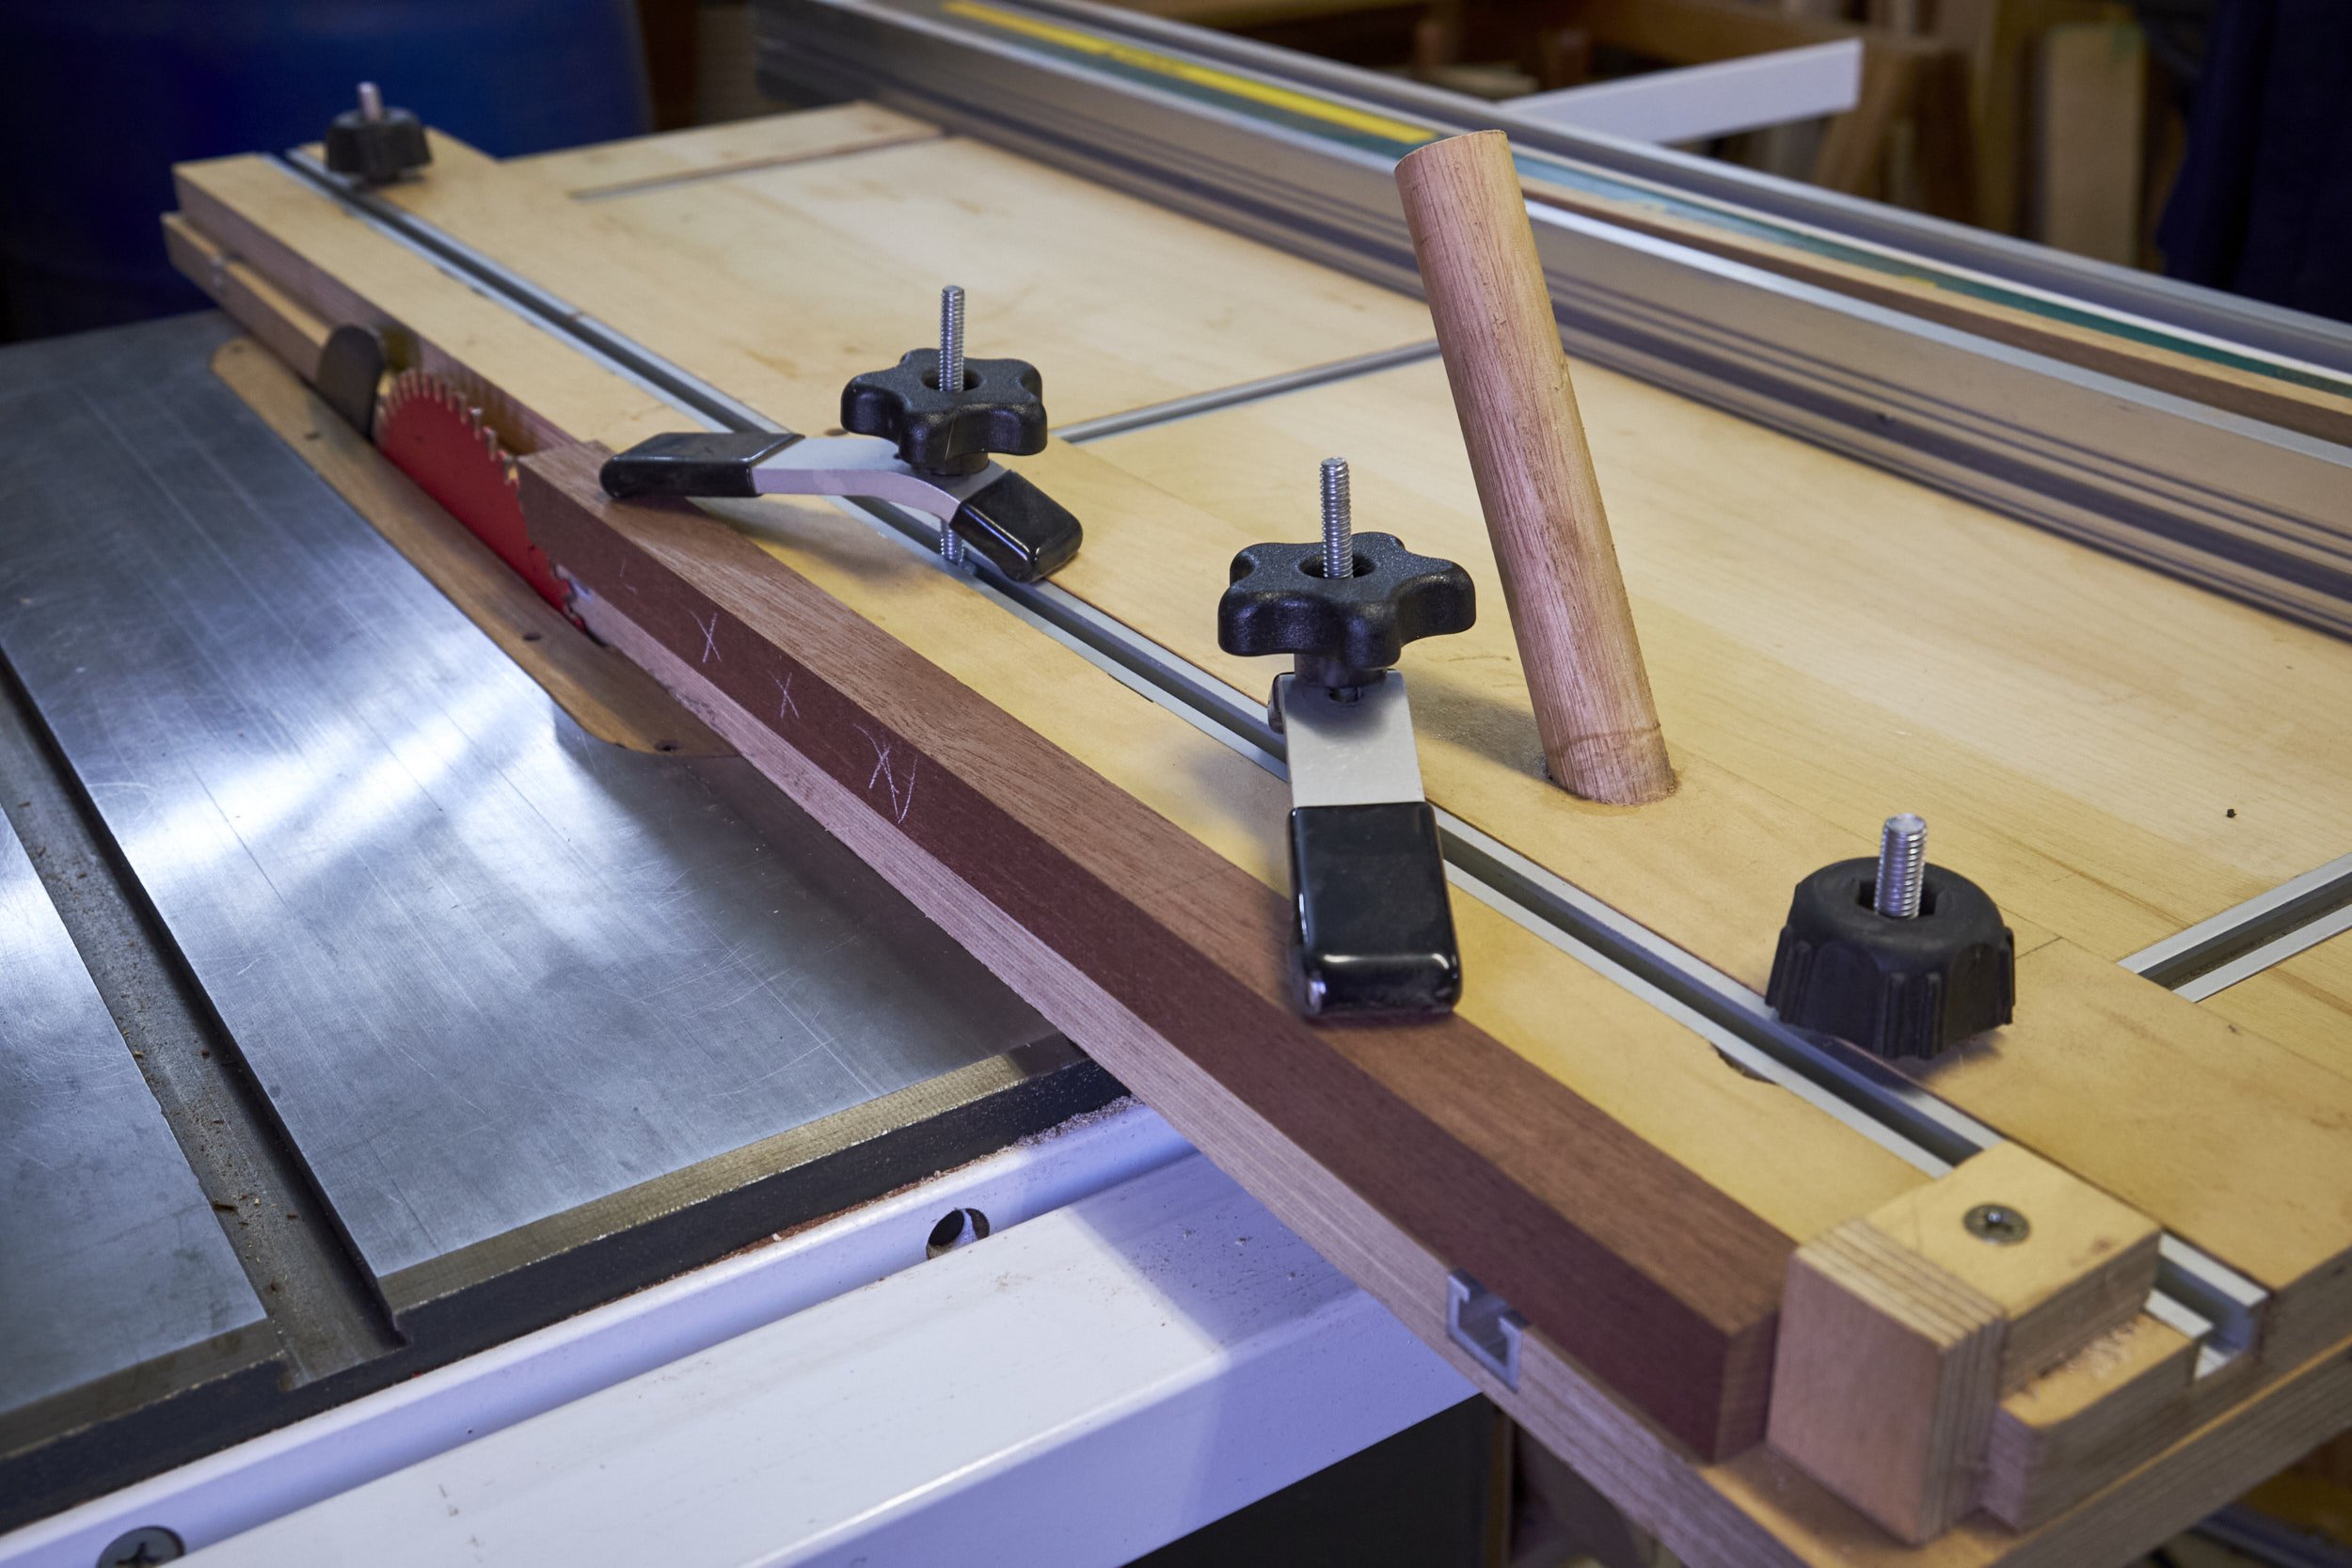
The fiddling part was not fun though and I was most certainly not going to taper two sides on eight legs in this manner (16 tapers) so I reached for a rarely used jointing/tapering jig I had made long ago and headed over to the table saw. Once I had the settings dialled in it was a simple matter of running all the legs through the table saw and within 10 minutes I had all the tapers cut and ready for the first dry fit.
By the way if you haven’t signed up for my newsletter yet I would greatly appreciate it if you would consider doing so at the bottom of the page here. If you sign up I will send you a link and password to my “super secret” page where I have free plans you can download to build useful jigs and shop projects. My jointing/tapering jig will likely be the next build plan to be added to the page.
Step 4: Finishing
Yes, you read right, we move on to finishing. At least partly.
Aprons are notoriously hard to get to, especially where they meet the legs. Use a hand plane or sanding to prep the show faces of the all the aprons before final glue up. It will make the finishing process much easier down the line.
I also gave the legs a few swipes with the smoothing plane before assembly.
Step 5: Glue Up
Do another dry fit after tapering the legs to make sure all is good and check that you have tapered the correct faces on the legs! You would be surprised……..
If happy, the committing of glue can proceed.
I like to glue up smaller parts together and then glue up those to make up the whole.
Start with the back and front aprons to the legs, make sure that the parts go together square.
Glue the side aprons to the “back assembly”, again checking for square.
Install the “front assembly” onto the side aprons to finish the glue up of the main structure.
To help save time during the glue up process I completed the back and front of table A and then moved on to do the same for table B. I went back to table A to glue in both side aprons before doing the same on table B. Lastly I glued the assembled front section of table A to its side aprons to complete its glue up before moving on to finish table B.
Clean off any excess glue and set the tables to one side. Start prepping stock for the tops and drawers if you haven’t yet done so and I will see you in the next post in the series.