
The 10-Step Guide to Dimensioning Raw Lumber
I recently went shopping for rough lumber for a project and the final thickness of the material that I would be using was very close to the rough dimensions of the boards that were available. I wondered aloud if I would need to amend my design just make sure I had enough meat available, when the gent that was helping me wondered aloud that it all depended on who processed the stock to final dimensions.
Most if not all of what we do as makers start with rough raw materials and although you can have the raw materials processed into the dimensions needed by someone else, doing so yourself not only provides more flexibility but ensures that you have all the control that determines the final quality of the product from the start to the final finish.
Not to mention being able to manage costs if you happen to do this for a living.
I promised myself that this one would be short and easy to read and here I am at 180 words and haven’t said much about any of those simple steps!
By the way these steps hold true for dimensioning stock using machines or doing it by hand.

Step 1: Let It Rest
At least let it do so if you can.
As soon as you have the raw materials in hand allow the stock to acclimatise in your own workshop for at least a week or two and if you can even longer. I try to leave all the rough lumber for a project to acclimate to my own workshop for at least 3 weeks before I cut, plane or thickness anything.
This does two things.
It limits the amount of wood movement after doing my initial rough dimensioning which in turn cuts down on the work I need to do before I can start a project and also allows me to work more accurately during the build because flat and square remains nominally so after final dimensioning.
It delays the “are you done yet?” queries by at least 3 weeks because customers are made aware that the lumber needs to rest before dimensioning and joinery starts.
Step 2: Basic Layout
This is my sanity check.
I usually build from my own designs and although I had made all the calculations for the raw materials I needed before heading out to my local lumber yard I still need to make sure I have enough materials to actually build the project.
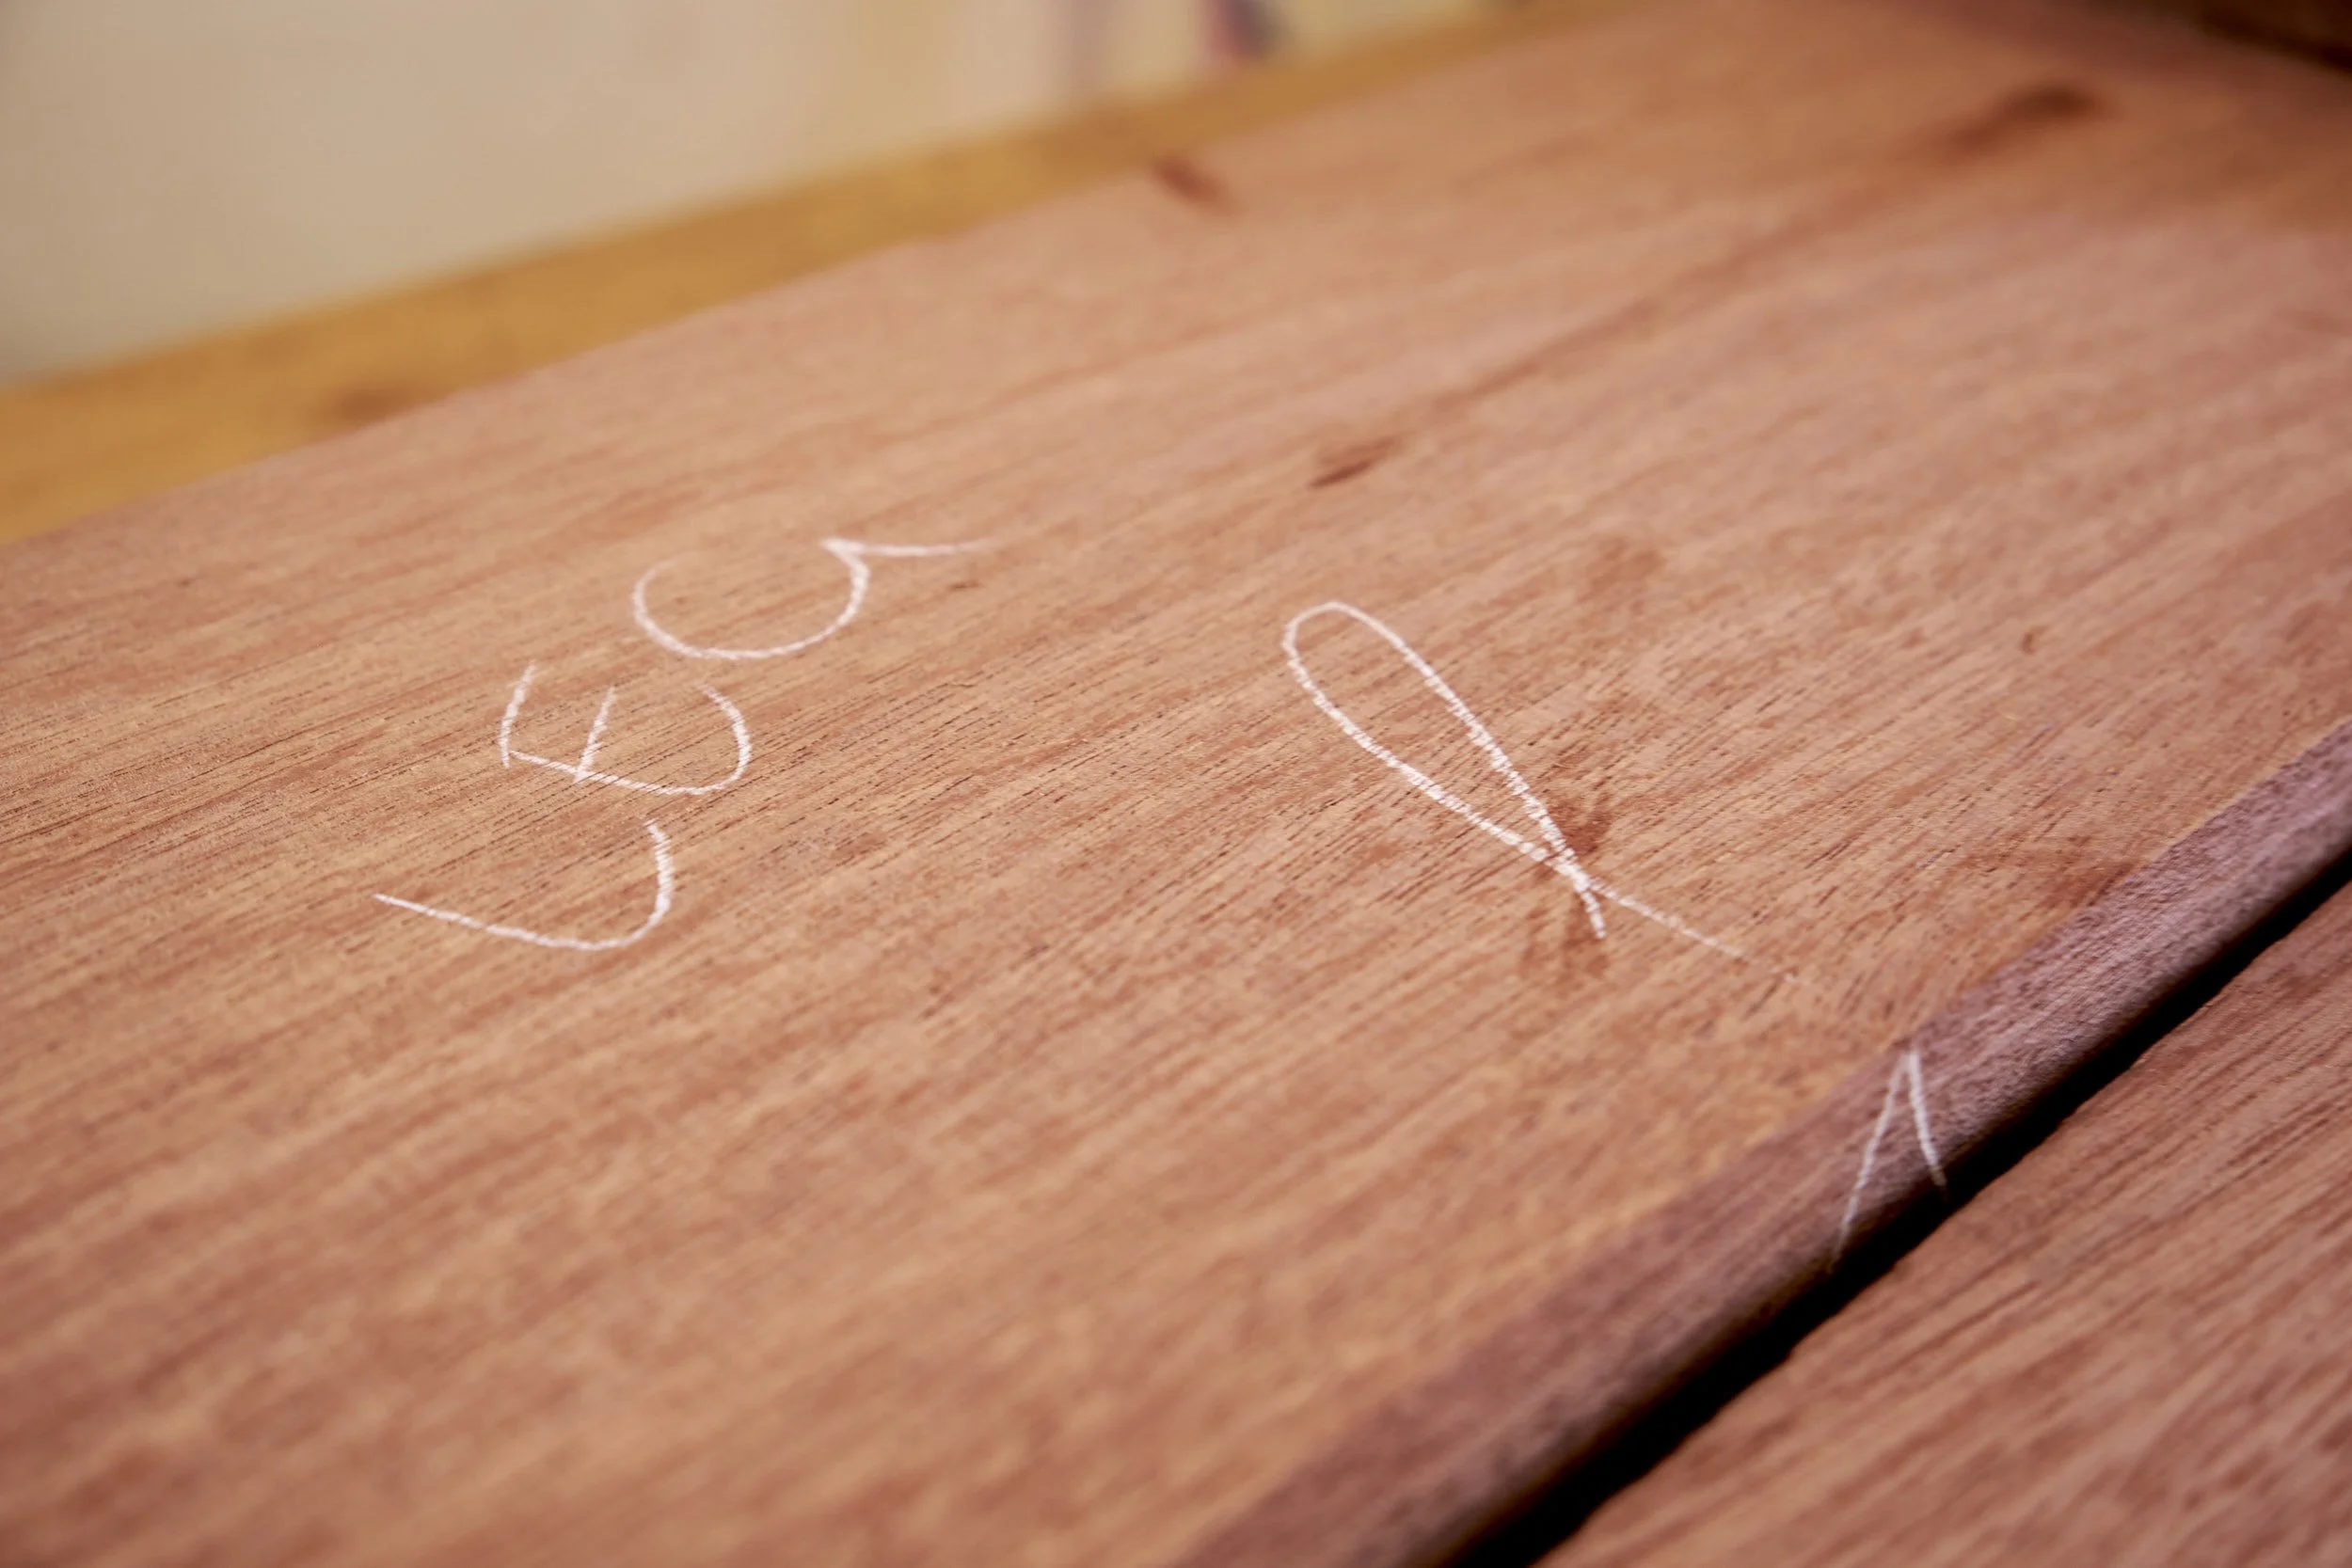
With a printout of the technical drawing in hand I go down to the workshop and start marking out each section of lumber that will be used to make each individual component. I do this in a highly visible manner using either a white pencil or chalk to mark out and write the name for each component.
I don’t simply state that this section may be long enough for this or that part and move on to the next plank but I study each lumber section for checks, cracks or other “faults” that I may need to work around. These imperfections often appear after arrival in my shop and it is exactly why we need to acclimate raw lumber to local conditions. Any new imperfections may render your planning moot if a crack runs right through the section that was to become the table top.
As I mark each component name and rough dimension onto a section of raw lumber I tick each one off, either directly from the drawing or from a cultist. This way I know that I have enough lumber to build the project and it prepares me for step 3.
Pro Tip: Buy anywhere between 10-20% more lumber than you think you’ll need. You may need to work around a new crack or that check on the end of the board may go deeper than you thought. If I have extra material and time left on a customer project, I make something small for them as a bonus. Simple boxes are especially popular.
Step 3: Rough Cuts
Using the layouts in step 2, cut boards into rough sections.
If you do not remember anything else from this post, remember this, wood moves!
The board from the yard has had a tough life before you got it and it is likely that it had bowed, twisted or cupped after it was cut out of the tree. Most likely it has had all three happen to it and it is here where you can maximise both your raw materials and your time.
A bad twist or bow in a long board can be especially difficult to get out and one needs to remove a significant amount of raw material to get it out of twist or flat. Cutting it into smaller components before processing makes it much easier as the act of chopping it up into smaller sections effectively does some of the work for you and significantly saves on materials and time. I am not saying that you should cut each individual component out of you materials at this point but keep the sections in manageable sizes.
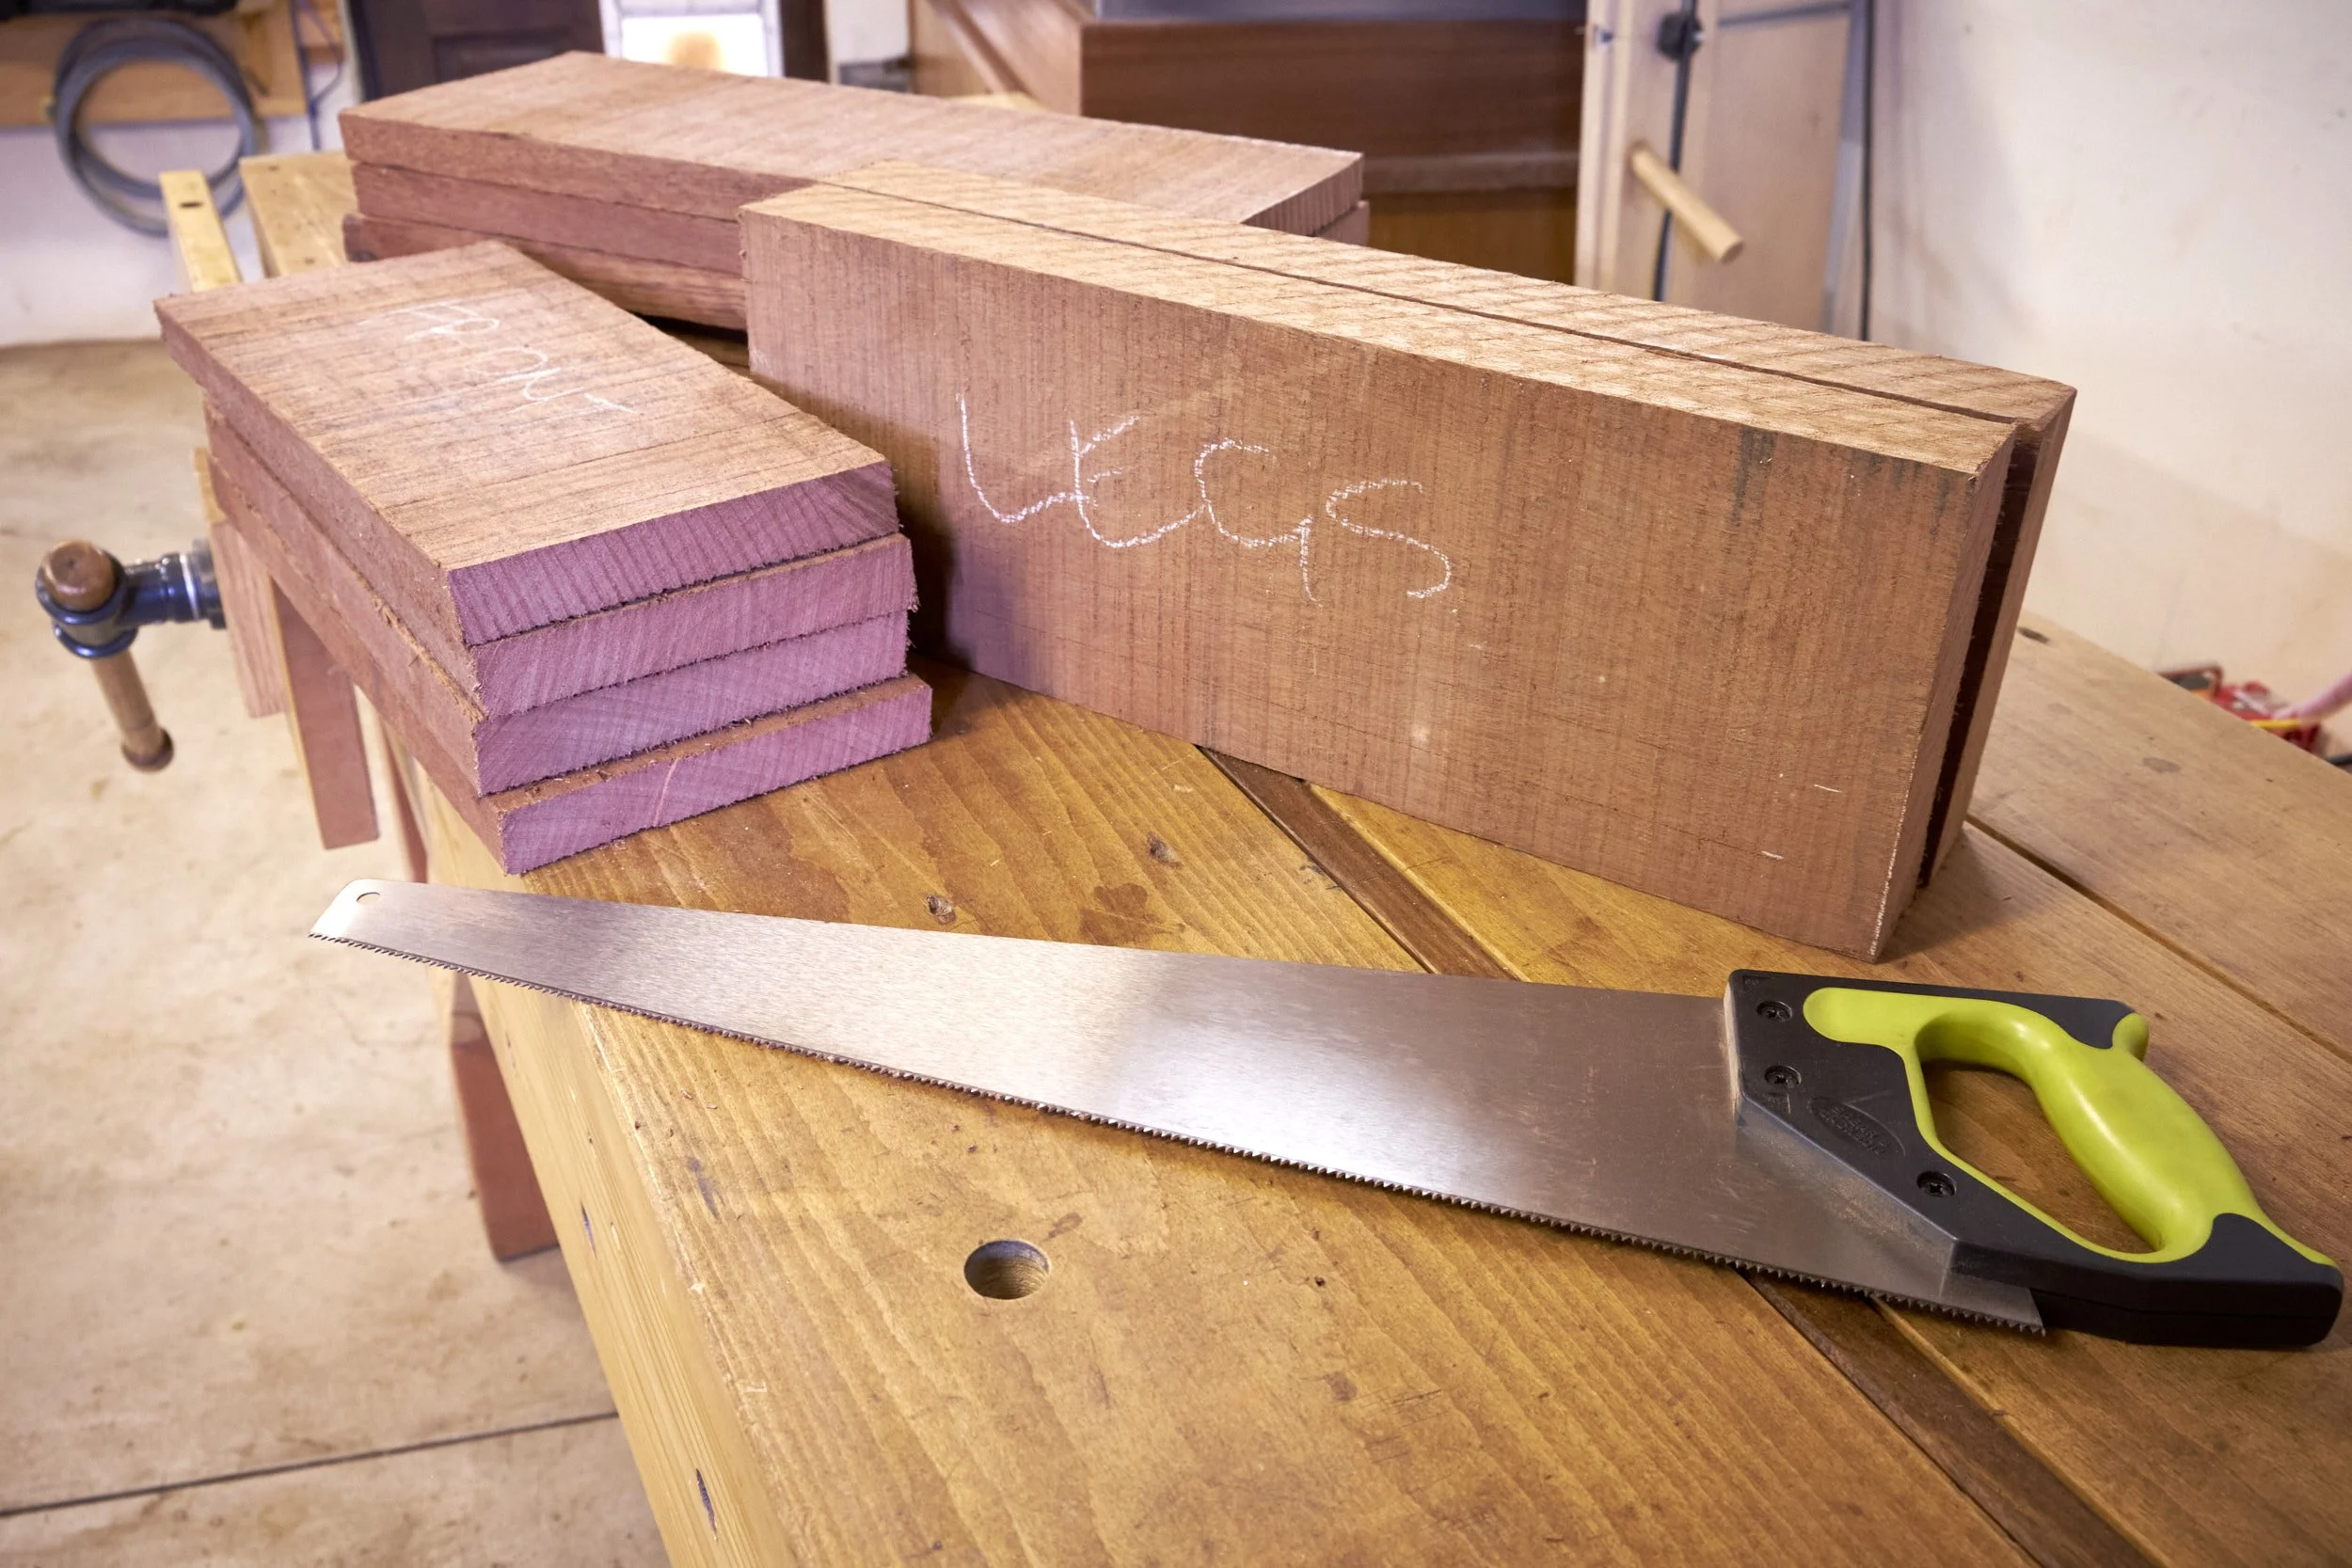
A good example would be to keep two shorter aprons in the same section, when having each separate would make them fiddly or dangerous to process on machinery, or if you can get 3 legs out of the width of a plank, keep them “attached” in a single section until you get to the final dimensioning step.
Doing rough cuts as described above is likely the most crucial step in the whole process of dimensioning rough stock.
What do I use to make these initial cuts?
Well, a cheap hard point handsaw of course! It’s good exercise and I practise making straight cuts by hand.
Step 4: Assess The Sections
This step takes on 2 dimensions.
The first is to decide which side of a plank goes down onto the jointer and the second, in what direction it should be fed through the machine. This assessment affects the way the lumber is fed through the thicknesser as well.
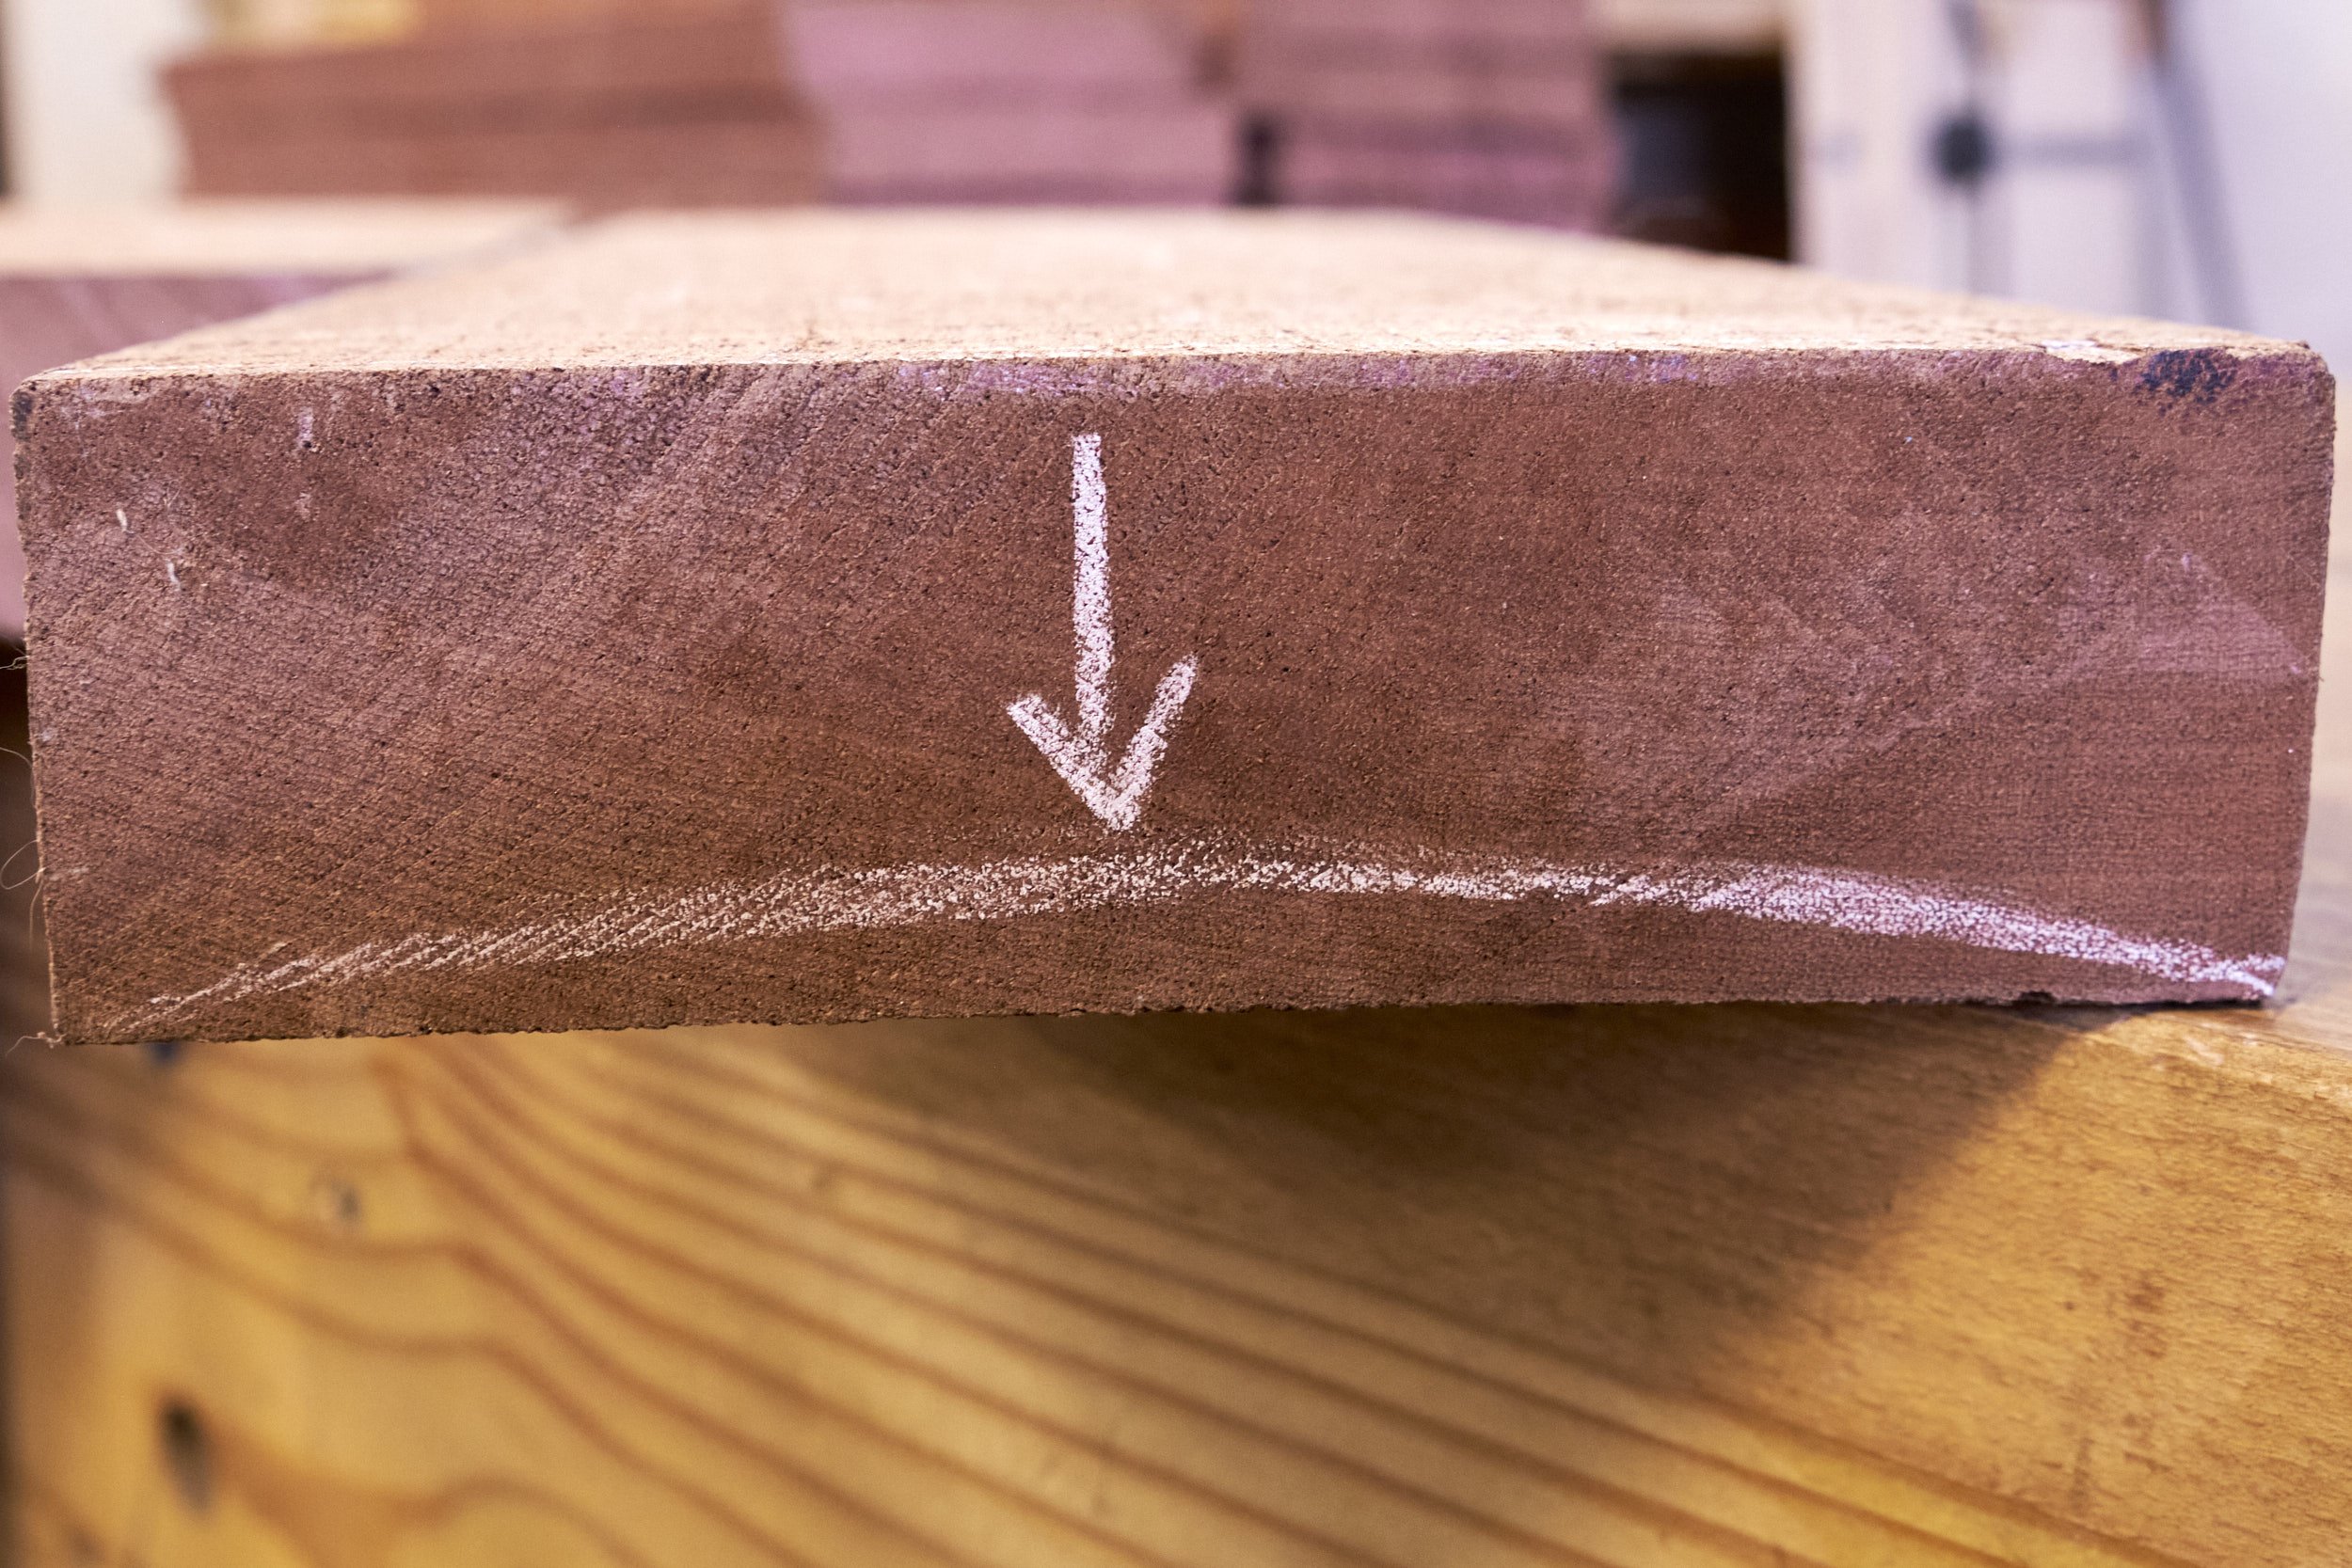
I start by checking for cupping and I do this by eyeballing down the length of the plank when viewed from an end. When pushing the section through the jointer I place the workpiece cupped side down so that the edges of the board rest on the bed. This allows the plank to remain stable during jointing. If I pushed the plank through the jointer with the crown on the opposing face of the board resting on the jointer bed the board will be unstable and I will likely remove too much material from one or the other side of the board. The images included shows what I mean and the result of following this practice.
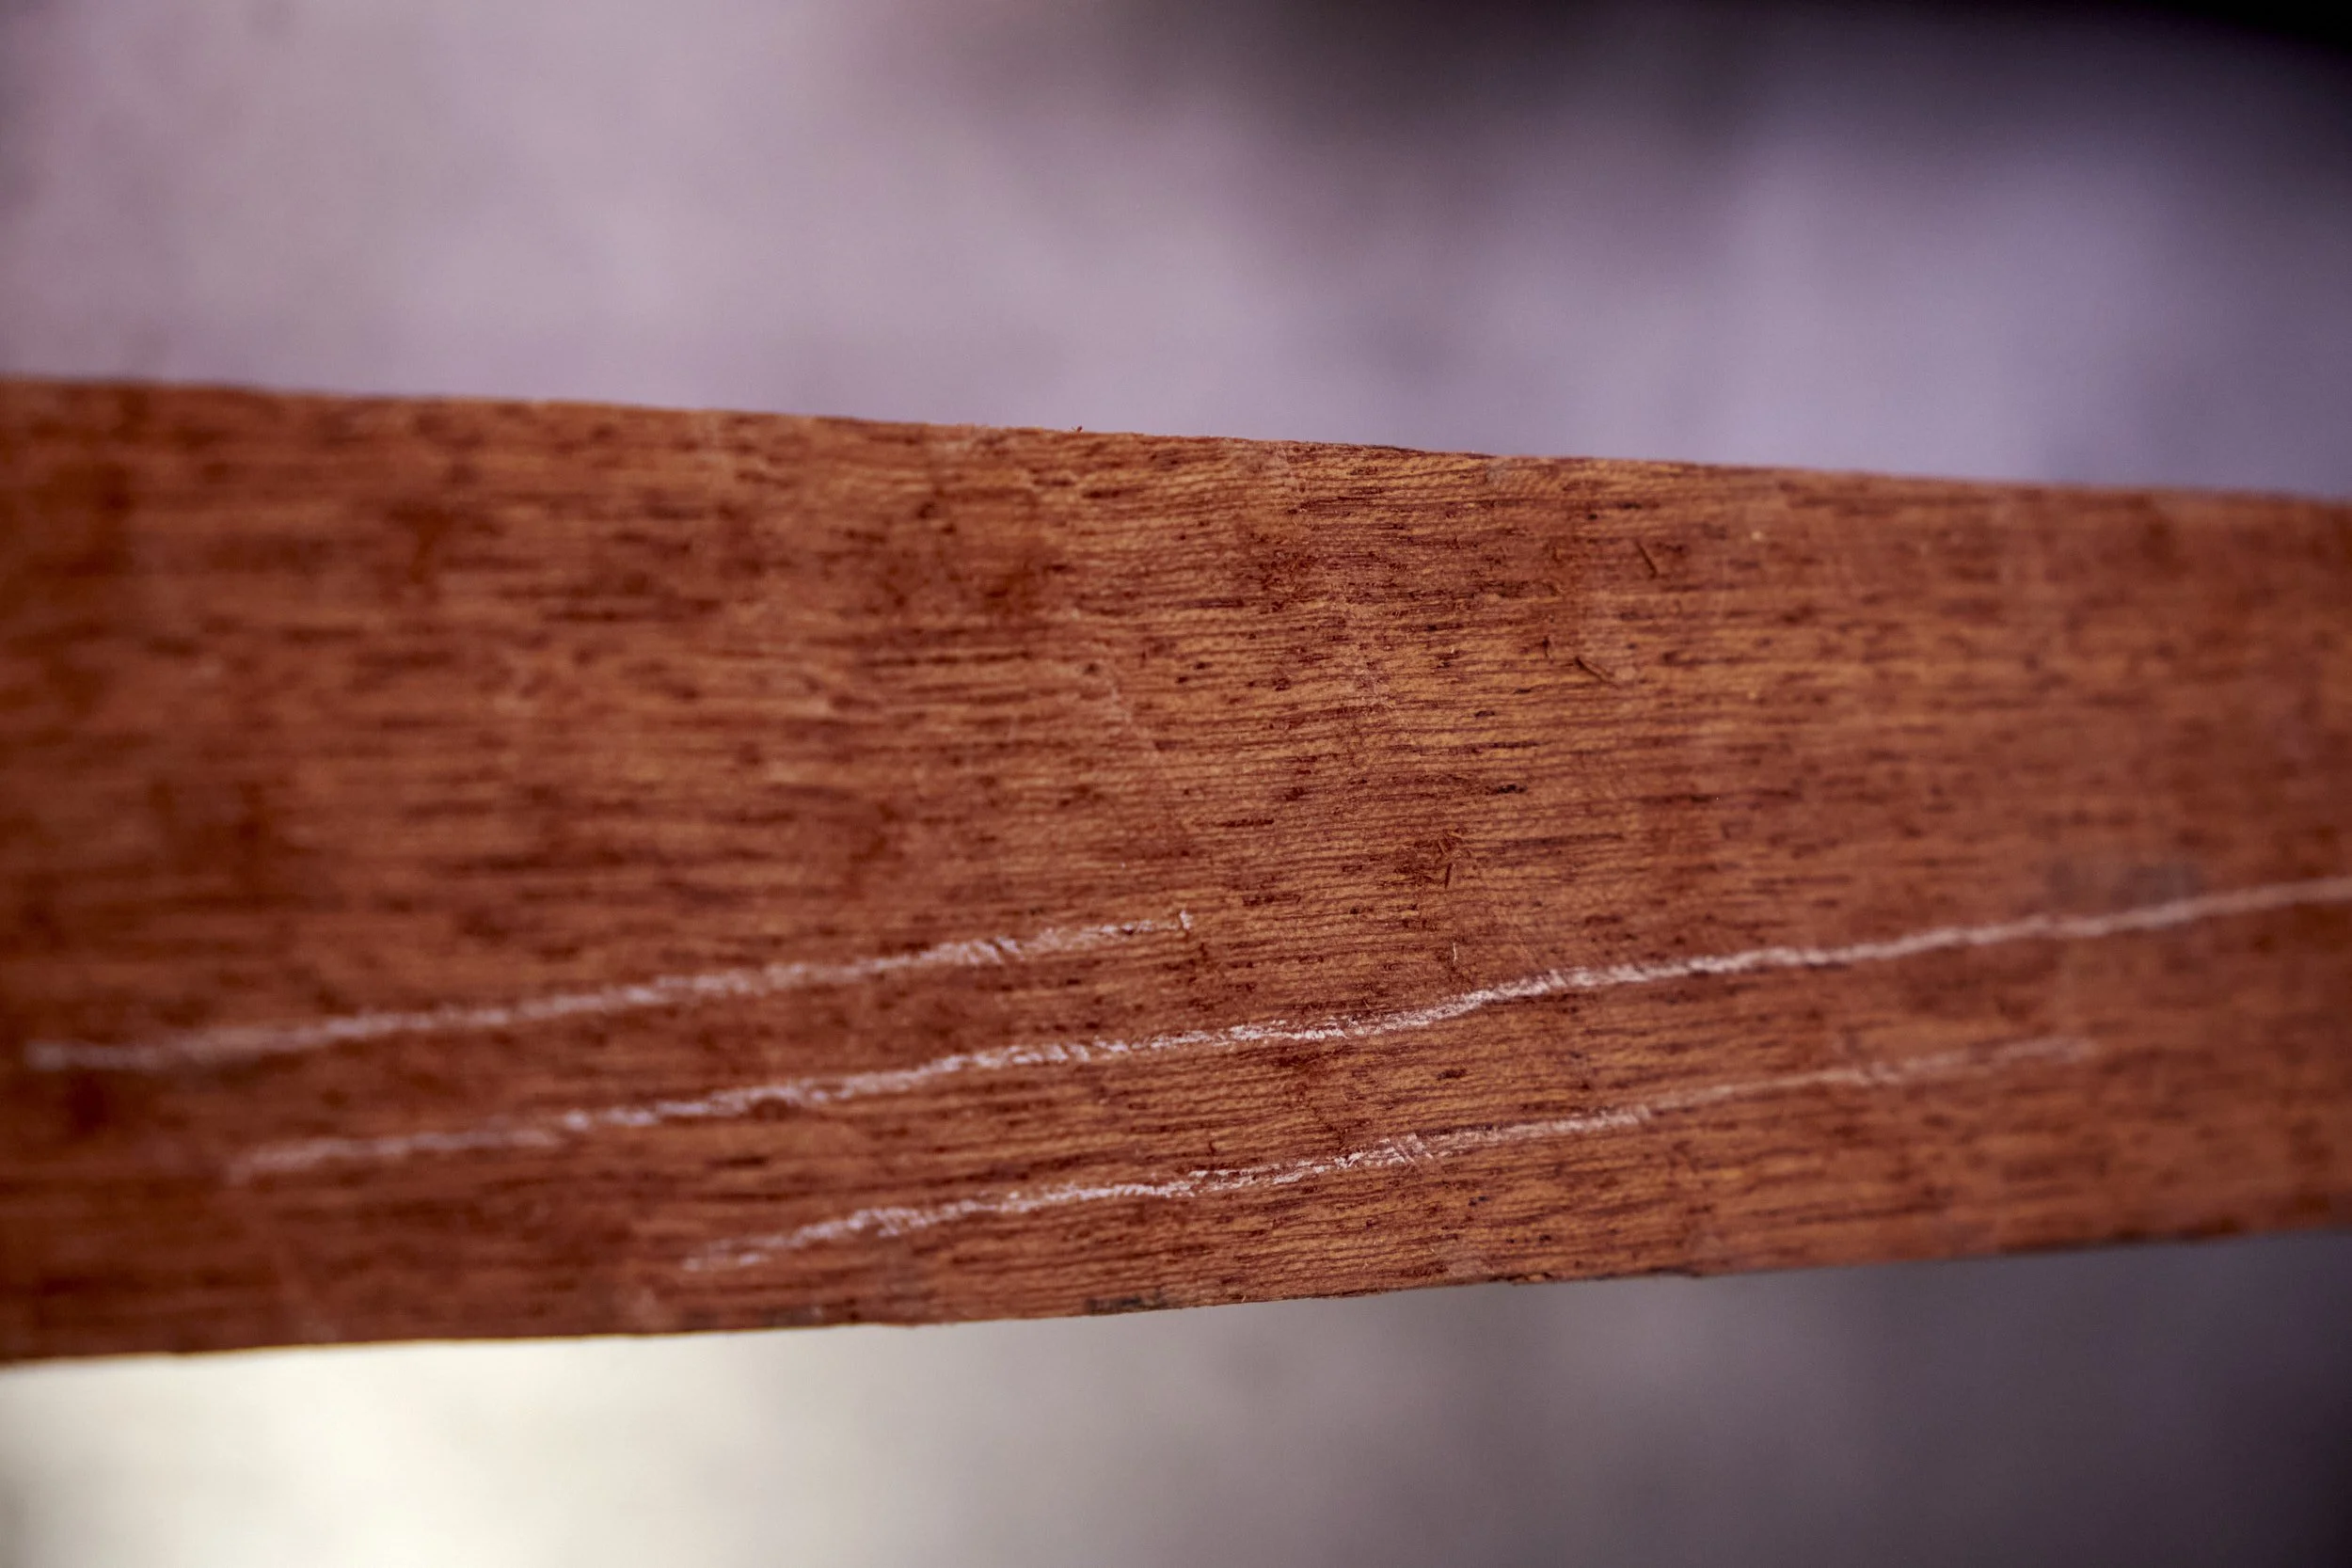
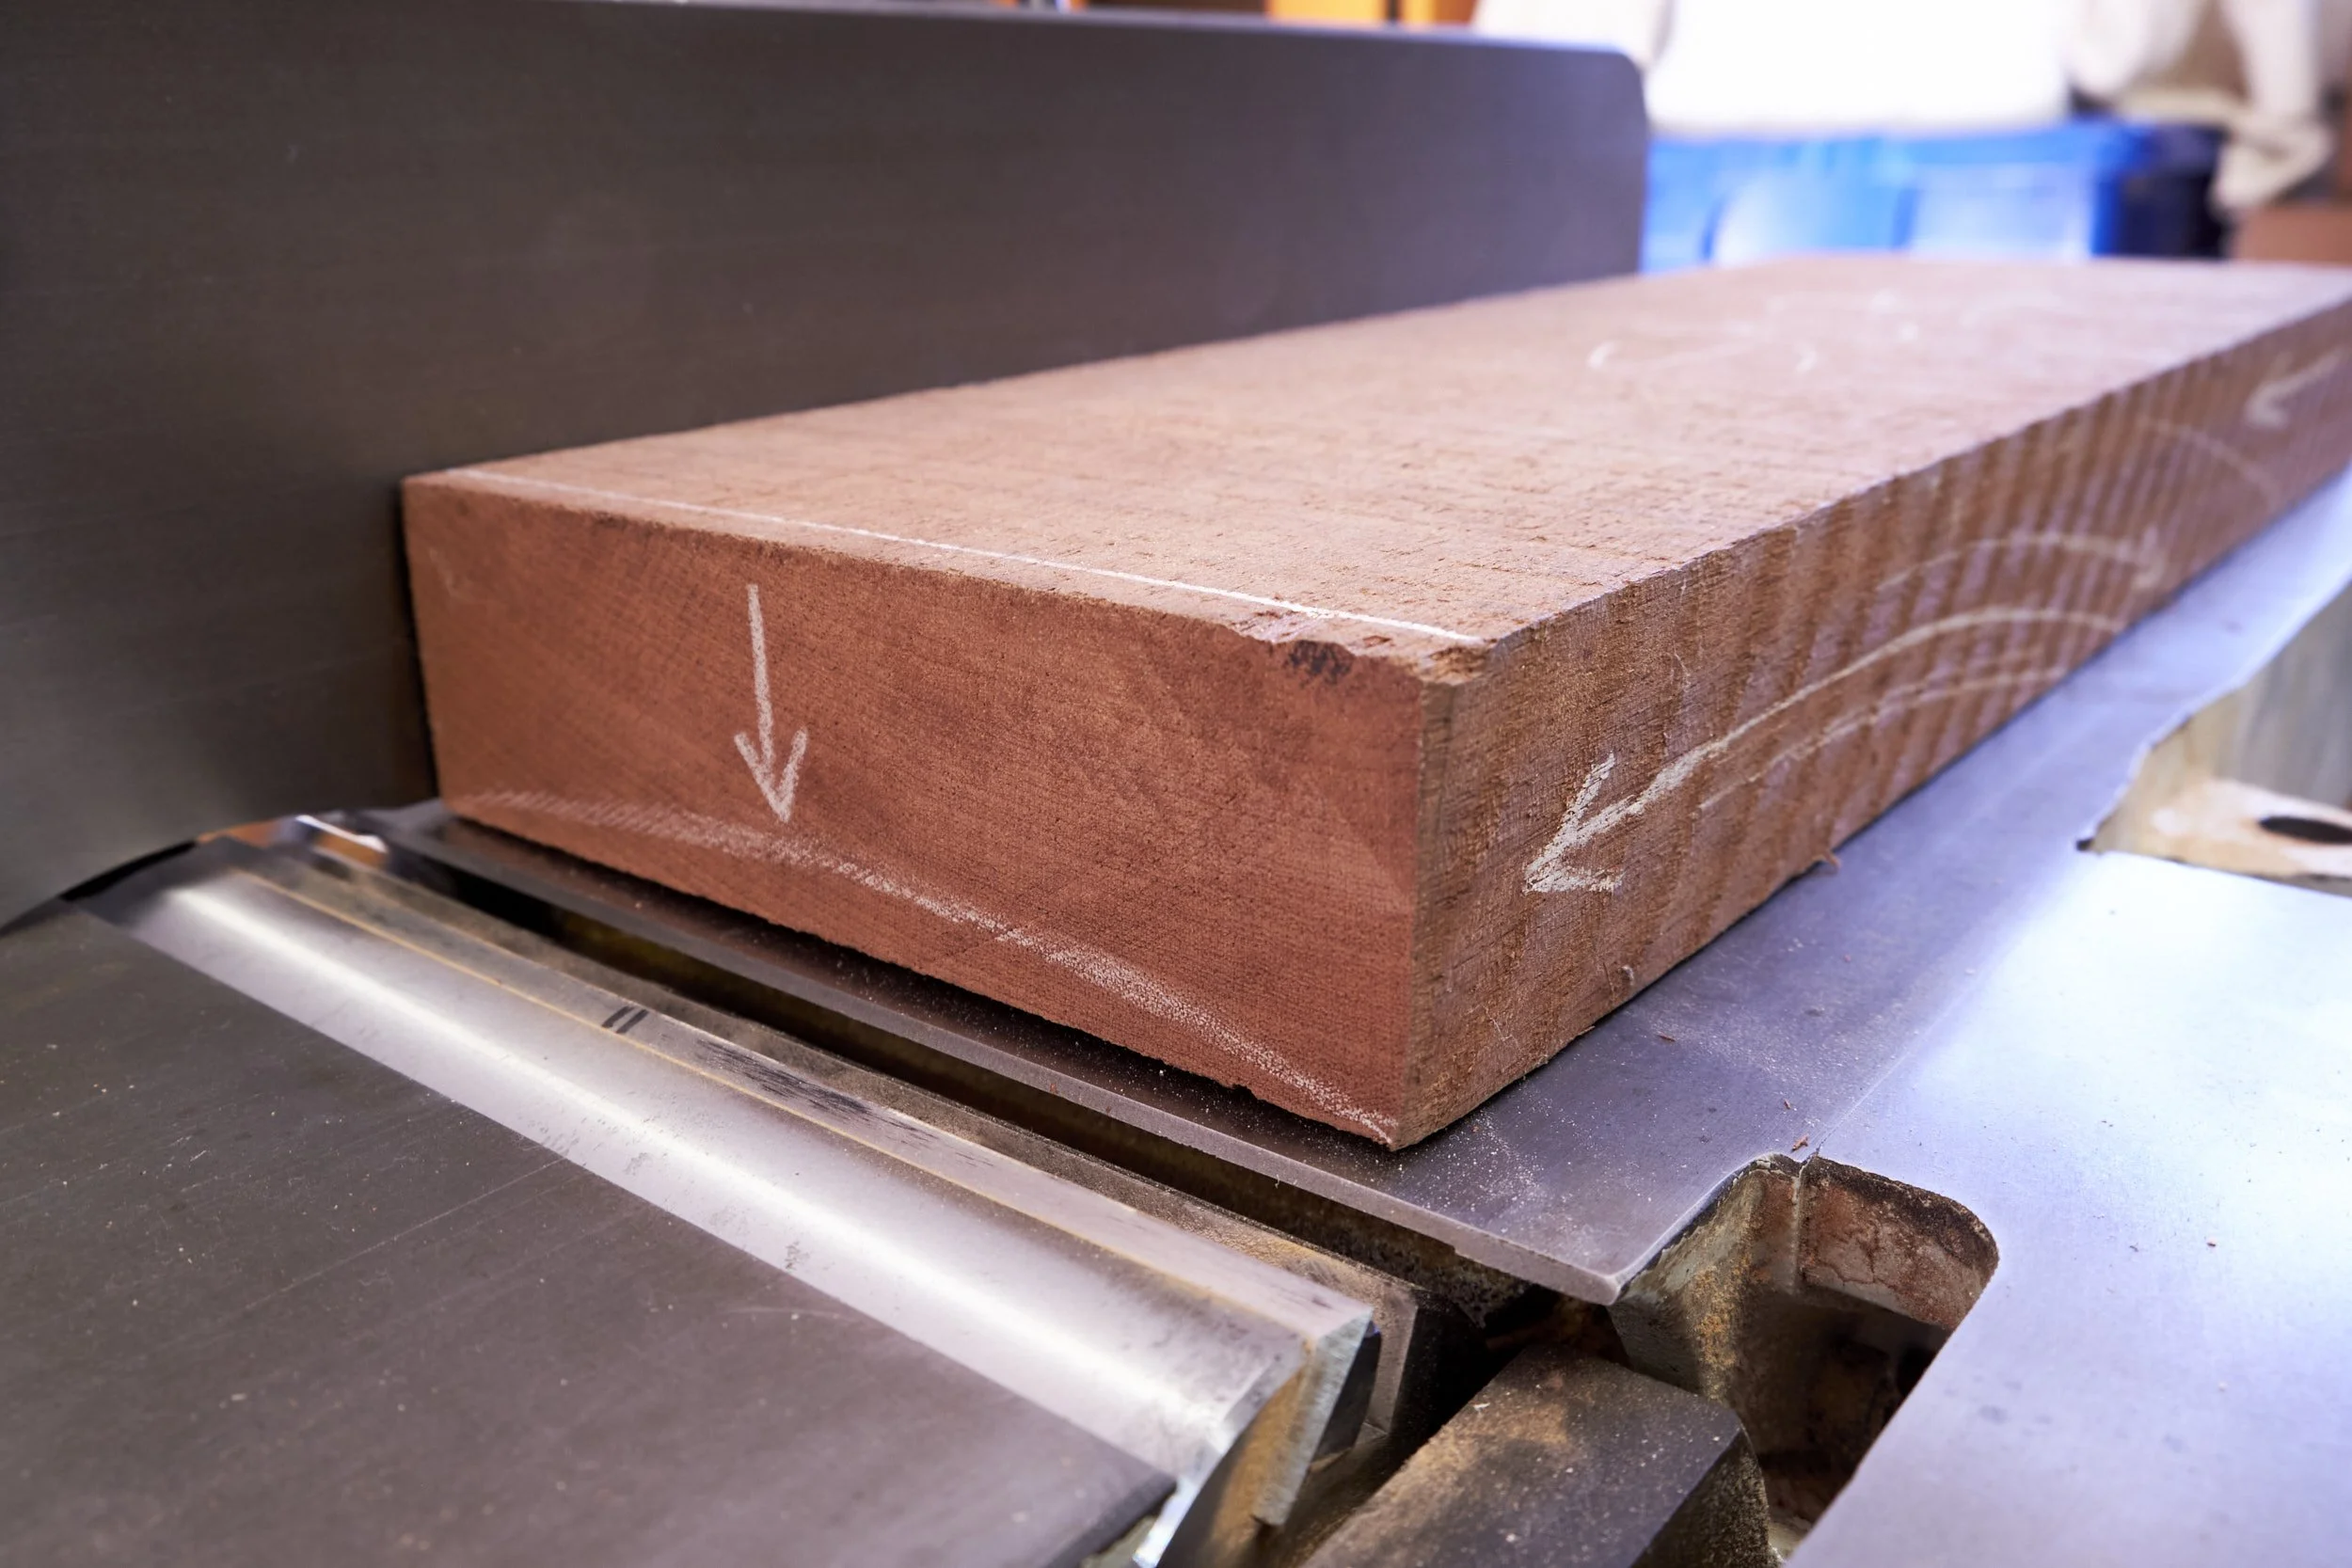
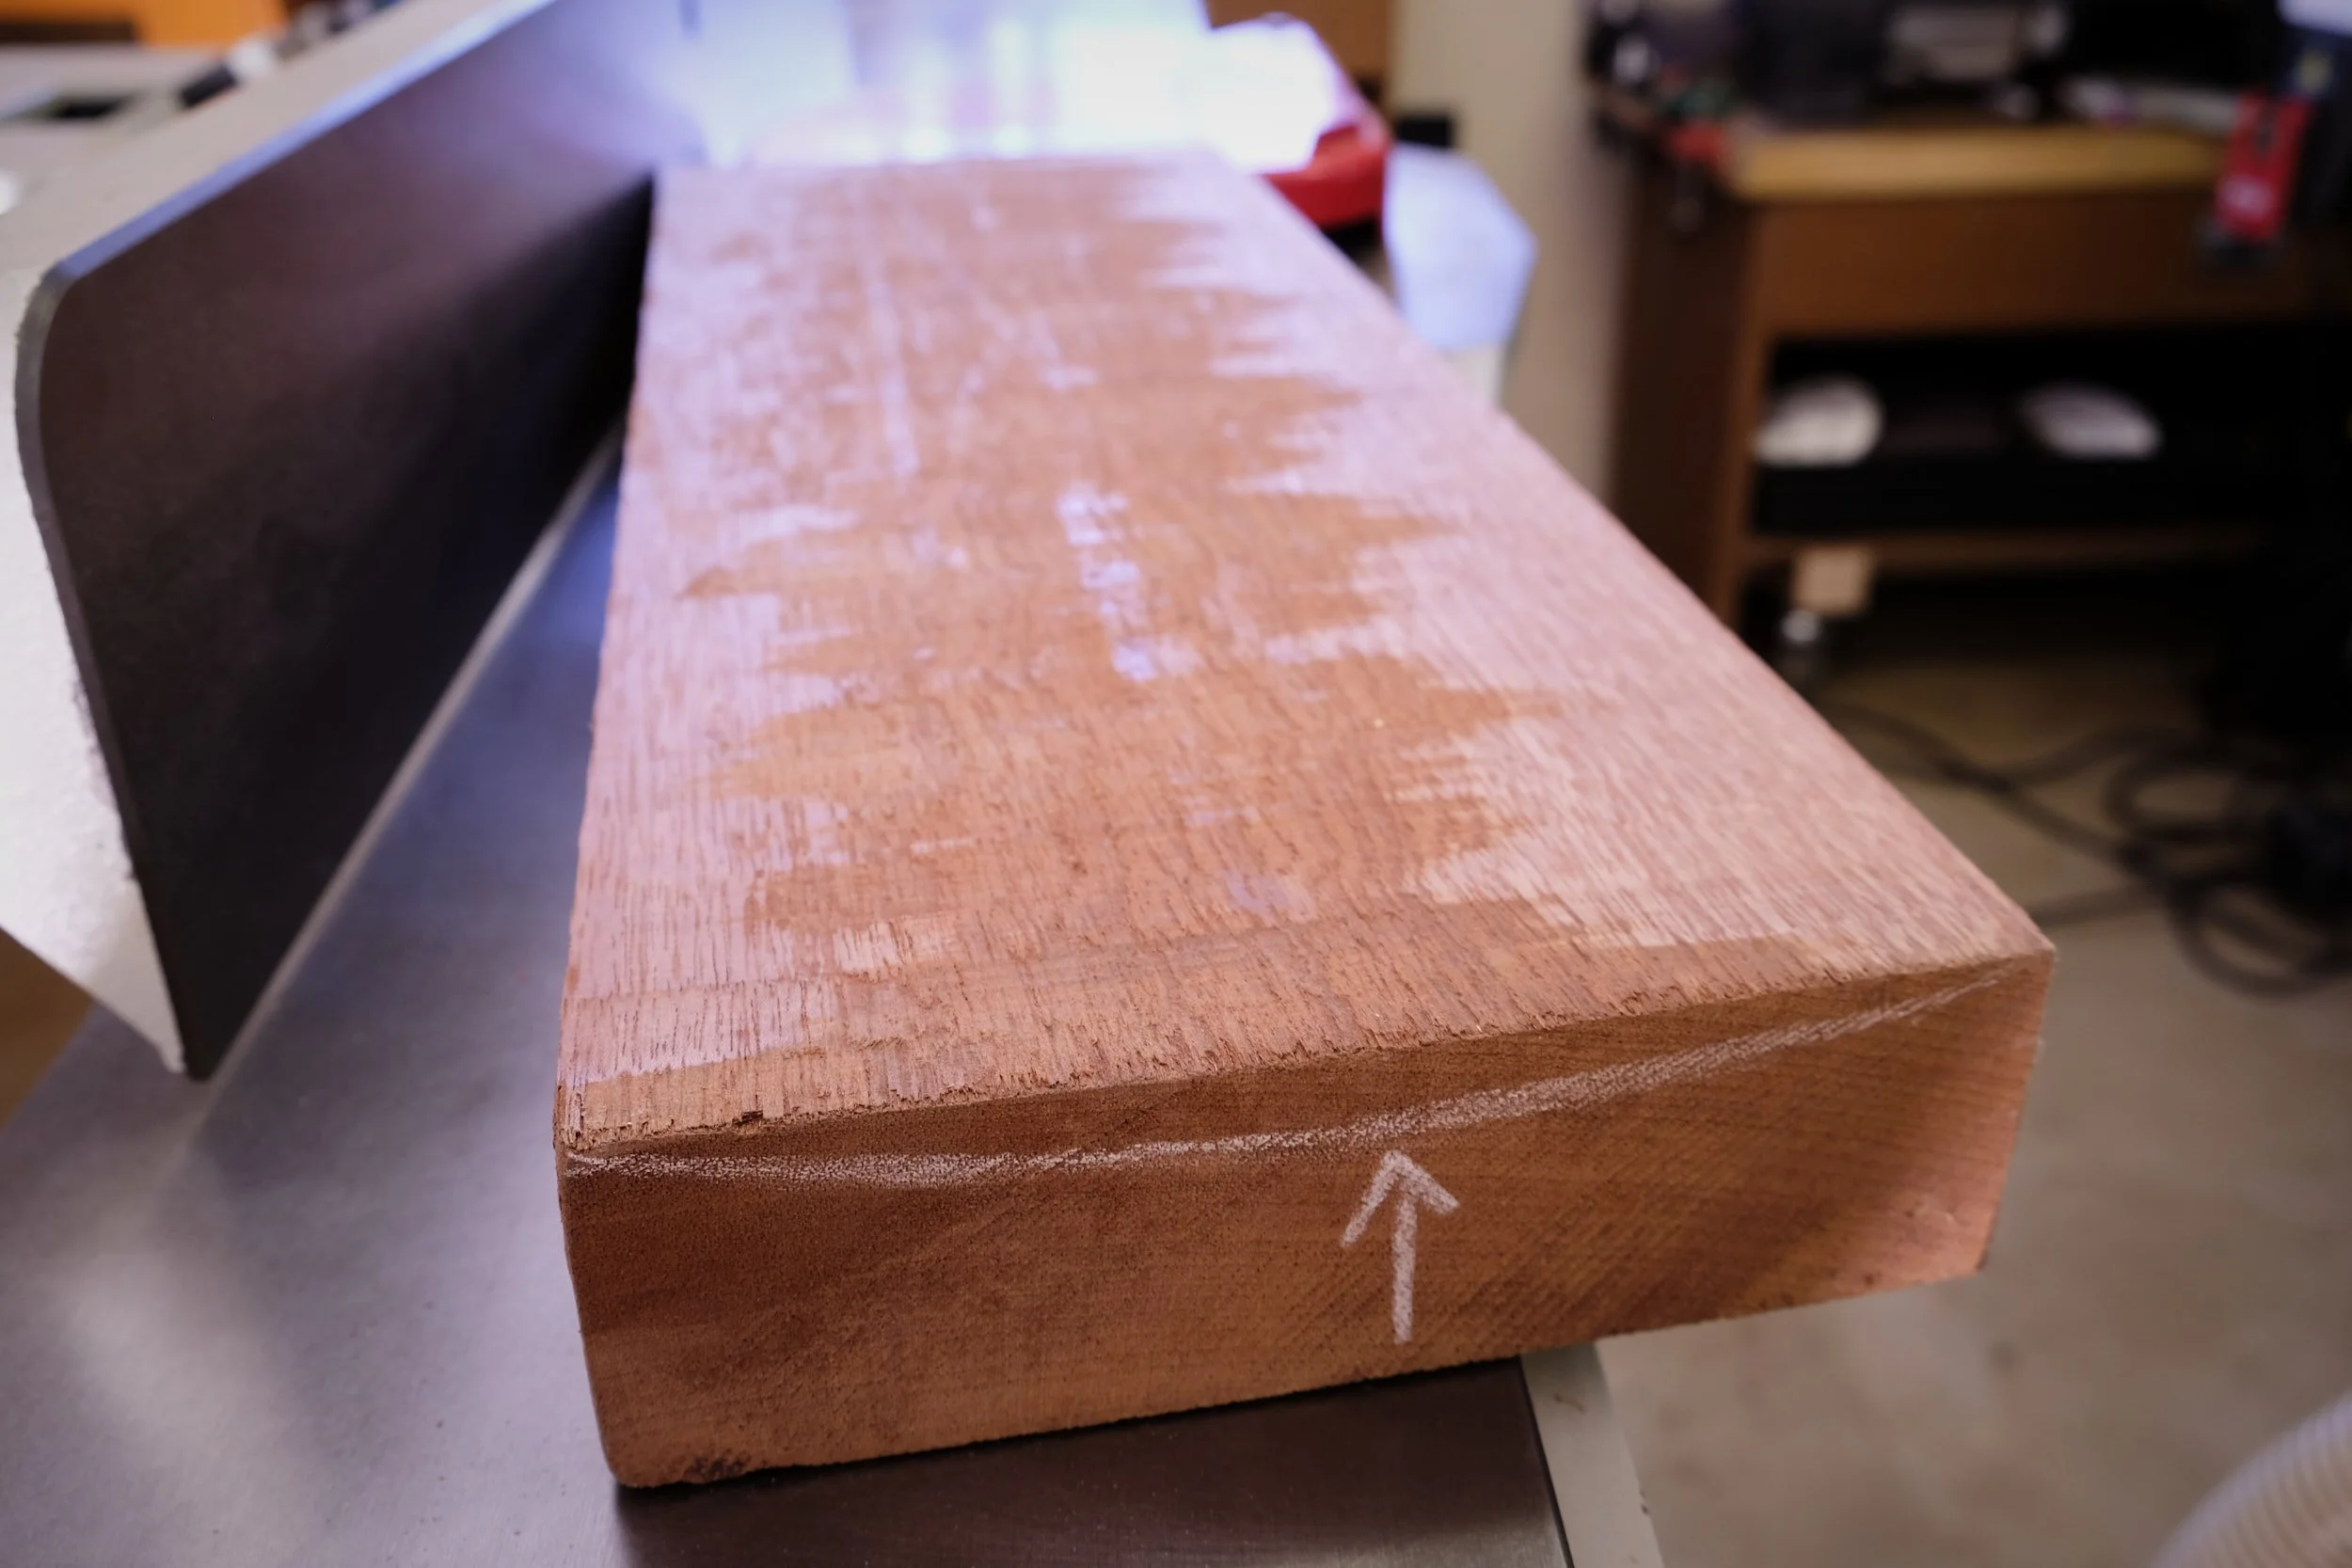
Bowing is more often than not a problem on longer boards and here I make sure that the lower ends of the plank get worked down first rather than trying to wrestle with the bend in the middle of a board.
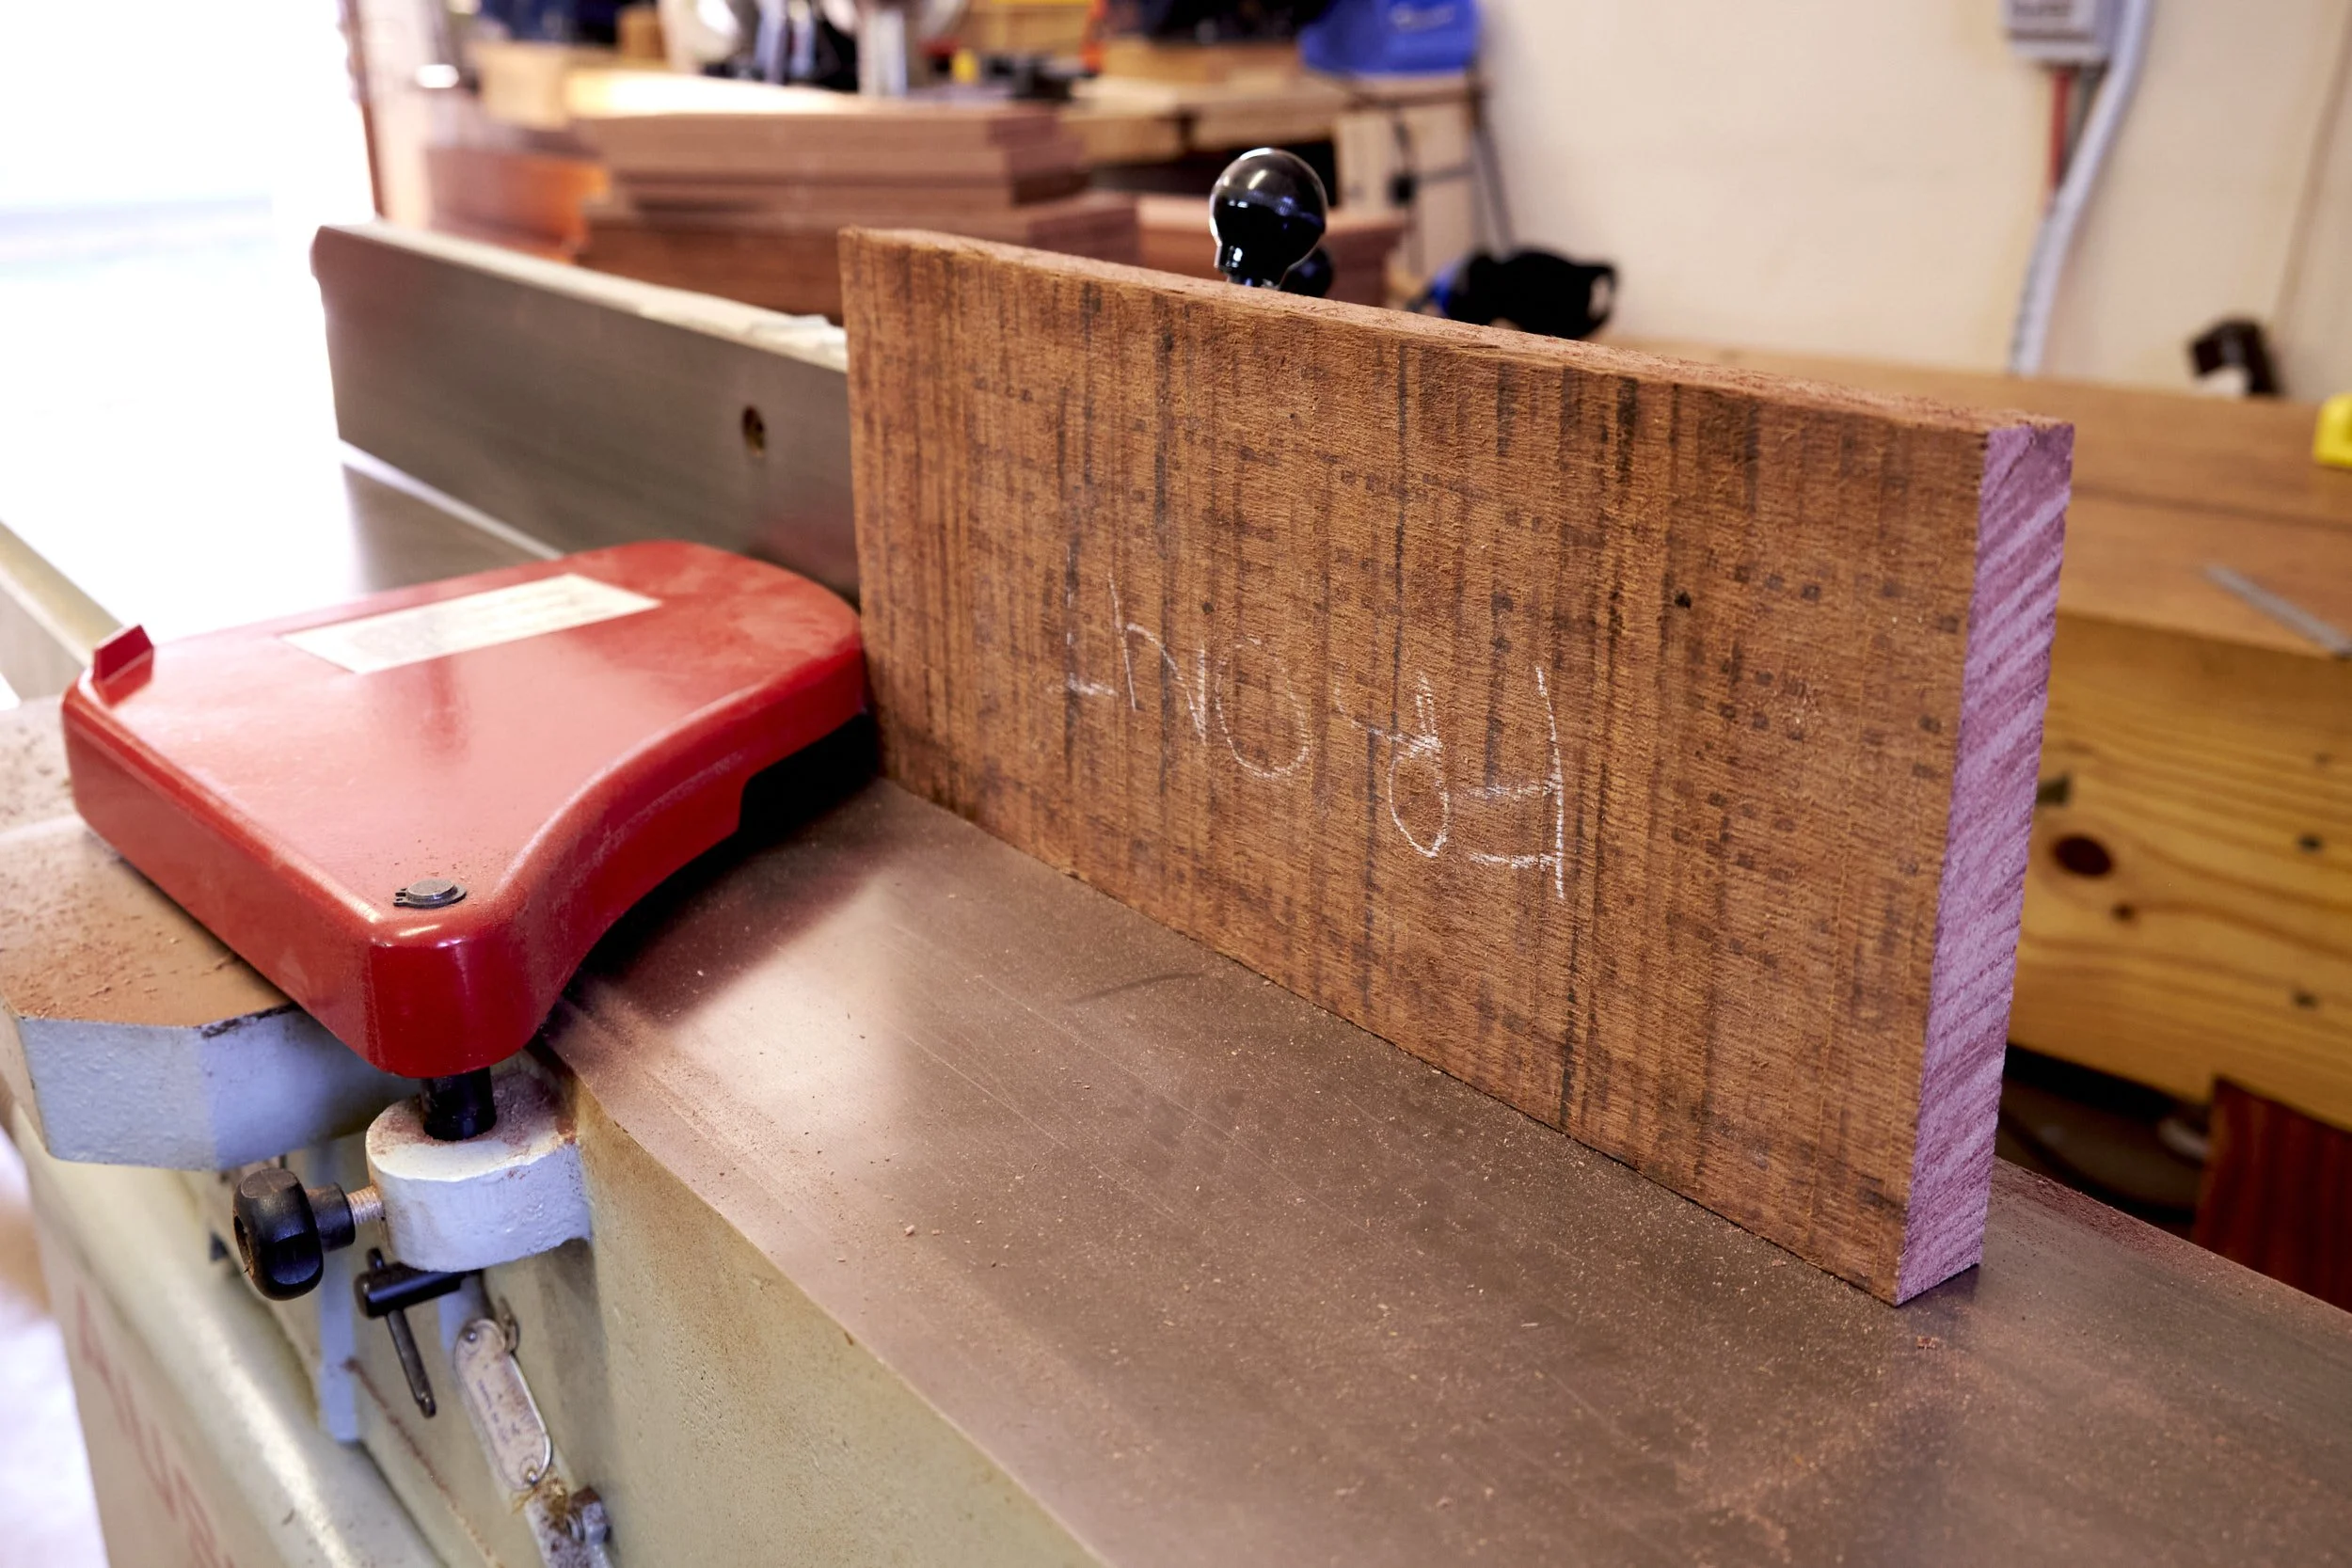
Before I start on the planer I also assess the grain direction of each board as this will determine the direction by which each board will be pushed over the jointer blades so that the fibres will be supported during the cut to help limit tear out. Again the pictures show this in more detail.
Pro Tip: If you are employing a hand plane to flatten the surface of a rough board you should have the cupped side of the board resting on the workbench surface to provide stability whilst working the crowned side down.
If you don’t have a workbench of your own yet, I may be able to help you decide on the best style of bench that may suit your needs and if you decide on one check out my shop, I am hoping to expand my workbench plan offering in the near future.
Step 5: Flatten a Face
Finally we can commit wood to blade.
Push each rough cut section through the jointer until the bottom face is completely flat.
Pro Tip: I like to stack all the boards that I’ll be jointing in the orientation that I will be pushing them through the jointer, It helps a lot in terms of efficiency.
Pro Tip: If you are unable to clearly assess the grain direction of a board just start pushing the board through the jointer and assess the surface finish after each pass to determine if you are pushing in the correct direction. If you are getting a lot of tear out, push the board in the other direction and check again. If tear out persists, I hope you have access to scrapers and if you want to know how to sharpen this amazing tool, check out this post.
Step 6: Joint an Edge
Or not.
Usually this would be the next step in the process but sometimes it may not. Remember that grain orientation during a cut is crucial for ensuring a good tear free surface? Well, if you need the edge to be a quality one you may not be able to orientate the newly flattened reference face against the jointer fence in a manner that will allow the grain orientation on the edge to leave a favourable surface. Check out the Pro Tip below for an explanation.
You may forego the quality of the edge and simply joint an edge, square to the flattened face and get on with the process.
If you do, remember you face and edge marks!
Pro Tip: If the width of the raw lumber forces you to squeeze components in you may want to hold off on step 6 and move on to thicknessing. Having two faces parallel to one another allows more options for choosing the ideal edge to joint based on grain direction thus leaving an edge that may be close to final finish.
Step 7: Thicknessing
On to the planer/thicknesser and here one needs to make another assessment of the grain direction. As is the case with the jointer, the direction in which the lumber is fed into the machine determines the quality of the cut.
The distance that the feed bed is set in relation to the cutter is dictated by the thickest board. You may have noticed that not all rough boards are the same thickness and that thickness may even vary within the same section of lumber. So start with a setting that will accommodate the thickest board and add the thinner sections as the setting between the bed and the cutter decreases.
Stacking the stock being planed in the ideal feed direction and thickness groups helps with efficiency here as well.
It is at this point that I divert from the norm in two ways in particular and both are as a result of the fact that I leave lumber for another rest period before moving on to final thicknessing and dimensioning.
I only thickness stock to the point where I have two clean, parallel faces. In other words I only thickness until I have removed all the rough saw marks from the face opposing the initially flattened face.
If the final component thickness is anywhere near the thickness of the stock once a single face is flattened in Step 6, I forego Step 7 all together to preserve as much raw material as I can to ensure that I am able to correct any warping that may occur as a result of movement during the next resting period.
Step 8: Let It Rest, Again!
Once I have all components marginally square and marked up I leave it to rest for a minimum of three days before I continue to final dimensioning of parts.
Because the work that has been done up to this point often releases tension within the stock it may sometimes happen that some sections can warp, cup or bow again. This movement is often very slight or sometimes non existent, but having a workpiece in final dimensions warp and move on you can be problematic.
Step 9: Final Corrections/Thicknessing/Jointing
Step 9 consists out of three individual steps of its own.
Assess the workpieces as you did in Step 2 and 3 and correct as needed on the jointer.
Bring all faces into parallel and final thickness using the thicknesser.
Joint a reference edge based on ideal grain direction to leave a clean edge and mark accordingly.
Pro Tip: If the project calls for different thicknesses start with the thickest components first and work down to the thinnest. If stock thickness allows I will flip workpieces over to plane each face on the thicknesser until I have reached final dimensions. I am fortunate in that my thicknesser has a helical head and it sometimes leaves a better final finish than the straight cutters on the jointer.
Step 10: Final Dimensioning
At the table saw I will now cut all components to final width and length. I will also go to great pains to mark all reference surfaces and components clearly.
You are now ready to start marking out and cutting the joinery before assembly.
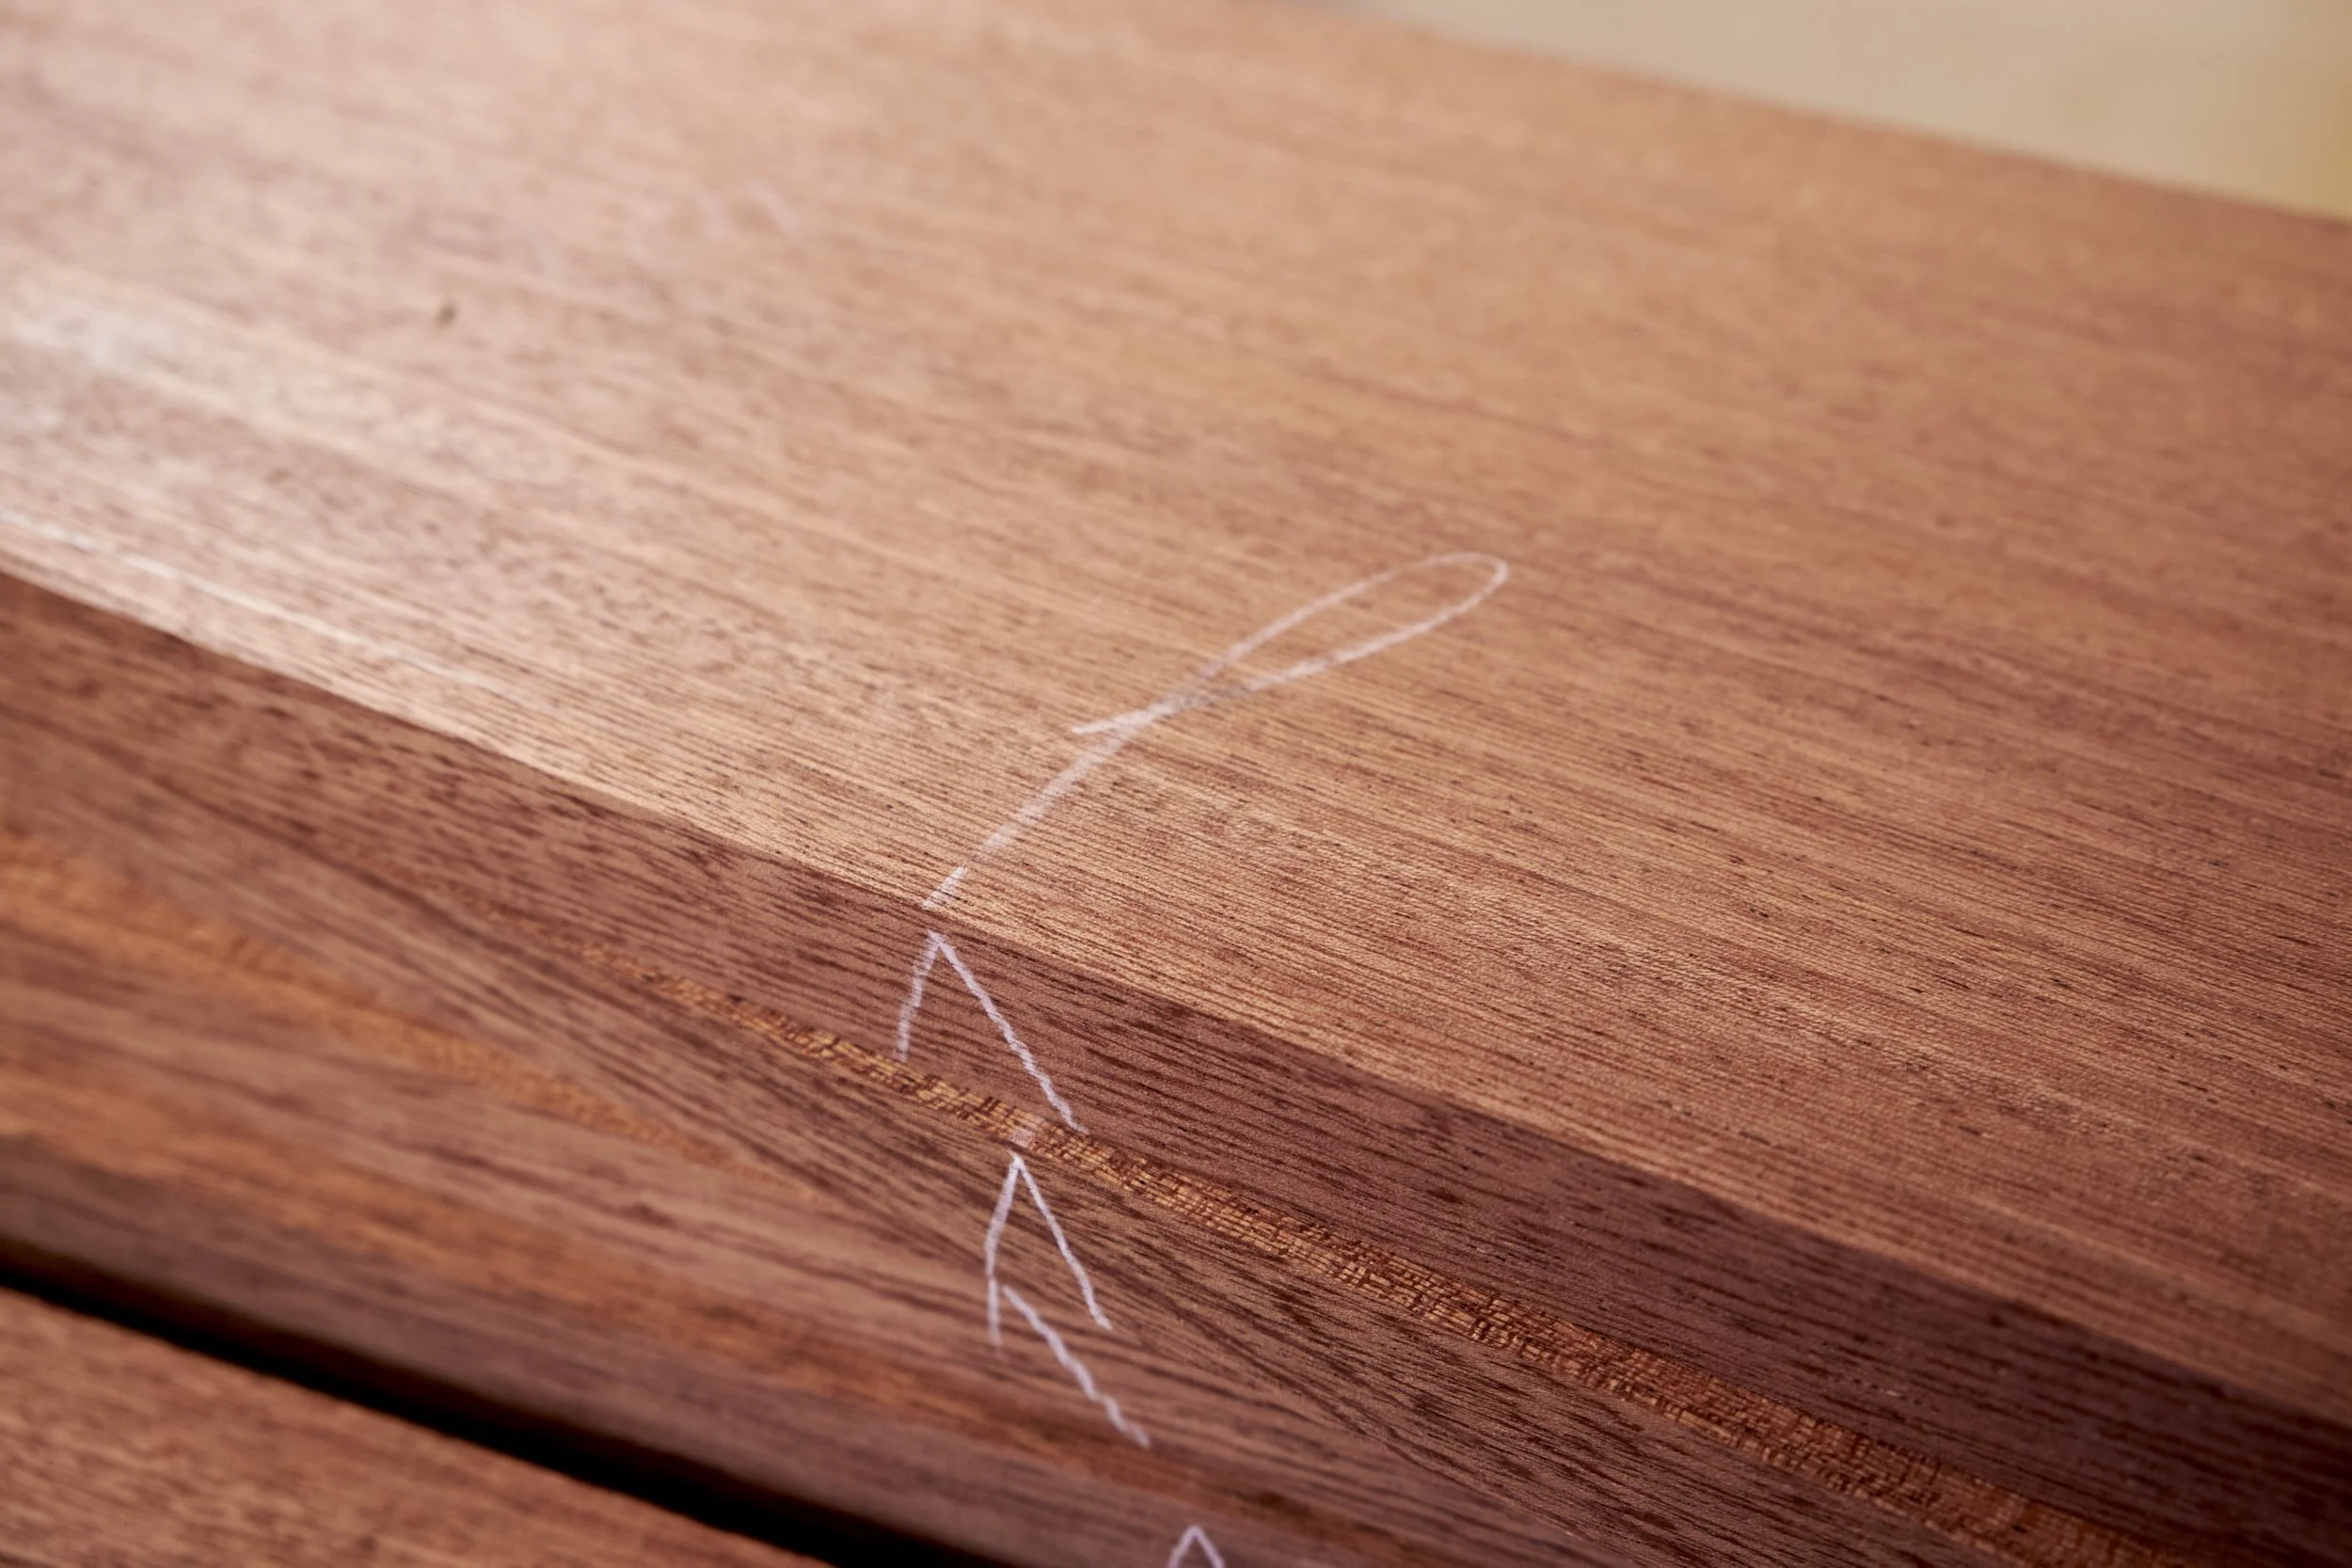
Stock prep may seem like a chore but I like this stage for the following reasons.
I always like the start of a new project and nothing announces the start quite like cutting up and prepping rough lumber.
It’s a relief to have all the parts in hand and know that my stock calculations were accurate.
I love it when raw wood reveals unexpected colours and grain patterns that I didn’t notice at the timber merchant.
Keep in mind that the quality of work in these 10 steps have a direct bearing on the accuracy of the joinery and ease of assembly down the line.