
Face, Edge or End Be Sure to Make Your Mark!
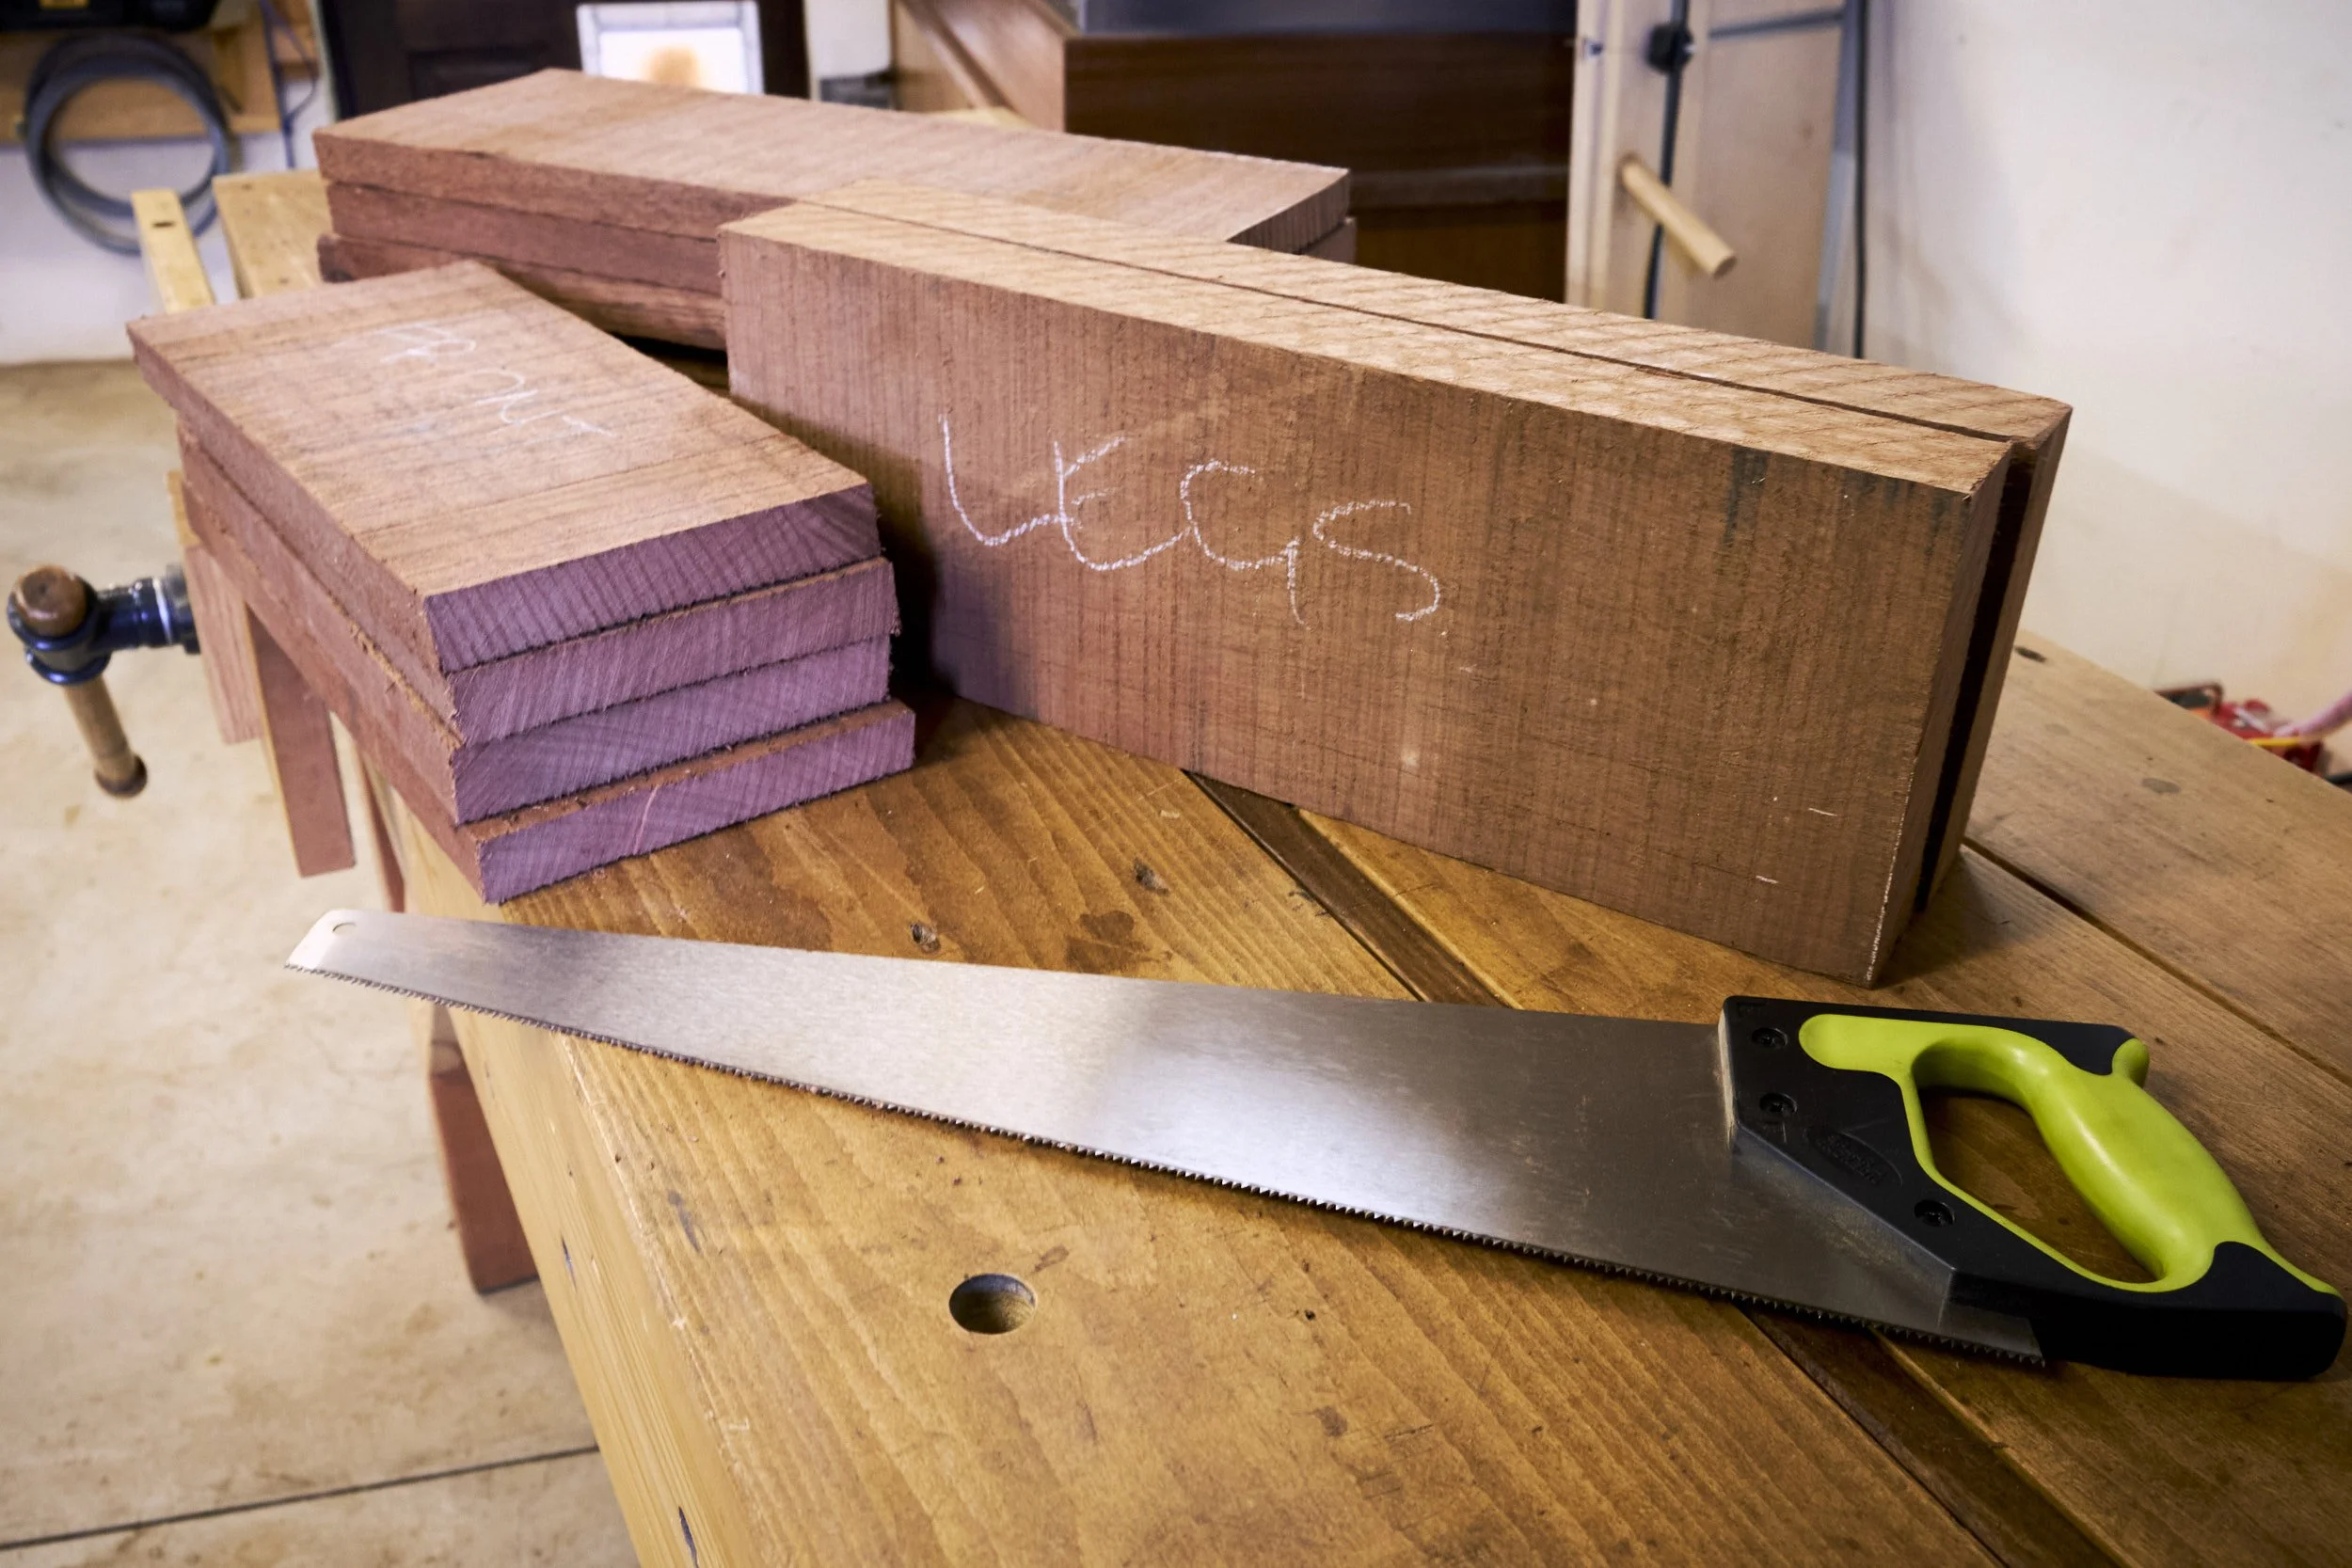
In an earlier article I promised a closer look at marking workpieces while prepping components for projects.
Here it is.
This post is the latest in my series covering the construction of a set of Shaker style bedside tables and is the second “deep dive” in the series. If you would like to read more about the build log you can find the first instalment here and if you are interested in the first “deep dive” article covering 10 simple steps to stock processing you can find more in this post.
As mentioned at the beginning this one will be looking at marking workpieces.
From the onset it may be prudent to mention that marking components in an effort to keep track of what goes where can be a very personal matter and it is likely that different woodworkers go about this process in very different ways. I will be covering some of the techniques that I use personally and I hope that I may mention one or two techniques that could compliment your own.
If nothing else, I hope you would come away with at least a realisation that marking workpieces is very helpful for remaining sane during a build, especially during a glue up where clear and accurate marking may offset the drop in IQ that many of us experience the moment glue is applied to wood!
Let’s start at the beginning shall we?
Stock Prep:
I hate wastage and at the cost of raw lumber these days it has become even more of an issue in my workshop.
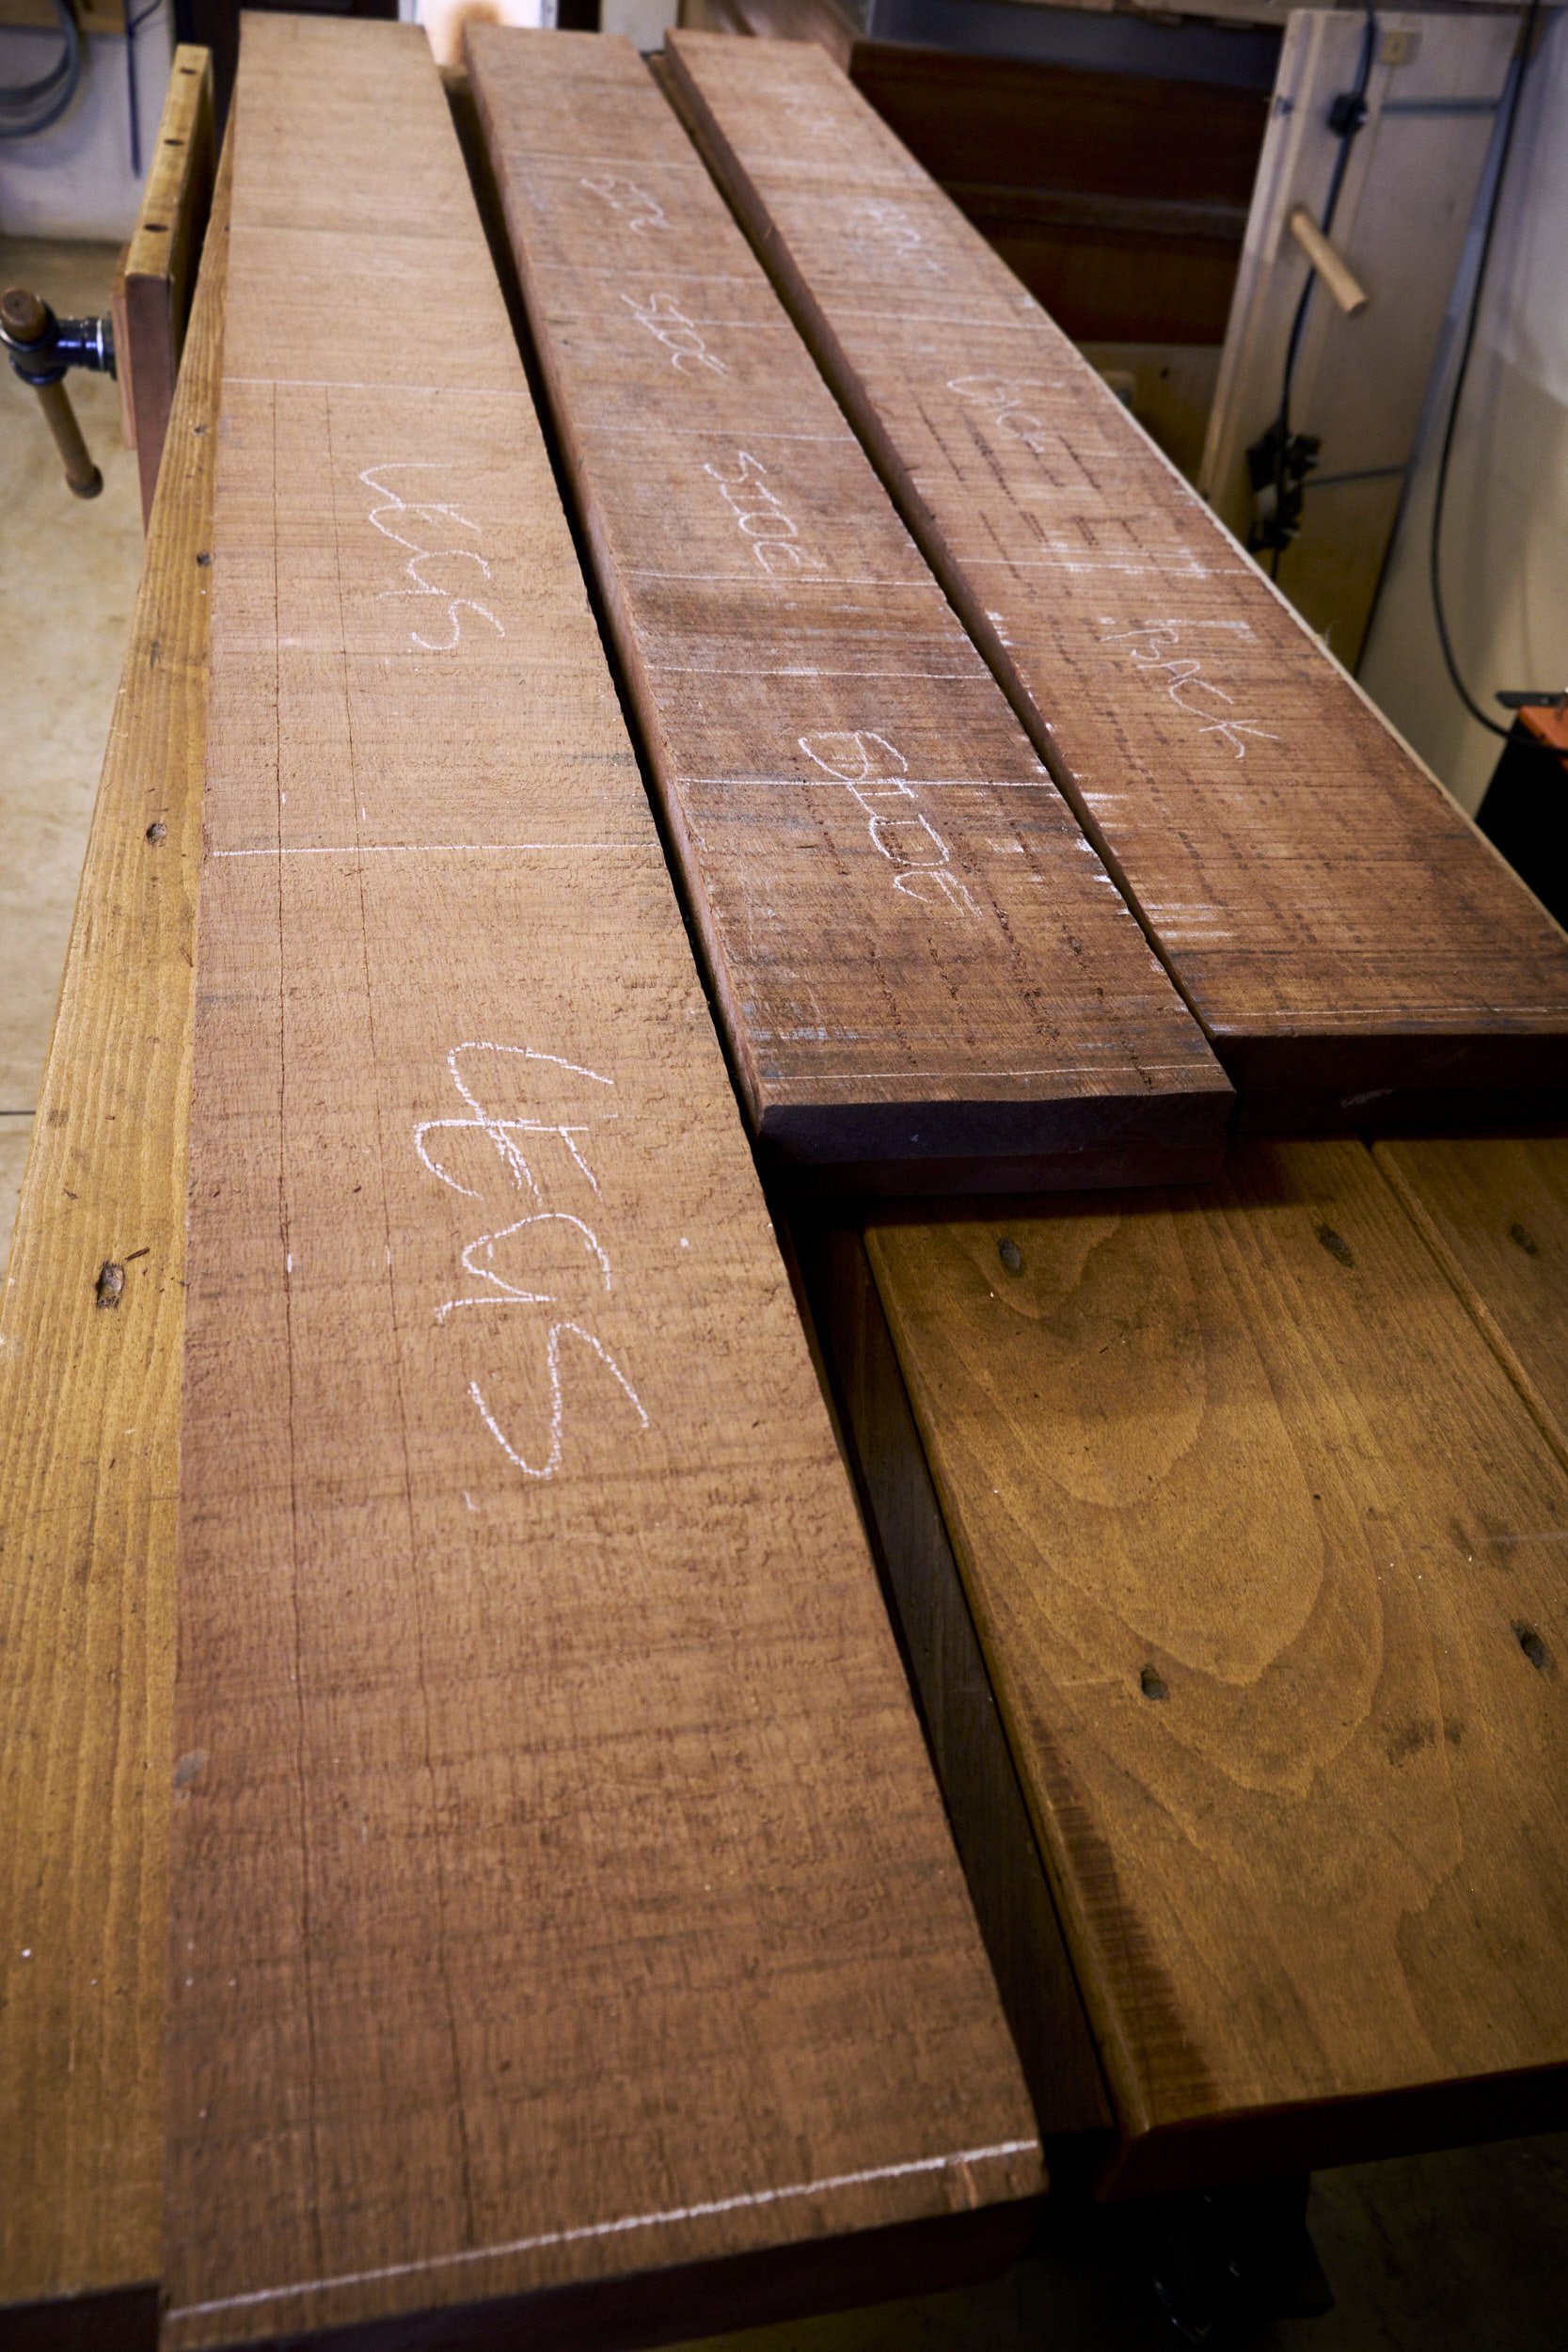
Before I cut anything I take a pencil to my raw project material and I mark out the parts that I’ll need. This serves two purposes, firstly it allows me to confirm that I got the cutting list calculations right so that I will have enough raw materials to build the project. Secondly, it allows me to pick the best sections for certain components i.e. straight grain for legs, nice pattern for show faces or knots and blemishes on faces that will be hidden.
This process is a simple matter of marking components on the wood using a square and a ruler and writing the names of each on the wood.
Pro Tip: A white pencil is really useful for writing on darker woods.
Do keep in mind during this step, that it is a good idea to measure components out a little larger than final size. How much larger depends on you and how much material you have available.
Flat and Square:
If you would like your project parts to fit one another and the final assembly to come out square it is usually a good idea to start out with stock that has at least one flat face with one edge square to it. These surfaces serve as references to get component surfaces that are flat, square and parallel during final dimensioning.
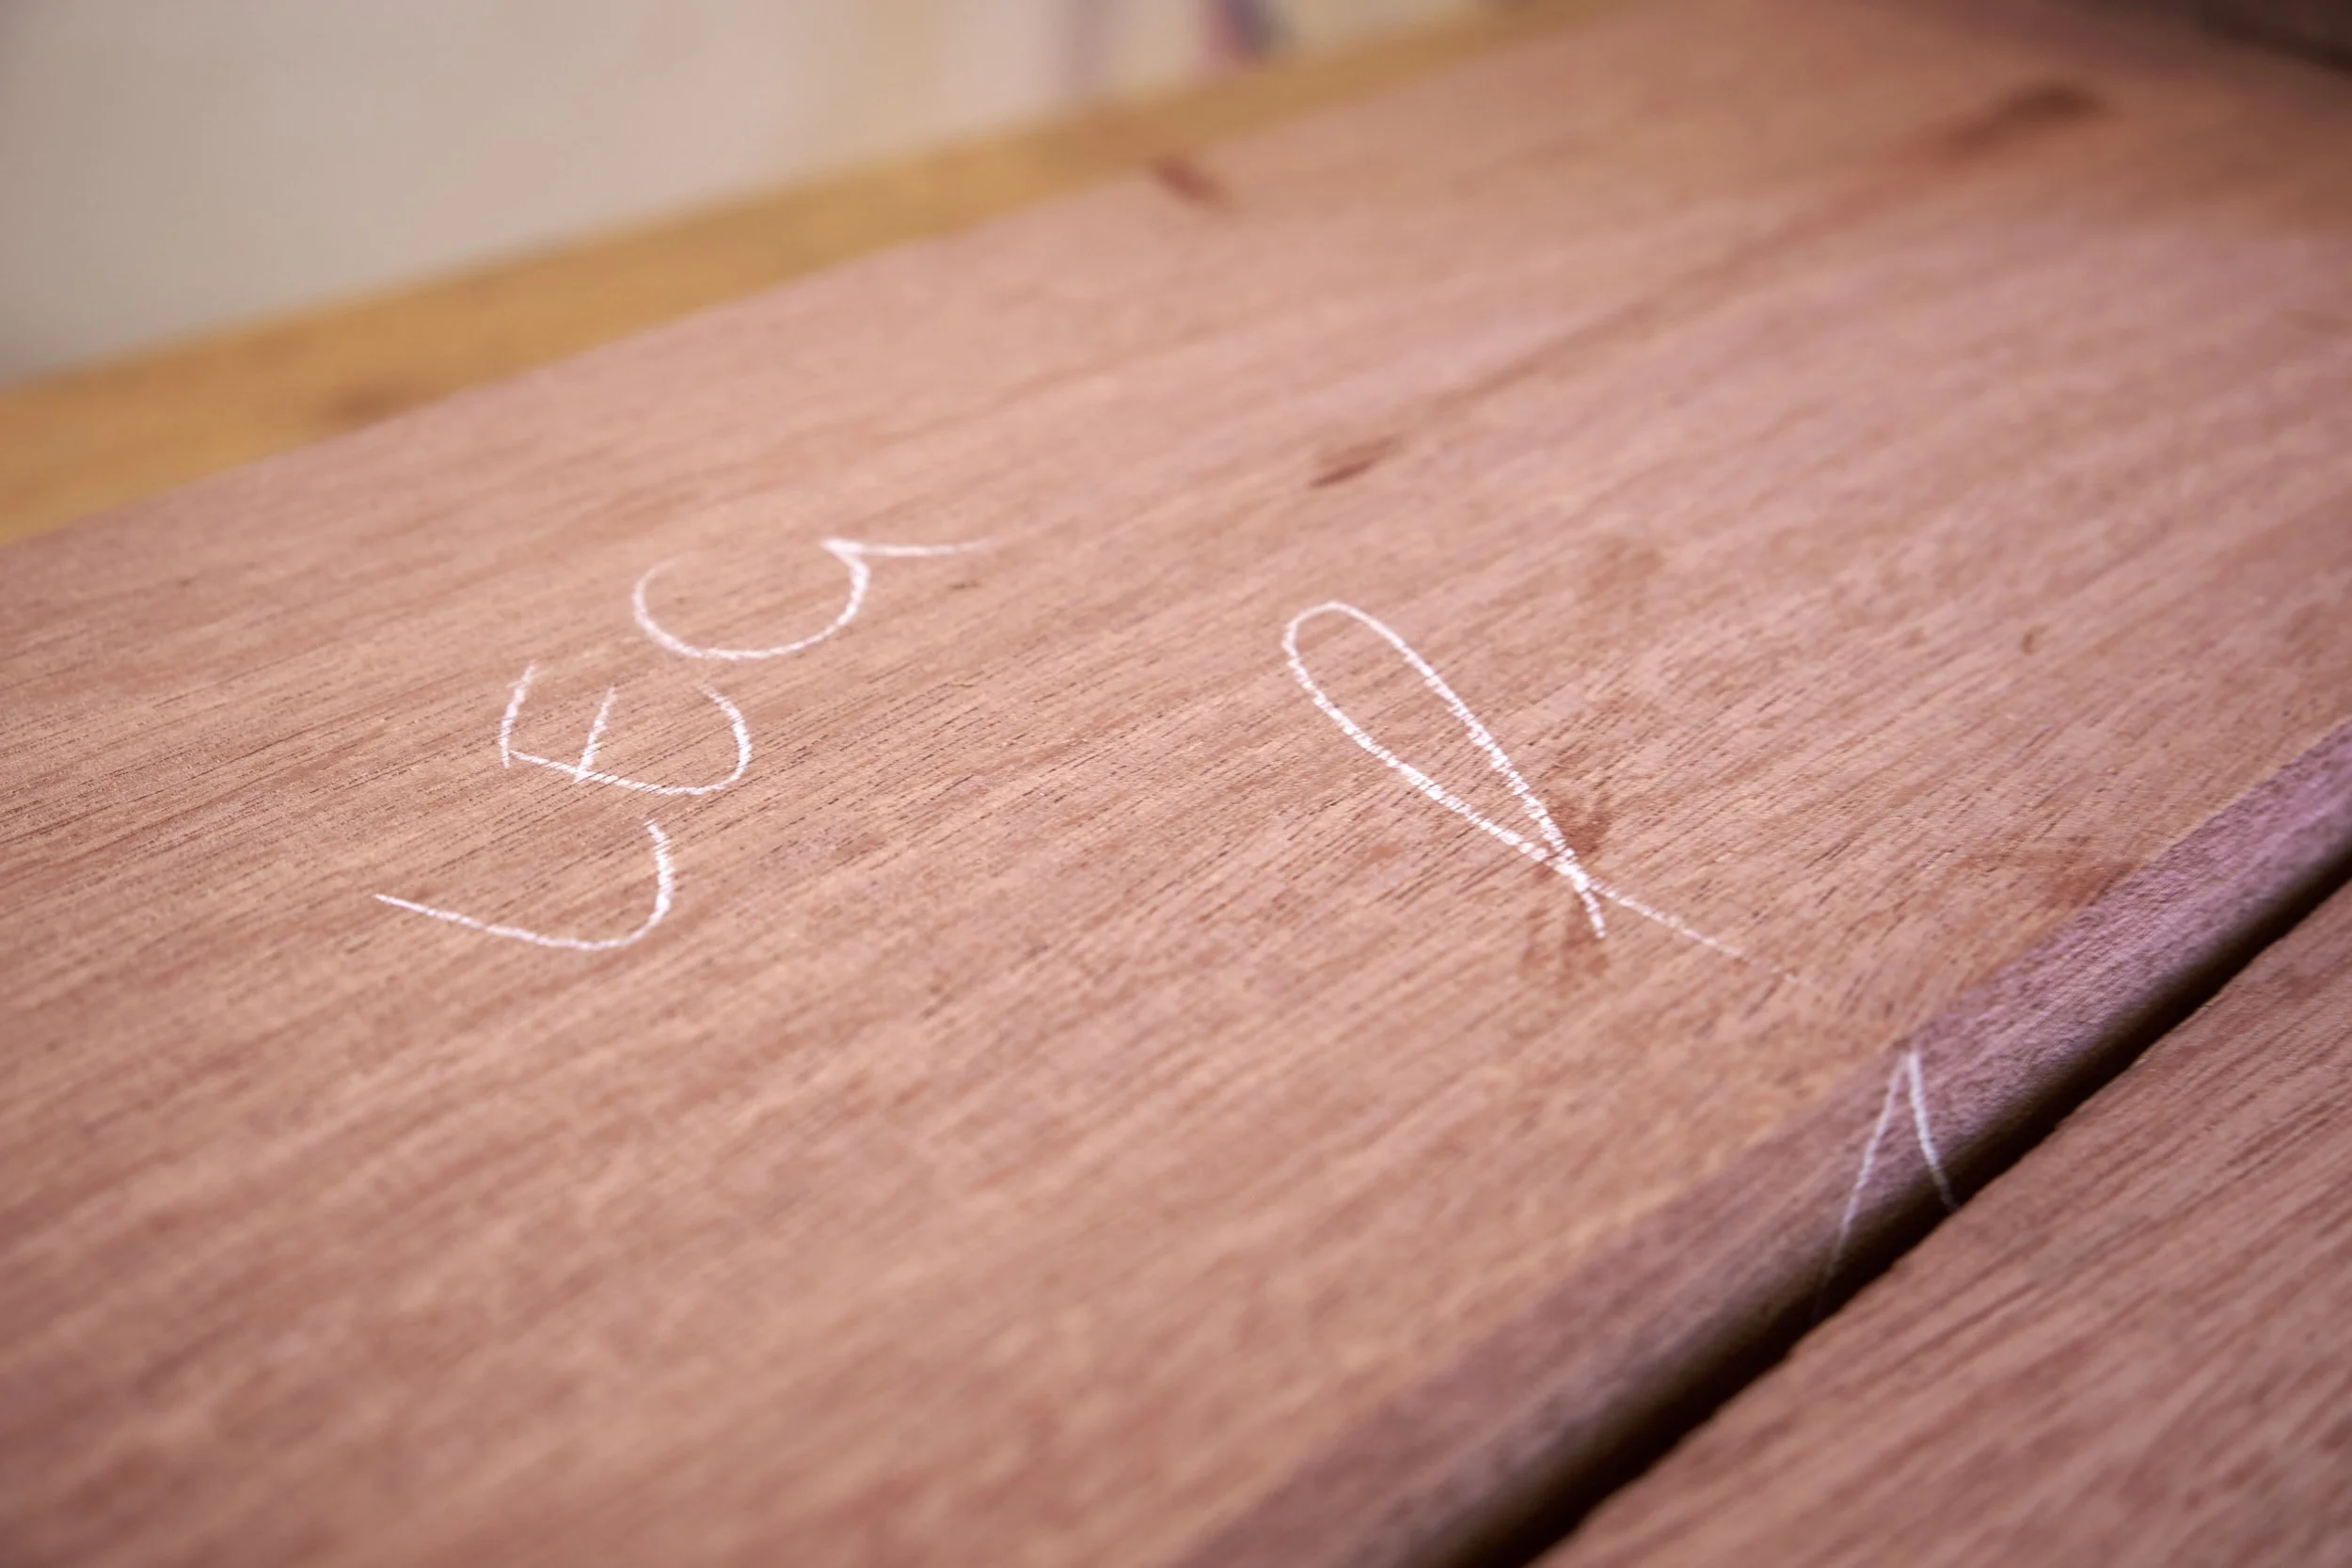
To identify these reference faces I use the ubiquitous face and edge mark. As with handwriting my version may look different than someone else’s but the principle remains the same, you need to keep track of which face is flat and which edge is square to it.
Parts and Legs:
It is here that the practice of marking components becomes murky and rather than give you hard and fast rules I prefer to give you tips on how to go about it. I hope that following some of these will help with less hair being torn out and your vocabulary descending into the depths of uncouthness.
Hair loss is especially something I need to avoid, having less than my fair share left to pull out!
Tip 1 - Choose your weapon
For rough marking I use a plain old carpenter’s pencil, it gives me a nice thick legible line and it’s easy to keep sharp. I have plenty lying around so that I don’t need to go looking for something to write with when I need to.
For finer work I use a 0.5 or 0.7 mechanical pencil and prefer softer leads because they leave more visible lines.
The Shaker style bedside table build that this post is a part of was built from African Mahogany and I found normal pencil marks to be hard to read so I invested in a white artists pencil to mark up the joinery but I found the lead to be too soft and the it was difficult to keep a fine point on it.
I’ve recently started using an ACER deep hole marking pencil and so far I like it but a white replacement lead would make it almost perfect.
Mmmmmm, maybe a review………
Tip 2 - Keep an eraser handy
As with all things in life you are bound to make mistakes, this will include marking up components or you might decide to change your mind about which face will be the show face of that apron.
Use a normal eraser to remove incorrect markings, even if it’s just to make the incorrect marking visually lighter than the correct. It will help limit confusion and may even stop you from cutting slots on the wrong side of a board.
Keep an eye out in the bedside table build log series and see if you can pick out where the latter one happened!
Tip 3 - Don’t lose yourself
At least don’t lose your marks.
You will likely be planing or sanding components during the construction process. These processes have a bad habit of removing marks and I avoid this from happening in various ways.
One is to mark the parts on sides that will not be seen, these are often on sides that will not be finished so no planing or sanding that will remove my scribbles. The second way I go about it is to mark components on the end grain, once dimensioned I rarely plane any end grain and the marks are more often than not hidden once assembled.
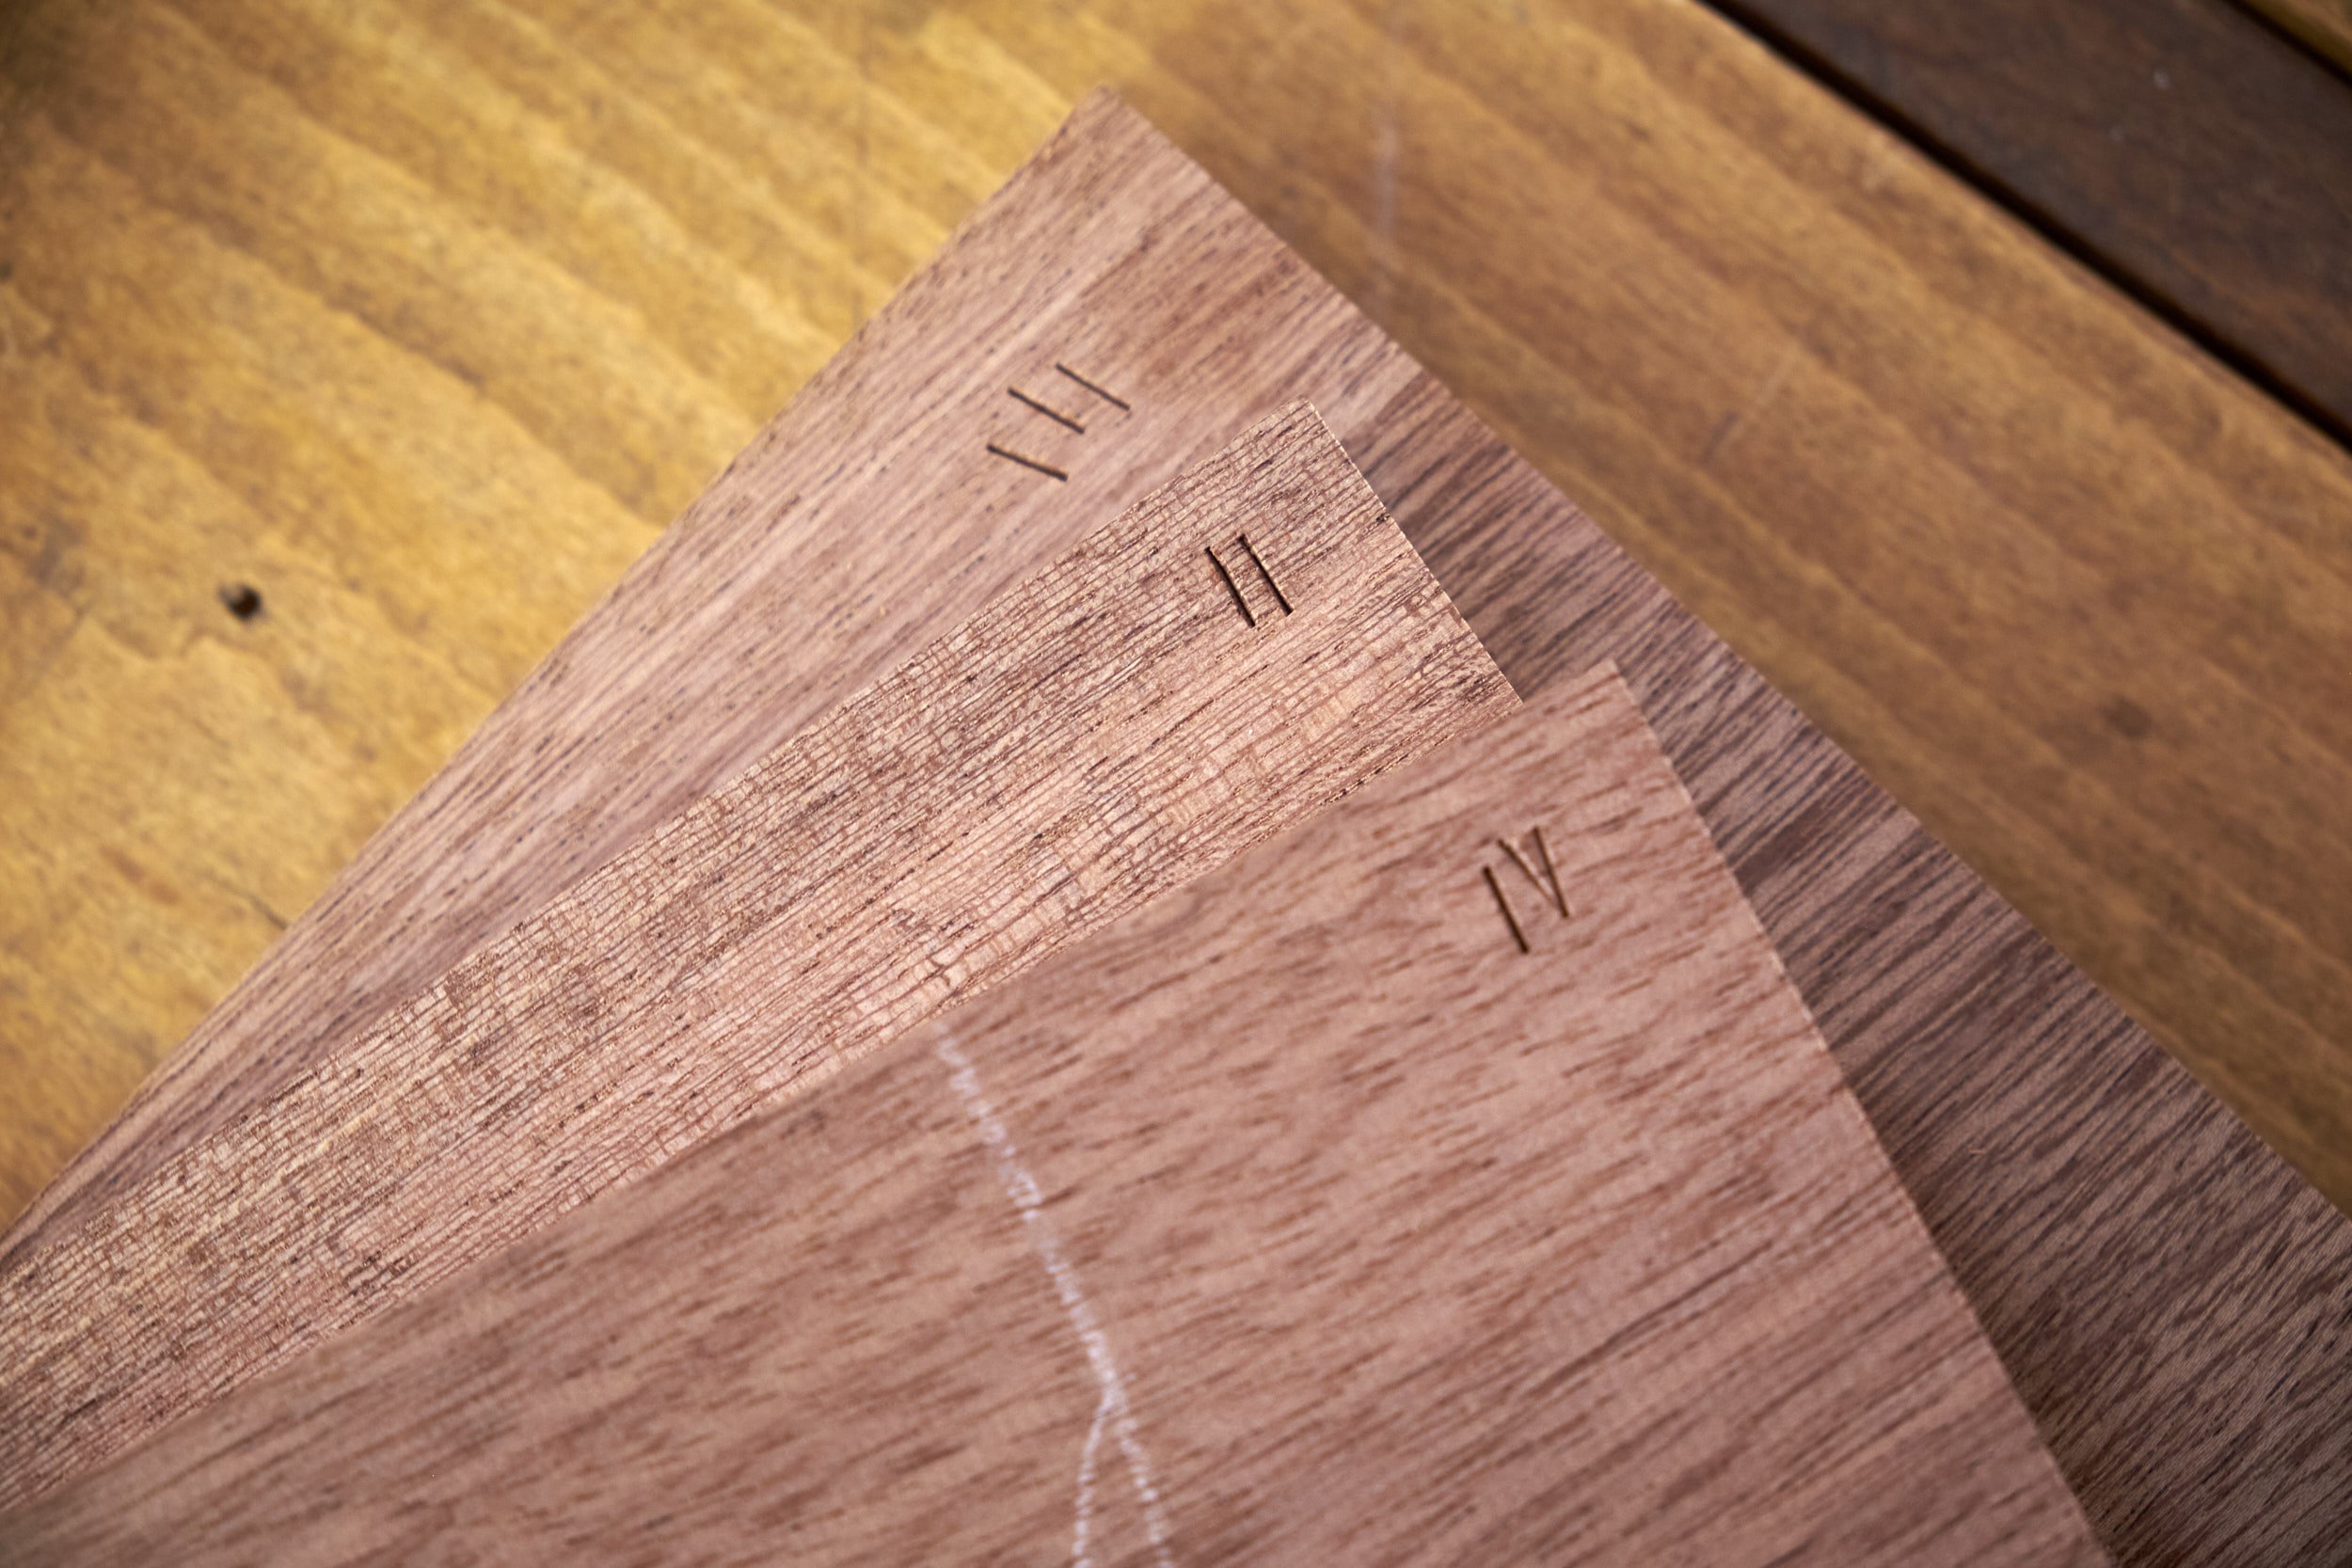
Lastly, on larger projects I love using a small chisel to mark out parts using roman numerals. I learnt this technique while building my Moravian Workbench using Will Myer’s video course and it is possibly the most reliable method of marking components without any risk of inadvertently removing it.
Tip 4 - Maker’s mark
If it’s not going to be seen in normal use of the project you are building don’t worry too much about removing your marks from hidden surfaces. Some customers and connoisseurs may even look for markings made by the maker and it often contributes to the feeling that an item was actually made by a human being.
If you want all surfaces to be pristine, have at it, hand planes are particularly adept at removing crucial info from wood surfaces.
Tip 5 - Avoid tape
I do at least.
I’ve seen many makers on the net mark and name components using painters tape and after having to use tape on a current project I was again reminded why this technique has not found regular use in my own workshop.
The short story is that I made a mess of the marking during the leg stage and I reverted to tape to override the marking up to that point.
The first reminder came whilst making cuts on the table saw when some of the tape on a component peeled off and got stuck to the table saw surface, it then rumpled up and lifted the workpiece from the table so that it was no longer square to the rip fence.
The next came after removing the tape from the workpieces the next day and I had to clean the remaining glue residue with a solvent.
I do not like using tape.
Tip 6 - Develop a system and stick to it
This one is important.
Wood working is hard enough without having to stay awake at night wondering if that leg is positioned right back or left front. Well, it could go either way depending on what side of the table you are standing on! The point is that you need your own approach to marking that you will always stick to.
Some examples to consider.
Always mark parts towards their upper edge, now you always know which way is up.
Mark on the inside of parts, in other words the side that won’t be considered a show face. Now you know which side is facing in or out.
View angle. From which side are you viewing a piece, always from the front? Now you know which side is left, right, front or back.
That last one seems ridiculously obvious but wait until you have a table upside down on a workbench with its feet in the air!
Tip 7 - Simplify
With this final tip I am preaching to myself.
I have on occasion been known to forego all of the above and make and absolute mess of marking parts, sometimes to the point of having to go back and redo a dry assembly just to confirm that it all goes together as it should.
A small piece, no problem. Large components, laborious. Complicated build, a pain in the rear!
I have ignored that little voice in my head telling me to go over the assembly one more time just to have to take pieces apart and clean off glue before trying again or having to effect “repairs” to projects to fix a mistake.
I digress.
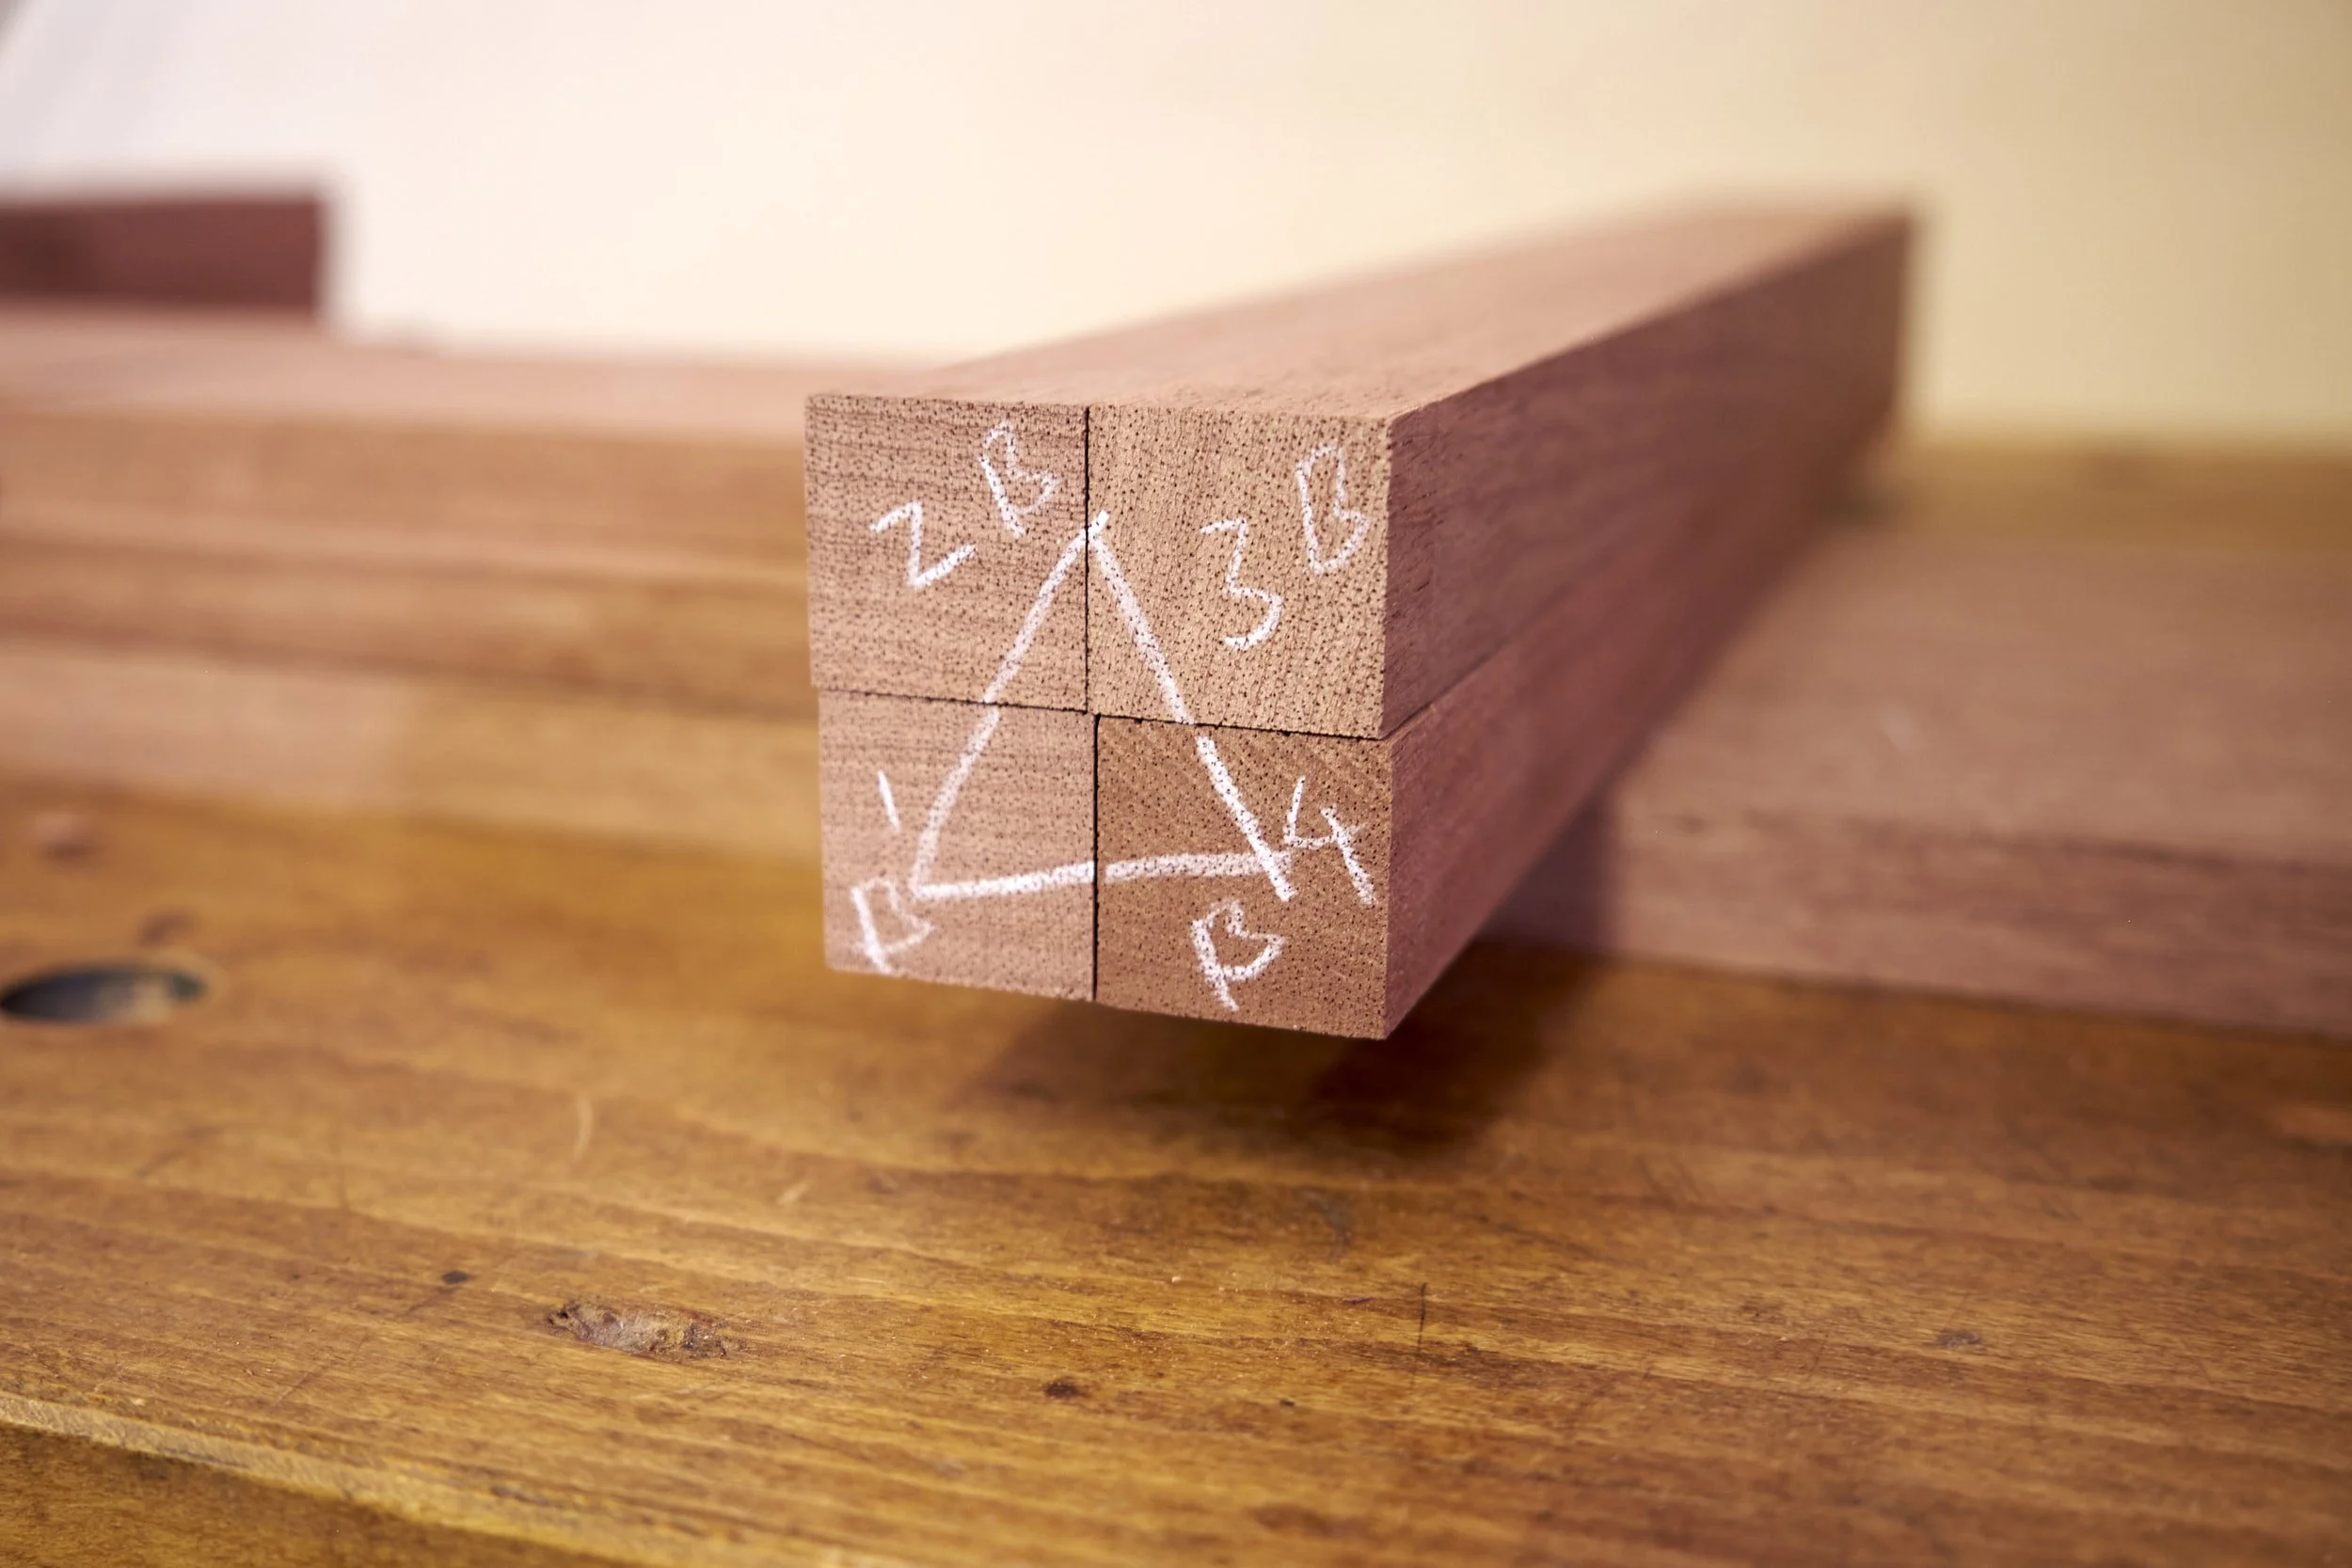
There may be one mark to rule them all so to speak and that would be the cabinet maker’s triangle.
This seemingly lowly mark can indicate a myriad of things and combined with face and edge marks as well as numbering can be truly effective in helping keep track of not only component orientation but also what goes where. Using a triangle can even keep track of how laminations go together.
All you need to decide is how to use it.
Back to #6.
Does your triangle point up or down, towards the outside or in, towards you or away?
Personally I will be forcing myself to use only triangles in conjunction with face/edge marks and simple numbering going forward in an effort to see if I can follow my own advice and simplify the marking process in my own workshop.
After all we all need a bit of KISS in our lives. Although I think that one’s ability to keep things simple is a sign of higher intelligence, not stupidity.
I will be sure to let you know how it went, not the intelligence part………