
The Festool Domino Does It Again

I continue with the Shaker style bedside table build and in this edition I start on the top, or is it the drawers?
Well it could have been either the one or the other but I decided to do the tops first because I had a slight stability issue with one carcass and I hoped that installing the top would fix it, read more in Step 2. Once again, it’s never that simple and before I could start on the top laminations I had to process more raw lumber because I didn’t process enough stock for the set up of the Leigh DR4 Pro to cut the dovetails for the drawers!
More on that circus later…….
As if this project didn’t have its fair share of mistakes it seems as if the accompanying build log isn’t exempt either.
I finished the first instalment of this series with a glued up carcass and omitted to elaborate on a rather crucial step in the process and that was cutting the slots for the z-clamps that would be holding the tops down onto the frame.
This one was supposed to go in between step 4 and 5 of the first article so we’ll just call it 4.5 shall we?
Step 4.5: Cut Slots
On most of my builds I use z-clamps to secure tops to their prospective frames and this one was not different. During this step I usually love breaking out my Luban grooving plane to make the slots in the aprons for the free end of the clamp to seat into.
A highly therapeutic process.

However I have also recently learnt a method of cutting slots for this purpose using the Festool Domino and I do this by first marking the spots where I would like the clamps to go on the inside of the aprons and then cutting the slots using the 5 or 6mm cutter. It is important to get the height setting correct as this will determine the tension on the clamps once screwed into the bottom of the tops.
This is quite an efficient way of making the necessary slots and it’s really useful on very long aprons like say, dining room tables.
As simple as this process is it also marks the second rather big mistake I made on this project. I managed to cut the slots on one of the narrow front aprons on the bottom and not the upper edge that sits against the top.
No problem just recut them? Difficult if you only notice after it's all glued up and the assembled unit is too narrow to get the Domino machine into.
They do say whoopsies come in threes and this one came in at number two!
All caught up, on the last post.
Step 1: Laminate the Top
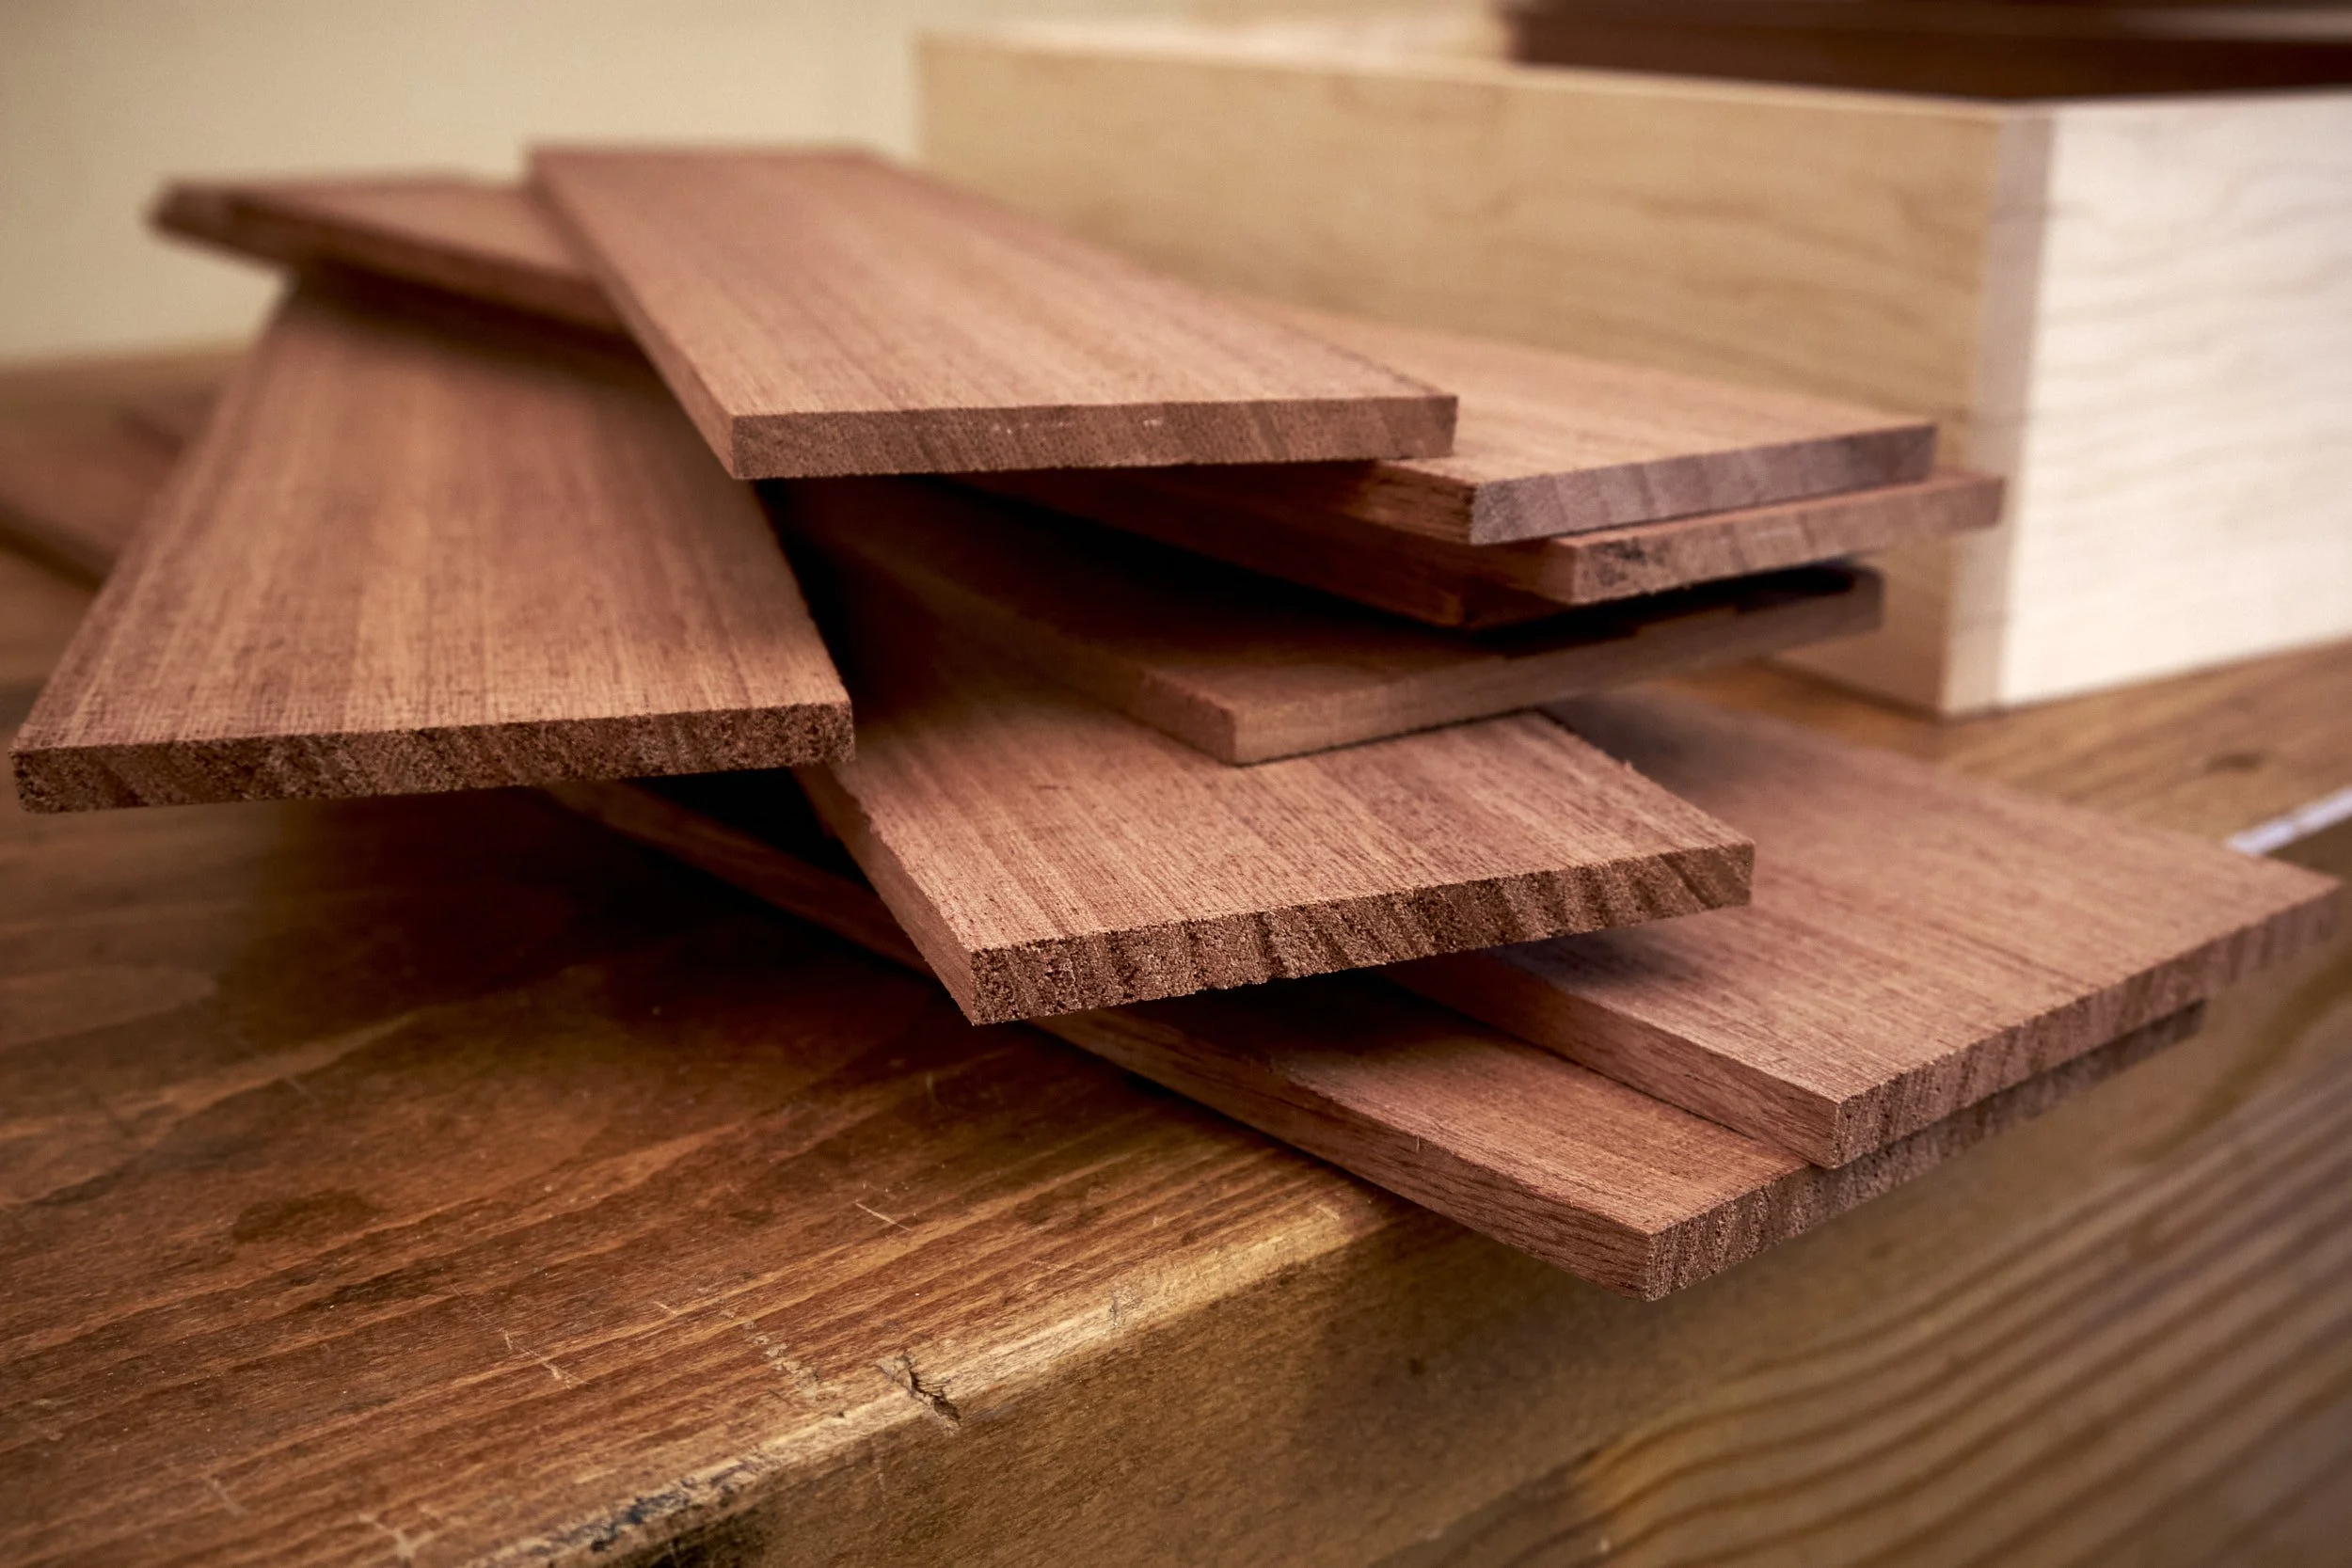
Once I replaced the stock lost as a result of my own thievery it was on to the laminations for the tops.
I like using Dominos for these laminations as they help keep everything straight and flat during the glue up process. After some time in the clamps I cleaned off the excess glue and ran the panels through the thicknesser to get nicely finished, flat tops.
Next up I took the panels over to the table saw and ripped and squared them up to final dimensions using my trusty simple cross cut sled. If you would like access to the build plans for this sled head over to this link and sign up for my newsletter. As a thanks I will send you the link and password to my free plan download page.
Back to the build.
After getting the tops to their final sizes I took them over to the glued frames and fiddled with the positioning to get them centred.
It was then that I noticed screw up number three. If you overlook the fact that the carcass wobbled on two feet after assembly it’s three, if not this one would be four.
Although I went through some trouble to get the spacing of the Dominos such that I would miss them during the crosscut step I obviously didn’t go through enough trouble and I grazed the loose tenons on one side of a top just enough so that one could clearly see the Domino from the side. The fact that African Mahogany is a darker wood than the loose tenon did not help at all!
Repairs for later then.
Step 2: Install the Top
In paragraph two I mentioned that I decided to work on the tops before the drawers and that it was an attempt to fix a problem.
After the glue up it seems as if one of the table frames came out of the clamps a bit wobbly in the legs so that it didn’t stand flat on all fours. This was likely as a result of uneven clamping during assembly and likely caused the frame to go together slightly out of square. I was hoping that by installing the top whilst having the assembled frame clamped down to it on a flat surface that the assembly would be pulled back into square.
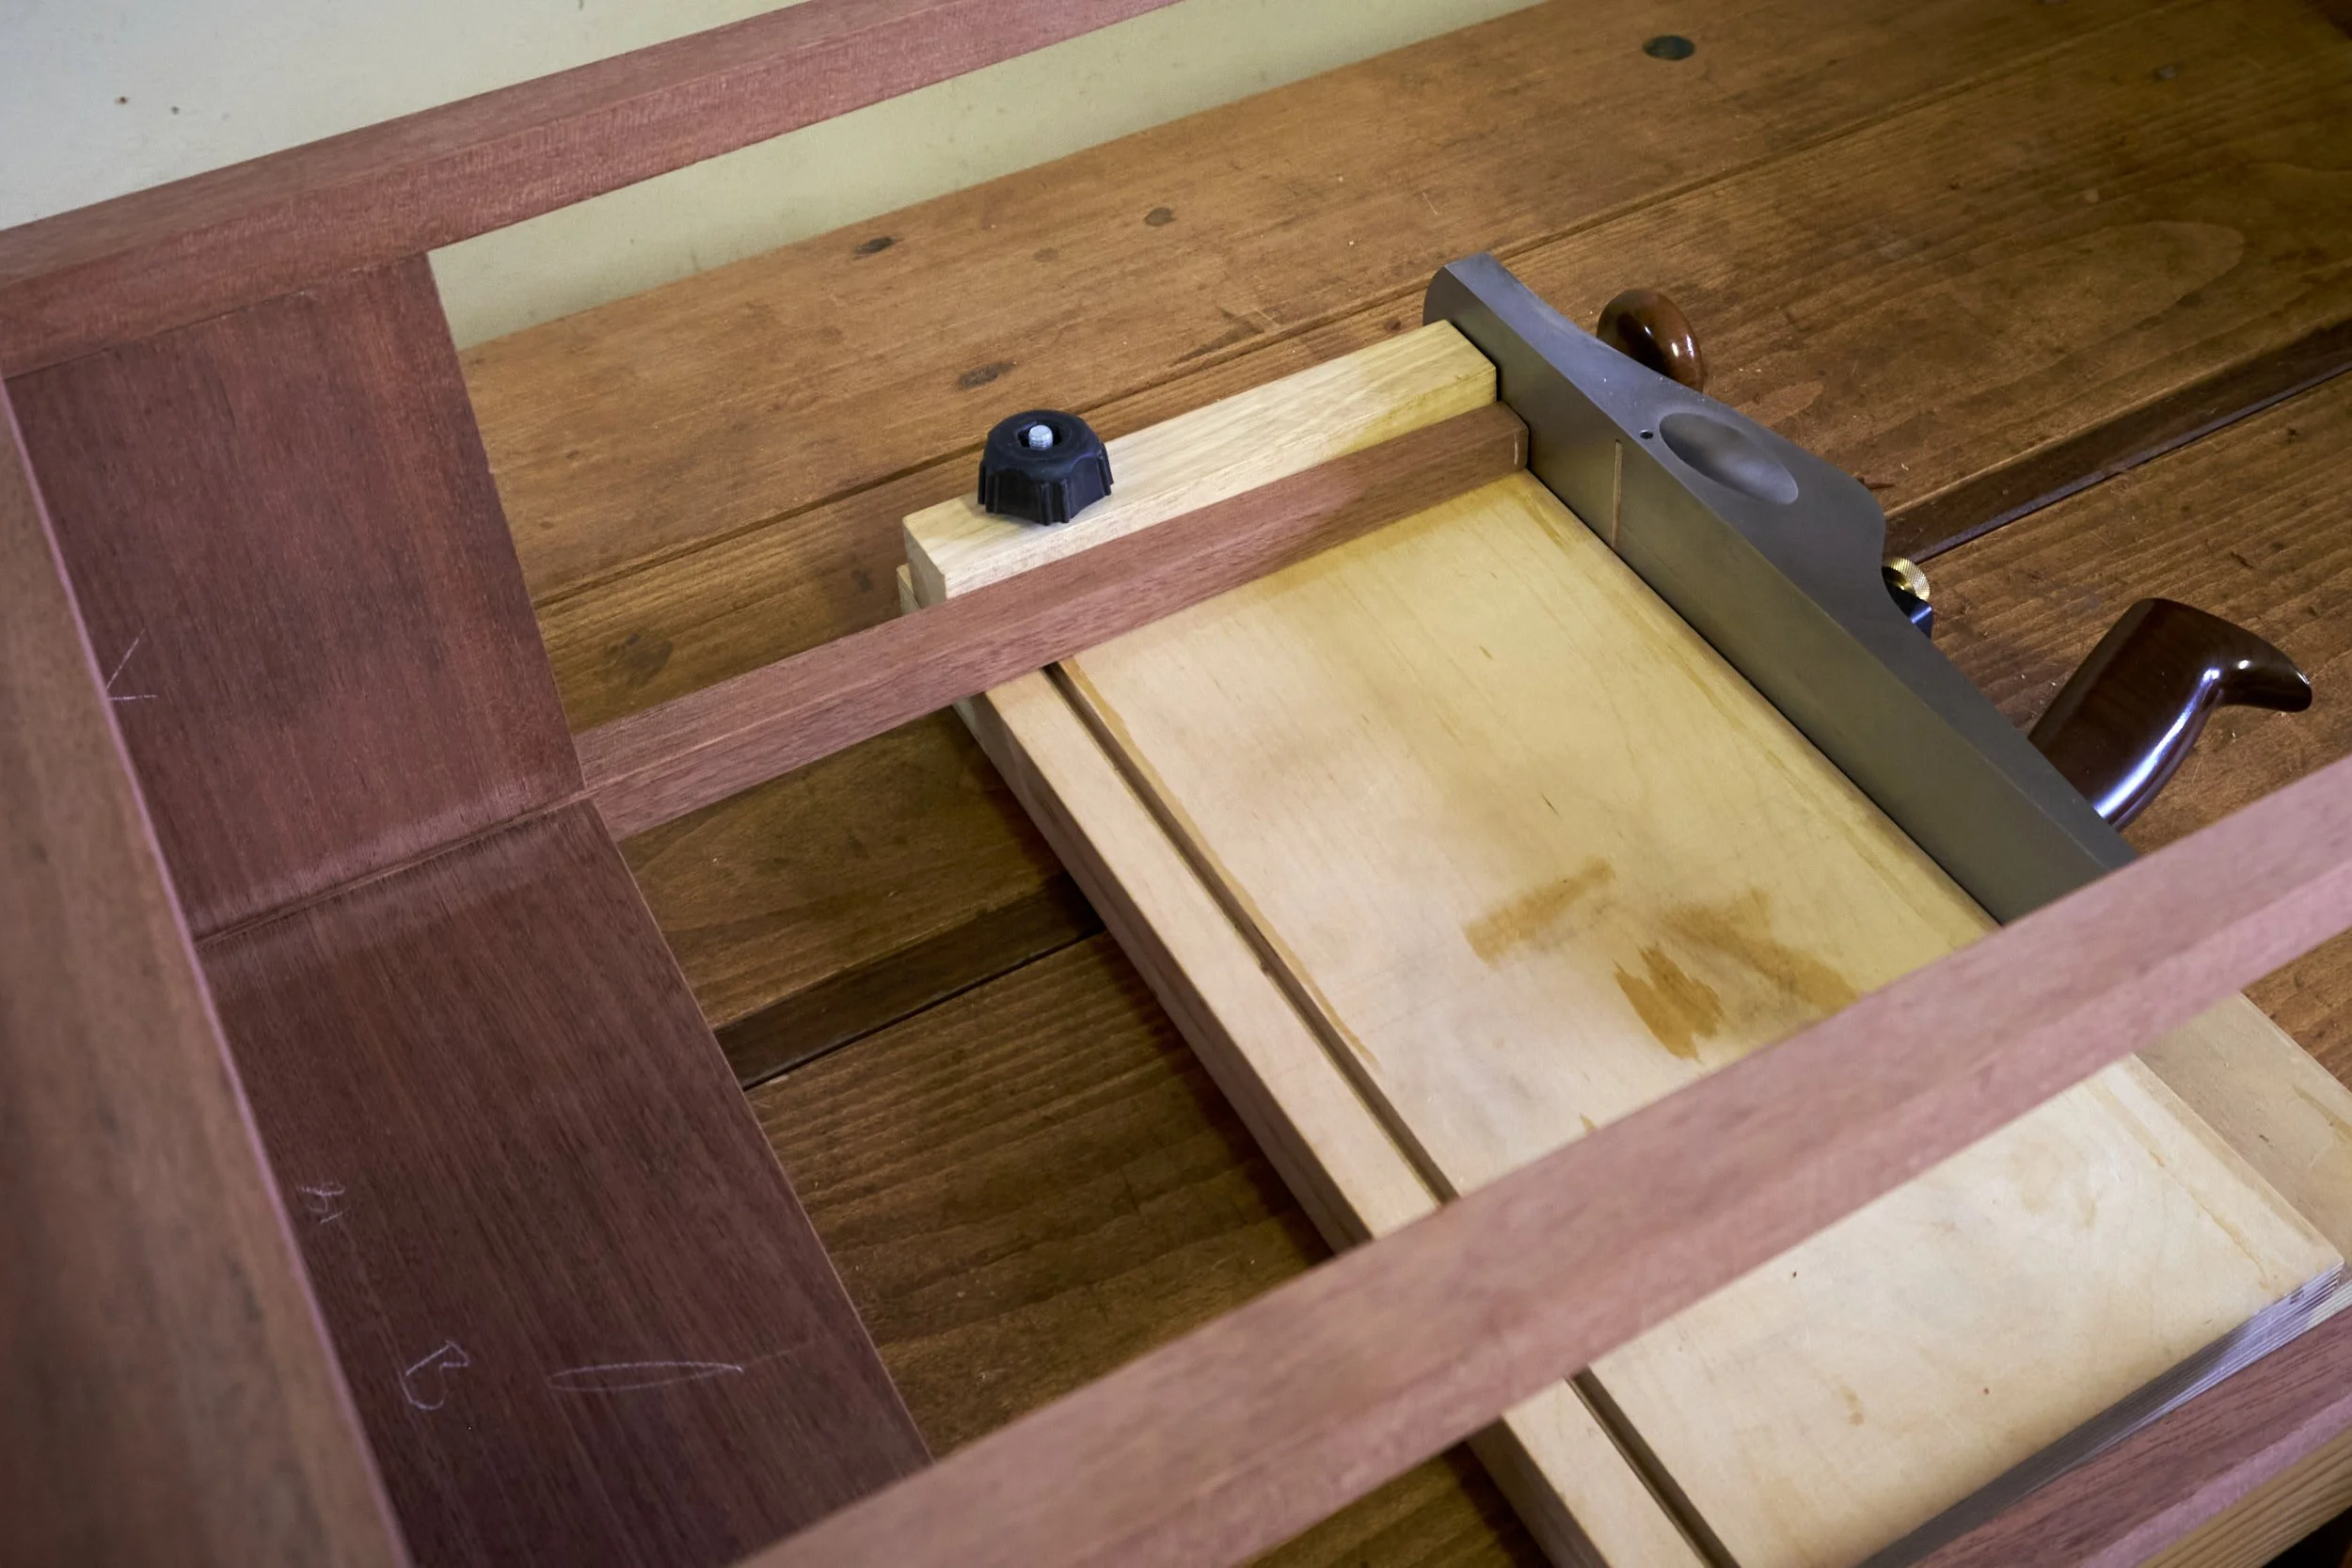
I placed each table’s top upside down on my workbench and centralised its accompanying carcass onto the bottom surface of each top. Once I was happy with the position of each I clamped the whole assembly lightly to the workbench top so that it wouldn’t move while I marked the hole positions for the z-clamps. With the holes marked I removed the carcass assemblies and drilled shallow starting holes for the screws that would hold it all together.
After drilling the pilot holes I brought the carcasses back to each top and installed the z-clamps.
The tops were installed.
This strategy didn’t work to fix my problem though and the table still rocked back and forth on two legs, so I decided to correct the wobble before I continued with the build.
I wanted to make the corrections in a controlled manner so rather than just using a hand plane to shorten the “longer” legs I decided to use my shooting board for this purpose and it worked surprisingly well.
This is how I went about it.
I first identified the pair of legs that needed to be shortened and then took the whole table over to my shooting board. Butting the outside corner of the first offending leg up against the fence I took three swipes at it with a hand plane before moving on to the second leg which got the same treatment. I then went back to a flat surface to check my progress. This check showed some improvement and after following the same procedure one more time the table was standing securely with all four legs firmly on the reference surface.
It was now time to move on to the drawers, likely the most frustrating two days of 2023.
Step 3: Making the Drawers
I often have these grand ideas for features I would like to include in projects and often something happens that causes me to either regret the decision or omit the feature all together. These drawers were no different.
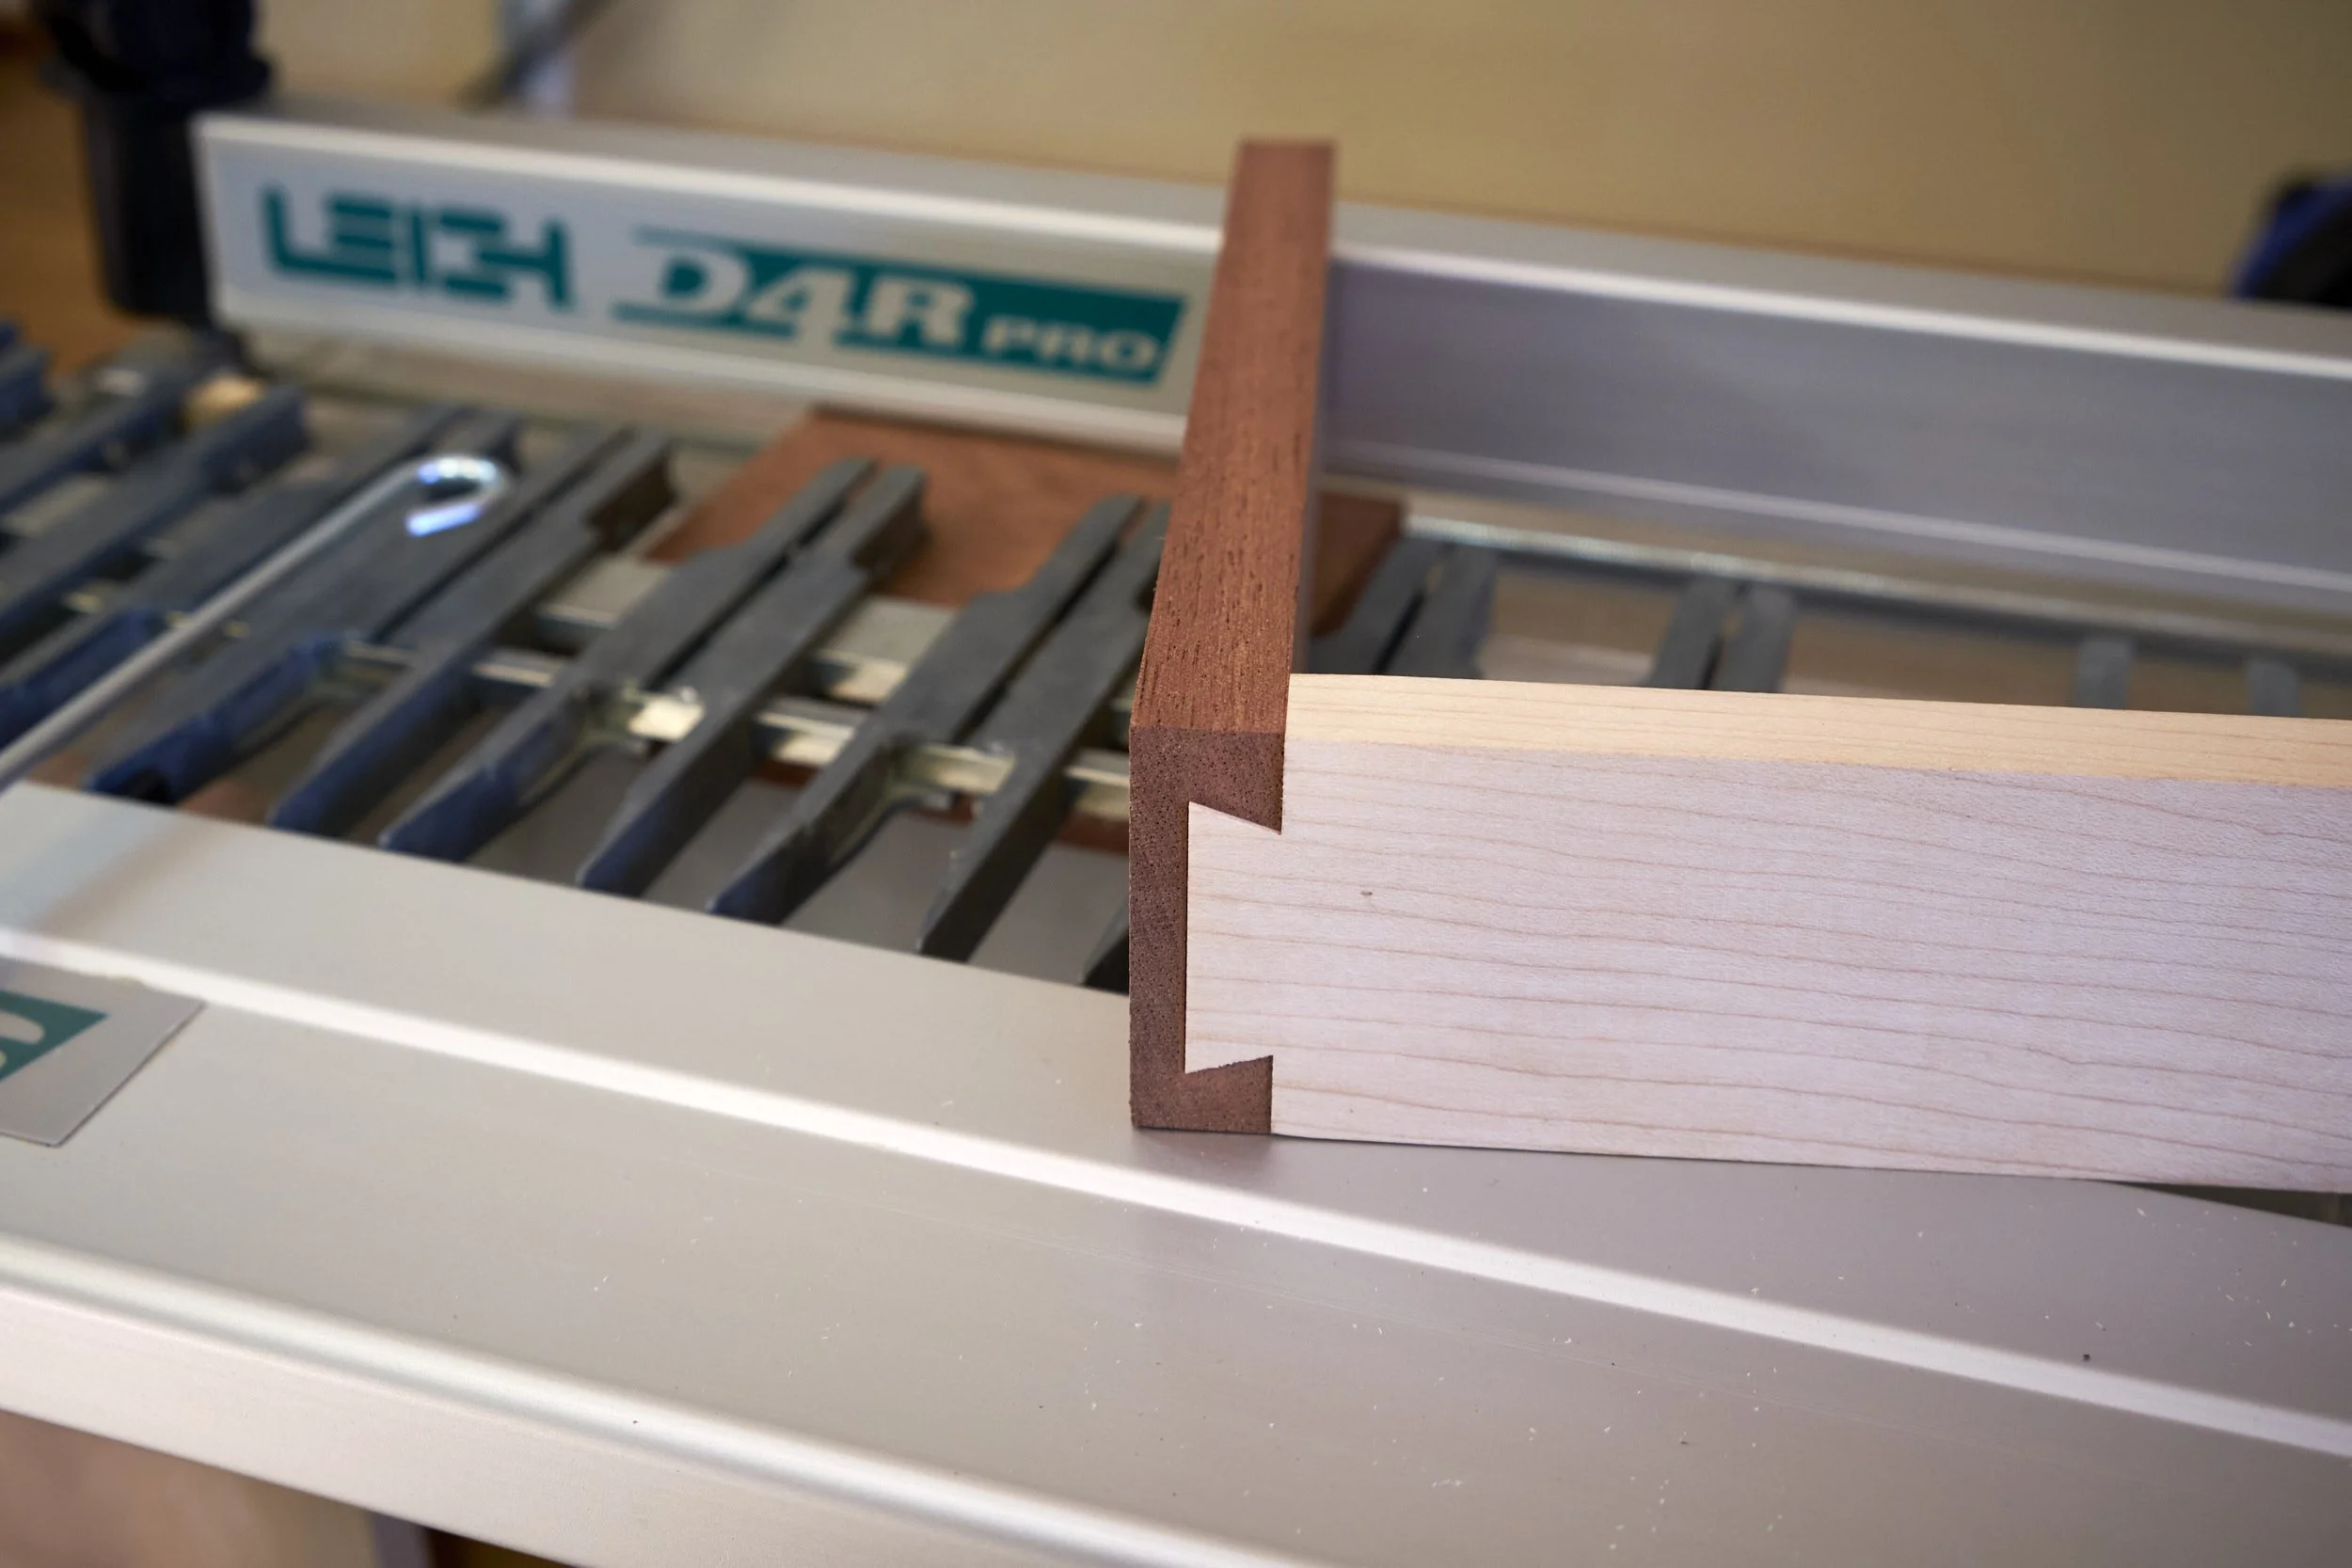
Using Mahogany for the face and Hard Maple for the sides provided an ideal contrast for half blind dovetails. So with a good supply of components in hand I set up my Leigh D4R Pro dovetailing jig and started with the setup process. After my first test the fit of the tails into their sockets looked good albeit a bit tight for my liking. I then set the jig to give a bit of a looser fit and that was where things went south. I now had a fit that was too loose. I went back to square one but this time the fit was way too tight.
After a few tries I had a dovetail fit that I was happy with and proceeded to do a test cut on the other side of the jig to confirm if I would be able to cut symmetrical dovetails and here I ran into another problem in that although the fit of the tails into their sockets was good I now had a inexplicable gap that I wasn’t able to get rid of!
The reason I needed to cut symmetrical dovetails was because the drawer face was wider top to bottom than the drawer sides to allow for the slides that the secret drawers would be running on. Figuring out the internal workings of this particular piece was a challenge in and of itself and I’ll tell you more about that part the next time we meet.
Anyway this was not going well and I was fast running out of prepped stock for the drawers and I ended the day with an upward bump in firewood stock levels.
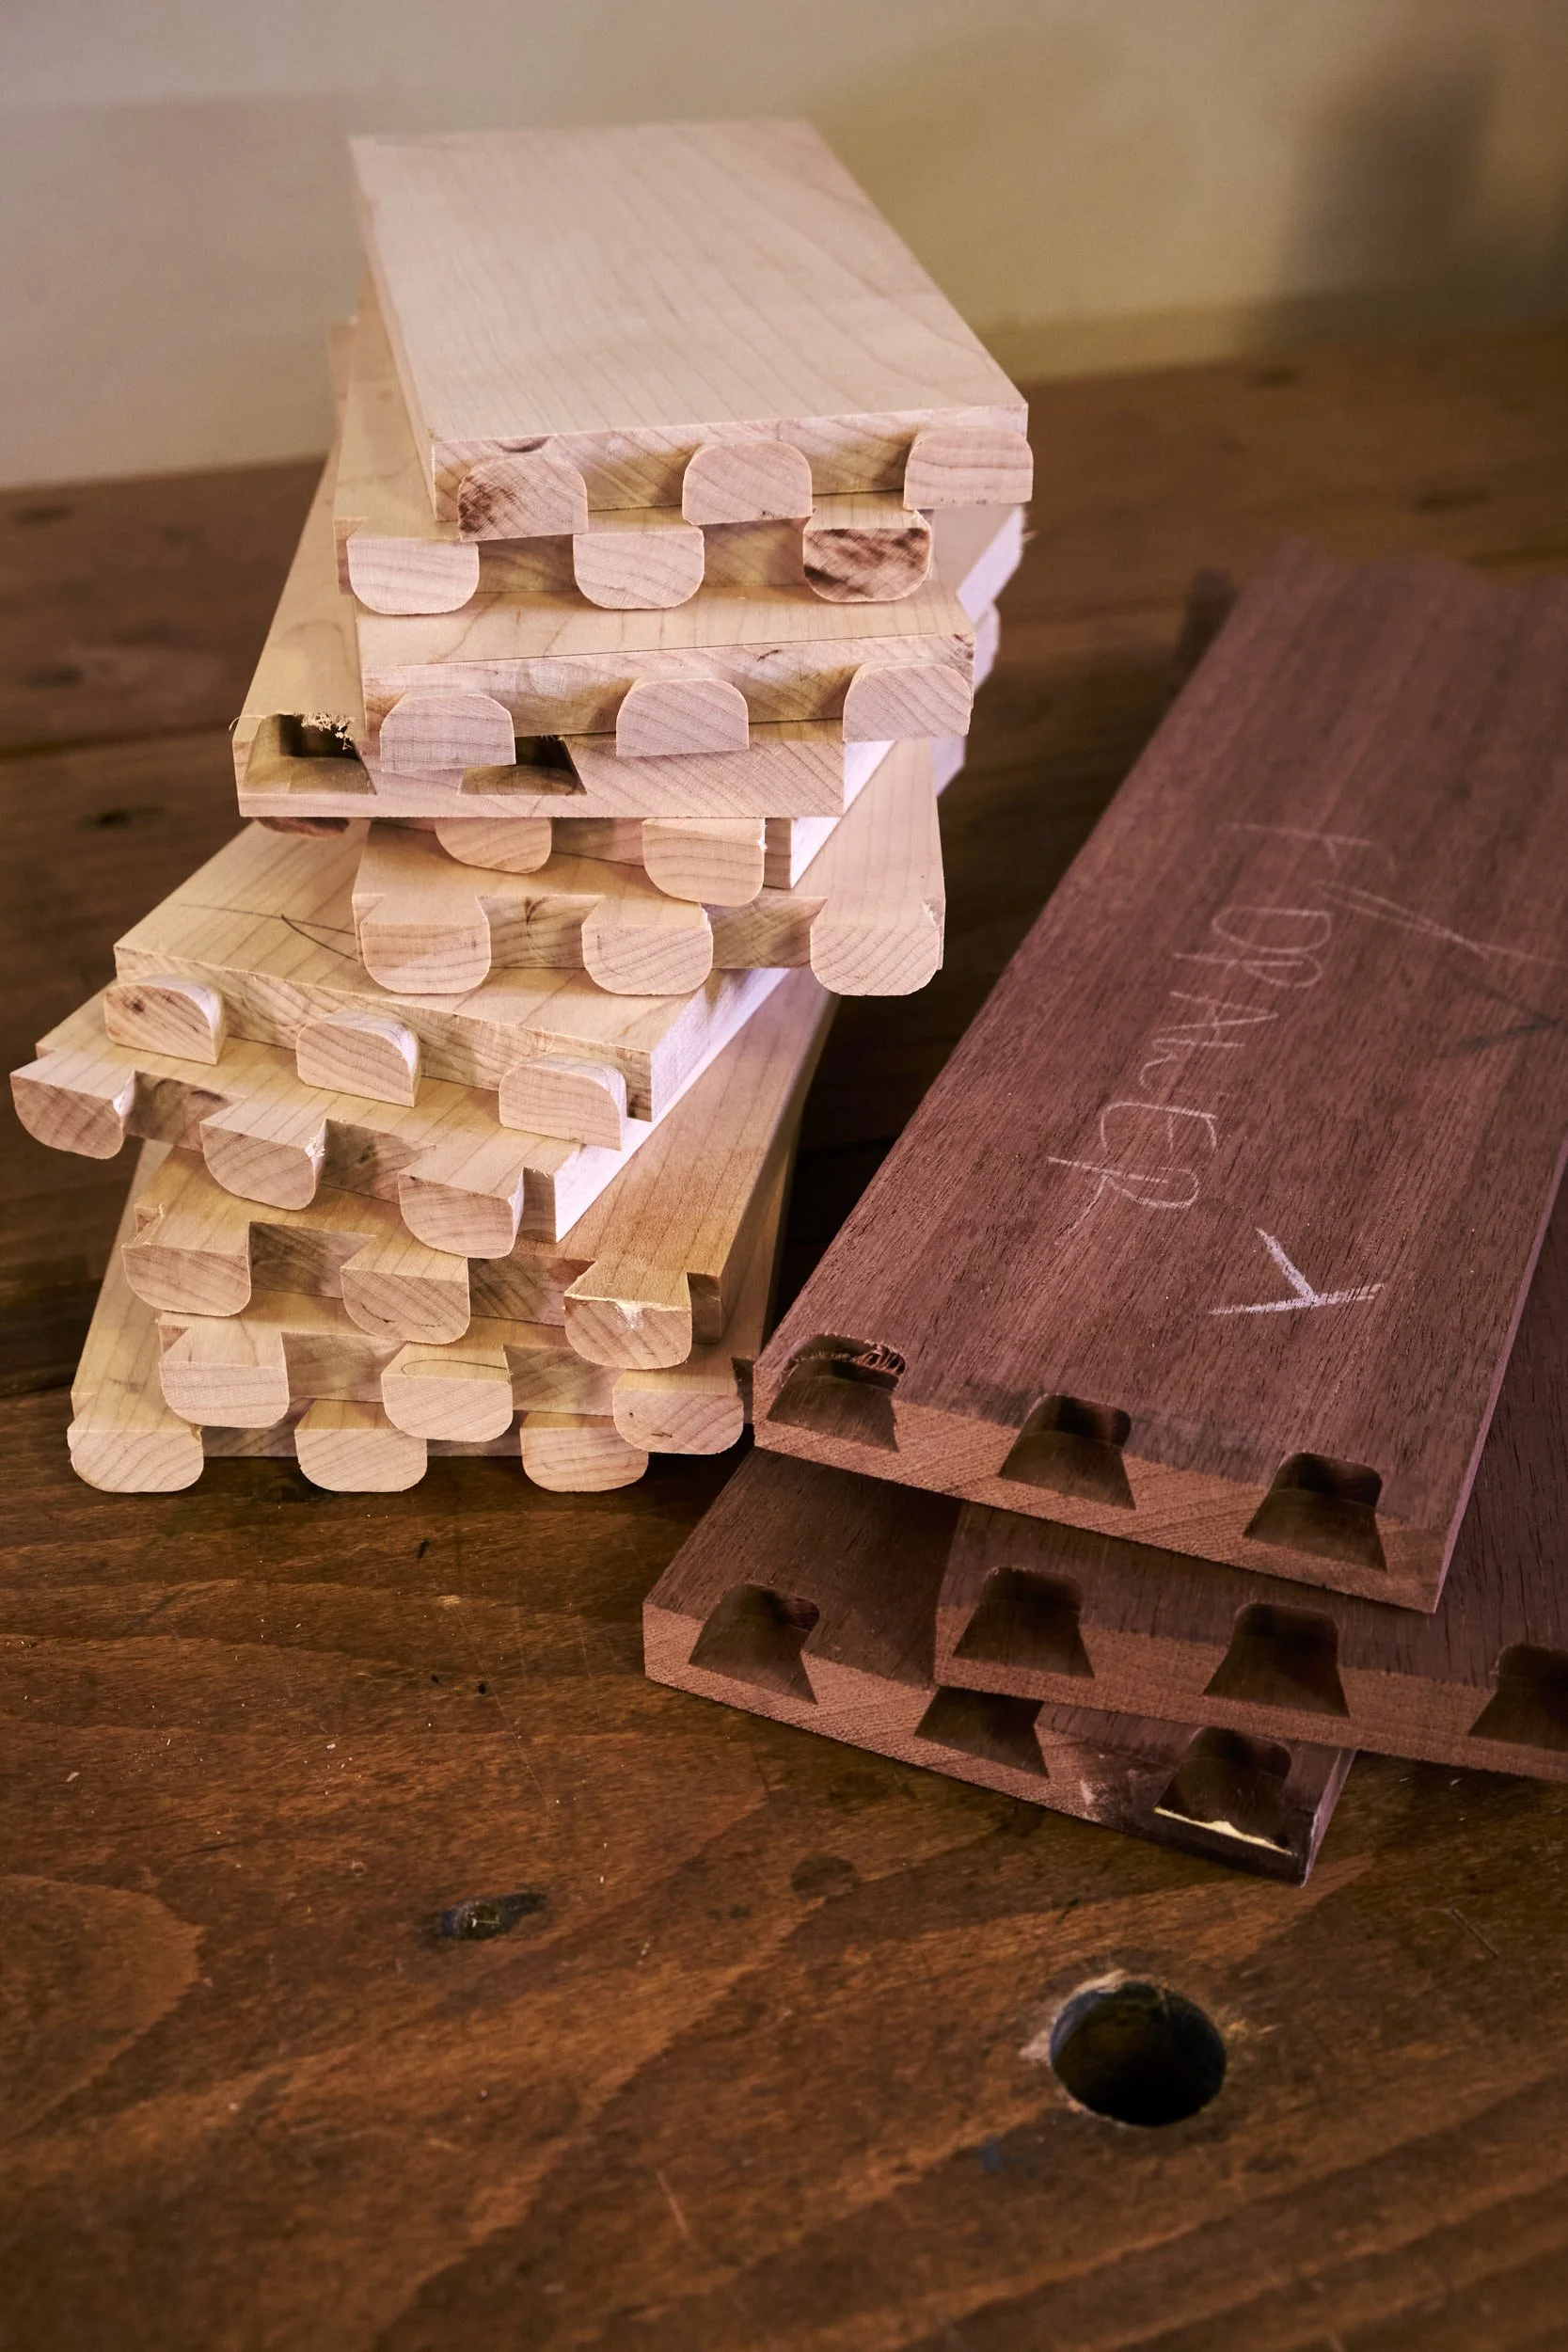
On day two of drawer making I ran into the same issues as I had the day before and without boring you on the details it came to a point where the raw materials for making the drawers were running out and I decided that I needed to look at an alternative for getting them together.
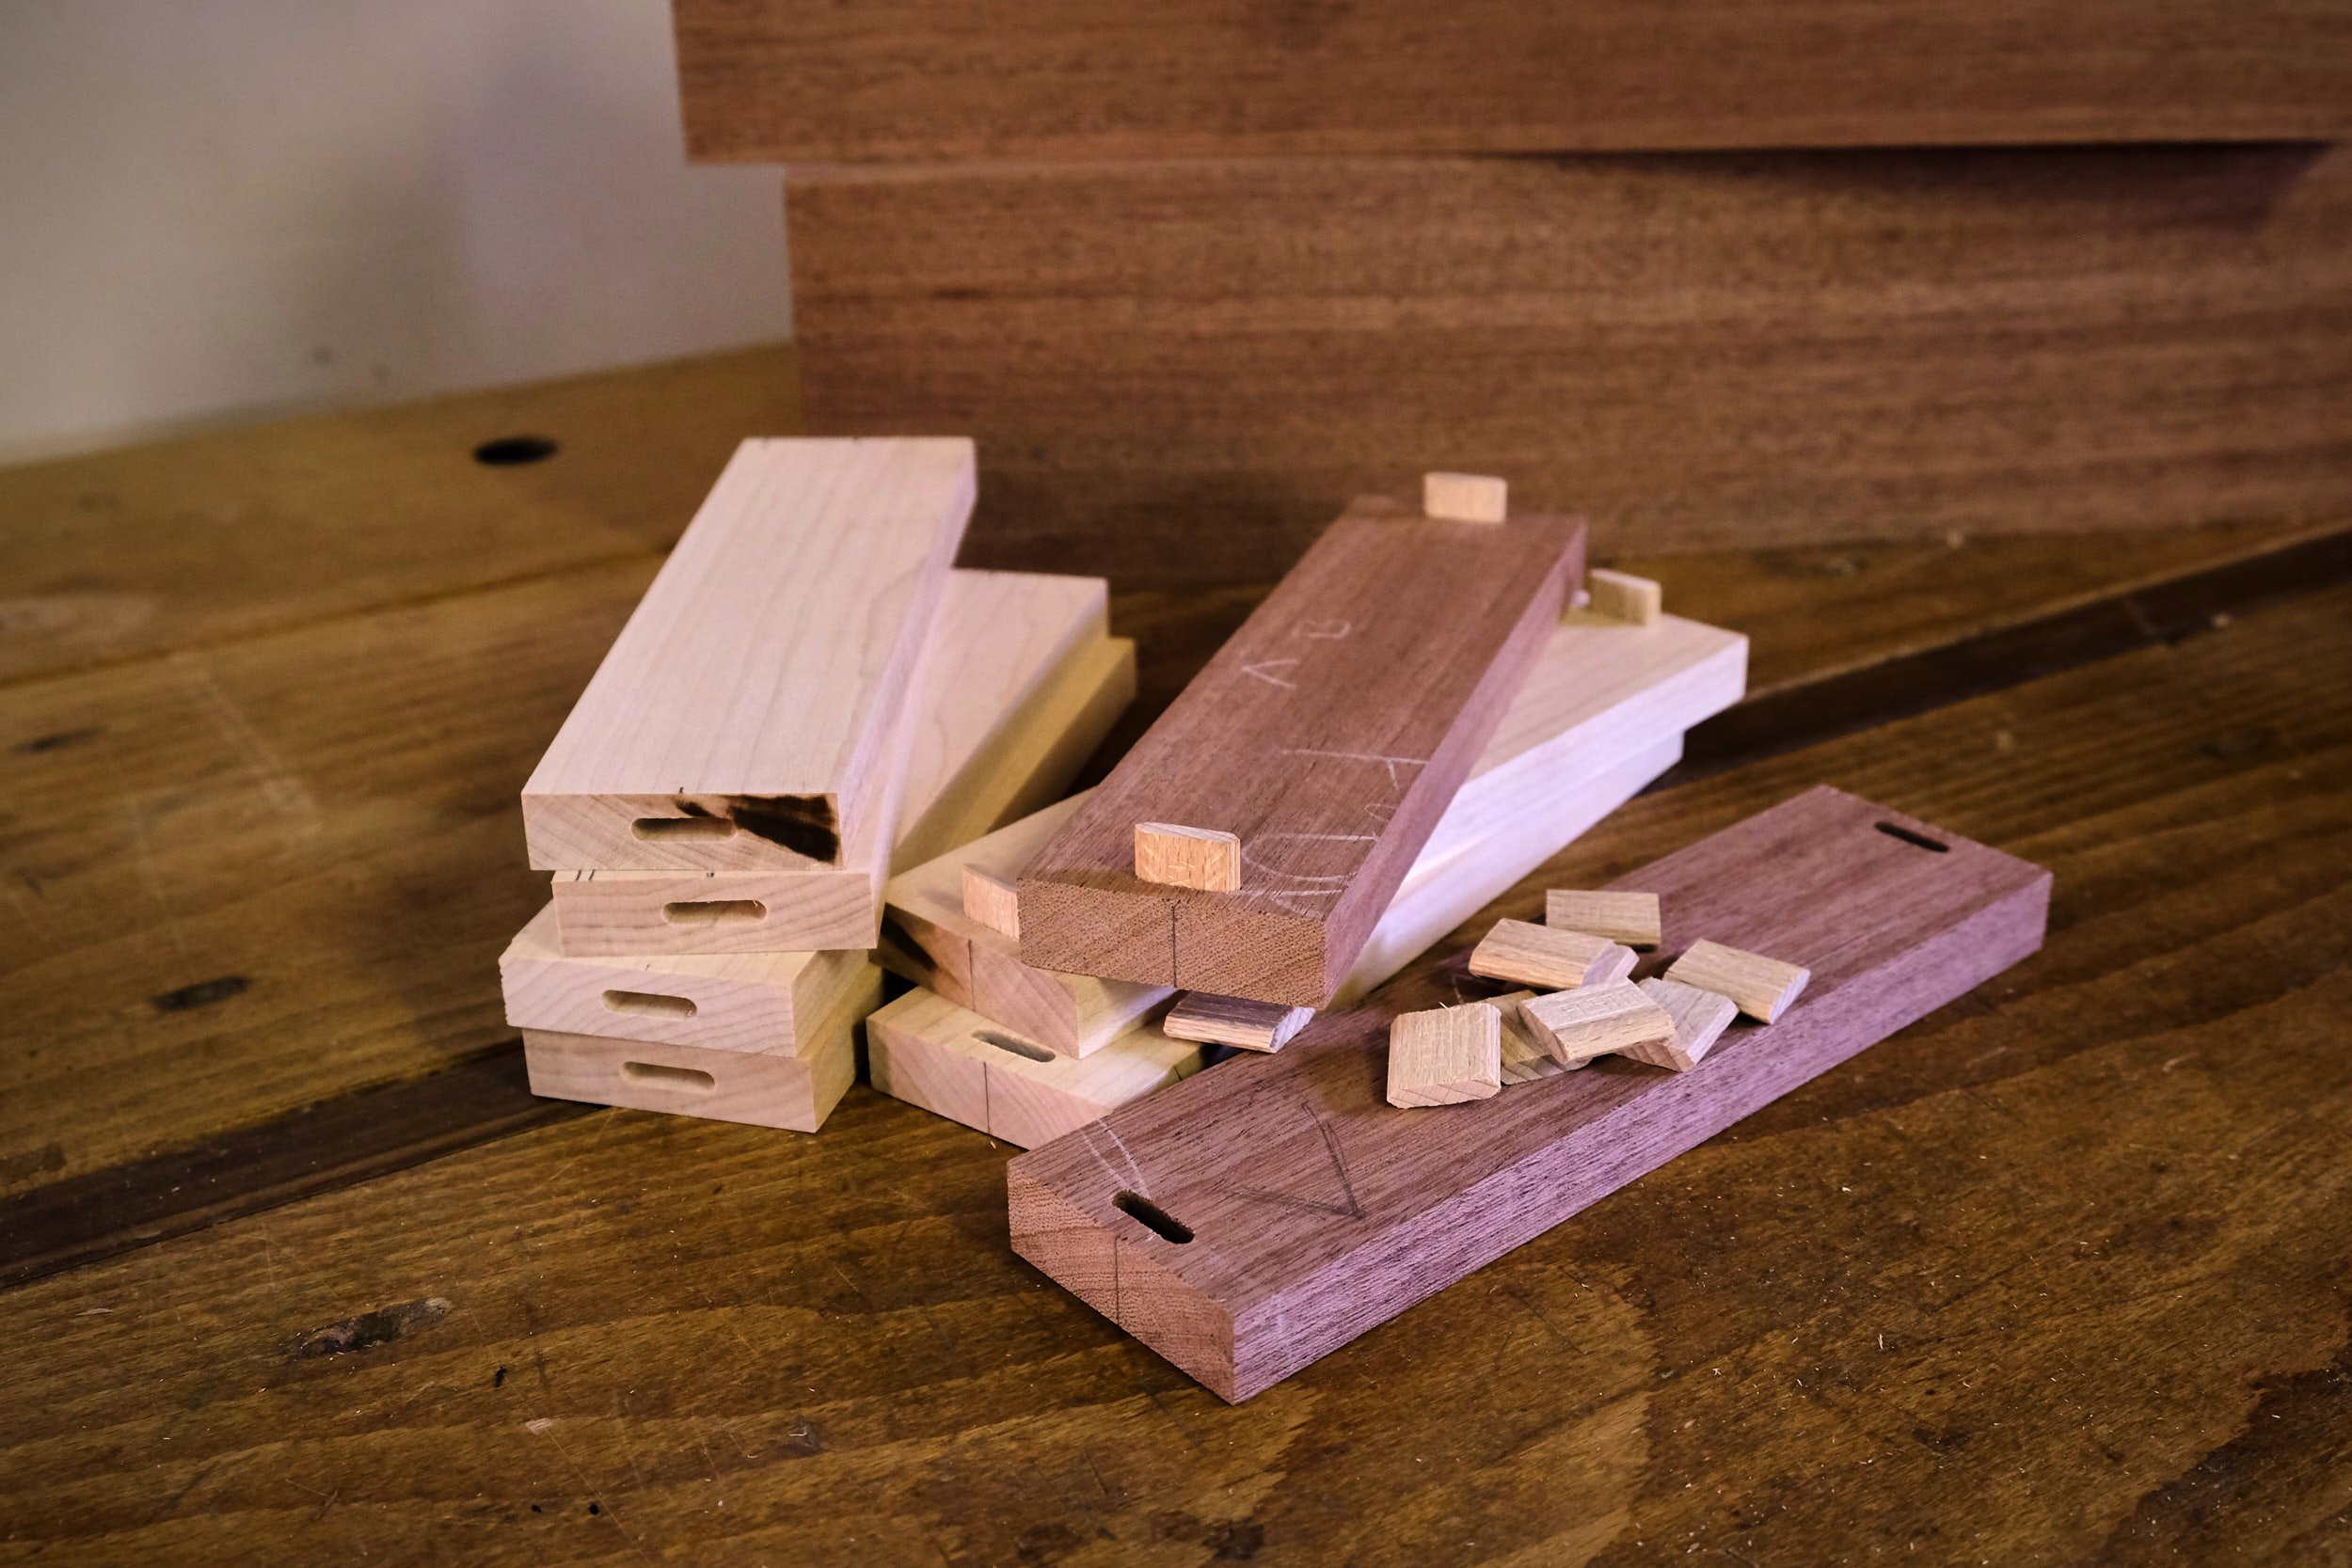
So my Domino and 4mm loose tenons once again came to the rescue!
I’ll be blunt, it wasn’t pretty but neither was the growing stack of drawer components just outside the workshop door. I was also running out of time to finish the project and the drawers needed to be made. Amongst the murk of disappointment and anger there was a slight relief in remembering that screw up number one in the first article had inadvertently bought me some time and this I used to good effect on this little drawer making adventure!
Anyway, these drawers would likely not pass muster with fine wood working masters but they were together and with the drawer bottoms made from solid laminated Mahogany that really looked good framed in Maple, I was happy to head off onto the next step, and that was fitting them into the table structure.
Being so traumatised by recounting this experience I seem to have omitted some details that you might like to know.
The length of the main drawer sides were determined by the final depth of the casework. I subtracted around 5mm from the total measurement to allow for a stop block to be placed on the inside face of the rear apron. This stop would allow for the tweaking of the drawer depth to get the drawer face flush with the front apron.
The main drawer face and back panel length was measured directly between the insides of the front legs and 2mm deducted for the reveal around the drawer.
The main drawer face height was measured from the bottom edge of the side aprons to the bottom edge of the front apron. I planed the top edge of the drawer face down during the fitting process to match the reveal on the sides. More about this in the next edition.
On the side drawers I used the same strategy as above for the face and back but on the depth I measured the sides of the drawers long enough to position the back of the drawer at the middle of the distance between the two side aprons.
The drawers run on wooden slides and so I did not need to take the positioning of metal hardware into consideration.
The next time we meet on this project I will give you more info on figuring out the innards that the drawers would be running on, see you there.
By the way the screw up on the drawers represented whoops number four, not counting the wobbly part.
Also, some investigation into the dovetail jig matter seemed to indicate that the alignment between the fingers on the jig and the support offered by the vacuum/router support were less than ideal.
Definitely need to have a relook at trying some dovetails as soon as I get over the initial trauma of this project.