Two Bedside Tables, Just In The Nick Of Time

Into the final stretch on the bedside table build and in this last edition I figure out the internal workings of this project. Effectively having two prototypes if the same piece in hand I was in for a challenge, but hey with both time and materials running out who wouldn’t bristle at the opportunity to build the puzzle that made perfect sense in 3D?
Having a single view available when doing this design didn’t help much but it offered up one titbit, well two actually, that set the ball rolling on working out what the insides might have looked like and that is where the we will start.
Main Drawers
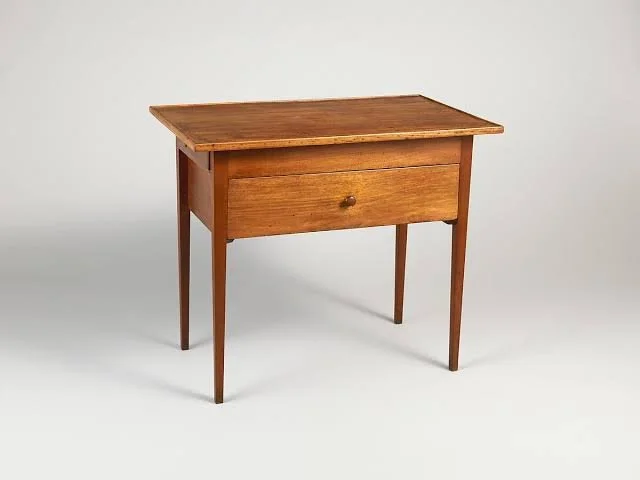
If you look closely at the picture of the table you can just make out drawer slides below the main drawer.
This is titbit number one.
The second is the positioning of the side aprons relative to the legs.
You will notice that they are inset rather deep and I would wager some funds - if I had any to wager - that the inside of the aprons would be flush with the inside of the legs meaning that the aprons themselves would act as guides for the sides of the drawer.
Based on the above assumptions, this is what I did.
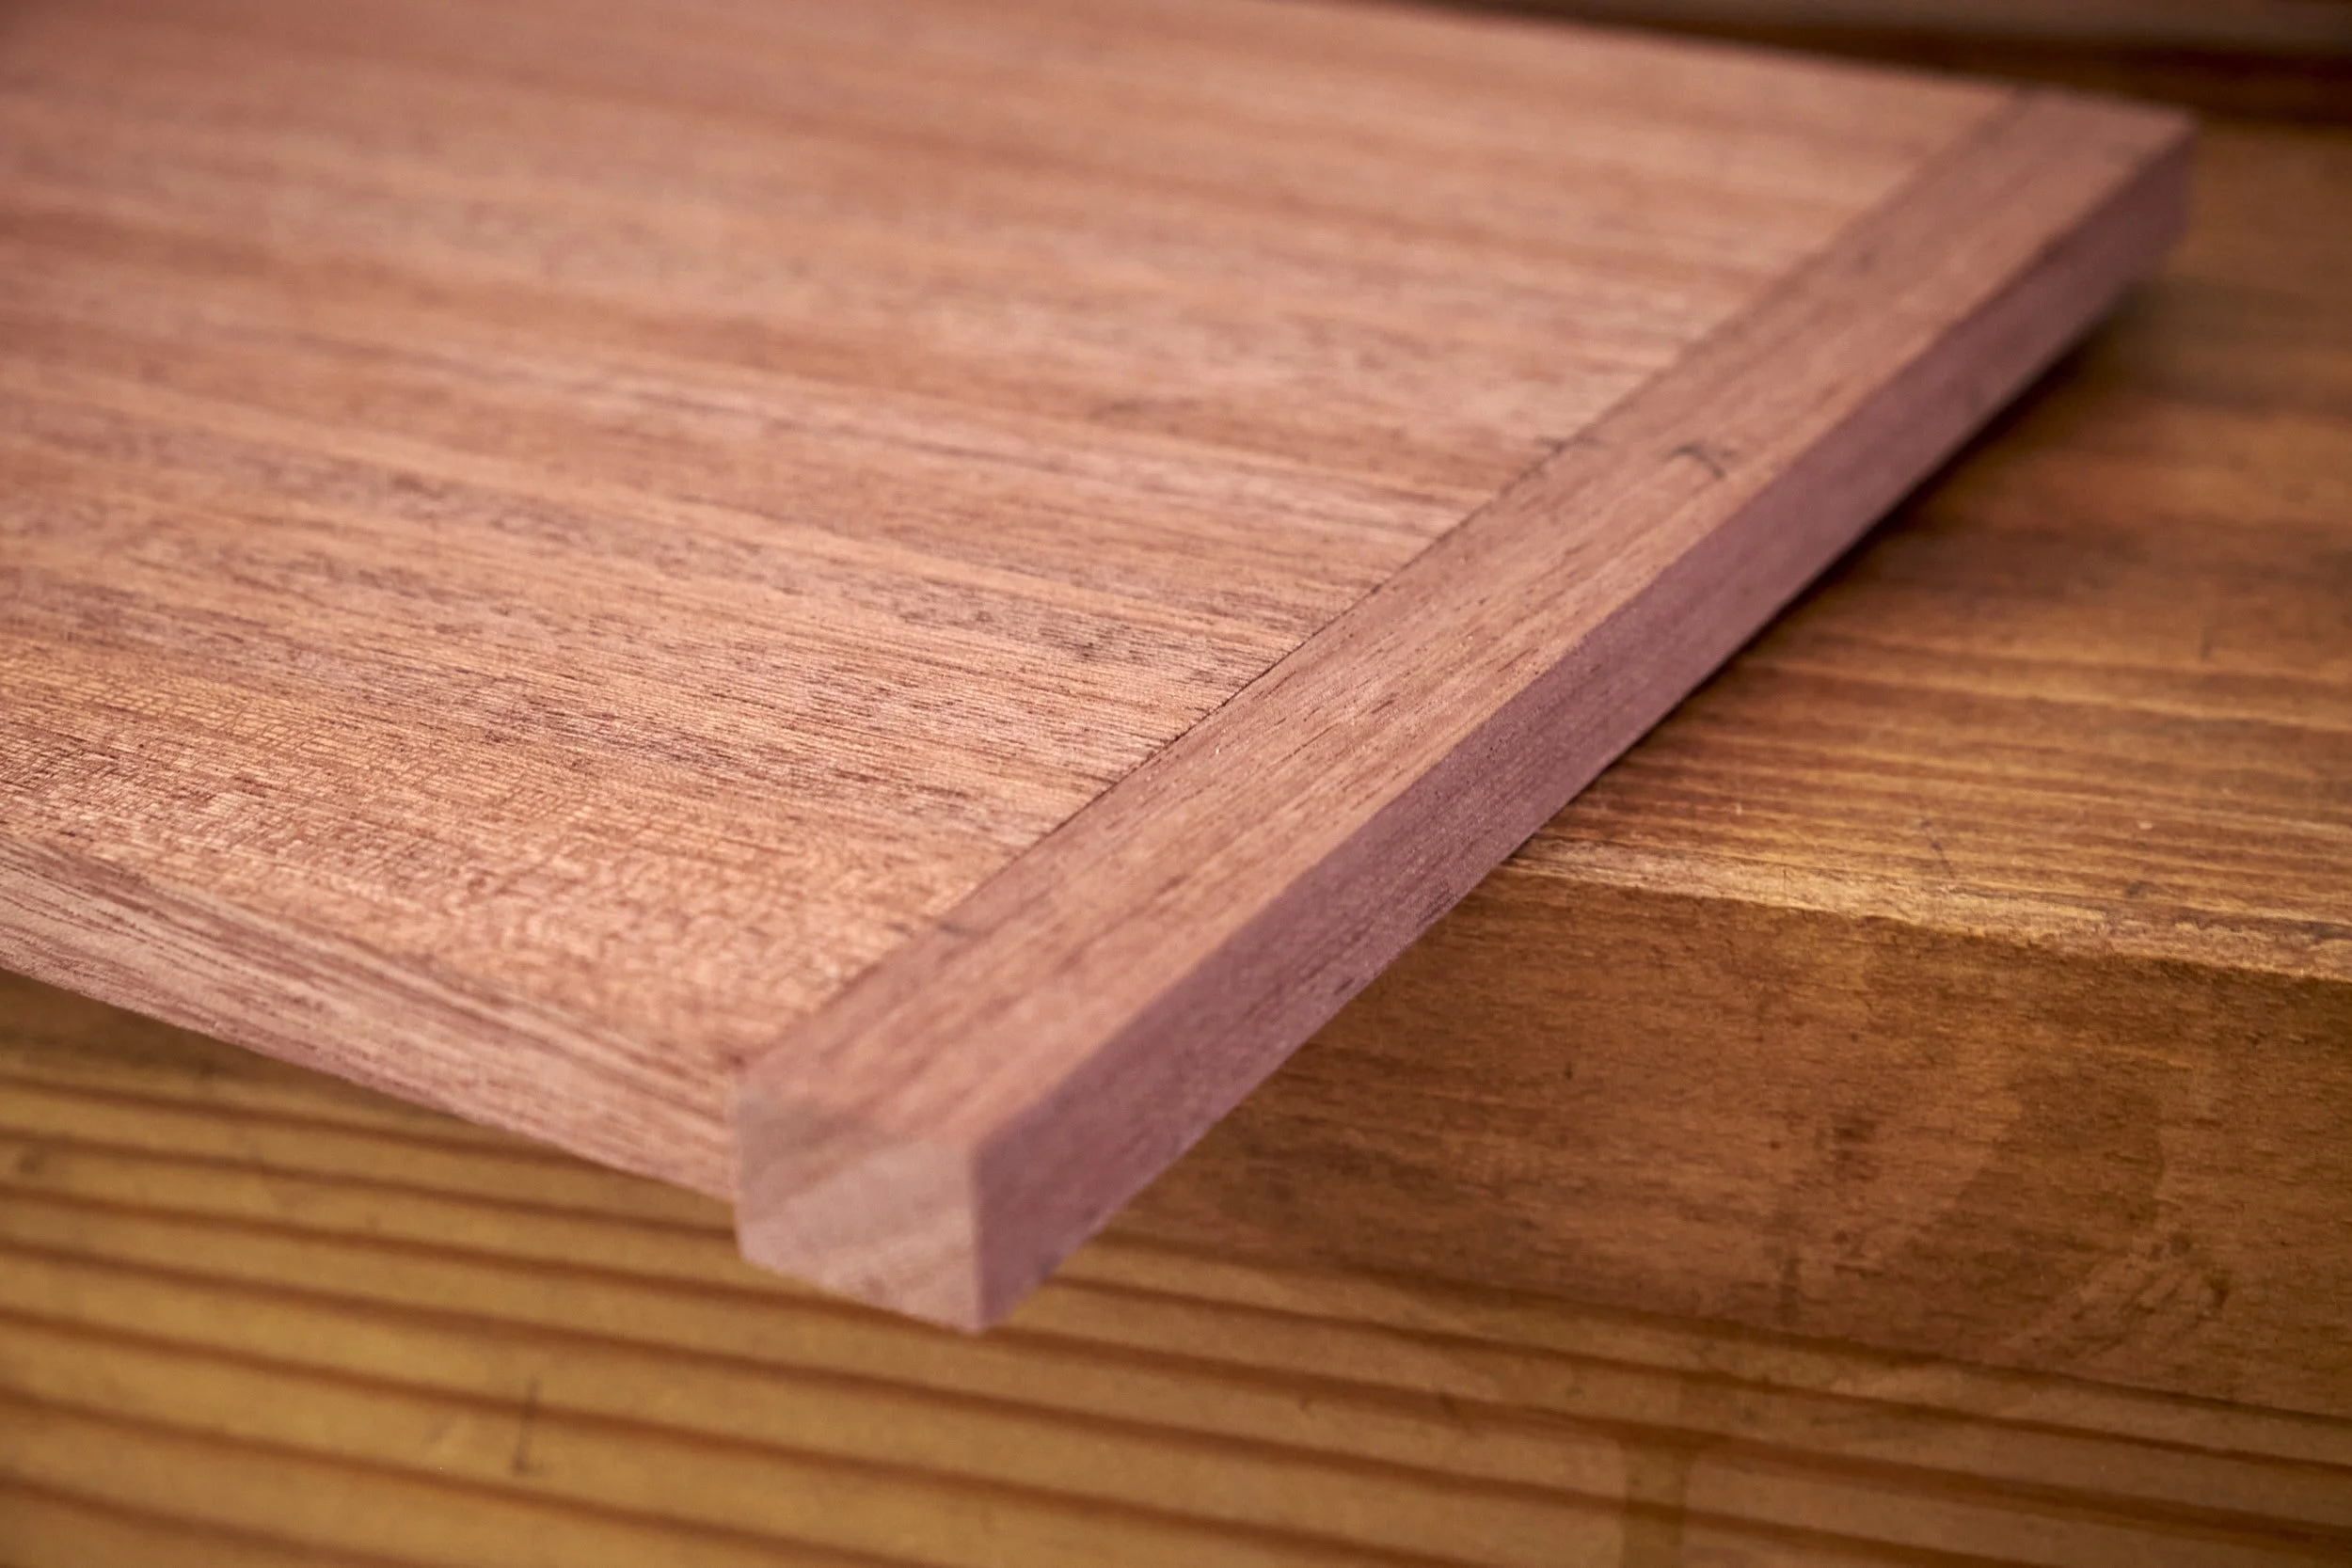
Having some extra material left from the drawer bottoms, I cut four sections just long enough to fit between the insides of the front and back legs and wide enough to stick out by about 20mm towards the inside of the carcass from under the side aprons, forming the platform that the drawer will slide on.
Being the cool, calculated person that I am, I then clamped these slides in place and tested each drawer in its corresponding table. I did mention that I marked each table as A and B? I did the same for each drawer knowing that I would be fettling each drawer to fit into its own recess.
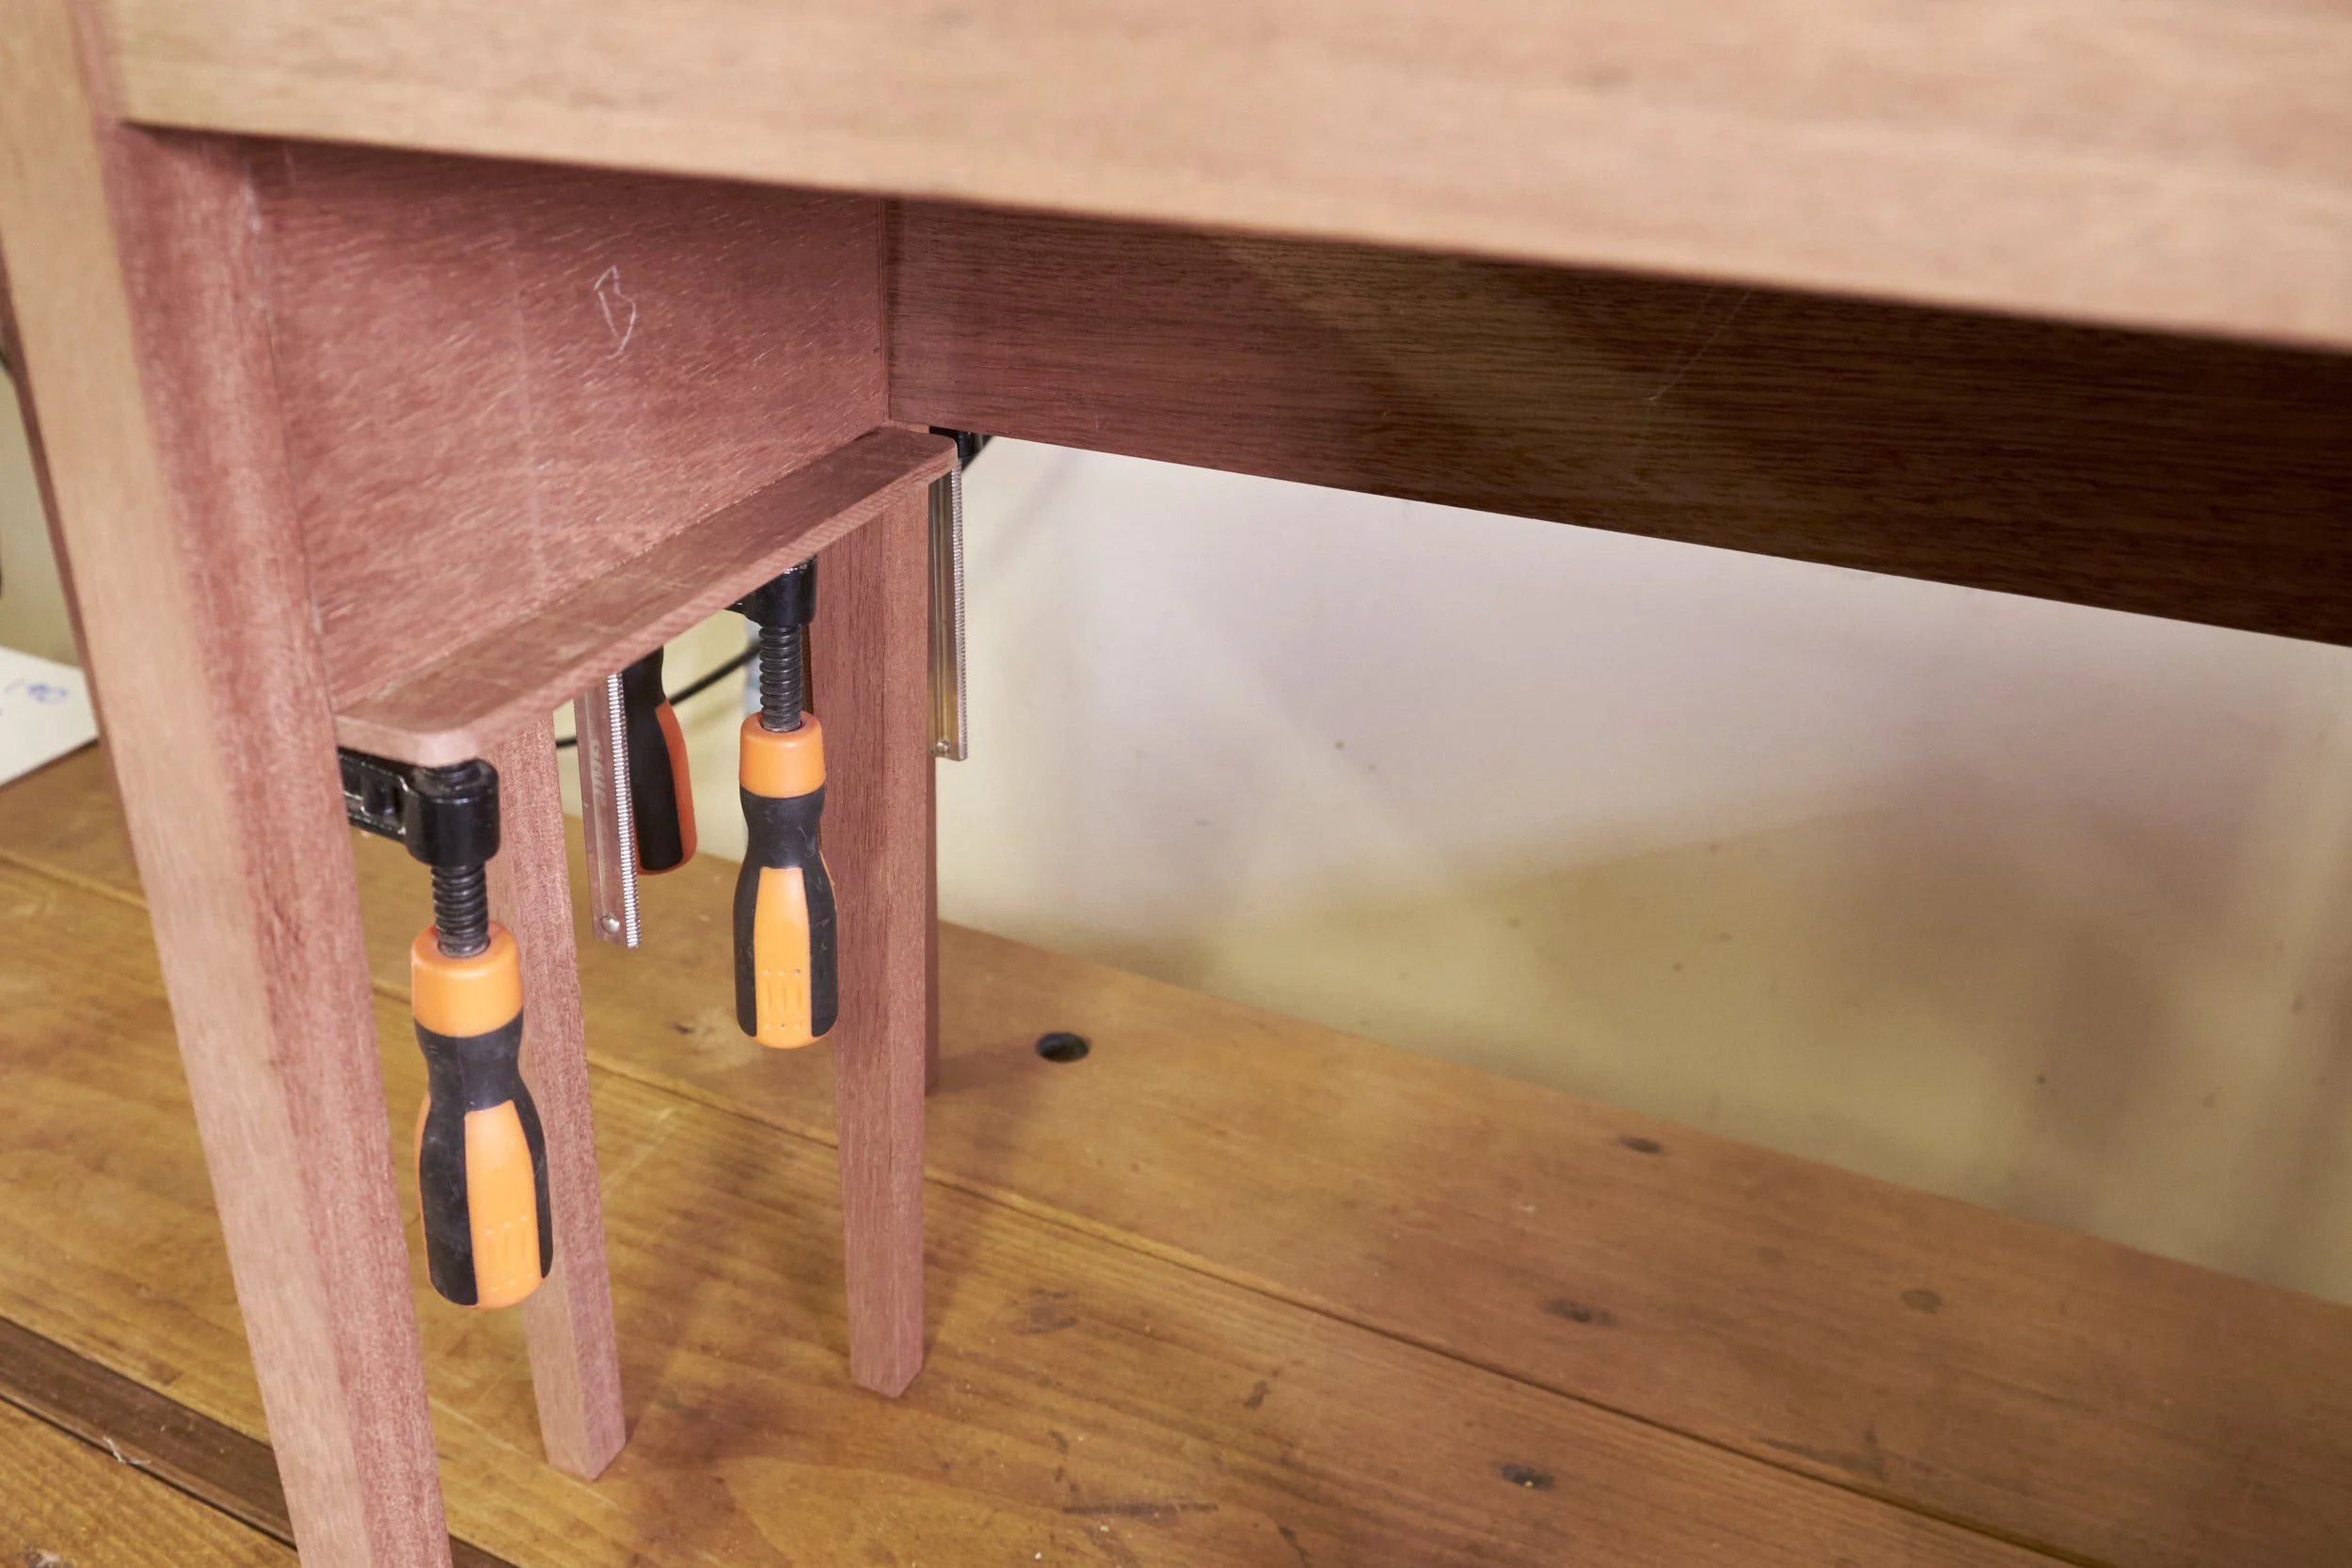
In the case of both A and B it was necessary to take a few swipes of the sides of the drawers with a hand plane to get them to slide in freely, whilst providing about a 1mm reveal between the edge of the drawer front and the inside of the legs.
Pro tip: When removing materials to make an assembly fit it is usually a good idea to remove a little material from one side and then another. That will ensure that the component remains symmetrical and doesn’t look wonky once installed. Remove only as little material as possible to ensure a good fit, remember it's much harder if not impossible to put wood back once it's taken away.
The test fit went well and the inside, front corners of each slide was rounded over with a rasp to make them look nice and limit damage to the slides if the drawers were ever to be banged into them in use.
Happy with the fit and function of the main drawers the slides were glued to the bottom edge of their corresponding aprons. Being a side grain to side grain joint and with a decent glue area I believe this joint will be strong enough to carry the drawer and its contents for many years to come.
Do make sure that the inside corner between the rail and apron is free of glue squeeze out that may impede the drawer from sliding in and out.
Side Drawers
This is where we get into unknown territory and best guesses.
Looking at the original image it seemed as if the smaller drawer and the front apron were of the same dimensions top to bottom, which in turn meant that the main drawer and the apron on the side of the small drawer would be the same in height as well.
This left me with a few problems to solve.
The first was the position of the drawer slides for the side drawer and the second was the attachment of the top to the carcass.
The former was handled in the following manner.
With the bottom of the side drawer flush with the top of the corresponding apron below it I had three options to work with.
Place the slide on the inside and flush with the bottom edge of the front apron. This option had two issues that I couldn’t find a solution for. The first was that there wouldn’t be a lot of material on the side of the slide that I could glue to the inside of the front apron, possibly leaving me with a weak joint. The second was that a slide in that position would “lift” the bottom of the drawer away from the top of the side apron by the thickness of the slide.
Cut a rebate into the sides of the drawer and have these ride on slides stuck to the insides of the front and back aprons. This by the way was the original plan when doing the design, but after the drawer making episode referred to in my earlier post I wasn’t in the mood for this option and I have a less than ideal relationship with routers.
Place the slide on the bottom edge of the top apron which would bring the bottom of the drawer in line with the top of the apron.
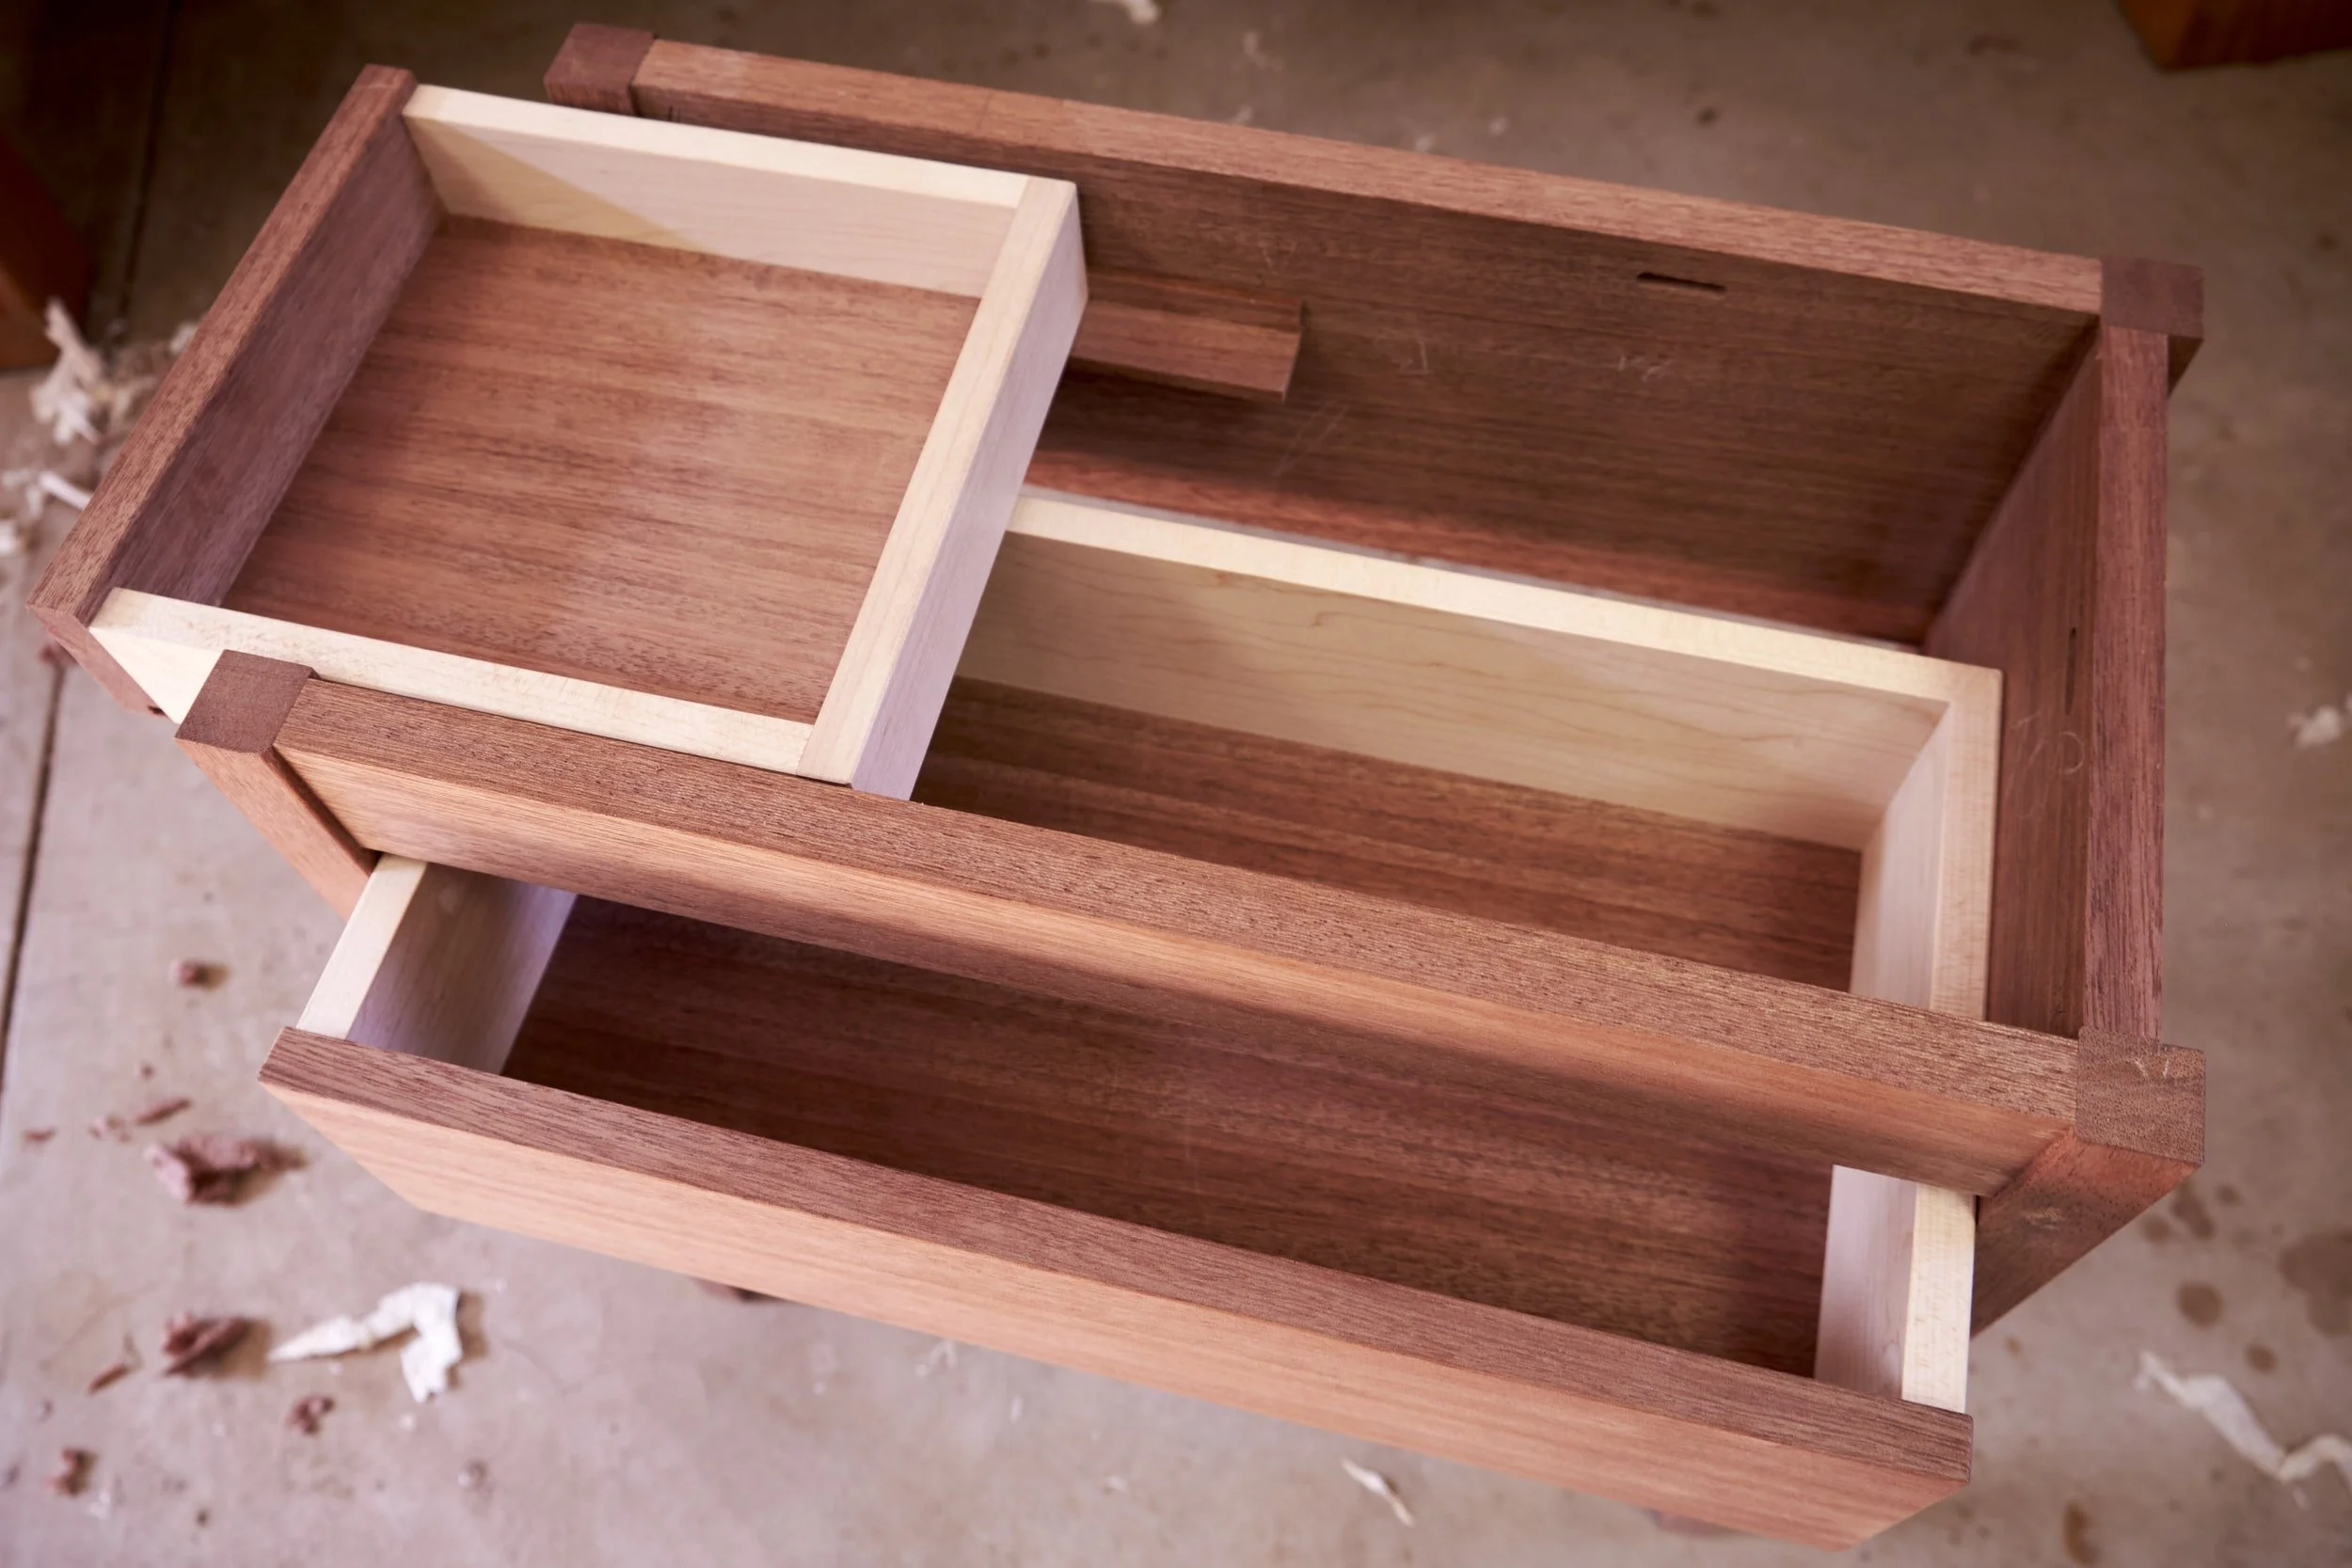
Option 3 was the winner and I was able to do this thanks to the fact that I had not glued the drawers together yet so I was able to cut the back and sides of the main drawer down to allow for the drawer to clear the slide. Also the drawer face was thinner than the front apron so by careful alignment I was able to position the slide without having the main drawer face extending past the front apron.
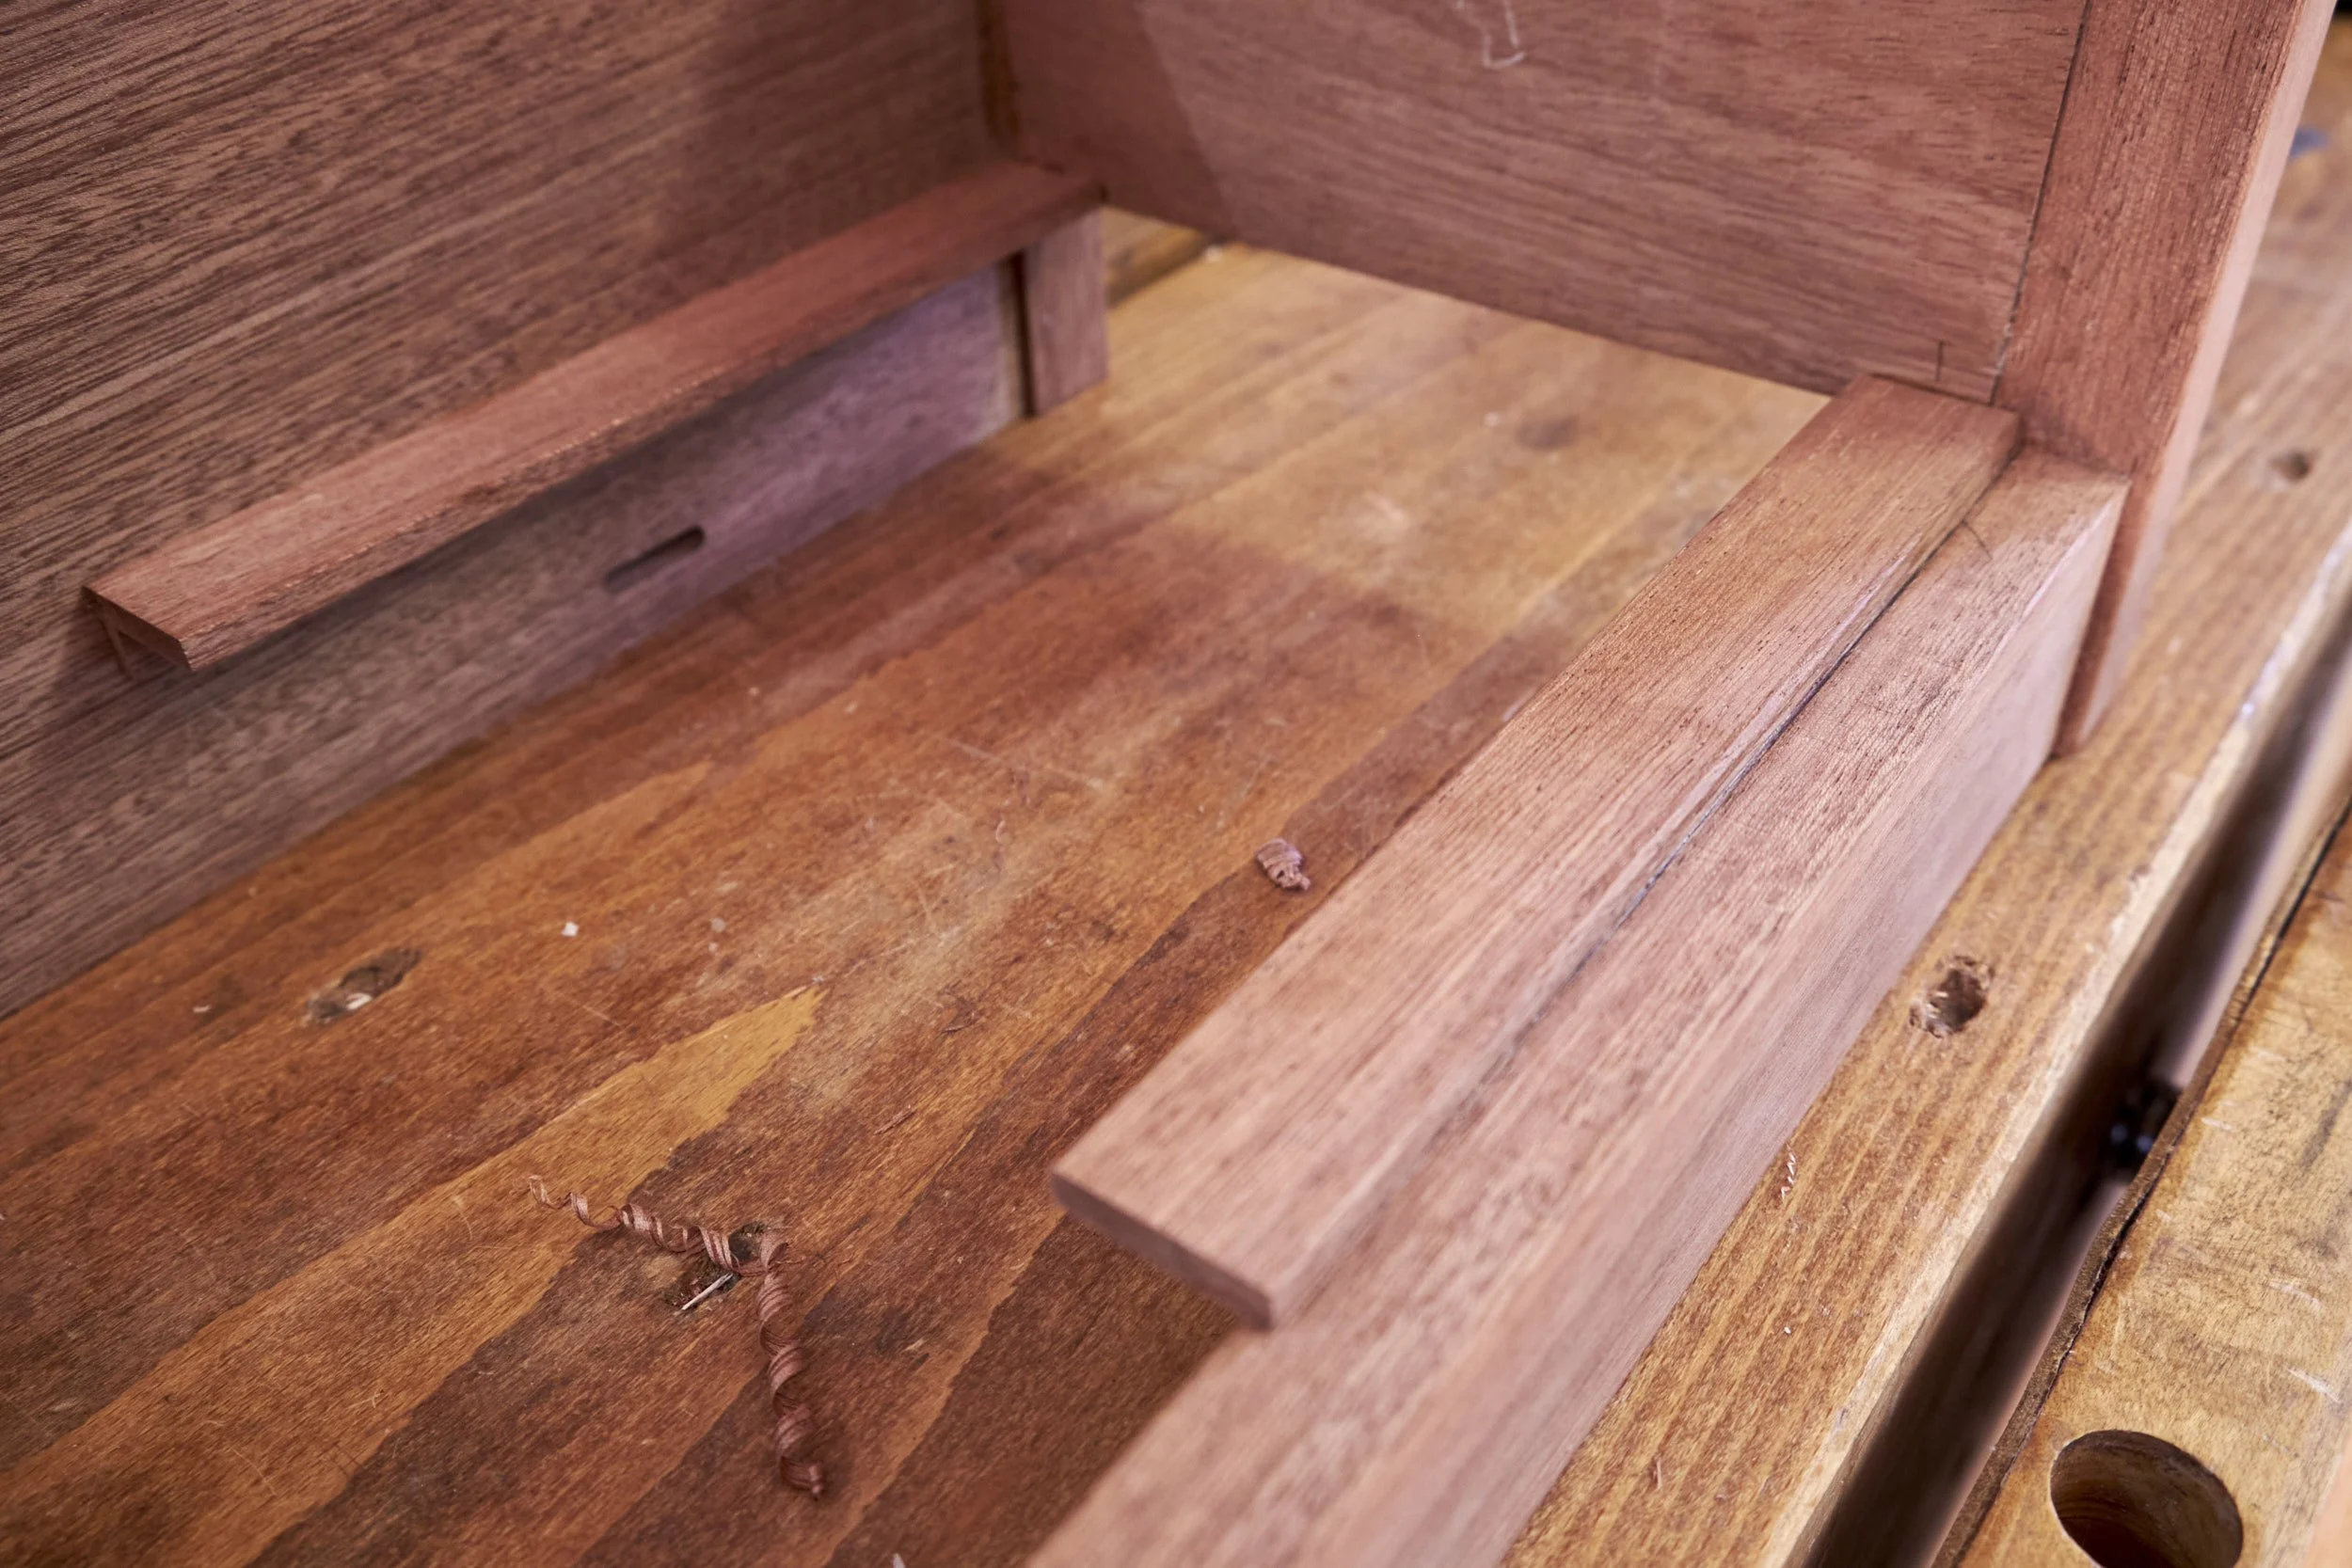
View from the bottom showing the position of the slides.
It sounds complicated I know but keep in mind that I was figuring all of this out on the fly while I was effectively building two prototypes!
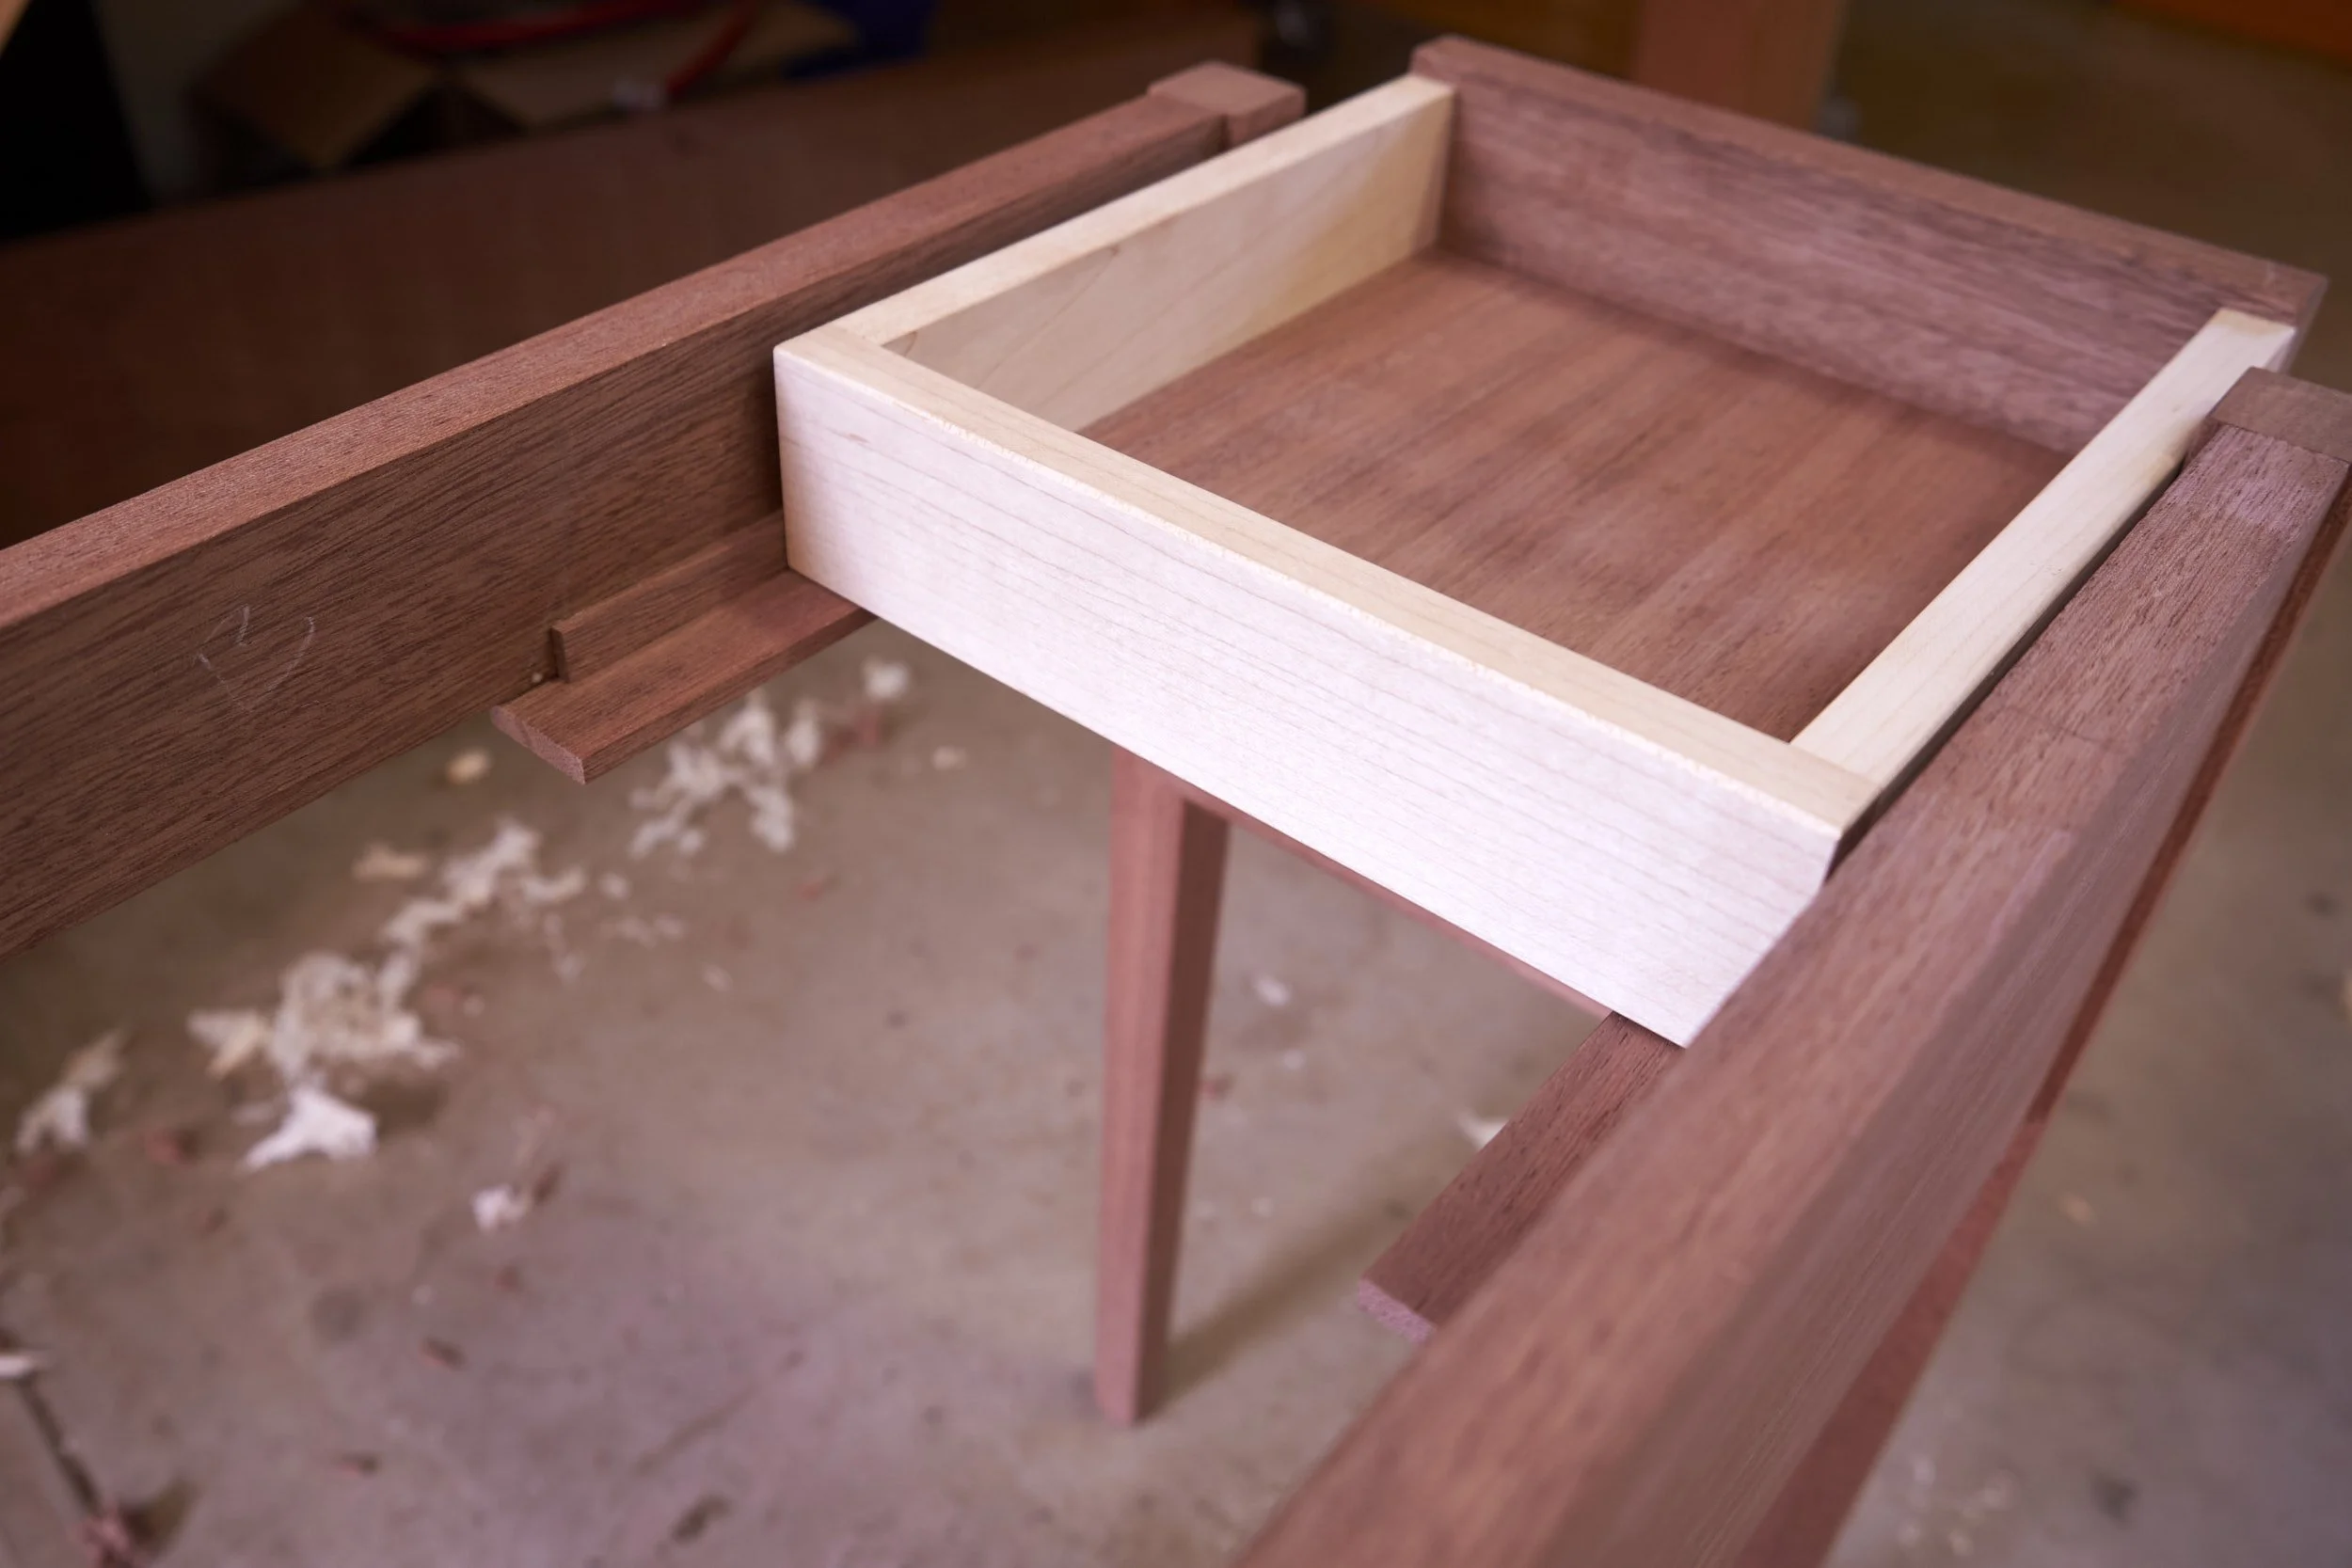
Hopefully the images will make more sense than my rambling.
Also a reminder that it was only the position of the front slide that was problematic and that the slide on the back was placed to match the height of the front without it getting in the way of anything.
With the slides glued in I was able to include a “doubler” above the slide which gave a lot more glue surface to the assemblies and also became quite handy as guides for the side drawers.
Pro Tip: During tough glue up situations where small components and complicated clamping setups are involved you can combine your usual wood glue with CA (cyanoacrylate). You do this by applying your preferred wood glue in the usual manner but leave small gaps at regular intervals. Apply thick CA in the gaps and spray CA-activator on the opposing face that the part will be glued to. Position the part where it should go and apply pressure by hand until the CA sets which will act as a “clamp” while the wood glue dries.
One caveat to note on this tip.
Put the part in the correct spot. The CA will set in the blink of an eye and if you get the position of the part wrong you will be having a long day in the workshop!
On to the second surprise.
I did mention that the top was attached to the frame using z-clamps and with the side drawer top almost flush to the bottom of the actual top guess what got in the way of the drawer movement?
Fortunately as with the main drawer the side drawers were not glued together yet and I removed about 5mm from the sides and back which allowed the drawer to clear the clamps when pushed in.
After all of that I made myself a cup of coffee, and moved the drawers in and out repeatedly while admiring my own genius. The drawers were actually going in and out without any obstruction and I managed to do all of this without breaking anything!
It was now safe to glue the drawers together and this was done before calling it a night.
The next morning I had to patch the holes left on the sides of the drawers as a result of cutting the rebates for the drawer bottoms using the table saw. This was task was simple enough to complete and it was on to the next step.
The Top
Yes I’m back at the top.
By the way all this fitting and fussing was done with the top removed from the frame to allow access to the inside of the table.
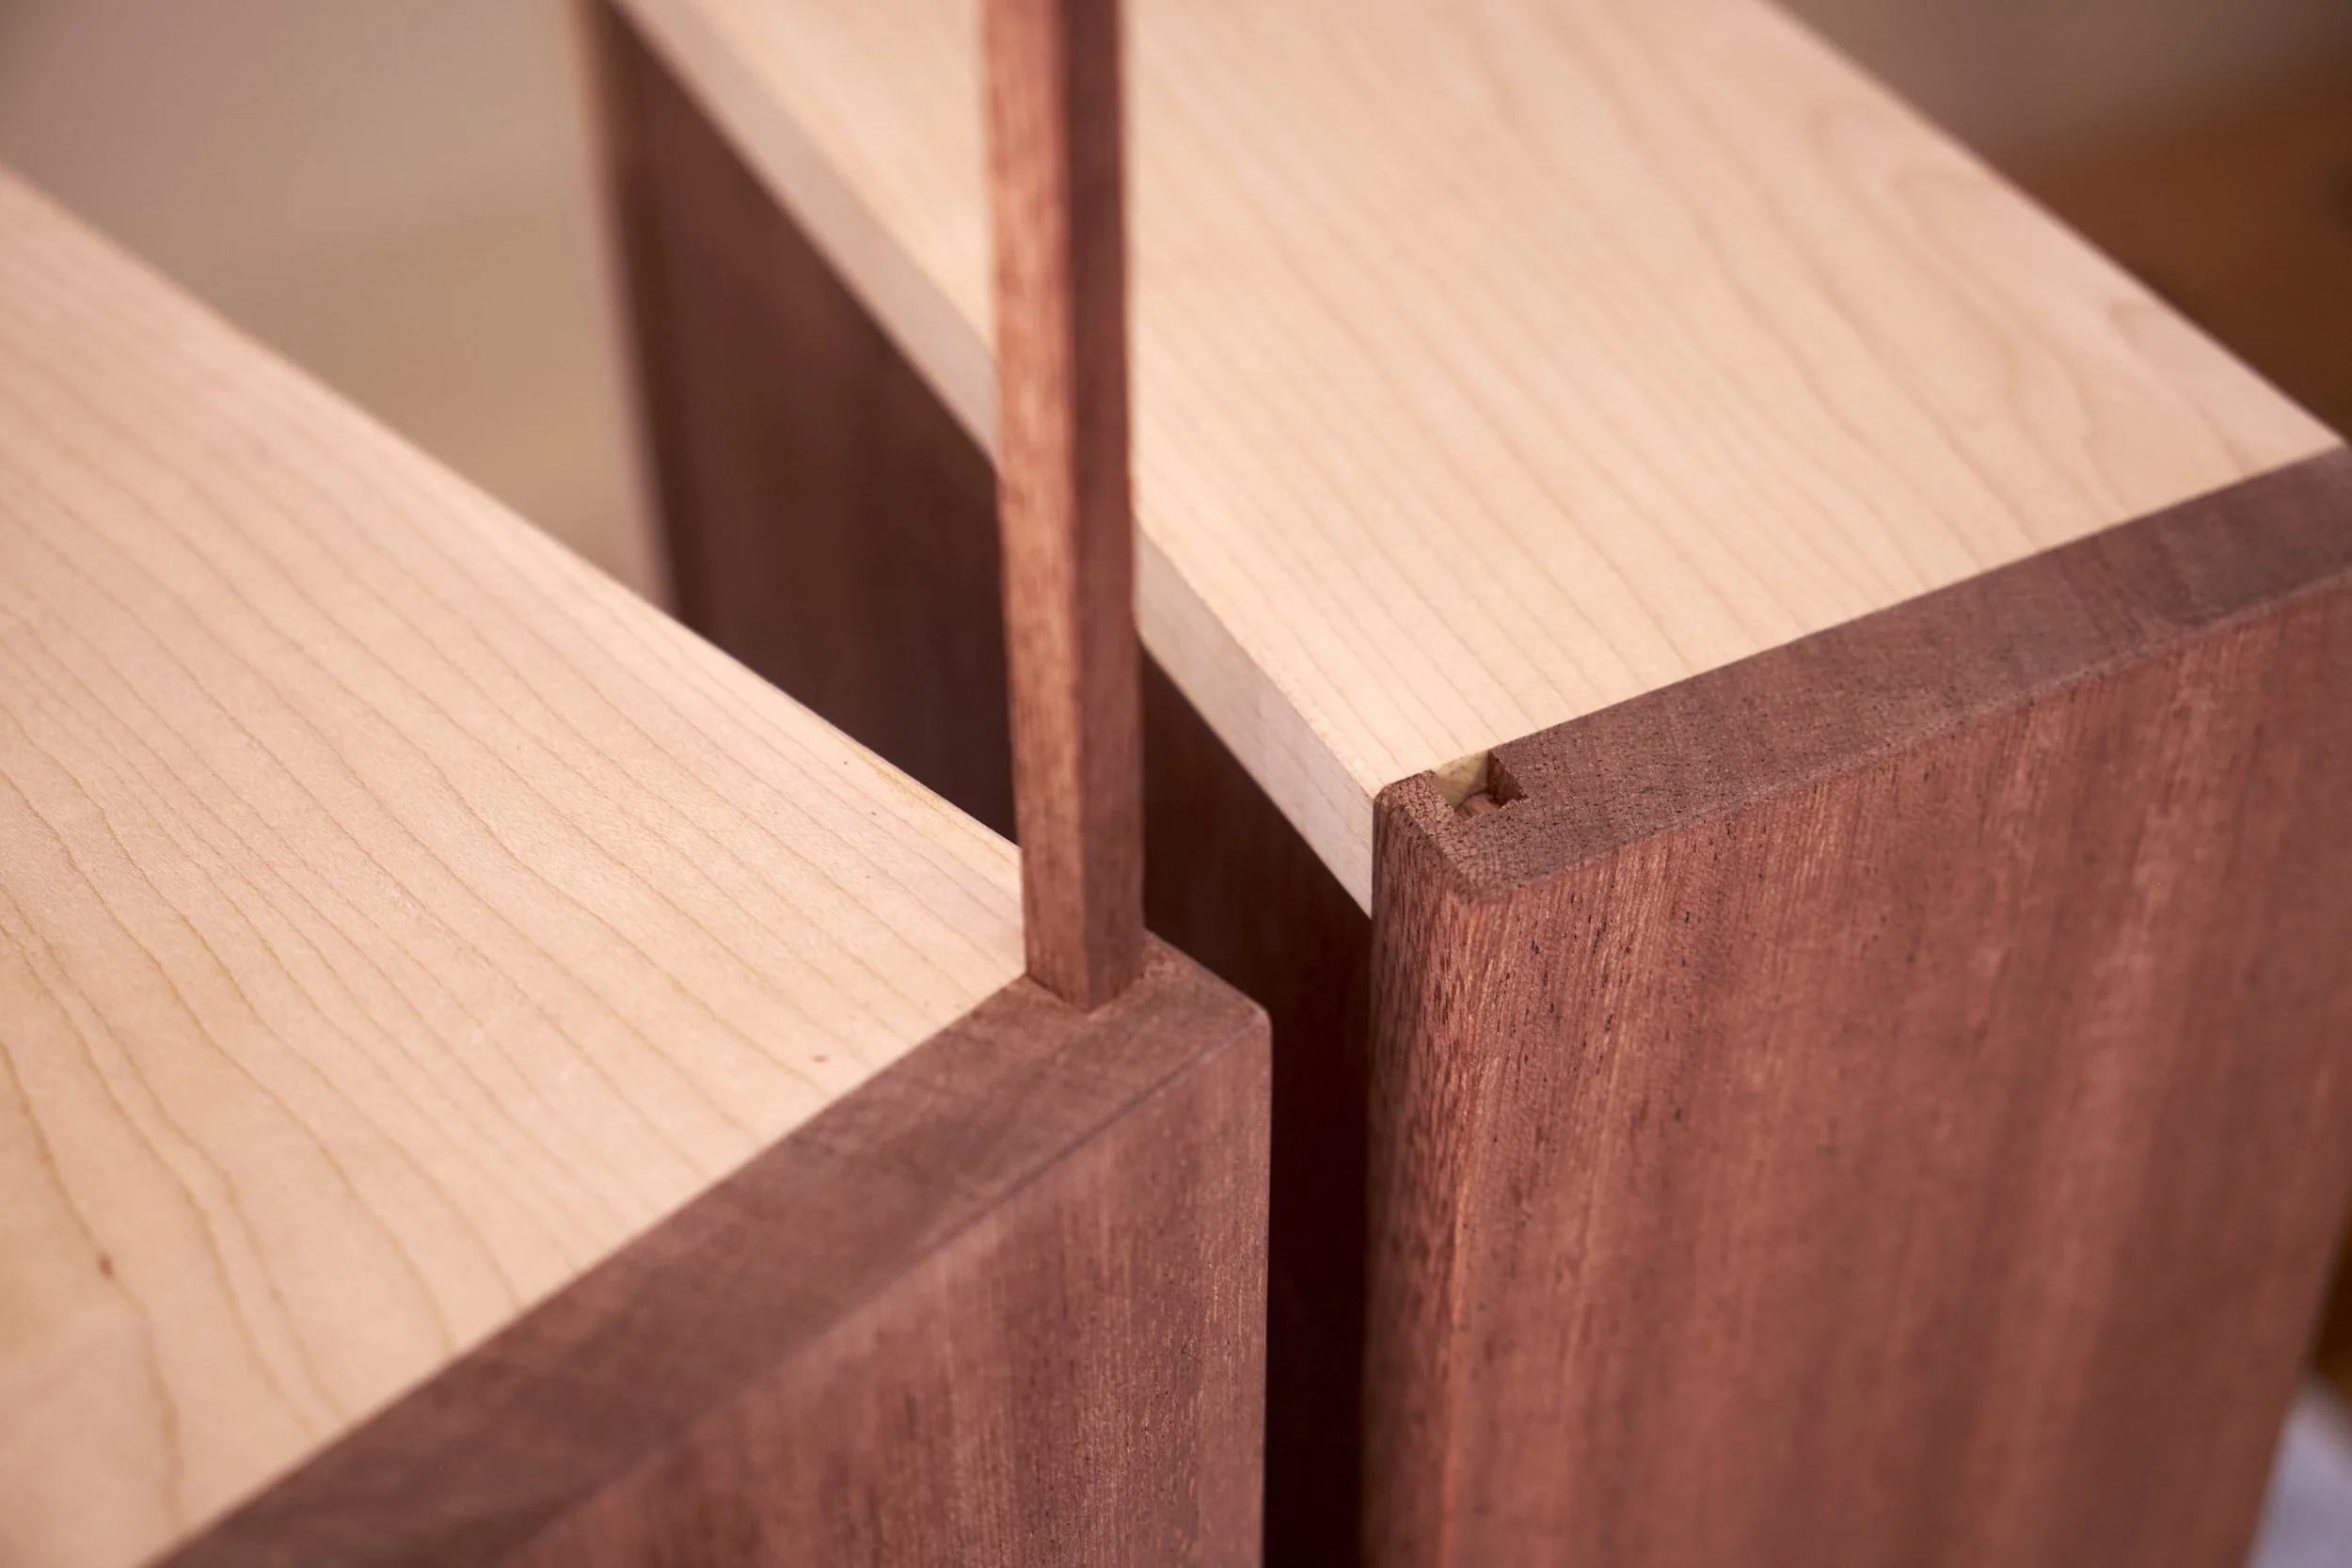
Remember the bare Dominos showing through the fresh cross cut to get the tops to the correct width? I had two options here, make new ones or make them look cool by adding breadboard ends. I voted for cool and expedience so I chopped off a bit more on the ends and used more Dominos to glue the ends in place.
Yes I glued it all together, no the tenons weren’t pinned, yes that isn’t true breadboard ends and yes I will let you know if wood movement ever tears the tops apart.
I liked the fix and I liked the “look” it brought to the project.
Drawer Pulls
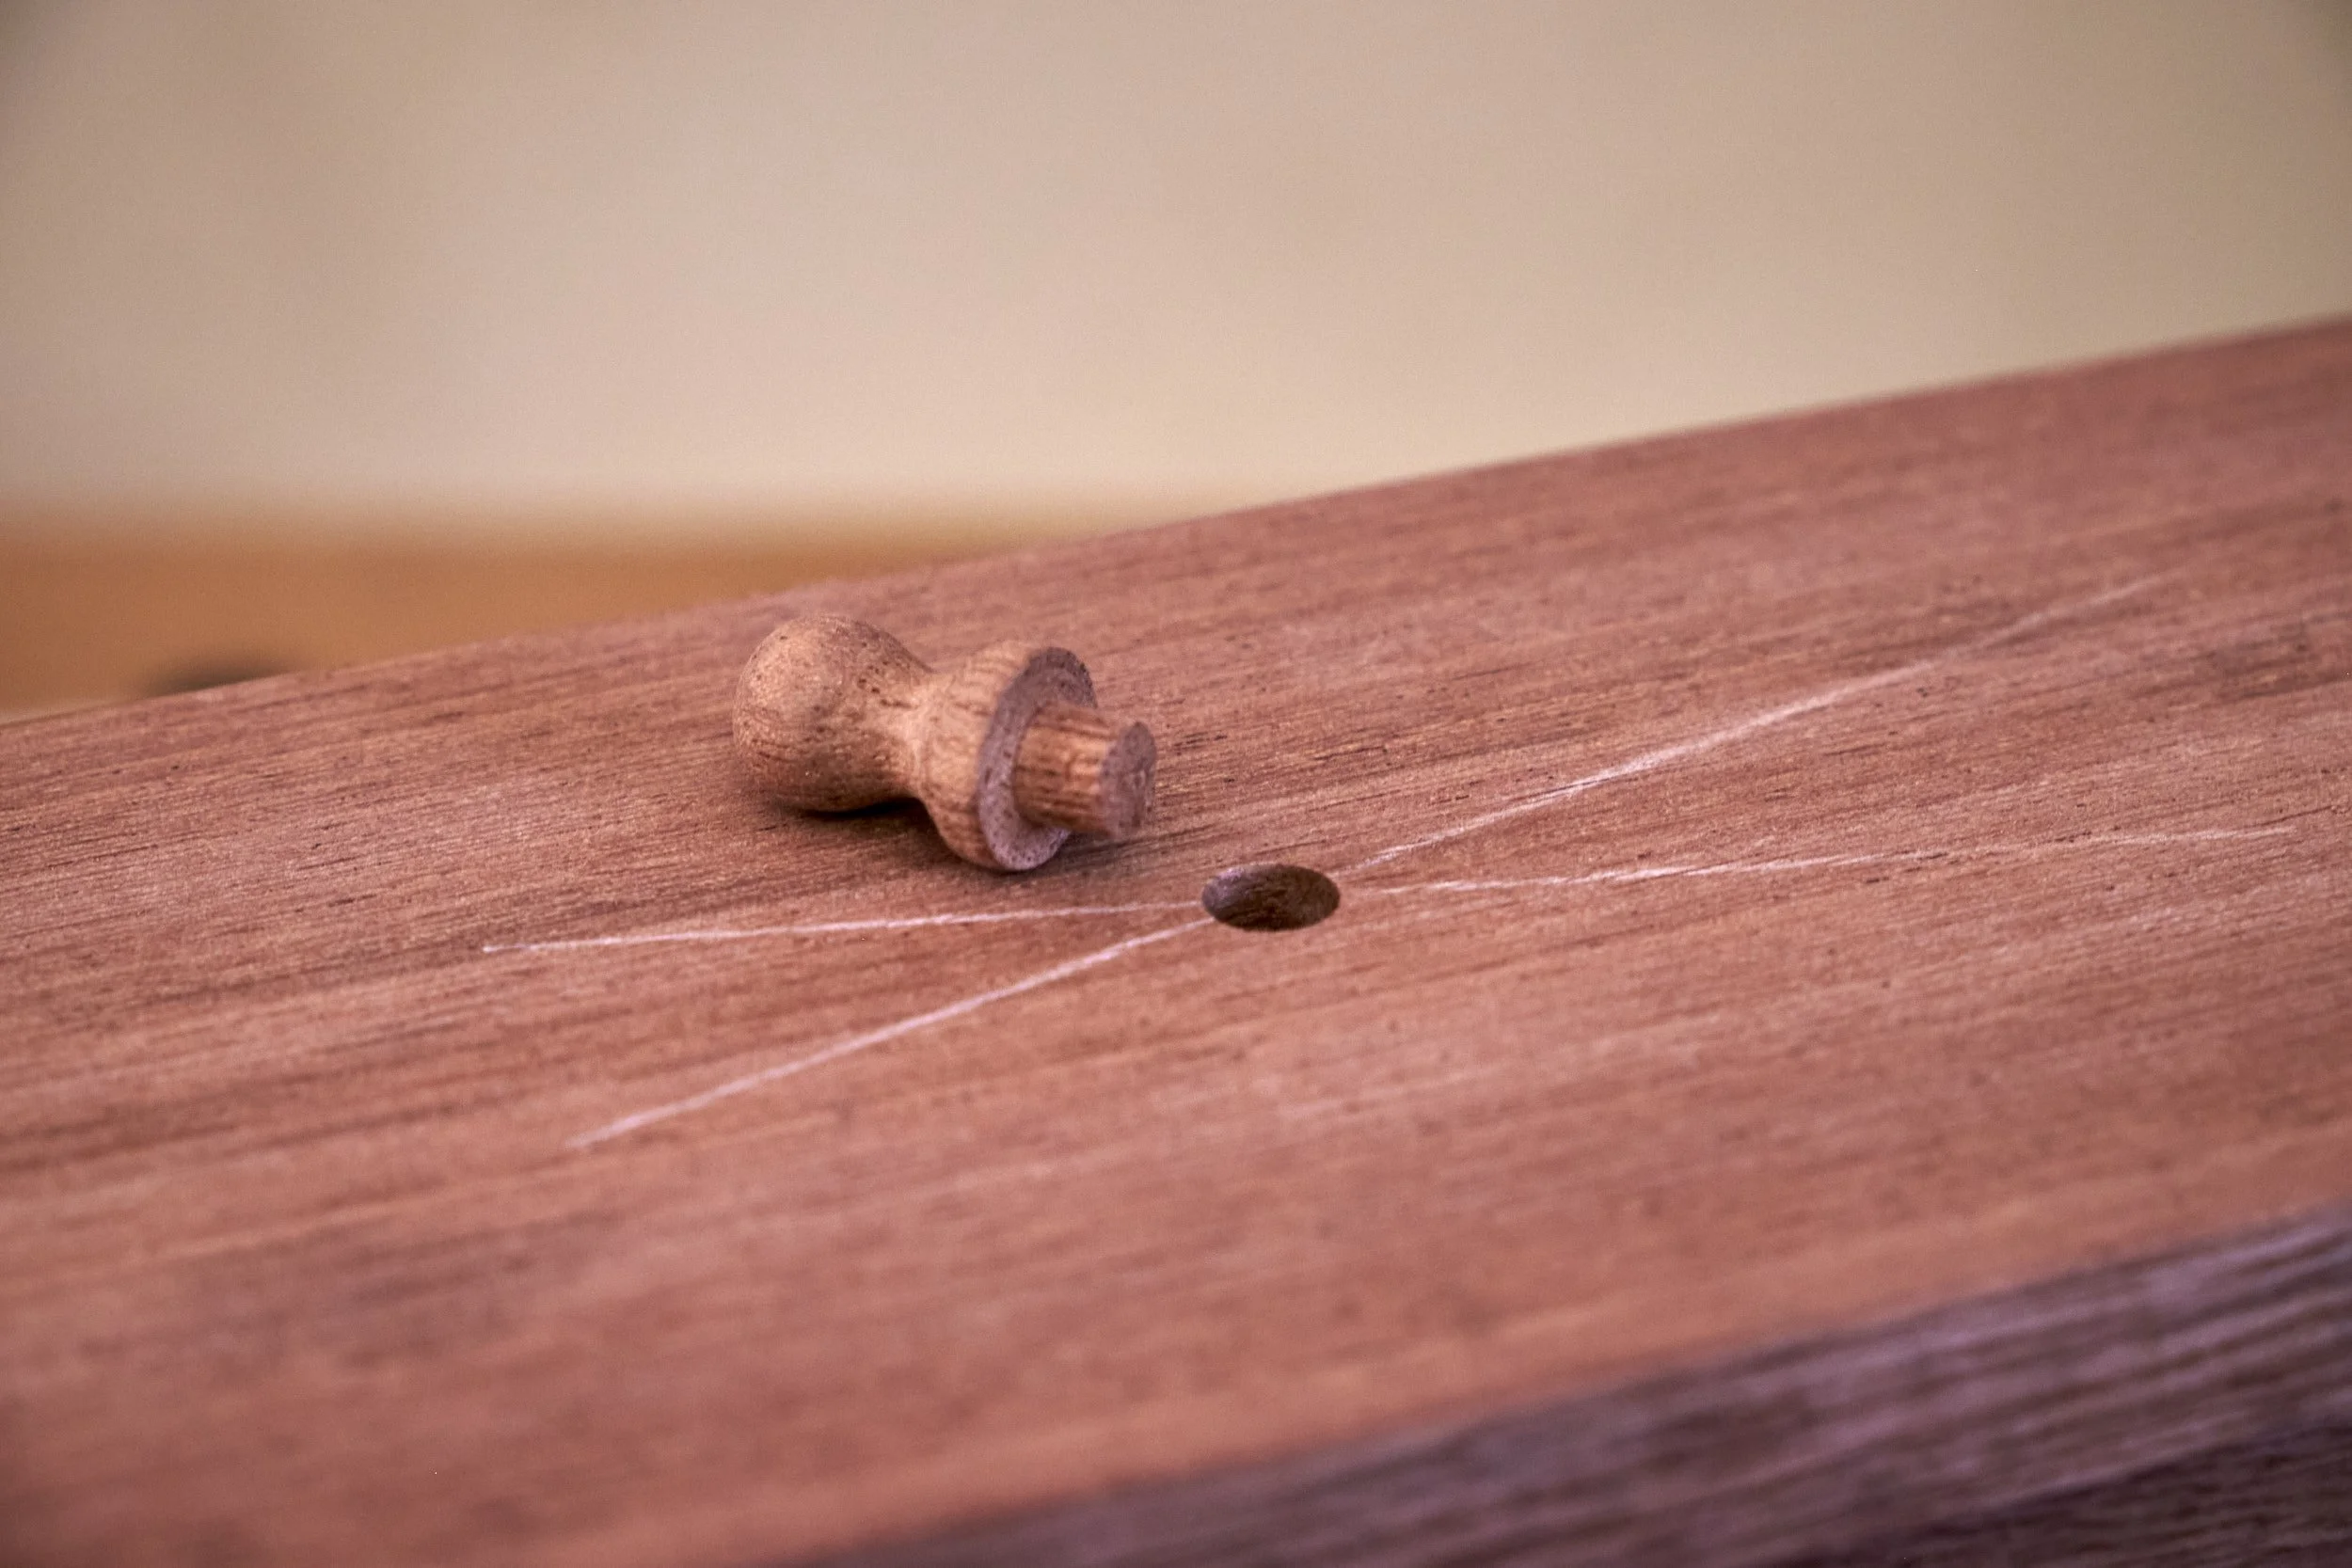
I love turning.
I hate it when I need to make more than one thing that looks the same. I managed to get the pulls to look somewhat similar, especially when the tables stand on either side of a double bed so it was a good day in the shop.
On each pull I turned a 5mm tenon and glued this into a similar sized hole drilled into the middle of each drawer face, making sure I did not drill all the way through!
Drawer Stops
Here the small drawers were easy and I set the face of each drawer flush with the apron and glued a block to the inside of the back apron and butted up against the back of the drawer to act as a stop.
On the front drawers the slides for the side drawer acted as somewhat of a stop but I was concerned that with constant use the slide would eventually depart from the apron so I just added a block between the back of the drawer and the inside of the back apron to take the brunt of the knock when the drawer was pushed into the table.
Install the Top
Time to fix another mistake made earlier.
When cutting the slots for the z-clamps on one table I cut the slots on the wrong side of the front apron and I didn’t have enough space for the Festool Domino to correct this error once the carcass was glued together. This left me with a top on one table that didn’t sit completely flush with the top of the front apron.
Modern glue technology came to the rescue here and I used some flexible construction adhesive between the apron and the top and hopefully this will allow the same amount of wood movement as the clamps.
Time will tell.
Finishing
All along during the build I was planing and sanding surfaces to their final finish and all that was left to do was to give table A and B a once over to make sure I was good to proceed with the final finish.
All in order, each table and its corresponding drawers got a single coat of ProNature Natural Clear Interior Sealer and it was done. This finish is fast becoming a favourite and I will definitely be sharing more about ProNature’s products in the future.
And that brings us to the end of this particular build log.
The tables were finished in time for the annual expo. They earned a gold certificate during the judging and appreciative comments from the certain internal customer they were made for. All good in my books!
Of course during the writing of this series I have spent some time staring at the original picture this design is based on and I think I have figured out a way to simplify the internal structure of the piece, this will likely be featured in the build plans I hope to have for sale on the site before the end of the year.
That’s the beauty of prototyping, isn’t it?
Before I forget I had to plane the sides of the main drawers twice more after finishing the project as the maple swelled and caused the drawers to become too tight.
It’s off to my next project then. A really large boardroom table.