
How To Use ProNature Oil Finishes
If there is one single area in woodworking that could be prone to becoming a minefield it would be finishes. Opinions vary about the best products out there and if you happen to have a dozen or so woodworkers in the room and ask them about their preferred finish, you would likely get 12 different answers and I dare say possibly more opinions than the number of people in the room!
I am an oil guy myself and today I’m going to tell you how I go about using ProNature’s wood sealer to get the best possible results on my own projects, and help you do the same on your own.
Just a bit of background.
ProNature is a company based in Cape Town, South Africa that specialise in manufacturing environmentally safe finishes for wood, both inside and out. They have a myriad of other products available as well, check out their website for more on these. Read to the end of this how-to and I’ll help you save 10% on your first purchase of any of their products from their site.
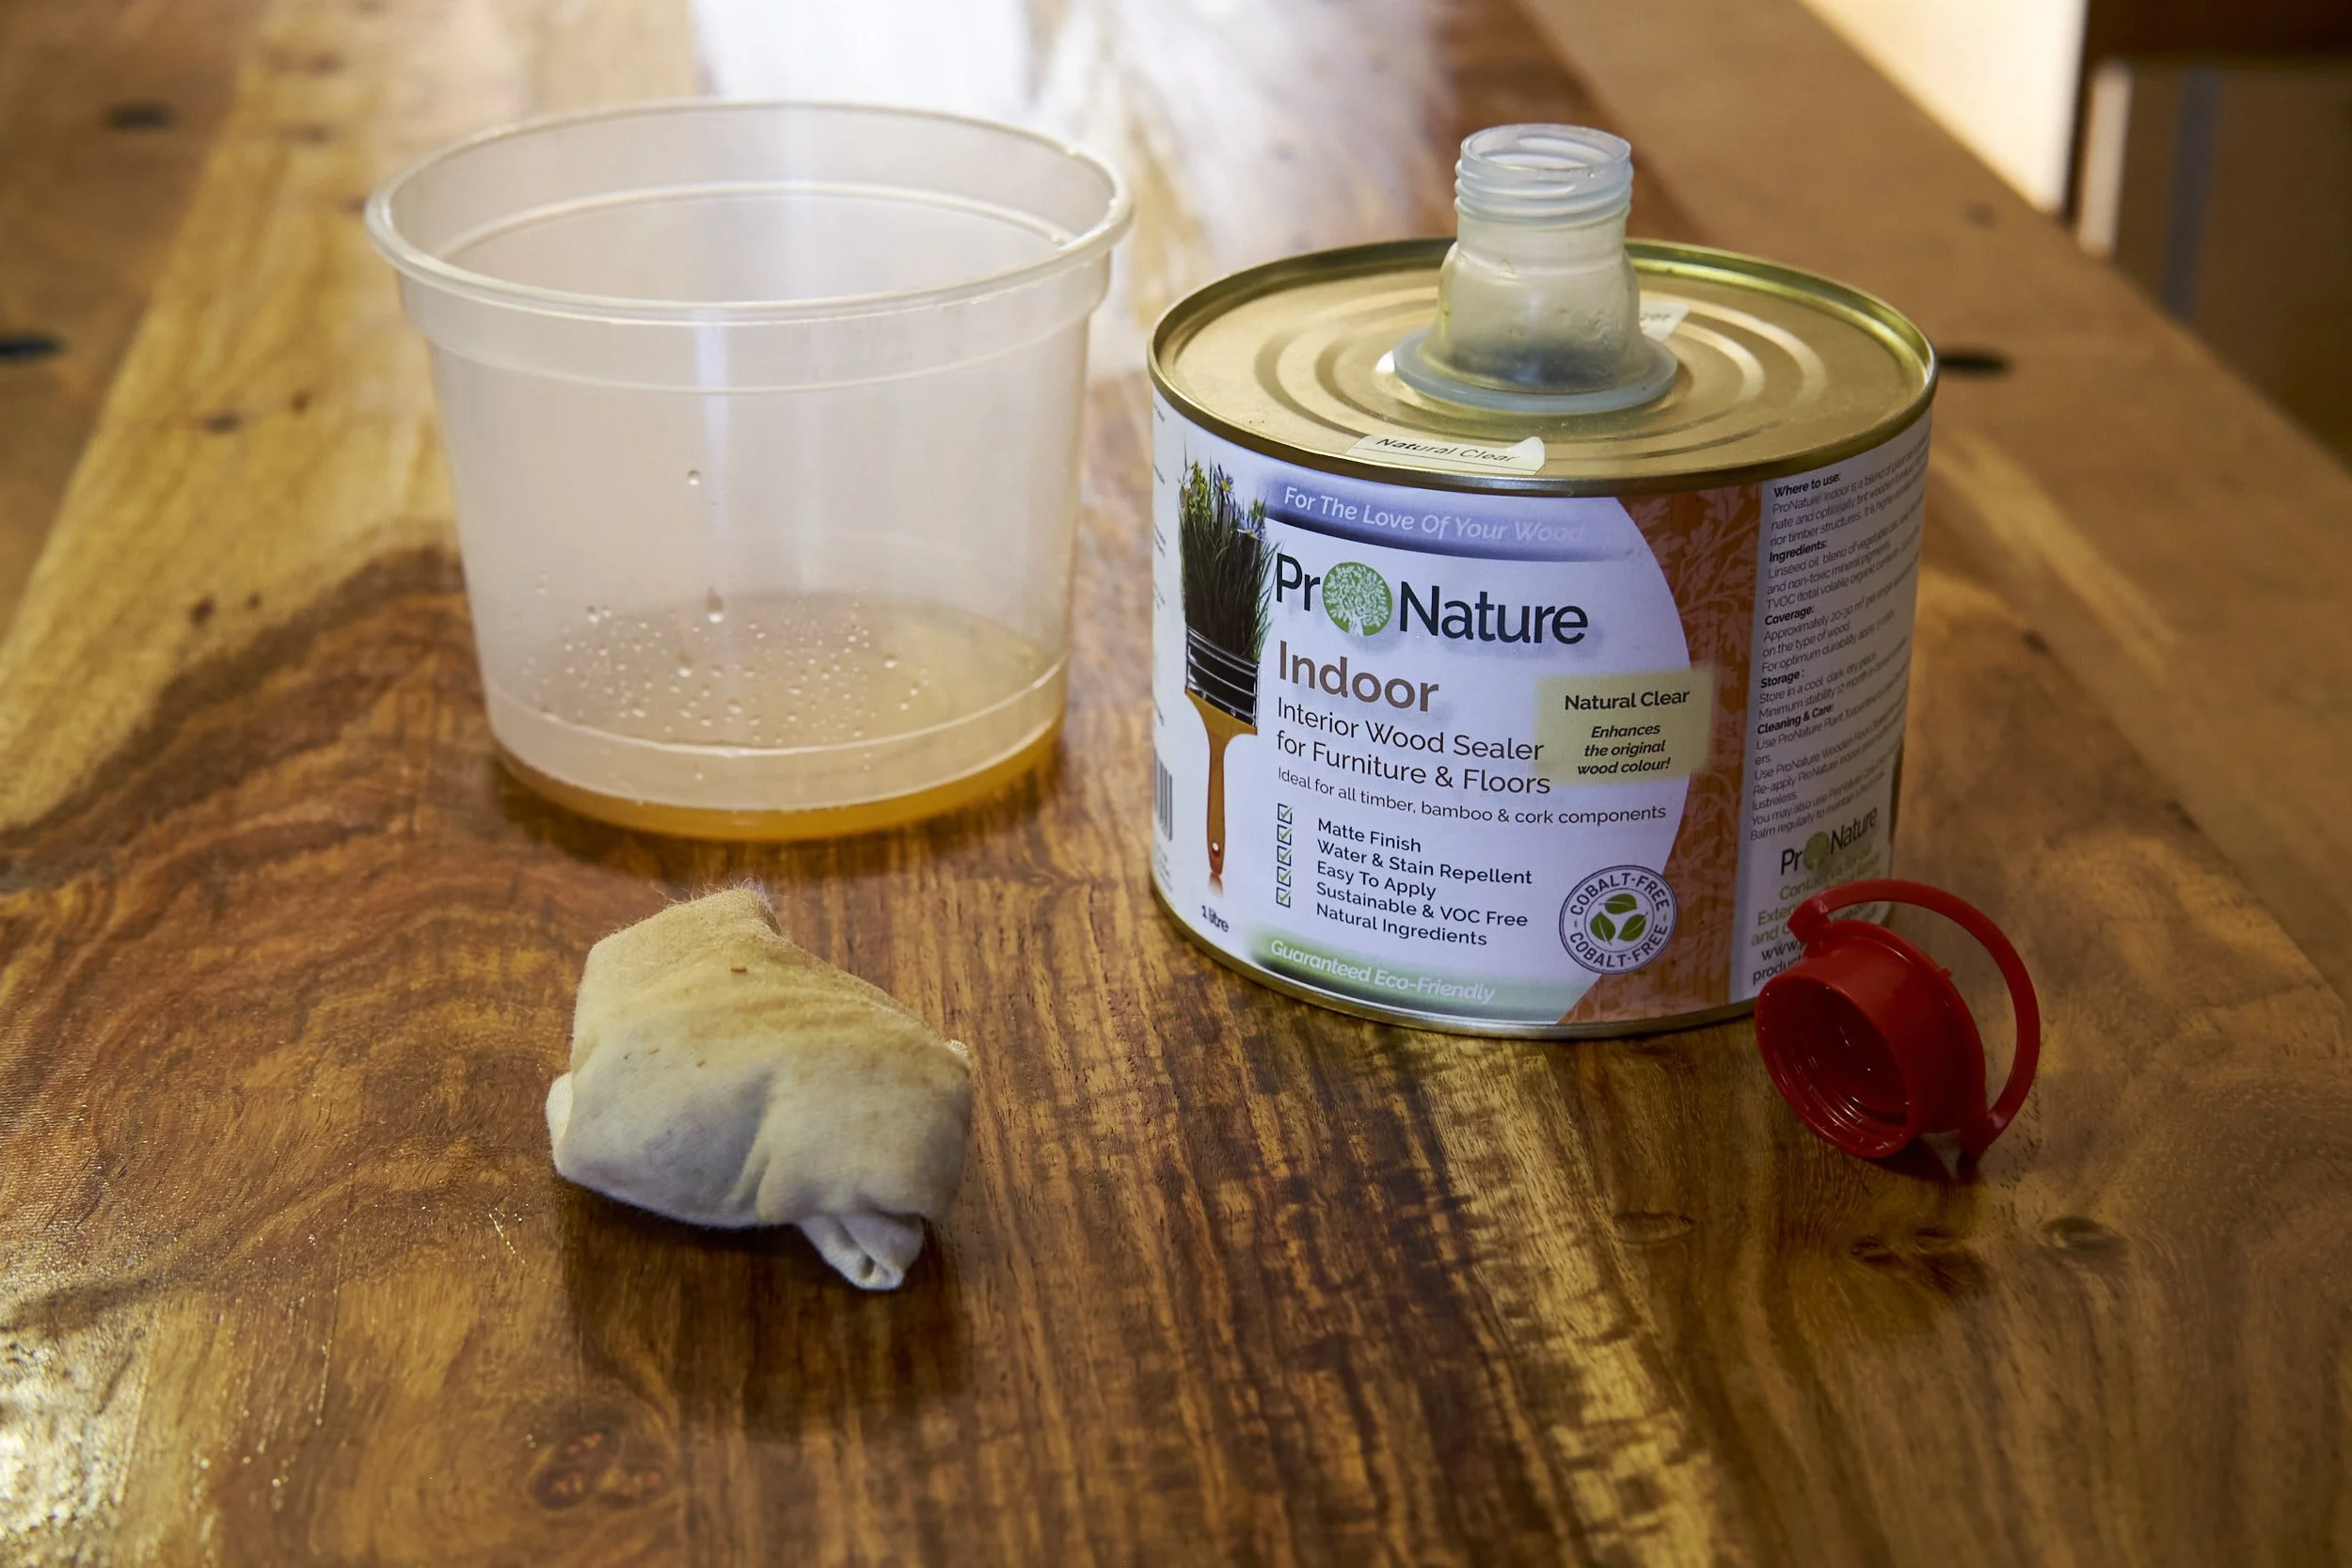
Today we focus on their indoor oil sealants for wood though. Specifically their Natural Clear Indoor Wood Sealer and HardWax oils.
Why write a how-to when ProNature has easy instructions printed right there on the can?
Well, I’m a rebel who hardly ever follows instructions and I’m also lazy and if I can get away with applying a single coat of finish, I’m in. This how-to describes the steps I follow to get an excellent single coat finish using ProNature’s products.
Next question. Why not just use a product that offers the simplicity of a single coat as advertised?
There are a few reasons and I may cover this in a ProNature product review in the future, but as a start I do not want to mortgage my house to pay the asking price for these products, just for the privilege of applying a single coat of finish. Added to being easy on the pocket, ProNature makes top notch products as far as quality and ease of use goes!
Enough waffling, let’s get to finishing your latest project and we start with surface prep.
Step 1: Surface Prep
Talk to anyone about applying anything to any surface and they are likely to tell you that this step is the most important part of the whole process, possibly even more important than the finish itself.
Screw up this step or cut any corners now and you are likely to spend a lot of time down the line repairing parts of the finish or even start from scratch.
In short, take your time and do it right!
Thankfully when applying a natural oil finish you have some room to move, that is not to say that you can be sloppy. You’ve spent a significant amount of time building something you can be proud of, don’t let yourself down at this point of the process.
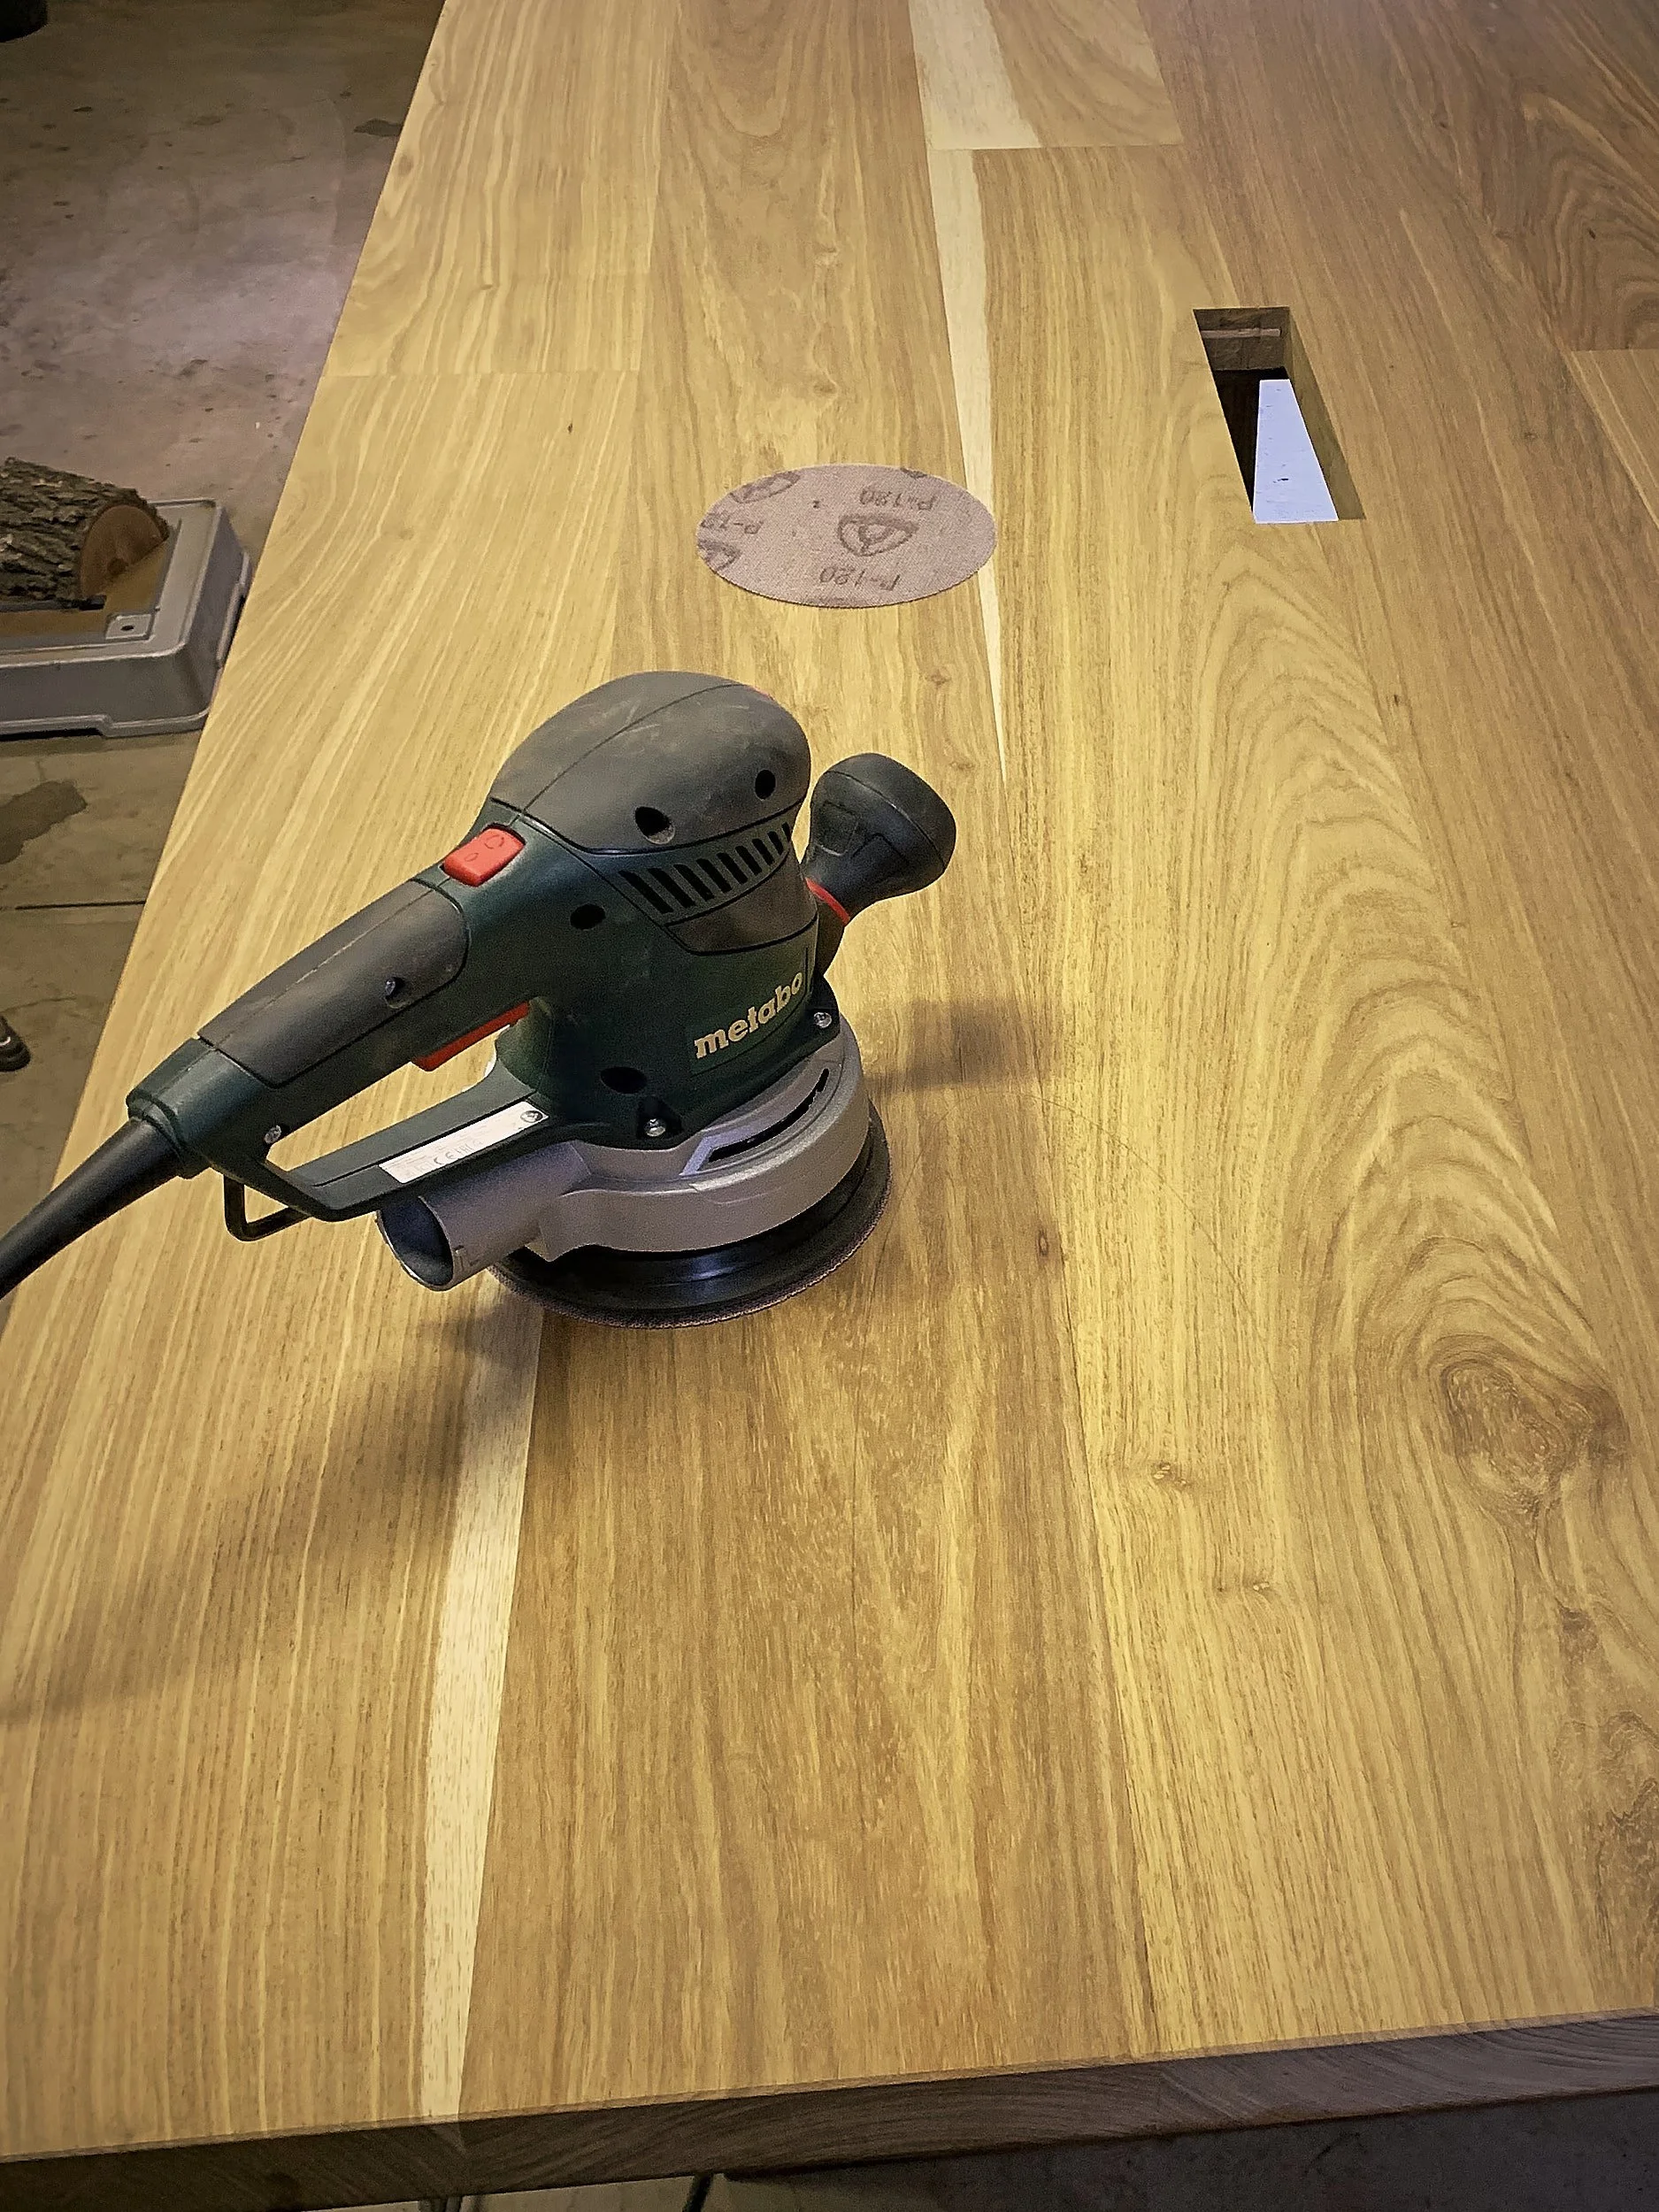
ProNature instructs the user to sand the surface to be treated to between 100 and 150 grit.
Frankly this is like music to my ears as I have a strong dislike to sanding and I personally prefer using a hand plane to get to my final surface. Recent projects however required sanding due to their sheer scale and they became a good excuse to acquire the Metabo SXE 450 Turbotec. This machine has made the sanding process nominally bearable and I’ll let you know once I have the review on my blog.
Anyhoo, where was I?
O’yes sanding.
This is how I go about it.
The first pass I start at 80 grit just to get the surfaces of my project to a consistent finish, I then move on to 100 grit and then usually call it a day. I may on occasion move up to 180 grit when I’m going for a more refined finish like on a table top or on show faces but for the most part I’ll sand to 100 and be done with it.
Next, clean the dust of all sanded surfaces. Here you can use a dry, clean rag or one slightly damped with ProNature’s Plant Turpentine or just plain mineral turpentine. Do NOT use water or any water based products to clean the surface, the grain will lift and the surfaces will require another sanding session.
If you went the turps route you will need to let all the surfaces dry fully before moving on. By the way as with all ProNature’s products their turpentine is environmentally safe so if you are inclined to care about trees and such, it is an excellent alternative to the petroleum based stuff, it smells a LOT better too.
Step 2: Application
Now this is where the magic happens, remember we are going for a single coat finish here so this is where I divert slightly from the set instructions.
Stir well with flat paddle until pigments and oil are completely combined. (Shaking won’t do it!)
Apply liberally using brush or short bristle paint roller (or wipe with cloth) until saturation is reached.
Rub off any excess oil thoroughly that has not been absorbed after about 10 min using a lint-free cloth i.e. ProNature Mutton Cloth.
These application instructions are directly from ProNatures’s website and here is how I tweak the application process slightly on my own projects.
Instead of a liberal application and leaving the oil to penetrate for 10 minutes I keep the surfaces that are being treated “wet” for 10 minutes before drying the excess off. I do this by constantly applying oil to the whole surface being treated, focussing on areas that seem to be absorbing oil faster than the rest. As per ProNature’s instructions I find mutton cloth to be the best way to get the oil onto the wood and by the time I’ve got the surface covered with finish, the rag is usually saturated to the point where I hardly need to add any more oil to keep the surface “wet”.
I keep going back and forth over the parts being treated for the full 10 minutes, adding oil as needed and at the end of the allotted time I then wipe off the excess as instructed, being careful to remove all excess completely.
All treated parts are then left alone for the minimum of 6 hours before any more work is done on the project such as glue up or final assembly.
That’s it, that’s how I virtually guarantee that my projects only need a single coat of finish. This method works because by keeping the wood surface wet during the 10 minute “absorption” time it ensures maximum penetration into the wood and negates the need for further penetrative coats.
Remember to read on to save some money on your next ProNature shopping spree.
But before we go there, there is one more step that will take your finish to the next level, guaranteed!
Step 3: Up Your Game
I vaguely heard someone complain during surface prep that one could hardly consider a 100 grit surface as worthy of a customer commission. Frankly I have yet to have a customer indicate that they can feel a tactile difference between 100 and 150 grit. Honestly there is little need to sand anything down to a gazillion grit as some are prone to brag they do. Sanding past a reasonable grit inhibits the wood’s ability to absorb an oil finish anyway, and the law of diminishing returns kicks in.
You can sand to a level of ridiculous smoothness if you like but I would rather be building my next project. If you insist on a smooth, silky finish you can cheat your way to a satin smooth touch experience using another of ProNature’s products.
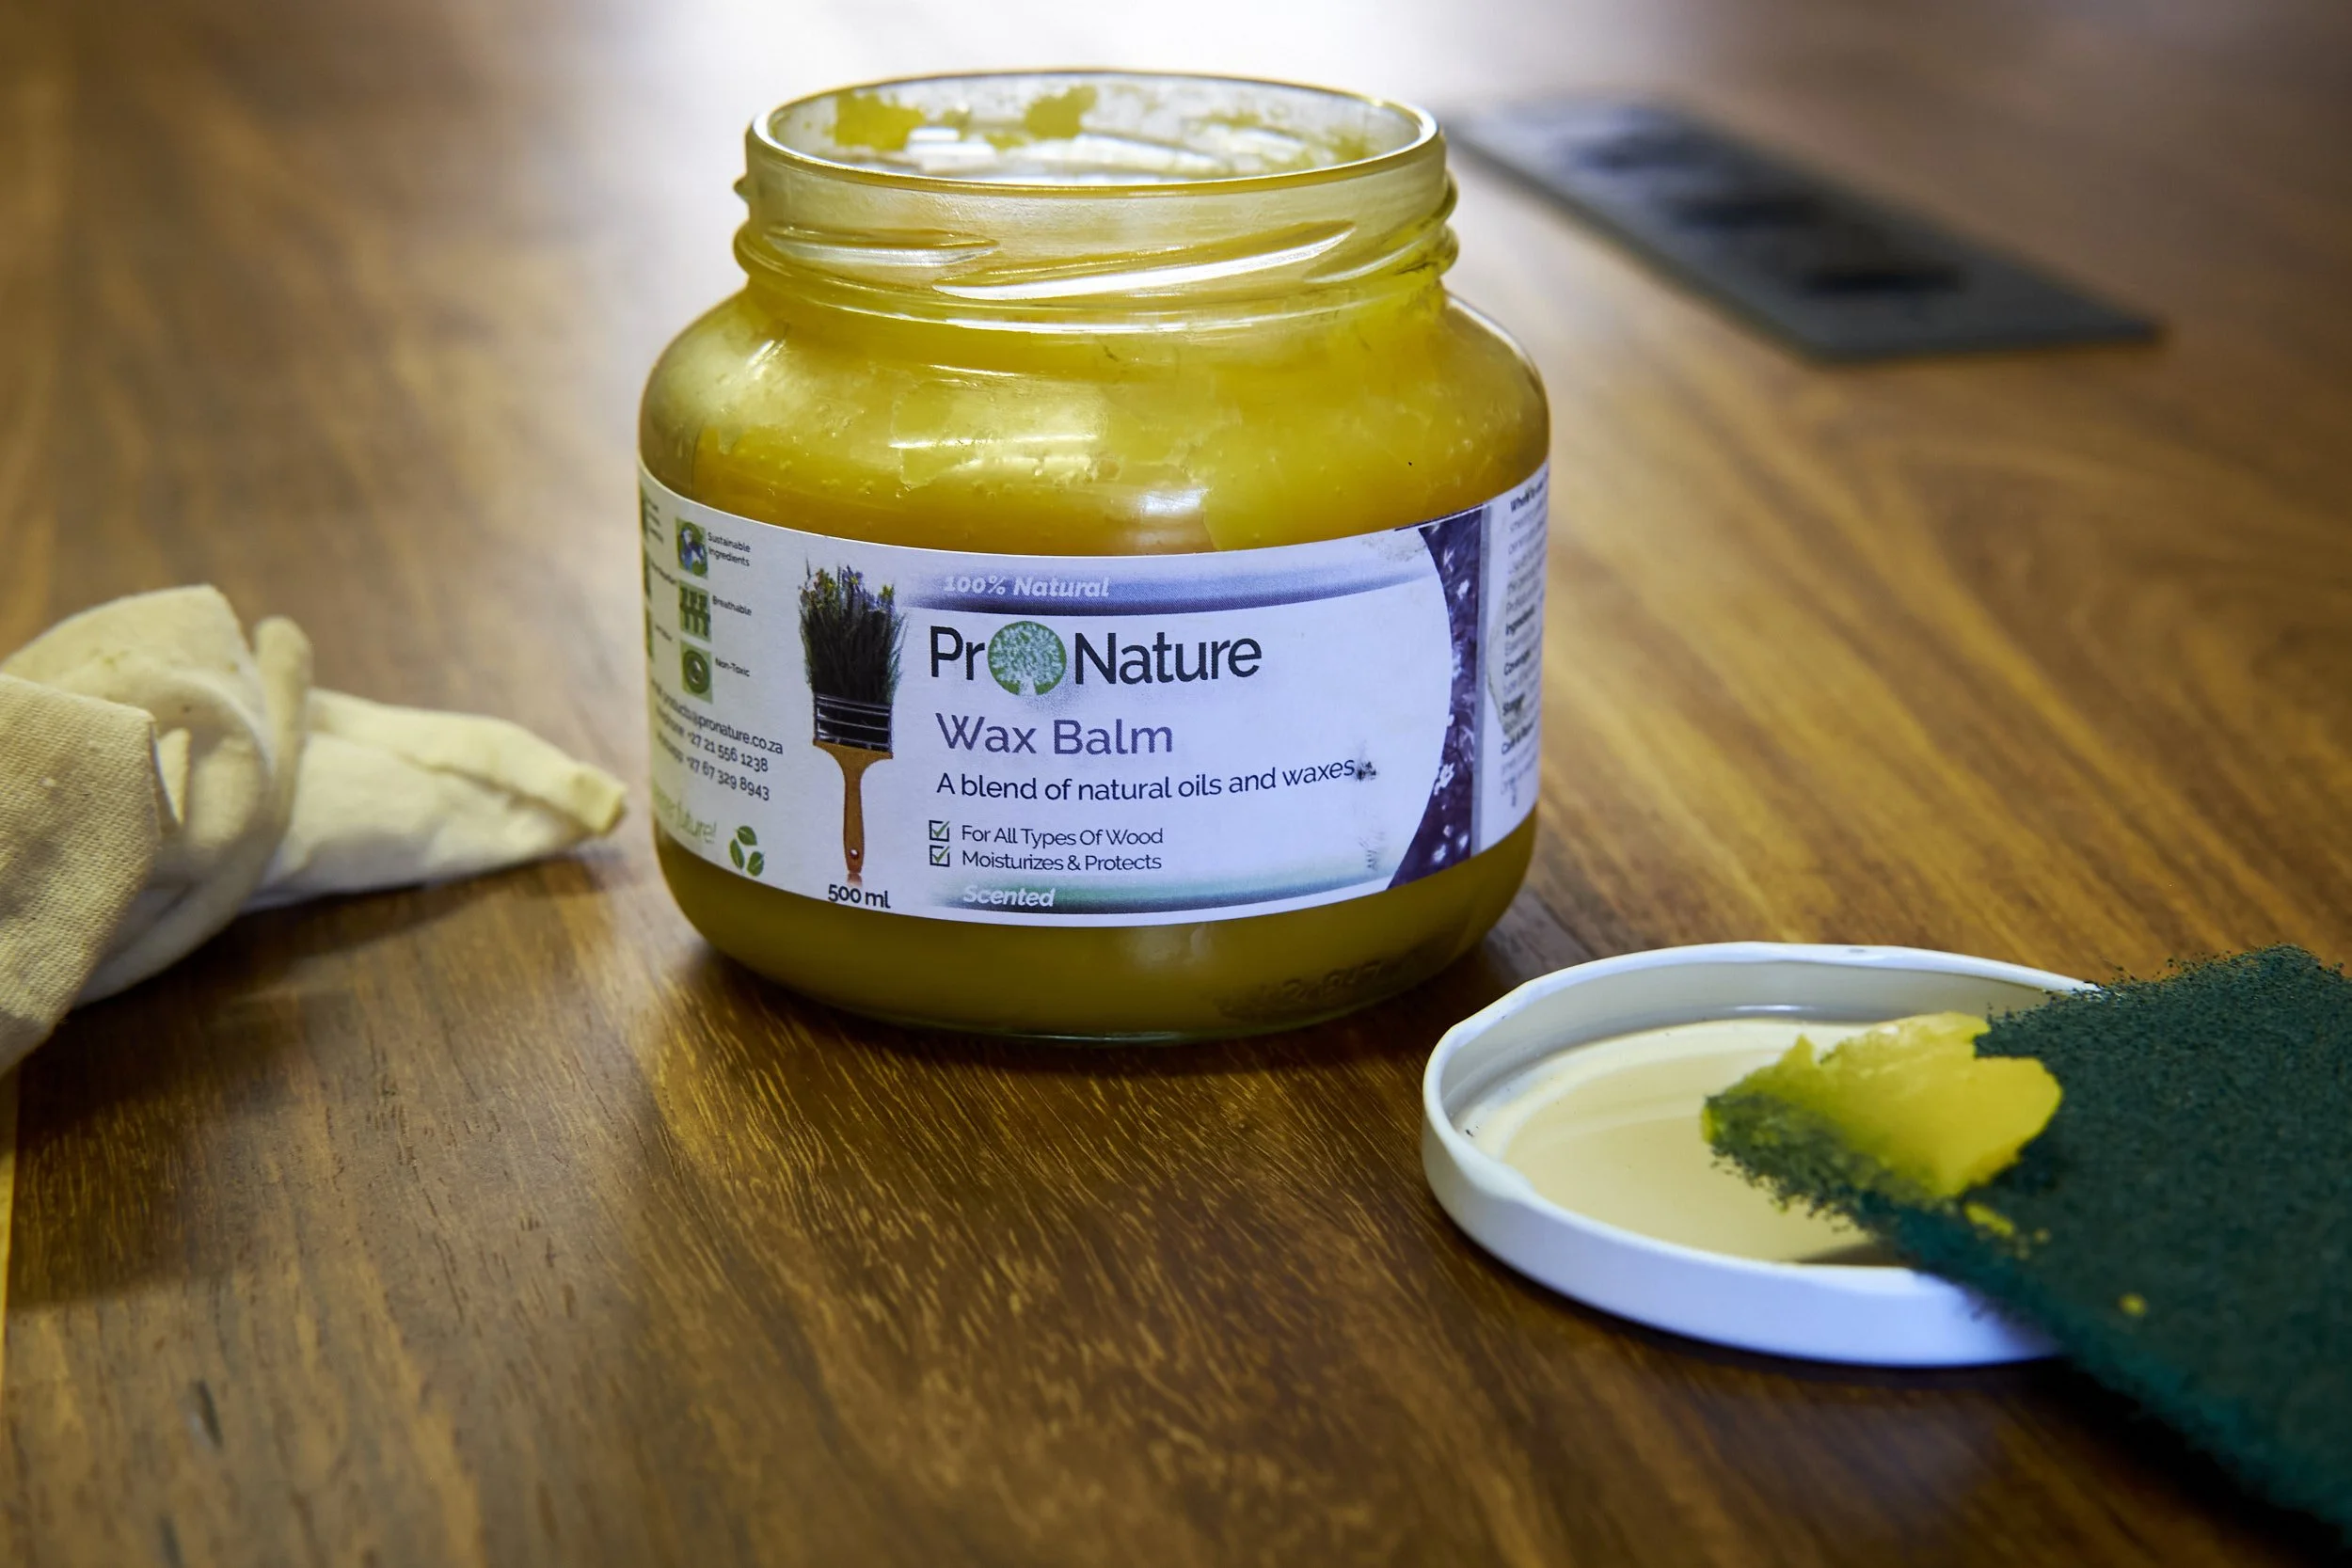
ProNature’s Wax Balm makes up one of the key ingredients to tactile nirvana.
We start this three part recipe to success about 24 hours after the last oil application and we do so with the Wax Balm and a fine scuffing/polishing pad, then a bit of a rest and finally a healthy dose of burnt calories to top it off.
Here we go……..
Apply.
Apply a coat of Wax Balm to the workpiece using the fine scuffing pad as an applicator. Move around the surface of the wood making sure that it’s all covered with the wax using the fine pad to work the product into the grain.
Feel free to enjoy the fresh citrus smell permeating the workshop during application.
Rest.
Leave the application to sit for 2-3 minutes. The wax will leave an opaque finish as it dries.
Buff.
Use a clean scuffing/polishing pad or mutton cloth to buff the the surface to a lustre that will make you go back and check that last grit you sanded to and your customer to believe that you are a finishing genius. Want an even better shine? Just polish the furniture again after a further 24 hour curing time.
I did mention the smell?
ProNature uses a citrus solvent in their wax so it smells so good you may develop a curious habit of cracking the lid every so often just to get a whiff of that stuff. It’s healthier than raiding the fridge after bedtime, just don’t let anyone catch you skulking around the workshop sniffing at finishes and in case they do, make sure you tell them that the mandatory 24 hours curing time has elapsed after applying the finish and you’re sticking to the instructions before the final buff…….
All done, in a single coat if you choose not to add a coat of wax.
A single coat? Really?
Really.
Just like we’ve have been taught that you HAVE to sand your piece to a grit that matches a polish before applying a finish, in the same way we’ve been told that multiple coats of finish is a must.
That is simply not the case. Both with the former and the latter.
I find that applying my preferred finish in the manner described above, provides maximum penetration into the wood surface and gives me the best results in the shortest time, especially on low to medium “traffic” items.
Is a single coat durable enough? It depends, and it’s here that experience kicks in.
Case in point.
The recent bedside tables I built received a single coat of Interior sealer, low traffic.
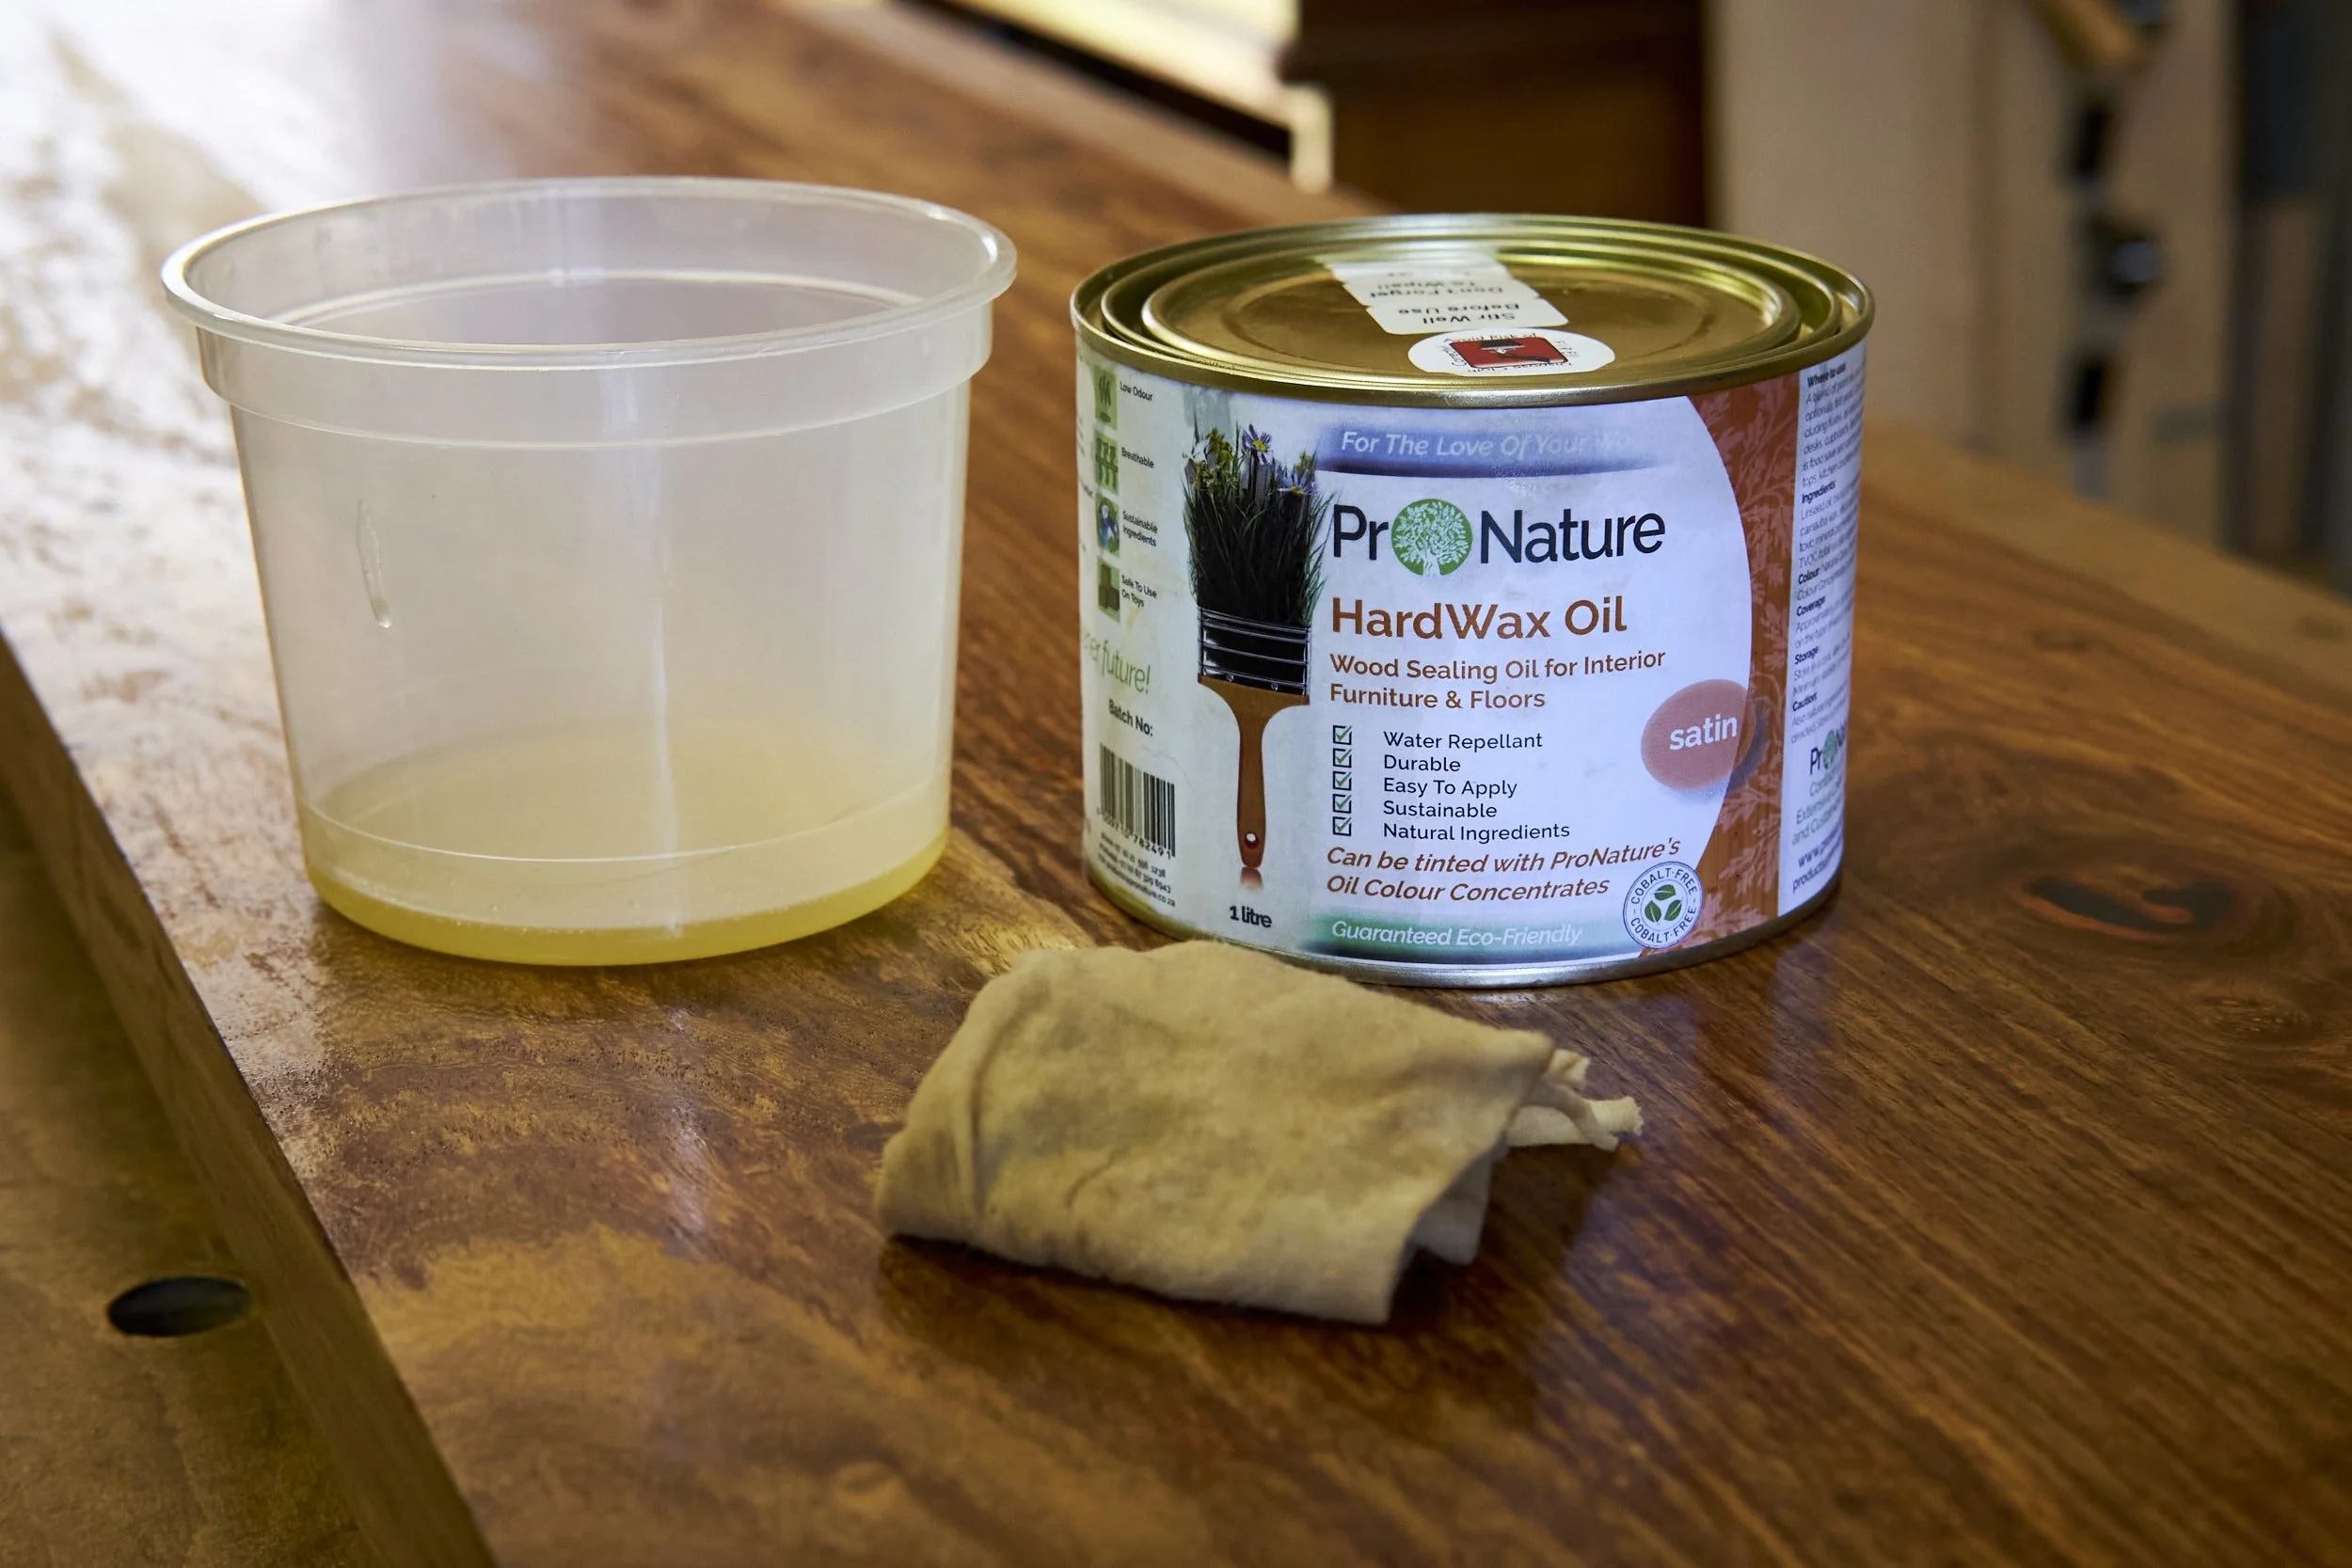
My latest customer project however, was a really large boardroom table and on this one the undercarriage was treated with two coats of Natural Clear Interior, medium traffic. Unless the legs get kicked during a heated debate but no amount of finish can protect against that one. The table top was treated to a coat of HardWax Oil followed by a thorough Wax Balm treatment to finish it off, heavier occasional traffic with a silky smooth touch to impress visitors and help with word of mouth marketing - the grain pattern came out beautifully by the way.
So as with all tips, tricks and advice out there they serve as a starting point to your own journey so why not try ProNature’s products for yourself and if you decide to give them a go I can save you some money on your purchase.
Head over to ProNature’s website and use the discount code dylpta2023 during checkout to earn a 5% discount on your first purchase. Their service is brilliant, shipping is fast and your goodies will likely arrive at your doorstep in record time.
Full disclosure, I do receive a percentage of the purchase price back. However this arrangement comes at no extra cost to you and they are not paying me to like their products, the quality of ProNature’s products and results in use speak for themselves.
Place and order, try their products, you will not be disappointed. If you have any particular needs you are welcome to reach out to myself or the ProNature team via our respective websites, you will be surprised at the lengths they would go to, to help.
As a parting shot I would like to mention that in spite of this post centring around ProNature products I actually started using this method successfully using another favourite finish in the form of Liberon Tung Oil and used this finish for some years before discovering the locally manufactured alternative and as far as the soft furniture wax goes I used to make my own and changed to the ProNature Wax Balm after setting our kitchen alight whilst cooking up a batch!