
Build Knock Down Furniture With Festool
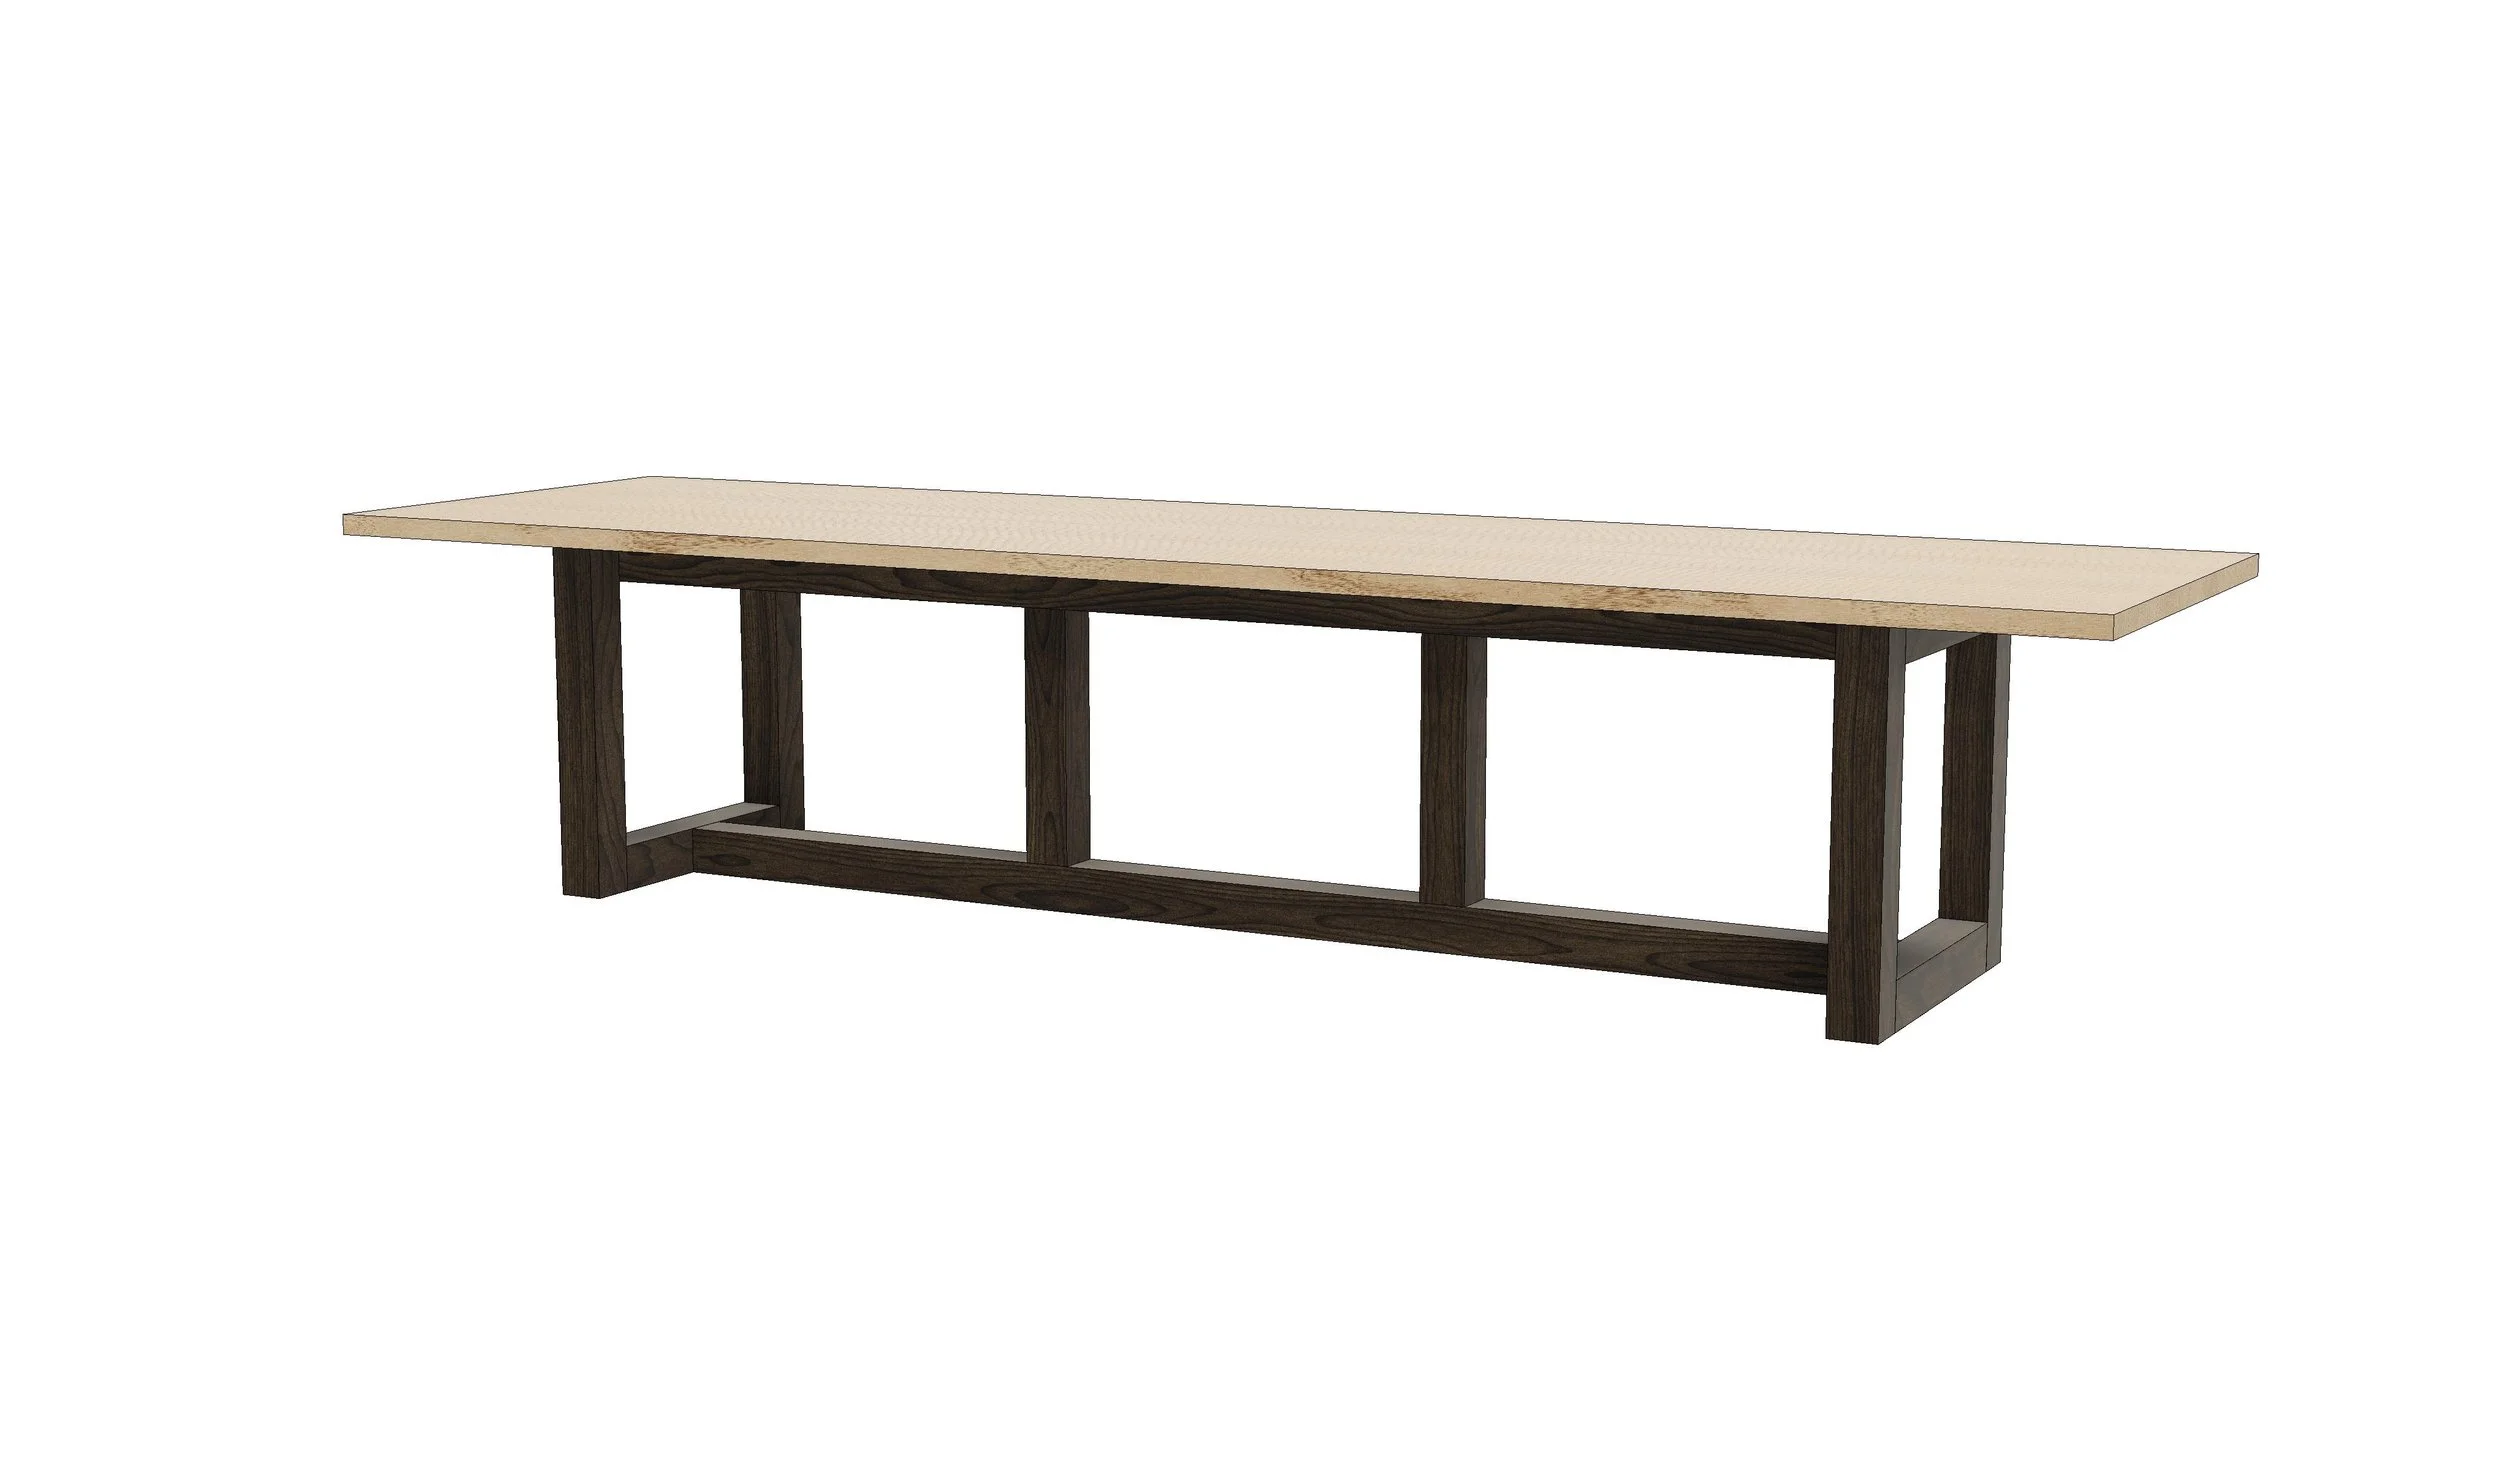
Towards the end of last year I received a commision to build a rather large boardroom table and considering the potential challenges involved in getting it into the customer site it had to be able to be knocked down.
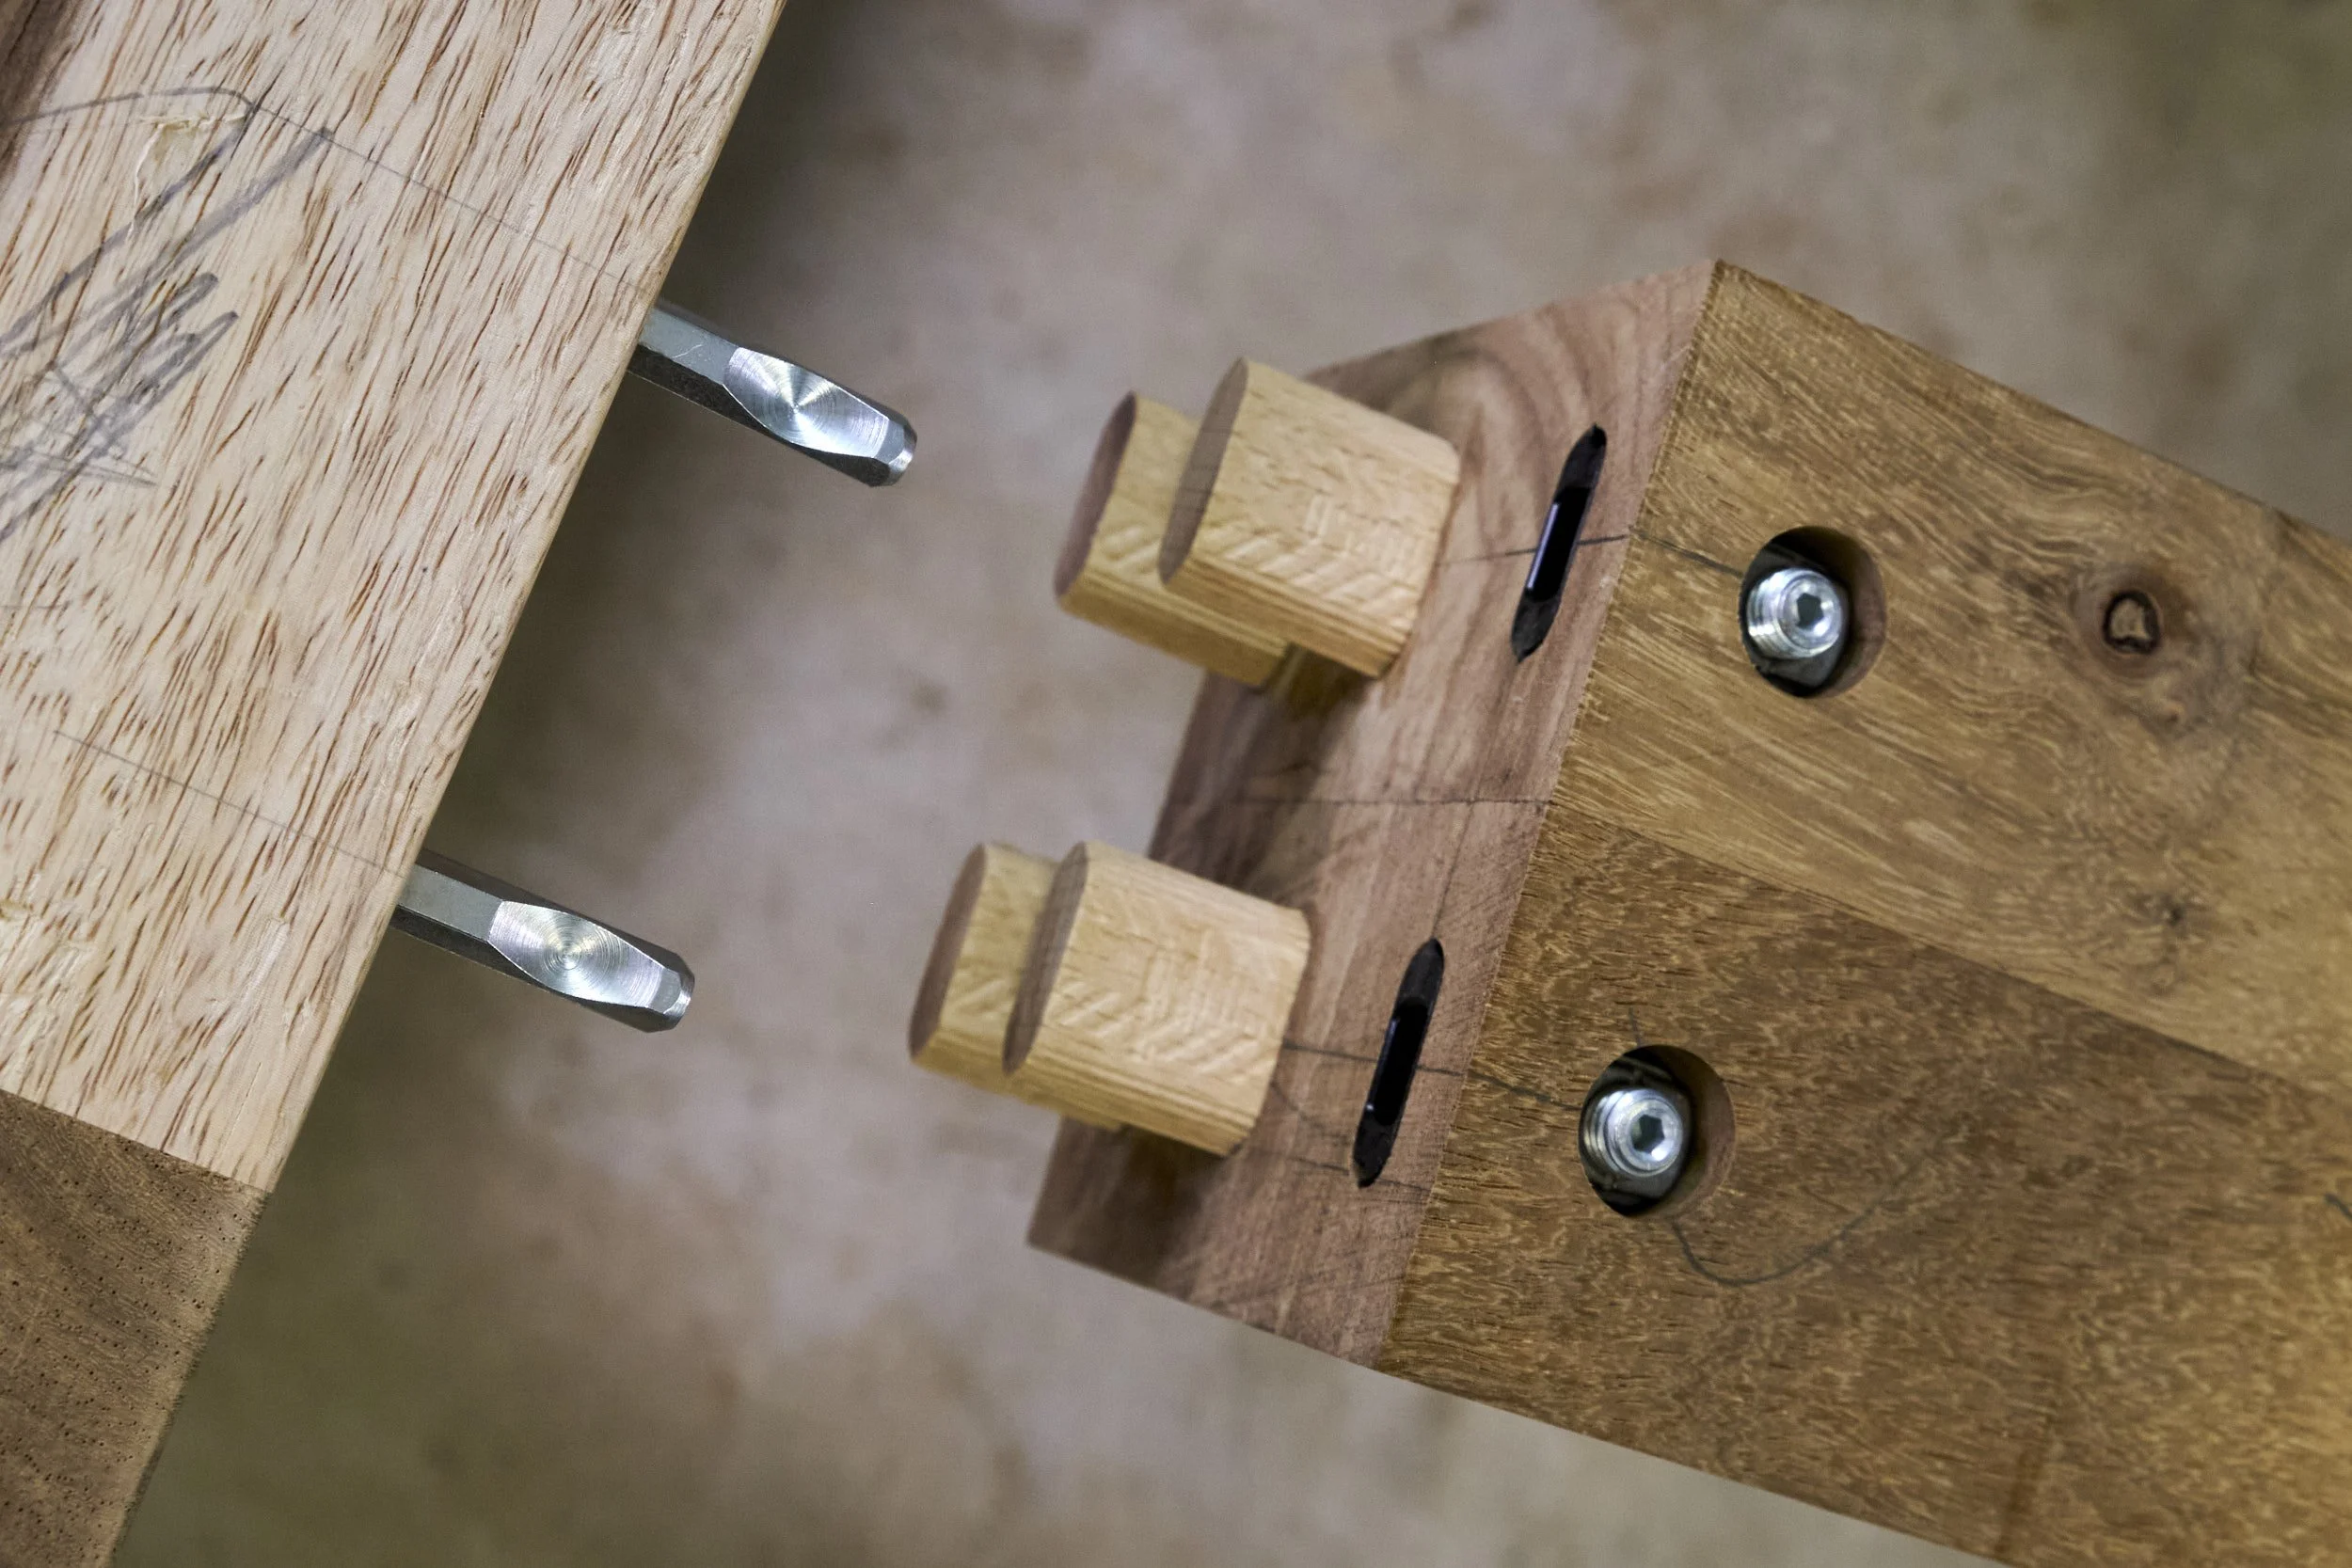
At 3.5 metres long and 1 metre wide I wanted the connectors that kept it all together to be strong, reliable and hidden so I went with the Festool connector system.
Considering the scale of the project you might be thinking that I am the fortunate owner of a Domino and you would be correct. If, however you were to guess that I own the XL DF 700 you would be mistaken and if you’ve spent any time on my blog you would know that I do own it’s baby brother the DF 500. If you are familiar with the Domino system you would also be aware that the 700 would be the preferred solution for cutting the joinery on a project this large but you may be surprised to learn that knock down furniture on a large scale can be accomplished with the 500 and all you need is a little planning and forethought to pull it off.
Before I designed and built the boardroom table I would have made the same assumption in thinking that you cannot manage large projects unless you had the bigger of the two machines but that was challenged one day at a local woodworking show where I had an interesting conversation with a local rep.
It sort of went like this.
Me: “I have the 500 but I need the 700.”
Rep: “Why?”
Me: “I need the large connectors for large projects like tables.”
Rep: “Just use two 500 connectors at each joint!”
Me: Silence.
The proverbial bulb went off that spring afternoon but it was only about a year after this conversation that I had any need for the insight imparted that day.
The boardroom table is not what this post is about though, rather it’s about the ball it set rolling and it wasn’t the last knock down piece I was about to build!
As soon as I delivered the boardroom table I received a commision to build and eight seater dining room table and the finish was barely dry on this project when I was asked to build cocktail furniture to be used on ProNature’s stand during expos.
The common thread?
All projects needed to be knock down and that is what this post is about and the Festool Domino DF 500 connector system can be used to build knock down furniture at a scale that would surprise.
We start at one of the most critical parts of the process.
Design For The System
By “system” I mean the Festool Domino and its connector system.
Consider some suggested guidelines
In the case of a mortise and tenon joint the tenon needs to be roughly a third of the thickness of the stock it is cut from.
When positioning two or more domino floating tenons next to one another the space between the sides of each tenon needs to be at least double the thickness of the tenon used.
When stacking tenons one behind another the space between their faces needs to be no less than the thickness of one of the tenons used.
Festool connectors are 8mm thick.
The minimum depth setting of the Domino when cutting the slots for the connectors is 10mm, this setting leaves 6mm between the connector and the face of the workpiece the machine was registered against when cutting the mortise.
Consider my guidelines:
I like to place dominos into a workpiece such that the spacing between the edge of the wood and the domino is no less than the thickness of the domino used, this goes for both the face and the side of the loose tenon.
Two 6mm dominos give me a thicker tenon than a single 10mm tenon.
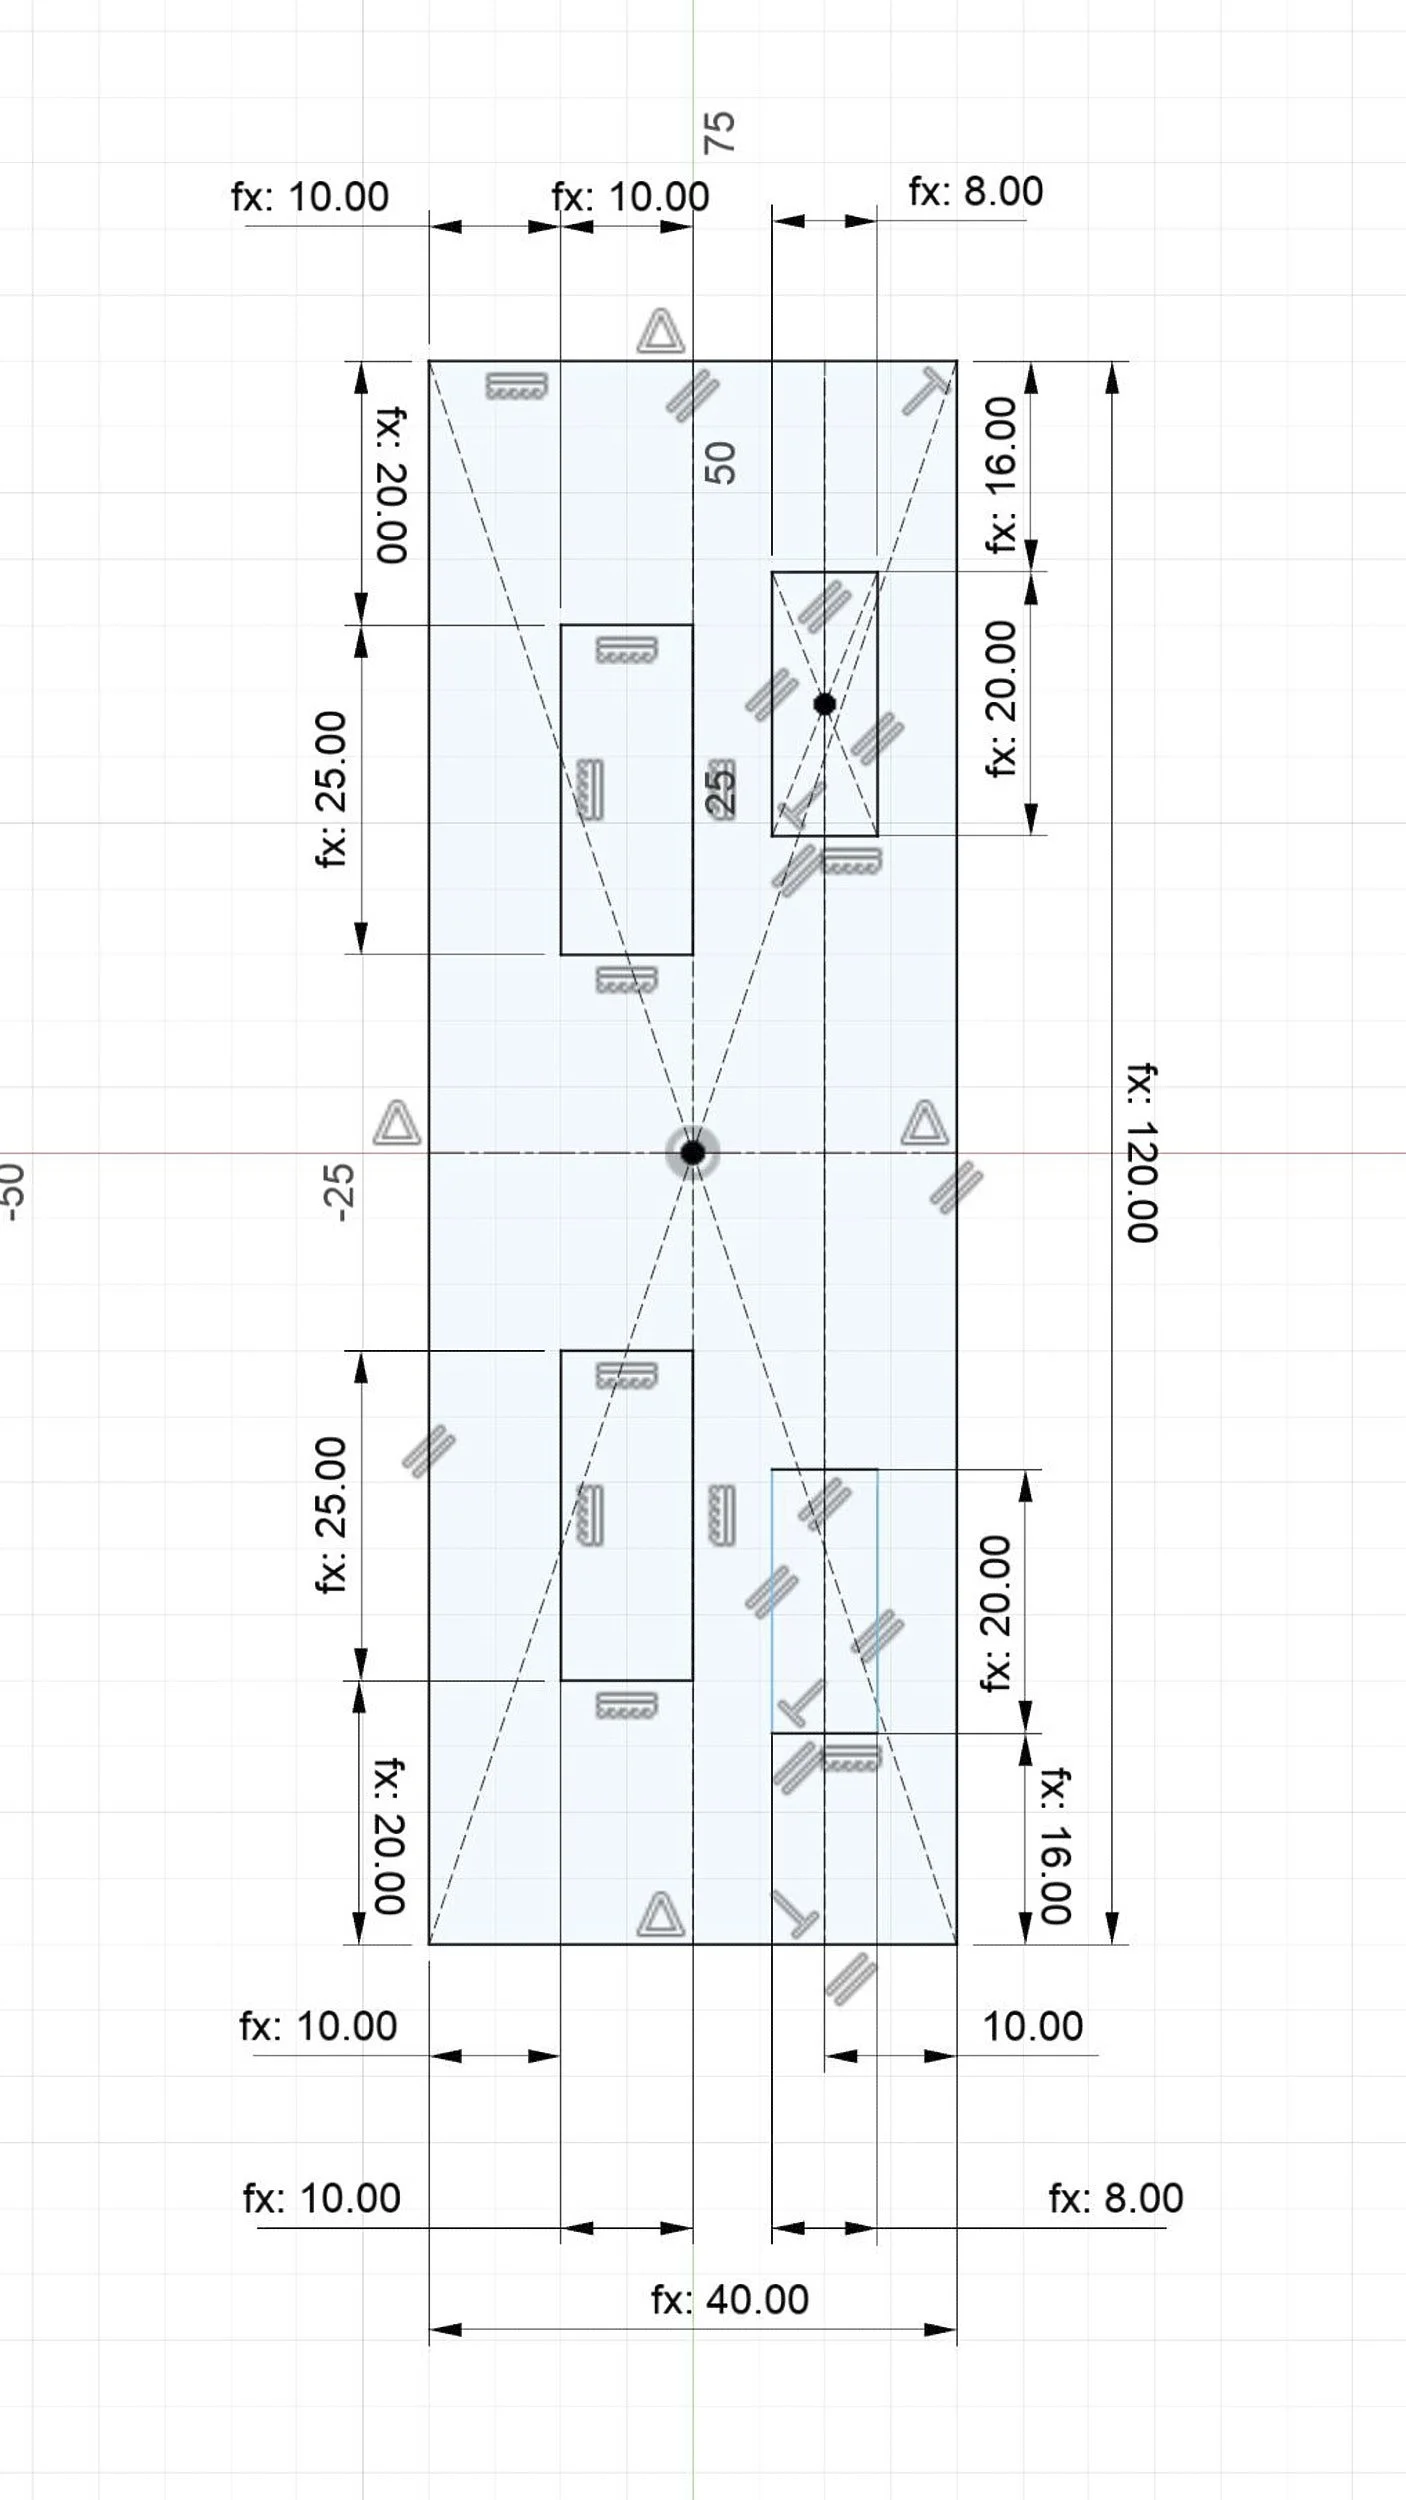
I will be using the apron of the dining room table as an example to describe the process and in this sketch you can see the initial layout I worked on. Here I used the dimensions available for the wood species I used whilst keeping in mind that the apron had to be narrower than the final width of the leg to allow for a slight reveal between the face of the apron and the edge of the leg.
In the next image you will note that I dropped the two 10mm tenons for three 8mm tenons. This allowed me to maintain the spacing between the stacked mortises of the domino and the connector and this design also resulted in a “larger” tenon in total. The final design allow me to stay within the ideal parameters of the apron width and height.
You have room to play here and the leg can be made slightly thicker to accommodate the apron without it being obvious to the user.
Remember that you HAVE to accommodate two connectors so trying to fit them in between two dominos is simply not practical as the apron would become so wide that it will hit the top of the sitter’s legs when at the table. Making the table higher to accommodate wider aprons is also not an ideal option unless you make them sit on taller chairs which again in turn brings the top of their legs into the apron.
A thicker apron is the solution to allowing two connectors.
In the case of the stand furniture I wanted to use at least 8mm thick tenons and then chose the minimum dimensions of the stock accordingly. The stools especially would be subject to racking forces so a 50mm long 8mm domino was the minimum I was willing to use. A 10mm domino would be too wide and force the undercarriage to look bulky.
At 90mm x 90mm the base frame of the boardroom table had plenty of room to fit four 10mm dominos and two connectors at every joint.
Look at the piece of furniture and then design the components around the Festool system keeping in mind the considerations as mentioned earlier and you will be fine.
Strength
Technically this should fall under the design heading but its inclusion risks complicating the point.
Under this heading I am about to make a statement that some would consider down right wrong at best and sacrilegious at worst.
A tenon does not contribute to the functional strength of a mortise and tenon joint. Its main purpose is to keep the joint together. The M&T’s main function is to fight racking at a joint and the primary part of the joint that does this work is the shoulder of the joint or in the case of loose tenons the end grain bits that do not contain loose tenons. Granted, the top and bottom of the tenon resists some linear movement depending on the tenon’s orientation in the the furniture piece but it is the shoulder that sits flush against the opposing component that does most of the work.
Before you decide to come to my house to beat sense into me for stating the above just hear me out.
Woodworkers go through much more trouble to get the best fit possible between the cheeks and the sides of the mortise. This is to ensure the best side grain to side grain glue joint to keep the joint together. Less attention is paid to the upper and lower fit of the tenon into the mortise.
In the case of the Domino, the mortises are cut slightly wider than the tenon, here again the glue joint on the flat face of the loose tenon is key to hold the joint together.
Drawboring or pinning the tenon pulls the shoulder tight onto its mating surface so that it can withstand racking.
Festool itself suggests that placing too many dominos in a joint risks weakening the joint in spite of increased glue area as a result. Removing too much material for more dominos weakens the shoulder i.e. the one third rule of thumb.
Of course a shoulder less M&T is a matter for another day but if racking forces is a concern I will keep shoulders in a M&T joint any day.
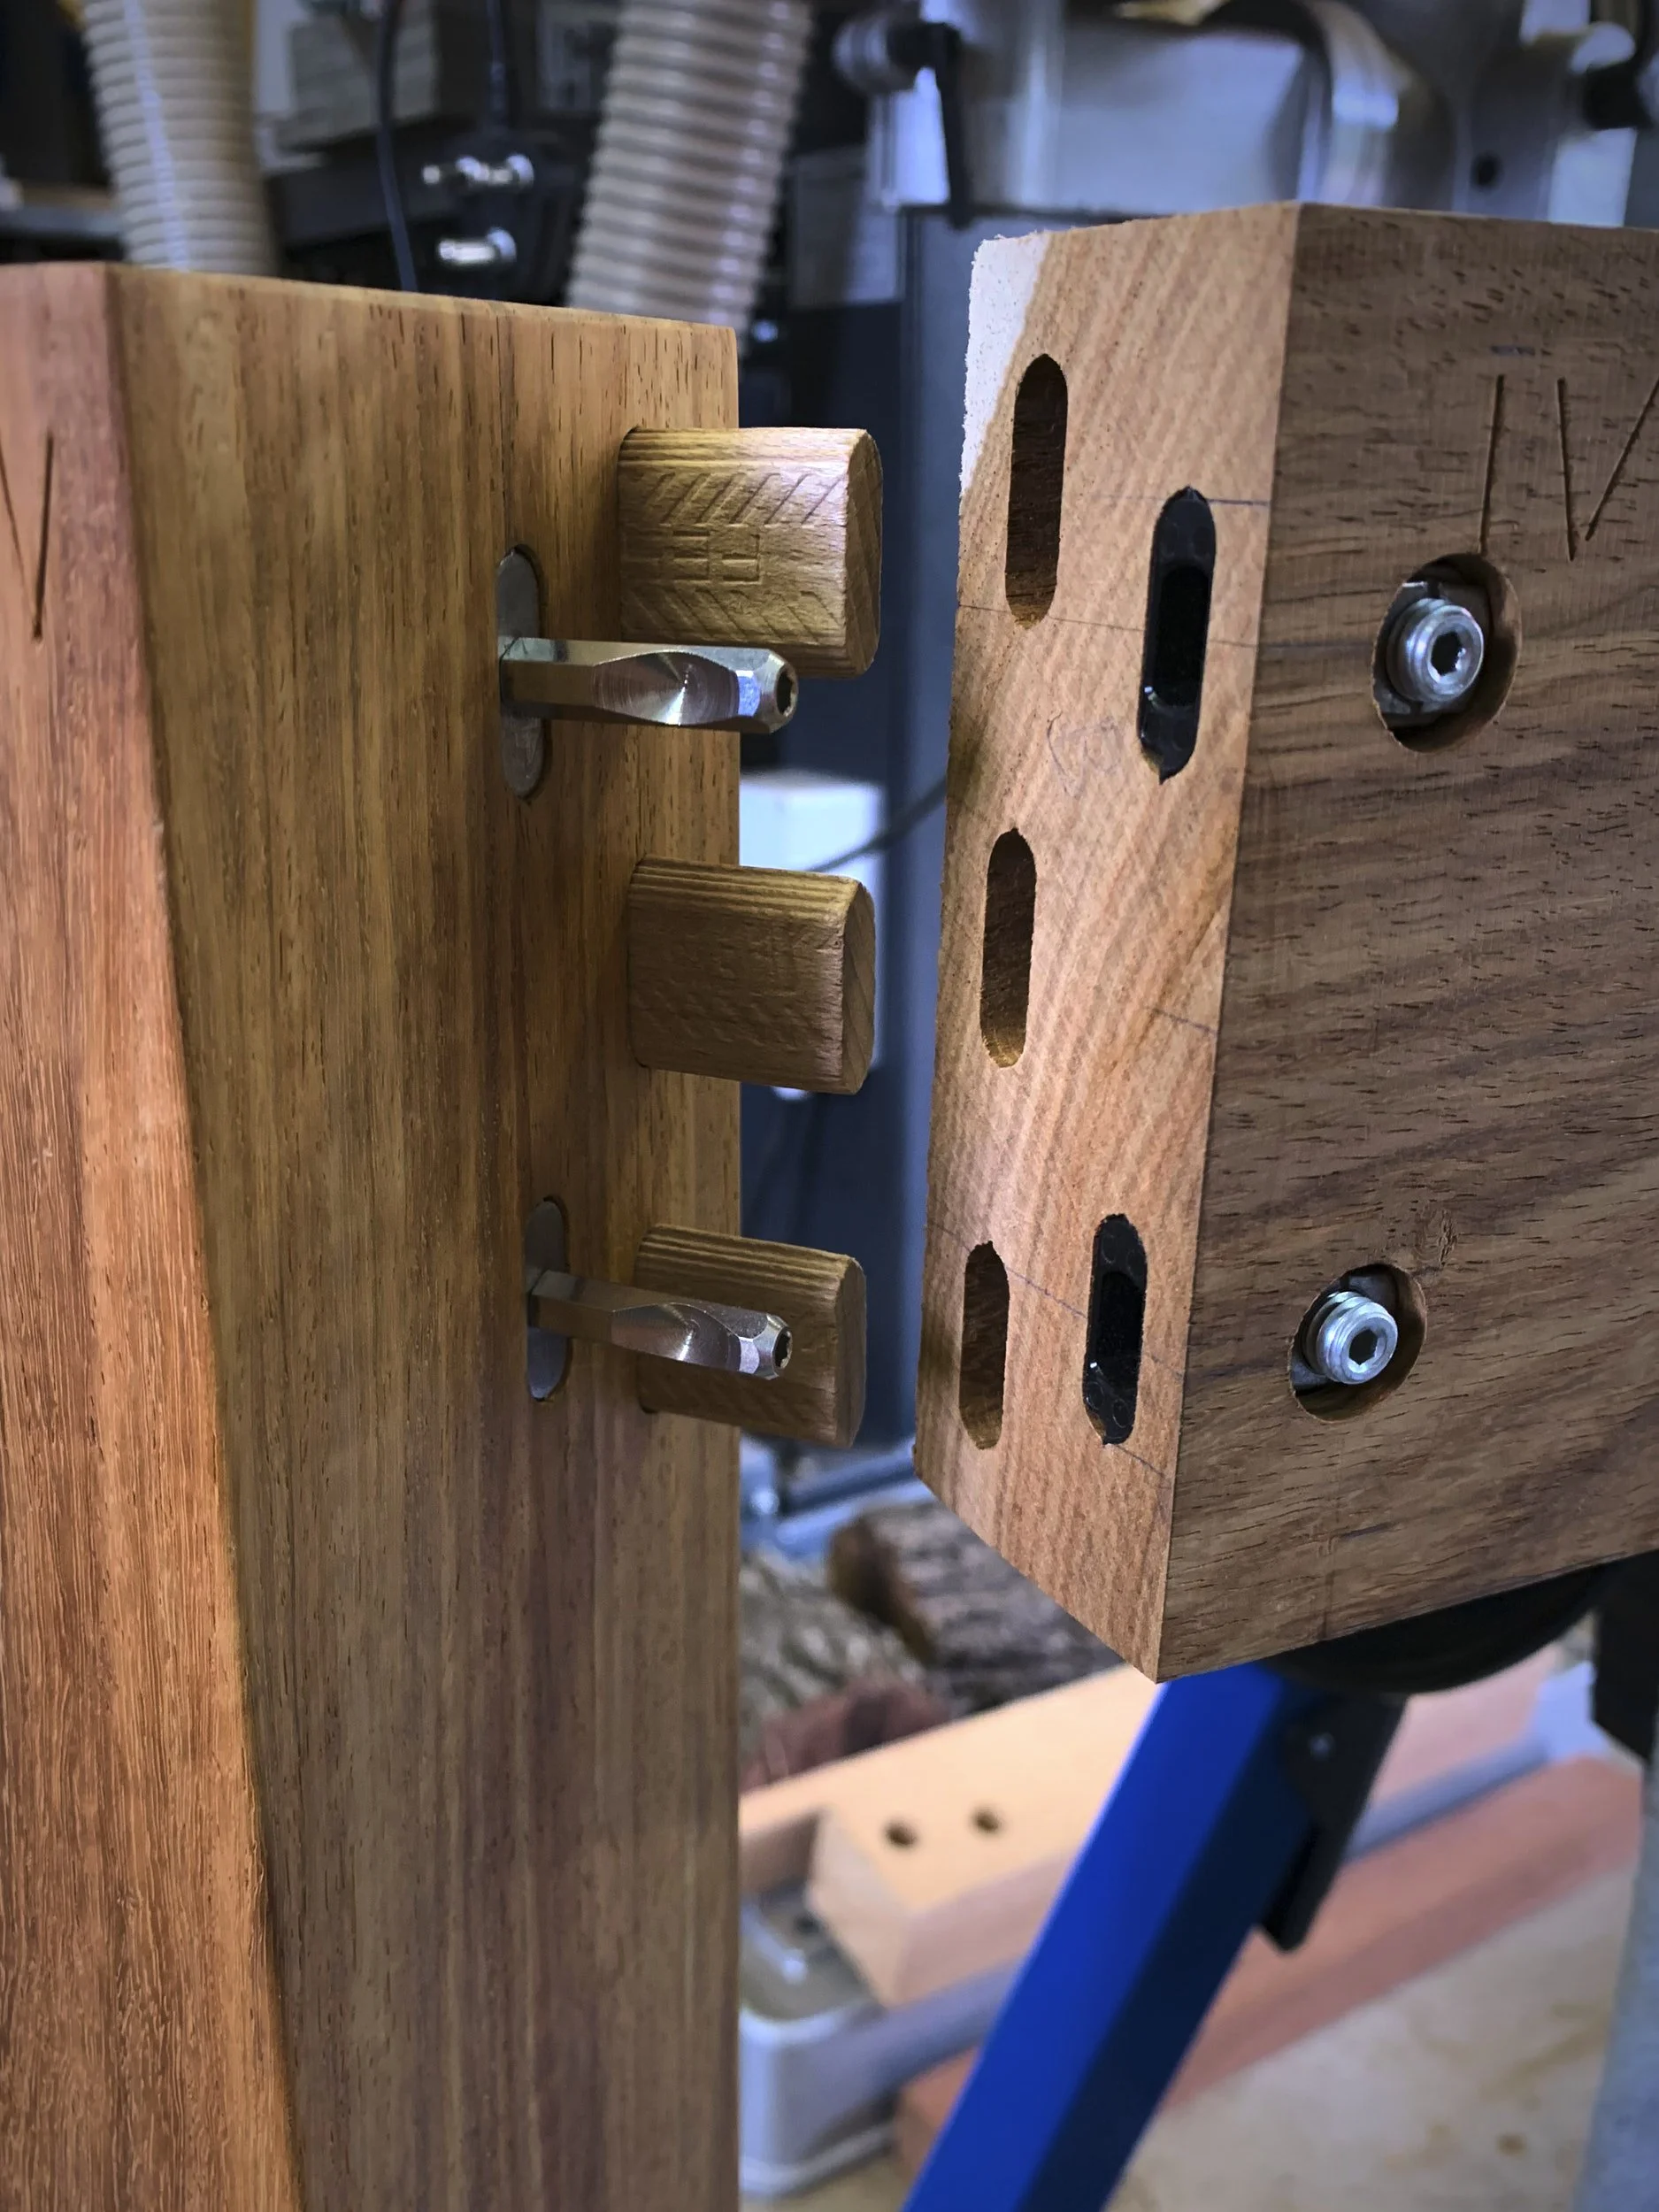
Another statement that needs to be made is that the connector cannot be trusted to provide strength to the joint, that is not its job. In the absence of a fully glued joint it becomes the responsibility of the connector to keep the joint together, the domino provides alignment and some strength whilst the shoulder provides the bulk of the racking resistance.
The sheer size and bulk of large components in a piece contribute to the potential forces that act on joints and that is exactly why the XL DF 700’s connector system is the preferred solution for larger furniture but the addition of an extra connector offsets the advantage of size offered by the 700 to some extent with an added advantage.
Back up.
I like having two connectors that need to fail before a joint does rather than just one.
In the case the of the boardroom table the way the base was designed allowed me to use a total of six connectors on each side of the table, rather than just two had I implemented a traditional apron and leg design using with the larger domino machine. That is not counting the two connectors on the middle supports that would also contribute to fighting racking along the length of the table.
Between solid design, awareness of the system’s weaknesses and strengths and one more consideration the Festool Domino DL 500 could be all the domino you may ever need.
Consider The Whole
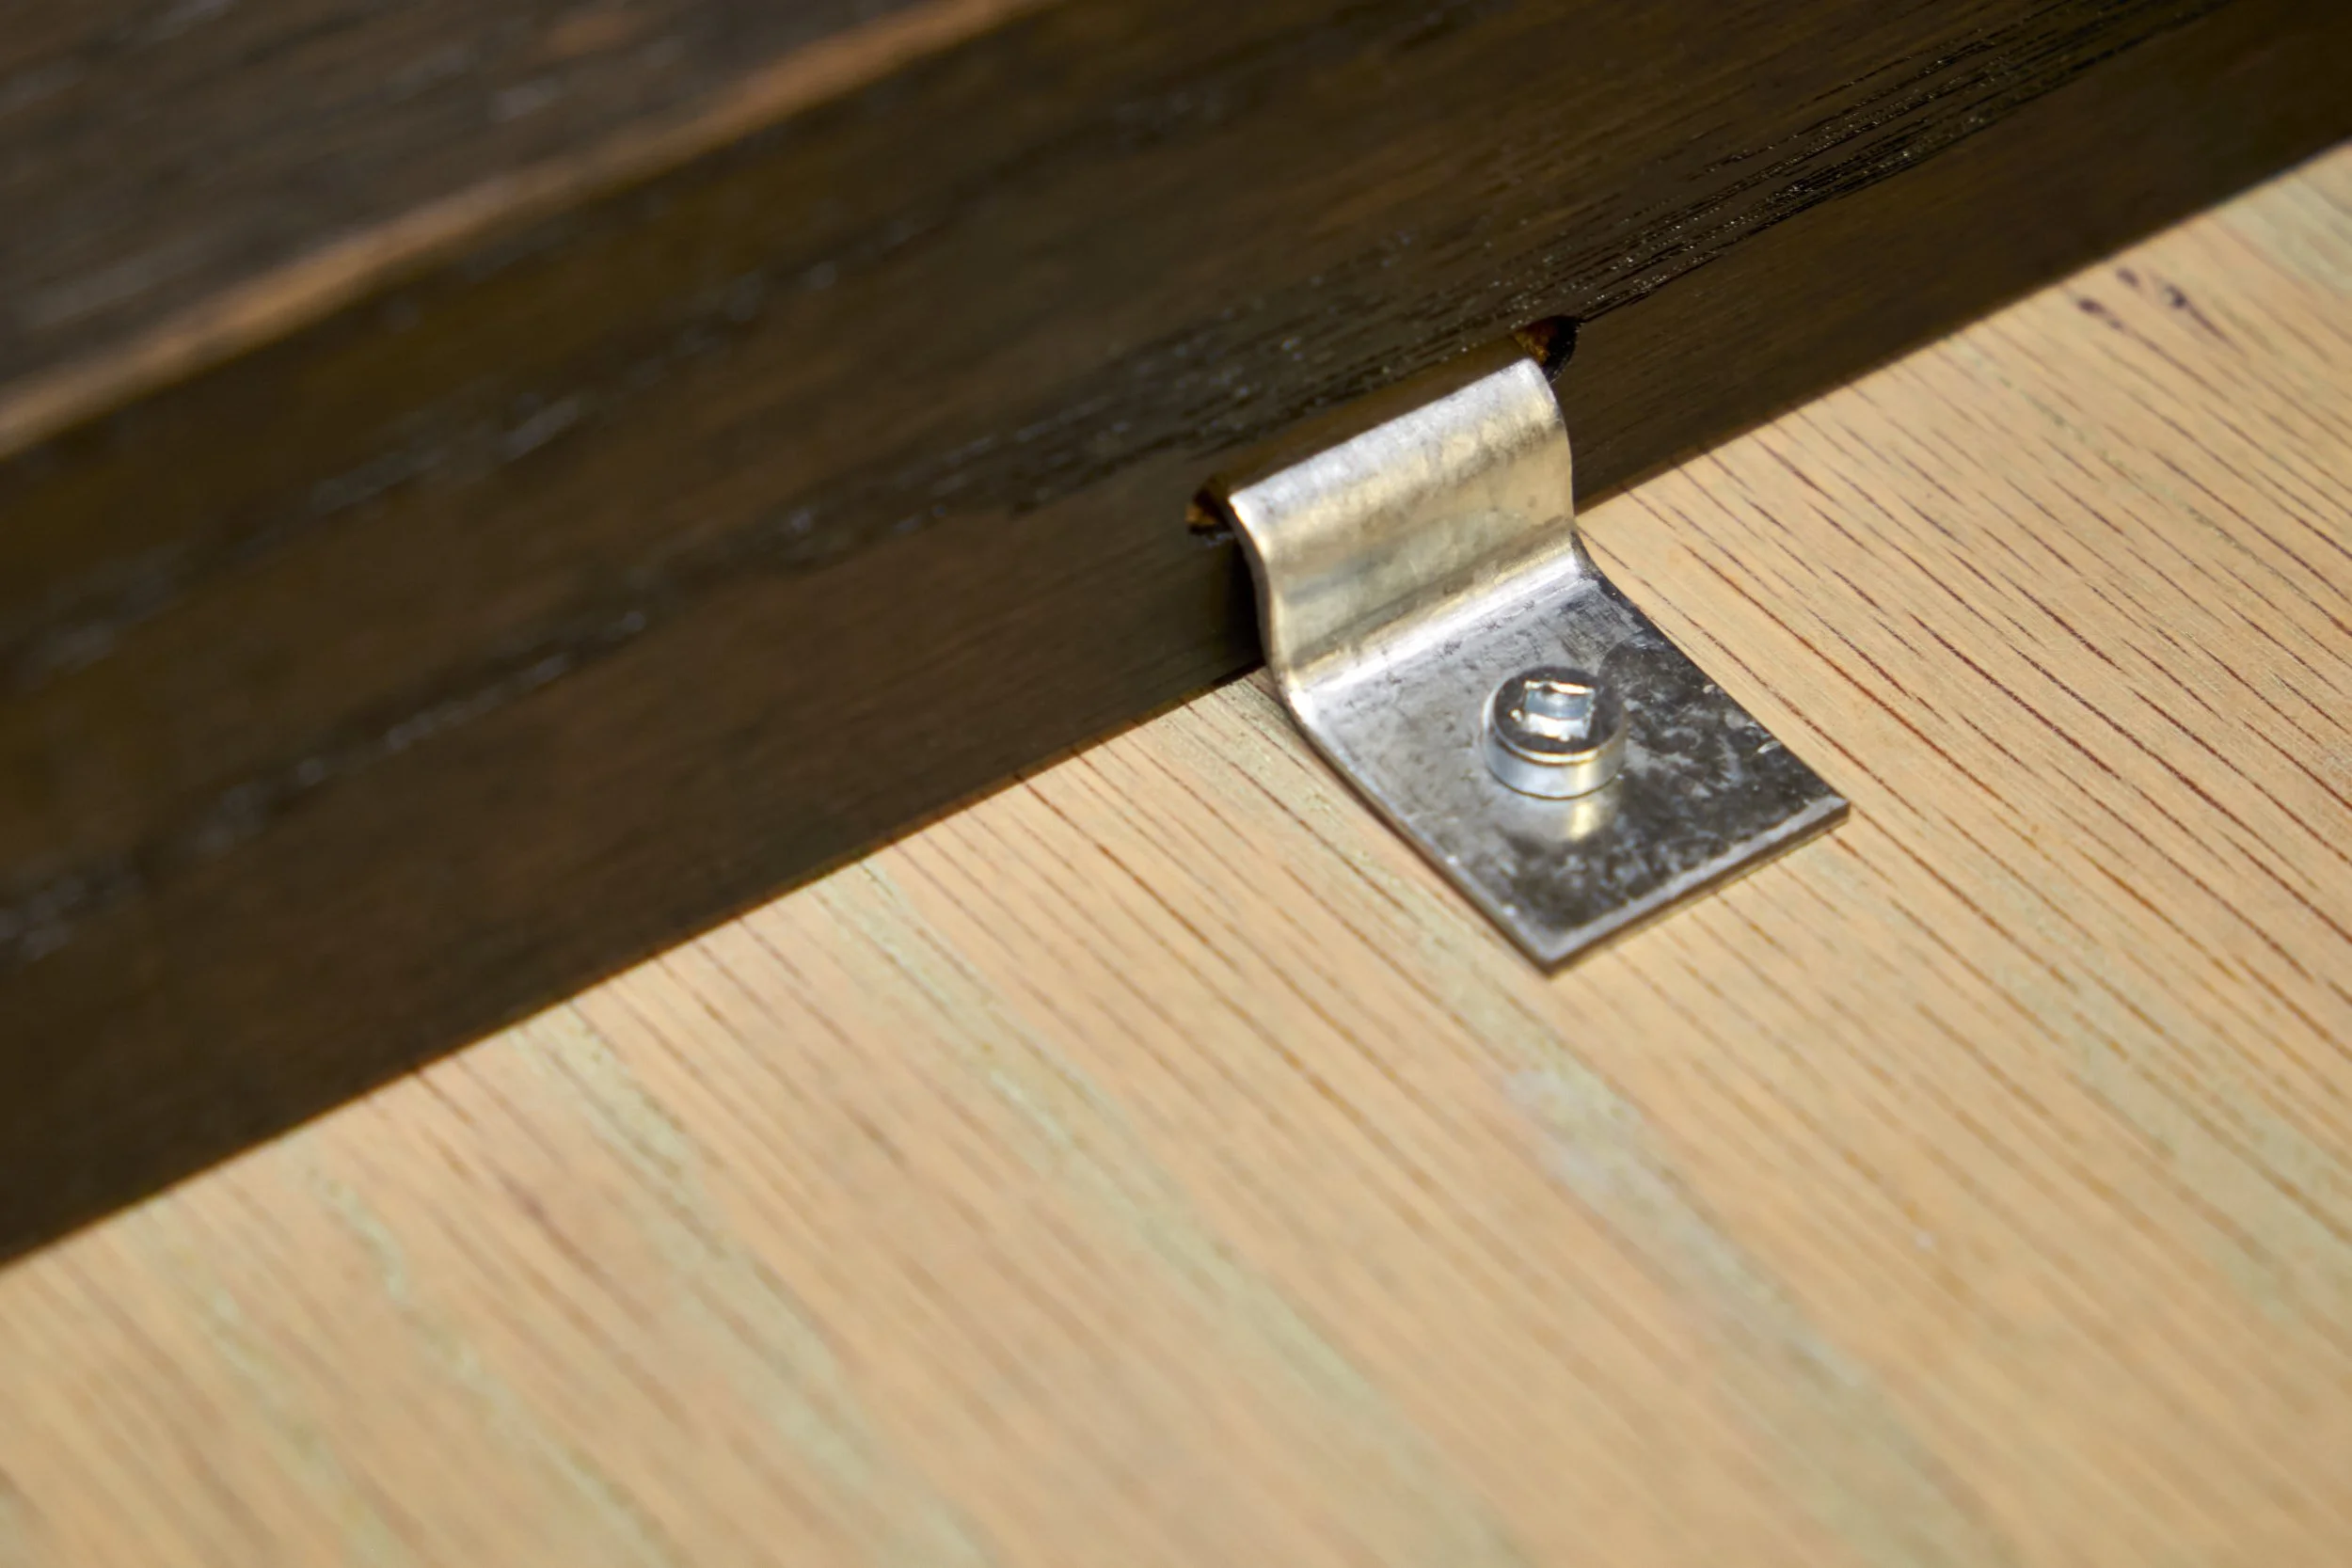
Keep in mind that it’s not only the legs and apron that keep a table standing, in the case of the eight seater I added cross braces in between the aprons on the long axis of the table. Not only did they provide support for the top but also some resistance to potential racking across the width of the table.
In the case of the boardroom table the central uprights as well as the cross braces between the upper table supports worked together to counter racking in both axes.
On both the tables and the stand furniture the table tops and seats all contributed in tying the assembly together. In the case of the boardroom table in particular, somewhere in the region of around 16 Z-clamps needs to fail before the base could fold in on itself.
Honestly, I believe that we as woodworkers fuss too much over the strength of single joints rather than consider the contribution of all the parts that make up the whole when it comes to the longevity of a piece of furniture.
Hide Your Handiwork
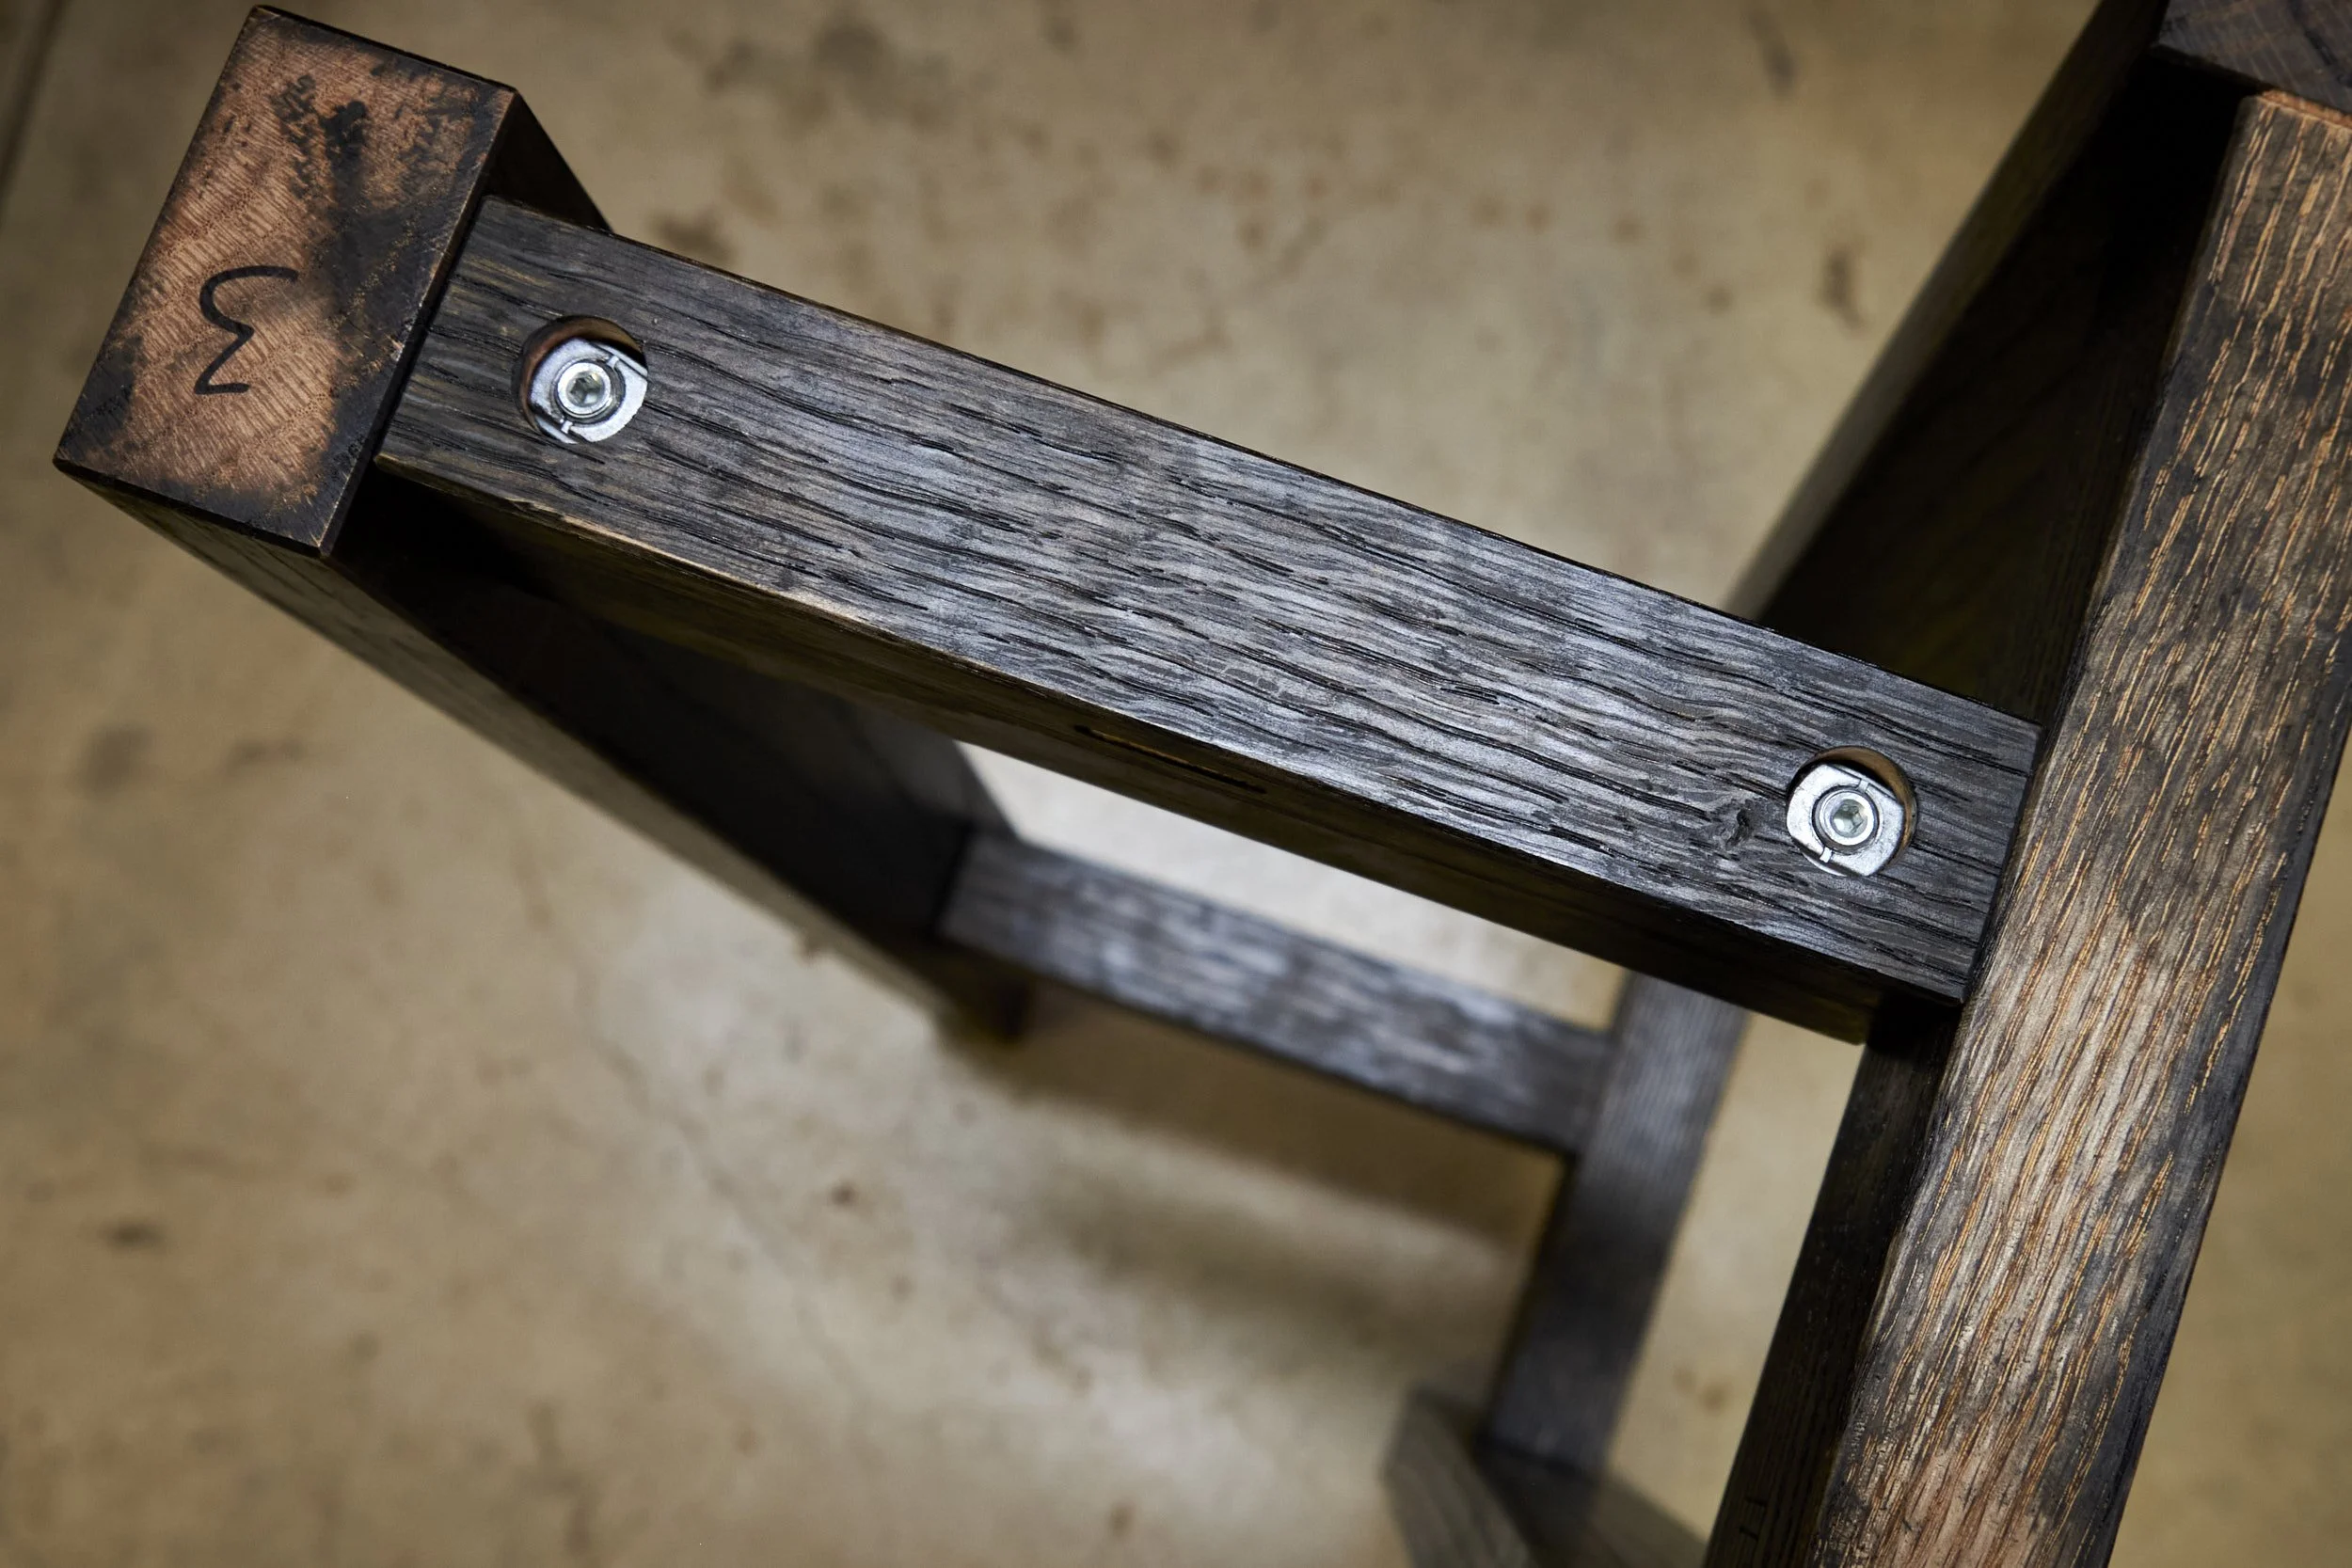
Not every one needs to know that the piece can knock down and most projects will allow you to hide the hardware. Using the Festool connectors makes this relatively easy.
In the three projects to date I have used 42 connectors and I have only needed to plug 2 with the hardware supplied by Festool in the connector kit and even here I placed the connectors below the top and on the inside face of the upright supports of the boardroom table. You would need to bend your knees and know what to look for before you will find them. The bottom connectors face towards the floor and the top ones face up and are hidden by the top.
On the 8 seater the connectors are on the inside of the aprons and the 4 that keep the braces in place are hidden by the top.
On the stand furniture the connectors on the bottom brace face the floor and the top connectors are hidden by the seats and the top. If you flip the chairs or the table over you will see the hardware and I didn’t plug these using the Festool plugs as they can be a pain to remove and I don’t want the guys at ProNature to do battle with their furniture every time it’s assembled or taken down.
As you can see the Festool Domino is a machine with many talents. With a bit of imagination and thought it can open new worlds of applications and considering the fact that more than one connector can be used in a single joint further expands the possibilities way beyond the simple kitchen carcass.
All you need to do is provide the imagination and the willingness to experiment.
As always if you have enjoyed this article and would like to receive more directly to your inbox, please consider signing up here. You will also receive exclusive access to my free plan page if you do. If all goes well I will have the next build plan loaded in the next week or so.
Until next time, hope you have a productive week in the workshop!


