
The Nifty Handsaw Fence Is Here!
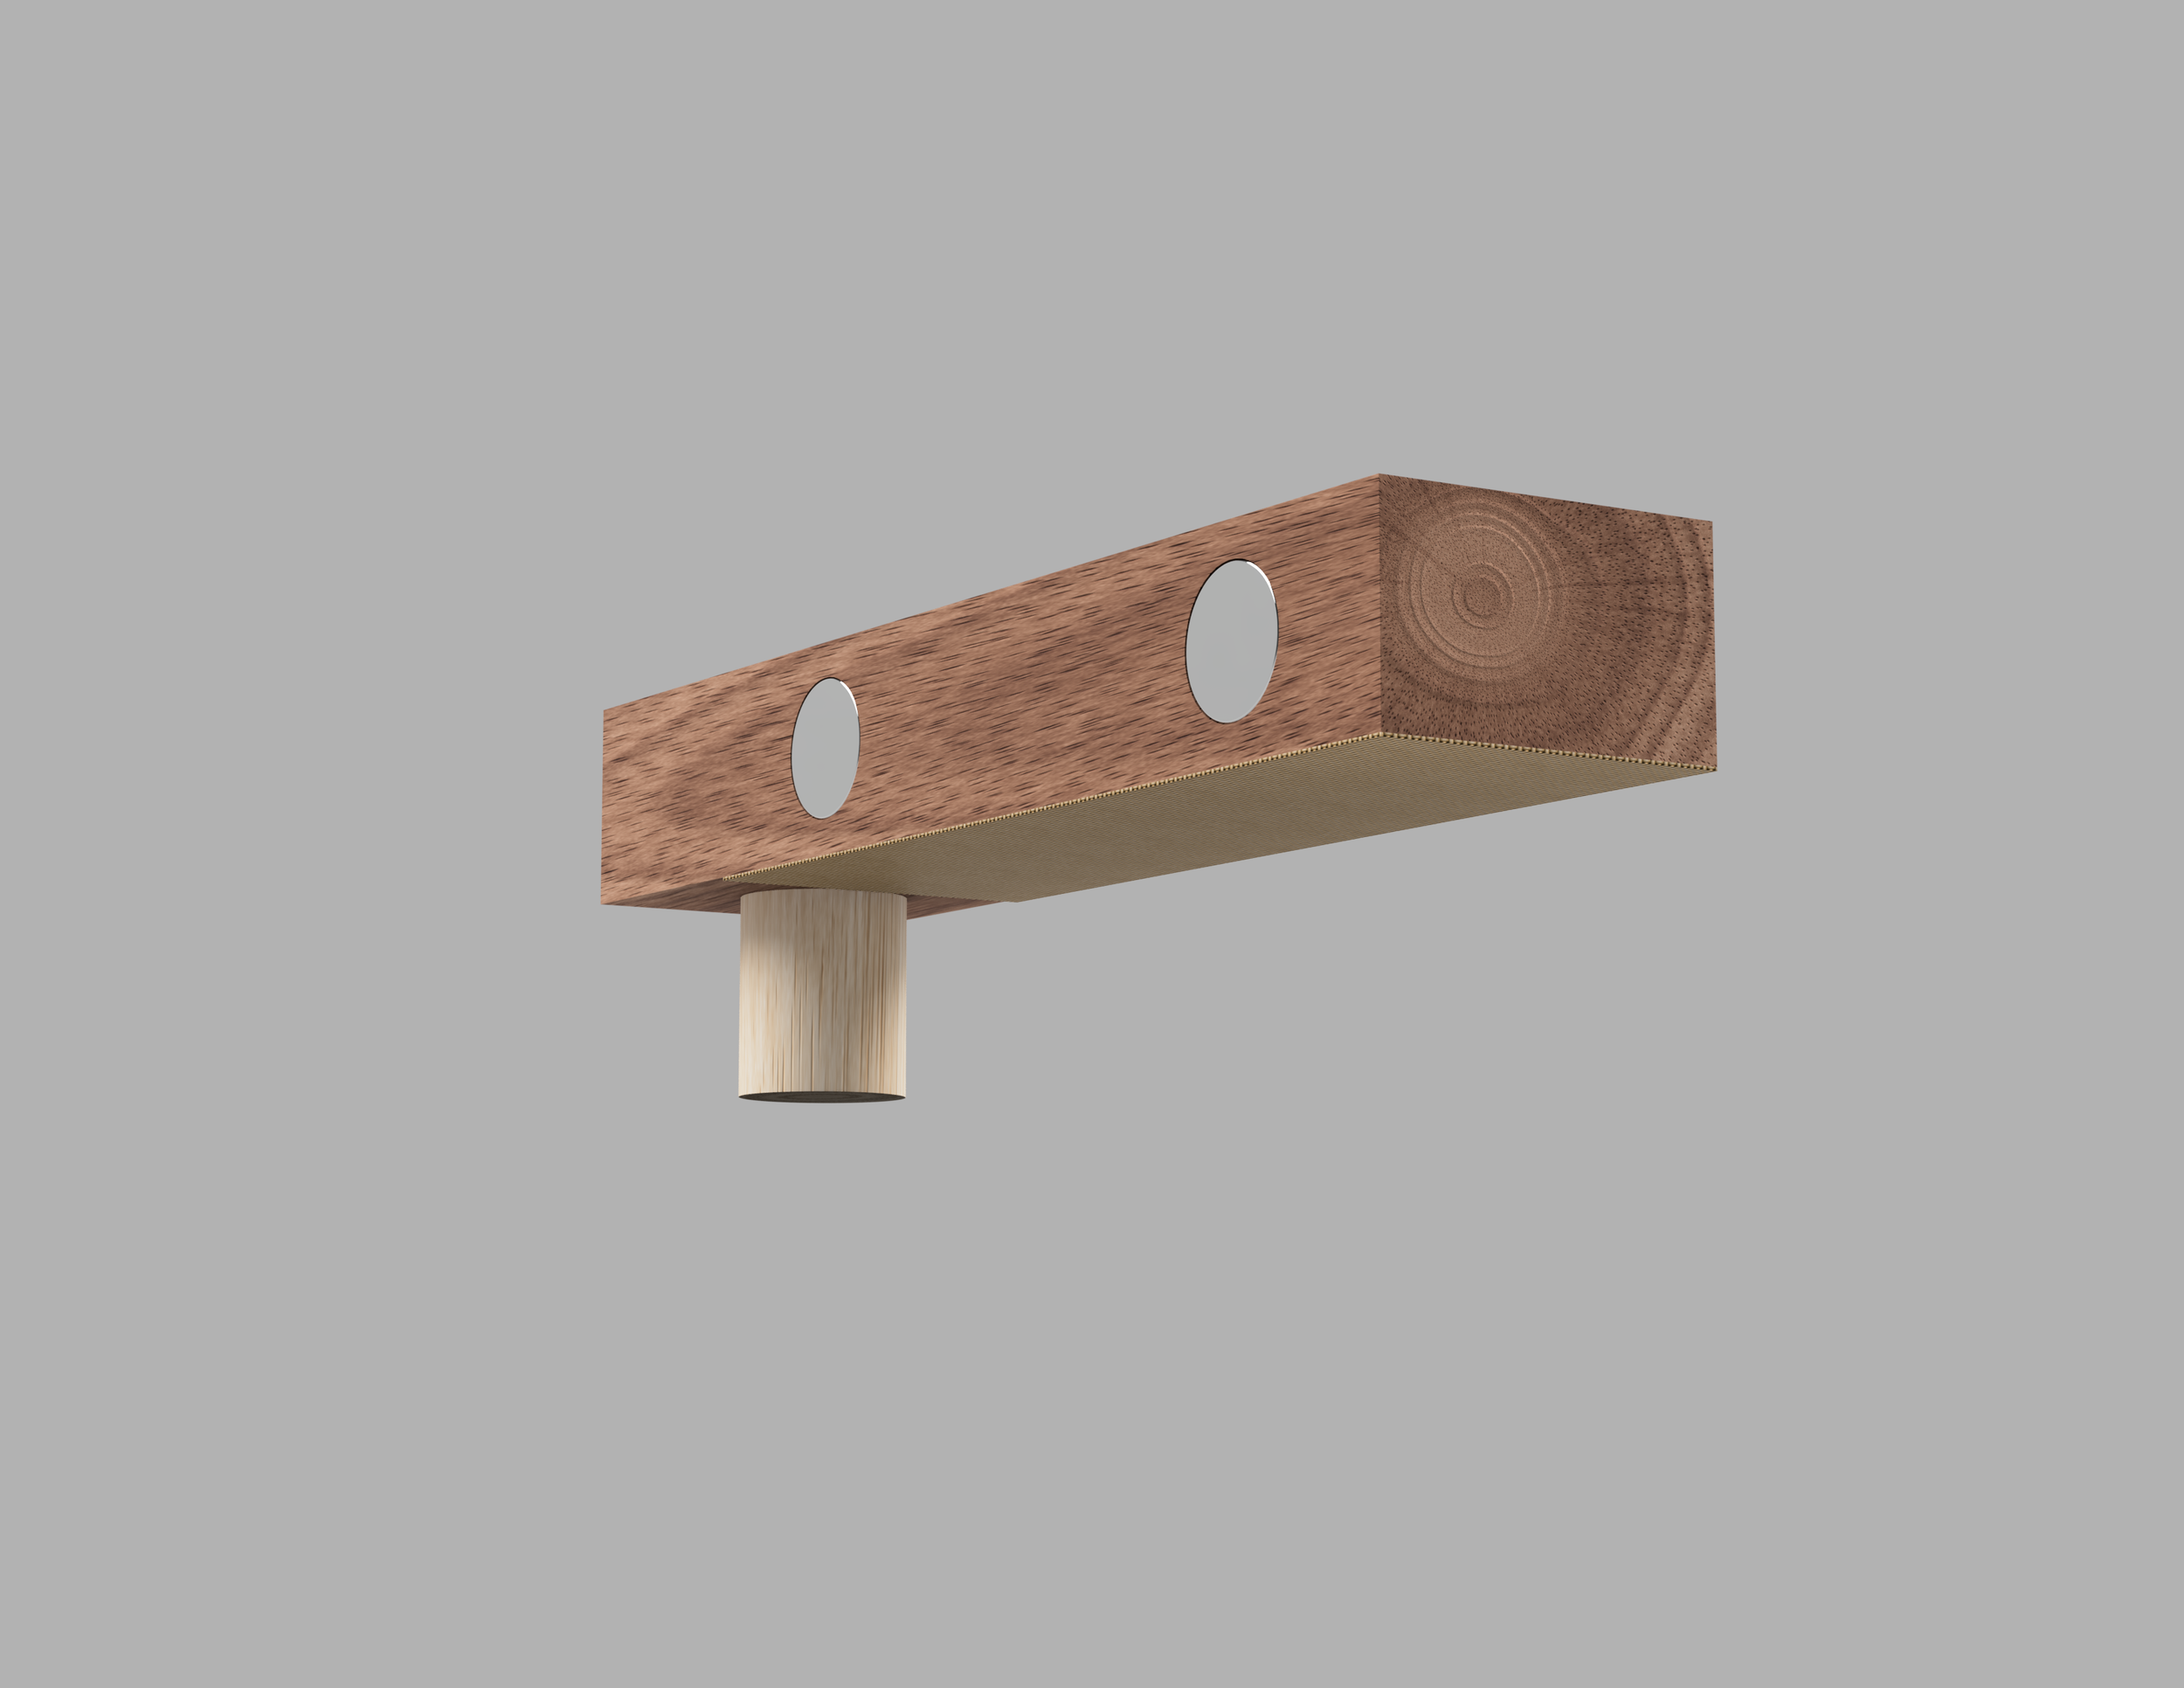
It has finally landed, my second free build plan!
The plan and instructions to build the Nifty Handsaw Fence has been uploaded and is now available to download from my free plan page. If you are already a subscriber to PlyCreations you can simply access the page from the link I shared in the latest edition of my newsletter. If you haven’t subscribed yet you can do so here for exclusive access to my free plans. I now have two plans on the page, the first is to build a simple crosscut sled for the table saw and now this supremely useful fence is the second.
Let me tell you more about this little gadget.
First off, it wasn’t my idea!
One of the guys that I follow and have great respect for is Richard Maguire from The English Woodworker. He is a woodworker based in the UK and I absolutely love his no nonsense approach to woodworking. I have now purchase quite a few of his video courses and one of the things I appreciate the most of his teaching style is that apart from the fact that he teaches solid hand tool techniques in way that even I can grasp, is the fact that he also shares tips and techniques that one can implement and use on projects other than the one you have paid for.
He is also not stuck in the hand tool and nothing else bubble as some teachers out there seem to be and he has no issue dusting off the odd machine and using it to great effect during a build.
Two quick examples.
In his Industrial Desk build he uses a bandsaw to cut the joinery for the bridle joints and although I have yet to build this project, I have adopted his technique to cut my own bridle joints and it has served me well in building two Moravian workbenches and one very large boardroom table.
The second is this little magnetic fence that I’m about tell you more about. During his How To Build A Chair build series he uses this handsaw fence to help cut straight shoulders on the bridle joints, using a handsaw. Actually, he uses this fence together with another to cut the bridle joints by hand and I made both so that I could practice making the joint in preparation to build the project - which by the way I haven’t yet. I have no idea where the second fence of the pair is but the one that is used to cut straight shoulders gets used often in my workshop.
Yes, I can learn how to cut a straight shoulder with a handsaw without a guide but honestly I don’t use a handsaw enough to develop the muscle memory required and I would rather be building stuff than be at the bench practicing with a handsaw.
Maybe I’ll find the time to practice one day, today I’m writing a blog post.
On to the build, It’s quick I promise.
Materials
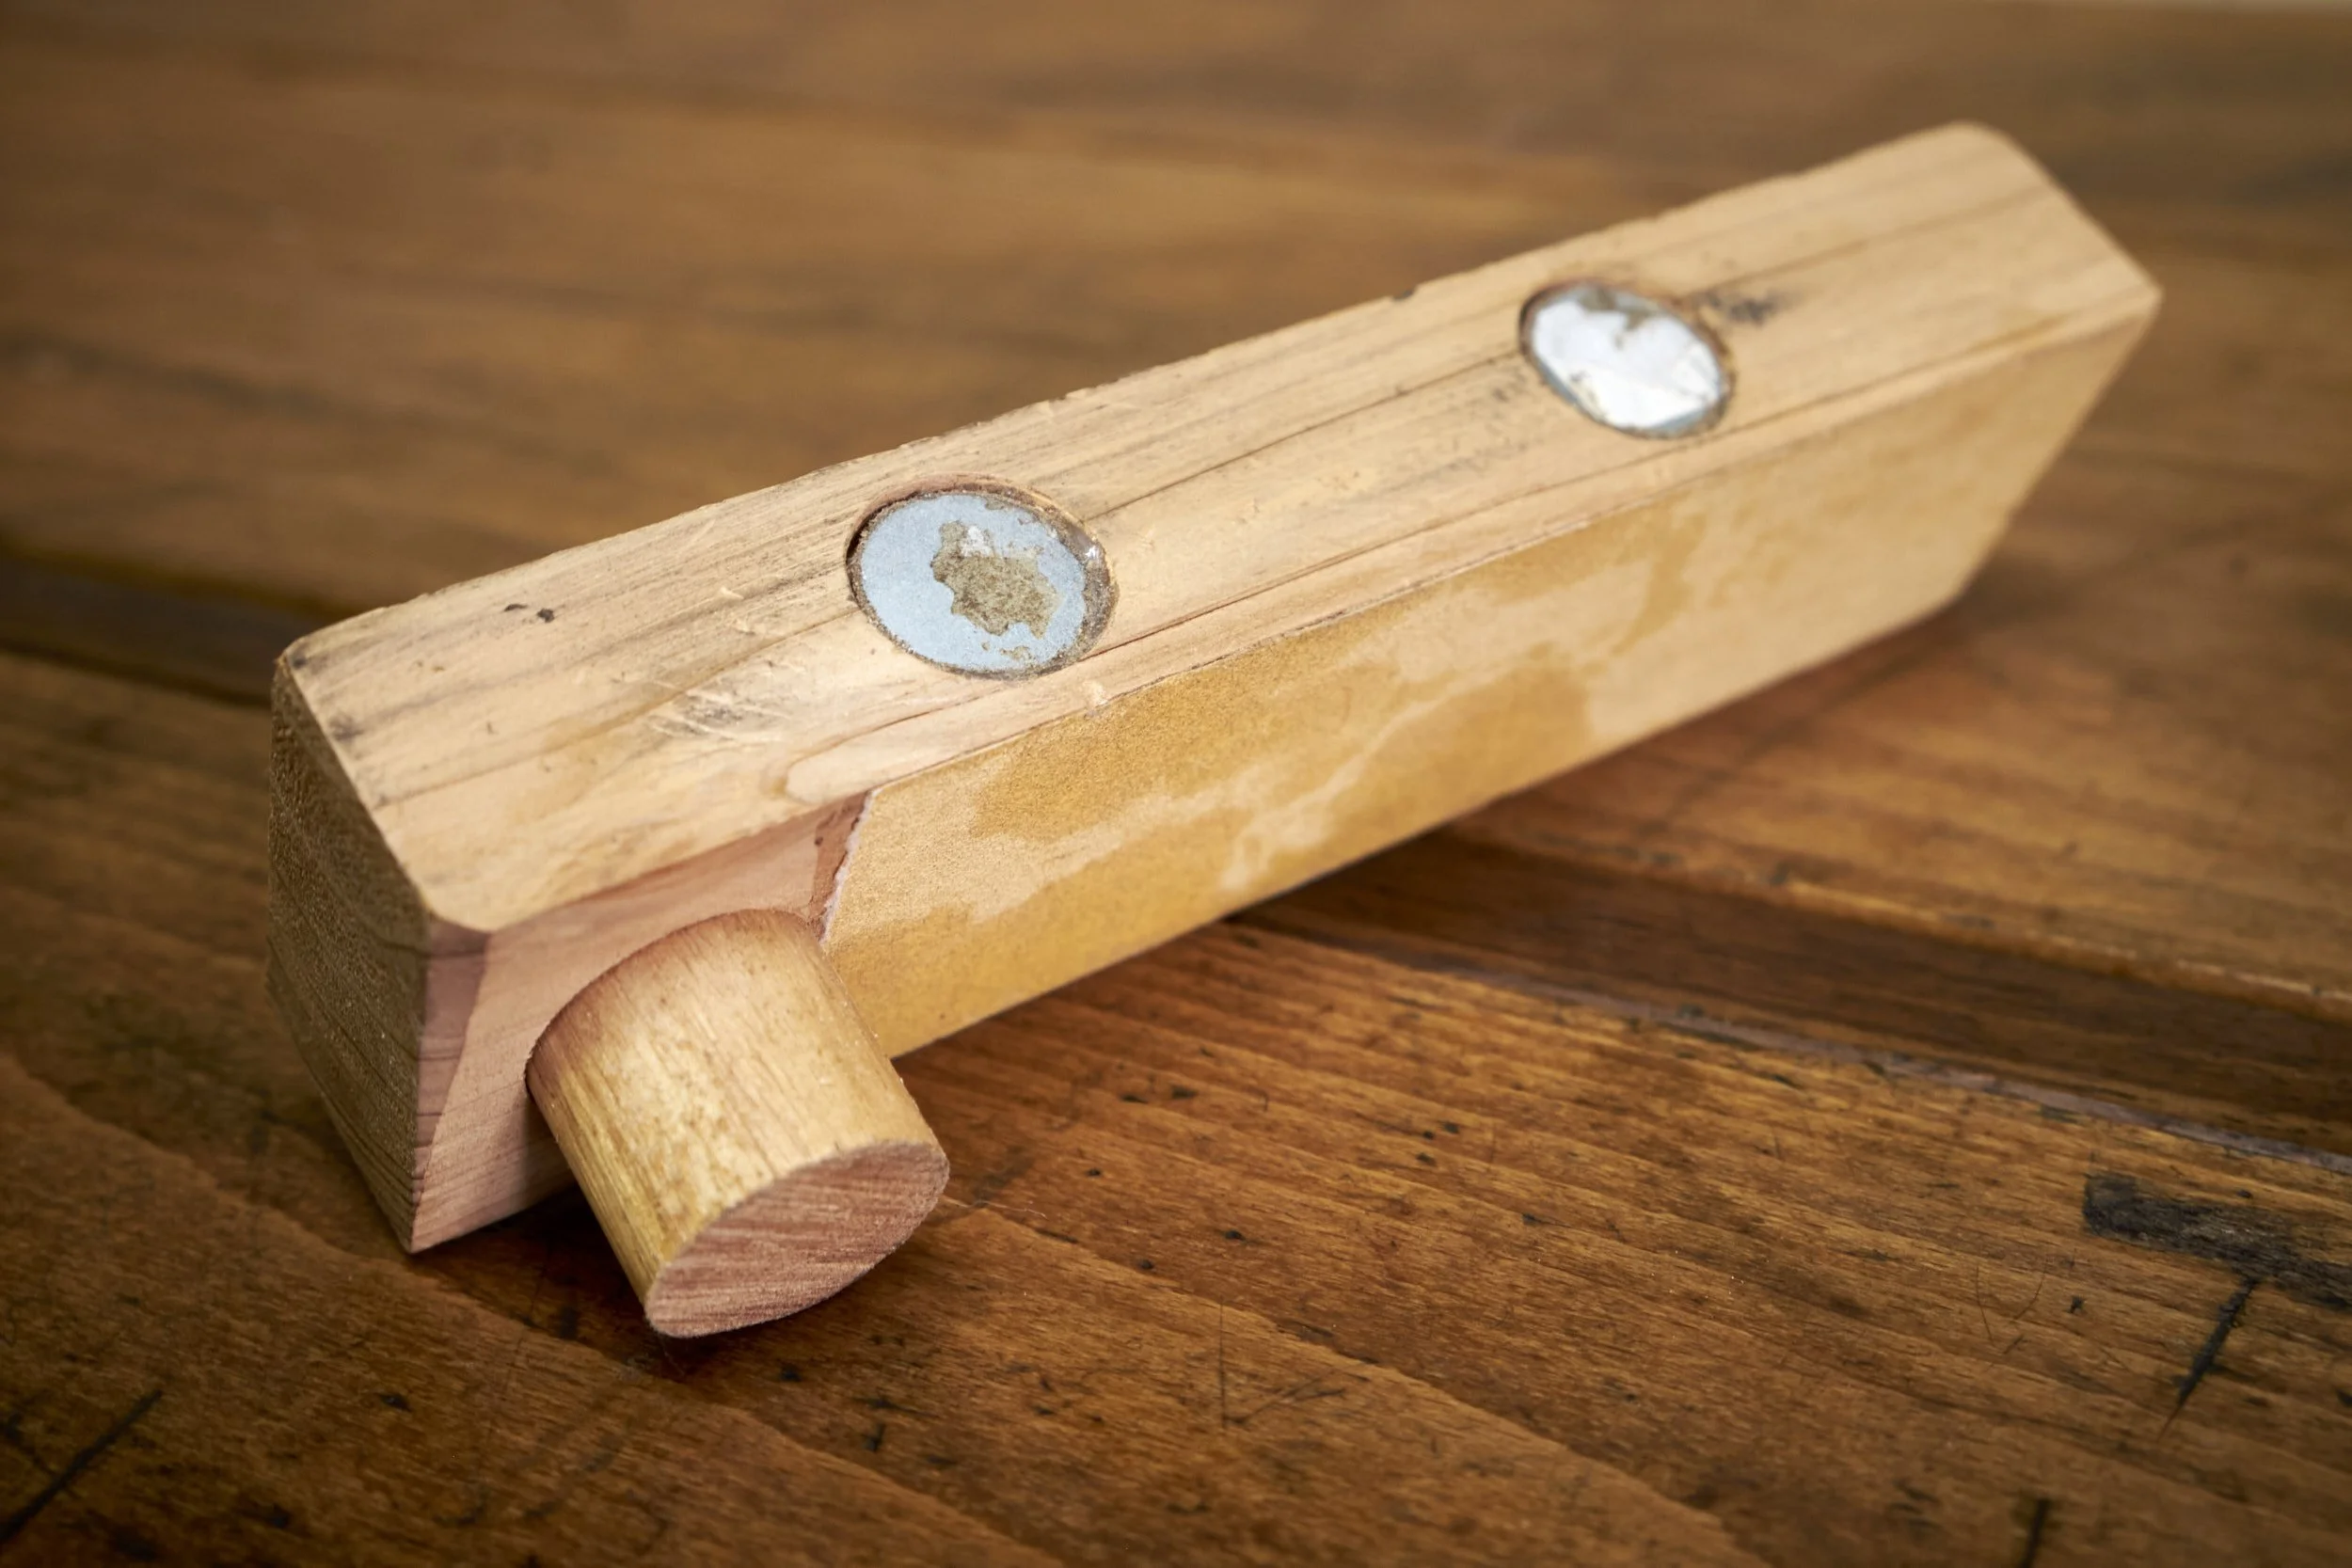
Fence - Any stable wood will do for the fence, you can even laminate the fence from plywood or any other sheet goods you have on hand.
Magnets - Readily available rare earth magnets work perfectly for both this and other jigs. I always have a supply available in the workshop and they are at the top of my list of favourite non-woodworking tools. You can read all about the other tools on the list here and I am in the process of expanding on the original five.
Stop - Store bought dowels are ideal with the added advantage the they come in standard sizes which also means that you would likely have a corresponding drill size on hand. I like using a dowel with a diameter of 25mm (1 inch) minimum.
Sand paper - Any sand paper on hand will work, I find anything from 180 to 320 grit to work well.
Construction
The steps follow the same sequence as on the plan and I won’t be detailing the steps again here. I do however want to highlight a few details on the process.
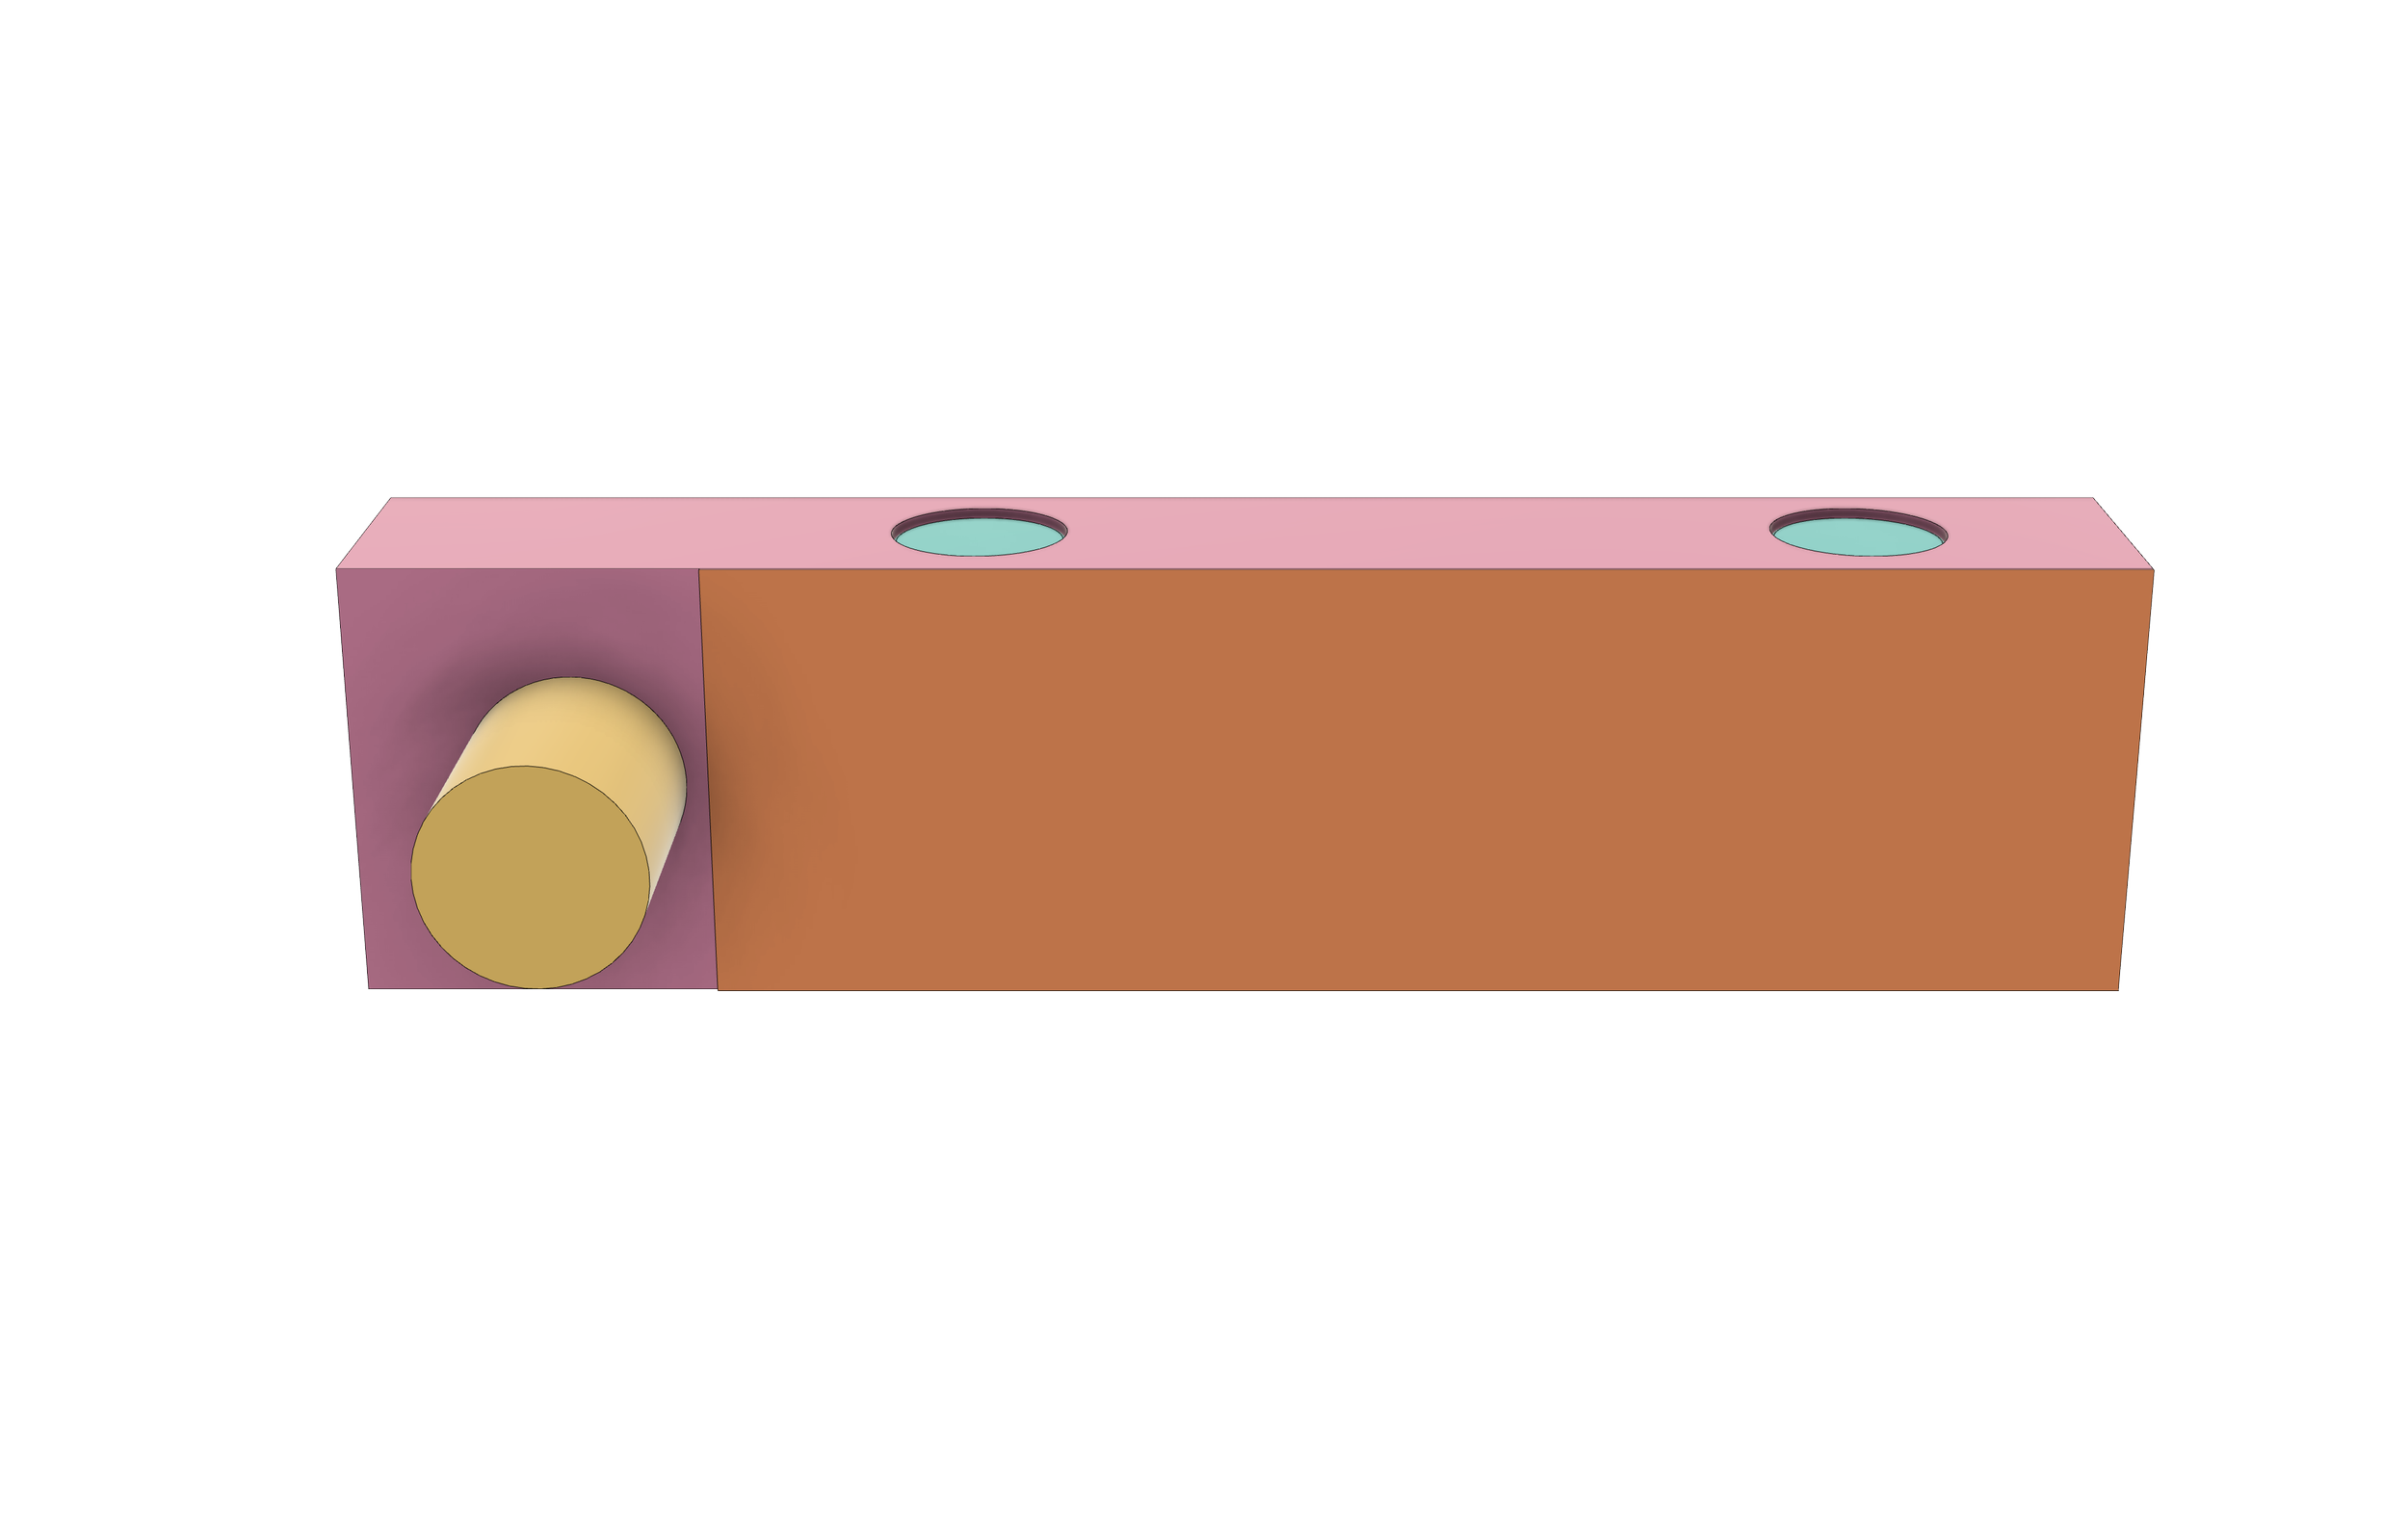
Fence - The faces and sides of the fence need to be square to one another. At the very least the side that the magnets will go into and the saw will reference against needs to be square to the bottom face that will rest on the workpiece. If these two surfaces are not square to one another the shoulder of the cut will not be square to the face of the part it is cut into.
The beauty of the this jig is that you could make the reference face to any angle you would like and there is no reason you could not make a fence dedicated to cutting dovetails or most other angled joinery.
Magnets - Although I used 20mm diameter magnets on my own jig you can use any size you can get your hands on, as long as they fit into the fence. Keep in mind that if the magnets are too big you may have a situation where they “hold” on to the saw too tightly impeding the stroke. On the other hand if they are too small they may not have enough force to keep the saw against the fence, however in the case of smaller magnets you can always add more. Very important is to set the magnets back from the surface of the fence as shown on the plan. You do this by drilling the hole that they go into slightly deeper.
Stop - Drill a hole and glue it in, it’s that simple. I use a drill press to make sure that the stop is square to the bottom surface of the fence.
Sand paper - Avoid paper that is too smooth because it wont grip the surface of the workpiece and in the same vein avoid paper that is too rough which could mar the surface.
One more note on the magnets before moving on.
Use a minimum of two along the fence, this will ensure that the saw references along the full length of the jig during use. If you only use one there is a risk that the sawing motion may pull the saw away from the reference surface during use, resulting in a skew cut.
Use
Using the jig could not be simpler.
Step 1:
Mark the cut using your preferred method. Depending on the accuracy required I may use anything from a pencil to a marking knife. I may even make a v slot using a chisel on the waste side of the marking knife line if I want the saw to register cleanly into the cut and leave an extra clean shoulder.
I always get confused with cut classes but if I’m not mistaken, the process of first forming a wall against the marking knife line is called a first class cut.
Step 2:
Place the fence onto the workpiece and register the stop against the workpiece edge closest to you. Next line up the fence with the layout line you made in step 1.
Use light pressure here as you don’t want to push the sand paper across the face of the workpiece and spoil any surface prep you might already have done.
Step 3:
While keeping a secure grip on the fence to keep the jig in place against the mark, bring the hand saw to the fence and let it gently be pulled into the fence by the magnets. Make sure to bring the saw in above the work surface so that it doesn’t get dragged over it.
Step 4:
Confirm that the jig is still lined up with the mark and proceed to saw down to the depth line.

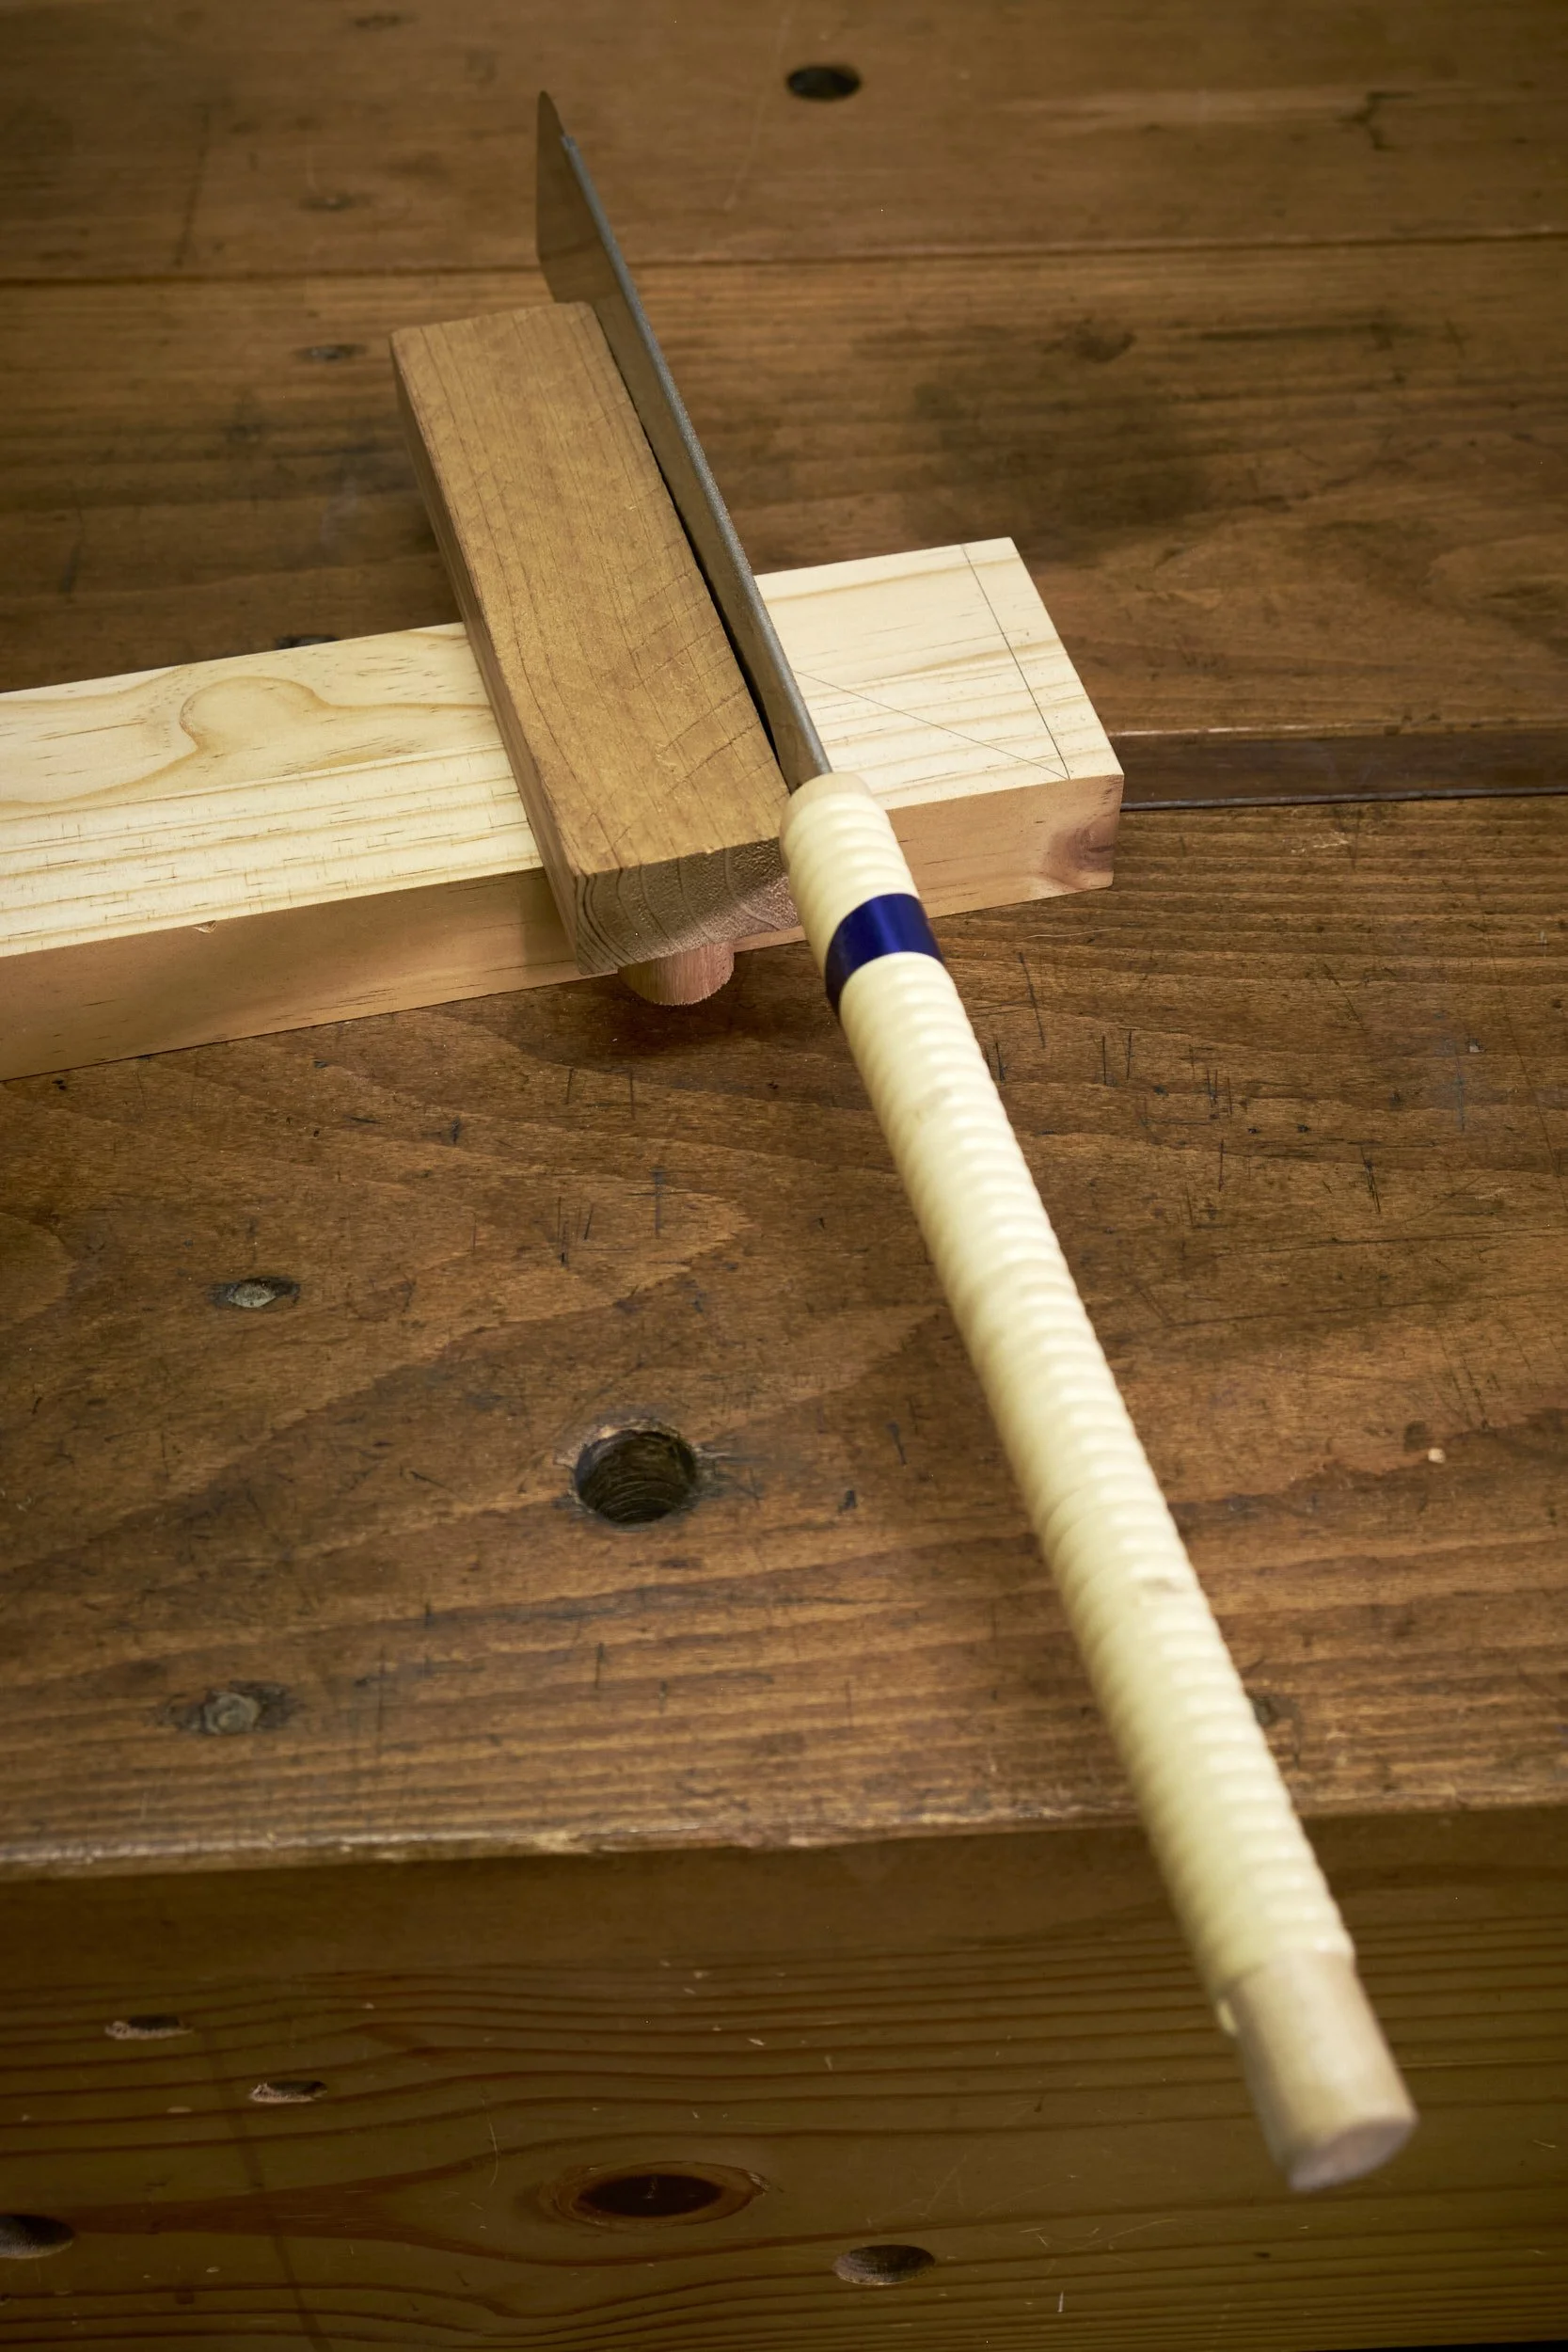
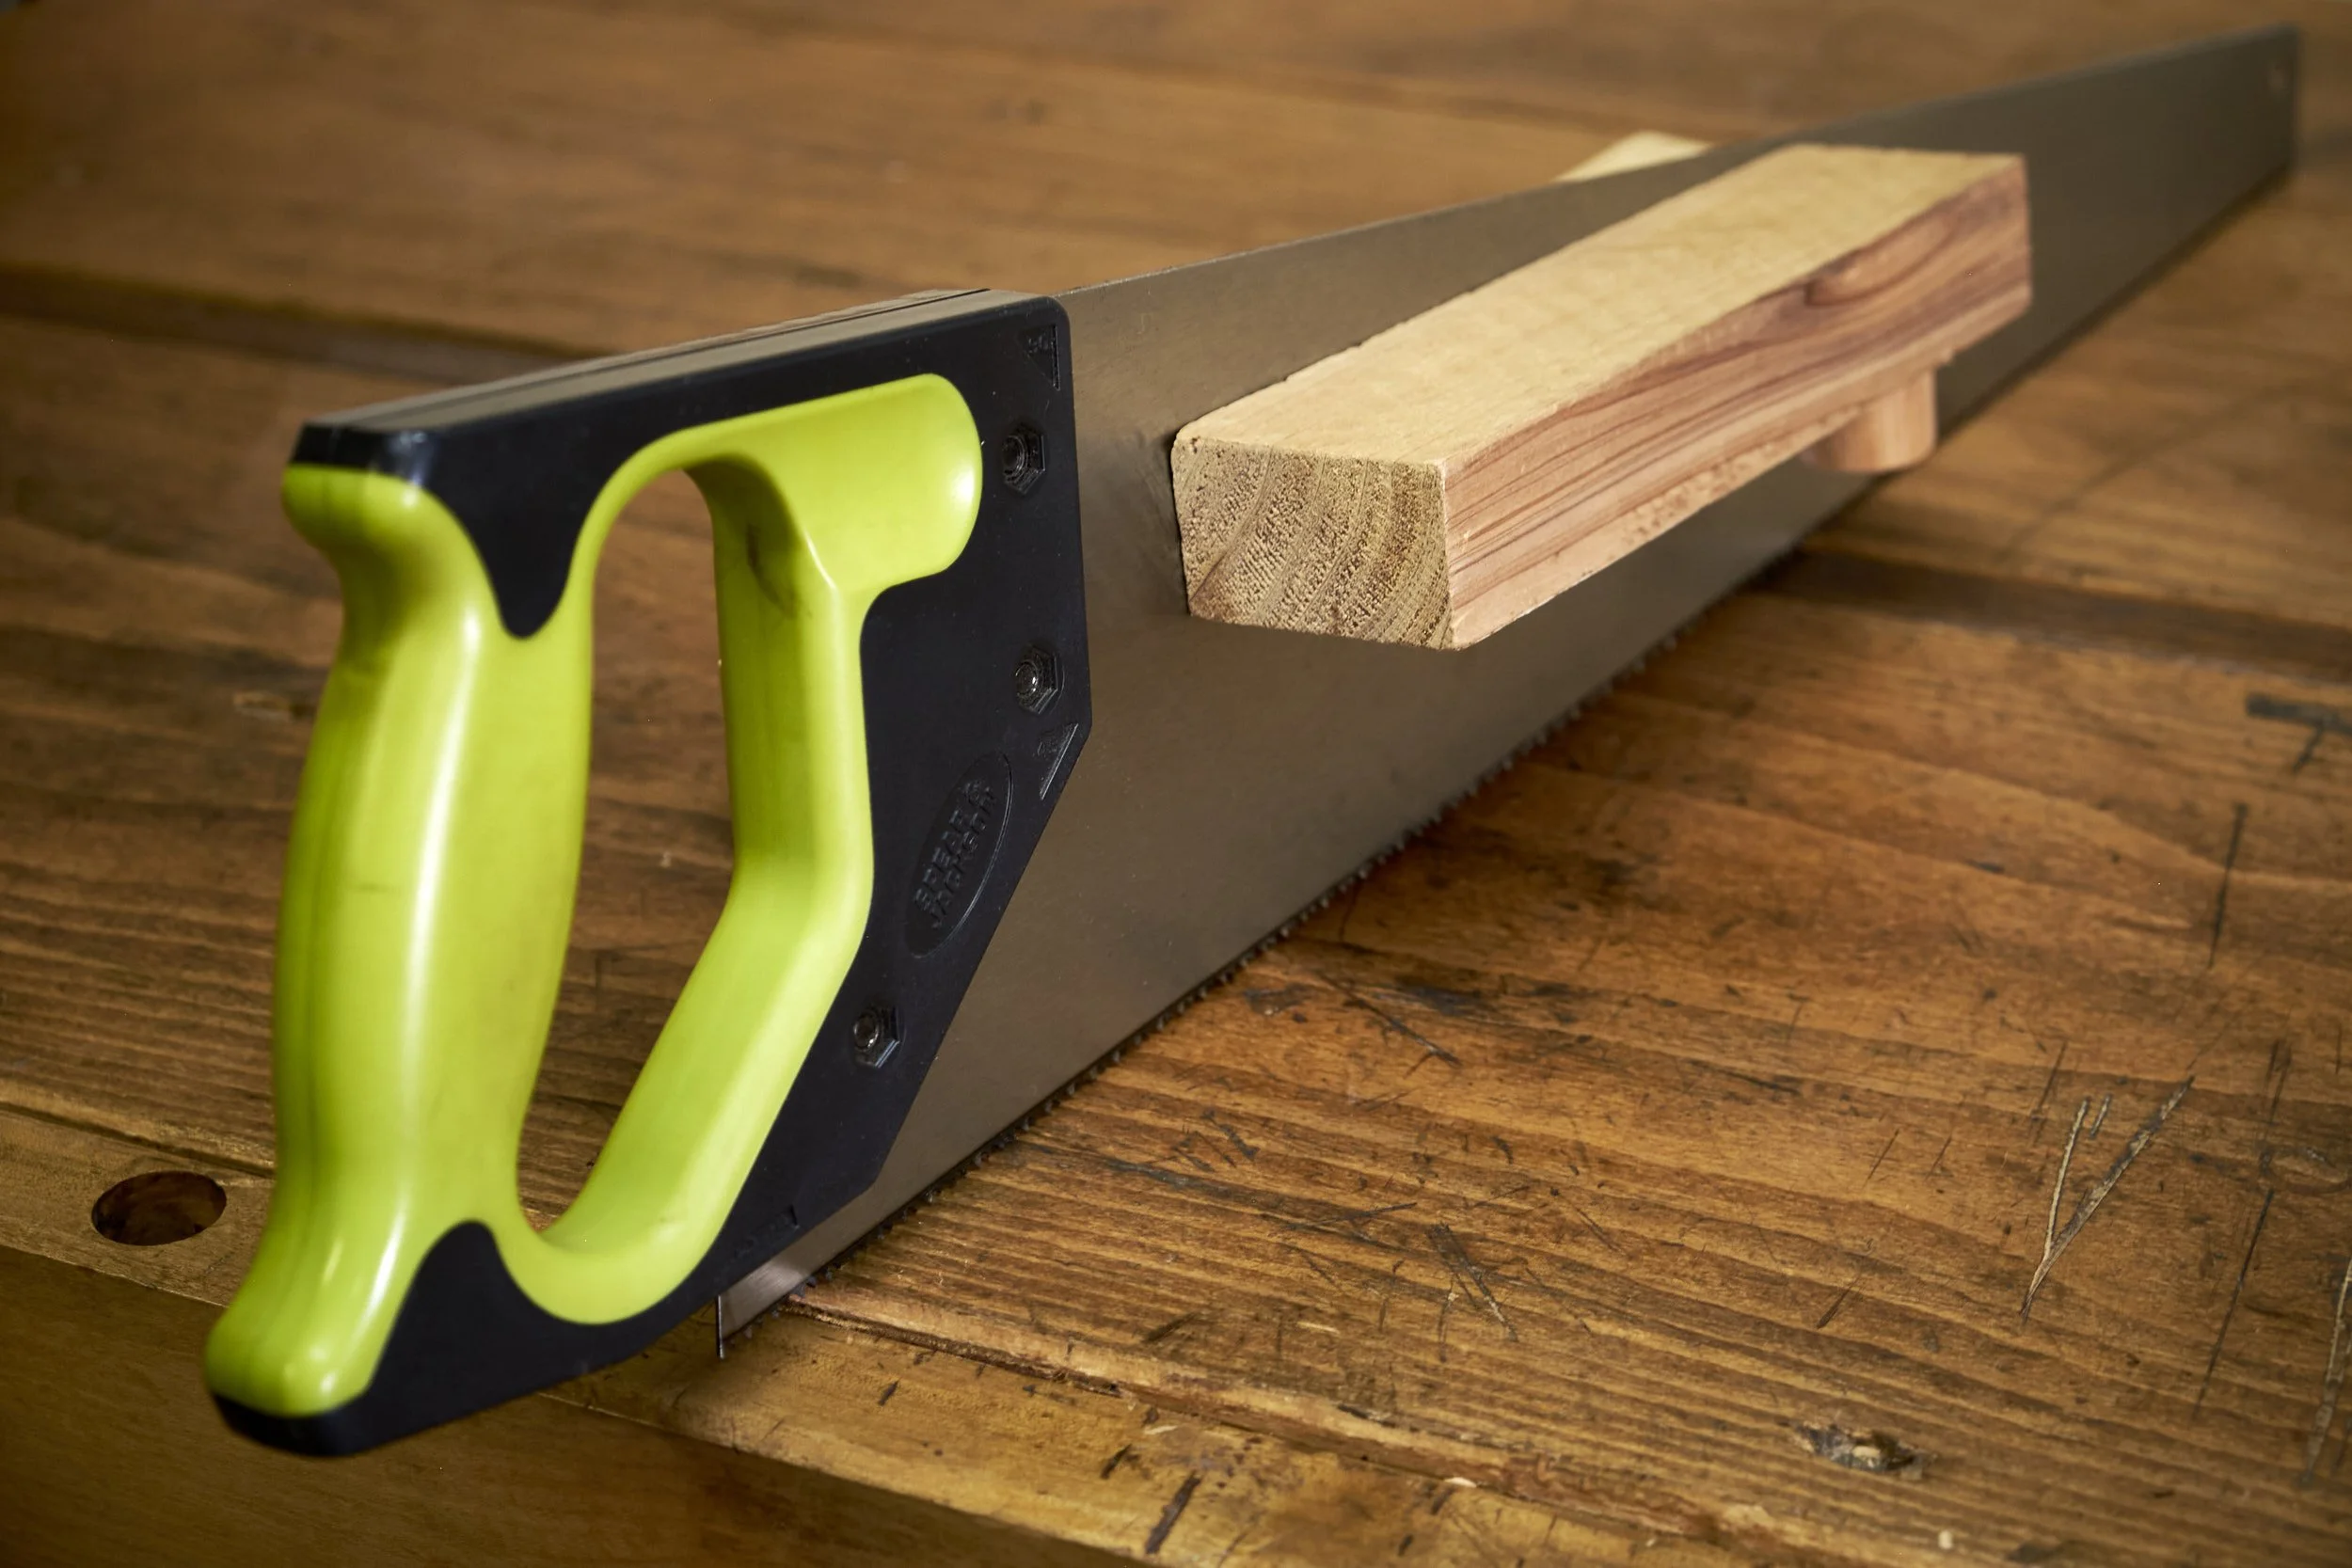
Tips
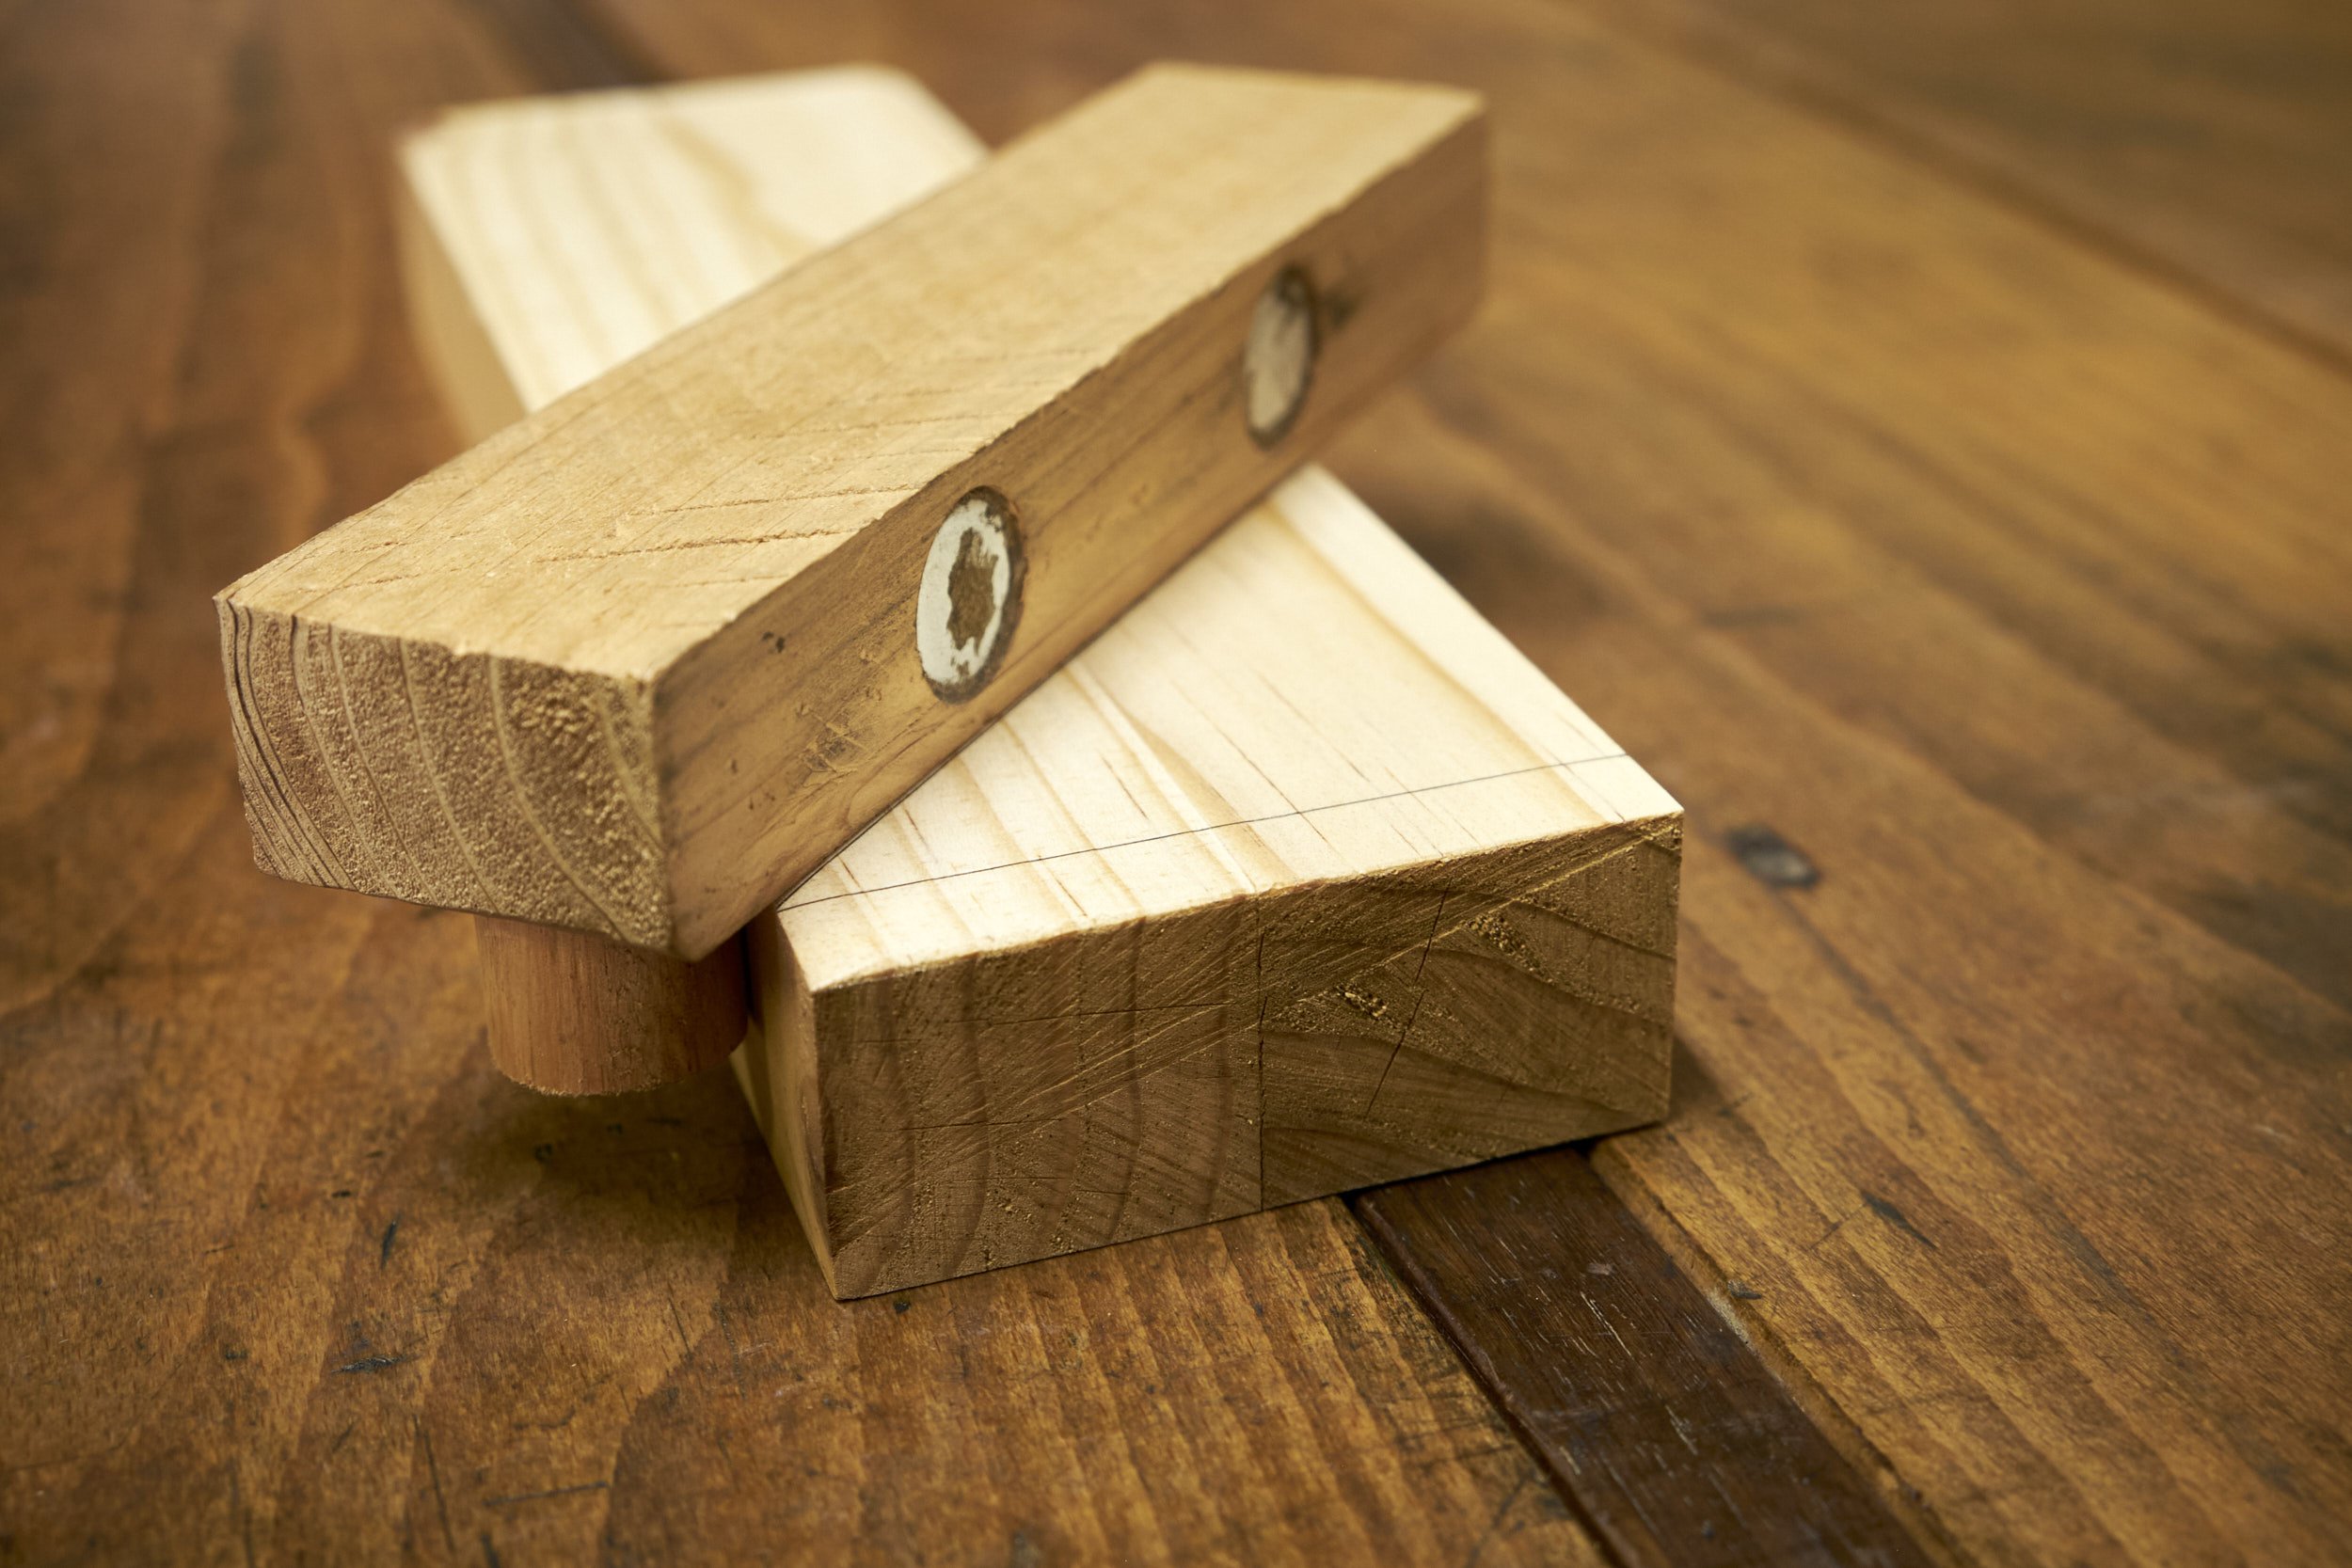
Practice! Before committing to an actual workpiece, practice using this set up a couple of times. There is some resistance during the cut as a result of the magnets and you may be surprised by how much harder it is to move the saw during the cut.
More often than not I place the jig on the side that is away from the waste side of the cut.
I line the fence up so that the pencil line is just visible, using a knife line or recess is a little trickier to line up to but I will sometimes register the saw into the mark first before sliding the fence up to it. Come to think of it you could also stick the marking knife into the line and slide the fence against it.
You don’t need a lot of pressure to keep the jig in place, it’s the sand paper’s job to do so. If you feel that you need two hands on the saw during the cut you can lightly clamp the jig in place.
The plan shows the construction for a right handed person, If you are left move the magnets to the opposing face of the fence.
As a parting shot on the design of this fence you might by now realise that the stop allows the fence to be used for both square and angled cuts across a workpiece. I think this is genius and it becomes especially useful when cutting the angled tenon shoulders for the Tusk Tenons on the Moravian workbench.
If you like what you’ve seen in this post and want to get access to the build plan and technical drawings, please head over to my sign up page and join the mailing list. As soon as you approve your wish to join our community you will get the link and log in details sent straight to your inbox.
Go ahead make one of these, you will love it!