
My Top 5 Non Woodworking Tools
One thing I have learnt over the last three years of doing woodworking full time is that apart from the tips and tricks you pick up from other makers, you develop your own workflows and often those processes come to incorporate tools that may not always be immediately or obviously associated with woodworking.
In this short blog post I list the top 5 most used or useful non woodworking tools that see the most action during my day to day activities in the workshop.
Just to be slightly otherwise I’ll be listing them from the least to most surprising, to me at least.

Ice Cream Sticks
Considering the regularity by which woodworkers implement scraps of wood to apply glue to hard to reach places it shouldn’t really come as a surprise that having a ready supply of ice cream sticks at hand should come in useful.
I don’t always have scraps lying around and having a supply of sticks available help glue ups be a lot more efficient without having to gather “applicators” from the scrap bin before I can start committing any glue, not to mention the angst of looking for suitable sticks after some parts already have glue on them! I know you’ve been there…..
I buy and use these unassuming wooden sticks by the packet full and they are not only useful for applying glue onto those hard to reach areas like inside mortises and bridle joints but I also constantly use them to mix up small batches of resin when making repairs of filling knots.
Come to think of it the reason I had a supply of ice cream sticks in the workshop to start off with, was that I used to build model RC planes and they were indispensable for applying glue to hard to reach places as well as for mixing up epoxy glue and resins.
These days I also use them to mix up paints for the occasional plastic scale models l like to build.
One place that these sticks shine though is when gluing loose tenons. They are perfect for spreading the glue up the sides of the mortises!
Squeeze a dollop of glue into the mortise and swizzle the stick around inside, making sure to use the flat side to spread the glue up the walls of the mortise.
The stick should now have some glue remaining on it and you can use the excess to apply a thin coat of glue to the tenons themselves before inserting them into the mortises.
All I need to do now is figure out how large that dollop needs to be. I tend to overdo the amount of glue in the mortises and this becomes quite evident when I can track the positions of the dominos by the increased amount of squeeze out at each loose tenon placement!
Sizes?
Any size smaller than those huge tongue depressors is most useful. I get my metric ice cream sticks in 100mm x 10mm.
The humble ice cream stick isn’t the only tool in this list that comes in especially useful when using the Festool Domino.
Read on, the second last item on the list might surprise you.

A4 Sized White Board
When I started filming stuff for my YouTube channel, which by the way isn’t live yet - it’s one of 2024’s resolutions. I went looking for a small white board on which I could write prompts and other information and place behind the camera to help me keep track of the things I wanted to cover during filming.
I found just what I was looking for at a local retailer and was quite surprised that these white boards came in an A4 size and promptly came home with three together with different color wipe off markers. Naturally I’ve only used them once in a video but they’ve become very handy for taking notes whilst busy in the workshop.
I used to use hardcover note books for taking notes or calculating dimensions during builds but it became a pain to constantly find those notes in the book and once I started using the white boards the process of keeping track of calculations and notes became much easier.
As soon as I pass a certain step in the build process I can simply wipe the board clean and jot down the stuff I need for the next step. I have on occasion wiped current info from a board so if it has something that’s important written on it I hide the board behind my lathe. Mind you the area behind the lathe tends to collect a lot of stuff during the course of a build.
On this image I am noting the steps and the setting for each step to be used on the Festool Domino whilst cutting the joinery and connectors for a dining room table. Gibberish to some but these helped me keep track of the depth settings that allowed a 10mm reveal between the apron and the show face of the leg.
I even use the boards to write down customer details if I happen to get a query while busy in the workshop.
Surprisingly useful these boards are.

Rubber Ink Roller
Some woodworkers use paint or foam rollers to spread glue on larger surfaces but the tool of choice for me is the ink roller. I’ve tried a foam roller once or twice before but this didn’t work for me at all. The ink roller has a rubber roller that is much easier to keep clean and if you remember to rinse it after use it will last a very long time. The example I use also has a “lip” that allows the roller to be placed upside down with the roller lifted up from the work surface, this helps keep the assembly area free of drips and I don’t need to go hunting for a place where I can balance a roller so that it doesn’t pick up dust and particles from the work surface that may be transferred to the next part to be glued, or even worse slowly slip back into the painters tray filled with glue.
Believe it or not but the latter point is more useful to me than might be normal to admit but considering how stressful some glue ups may be it just helps to have one less thing to worry about. This is also one of the reasons why I dislike using a paint tray to dispense glue into before using a foam roller to apply the sticky stuff. I can guarantee you that some foreign object will find its way into the glue or onto the roller!
Even if you do occasionally forget to rinse it after a glue up a long soak in warm water will usually soften the glue to the point where it can be easily scrubbed off with a soft sponge.
Avoid using your wife’s kitchen sponge and if you do make sure you have a replacement at hand!
I use the roller for anything wider than 50mm on edge glue ups and it's especially useful on large side grain or panel assemblies and it’s truly simple to use, just apply glue and roll.
Using a roller in larger glue ups has two distinct advantages for me. The first is that the roller speeds up the process, no fiddling or struggling to spread the glue on all surfaces, any time saved during a complicated glue up is a bonus to me. The second is that it spreads the glue into a constantly thick and even layer which in turn ensures a better bond between components and enhances the quality and structural integrity of assemblies, I would even argue that it saves on glue but that opinion remains anecdotal.
This is certainly one of those tools that I am surprised I don’t see in more workshops. I am also surprised that I haven’t gotten my hands on other sizes yet, time for a visit to the art supply store?
Pump Pliers
Yup thats it.
Pump Pliers…..
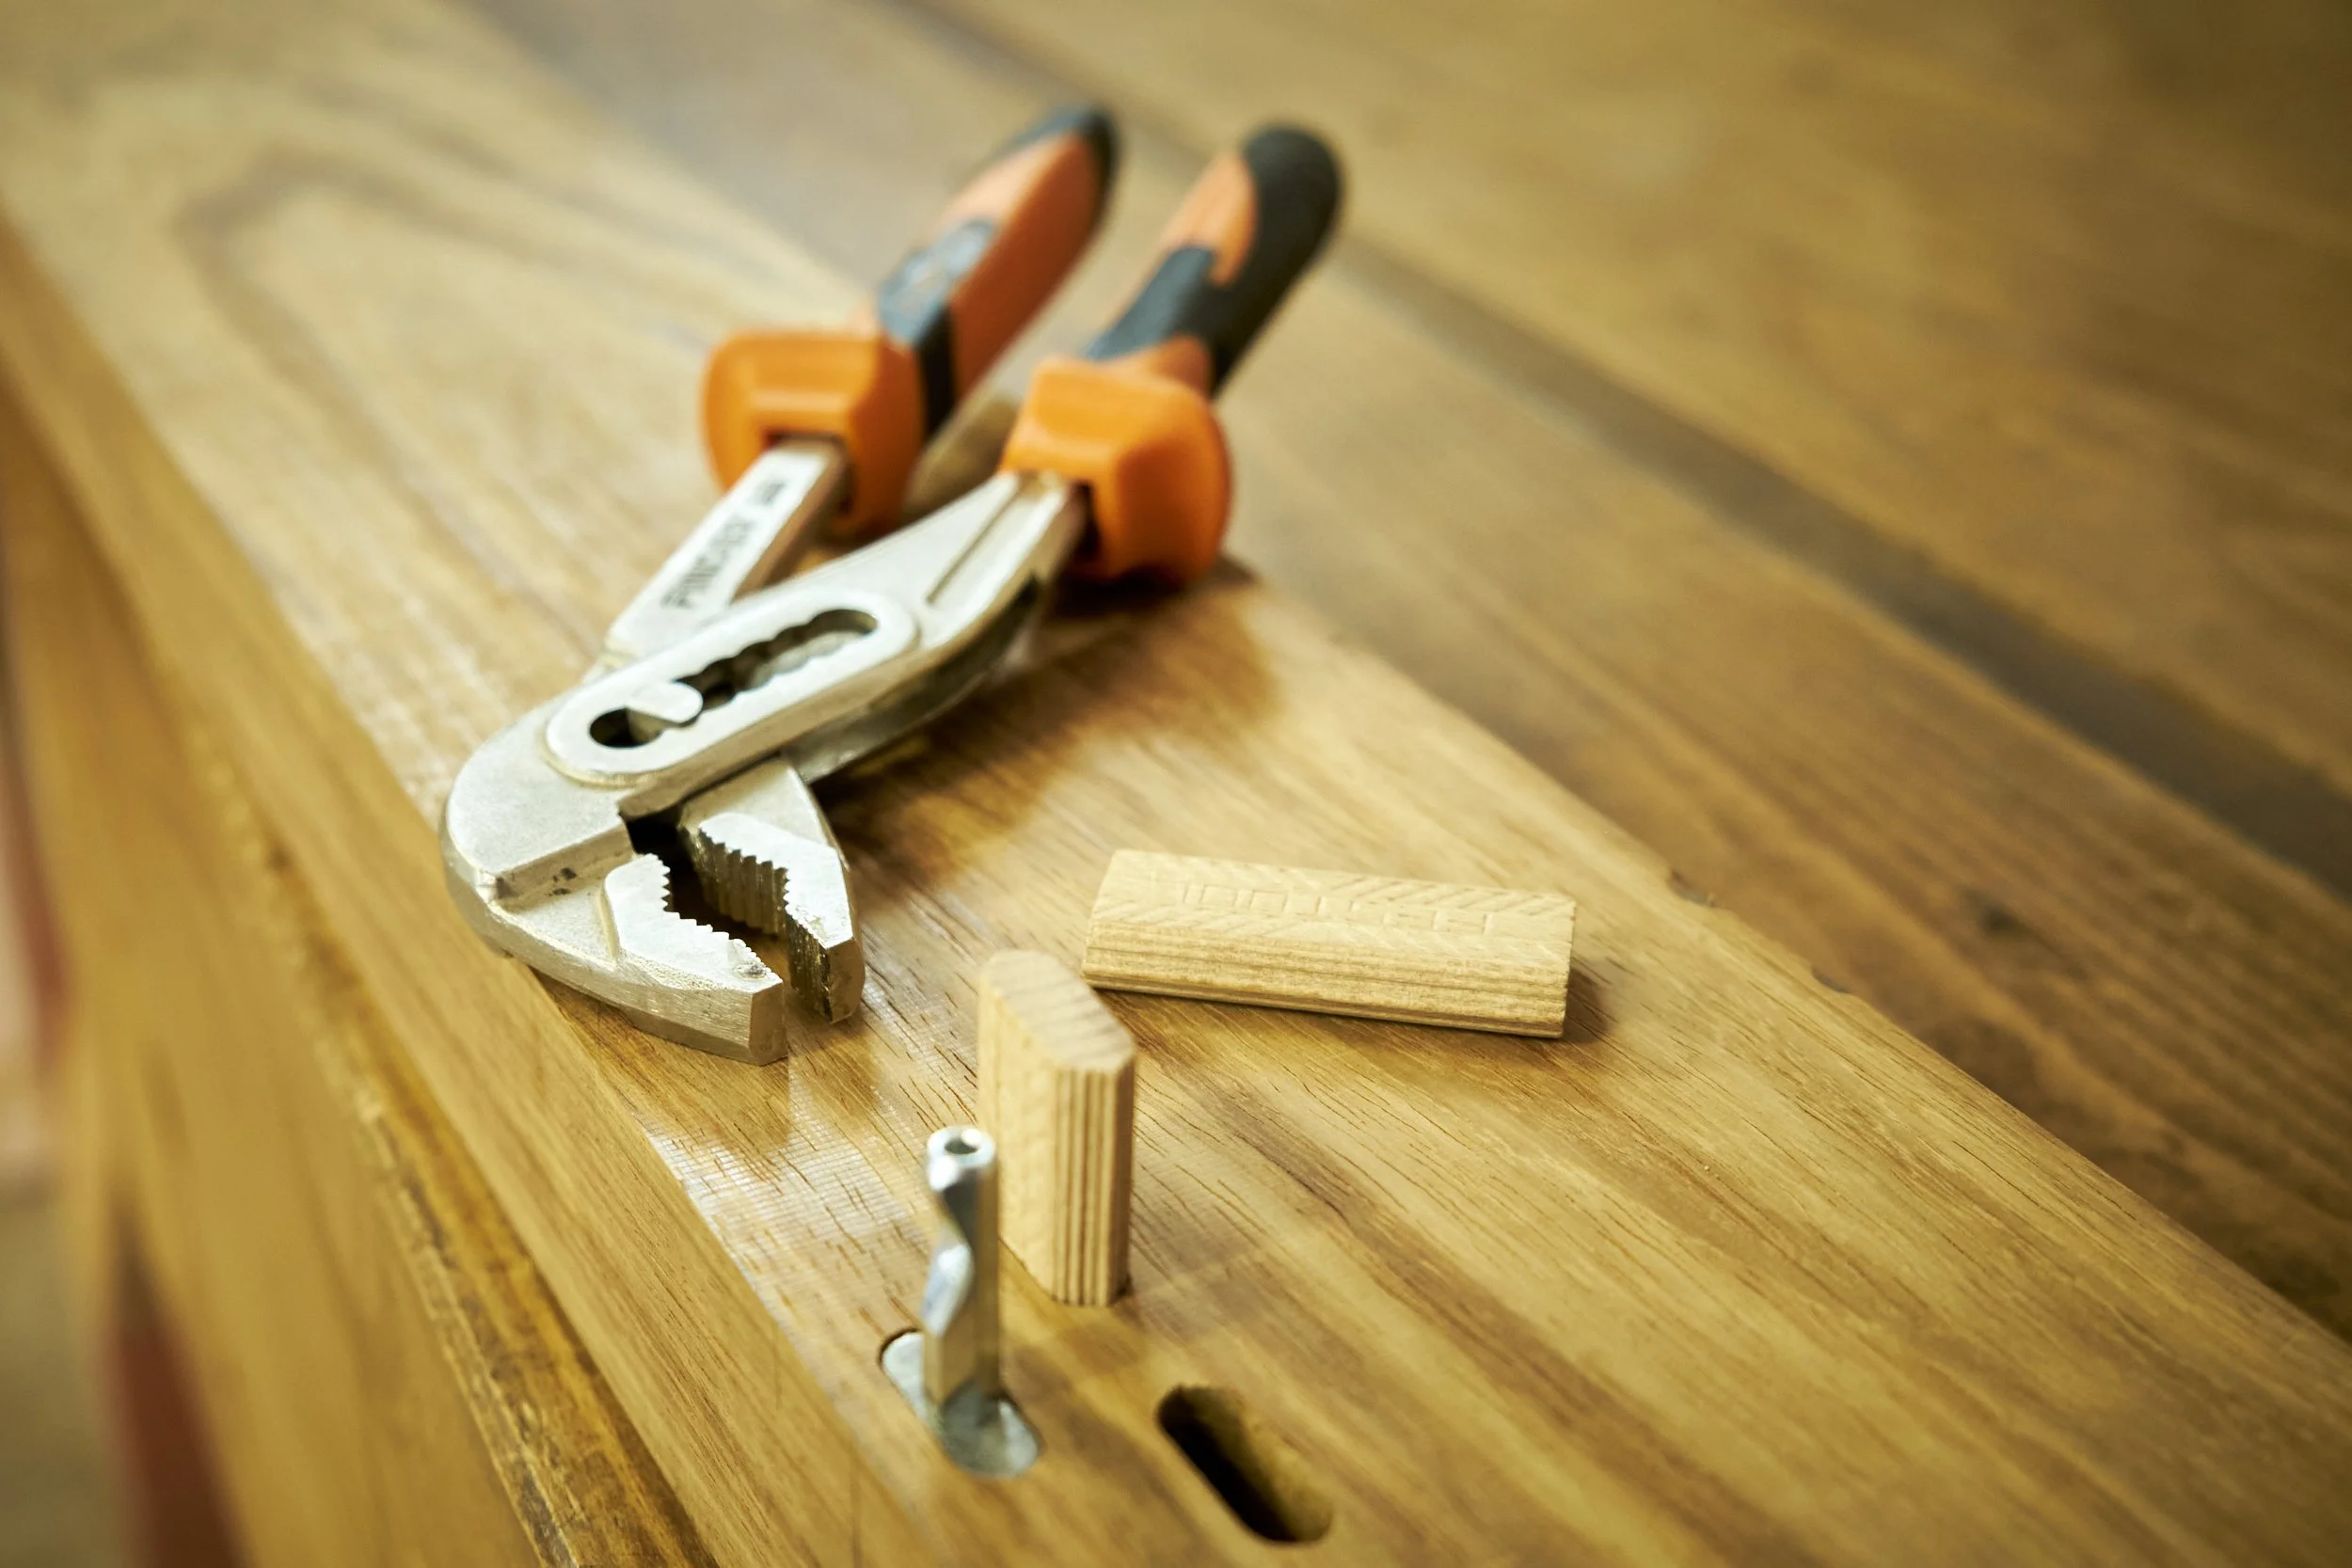
If you use a Festool Domino you need to get a pair immediately and if you are looking at investing into the system make sure you do not return to your workshop without said pliers before using the Domino.
One of the most important habits to get into when making furniture is the “dry fit” and if you’ve built anything remotely complicated you would know that the dry fit can happen repeatedly in a single day.
Doing a dry fit on an assembly that uses loose tenons can result in tight tenons remaining in their respective mortises, sometimes stubbornly so. The best way that I’ve found to remove the tenons stuck inside mortises is to pull them out with pump pliers.
The fact that you can adjust the opening of the mouth of this style of pliers makes them soooooo much better for extracting different size dominos than anything else I’ve tried. Honestly this tool is so integral to working with the Domino in my workshop that I think if Festool should make and sell a branded version they would make a killing!
Mmmmmm, maybe I should make a deal with them to market branded pump pliers for a commission and retire early………
Jokes aside. I can honestly not think of a better way to get not so loose, loose tenons out of mortises. If you happen to use this type of joinery and use a different way of getting them out when stuck, please leave a message in the comment section, I would love to hear what works and try it out as a comparison.
By the way the pliers also get used for the occasional DIY plumbing job and I can neither confirm or deny that they sometimes assist with an over-tight thumb screw.
Magnets

It was a toss up between the pump pliers and magnets for the top position, especially considering that I use the pliers more often than I actually do anything with magnets, but considering that pump pliers are a one-trick pony in as far as woodworking goes the uses that I’ve found for magnets could actually warrant a post of their own, let met list three of their main uses.
I’ll start with the one I’m most thankful for.
I have a two stage dust collection system in the workshop so all chips should collect in the bin that I have installed under my Dust Deputy cyclone unit. One however sometimes neglects to empty the bin in question as one may sometimes be prone to do or, static causes the cyclone to block up with chips - a problem in wintertime around here. However, the method by which the cyclone is bypassed is not the point of the discussion, the fact that chips start collecting in the plastic bag of the collector, is.
Anyway, this necessitates that the dust collector bag needs to be emptied or replaced occasionally and for most this is usually not an issue, except in my workshop, it can be. I work in a two car garage and the dust collector is tucked into one of the most difficult to reach corners of the shop. Now if you’ve ever had to replace a dust collection bag whilst juggling the strap that eventually needs to keep it in place you will know that this can be a challenge even with full access to move around the machine or even with having an extra pair of hands to hold the bag up while the holding strap is installed.
I have neither space nor an extra pair of hands so I use three or four strategically placed magnets to hold the bag in place while I fight with the holding strap. The magnets work brilliantly and the image will show you how I do it. It’s important to note that the magnets need to be installed higher than the final position of the strap so that there aren’t any leaky areas after the bag is “sealed”, causing fine dust to be pumped into the air and your lungs, negating the whole point of having a dust extraction system in the first place.
Not telling you how I’ve learnt this.
I can’t take credit for this use case as I saw this trick during a YouTube marathon on someone else’s channel. I don’t recall whose but I remain eternally grateful to them for saving my sanity.
On to the next one.
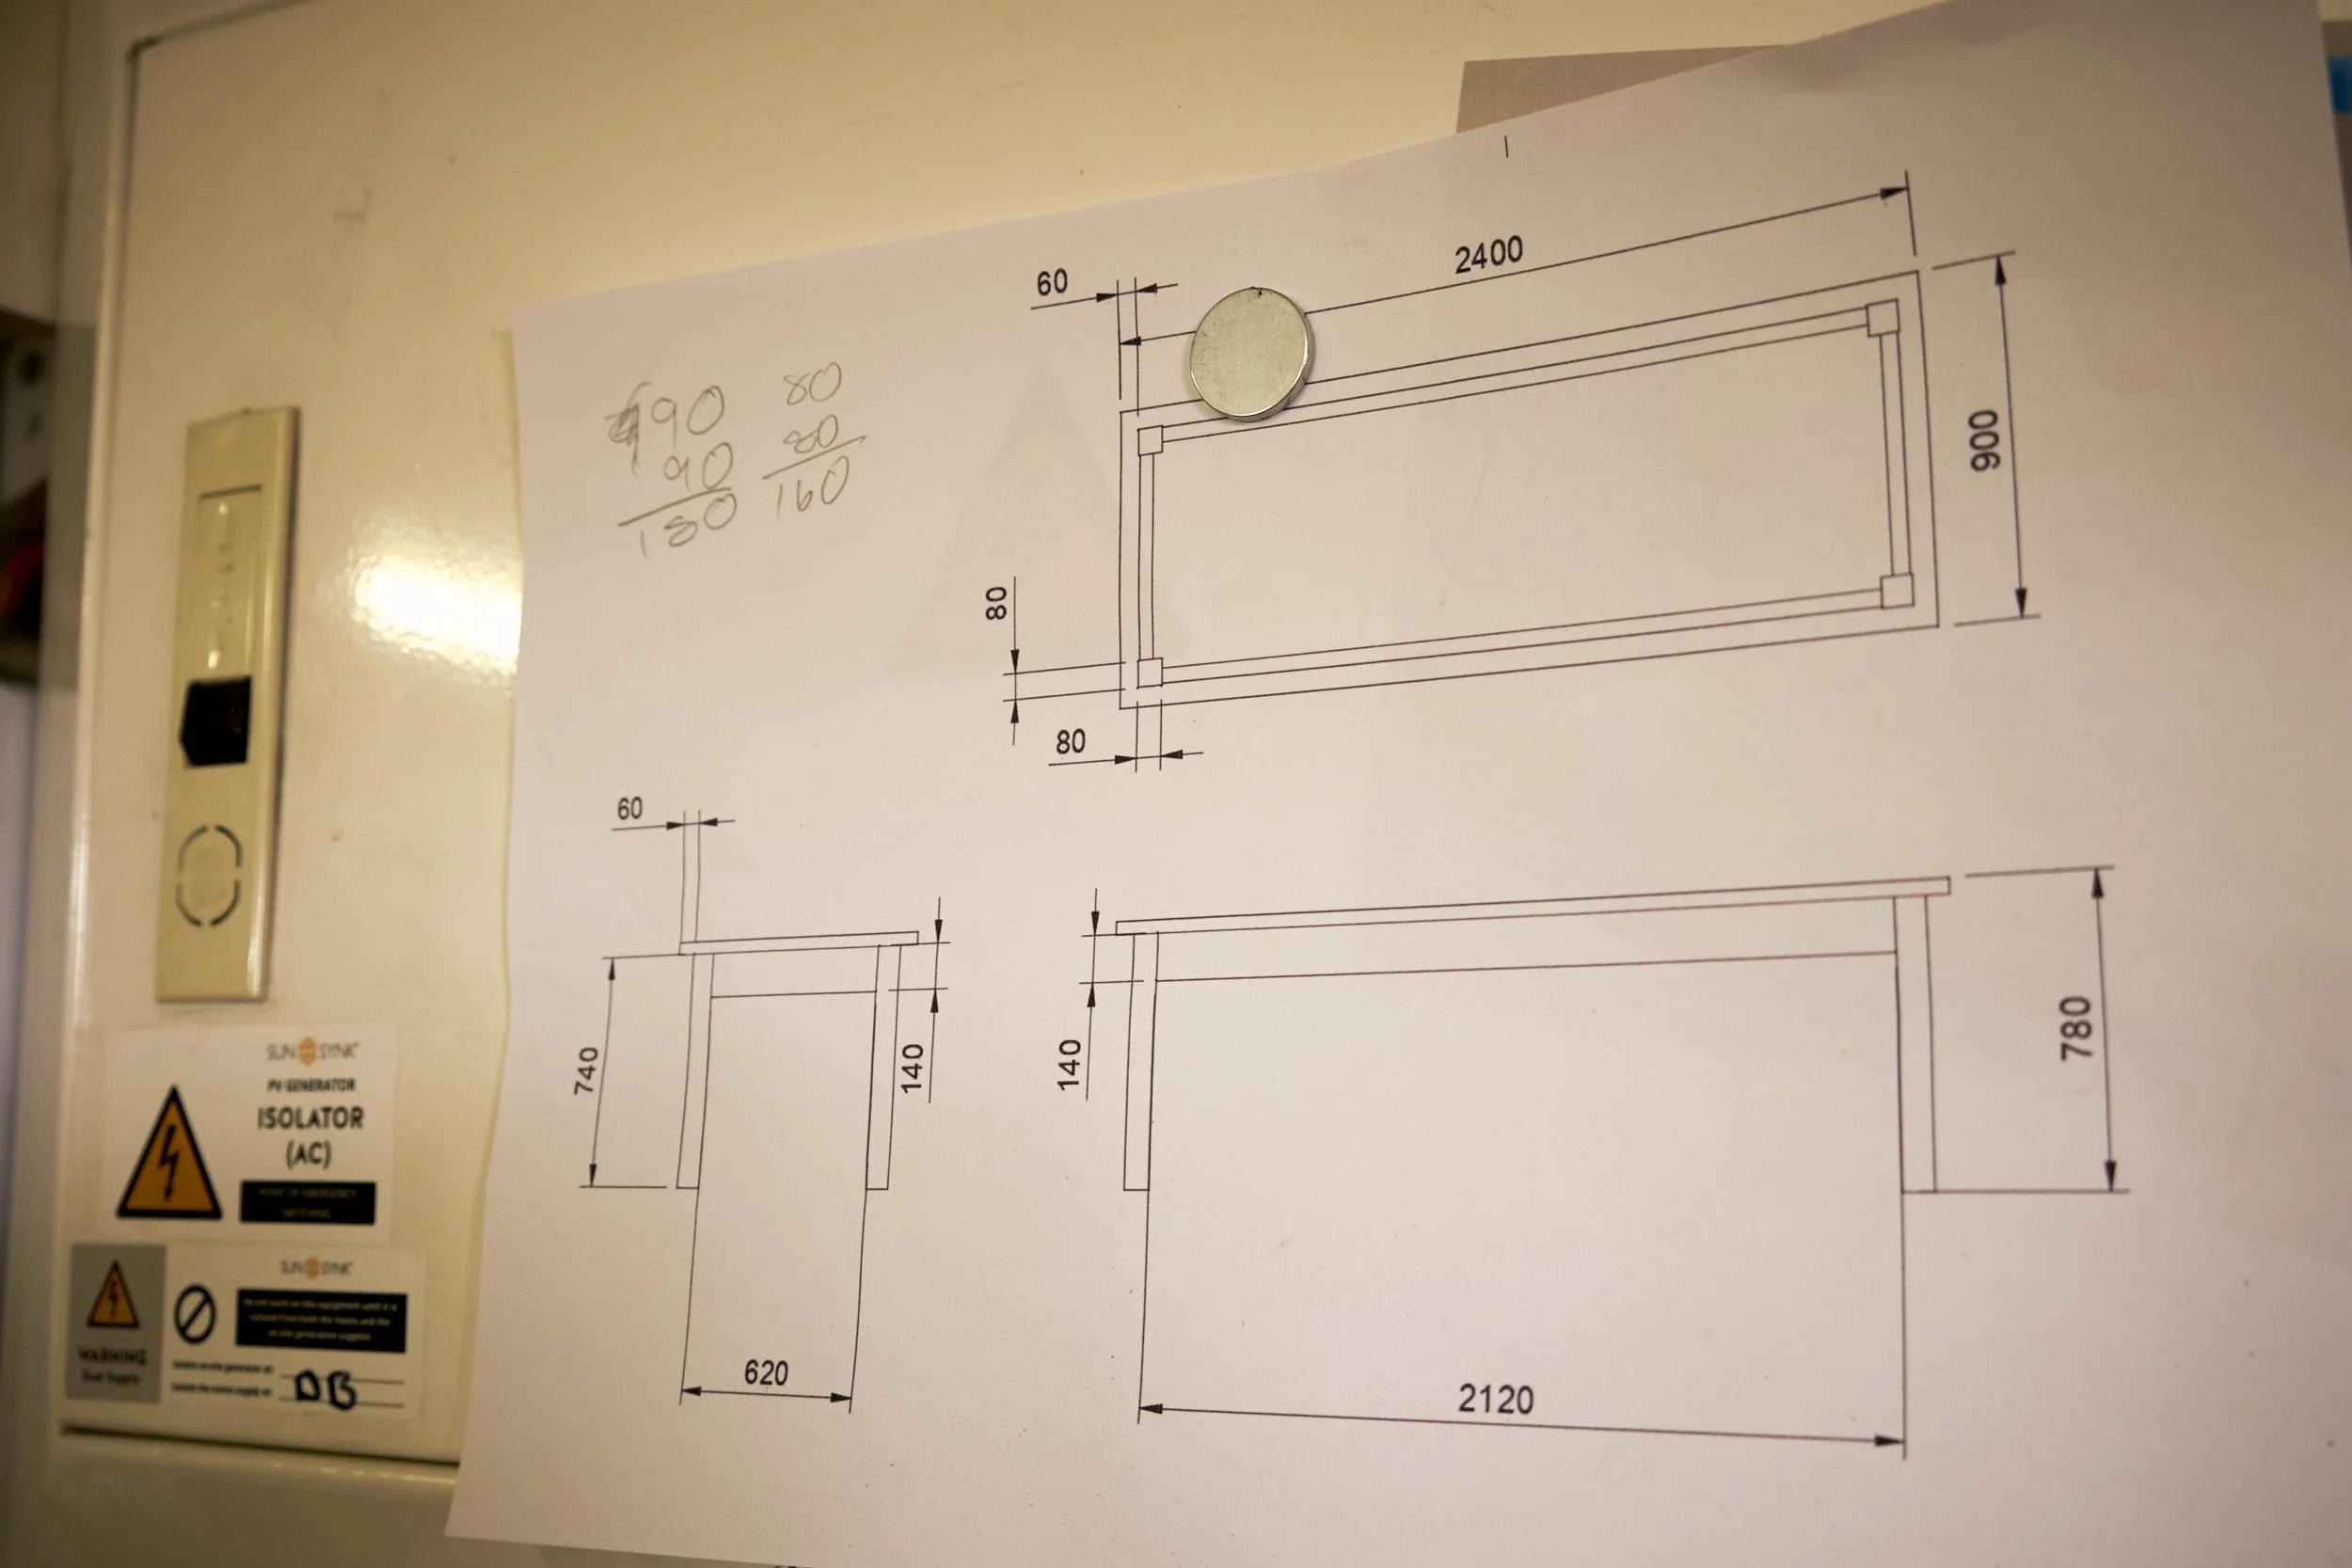
We live in a two story house and my desktop is on the second floor. I use CAD to design pieces and I make a printout of the technical drawing which I refer to whilst building a project. At best this print usually gets trashed and at worst it gets lost.
Every morning before I start work I have my second cup of coffee whilst sitting on a saw bench at the Nicholson, I call this my “think coffee” and this is when I sort out the to-do list in my head or just scratch Rocky behind the ear - Rocky is our Border Collie who happens to be snoring under the desk as I write this.
Anyway, magnets.
On one particular morning I happened to be staring at the metal cover of the electrical distribution box and noticed the magnet that had somehow made its way onto the cover during my recent solar installation, not thinking anything of what I had just seen my eyes drifted to the plans for my next project and a lightbulb went on.
drawing + magnet + metal cover = EPIPHANY
Thus I found a permanent spot for my technical drawings to live while I’m busy with a build. It’s at the door as I come into the workshop and right above my workbench, the perfect spot to keep the plan and all it needed was a magnet for it to become one of those “now why didn’t I think of that” solutions.
I use magnets in jigs.
As a hybrid woodworker and I’m not averse to using a hand or Japanese saw on occasion. I am not particular proficient at this skill and can’t cut dovetails to save my life, that’s what Leigh jigs are for but on occasion I need to make relatively accurate cuts with a saw. For these cuts I have a jig that I’ve recessed two magnets into that allows the saw to register against the jig, effectively turning it into a fence. All I need to do is orient the jig along the line marking the cut and keep it steady while making the cut. The jig does the rest keeping the saw perpendicular to the work surface and straight in the cut.
This is not a novel idea and manufacturers have used this principle in dovetail aids and other jigs. As with the magnets to hold up the dust collection bag, this idea is not my own, but in this case at least I know from whence I got it. I’m a big fan of The English Woodworker and Richard Maguire uses this jig during his chair build course.
I haven’t built the chair yet but I have made the jig.
By the way if you are looking for quality training using hand tools, you can do far worse than investing in one of his courses.
I don’t have an image of this jig in action but I think I’ll add a plan and shots of it in action on the FREE plan page that members of my mailing list have exclusive access to.
If you haven’t signed up yet, please consider doing so here and I’ll let you know via an email once it’s available.
In case you would like to know what kind of magnets I use. I buy the little round ones that look like button batteries. I think they are rare earth magnets and every time I need one or two I buy a couple extra just to make sure I have a ready supply when I need them. They break if you drop them so I having extra is useful.
And there you have it, some of the tools in my workshop that would not be considered obviously woodwork related, that I have come to depend on to make my life a little easier.
If you have any of your own not listed here, please let us know in the comment section, I would love to try them out in my workshop.