
How To Joint Lumber Wider Than Your Machine
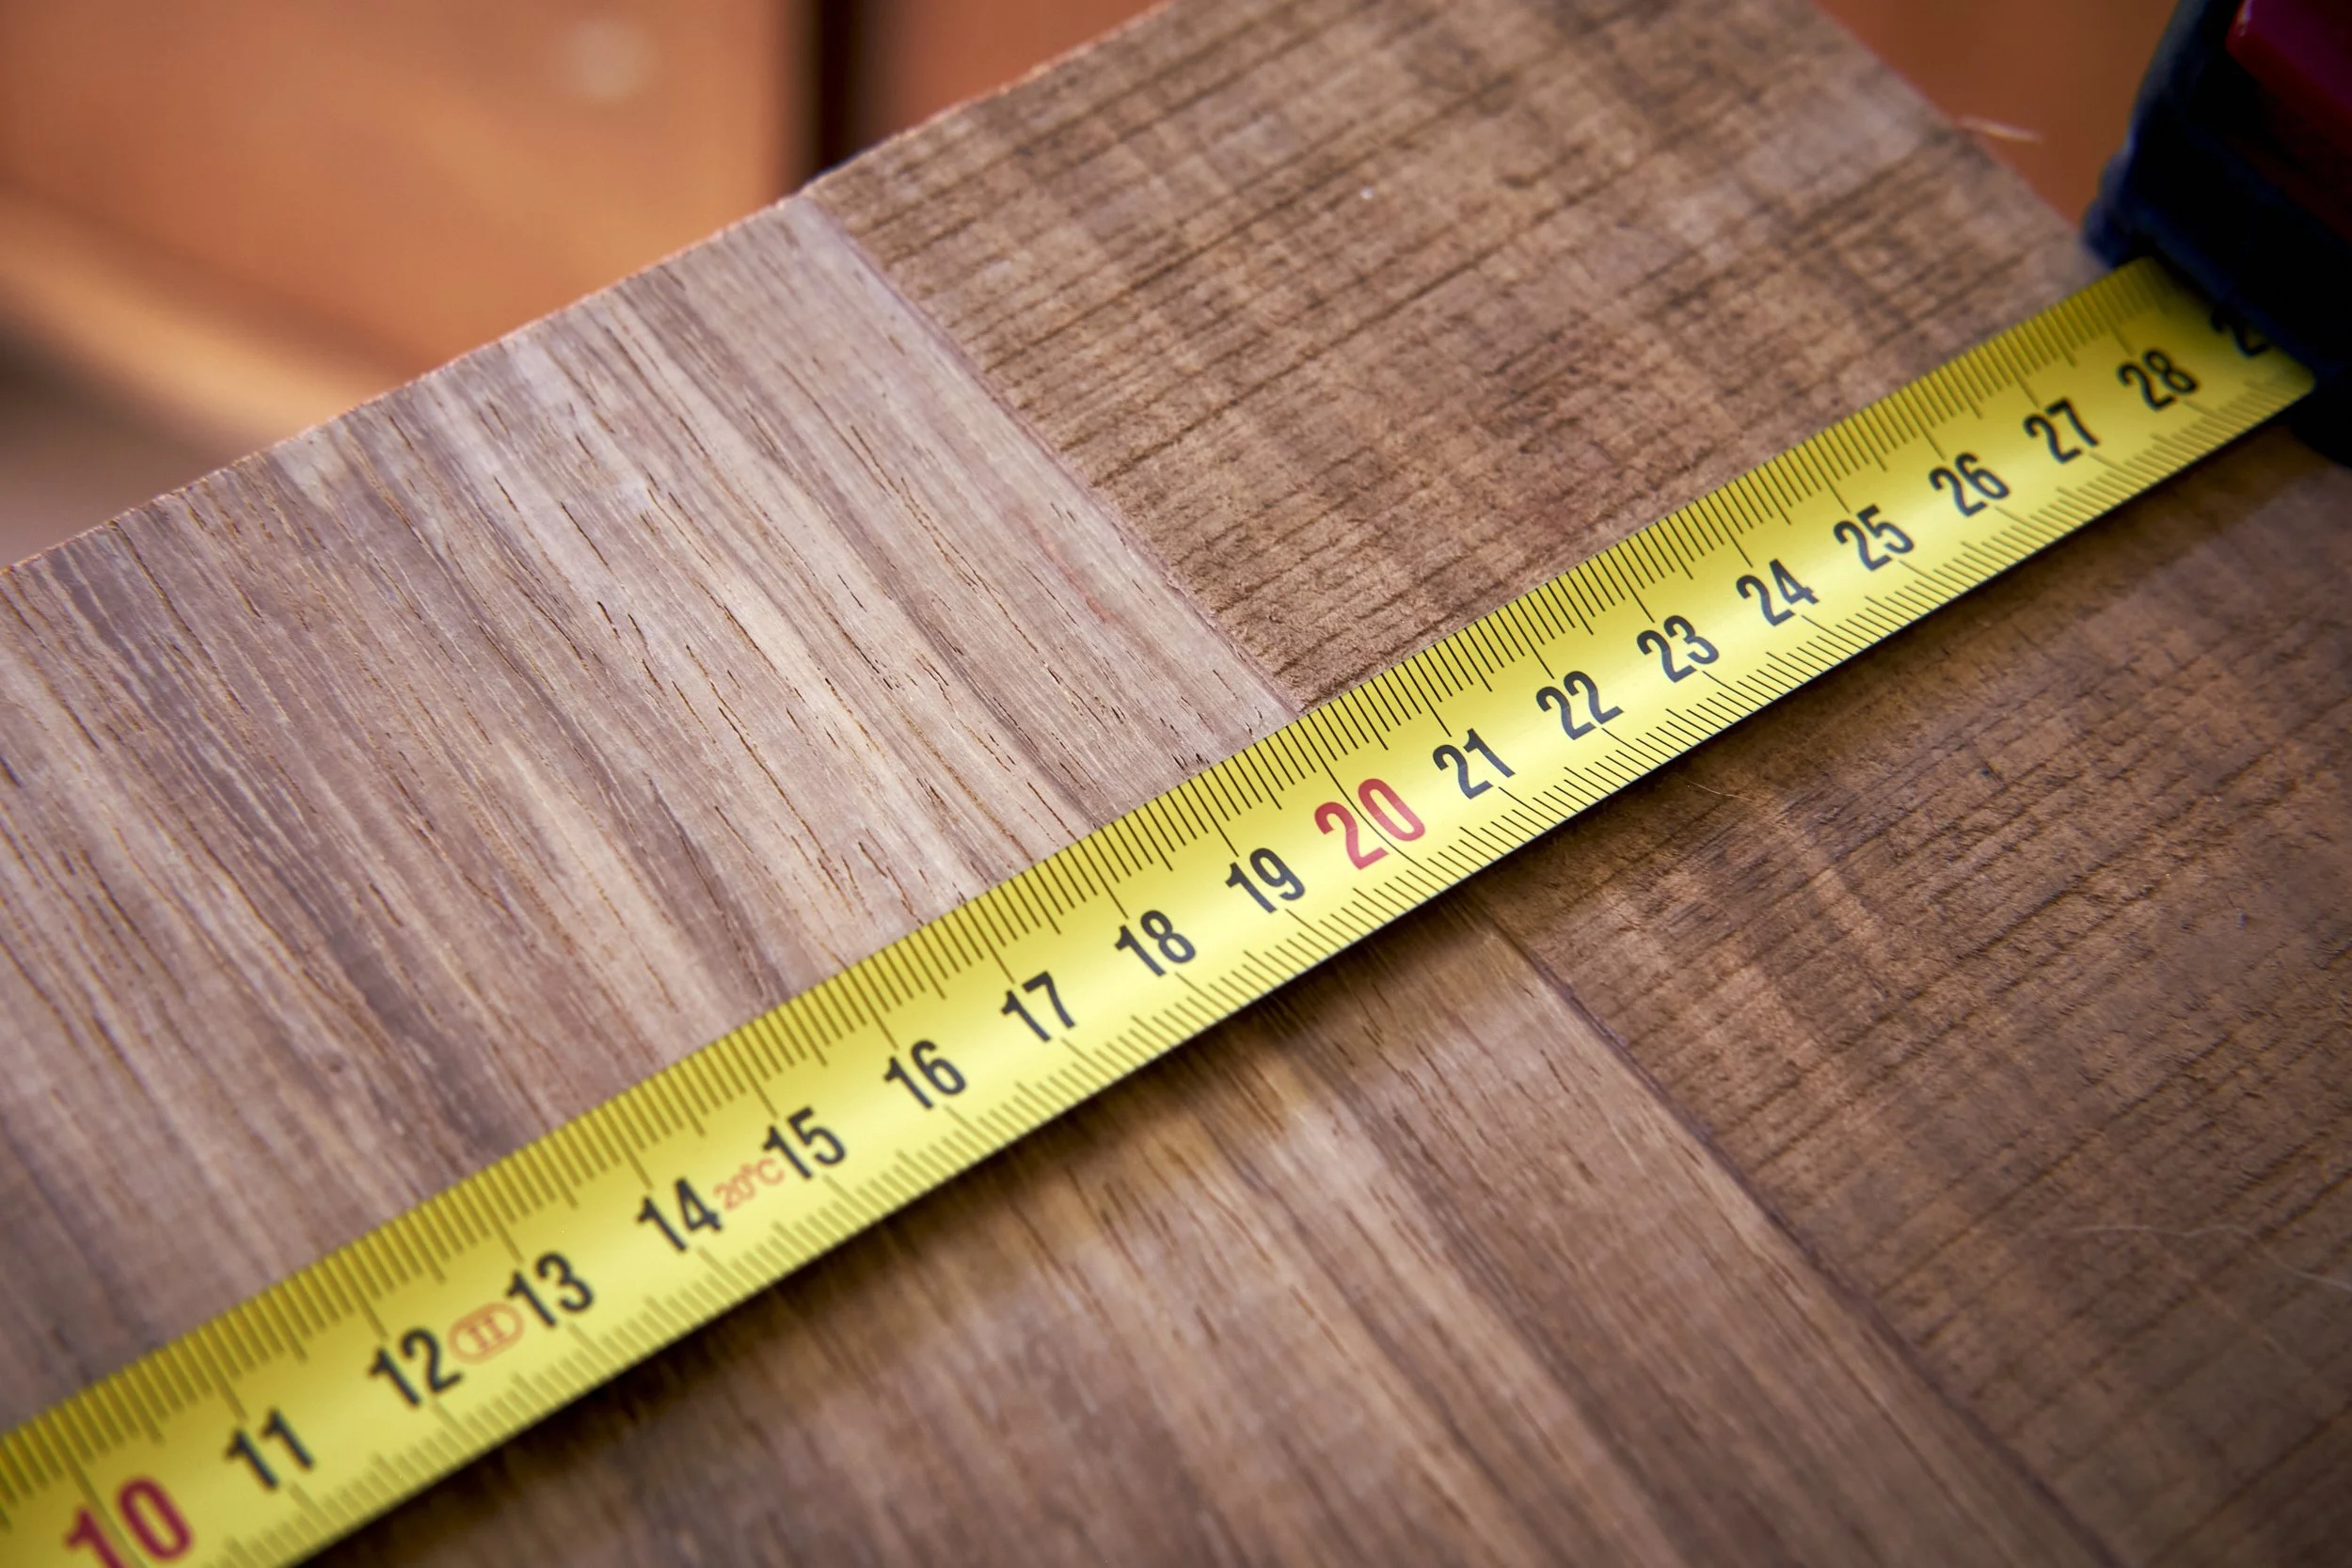
If there has ever been a blog title that has given me sleepless nights, this one would be it. I am fully aware that this is again a typical case of over-complication on my side but SEO demands that it is short, catchy and searchable at the same time but “Expand Your Jointer” seemed too clickbaity for my taste.
Anyway, you are likely here to find out how to joint a board rather than learn more about my sleeping habits so let’s get on with it, shall we.
You will need the following:
A Jointer - any size will do but this how-to is aimed at persons who have access to the 6 or 8 inch varieties. If you happen to have a larger tool you can consider yourself fortunate and would likely find this post of little use apart from an educational exercise.
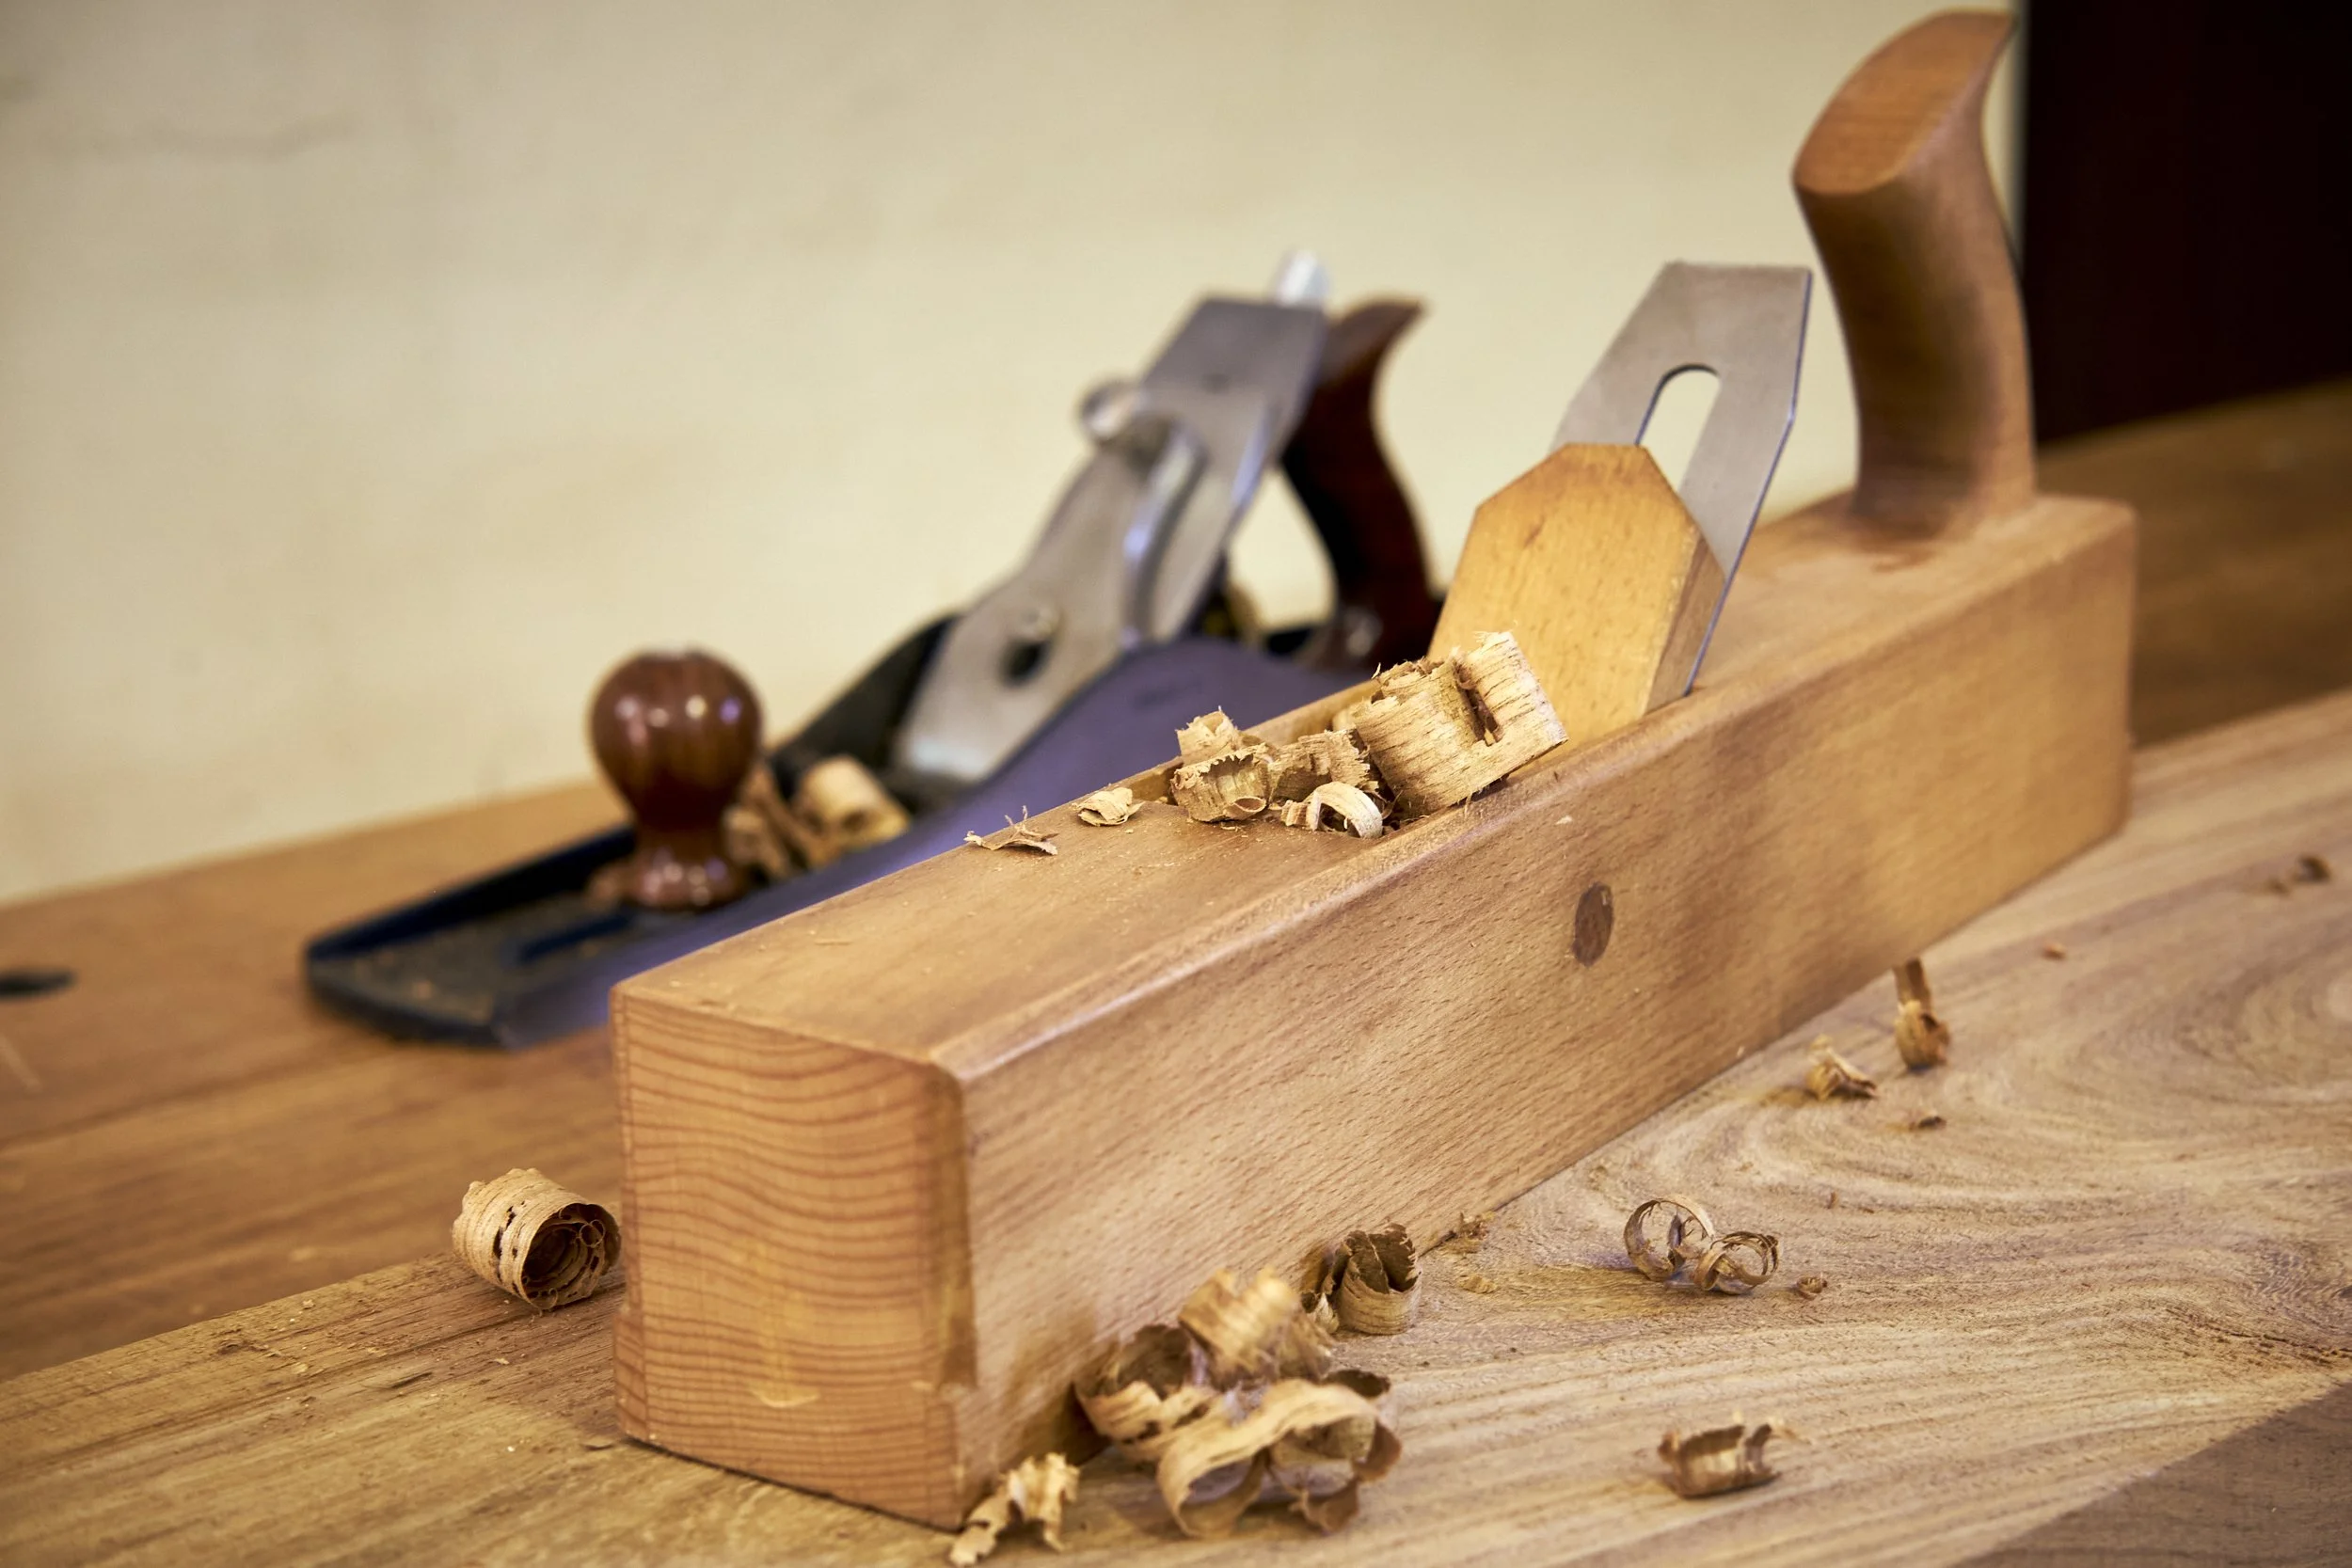
A hand plane - here anything from a #4 all the way up to a jointer will work. I find the longer the better but if the length of the raw lumber is short, a shorter plane would suffice.
Not necessary but useful is a scrub plane, especially if you have a lot of material to remove. Please do not skip the WARNING towards the end of this post as I will be discussing the “lot of material” part later.
I am getting ahead of myself, I am almost heading into the first step before actually explaining why one would want to use this technique in the first place.
Sometimes a project would call for boards that are wider than the capacity of your equipment to process i.e. 6 or 8 inches (153mm to 203mm). The reasons for this may be many, you may need to maximise the width of your stock to make up the width of the final laminated board, say for instance a table top. I will typically go for a +/- 1m wide dining room table top and will use 5 planks to get there. The lumber I use is raw and typically just over 220mm wide so in this case I need to leave some meat on the edges to get the stock square before I can do the lamination.
To get the most out of my boards I may use the process I’m about to describe.
Of course, there are other options that would get you the same or similar results.
Option 1 - Simply use a hand plane and joint the boards by hand.
Option 2 - Rip the board in half, joint and thickness before laminating them back together.
Option 1 will cost you time and some physical energy, sometimes a lot of both but there is no limit to the width of the boards you can process. Option 2 may cost you the “look” of the grain especially if this is something you would like to maintain in the project, this option may also cost you time and money especially if you want save on glue.
NOTE - It is critical that equipment in the workshop, especially those that can take a few fingers are used safely and in accordance with the manufacturer’s instructions. It is for this reason that I would not typically use this technique for rough lumber exceeding about 20% of the equipment’s capacity at its widest point.
Safety considerations aside this process is neither difficult nor complicated. You are making the widest face of a section of rough lumber flat and out of twist. No different from what you are currently doing at the moment, apart from a couple of extra steps down the line.
We are not going for “pretty”, flat and out of twist is what we are looking for.
Ok, NOW we can get on with it.
Step 1: Joint
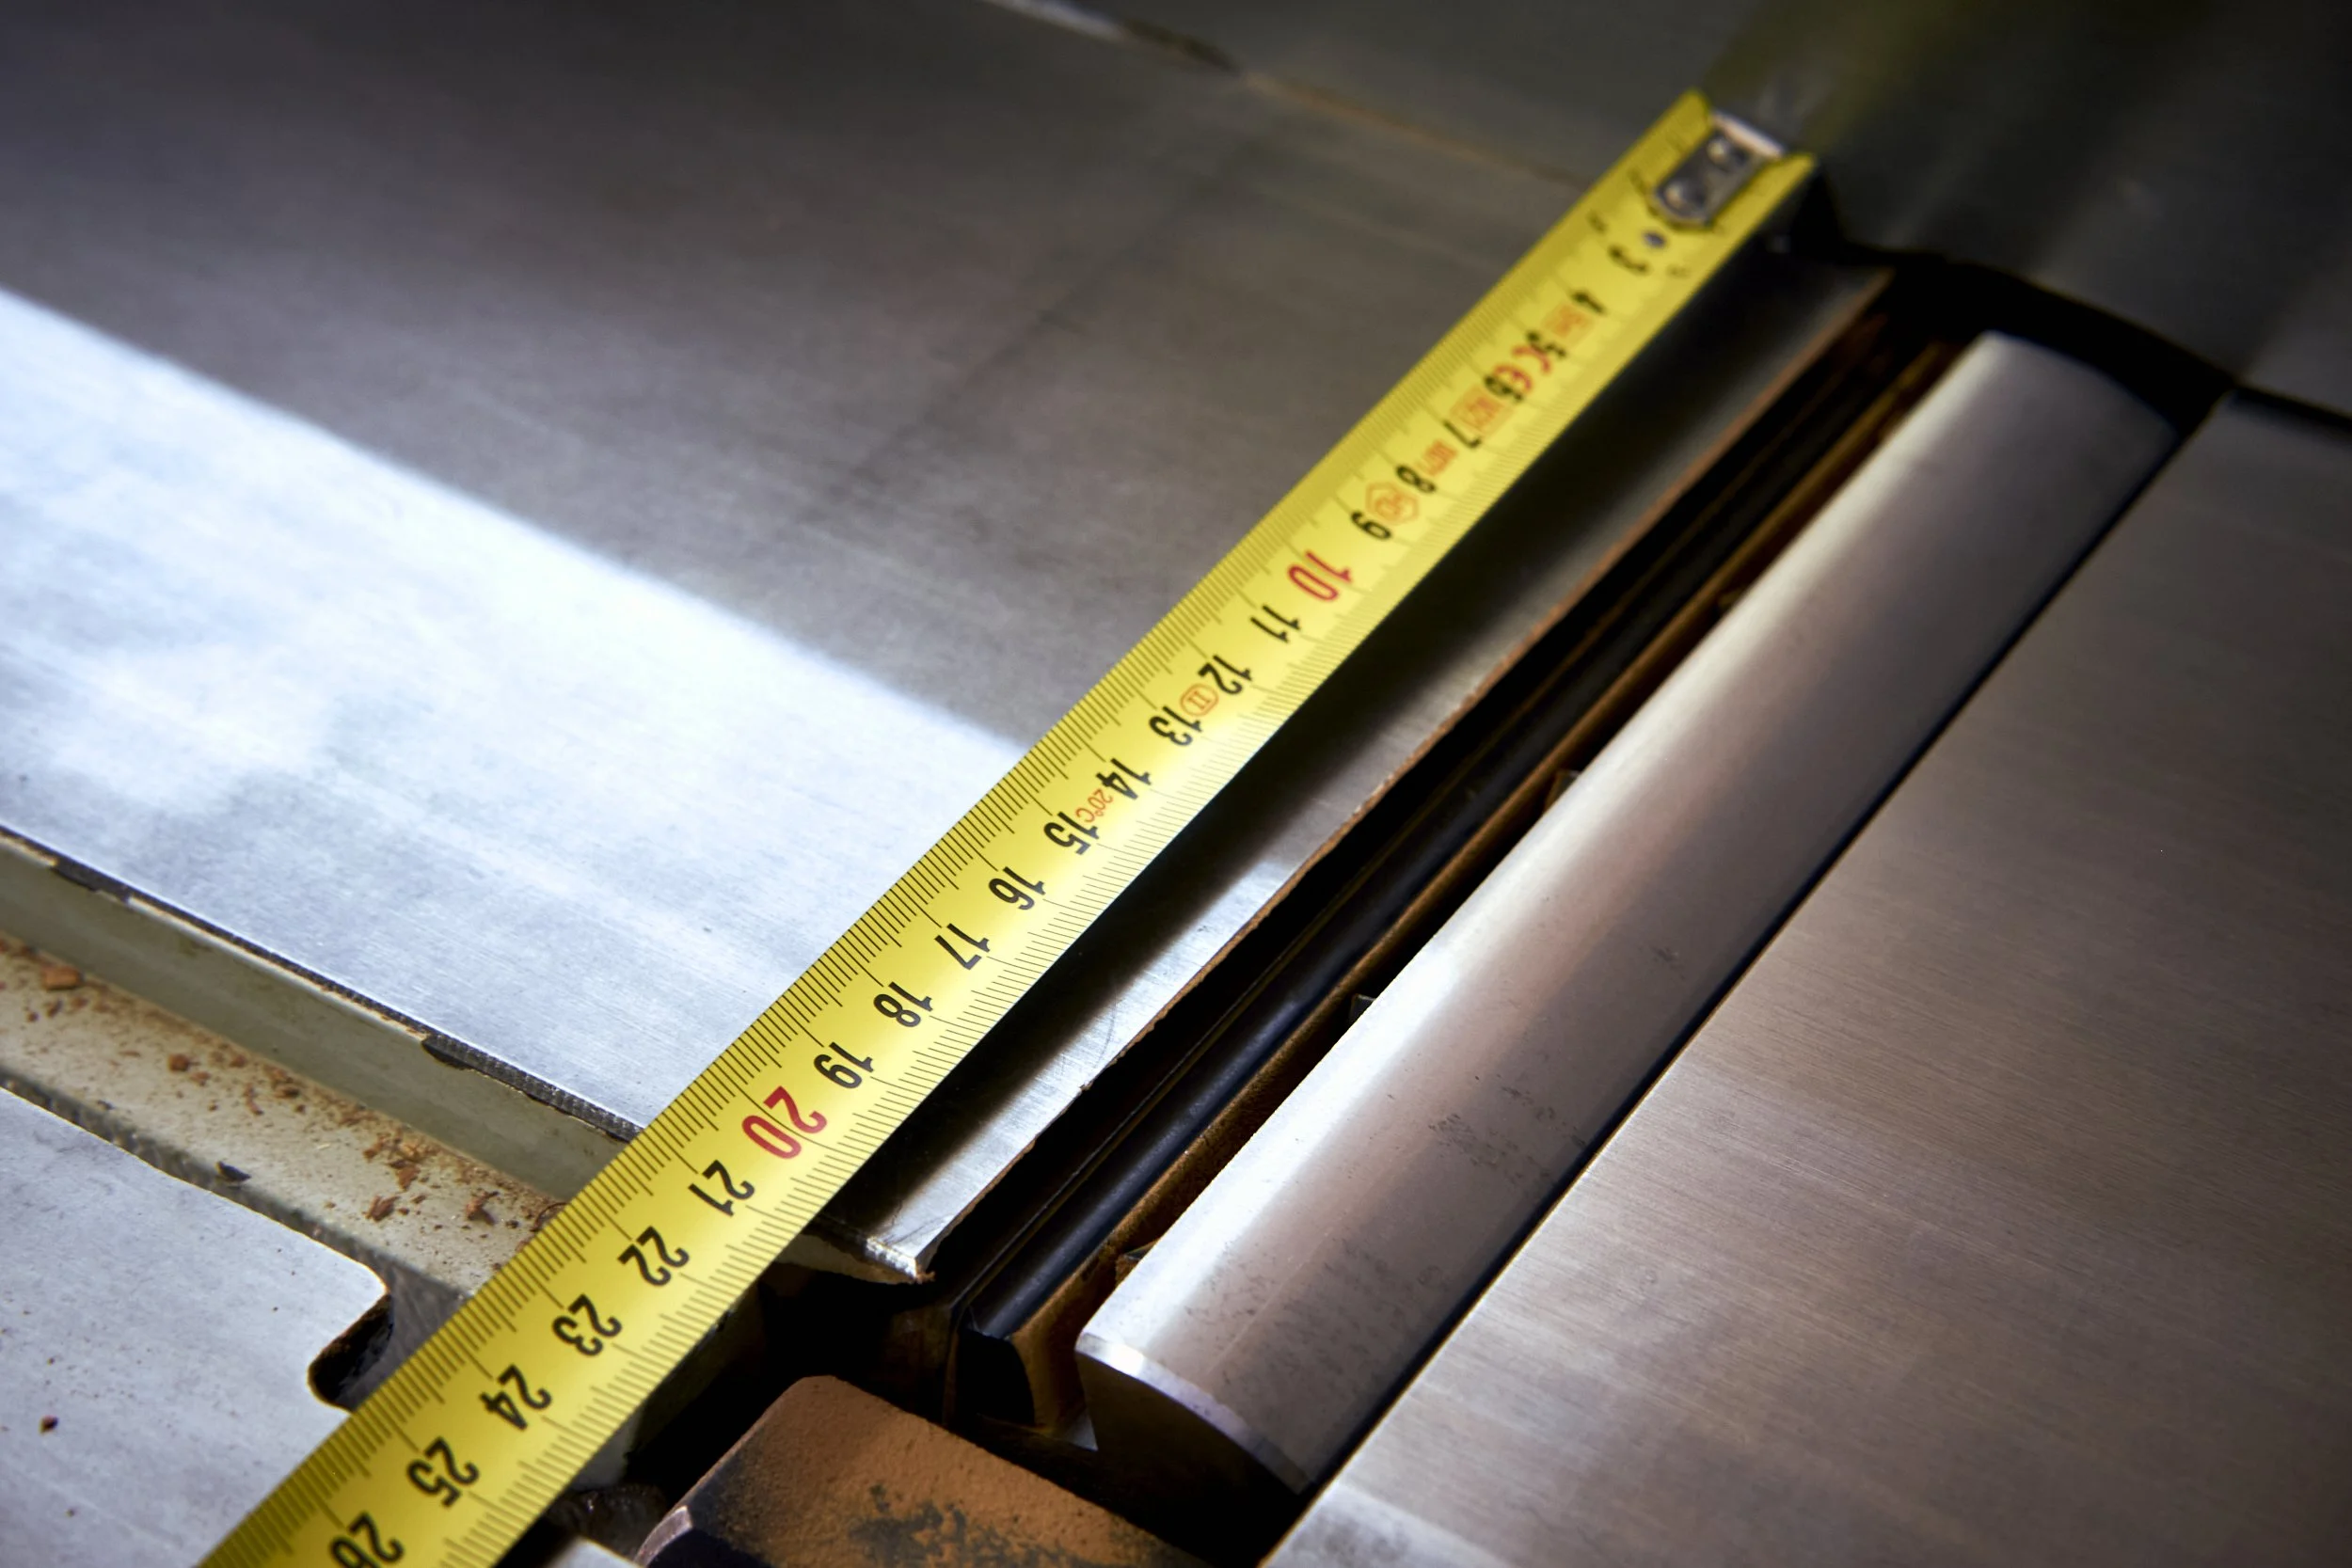
Evaluate the stock to be processed for grain direction, cup, bowing and twist. I have more on the how and why here.
Set your jointer to take a shallow cut unless the lumber is really out of shape and you don’t want to spend all day pushing it through the machine. If you can get away with shallow cuts it would mean less work with the hand plane later.
When ready start the process by feeding the lumber through the machine.
Continue the jointing whilst taking care to register the edge of the board against the fence in as much the same way as possible during every cut. This will result in consistent stock removal across the width of the board, leaving the remaining “rough” section as an even strip along the full length of the board.
Keep going with the process until the section of the board being cut is flat and out of twist as per normal.
Process all lumber to this stage before moving on to the hand planes.
A couple of things to keep in mind.
Do not be tempted to spin the board around to cut the rough strip away on the jointer. This will cause the rough strip to lift the processed section off the infeed table and result in a cut that will cause the face of the board to be sloped and you will lose more stock on the thickness than you might like. Don’t ask how I know and yes, it will spoil your day.
Even if you follow this procedure the raw strip may lift the plank from the infeed table resulting in a slight taper across the plank. It is for this reason that I keep the cuts shallow and try not to remove too much stock on each cut. The resulting taper is slight and nowhere near as destructive as when spinning the stock around to cut the rough strip on the machine.
Step 2: Plane

Secure the processed stock on a stable work surface with the flattened face pointing up.
Take the hand plane and have at it.
Ok, ok I’ll walk you through the process.
Remember you now have a partial face that should be flat and out of twist but the moment it goes through the thicknesser before it is all flat it won’t sit flat on the bed resulting in two faces that are not parallel to one another.
I find it the easiest to position the board so that the side with the rough strip sits on the edge furthest away from me.
Place the hand plane diagonally across the board so that the rear part references on the surface that was processed on the jointer.
Plane away the rough strip until it is at the same level as the adjacent “reference” surface. This process will make the two surfaces level and co-planer to one another resulting in a fully jointed board across and along its full length.
Be careful not to remove chunks out of the reference surface or too much from the rough strip. You can avoid this by taking shallow cuts.
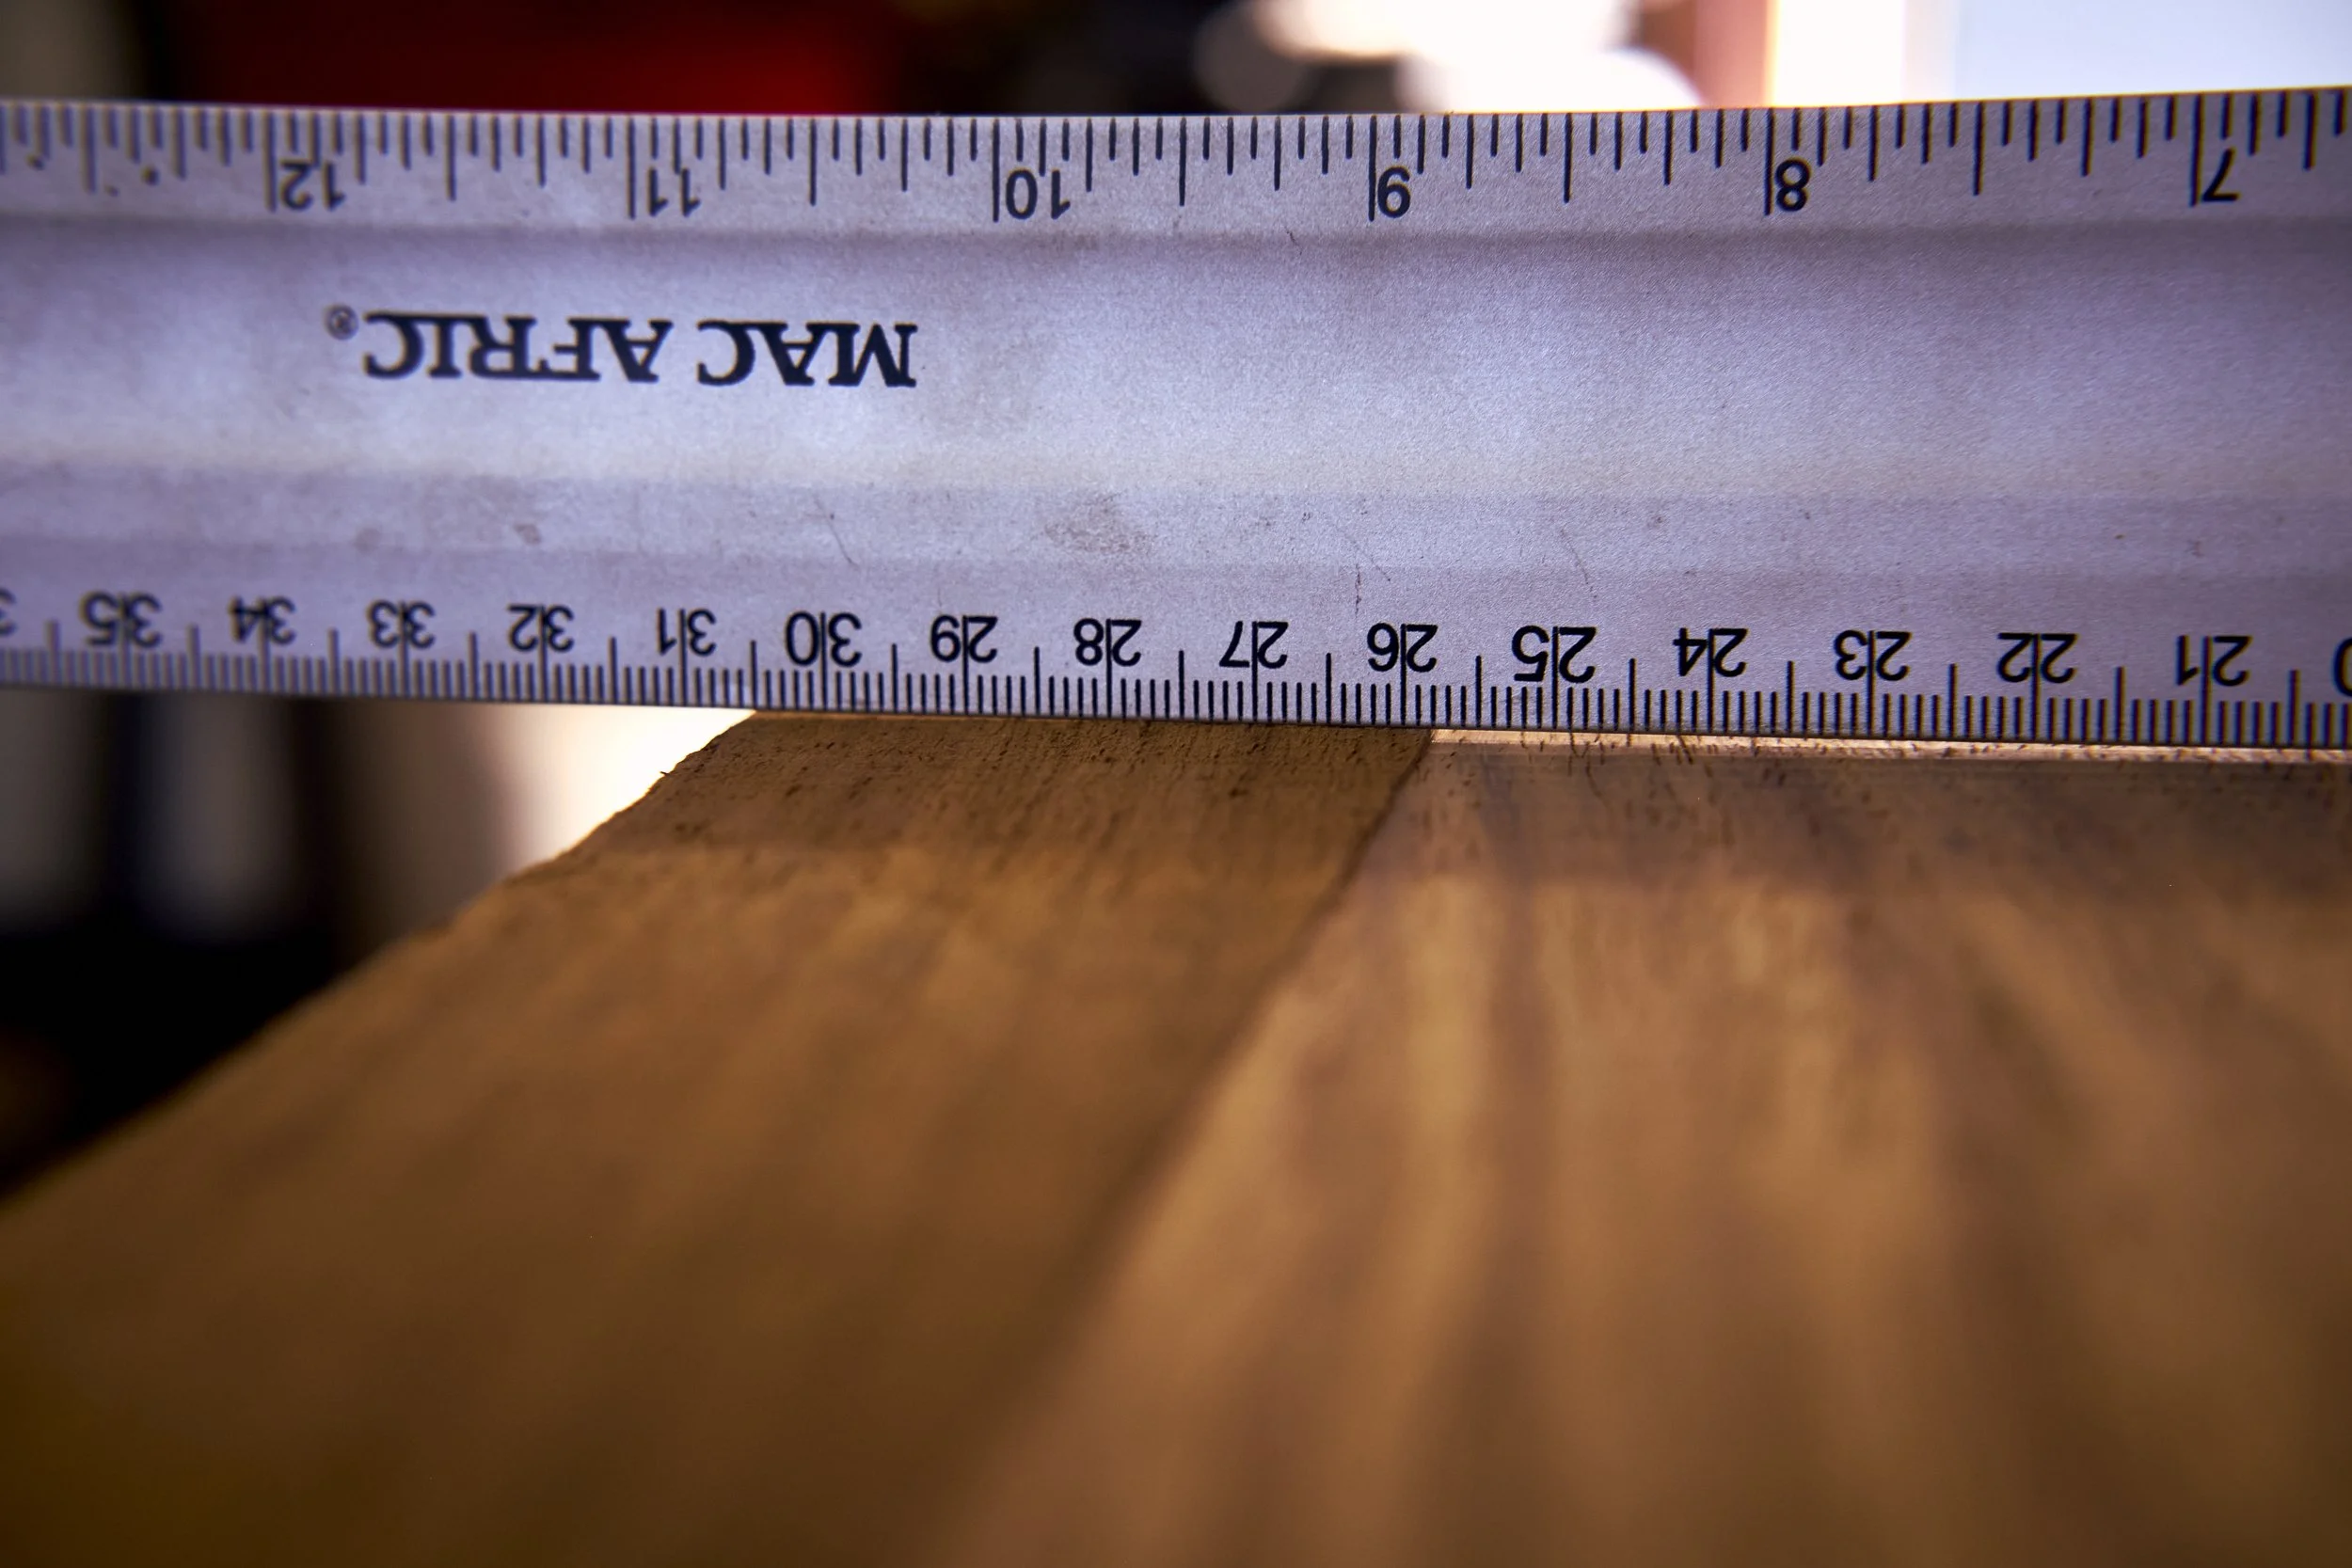
Check your progress with a straight edge and correct where necessary.
Mark the reference face if you are so inclined but I usually wait until after the thicknessing and edge jointing steps.
That’s really all that there is to it.
What size hand plane works best?
As with all things in life, it depends. It’s really a function of the length of the plane’s sole and I prefer anything from a Jack up to a jointer. The longer the hand plane the easier it is to bring the two surfaces into the same plane.
And that’s it, that’s how I joint boards wider than my jointer’s capacity and if you stick within the plus 20% wider range of boards than what the jointer can handle the process should be relatively easy.
Now for the WARNING.
It involves a plan in my head that didn’t turn out as I had hoped and an eight seater dining room table, well actually the top.
On the final width of this particular project I was aiming for around 900mm and the length was pegged at 2400mm. To get there I purchased four boards just longer than the length and wider than the 225mm it would take to bring me up to the total width using four boards.
The plan was to keep the boards in their rough dimensions and joint them using the technique described above. Exceeding the plus 20% rule I made myself meant that I would need to remove the safety cover over the cutter to allow for the wider boards. In and of itself the removal of the cover shouldn’t need to be a problem if one is especially careful, but combine this with long heavy sections that are difficult to handle at the best of times, the process becomes risky. Added to the list of possible screw ups is the fact that all my machinery are on mobile bases and as soon as I attempted a practice run with one of the boards while the machine was turned off I knew that I would be risking life and limb to get these boards jointed.
The solution I came up with was to cut each board into two staggered sections and laminate them in a manner similar to the sketch below.
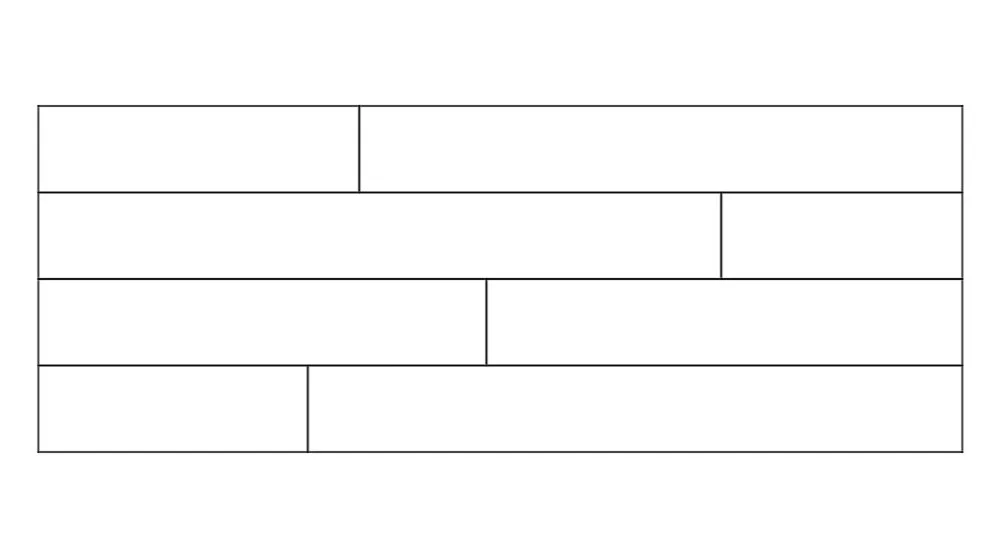
The shorter boards were significantly easier and safer to handle allowing me to give the “unprotected” cutter the necessary respect it demanded without having to juggle an unwieldy section of lumber.
My trusty scrub plane handled the excess raw material like a champ and the jointer was perfect for getting everything flat before heading over to the thicknesser.
The moral of this story is that using any machine outside of it’s normal operating parameters carries a certain amount of risk and it is the user who chooses to do so’s responsibility to either mitigate the risk or find another solution.
No project is worth your digits.
If you found this how-to helpful and would like to be kept in the loop on future articles, please sign up for my newsletter. If you take the time to sign up I will send you a link to a page where you will find plans for jigs you are welcome to download for free!
Thank you, I hope to see you here again soon and be safe in the workshop.