
Hand Sharpening A Blade Just Became Simpler
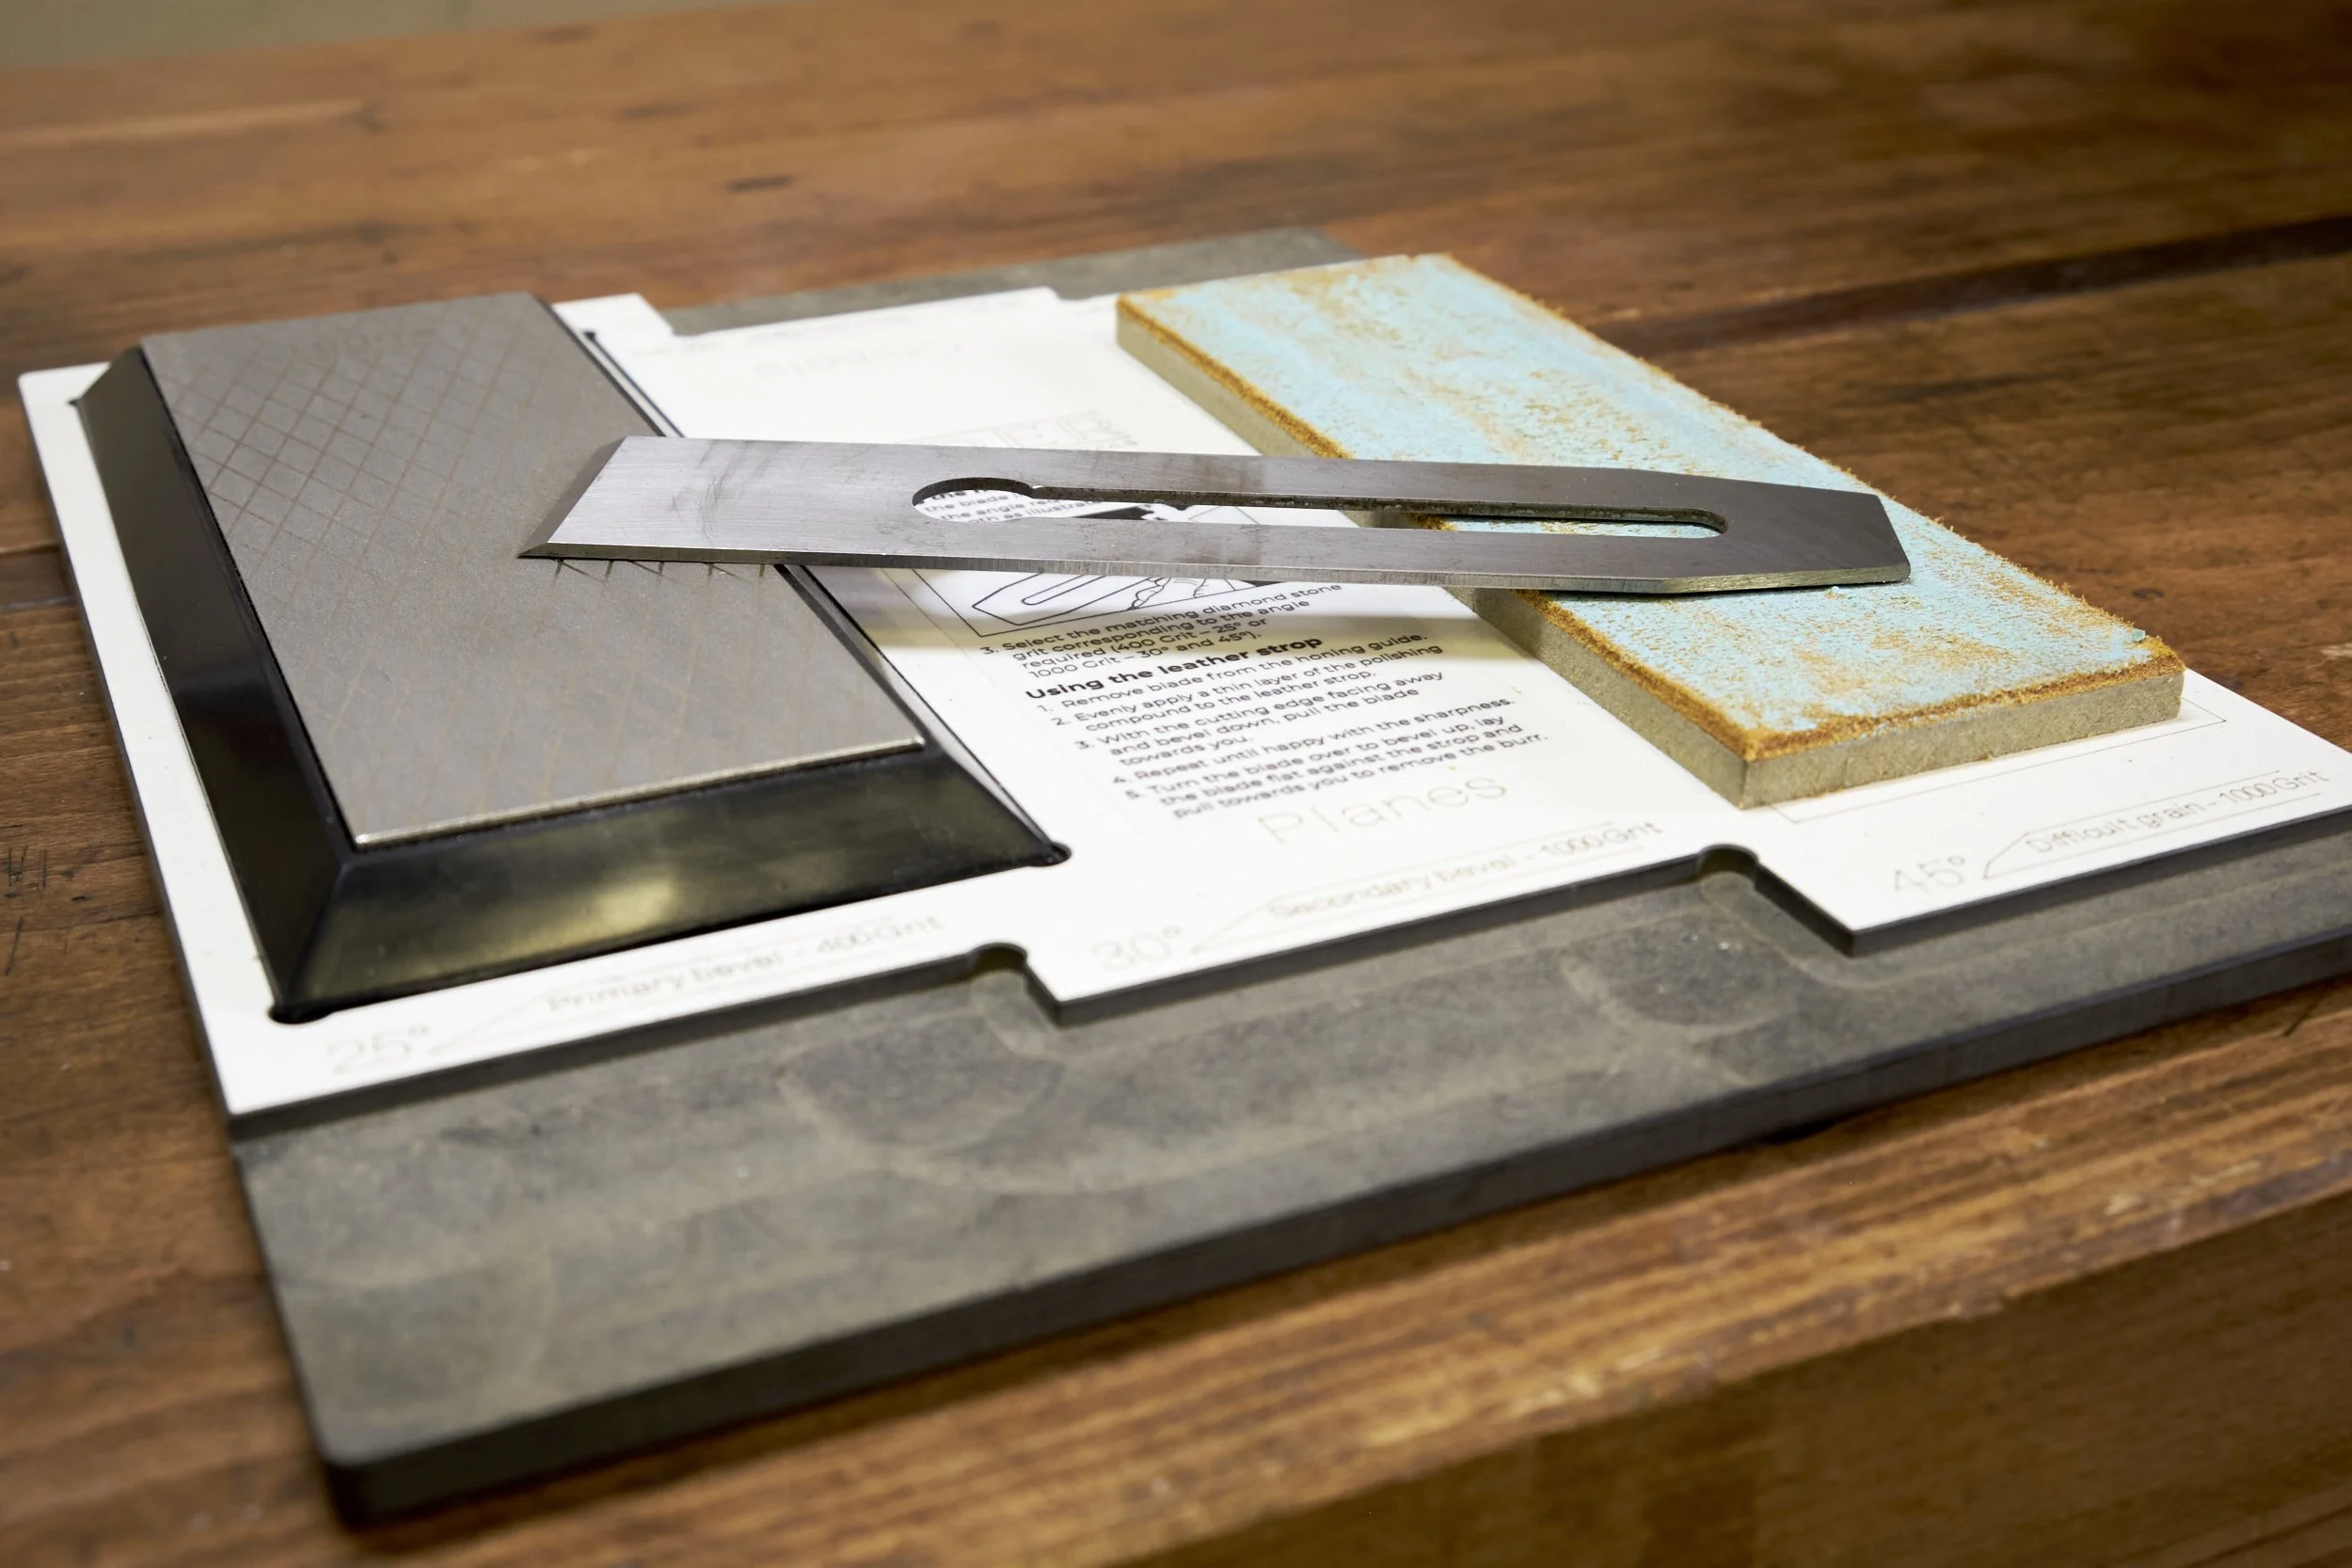
I use hand planes, a lot, which means I need to sharpen plane blades a lot!
I’ve spent a significant amount of time on Youtube and other online resources in the process of teaching myself how to hand sharpen all sorts of blades and cutting tools. With lots of practice and dirty words under my belt I’ve become rather proficient at hand sharpening, to the point of having had numerous opportunities to educate other woodworkers to do the same.
Just don’t ask me to help you with a swept gouge I struggle with those.
In short I’ve spent much time at the stones and have shaved off my fair share of forearm hair during demonstrations and training!
I work with the guys at The Hardware Centre to conduct talks and training on hand sharpening and last week they graciously provided me with an example of the Rider Sharpening Station Kit from Axminster to try out. We actually agreed that they would bring in a copy for me sometime last year and I’ve been itching to get my hands on it since they confirmed that it was on it’s way to our little corner of Africa.
Of course the timing of the kit’s arrival could not have been any better as I’ll be conducting a hands on sharpening class at their shop this coming weekend and it would be the ideal opportunity to showcase this kit to prospective hand sharpening masters.
Here are my first impressions of the kit in use, I’ll start by discussing each component before delving into my initial experience using the kit to prep and sharpen a new blade.
What is it?
The Rider Sharpening Station is one stop system for sharpening blades by hand.
It contains almost all the hardware and most consumables (you need to supply your lubrication of choice for the diamond stone) required to get a blade sharp. I’m not sure if a blade sharpened with this kit will slice paper as some are wont to demonstrate, I’m a hair removal kind of guy myself and the fact that I type this whilst staring at a bare forearm at least confirms that the kit gets a blade sharp and the reader only needs to read on if they would like more details about the kit.
Packaging
The kit was handed over in a neat 380mm x 305mm x 45mm cardboard box.
Inside the box I found the following:
1 double sided diamond bench stone - in it’s own box.
1 bar honing compound - in a brown paper envelope.
1 sharpening base with the leather strop attached - unwrapped.
Instructions - printed directly on the base - very handy.
The system is designed to be used with a standard honing guide and to be honest I find the omission of a honing guide as part of the kit to be a huge let down. Adding a guide would have made the system complete and unless the purchaser already had one in their workshop they would need to get one if they weren’t comfortable sharpening by hand. Axminster mentions in very small letters in amongst the pictures on the front label that the guide is not included and the buyer might miss this.
The website states what is included in the kit but as far as I can see makes no mention of the absence of the honing guide which in my opinion is an oversight.
If anyone asked me I would suggest that they would do well by adding a honing guide to the kit and before I get complaints that this would be hard to do they already have this kit as an option without the diamond stone for those who already have their own set. Having a third option with a guide included should really not be that hard.
Should The Hardware Centre decide to stock this kit locally I would suggest including the guide as part of the package, especially for those beginning their hand sharpening journey.
I was surprised at how scant the packaging materials inside the box was but I am assuming that the guys at The Hardware Centre had removed the contents from the box to get a peek at the kit and chucked some of the protective packaging in the process, my theory is further evidenced by the fact that the envelope containing the honing compound had been opened. I need to check this with the shop when I see them again.
Let’s have a look at the individual items.
Diamond Bench Stone
Being a user of a mix of diamond stones from Eze-Lap and DMT I was curious to have a look at the stone and this is where I went first.
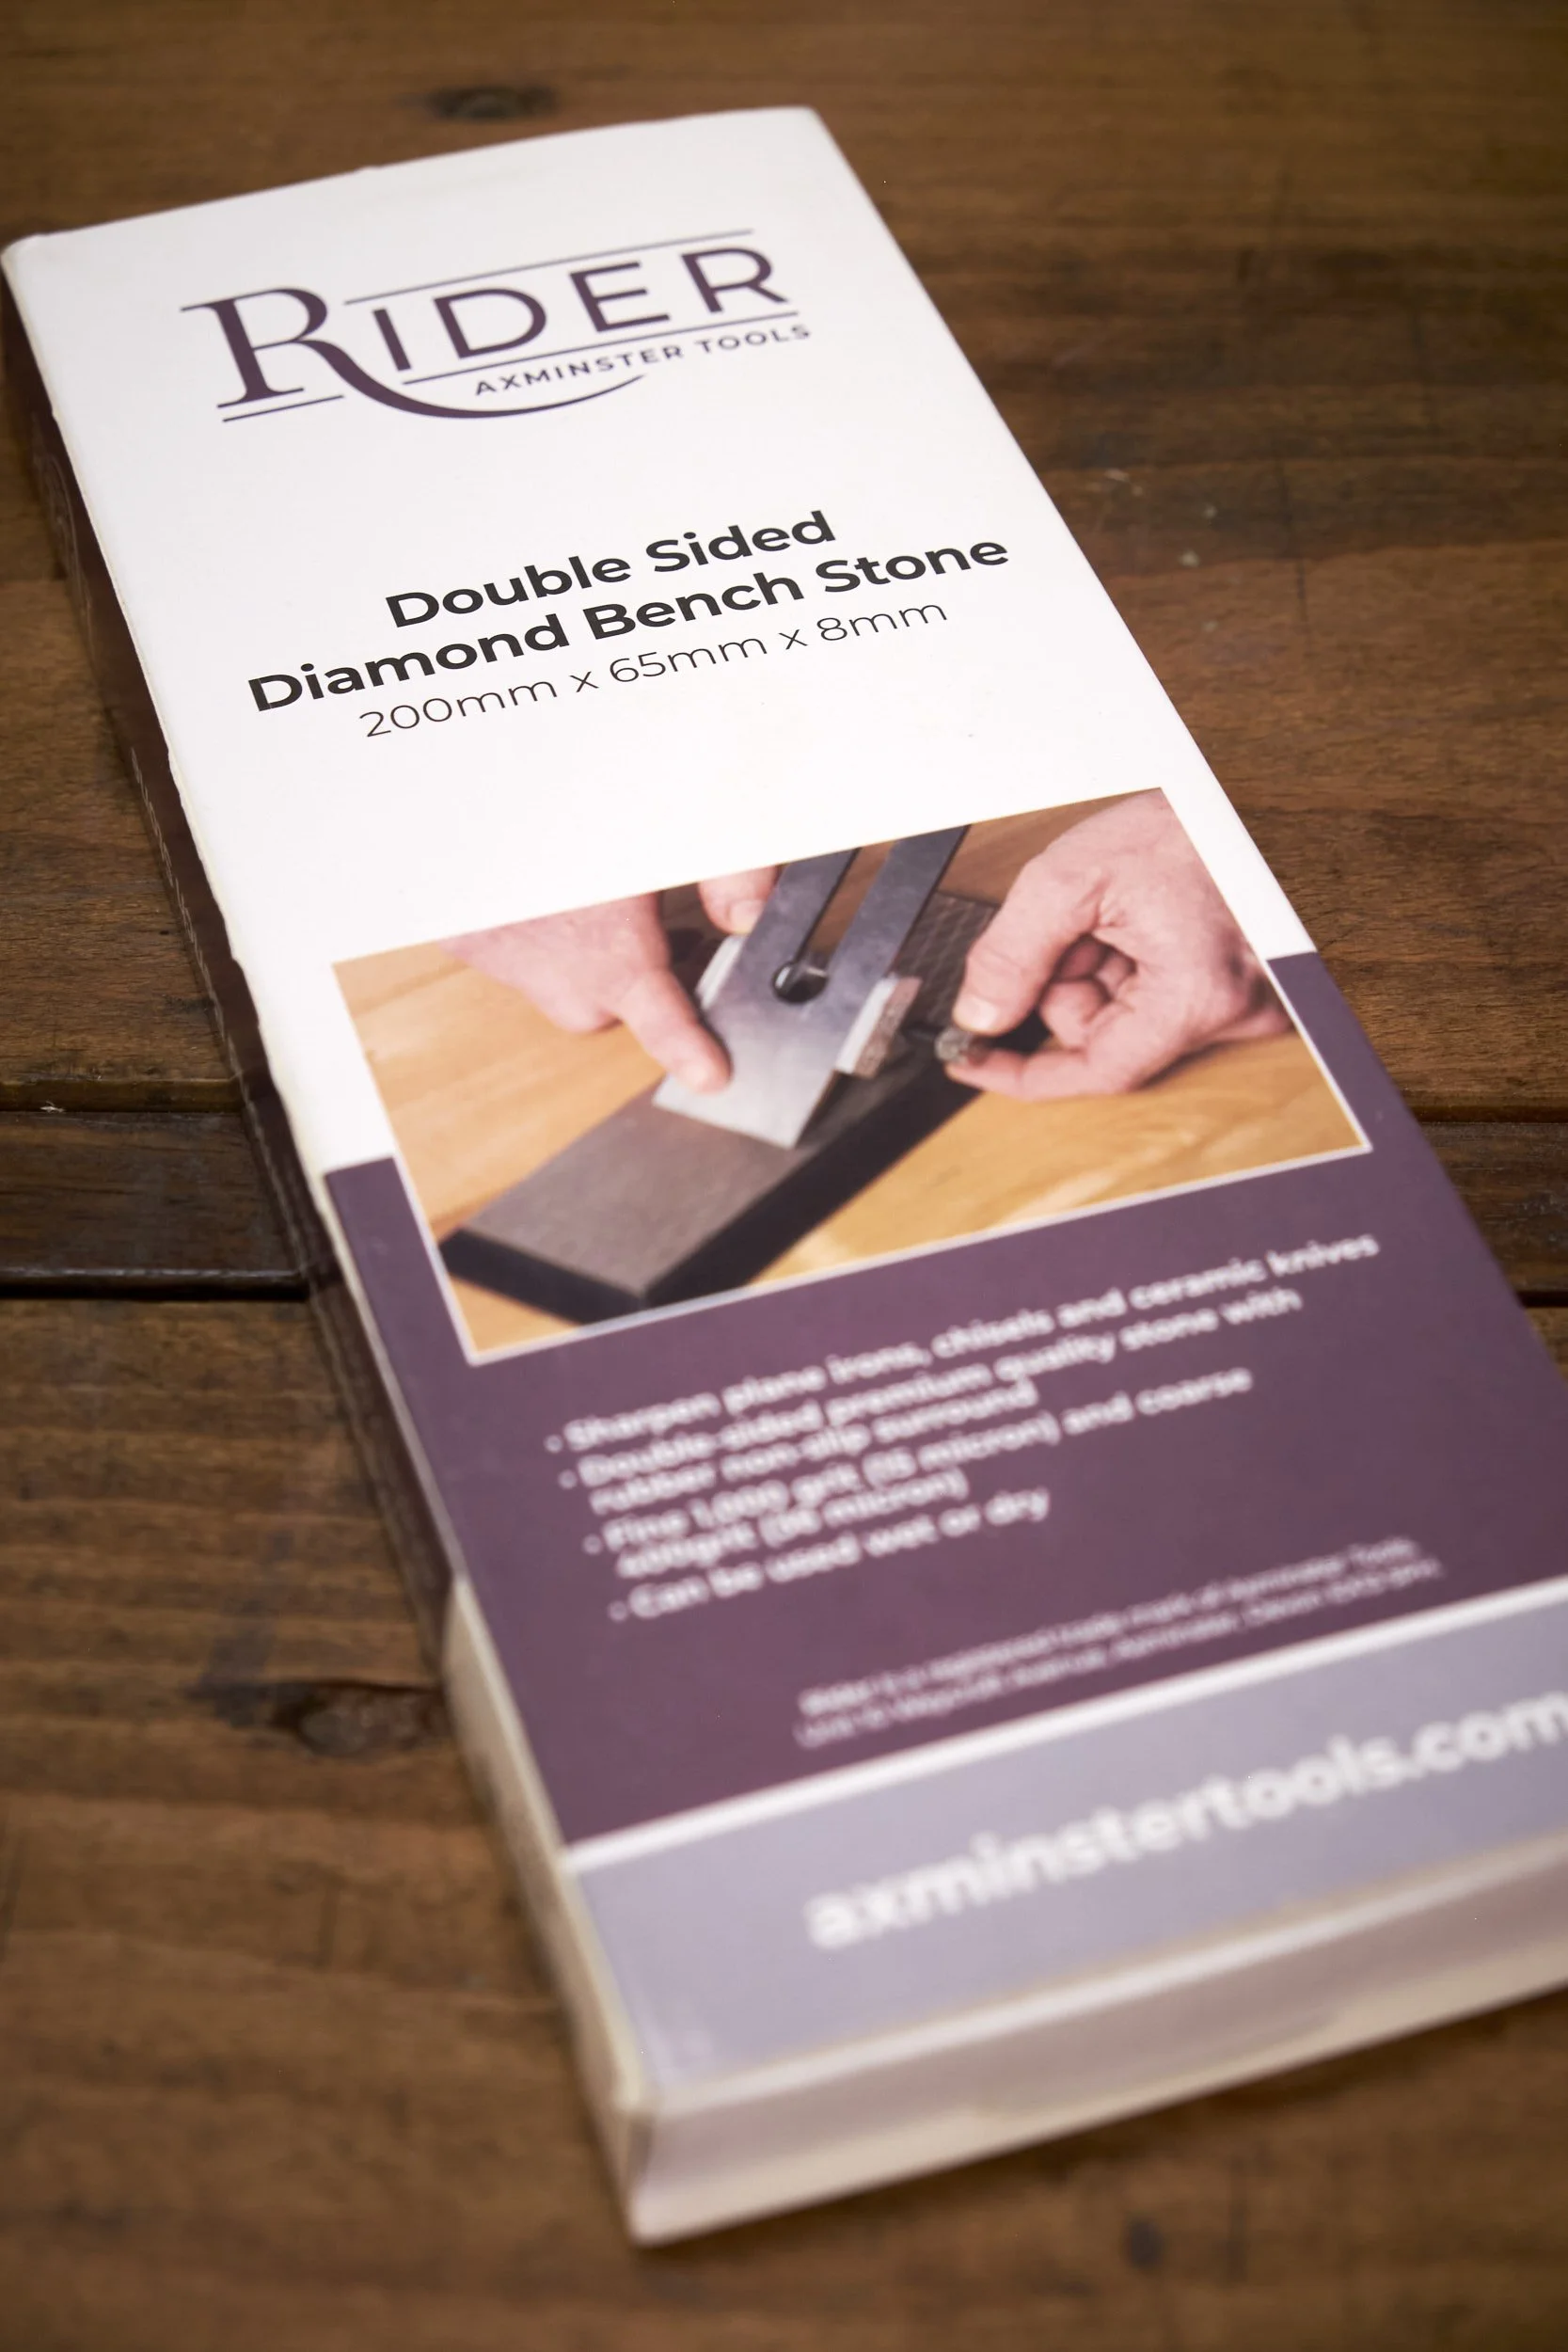
Of all the items in the kit I was pleasantly surprised at how well the stone was packaged. The stone had plenty protection, mounted into its soft rubber base it was packaged in a cardboard sleeve inside a box which in turn was itself packed inside a cardboard sleeve.
Size wise the stone’s dimensions come in at 200mm x 65mm x 8mm which has sort of become the standard size in diamond plates and it will accommodate a wide range of blade widths out there, most importantly for me the typical widths seen on #4 and #5 hand planes.
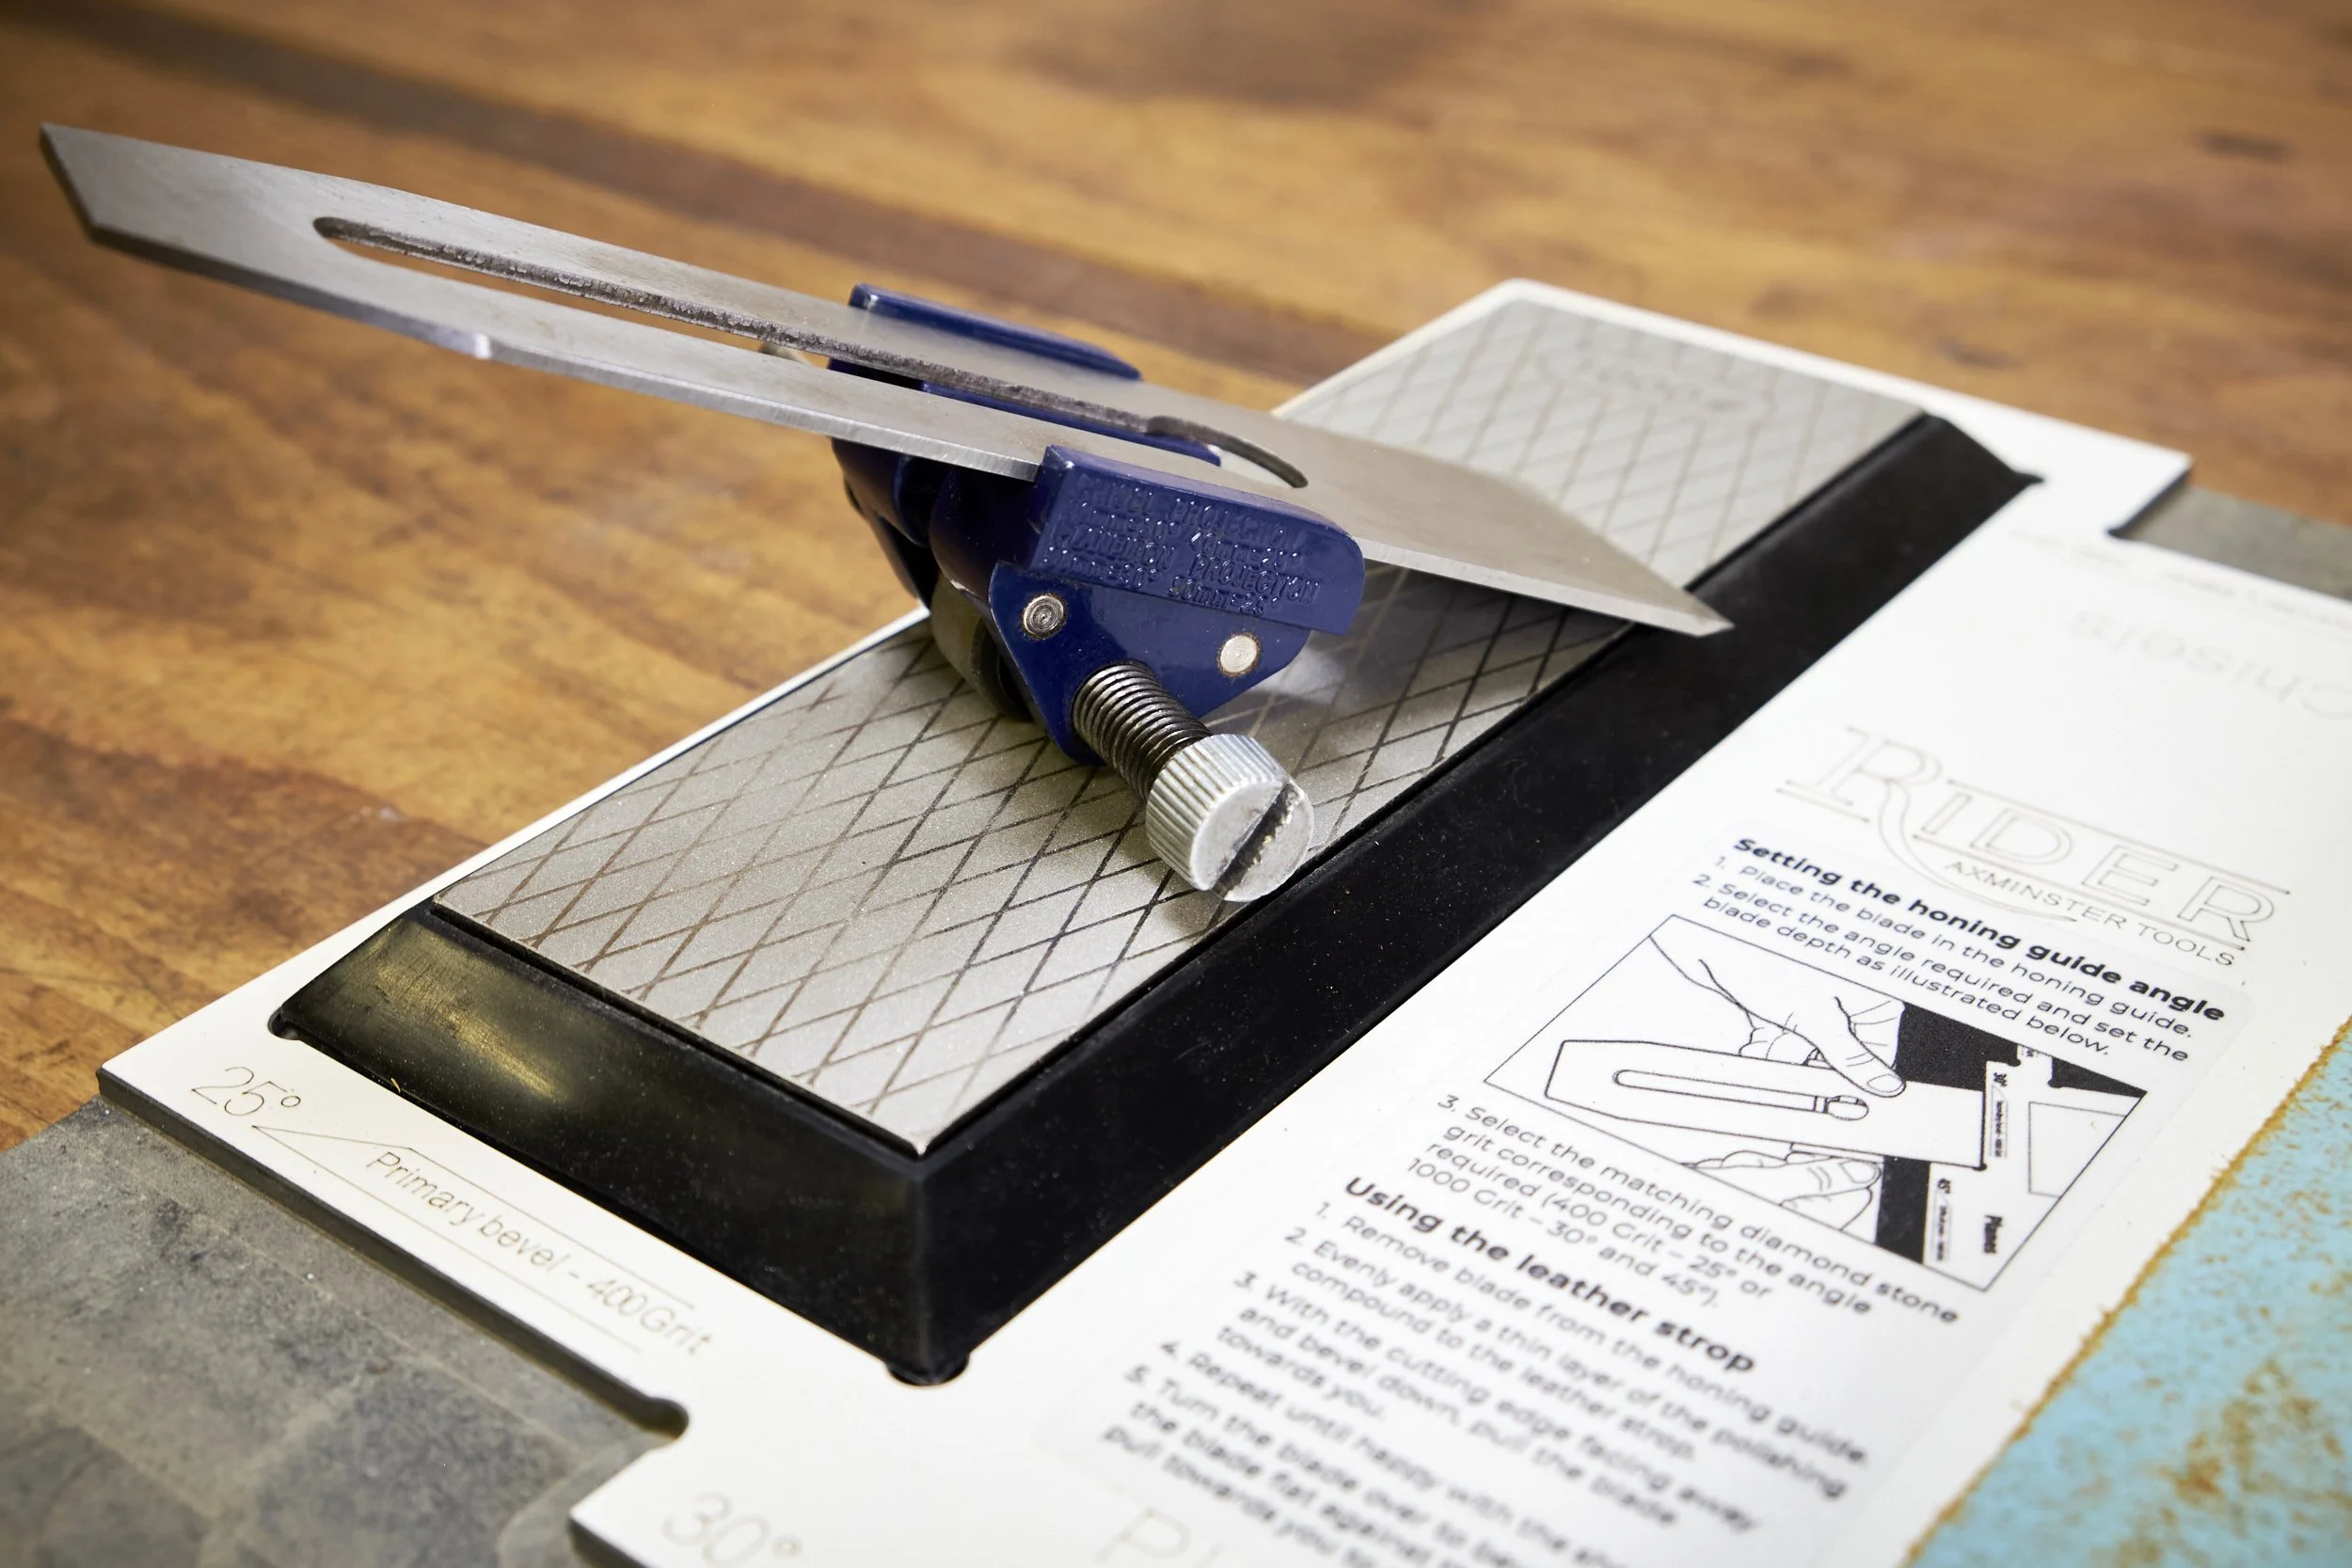
Important to add a note in light of my comments above, the system can work with honing guides other than the Eclipse style guide this kit was designed for. I sharpened a blade using my Veritas MK II honing guide without any issues at all, with the caveat that I used the guide’s own setup plate rather than the recesses provided on the base for the Eclipse guide.
Taking the stone out of the base I was immediately struck at how coarse the stone felt in both grits. One side is considered coarse at 400 grit (36 micron) and the other fine at 1000 (15 micron). Using a tool like this great one from Lee Valley shows that the grits offered by this stone falls within the ranges for shaping on the coarse (400) side and grinding on the fine (1000) side.
Diamond stones need to be “worn in” which means that they become less aggressive over time so I’ll need to see if the coarseness lets up as the stone gets used.
O’yes before I forget the stone sits inside its own rubber base.
Base
CNC machined from some sort of phenolic material the base screams longevity. Time and use will tell but I think it will likely outlast me, at least in normal use - no matter how I write this, there will always be a risk that the reader will think that I am referring to normal use of myself when I’m actually referring to the kit!
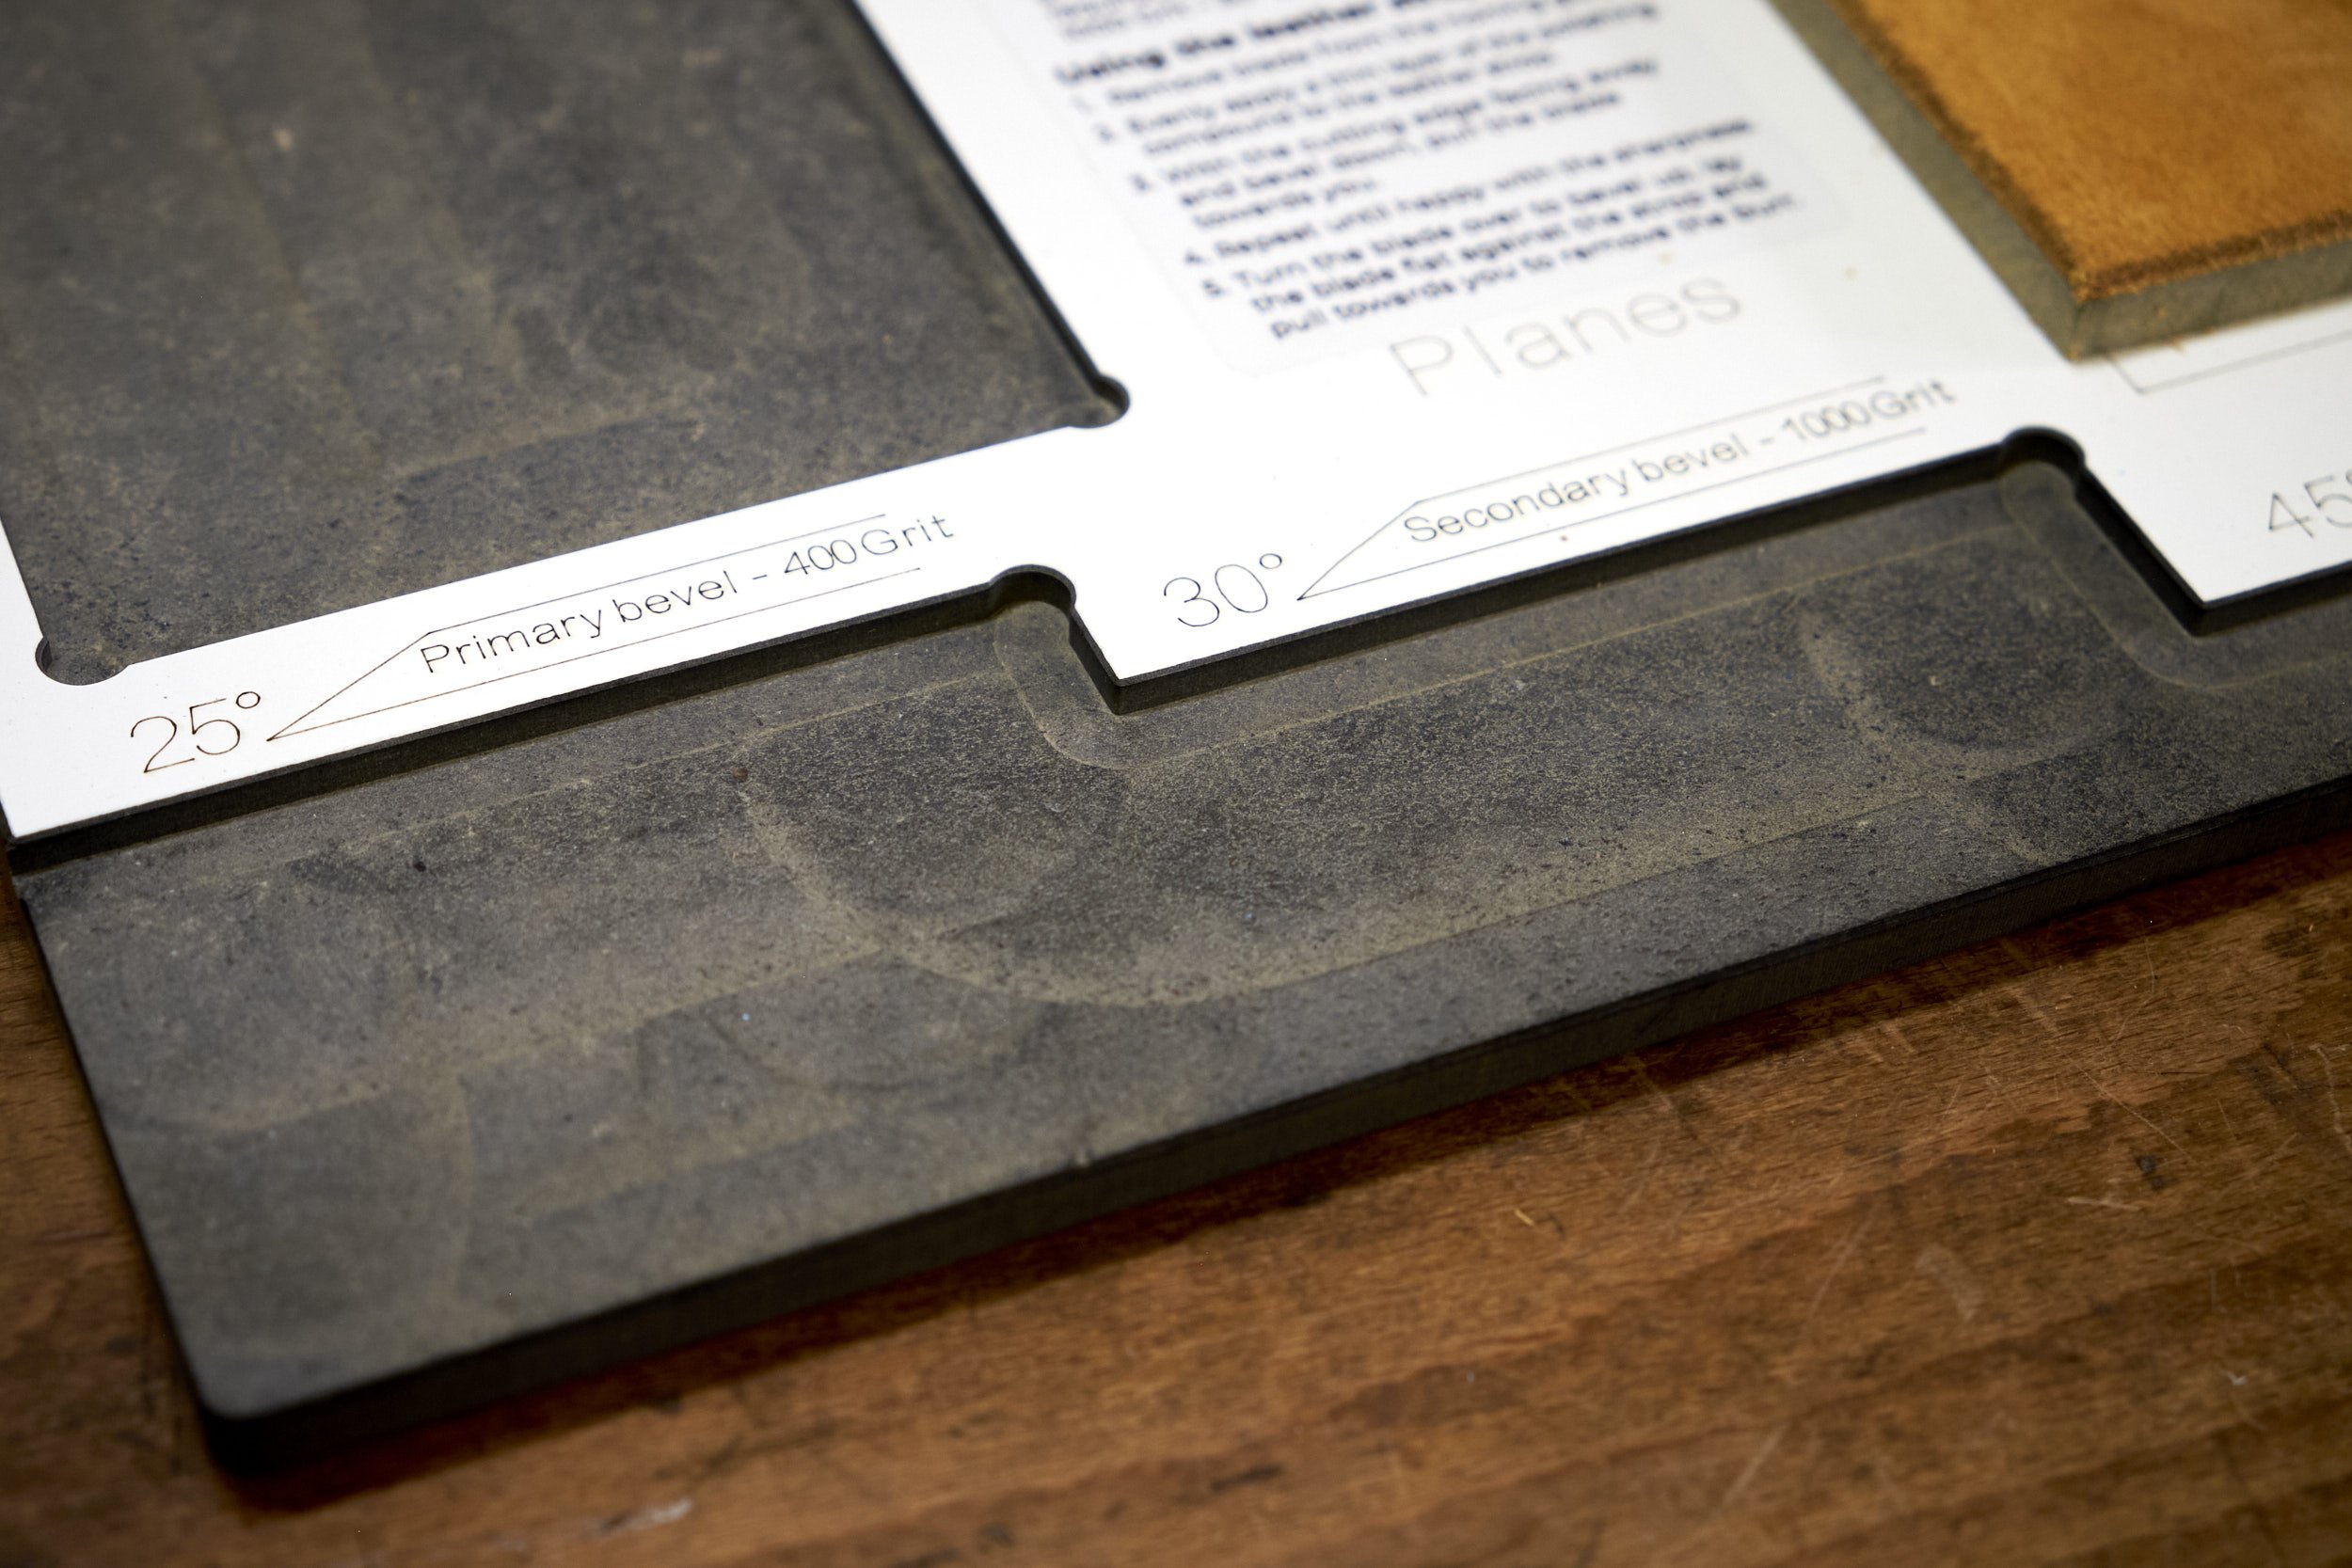
The base seems to be accurately and well machined. I even checked that the recesses cut into the base to set the sharpening angles were square and I can report that they are.
The base stands on non slip feet that seem to grip my workbench well and the base did not move at all during use.
The strop is stuck permanently to the base with what seems to be some form of MDF between the leather and the base itself. This lifts the strop up from the base surface which is something I appreciate when stropping the backs of chisels as the raised strop allows the chisel handle to clear the surrounding work surfaces during the process.
Two minor gripes on the base though.
The first is that the strop is stuck to the base and if you wanted or needed to replace it for any reason, surgery would be required to remove it. The second is that in spite of a line on the base demarcating where the strop should go, it was glued on skew!
Talking about recesses there is one that allows the base of the bench stone to sit and it fits well into its allocated space.
Lastly the instructions for using the kit is printed directly and clearly onto the base. This includes which recess is to be used to set each individual bevel angle, even a 45º angle for difficult grain as well as suggestions on which grit on the stone is to be used for each angle.
There are different settings for plane blades and chisels on opposing sides of the base.
Ask me how I know that the primary bevel angle is about 30º on a plane blade when using the chisel setting!
The base is also waterproof so no need to be concerned if you use some form of lubrication on your diamond stones to remove swarf. I use a window wash solution and avoid getting oil anywhere near my stones.
Honing Compound
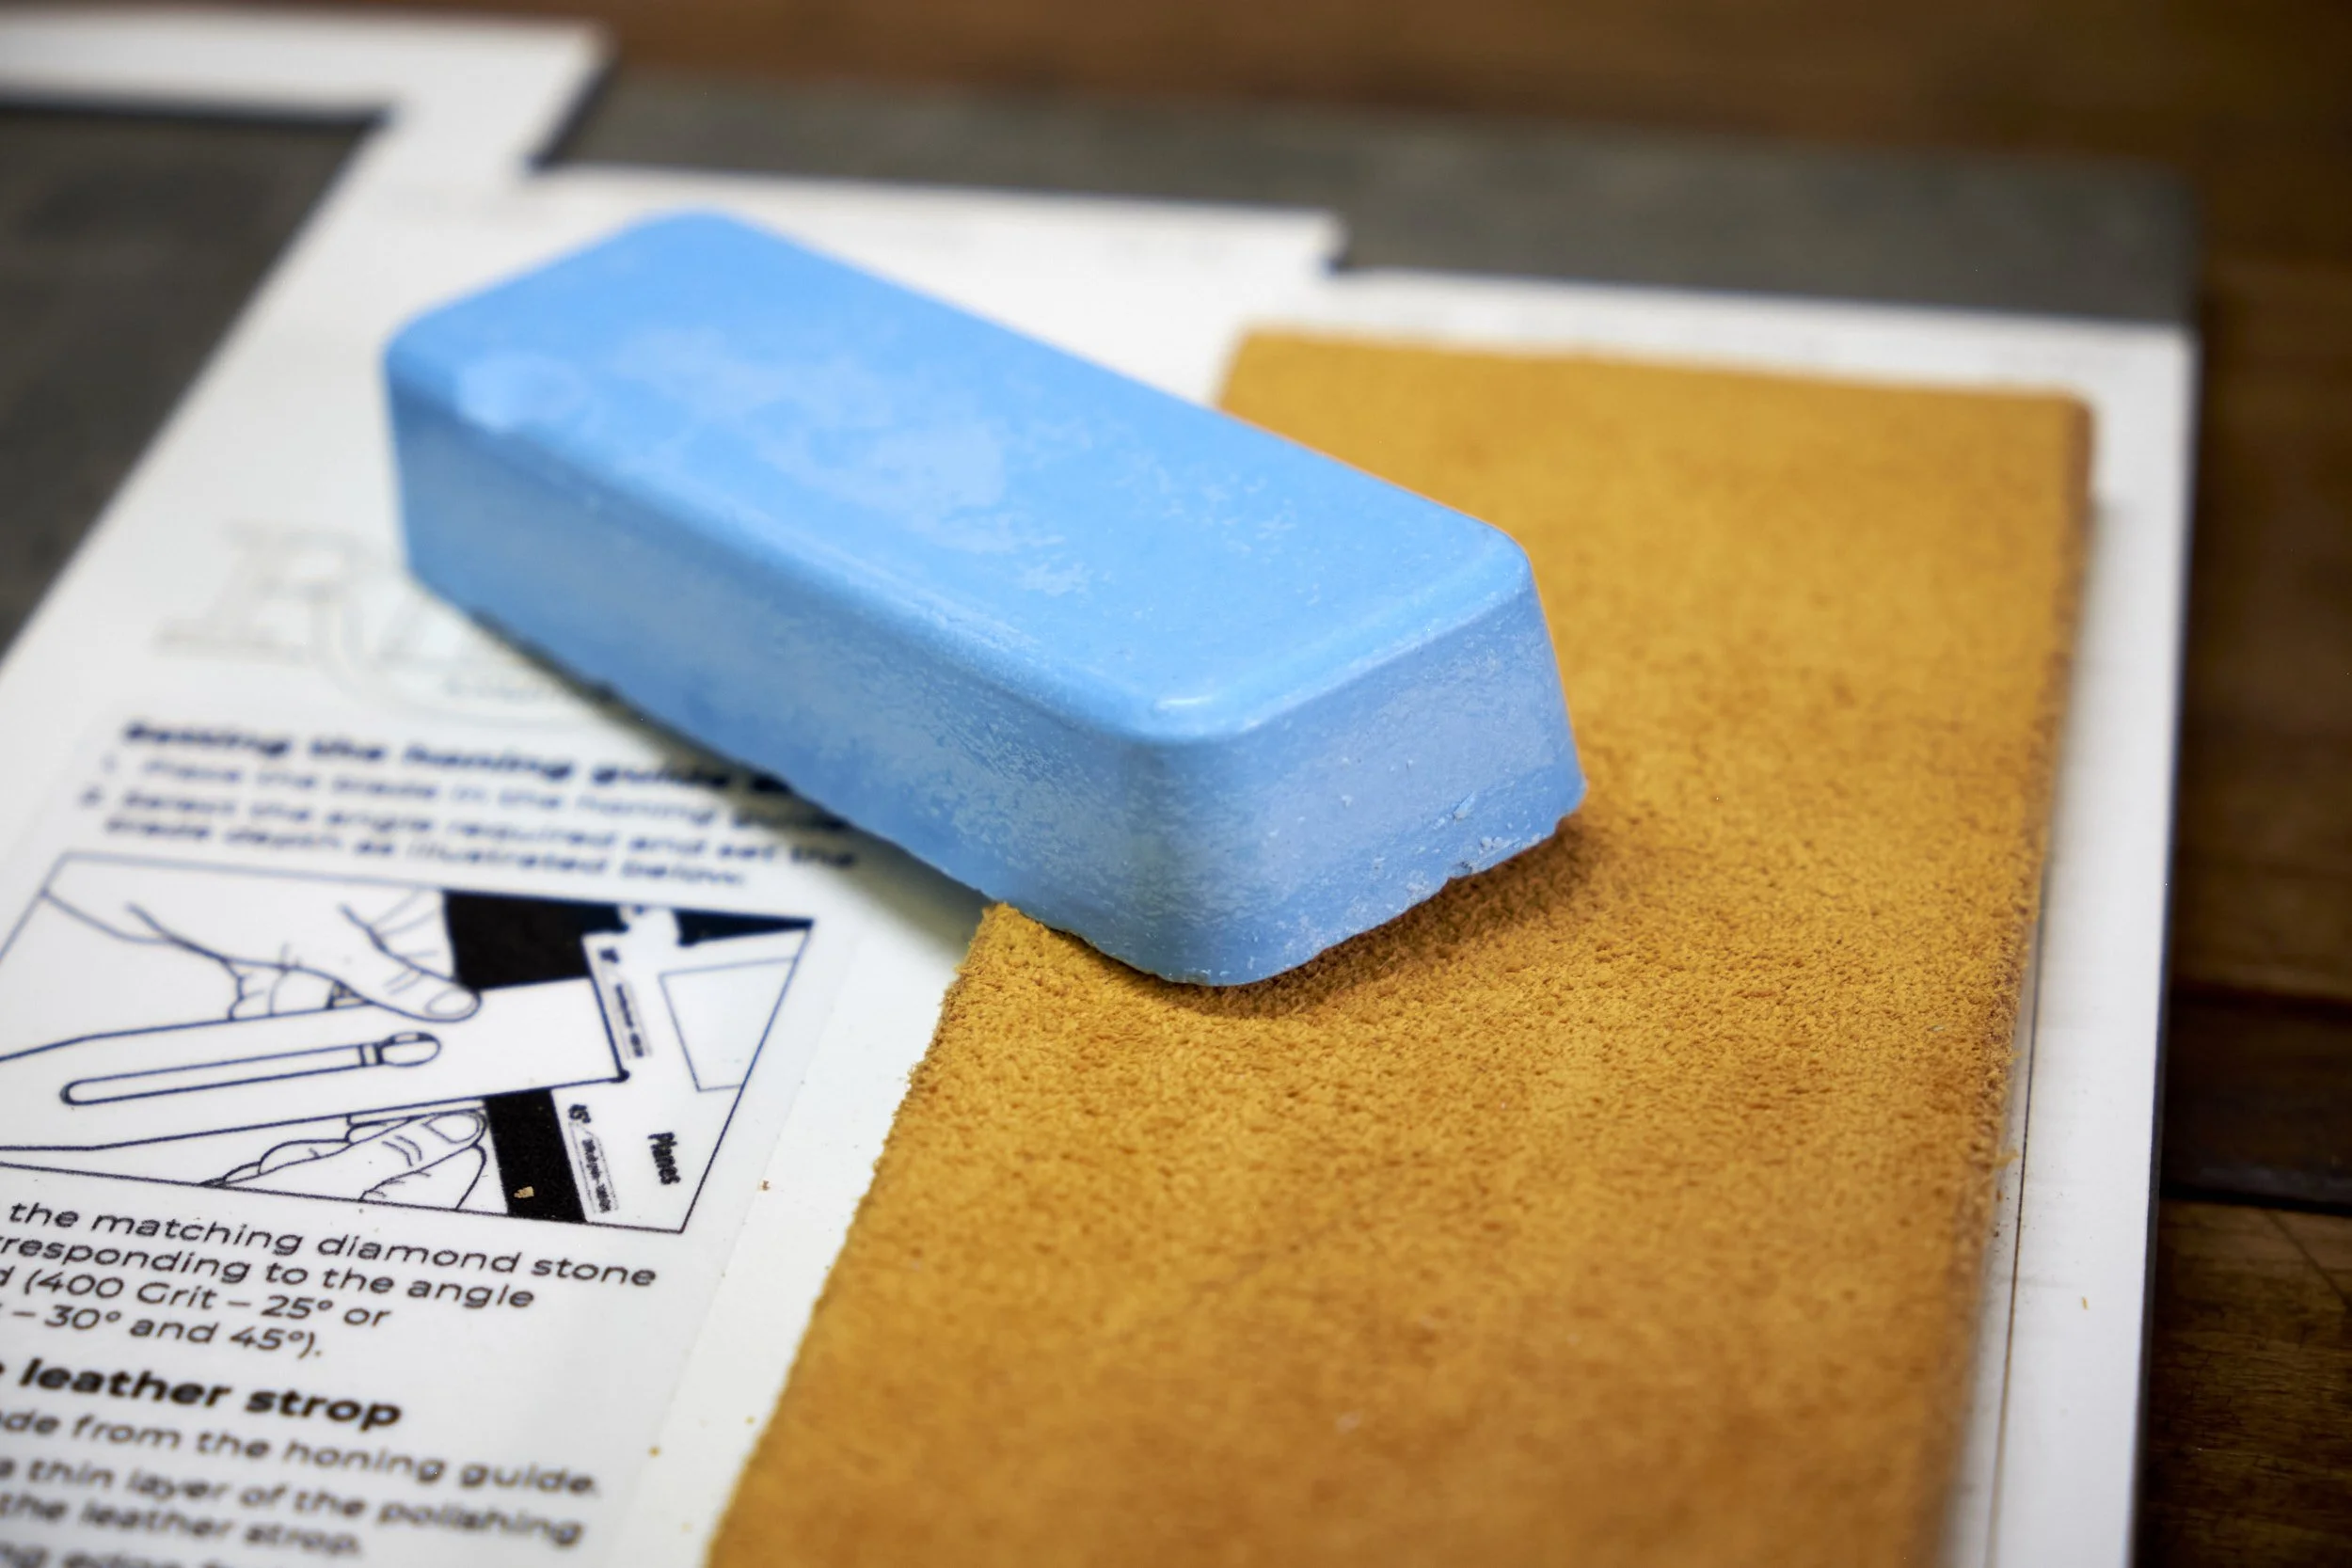
The compound arrives in a paper envelope and measures roughly 100mm x 35mm x 20mm and it is a pretty blue colour.
I have no idea what the grit of the compound is but I can tell you that it is more aggressive than the compounds I already use by virtue of the fact that it seems to remove metal quickly, turning the colour of the loaded strop from pretty blue to almost black with only a few swipes of a blade on the strop.
The compound removes metal so it does what it’s supposed to do.
How Does It Perform
I’ve had the kit sitting on my workbench over the past week and I’ve been itching to try it out. Not needing an excuse to prep and sharpen a few blades on a new toy I had some prep work that needed to be done for the upcoming course anyway so perfect timing all around.
My forearm needed a shave anyway so I locked myself into the workshop and got to sharpening.
Once the kit was unboxed I simply placed the diamond stone, 400 grit up into its rubber stand and then into its dedicated space on the base. Next I loaded the leather strop with compound and gave the diamond plate a spritz of window wash solution from a spray bottle dedicated to that purpose.
Flattening the back of the blade on the 400 grit side of the stone literally took a couple of minutes. The coarseness of the diamond abrasive really hit home and I was surprised at how easy it was to remove metal. I turned the stone around on its stand and I found this process fiddly having to pick the whole thing up to do so. There is no easy way to turn the stone over and some space to get a finger in between the stone and its rubber support would be helpful, we’ll see if this becomes a pain as I start to routinely use the kit in my workshop.
The 1000 grit side also made short work of the 400 scratch pattern and in no time I moved on to the strop. The honing compound in turn wasted no time in removing the 1000 grit scratch pattern, turning completely black after only a few swipes with the blade. In spite of spending extra time on the strop I was unable to polish the back surface of the plane to the mirror finish I’ve grown used to.
On to the primary bevel, and my neglected Eclipse honing guide had to come out of storage for this step.
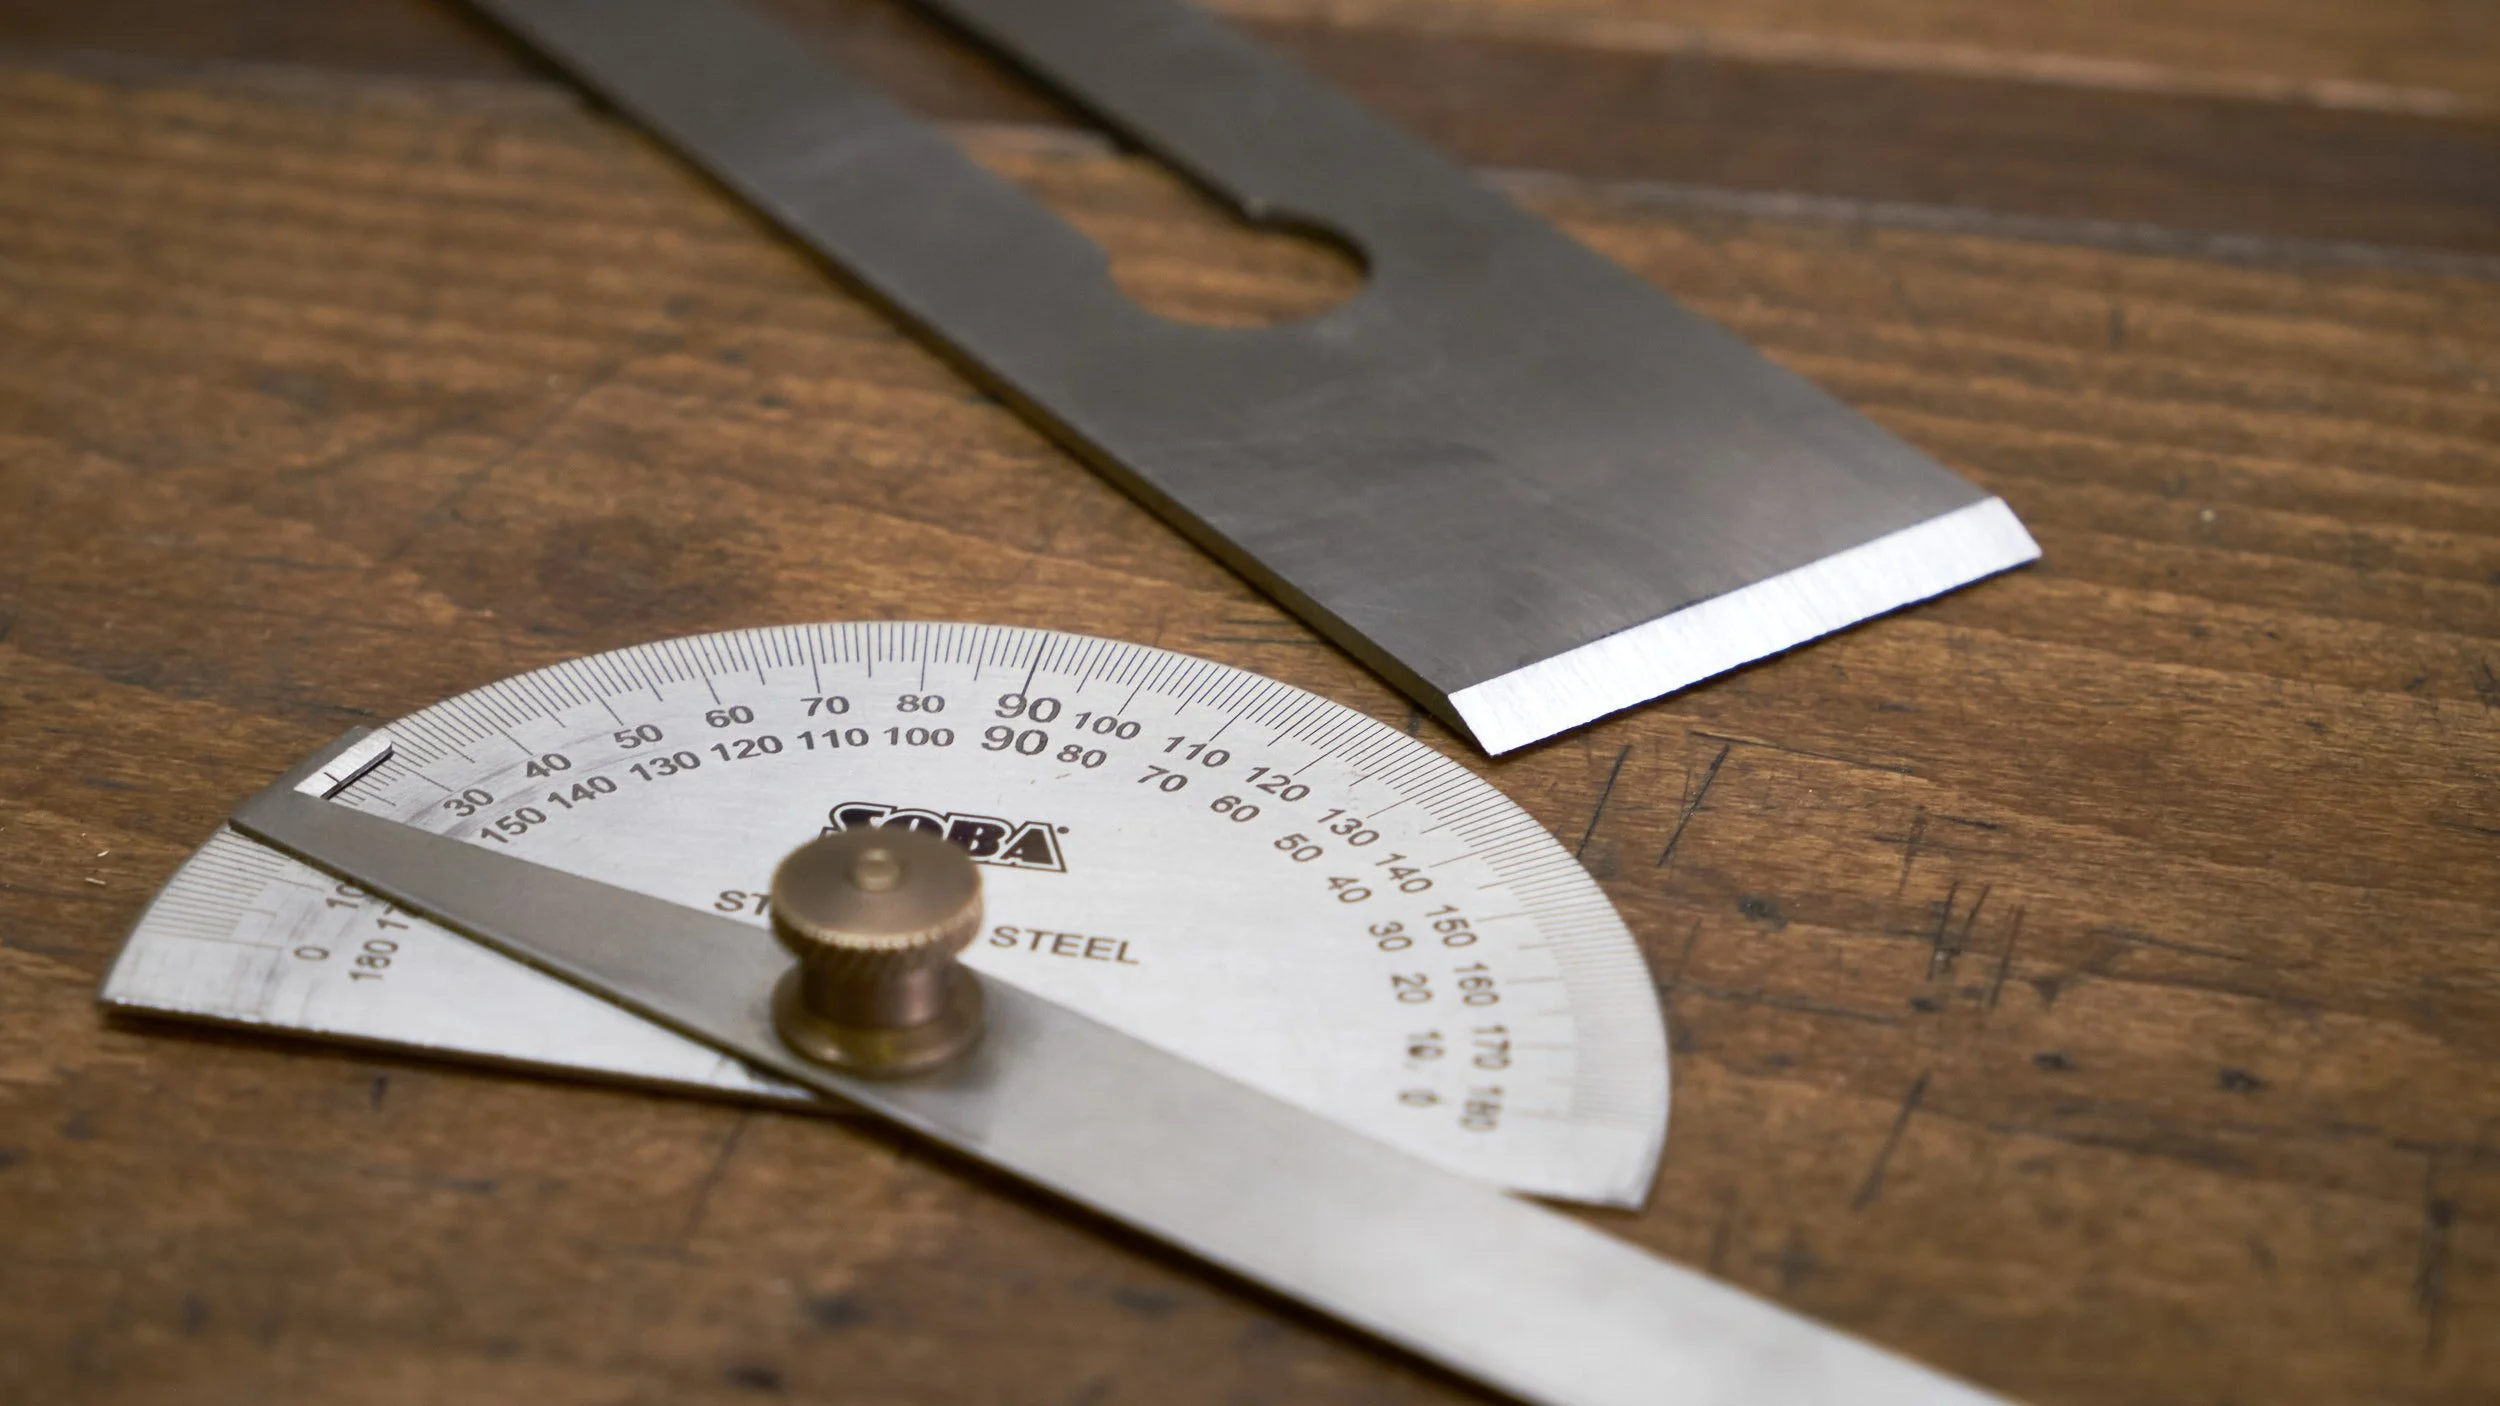
Using the indicated recess to set the blade in the guide I shaped the 25º primary bevel in no time at all. Considering that I had to fix a bevel that was first shaped using the chisel setting the process of shaping the correct angle was surprisingly quick! More importantly though was that the bevel measured almost exactly 24º on my trusty protractor once I had it fixed and this told me that the set up recesses on the base were accurate.
I then shaped a very small secondary bevel using the 1000 grit side of the stone before moving on to the strop for a final hone and polish which was a rather messy affair with the honing compound crumbling off the strop as I honed the blade. I’m hoping that this will improve as the strop gets saturated with the compound.
All done I confirmed sharpness by removing some forearm hair as is tradition. However, considering that it only impresses people during demos, the true test of sharpness is the finish it leaves on wood. Due to its proximity to my workbench the wood to be tested happened to be some red oak and as soon as I had the blade installed and set into one of my homemade wooden hand planes I took the plane to the wood and in short order had satisfyingly even shavings coming off the surface of the test piece.

So the blade cut, but what was the finish like?
Not so smooth I’m afraid, perfectly clean to the eye but not to the touch at least not to the level I am used to.
I took the blade back to the strop and tried again, with the same results. I also used a hand plane sharpened on my normal setup just to check if it wasn’t the wood and the final finish was somewhat smoother.
Now, before you cancel your order for the kit or leave a comment on Axminster’s website saying that I said, consider this.
The Axminster diamond bench stone, as with all diamond stones will cut aggressively as long as it is new and it will get worn during use. This will most certainly result in a finer cutting edge on blades sharpened on it and a finer edge on a blade results in a smoother finish on the workpiece.
A blade sharpened using this kit is sharp, it cleanly removes arm hair and makes shavings. The result may at this time not be mind blowingly smooth but it is completely functional and I would have no issue building a piece of furniture using blades at this level of sharpness.
This kit simplifies the process of sharpening a blade significantly, especially for beginners and if nothing else it shows the woodworker what a sharp blade looks and feels like. Personally, after teaching a few guys how to sharpen a blade I find this to be the single most critical hurdle to cross and once they experience what sharp is it becomes easier to learn how to sharpen a blade knowing what you need to aim at.
This kit will get your blades sharp and I believe it may even shorten the learning curve to hand sharpening without a guide. If you get it wrong you have the tools on hand to reset your blades and you can simply begin again.
This is not the end of the story.
I will be using this kit exclusively in my own workshop over the next few months and I will follow up this first look with a more detailed review in time.
If you would like to keep up with any updates related to this sharpening kit and how I get on with it, be sure to sign up for my newsletter here to get monthly updates straight to your inbox. If you sign up you will also get EXCLUSIVE access to my free plan page and by the time you read this I would have loaded the next plan onto the page. This one will show you how to build a nifty magnetic fence that will help you make straight cuts with a hand saw, Western or Japanese.
Remember, chasing grits while sharpening isn’t worth the effort or the cost. Sharpening a blade to eighteen gazillion grit brings little practical advantage in the workshop other than bragging rights!
Be safe and see you at the next one which will be all about how I go about designing and building knock down furniture.