
Jointer Blade Installation and Alignment
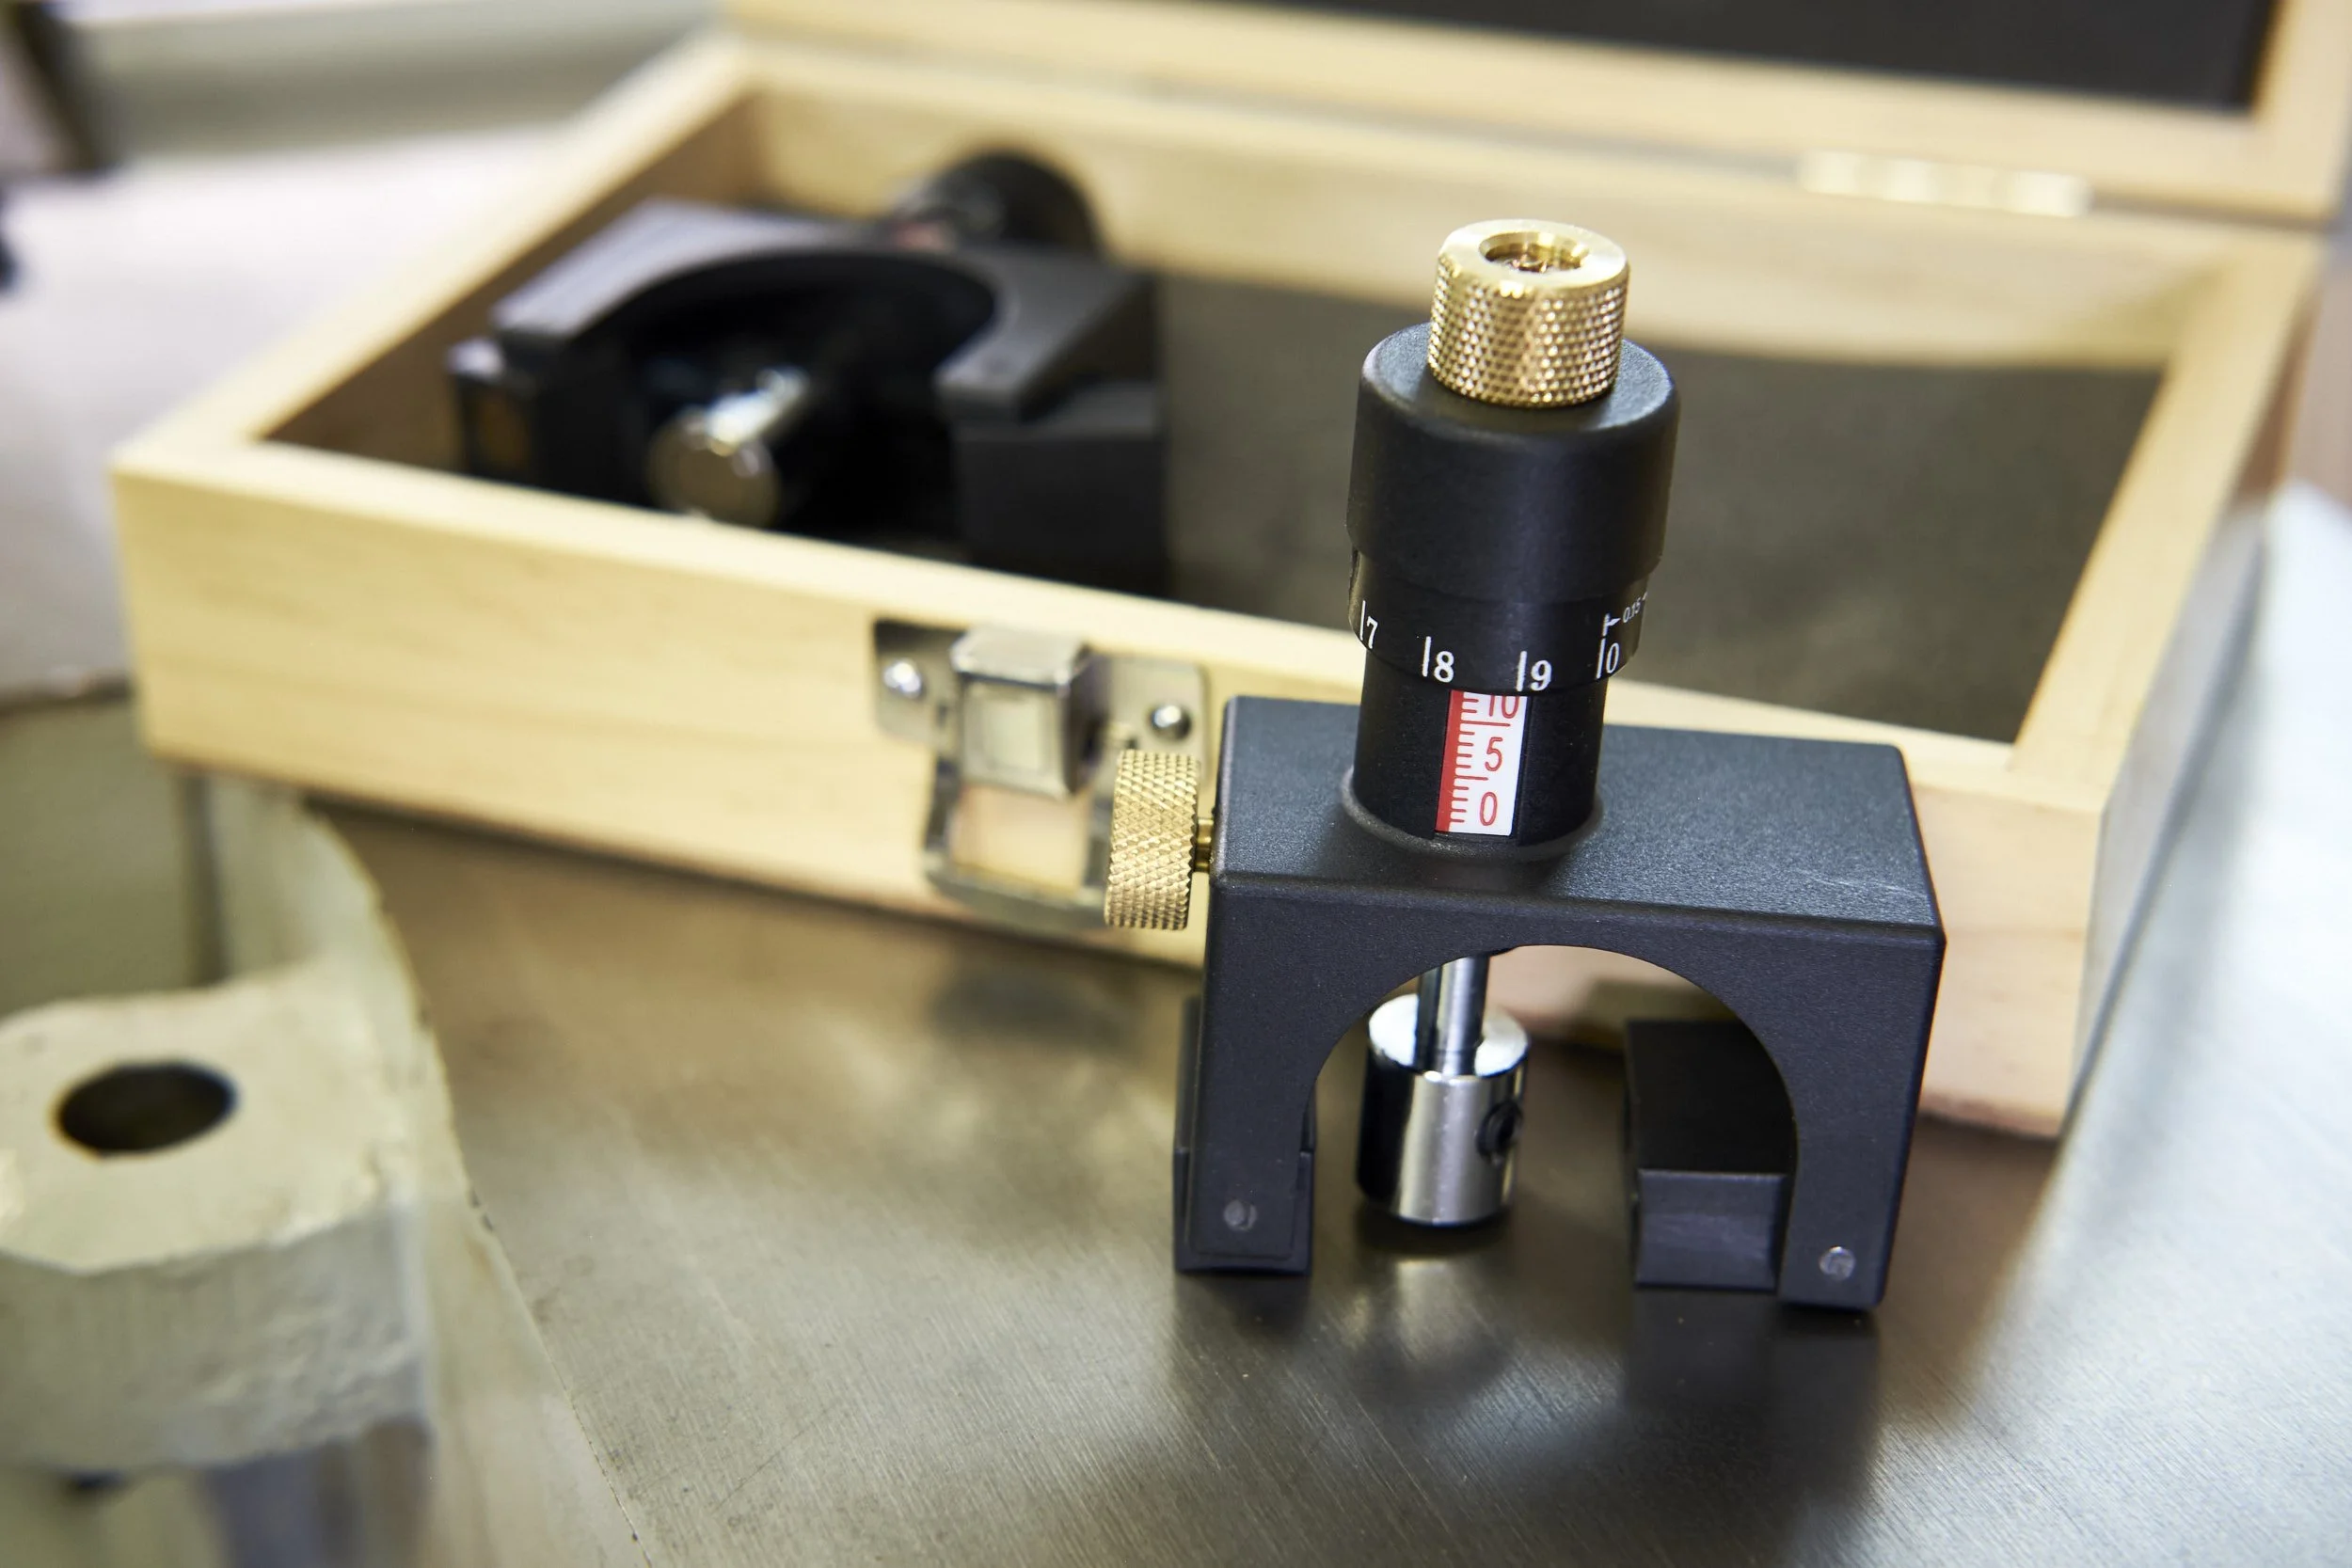
Blades sharpened, tables coplanar we now move on to blade installation, set up and final checks.
If I were to list the importance of the three topics covered in these jointer posts, I would place blade installation and alignment at the top with sharpening a close second and getting the tables coplanar last.
Where tables aren’t exactly coplanar they are usually only marginally out which is something one may not even notice on the lumber processed. We fix it because we want an accurate base to work from but unless the alignment is completely out of whack it remains in third spot. At least in my books.
Sharpness is important in the sense of finish and to some extent safety but considering that the jointer is a rouging tool I’m not too fussy about finish as long as it’s not atrocious. Safety is always front of mind and when the stock gets hard to push over the blades as a result of bluntness they will be swopped and sharpened irrespective of the finish.
Blade installation and alignment potentially has the greatest effect on the dimensional quality of the lumber coming off the jointer and this is after all the reason we use the machine! This is also the place where the machine can hurt you in spite of adhering to all the other safety requirements.
Step 1: Prep
I run through this procedure at least once a year or more if the machine has been working hard between blade changes.
NOTE - Not all machines are the same and do not use the same systems to secure blades to the cutting head. Make sure you familiarise yourself with the user documentation of your own machine to ensure that blades are placed and secured in line with the instructions of the manufacturer.
ENSURE that the machine is disconnected from any power source before attempting any operation or maintenance on any part.
Following these steps will make your life easier down the line, this is how I go about it on my machine.
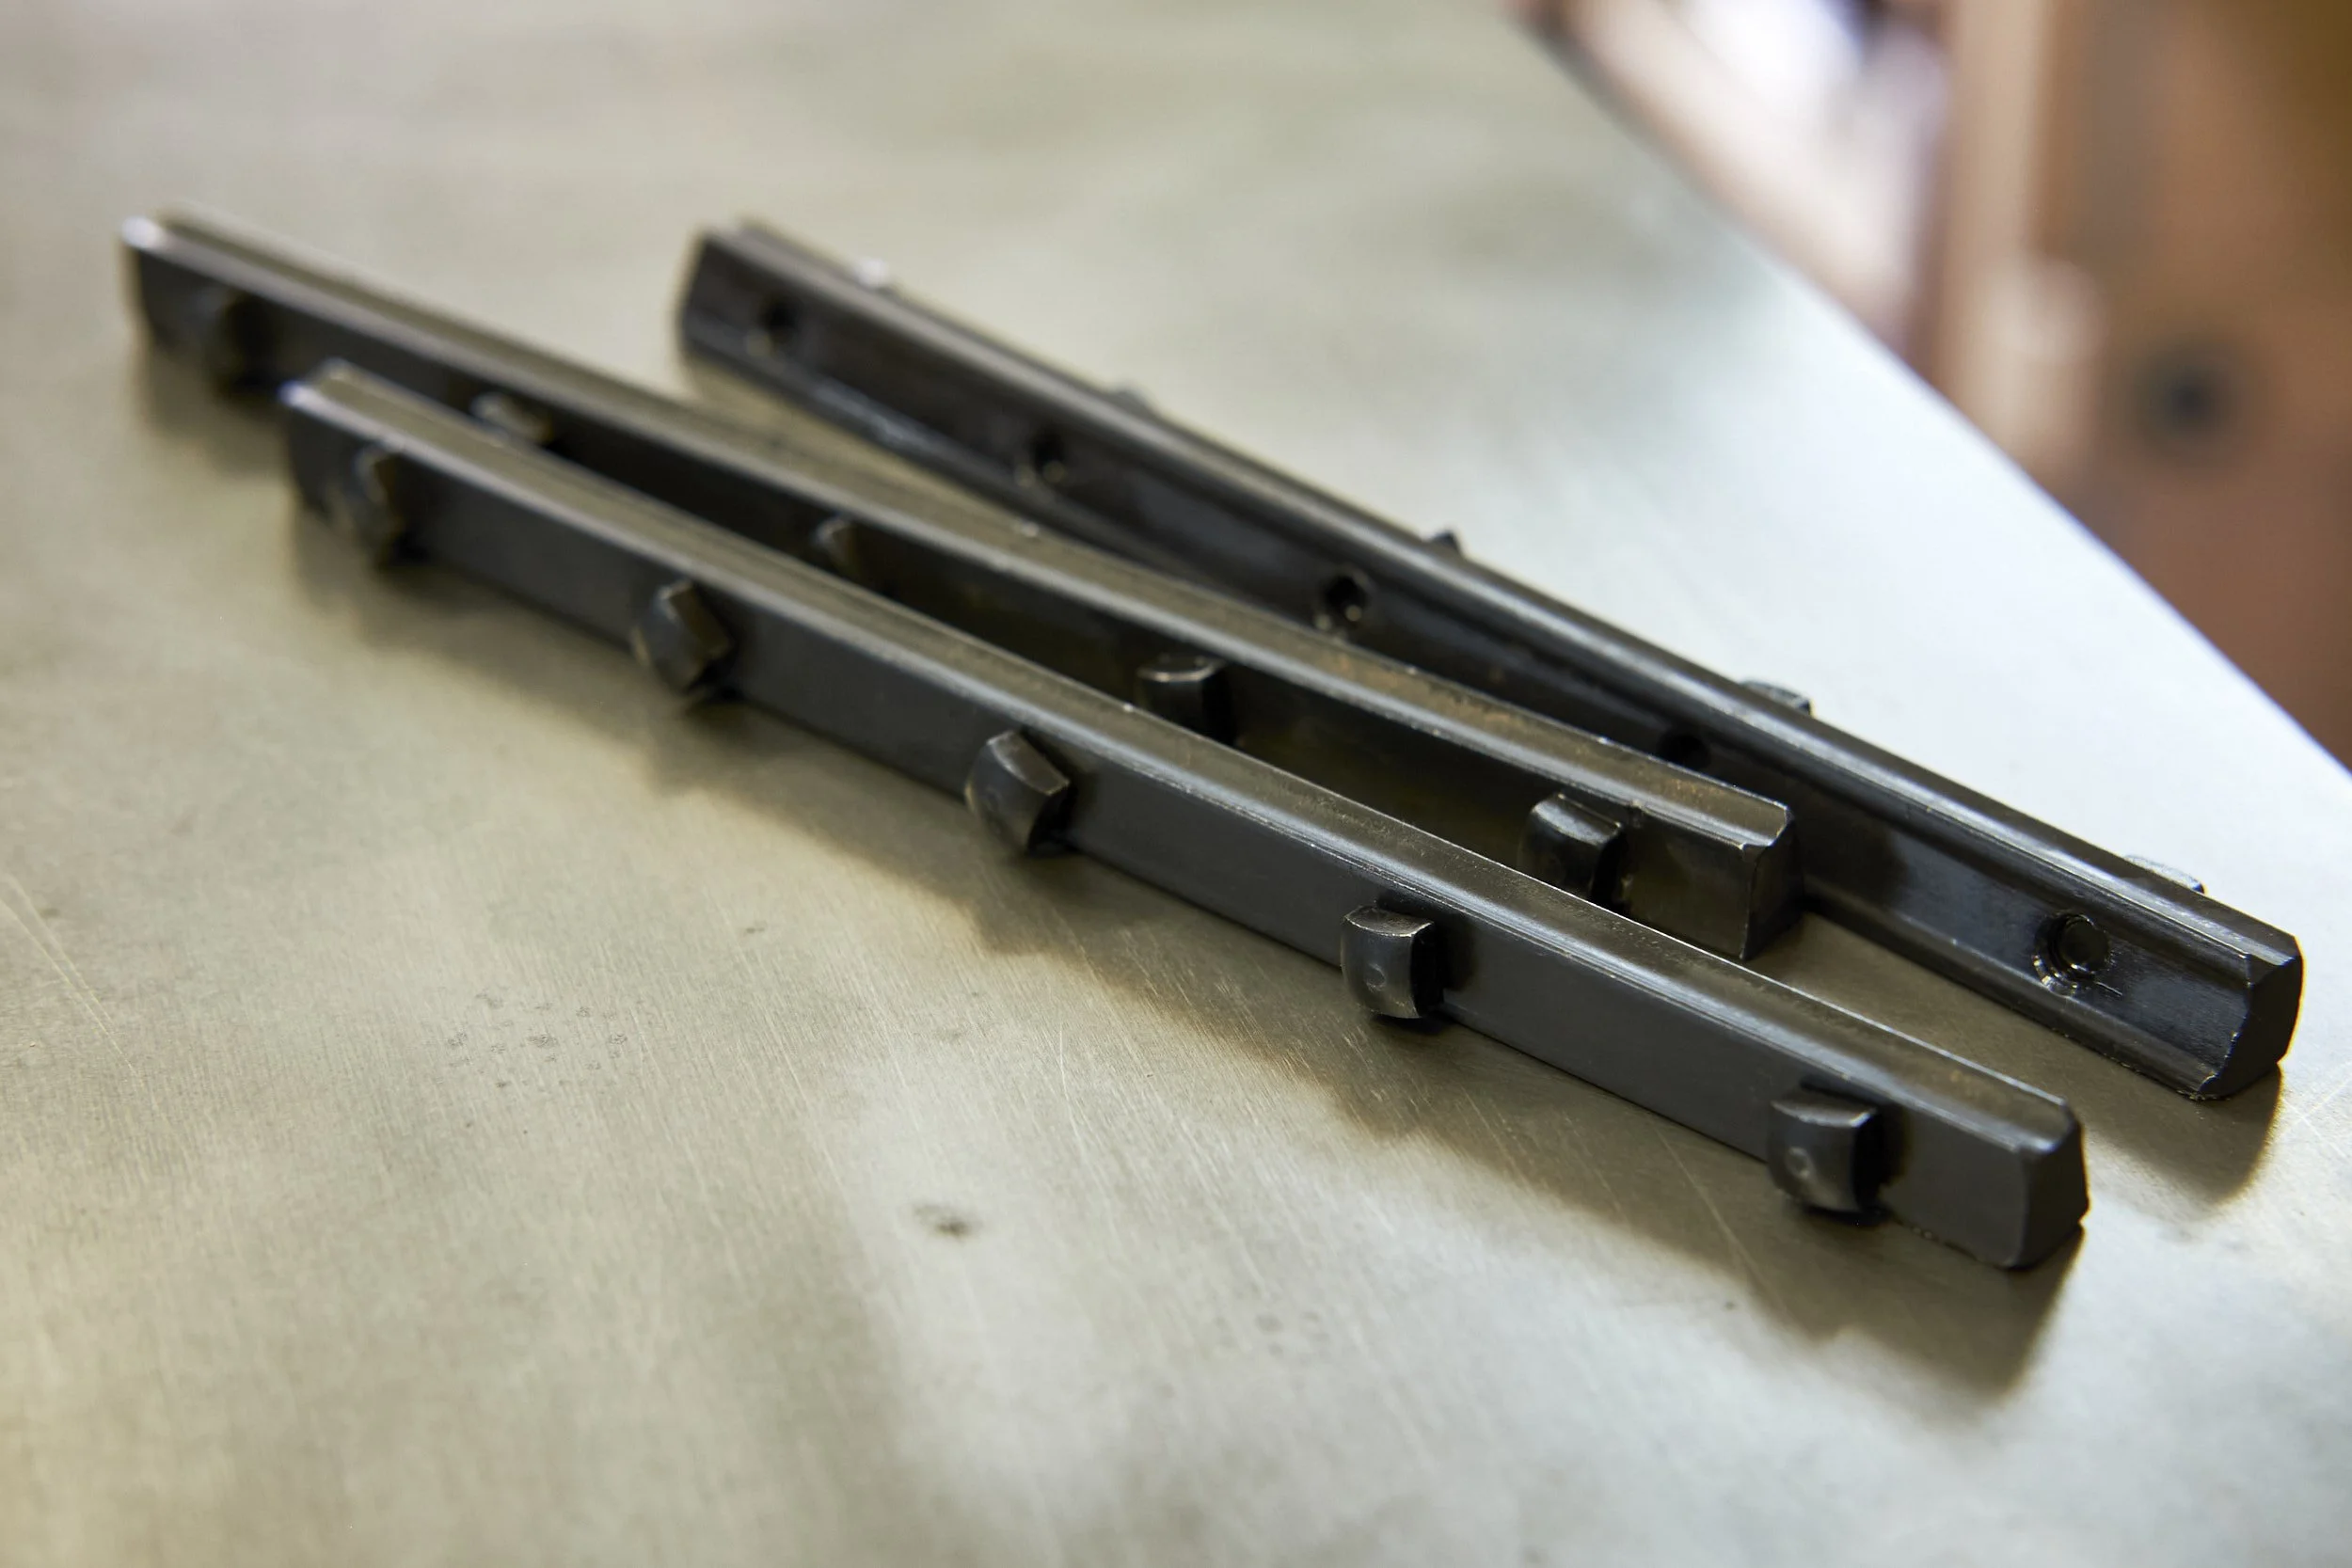
Remove blades and their retaining hardware from each position on the cutter head (these will already be removed if you’ve started with the alignment and set up process detailed in the previous post).
Clean all components thoroughly with an appropriate cleaning agent especially nuts, bolts or screw threads and holes, I revert to mineral turpentine and an old toothbrush if there is gum or stubborn grime to get rid of.
Avoid water as this may cause rust.
Dry everything after the cleaning process.
Give all clean parts a light coat of light machine oil before re-assembly. This will include the blade recess on the cutter head as well as the head itself.
During the oiling part pay special attention to getting oil into the threads of any bolt or screw as well as its corresponding hole.
The purpose of the oil is to protect parts and ease the cleaning process next time. The secret here is a light coat using light oil! Anything over the top will cause an excess build up of dust and will defeat the purpose.
Pro Tip: Be sure to remove all loose parts, especially small ones, before rotating the cutter head to access the next blade. Having to get into the innards of the jointer to fish out small parts that has dropped inside is no fun!
Next step.
Step 2: Blade Installation
NOTE - For this step I refer you back to your user manual and the specifics of the blade retention system of your own machine.
In the intro I mentioned that this final step in the machine’s setup also has a safety component and it is during blade installation that it becomes especially important. Although you could very easily slice an appendage on a sharp blade during this process I am more concerned with securing the blade in a manner that will not allow it to come flying at you during operation!
A blade partially worked itself loose on my machine recently and I now pay a lot more attention during the process.
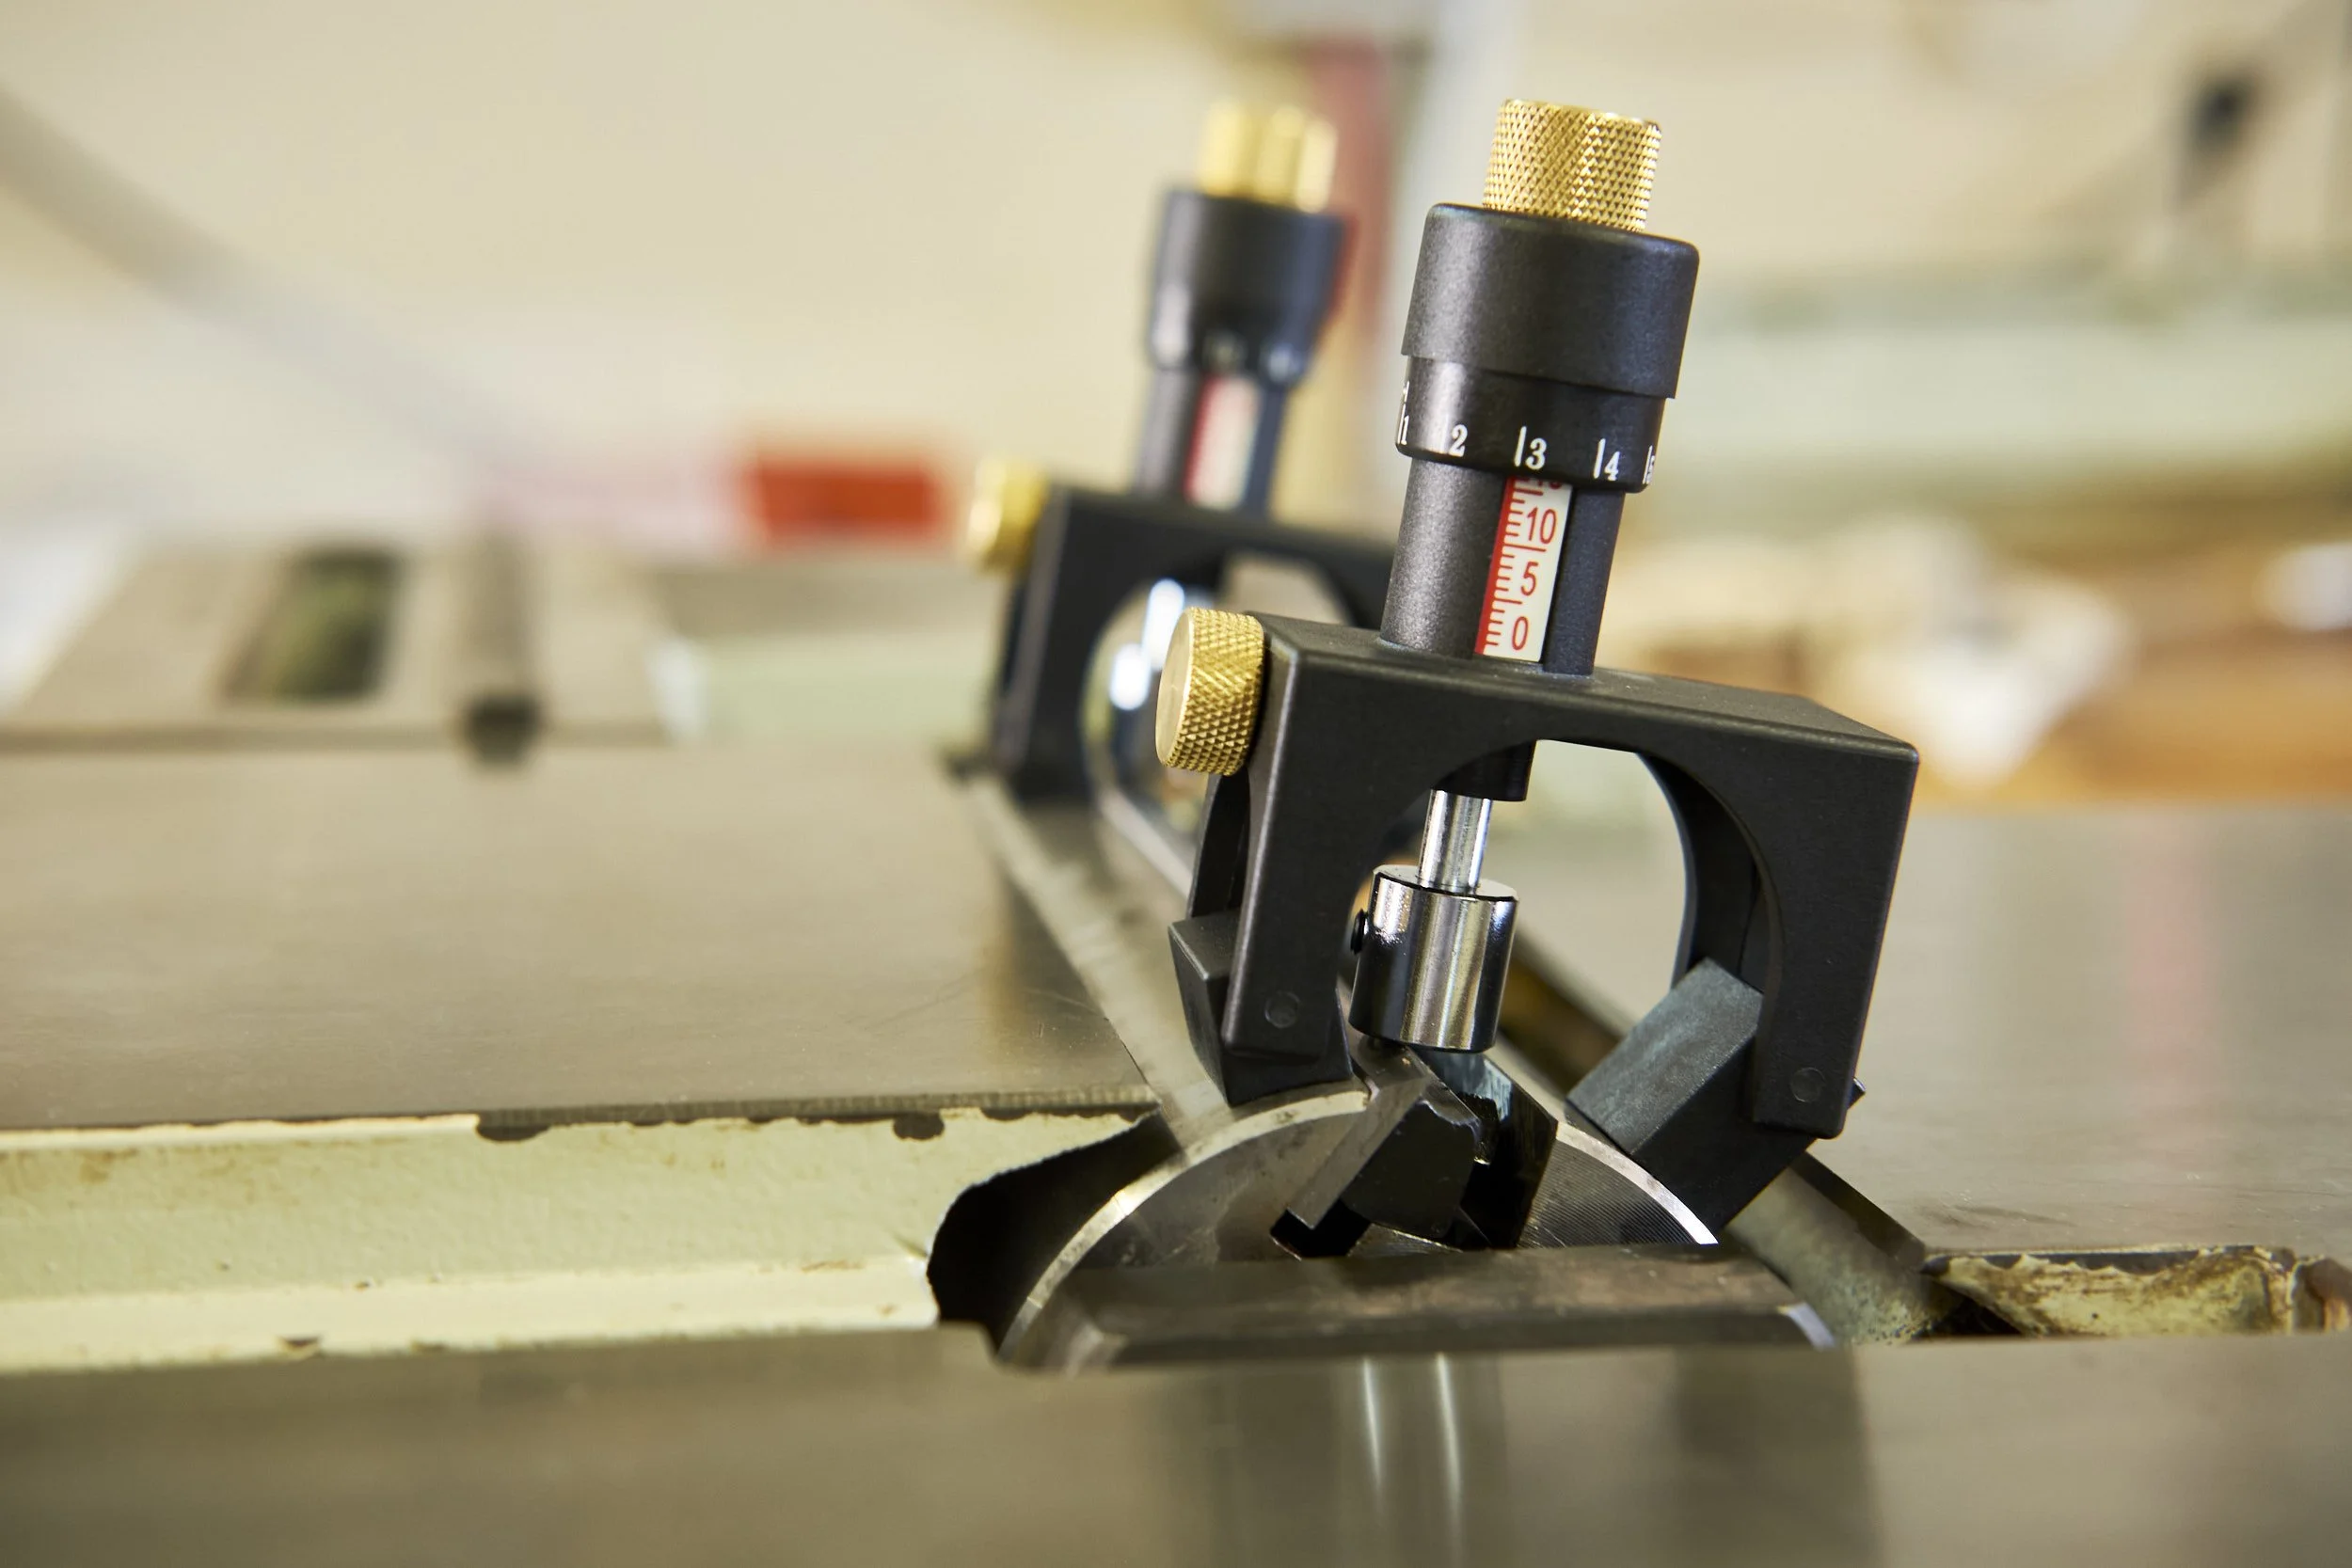
The new blade alignment jigs make the process a doddle and the fact that one can do micro adjustments becomes especially useful later when making corrections. They also allow the setting to be fixed for left and right respectively on different tools which allows consistency in setup - just keep track of which tool goes on which side!
This is how I go about the process of installing the blades.
Drop the in-feed table down as far as it will go. This exposes the cutting head so that the table doesn’t obstruct the placement of the jigs once the blades are installed.
Install the blade as deep into its individual recess as it will go and secure in place.
Do not tighten the tensioning bolts on the very ends, you will not have access to these once the jigs are installed. In my case it will be a single bolt at either end of the retaining bar.
Install the correct alignment jig at either end of the cutter head so that they straddle the blade as directed in the user manual for the jigs.
Hold the blade down using a small block of wood (avoid using fingers) while loosening the tightened tension bolts.
Carefully ease the blade up until it comes to rest against the stops of the jigs on either end of the blade.
Retighten the loosened tension bolts to secure the blade.
Remove the jigs and tighten the remaining bolts that you did not have access to previously.
Move on to the next blade and repeat.
With all blades installed go over each bolt again to ensure that they are all tight - I skipped this step on the occasion that the blade shifted in use.
Pro Tip: Number each blade with a permanent marker. This will help you keep track of which blade position needs further alignment in the next step. I keep the marker handy to mark the end of each blade that fails the check, this allows me to keep track of the positions that need adjustment.
Step 3: Check
For this step you will need a section of lumber in roughly the following dimensions 300mm x 50mm x 25mm, it also needs to be nominally straight, flat and square.
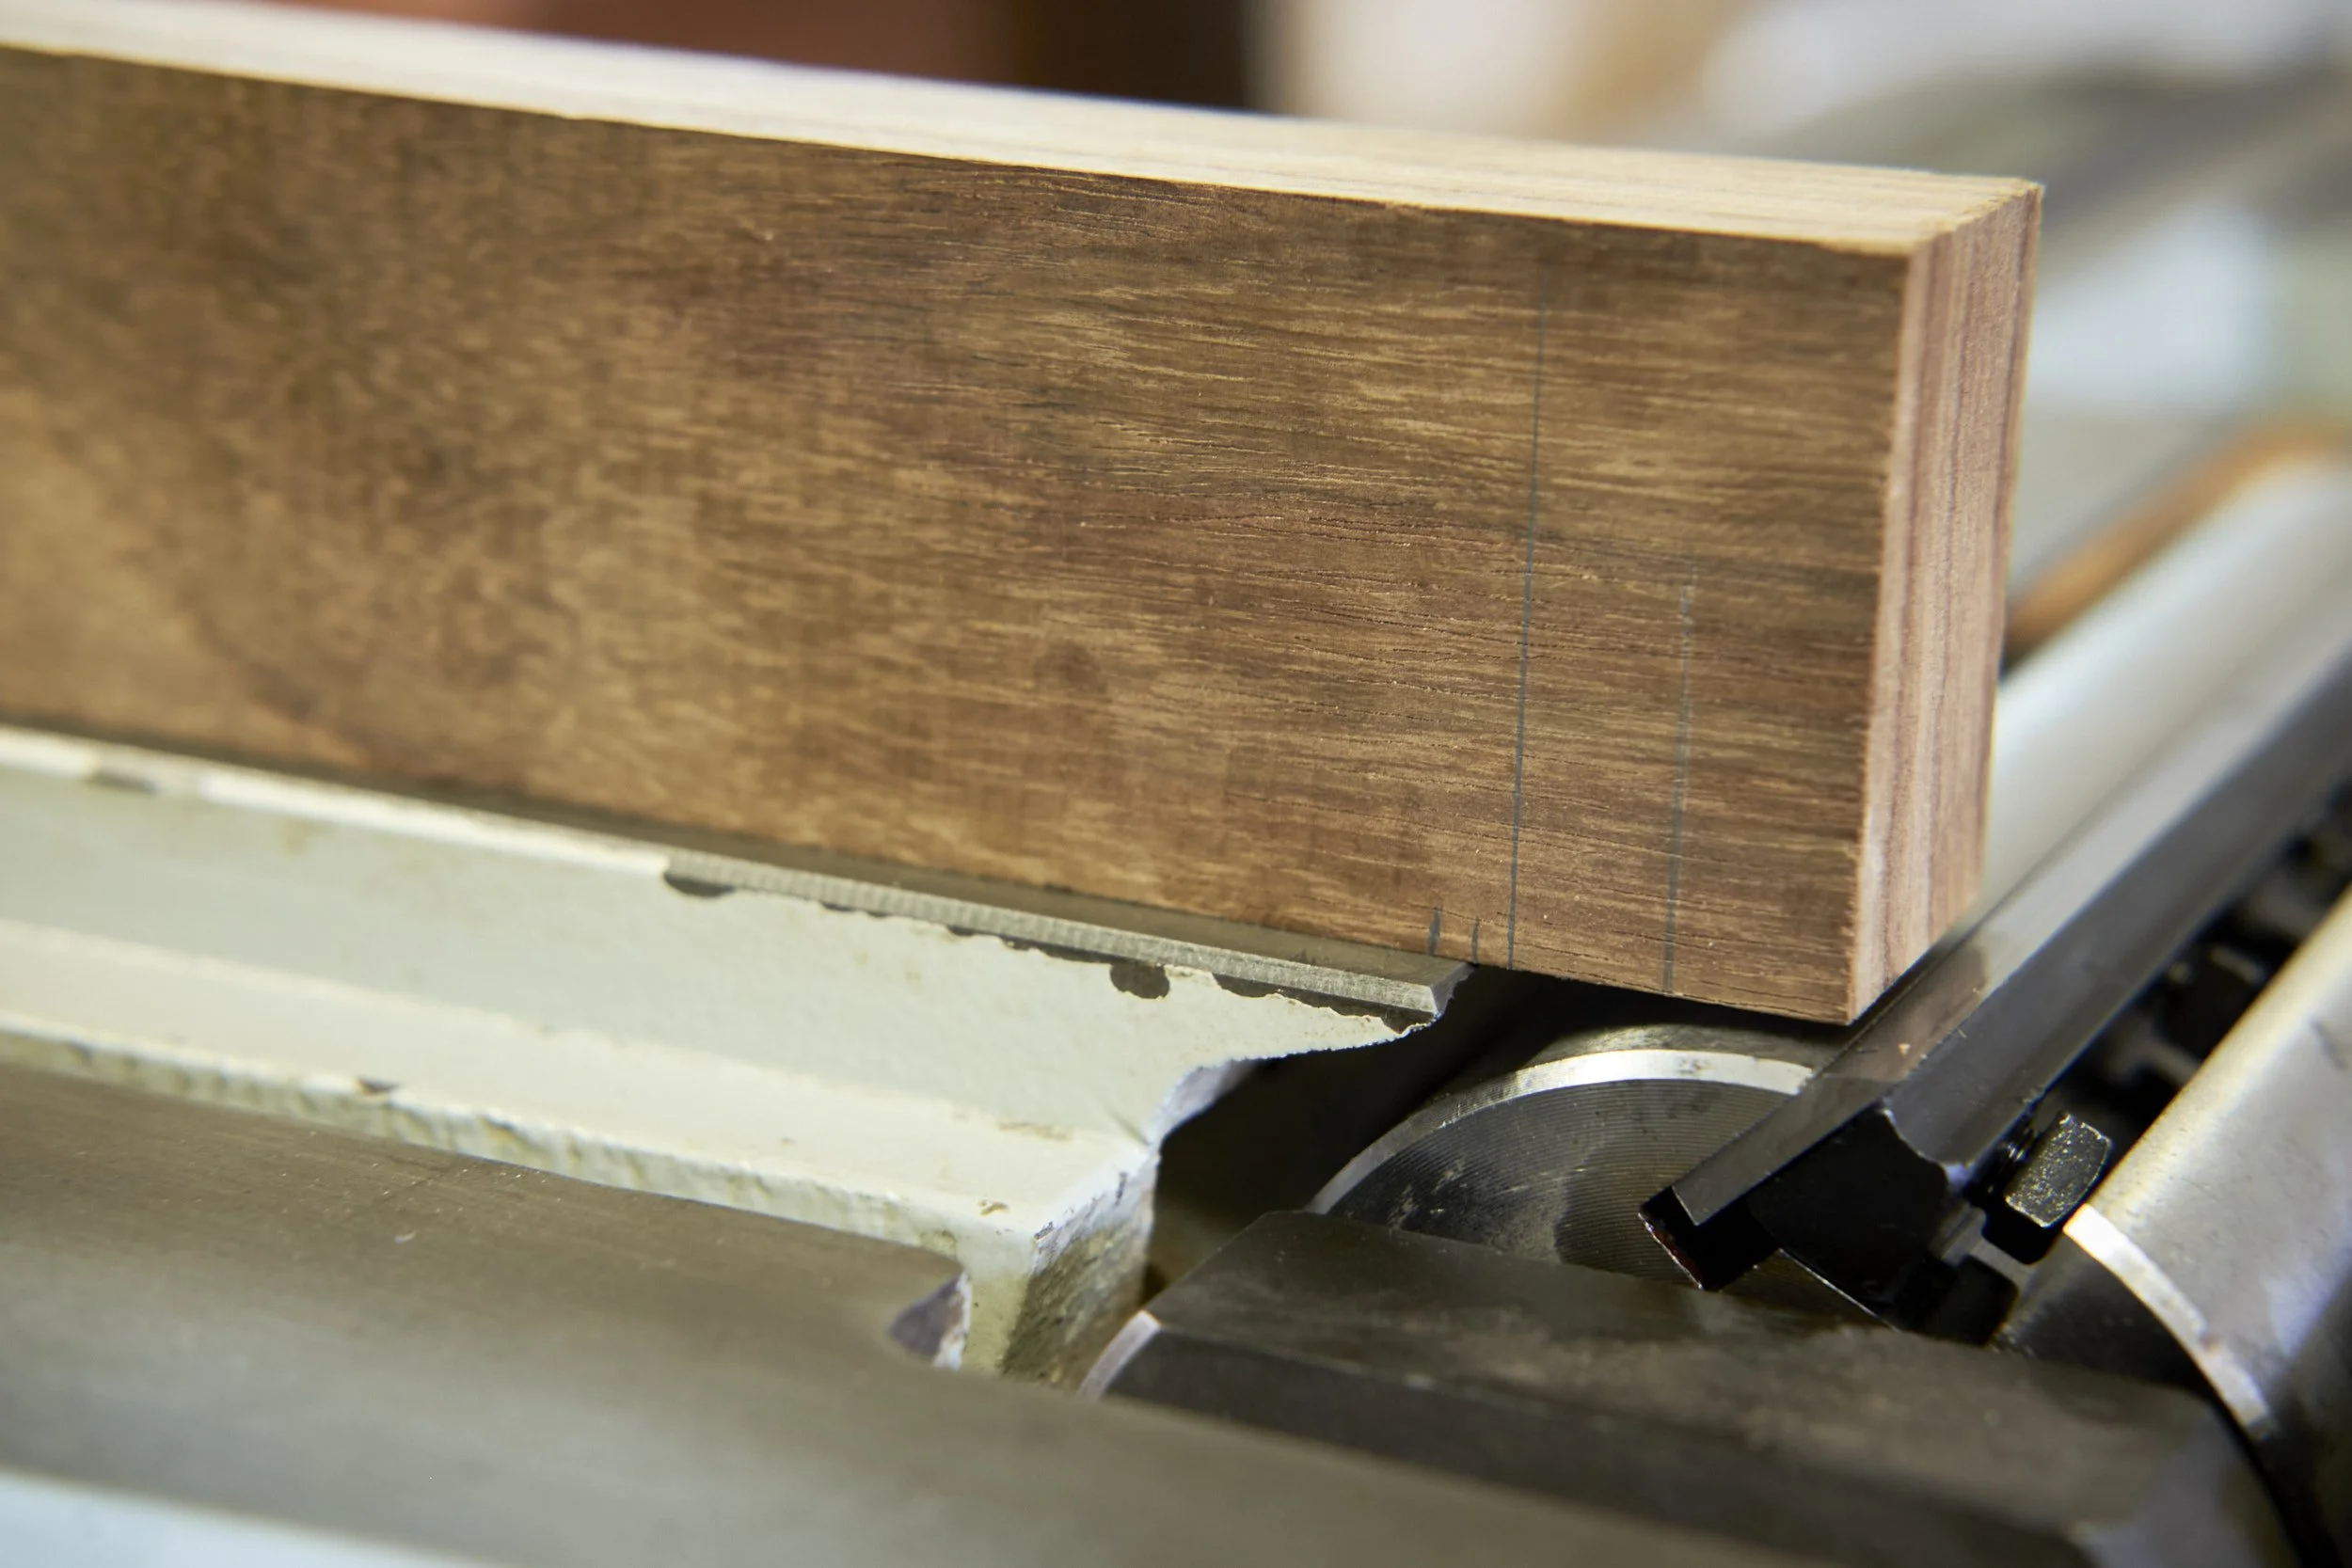
Raise the out-feed table above the cutting head and place the test piece on edge onto the out-feed table such that the end overhangs the position where the apex of the cutting edge of the blade will pass during rotation.
Lower the out-feed table so that the blade will just miss the test piece as it passes under the wood, check that this is the case on the other end of the same blade as well. If not, raise the out-feed so that it will miss the bottom of the wood.
You did number the blades didn’t you?
Position the cutting edge of the blade behind and below its apex when rotated.
Now position the lumber so that the end overhangs the apex of the blade’s rotation by around 10mm and make a mark on the wood to indicate the position of the front edge of the out-feed table.
Decrease the hight of the out-feed table very slightly and move the blade “forward” by manually turning the cutting head by hand.
Repeat this process until the edge of the blade “grabs” the bottom surface of the alignment workpiece, lifts it slightly and pulls it forwards before dropping it back down onto the out-feed table.
Do not put any pressure on the wood during this process it should be moved freely by the motion of the blade.
Use a pencil to make a mark on the wood to indicate the new position of the front edge of the out-feed table.
Measure the distance between the two marks, I aim for 3mm or less.
If the gap is more than 3mm the out-feed table is too low in relation to the cutting edge and the table needs to be lifted until you hit the 3mm gap between the lift and drop lines.
If it moves less than 3mm but still moves, no further adjustment is required.
Next, check the opposing corner of the same blade before moving on to the next blades.
At every check position make sure to rotate the cutter backwards before the wood is placed on the table, this ensures that the blade picks up the test piece on its forward motion. Position the first mark on the test piece so that it lines up with the front edge of the out-feed table.
Slowly rotate the cutter forward and allow it to pick up the wood and move it forward.
Check where the wood lands and if within the 3mm tolerance move on to the next position, remember to check both corners on each blade.
Where the wood gets moved too far or not at all make a mark on the offending corner of the blade using a marker.
If all the positions look good you can skip the next step and head to the final section, if not, read on.
Step 4: Correct
If the test piece is moved too far by the blade or not picked up at all, some adjustments become necessary. To fix any errors or combination of errors you need to keep track of the discrepancies observed and the marks you made in the previous step will become in useful.
In this step I focus on adjustments to the depth of the blades and I will be using the alignment jigs to do so. Raising or lowering the blade uses the same steps, the jig setting determines the direction of the adjustment.
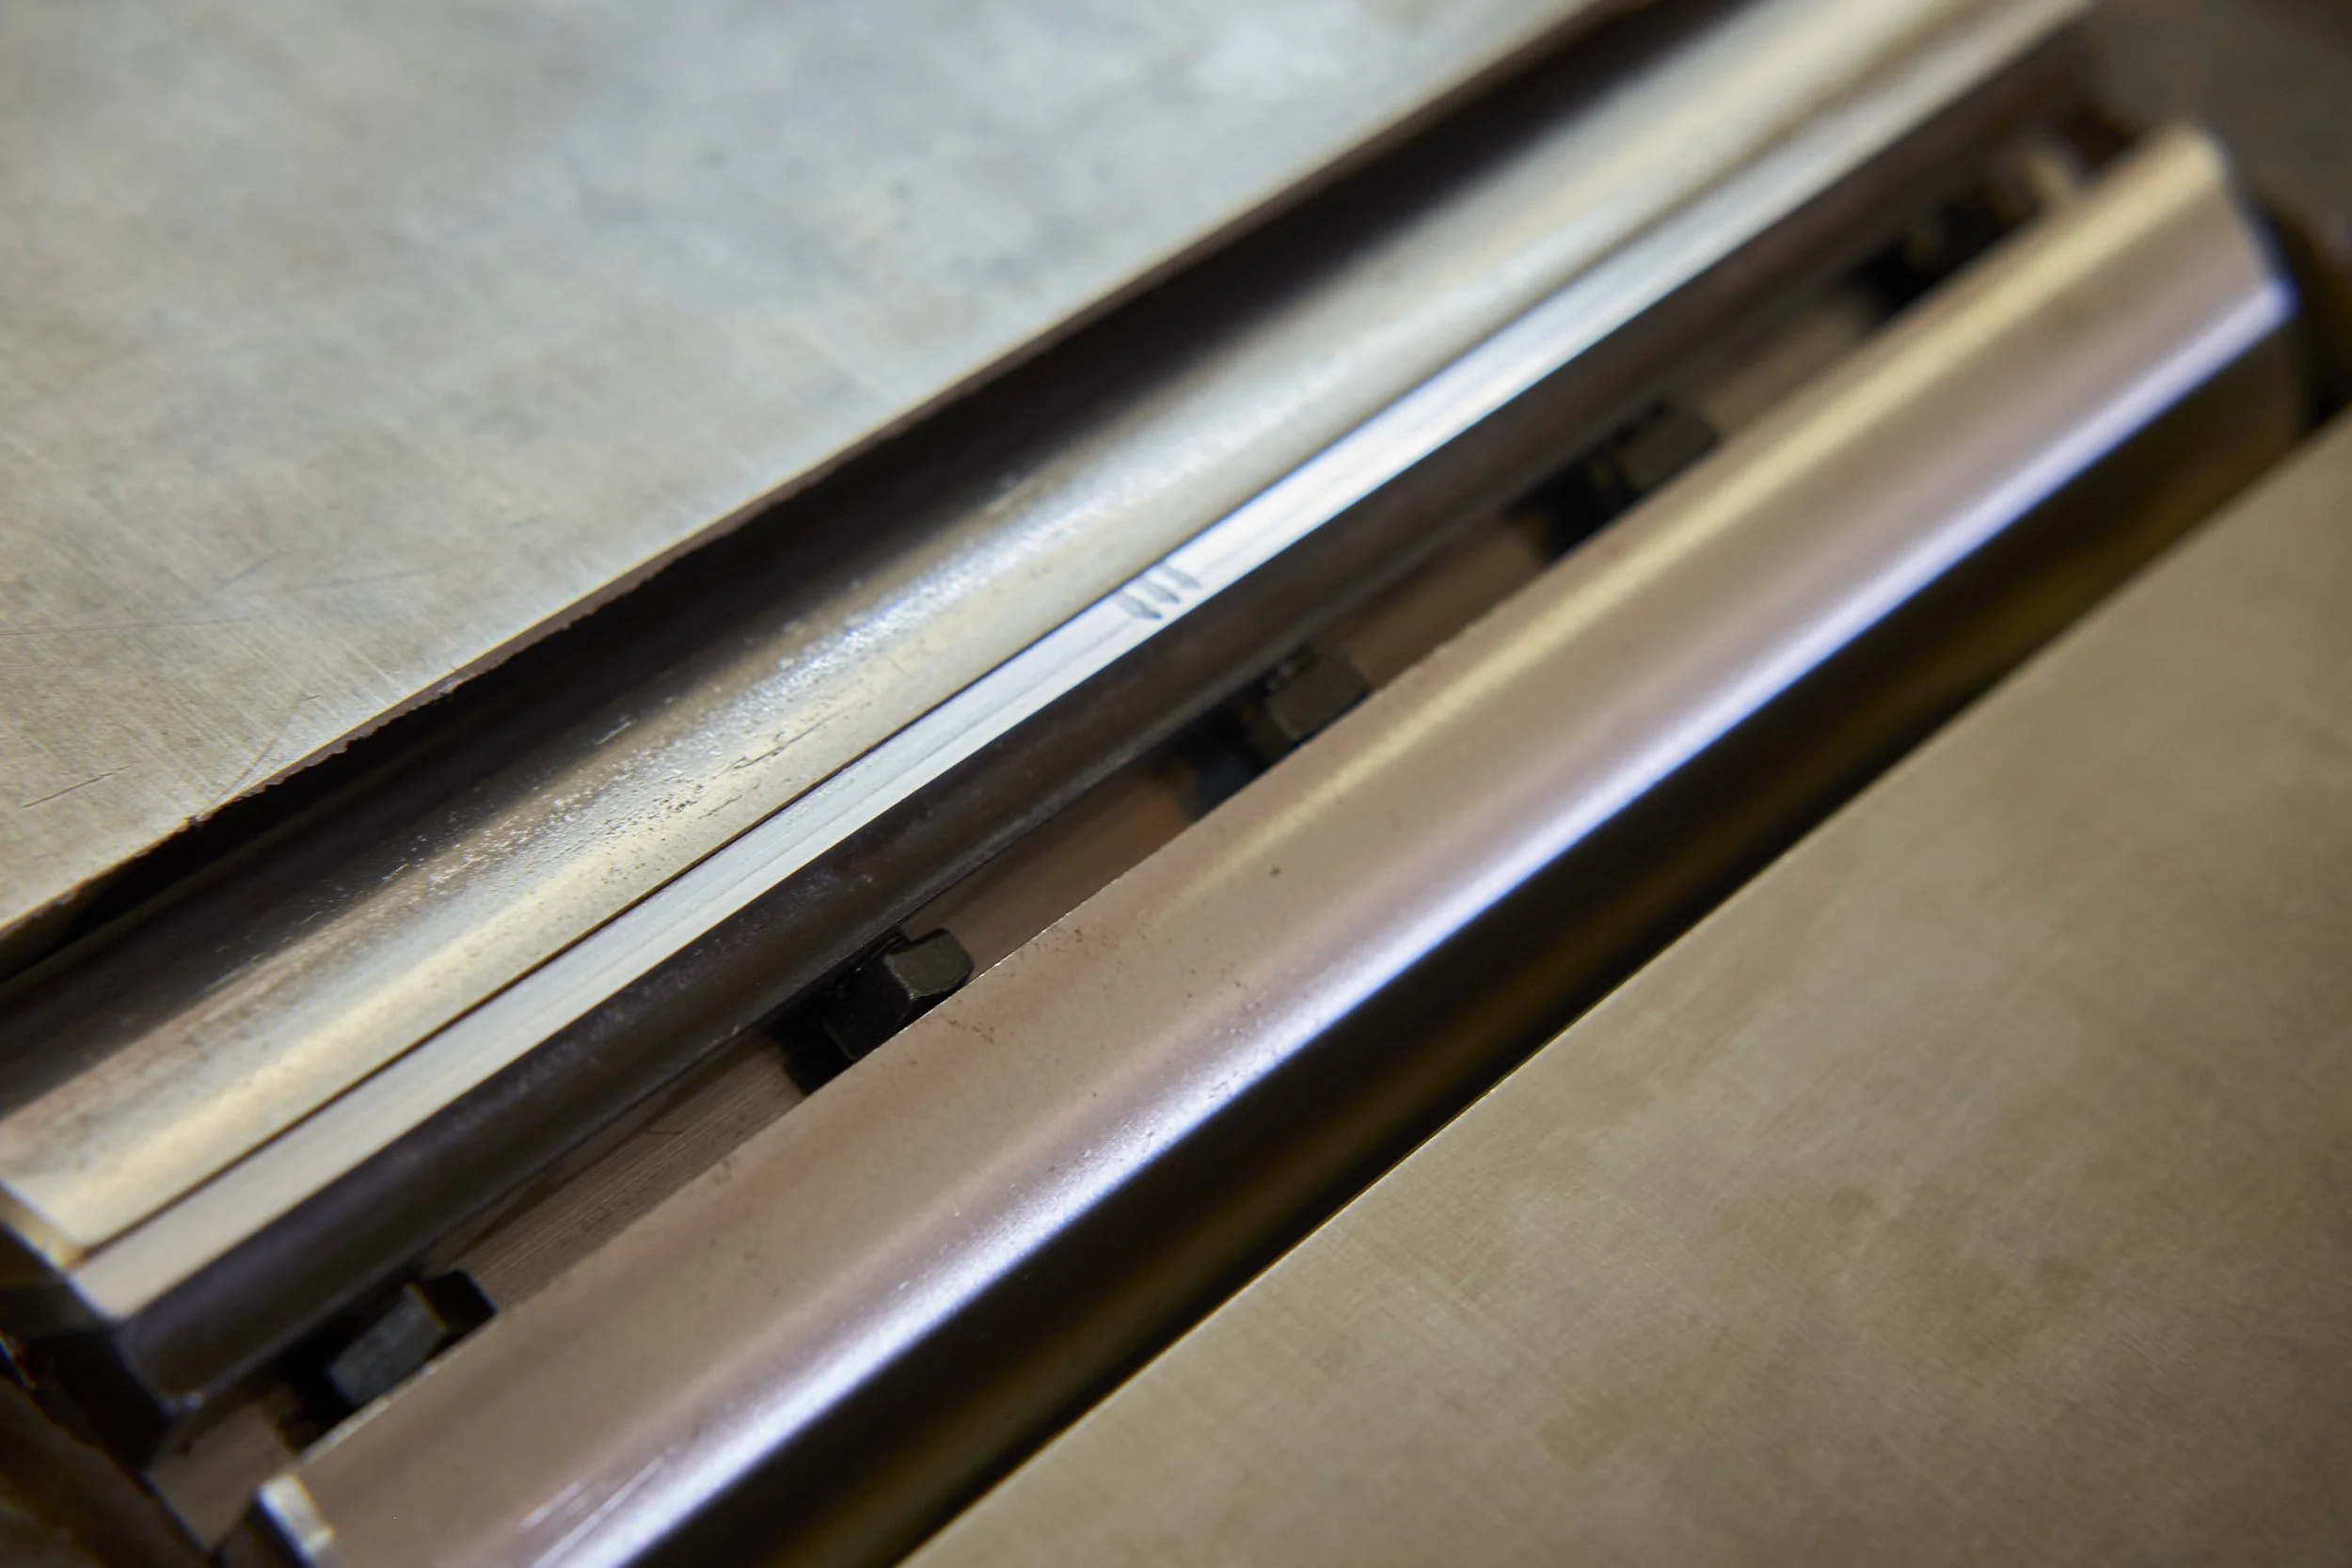
I start by adjusting the depth of the alignment jig either in or out depending if the blade needs to be lowered or raised. I find a quarter of a turn in the desired direction to be a good start.
Loosen the tension bolt on the corner of the blade where the adjustment will take place.
Hold the blade down with a small wooden block positioned on the cutting edge.
Now lightly loosen all the tension bolts except the one on the corner where the setting is correct. If you’ve cleaned and lubricated the retention assembly the blade should want to pop up.
Position the jig on the corner to be adjusted while pushing the blade down, using the wooden block.
Ease the blade upward until it connects with the adjusted stop on the jig.
Re-tighten the middle retaining bolts before removing the jig and tightening the bolt that was obstructed by the jig.
Avoid having the blade shoot up into the stop as it may damage the freshly sharpened edge.
Re-check all bolts and check again using the wooden test piece as detailed in step 3.
Adjust as necessary.
The possible scenarios of what you may find on your machine are numerous and the only advice I can offer is to take your time and make small adjustments. This process can descend into a swearing free for all in not time flat if you don’t keep your wits about you.
Consider getting your hands on the jigs I use, they have simplified the process for me and if set up correctly from the start you would get into the ballpark from the get go with only minor adjustments needed, if any.
In SA you can find the jigs here and if you happen to be reading this in another part of the world I’ve seen them here.
Step 5: Final Steps
Check the retaining bolts. Yes, again!
Bring the in-feed table back into position. I like to get it even to the out-feed table and make adjustments for the depth of cut once I start working with the machine again.
Reinstall the blade guard.
Reinstall the fence.
You can test a piece of lumber to check that all is in working order but I usually just start processing lumber and make adjustments on the fly.
If you’ve followed along with this how-to and the ones preceding you should now have an optimised jointer in your workshop that will give you accurate results, at least until the next blade change.
Pro Tip: If you can, have an extra set of sharp jointer blades on site. This will allow you to quickly swop blades if the set in use becomes dull or presents with any issues. Having an extra set available is a non negotiable if you send your blades away to be sharpened.
Before you mention that I have used a significant number of words to describe the process of setting up a jointer and didn’t even bother to mention the fence! I can assure you that I haven’t forgotten about it, I just never bother with any settings on the fence because I check it for square and adjust it as required every time I use the machine. Apart from that I will occasionally clean and lubricate the assembly so I don’t spend a lot of time on the fence.
If you would like to see more material like this please consider signing up for my newsletter. You will be first to know about any new posts and as a bonus you will get exclusive access to my free plan page.
See you at the next instalment, until then be safe in the workshop, especially around sharp bits!
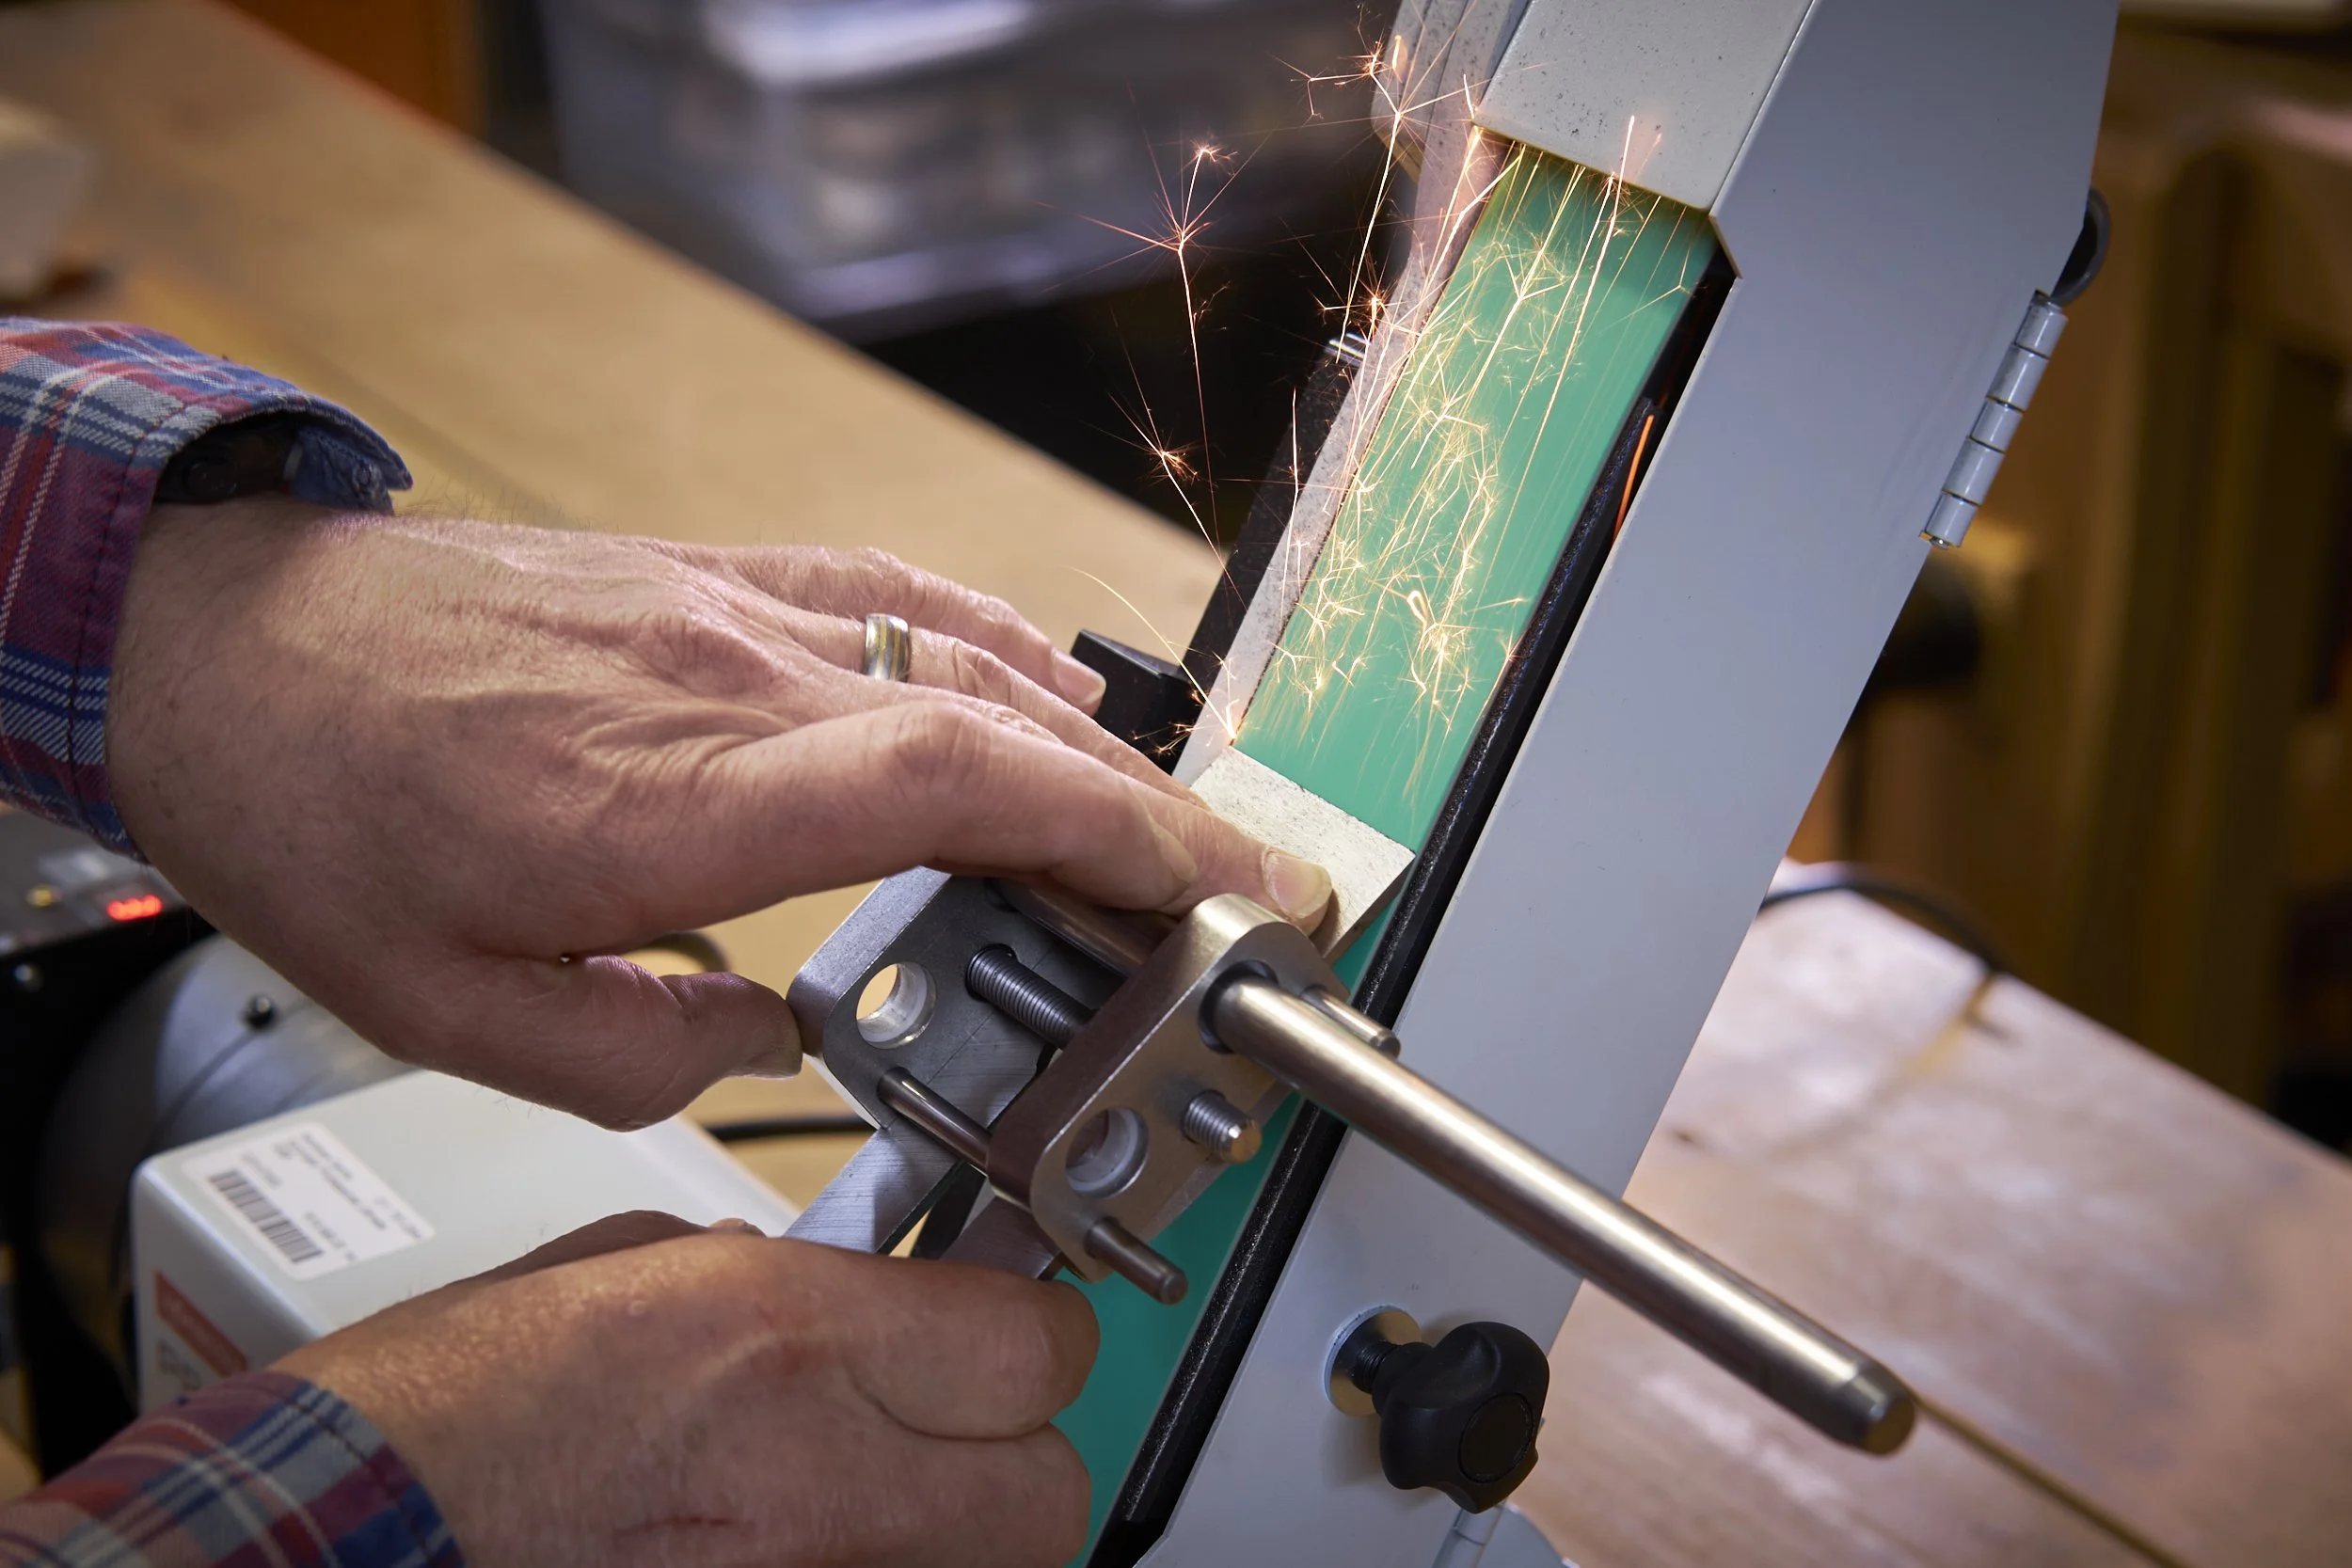

A hands-on comparison of the three most popular hand-sharpening systems — diamond stones, Japanese water stones, and the “scary sharp” method. I’ll share the real pros, cons, and quirks of each, along with what I actually use in my own workshop.