
What Makes The Rider Sharpening Station great?
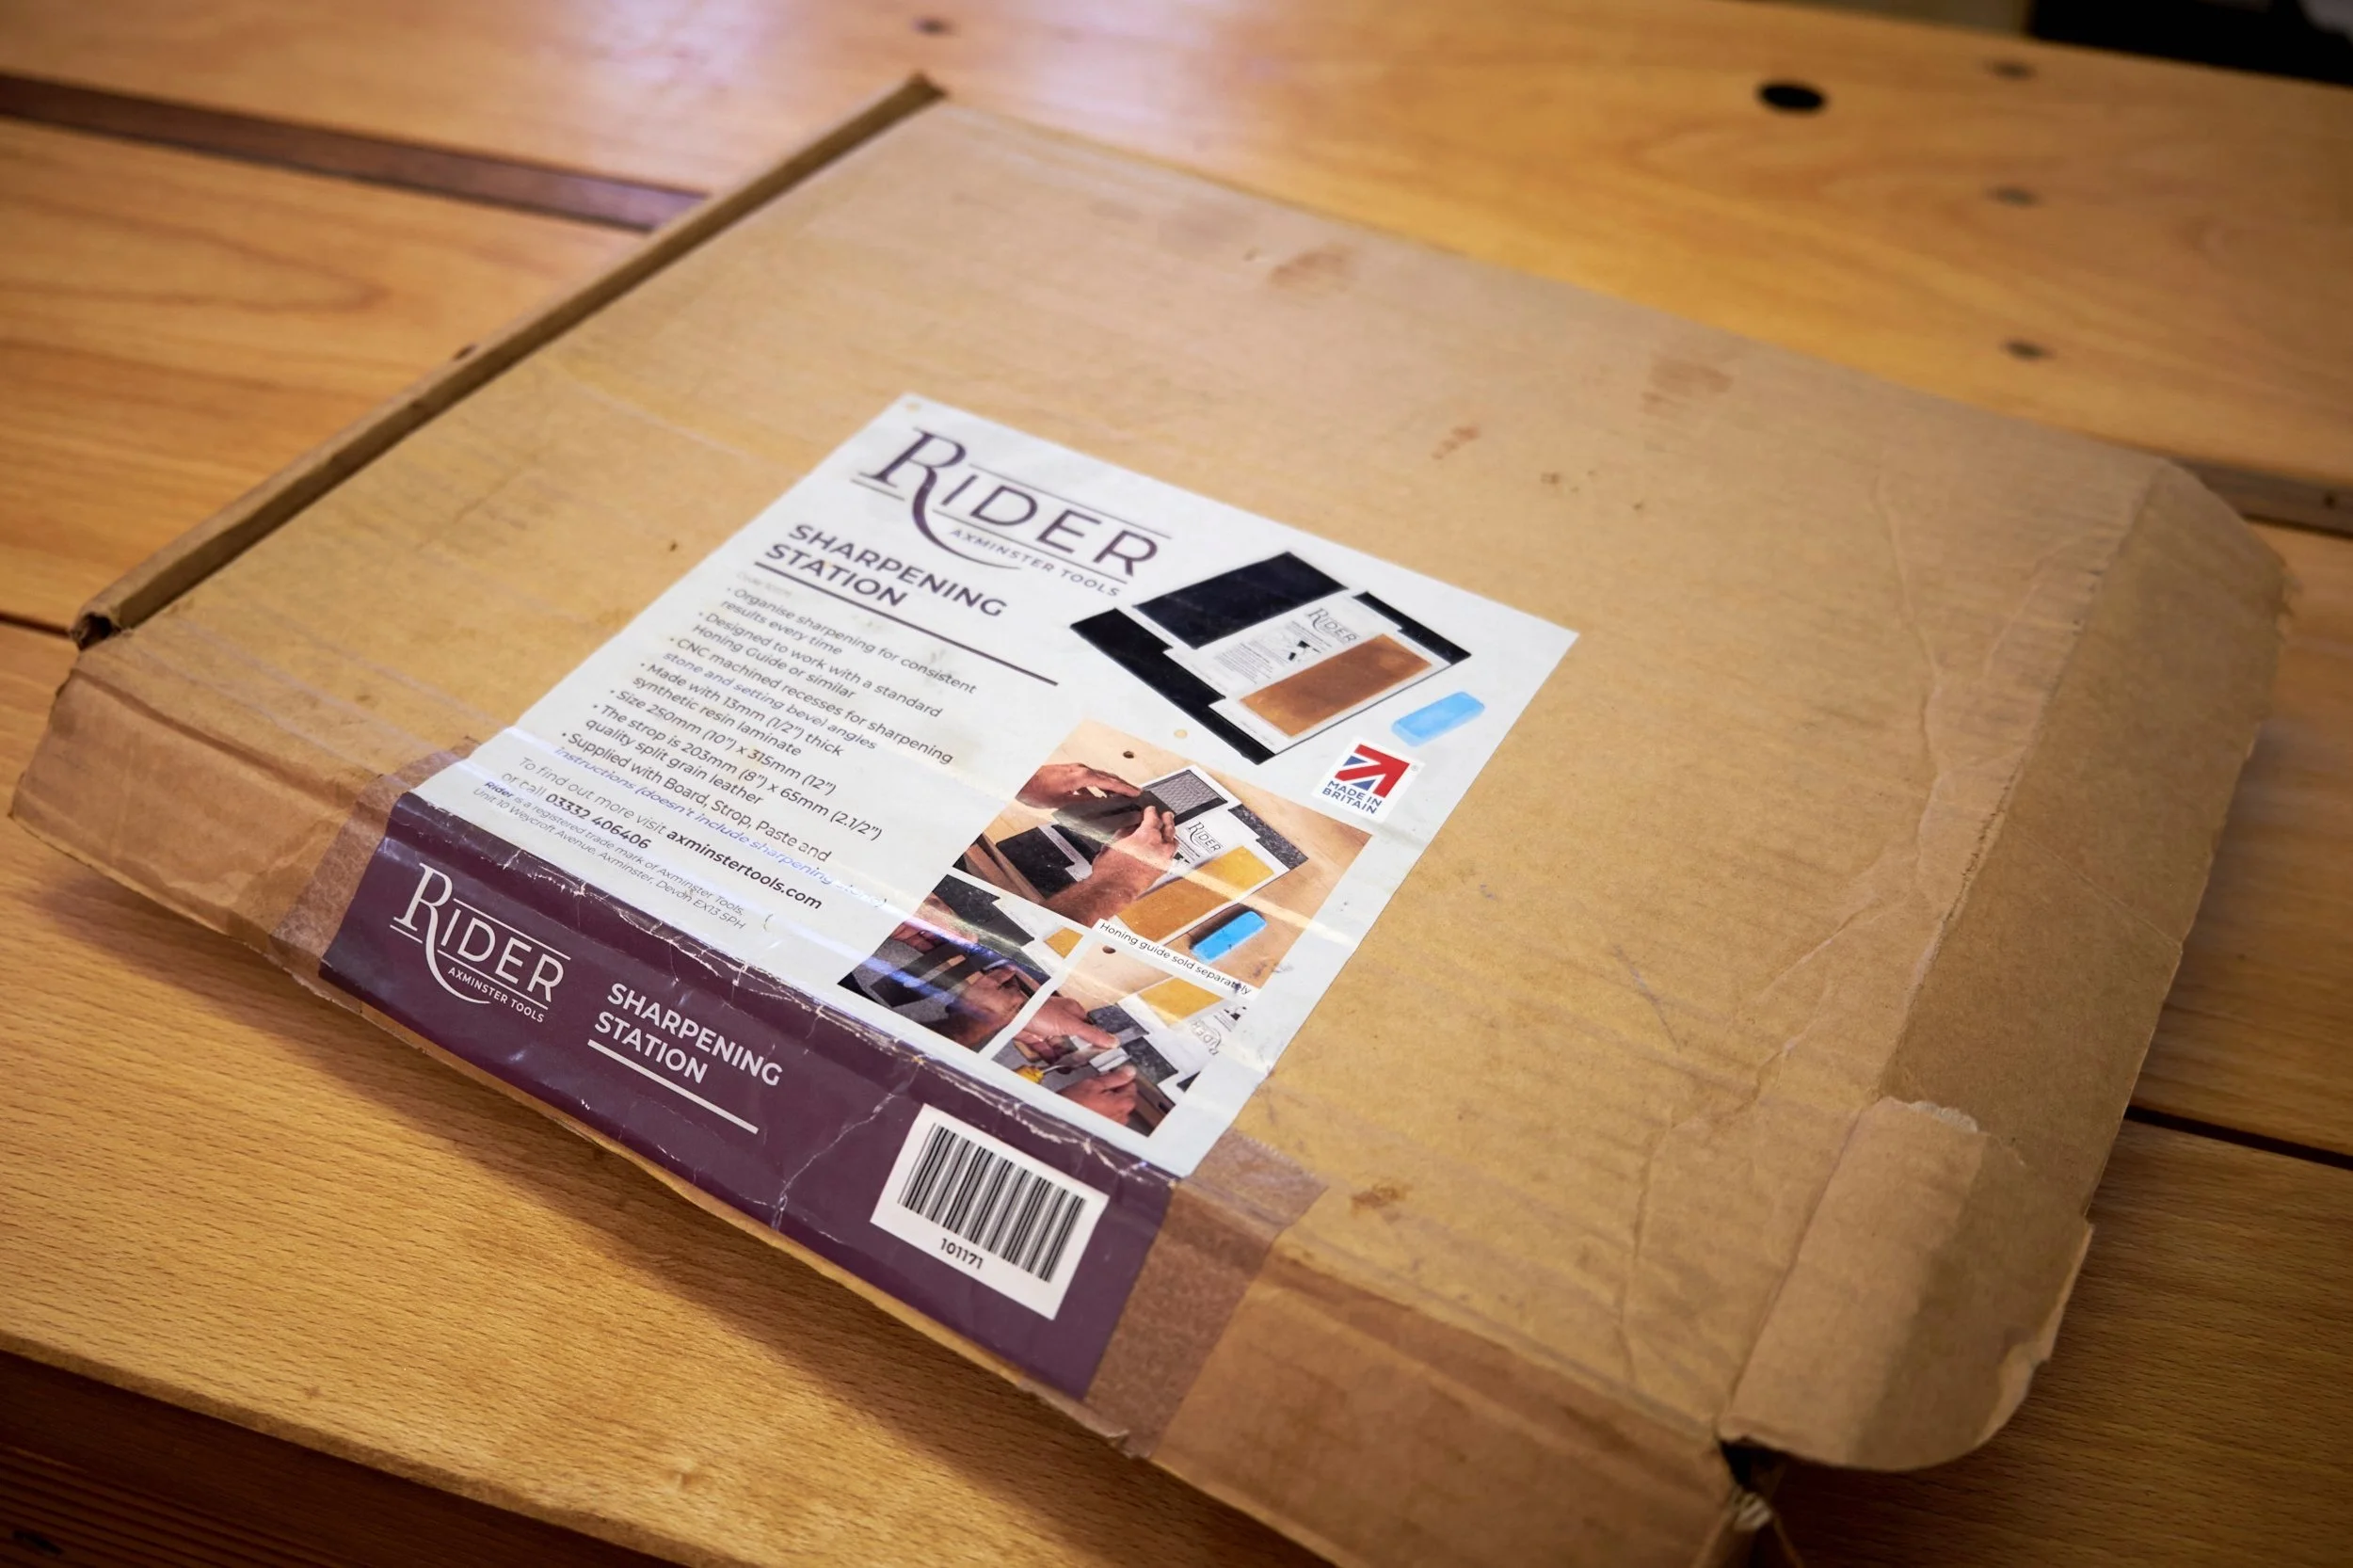
After roughly one year of almost exclusively using the Rider Sharpening Station from the guys at Axminster tools I think the time has come for me to share my thoughts on the kit.
Be sure to have a look at my first article on the sharpening station here, it’s a companion piece to this one and in it I cover topics that you may not find here and vice versa.
If you must know if I like it or not I can with some confidence say that I LOVE it but like with most things in life especially when it comes to tools it’s not perfect but you would need to read the rest of this article to learn what I like or dislike about the sharpening solution from Axminster and if it is one you could use in your own workshop.
By the way, by the time you would be reading this I should have a video on my brand new Youtube channel showing you how I use the kit.
Who is it for?
Let’s start with who this system might not be the best fit for.
If you are a woodworker that is experienced in hand sharpening your cutting tools or has very particular requirements about sharpening stone grits, this kit might not be your cup of tea. Also if you are a person who has access to something like a Tormek or anything similar and you have no interest in hand sharpening, you would most likely give this one a pass. Lastly, if you do not use any tools that require occasional sharpening at all you would likely be reading the rest of this article for its academic or entertainment value!
Who is the Rider Sharpening Station for then?
The rest of the woodworking world out there that doesn’t fall in the above categories of course, but let’s narrow it down for the sake of completeness.
If you are a woodworker who is just starting to learn how to sharpen their own cutting tools and wants a simple and somewhat fool proof system that will get them to a sharp edge, or if you happen to be a more advanced sharpener but are looking for a simple solution that gives consistently sharp results, or if you struggle to develop the muscle memory to sharpen free hand or simply couldn’t be bothered to develop the skill, this one is almost a perfect solution for you.
Now that you know if you would find value in this solution from Axminster or not, I do want to mention the following.
One of the hardest parts of learning how to hand sharpen tools when you are a beginner is knowing what sharp “feels” like. This is important for the budding woodworker to know if they are to troubleshoot issues with their tools or use their tools safely. Remember, a blunt tool is a dangerous tool and the Rider Sharpening Station is one of the easiest solutions I have ever come across that allows a beginner to experience a sharp edge on a cutting tool, especially if they have sharpened it themselves.
A note to woodworkers who might find themselves amongst the first group.
If you do happen to find yourself working off site or if you do demos and training on the use of hand tools away from your normal kit you may very well find that the compactness of the station makes it a comfortable travelling companion. It is for this reason that I regularly travel with this kit and it allows me to demystify the “black art” of hand sharpening to both my students and visitors during woodworking shows where I demonstrate the use of hand tools and the sharpening of their blades.
Ok, if you are still with me and you are eagerly awaiting my reasons why I like the Rider kit so much and what I might do to improve it, I am about to get into the details and I will be starting with what I would call the heart of the system which is the base.
BASE
This is the foundation on which the system is built both figuratively and physically.
Let’s start with the material it's made of.
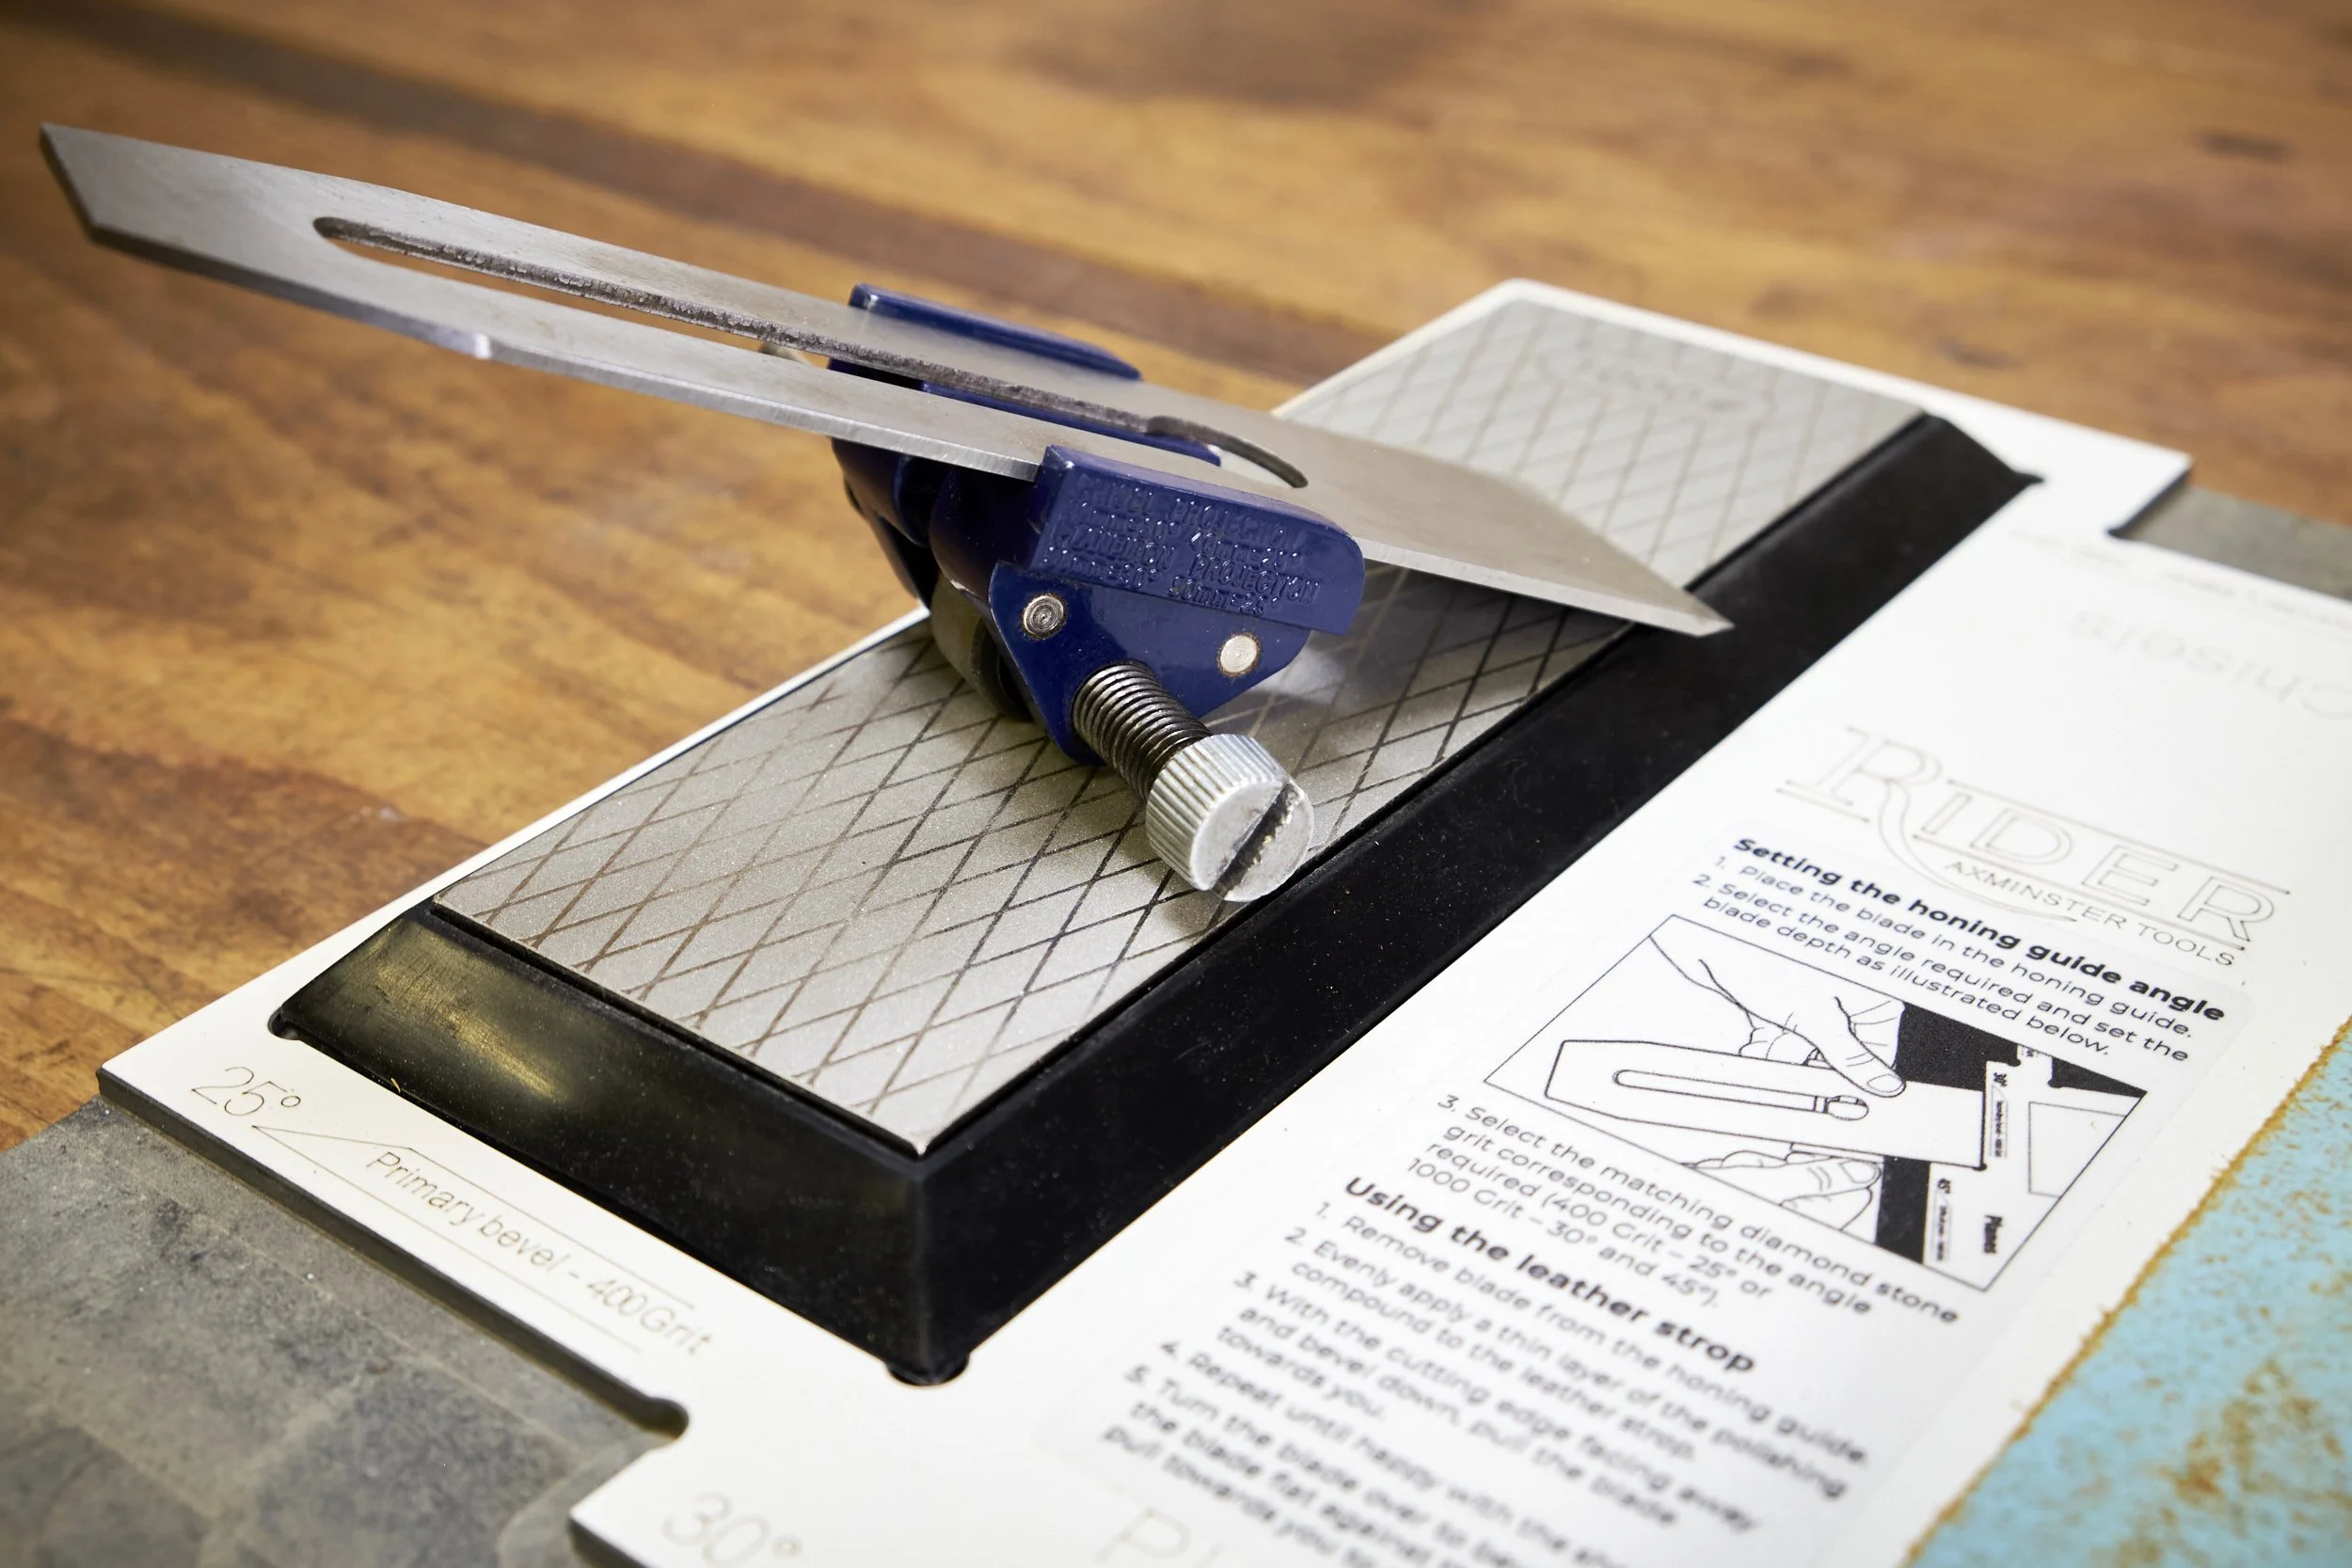
The base is machined from a 13mm thick, what Axminster calls, a resin laminate on the front of the box. This material is solid, flat, light and does not absorb liquid. The latter makes it really easy to keep the base clean with a damp cloth and also ensures that the base won’t warp in time if the user makes use of a liquid lubricant to remove swarf from the diamond stone.
The base has four flat, round feet, one under each corner of the board which lifts it slightly from the surface it stands on and they DO NOT slip which means that when you are busy with a sharpening task, you won’t be chasing the base around on your work surface.
The board has a white coat of something on the top and bottom. I can’t say if it is some kind of paint or if it’s an integral part of the material used to make the base. I’m inclined to believe that it is the latter.
In short it is well made and sturdy.
I’m going to guess that most of my readers are somewhat like me and don’t always read the user guides that come with tools but in the case of this one Axminster couldn’t have made it any easier. The step by step instructions for using the kit is stuck right there on the middle of the board between the recess for the diamond stone and the integrated leather strop. These instructions detail the use of the station in eight simple steps under two headings, the first instructs the user on how to set the honing guide angle and the second covers how to use the strop.
It really couldn’t be much easier!
Apart from the recess that has been machined into the top to accommodate the diamond sharpening stone there are also recesses in the base that are used to set the angle of the cutting tool or blade in the honing guide.
I have neglected to mention that this system was designed to be used with an Eclipse style honing guide and it is these recesses that makes this system truly shine.
Let me explain.
When using any honing guide it is the distance that a tool protrudes from the front reference edge of the guide that determines the angle that the primary bevel, cutting edge and even a back bevel will be ground at. Guides from different manufacturers use the same basic premise for setting the grinding angle and each may use different methods for setting the tool in the correct position within the guide.
Eclipse style honing guides have become the catch all name for a range of guides from a myriad of different manufacturers that all look and function the same way. Most examples are cheaply made these days and often don’t perform as well as the original but let’s not go down that rabbit hole today.
To use this style of honing guide you need to set the blade’s cutting edge at a specific distance outward from the reference edge of the guide. This distance isn’t some arbitrary number to be guessed and the manufactures will almost always indicate the distance required for the most common bevel angles right there on the side of the guide. These grinding angles are generally accepted as 25º for the primary bevel and 30º for the secondary bevel or final cutting edge.
As you can imagine it might become a pain to fiddle with the hone, blade and a rule to set the correct angles, not to mention the inconsistency between sharpening sessions as a result of this fiddling. As a solution to avoid the this, woodworkers usually set up stop blocks at the correct distances for different angles in some permanent spot in their workshop and simply set the angle by holding the hone’s reference edge against the edge of the surface the distance block is attached to and simply sliding the cutting tool up against the block and tighten the jaws of the guide to hold the tool in place.
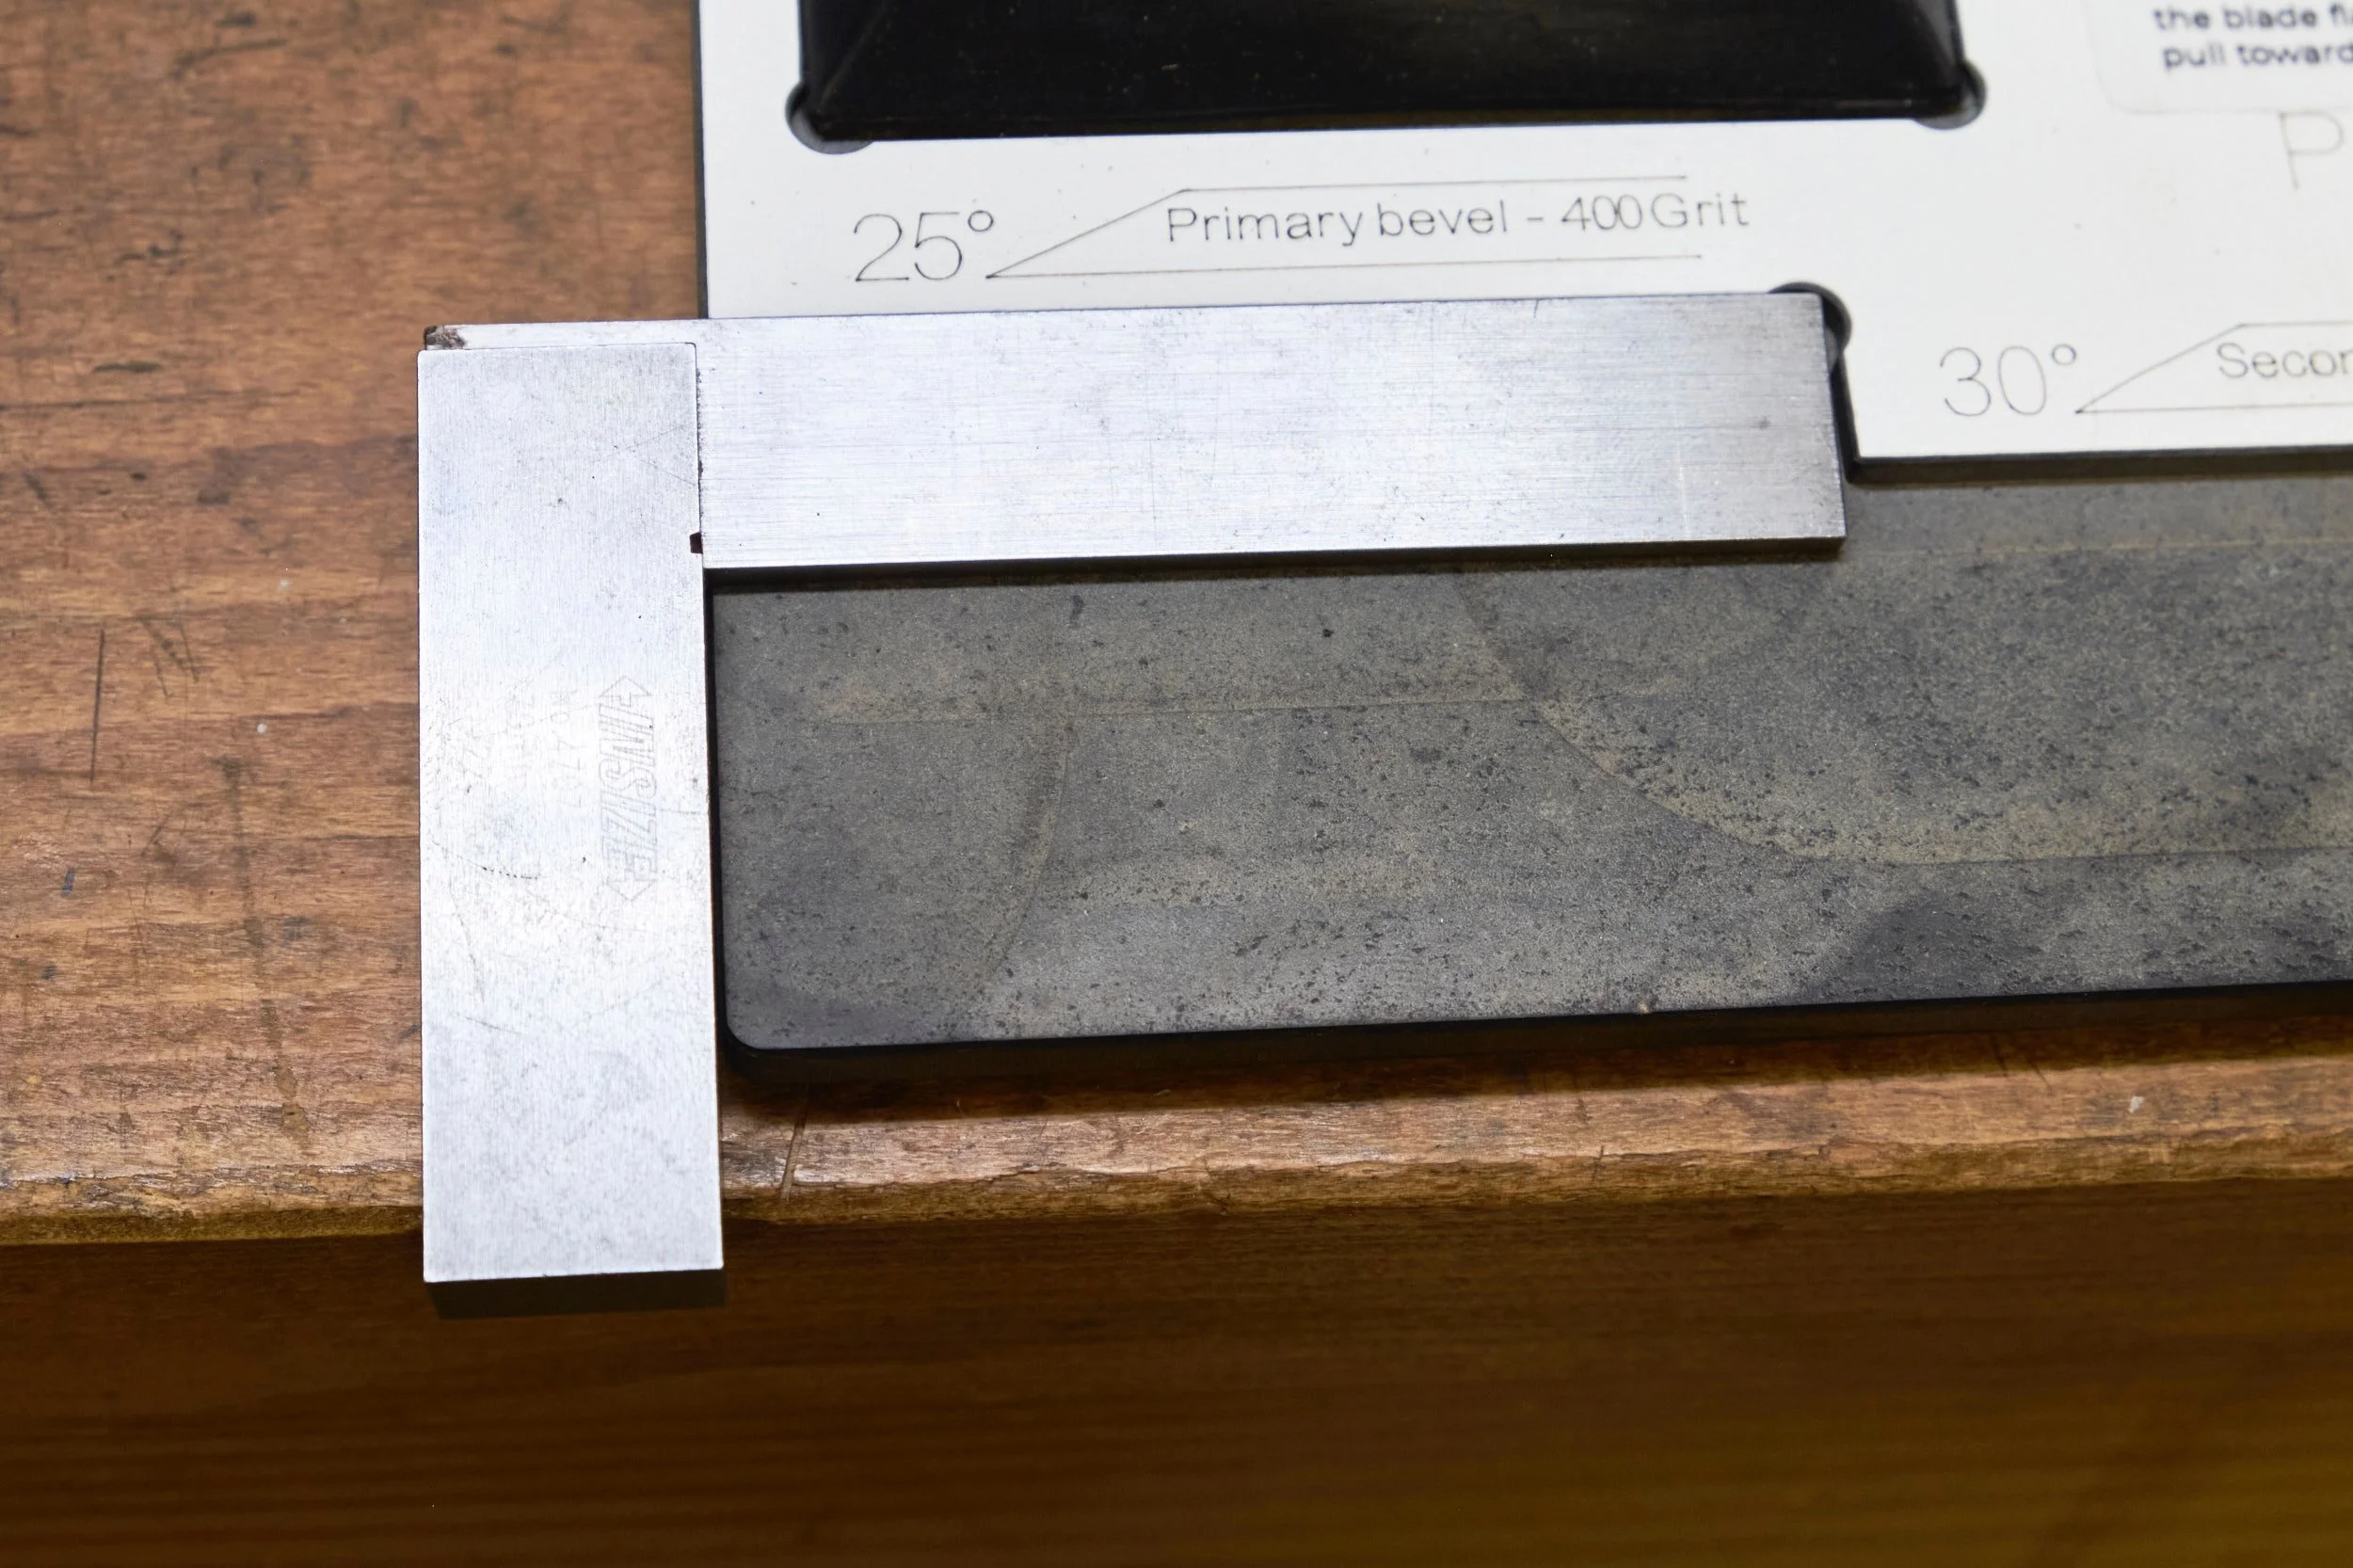
The Rider Sharpening Station base has the stops for setting the honing guide angle machined right into it making sure the grinding angles are not only set accurately and consistently but at each position there are even instructions printed onto the base that tells you which grit on the diamond stone to use when grinding each angle on the tool.
Brilliant!
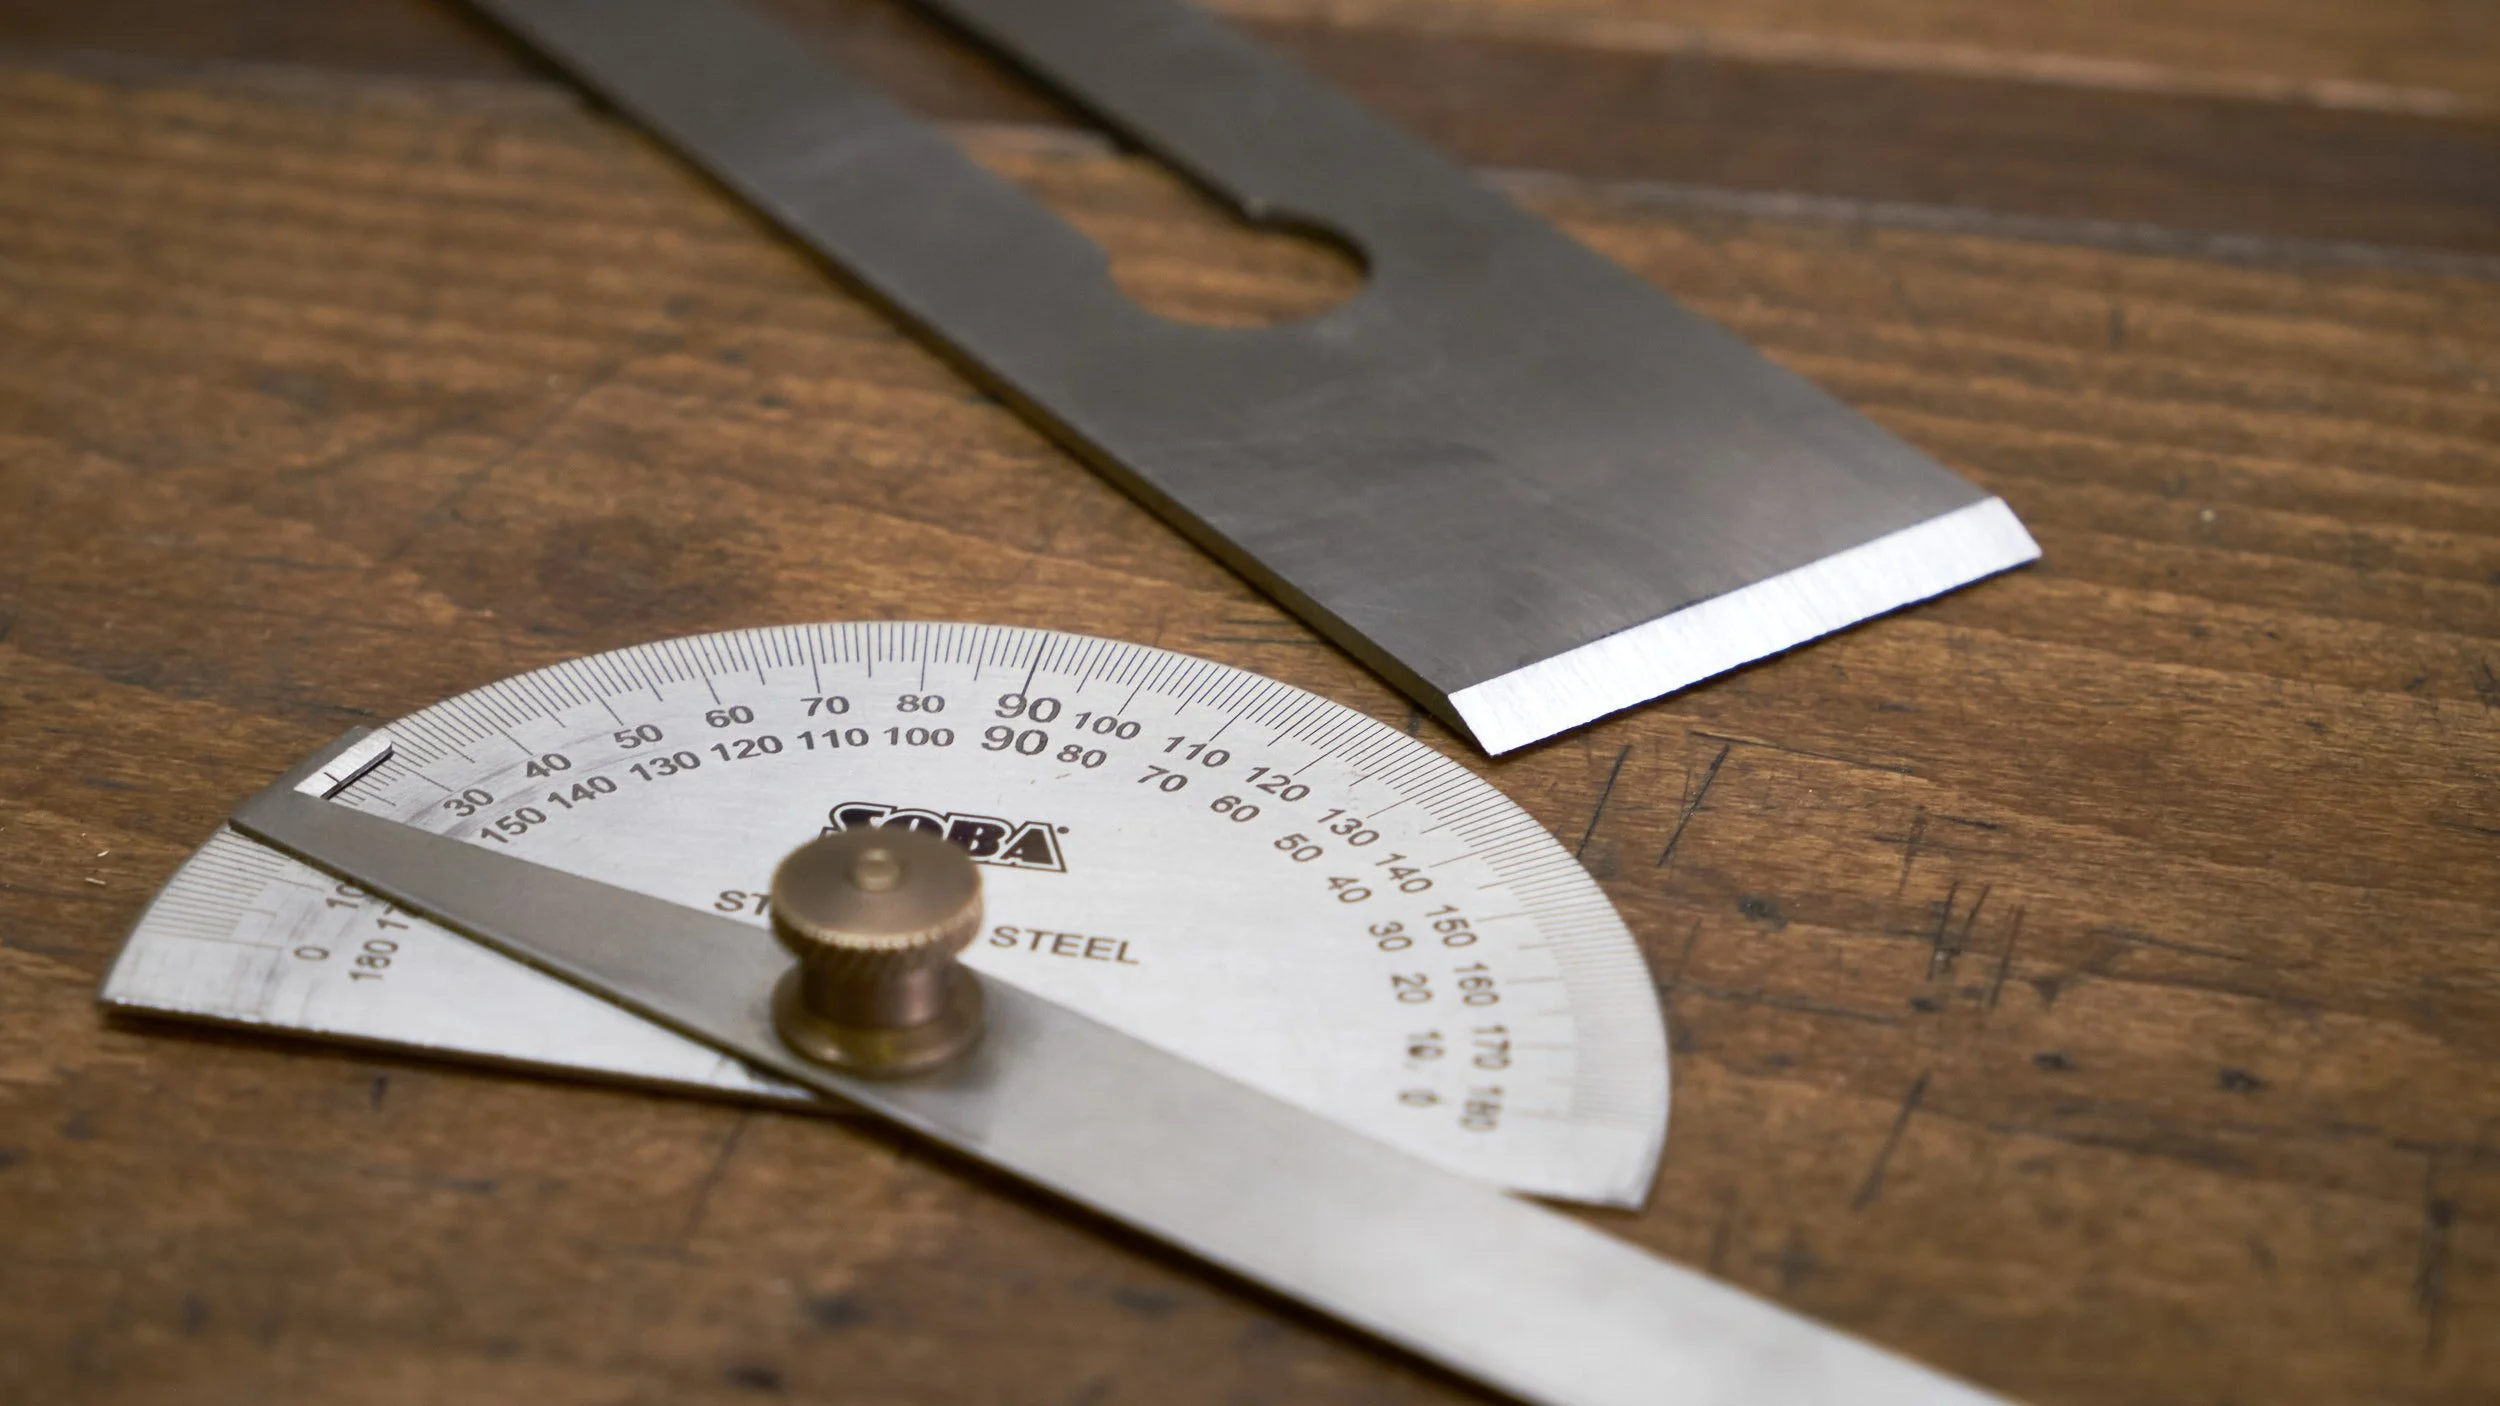
The recesses are machined into both ends of the base with one side dedicated to plane blades and the other to chisels. Keep in mind that plane blades and chisels are not held in the same part of the honing guide and this necessitates different distance settings for each type of tool. I’ve checked that the recesses are machined square to the end of the base and they are, which will help ensure repeatable setups. Most importantly the distance settings on either end provide accurate grinding angles on cutting tools which were confirmed by using my trusty protractor to check the bevels on my blades after the first sharpening using the kit.
I do have to complement the designer of the system for the inclusion of the angle setting stops on the base, it works well and these alone almost makes the system worth getting if you regularly use an Eclipse style guide.
It’s not all moonshine and roses though and the recesses fall short on some aspects but I’ll cover this later.
Now we move on to the rough part of the review.
Quite literally!


DIAMOND STONE
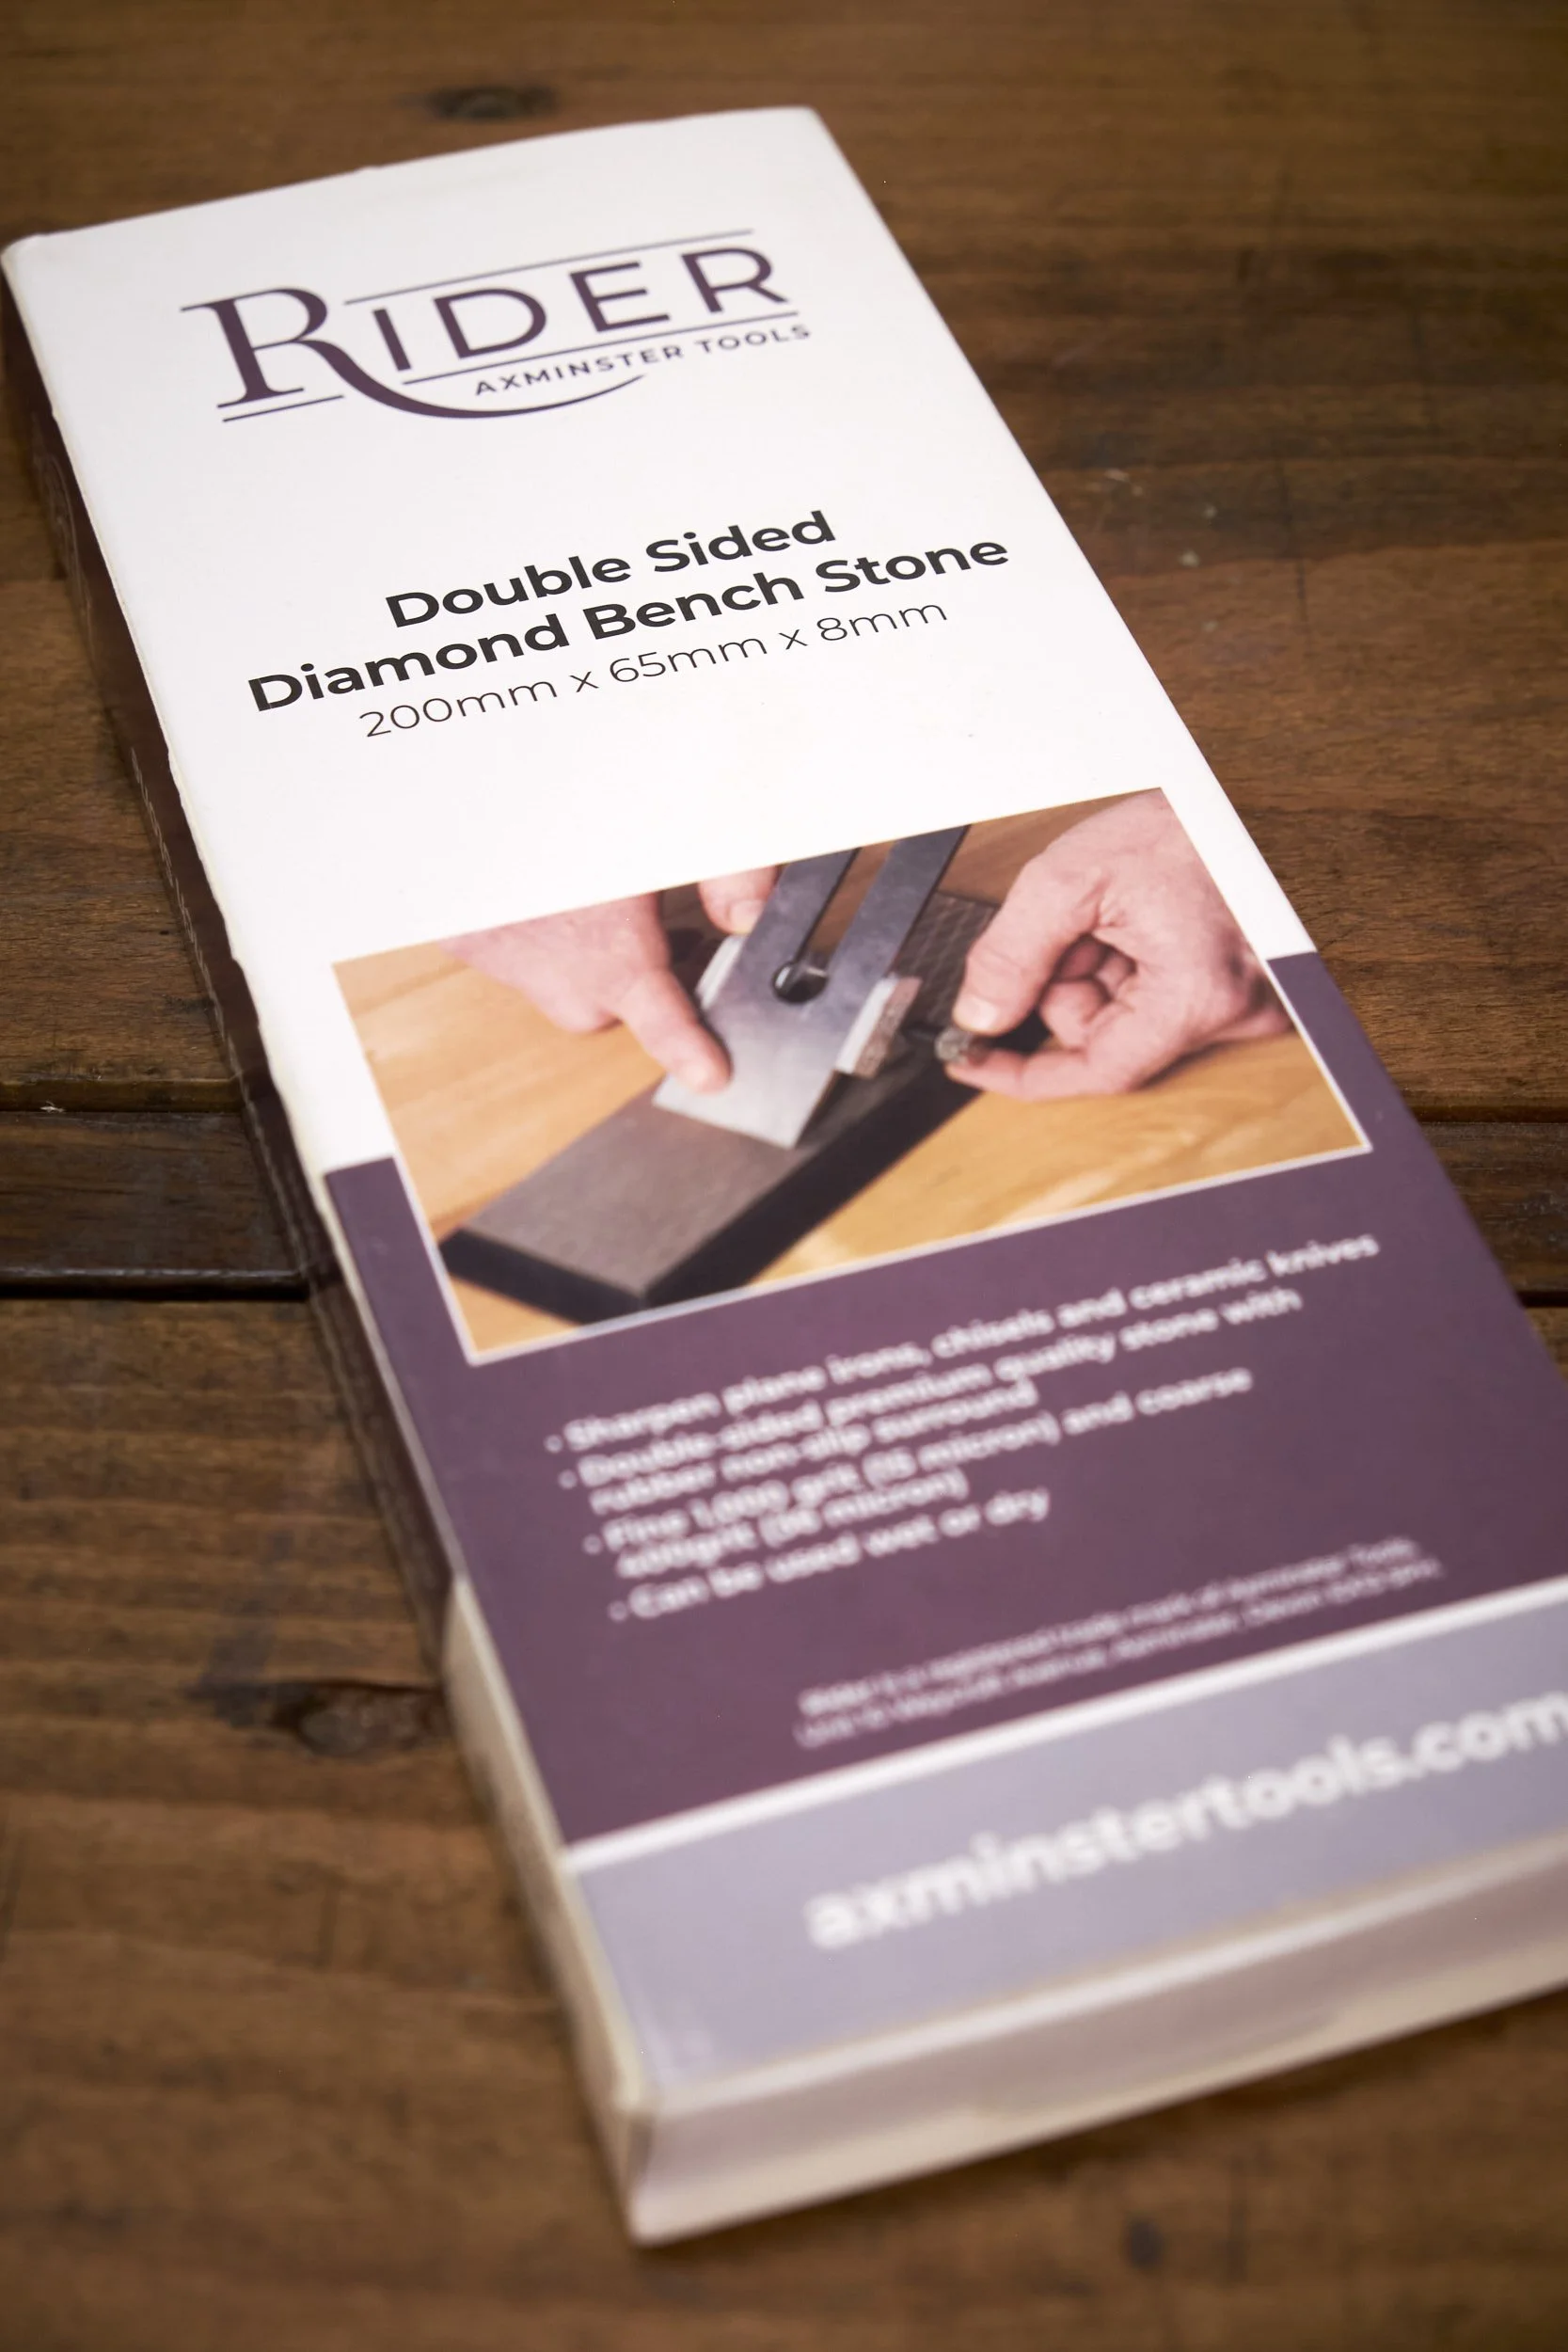
The diamond whet stone is a double sided version with a 400 (15 micron) course grit on one side and a 1000 (35 micron) fine grit on the other. This really handy chart from Lee Valley shows where these grits fall in relation to the stones made by other manufacturers.
I can say this about the grits and it is that I found the stone to be very course when I first started using it and that even the fine side left a deep scratch pattern in my blades. To overcome this “coarseness” I needed to spend more time on the strop to remove the scratches from the cutting edges than I was used to. This isn’t unique to the Rider system and all diamond stones irrespective of where they come from have a breaking in period but all eventually settle down to a cut that is more in line with their stated grits and this was the case with the stone included in the Axminster kit.
I mention the above because a new user to this system may believe that the kit isn’t working as advertised as a result of the cutting tool not leaving as clean a cut as one would have hoped for due the coarseness of the stone. If this happens to you, rest assured that the diamond stone will wear in and leave a cleaner cutting edge in time, just keep using it.
The stone rests in its own dedicated rubber holder that in turn sits in a dedicated recess machined into the base. This setup works especially to well to keep the stone in place during use and with the rubber base being hollow in the middle it makes the process of popping the stone out before turning it over to use the other side, quick and effortless.
Another well thought out feature of the rubber holder is that it raises the stone up from the base and together with the height of the base itself the top surface of the stone is placed at about 25mm above the work surface. This means that if you should find yourself flattening the back of something like a chisel, the handle would be above the surface of the worktop and you wouldn’t need to move the station to the edge of the worktop just so that you could place the back of the blade flat on the stone.
You are welcome to read more here about why the backs of cutting tools need to be flat.
The diamond stone surface is flat on both sides and it’s made from a nice thick metal base, which means that it is unlikely to warp over time which is crucial to ensure that cutting edges are square across the tool after sharpened.
The stone most certainly does the job but as with the base it’s not all perfect here either, read on to learn more.
Just like with the sharpening process we finally move on to the strop and honing compound.

STROP & HONING COMPOUND
Starting with the strop its dimensions are 200 x 65mm and it’s glued to what seems to be some sort of MDF material which in turn is permanently glued onto the base. As far as strops go the leather is of decent quality and relatively thick so I can imagine it lasting for some time but with it glued to the base you would be required to do some surgery should you ever feel the need to replace it.
The strop platform serves the same purpose of the rubber holder and lifts the strop above the work surface, allowing enough space for tool handles to move freely during flattening.
For those of you to whom these things matter I will add that the strop is glued to its base, suede side up. Some prefer to use the smooth side of leather for stropping but personally I prefer to use the suede side as I find that it accepts the honing compound more readily.
That brings us to the honing compound included in the kit and the bar of funky blue abrasive works well when it eventually stays put after being applied to the leather!
Sharpening everything by hand means that one becomes familiar with honing compounds and I have come to learn that I prefer compounds that have almost the consistency of wax crayons or even a little bit “dryer”. The cool blue stuff that comes with the kit leans towards the latter and when I first loaded the strop with the compound it tended to crumble off the strop and made a mess all around the base and my workbench top. The more I used the strop and applied the compound the better the two came together to the point where the strop now takes the compound relatively well with the minimum amount of crumbling.
It seems thus that the strop also needed to wear in somewhat.
DO NOT be tempted to hasten the process by heating up the strop before applying the compound as some would suggest on the net. The heat will affect the glue and the leather is likely to delaminate from the MDF base!
I did mention that the compound arrives in a really nice blue colour?
As mentioned I have used many versions of honing compounds over the years and it’s somewhat true that the colour of the compound signifies how course the compound is but don’t expect there to be consistency between different manufacturers on the stated grit of their respective products, much the same way that a 1000 grit diamond stone may not mean the same thing between one brand or another. That’s why this table from Lee Valley is so useful.
Anyway, apart from loving the blue colour of the compound, Axminster does not mention the grit of the compound anywhere on the kit. Doing some research on their site I found the blue compound as a single item for sale and the accompanying document on the page shows it to be of medium coarseness in their range of abrasives.
The inclusion of this courser abrasive in the kit makes sense in that the fine side of the diamond stone is most certainly not the finest grit available out there and having a faster cutting compound on the strop removes metal from the cutting tool relatively quickly, effectively helping to get rid of the scratch pattern left by the fine stone, this happens faster than would have been the case if the compound was of a finer grit.
In use, it soon became clear that the compound was made of rougher stuff than any compound I already had around simply due to the fact that the beautiful blue colour of the compound on the strop turned black after only a few strokes of a blade across it, telling me that metal was being removed surprisingly quickly during the stropping process.
As much as I love the blue compound and how efficient it is at removing metal the strop isn’t perfect and this is one more point to address later.


THE HONING GUIDE
There isn’t one!
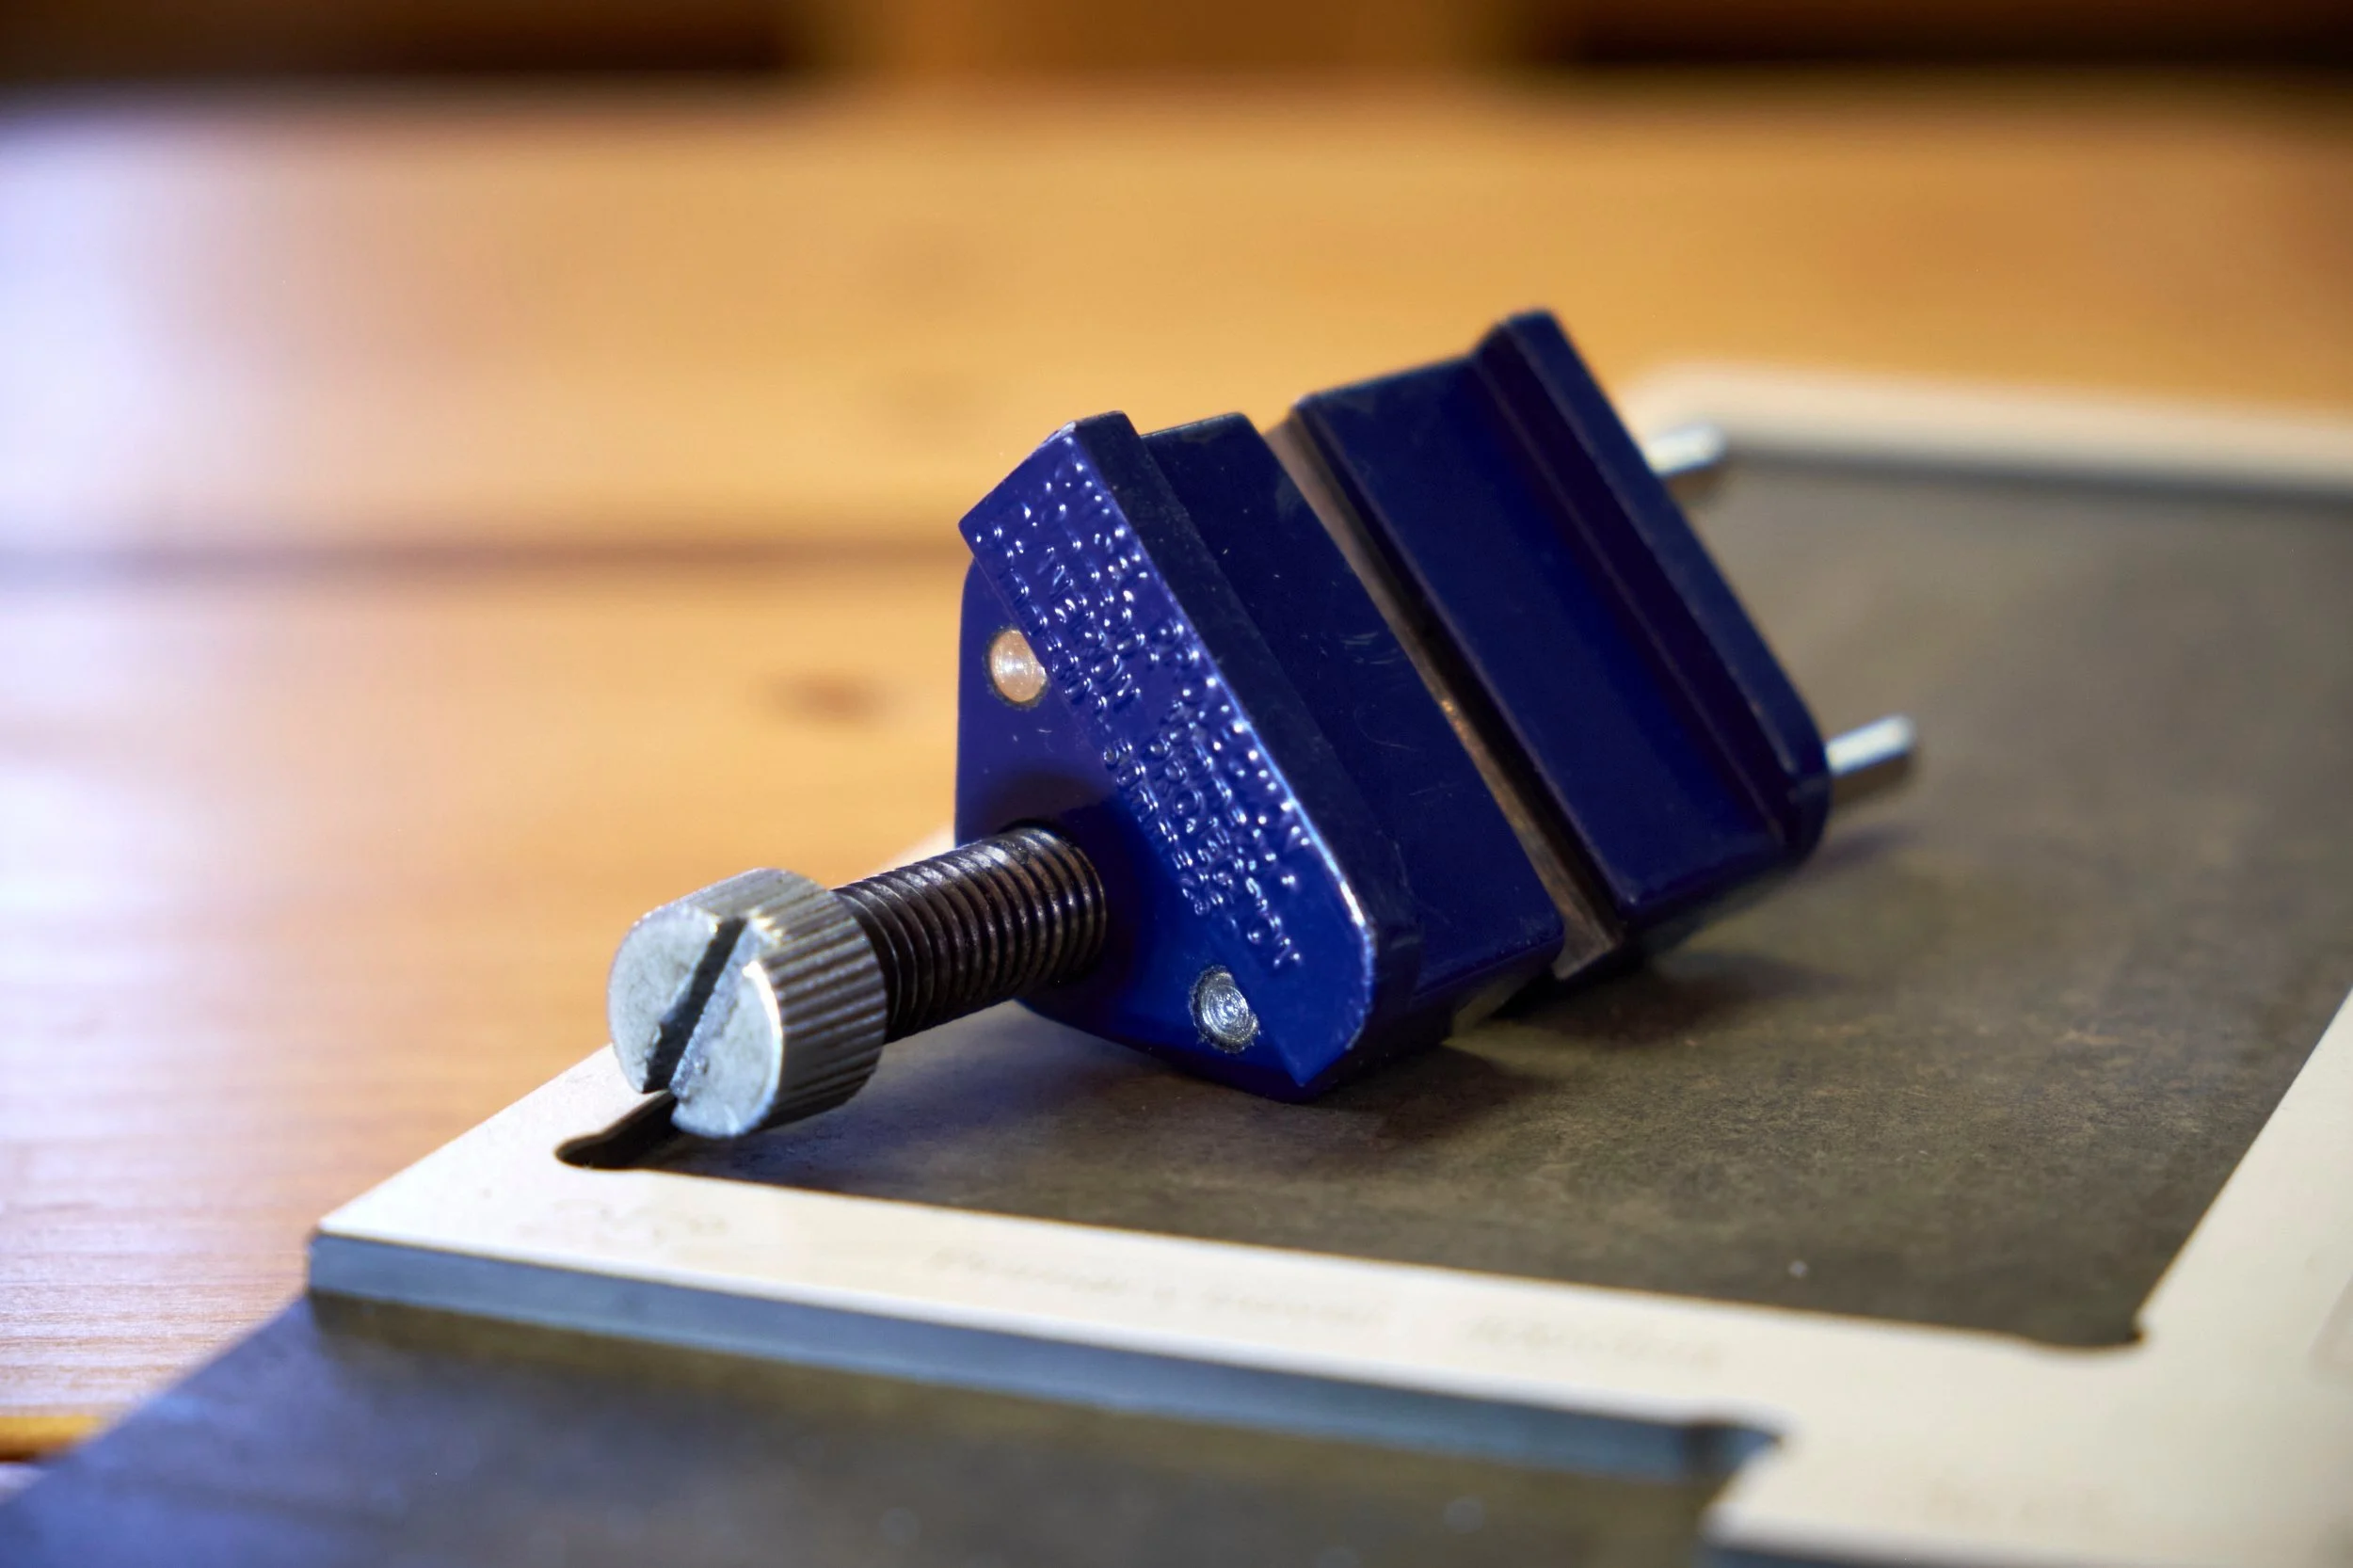
If there was one thing that perturbed me about the whole kit it was that no honing guide was included to make it a “plug and play” solution for the person interested in purchasing the kit. On Axminster’s website they even include a version of the sharpening station with no stones that allows the user the flexibility to use their own diamond stones but there is no version that includes the honing guide as a complete ready to go kit!
Yes, you can buy the guide separately from Axminster’s site but where I am in the world the guides can sometimes be surprisingly hard to find.
If I can voice one wish to the guys at Axminster it would be that they include a honing guide in the kit.
Please guys!
Ok, we are at just over 3000 words and we haven’t even gotten to the aspects that could be improved, apart of course the glaring omission of a honing guide in the kit.
I like the kit and accept no blame for waxing lyrical over it but we are not done just yet.
We start with the base.
BASE PROBLEMS
This might become complicated but by the time you read this I should have a video on my Youtube channel that might clarify some of the points I’ll be making below. I’ll also be shooting another one in which I will be detailing my solution to these problems, so be sure to subscribe to my channel to be notified when it lands.
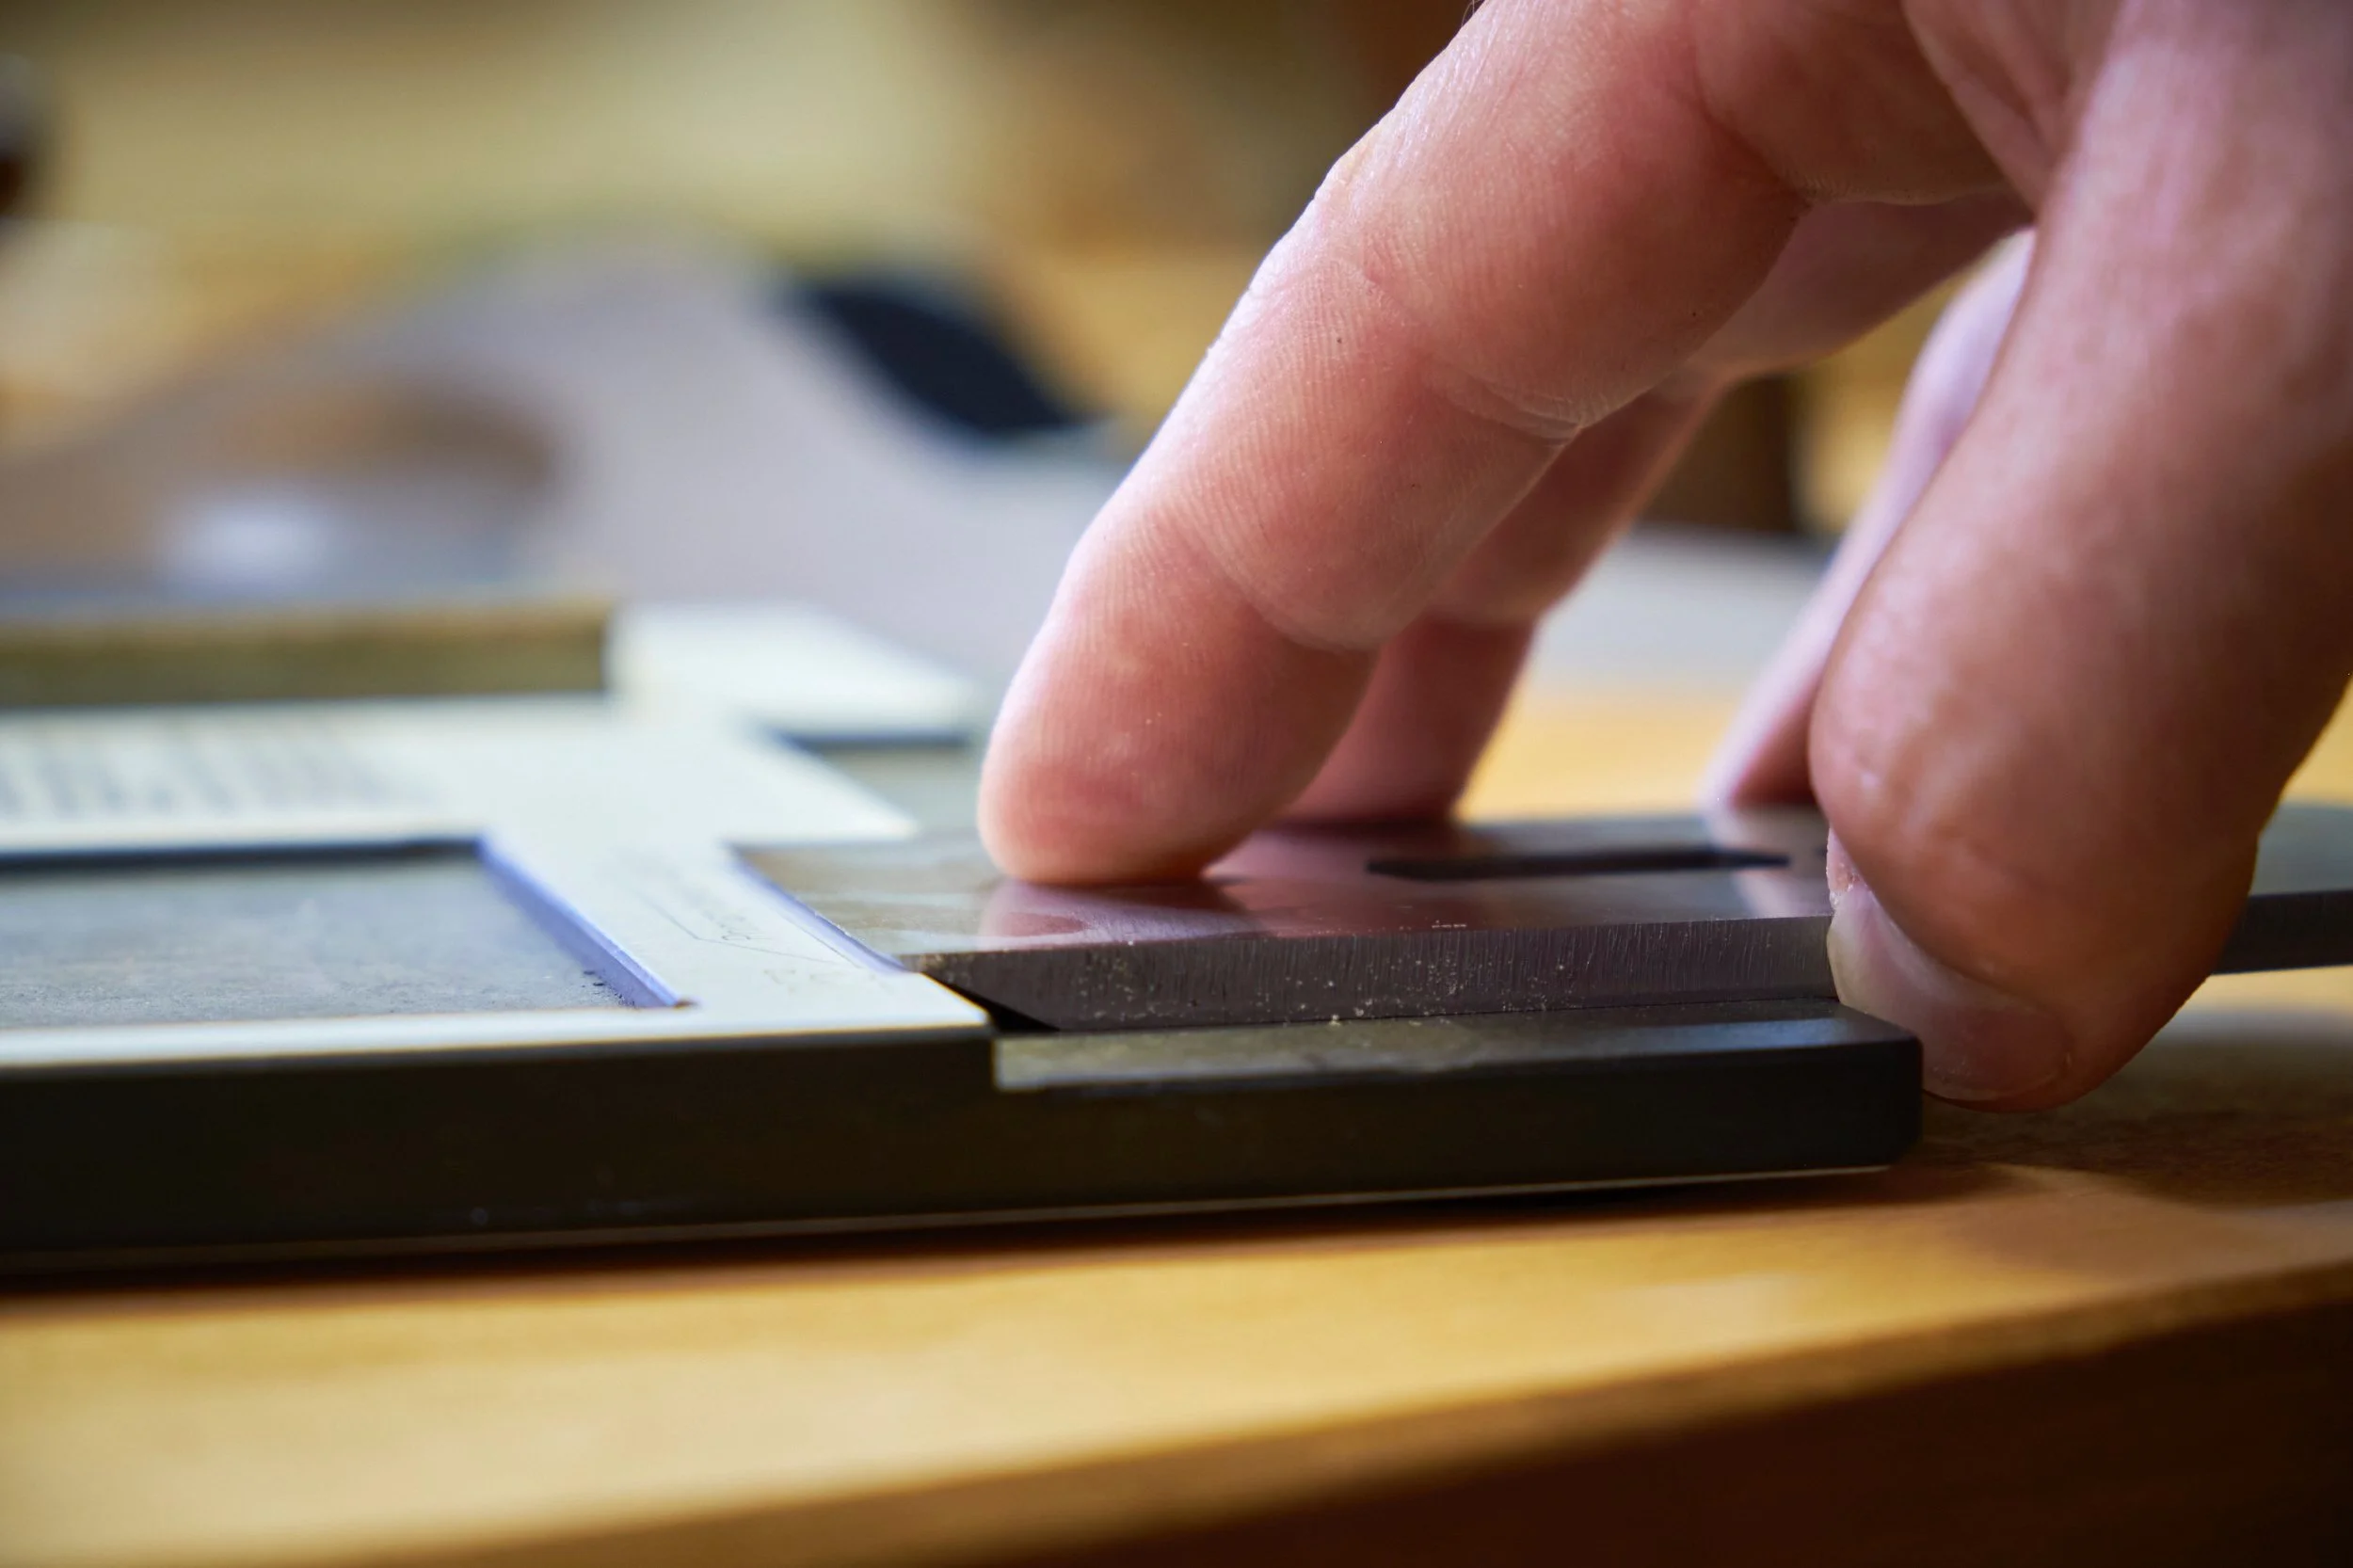
The surface of the recesses to set the honing guide angle are only 10mm above your work surface. This means that there isn’t enough space to register the surface of the blade flat against the the bottom of the recess while its mounted into the honing guide because there simply isn’t enough height between the surface of the recess and the worktop to allow for the height of the guide. To get around this issue I usually pull the end of the base that I am using over the edge of my workbench and this allows me to register the blade flush against the bottom surface of the recess.
In the video I use the box that the kit came in to lift the base up from my workbench top.
The next issue I found was that the wall at the back of the recess against which the cutting edge of the tool needs to register is only about 3.5mm high. This means that if any cutting tool or blade is thicker than the height of the wall - many modern blades are - that the cutting edge will be higher than the wall and it won’t register against it, which in turn might result in an angle setting that may be slightly off. So far my work around when sharpening thicker blades has been to eyeball the distance between the cutting edge and the back of the wall from the top and this seems to work ok.
The solution I would like to film for my next video would likely resolve both the issues mentioned above so the only problems I have been able to identify on the base can be resolved with a simple workaround.
By the way I did watch the video in Axminster’s website on how to use the Rider Sharpening Station and I didn’t like the method used to lift the base assembly when setting the blade distance in the guide and I prefer the alternative I’m working on.
With the base’s problems potentially sorted we move on to the diamond stone.


DIAMOND SHORTCOMINGS
As mentioned earlier the grits on the diamond stone are rather course even after the breaking in period. There are stones out there that will give you a more refined edge resulting in less work on the strop after coming off the stone.
When one considers that some compromises needed to be made when designing the system the guys at Axminster did a great job balancing the need to get a sharp edge against keeping the solution simple. I think it is for this reason that they have a version available with no stones, which allows the user to use either their existing sharpening stones or build out their own selection of grits to be used with the kit.
The fact that this version of the kit comes with a diamond stone most certainly does not mean that stones in different grits cannot be added to the system. Up until a month or two ago I would have suggested that a user gets a stone with a fine grit and use the finer stone between the 1000 grit stone and the strop in an effort to resolve the coarseness issue resulting in a cleaner cutting edge.

In recent times I have come to reconsider this advice and lately I am leaning towards adding a stone that is courser than the 400 grit as an ideal addition to the sharpening station.
Let me explain.
When one embarks on the journey of hand sharpening your tools you will quickly come to realise that preparing a blade easily becomes the longest part of the process due to the work required to flatten the back. Having a course stone available goes a long way to make the flattening process less painful and it is for this reason that I would suggest one as an addition to the mix.
“But there is a 400 grit side to the diamond stone you knob!”
I am fully aware of that fact and when I first flattened a new set of chisels on the stone it made quick work of it, so during the first few hours of use you would have had a point! In time though, the stone wore in and became less efficient at removing material resulting in more time required to get the back of a tool flat. As mentioned the same happened on the 1000 side which in turn resulted in a cleaner cutting edge which I found to be sufficiently sharp for the work I do, and it is this that changed my mind on suggesting a fine stone as an addition to the kit.
I would still suggest adding a finer stone down the line but I believe that adding a course stone dedicated to flattening the backs of tools and shaping of primary bevels would provide the best bang for your buck.
That leaves us with just one problem.
The included diamond stone’s dimensions are 200mm x 65mm x 8mm, and it matches most stones out there in length but in it’s width it is narrower than stones available form companies such as DMT and EZE-LAP. This means that if you have your heart set on always using the rubber base to hold your sharpening stones you would need to go hunting for options that match the dimensions above. Its not all doom and gloom and if you are able to live with the fact that some stones won’t fit into the rubber holder you will find that wider stones from both the manufacturers mentioned above fit comfortably into the dedicated recess in the base.
WHAT ABOUT THE STROP?
As mentioned earlier it’s glued to the base and if you ever need to replace it, it will take a bit of work.
It is also too short and too narrow.
The former is a matter of personal taste, I like to use long strops as they allow me to take fewer strokes to hone a blade because the metal is in contact with the leather for longer during each stroke, the size of the base is the limiting factor here. I can assure you that the strop works as is but it will take more strokes to polish a cutting edge.
The latter relates to blade width and in cases where the blade is wider than the strop you would need to move the blade horizontally across the strop on each stroke to make sure you work on the full width of the cutting edge. It comfortably accommodates blades up to a #5 size hand plane blades (roughly 50mm) but anything wider than that would need to moved across as described above.
This is actually something Axminster can improve on as there is enough room on the base to make the strop wider.
Come to think of it my widest blades are also wider than the diamond stone which forces me to skew the blade while sharpening. Easy enough to do because I sharpen freehand but it would require a user who prefers a honing guide to move the blade across the stone with each stroke, similar to when using the strop.
So there you have it, most if not all the points mentioned above can be either remedied or worked around and one shouldn’t be surprised when I say that I’m impressed with the Rider Sharpening Station.
Head over to my YouTube channel to look at how I use the Rider Sharpening Station and be sure to subscribe to be notified when my next video on the Sharpening Station is uploaded.
Final thoughts.
It is obvious that some compromises needed to be made to bring this solution to market and of all of the those the greatest was likely the choice of grits on both the diamond stone as well as the polishing compound.
Of course a finer grit on both the stone and the compound would result in a sharper tool but considering all the points above and whom this product might be aimed at, the most important consideration of all is if the sum of the parts, compromise or not, work together to result in a cutting edge that not only does what it should but also results in a safe tool.
In my opinion the Rider Sharpening Station most certainly does exactly what the system sets out to do and it does it both simply and easily which in my books makes this a brilliant solution for those who either want to get into hand sharpening or are looking for a solution that will make the process easier in their own workflow.
If I were to get into hand sharpening today, I would most certainly be looking at the Rider Sharpening Station by Axminster!
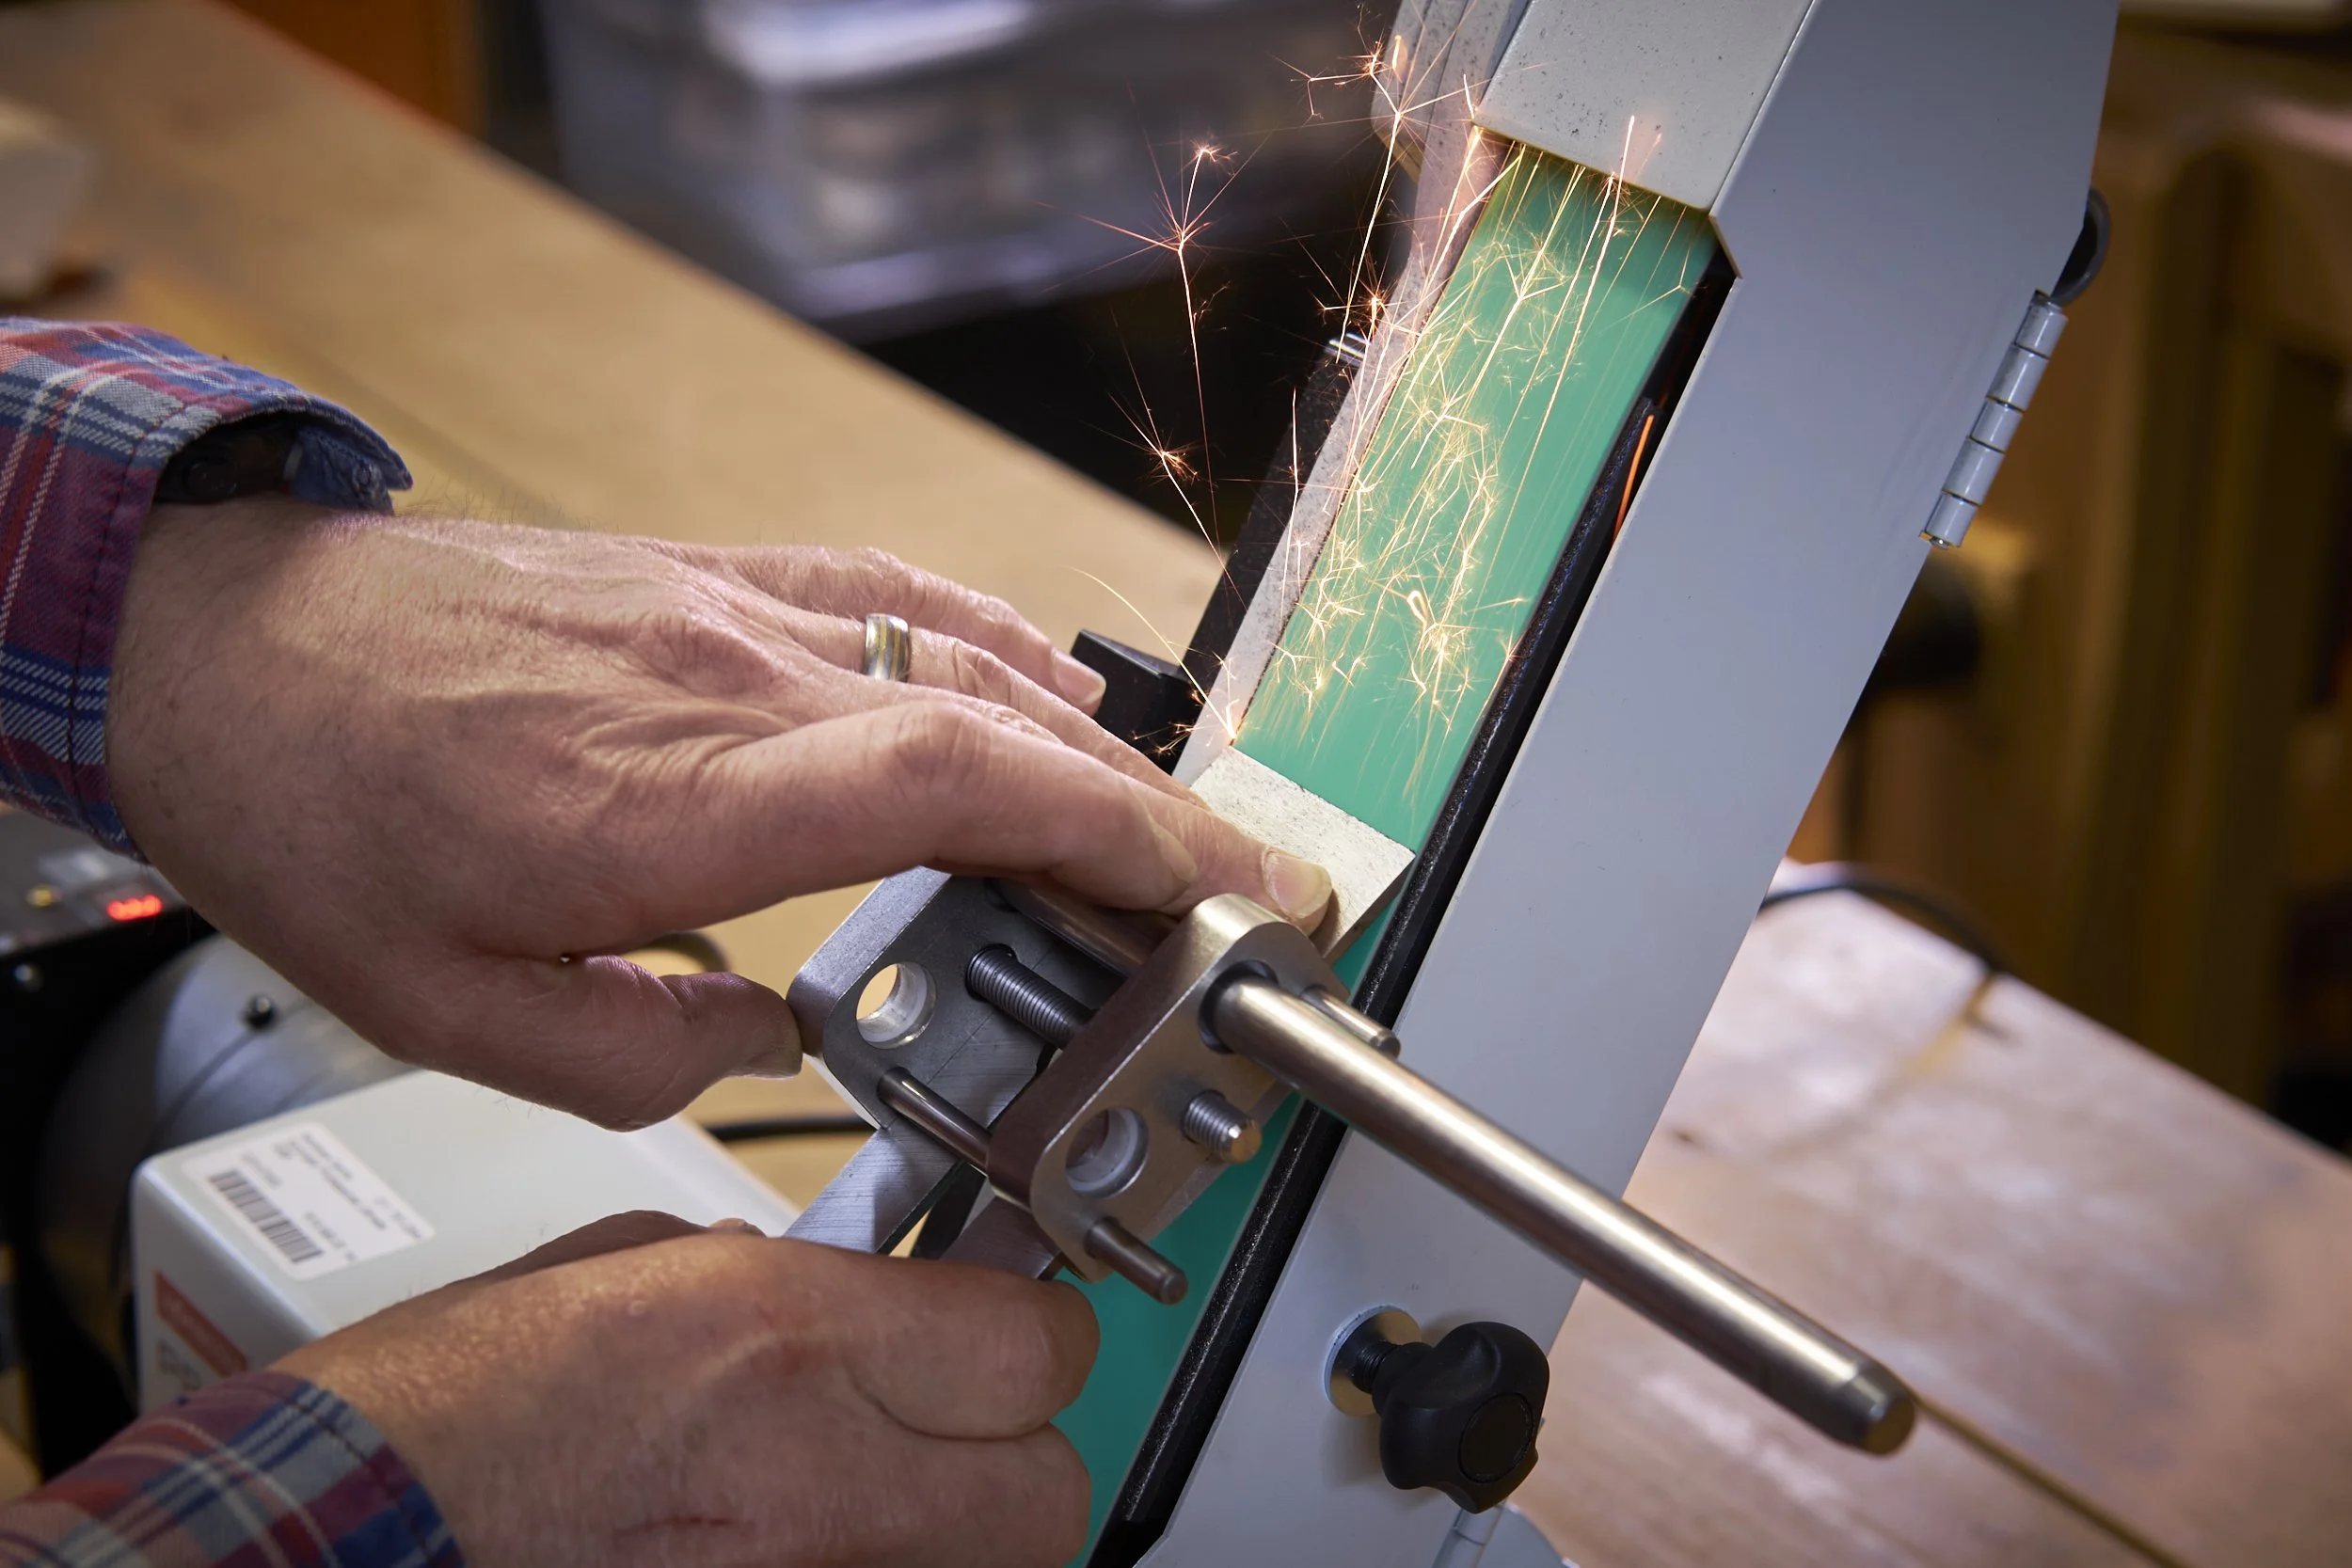

A hands-on comparison of the three most popular hand-sharpening systems — diamond stones, Japanese water stones, and the “scary sharp” method. I’ll share the real pros, cons, and quirks of each, along with what I actually use in my own workshop.