
3 Ways To Keep Boards Under Control During Laminations
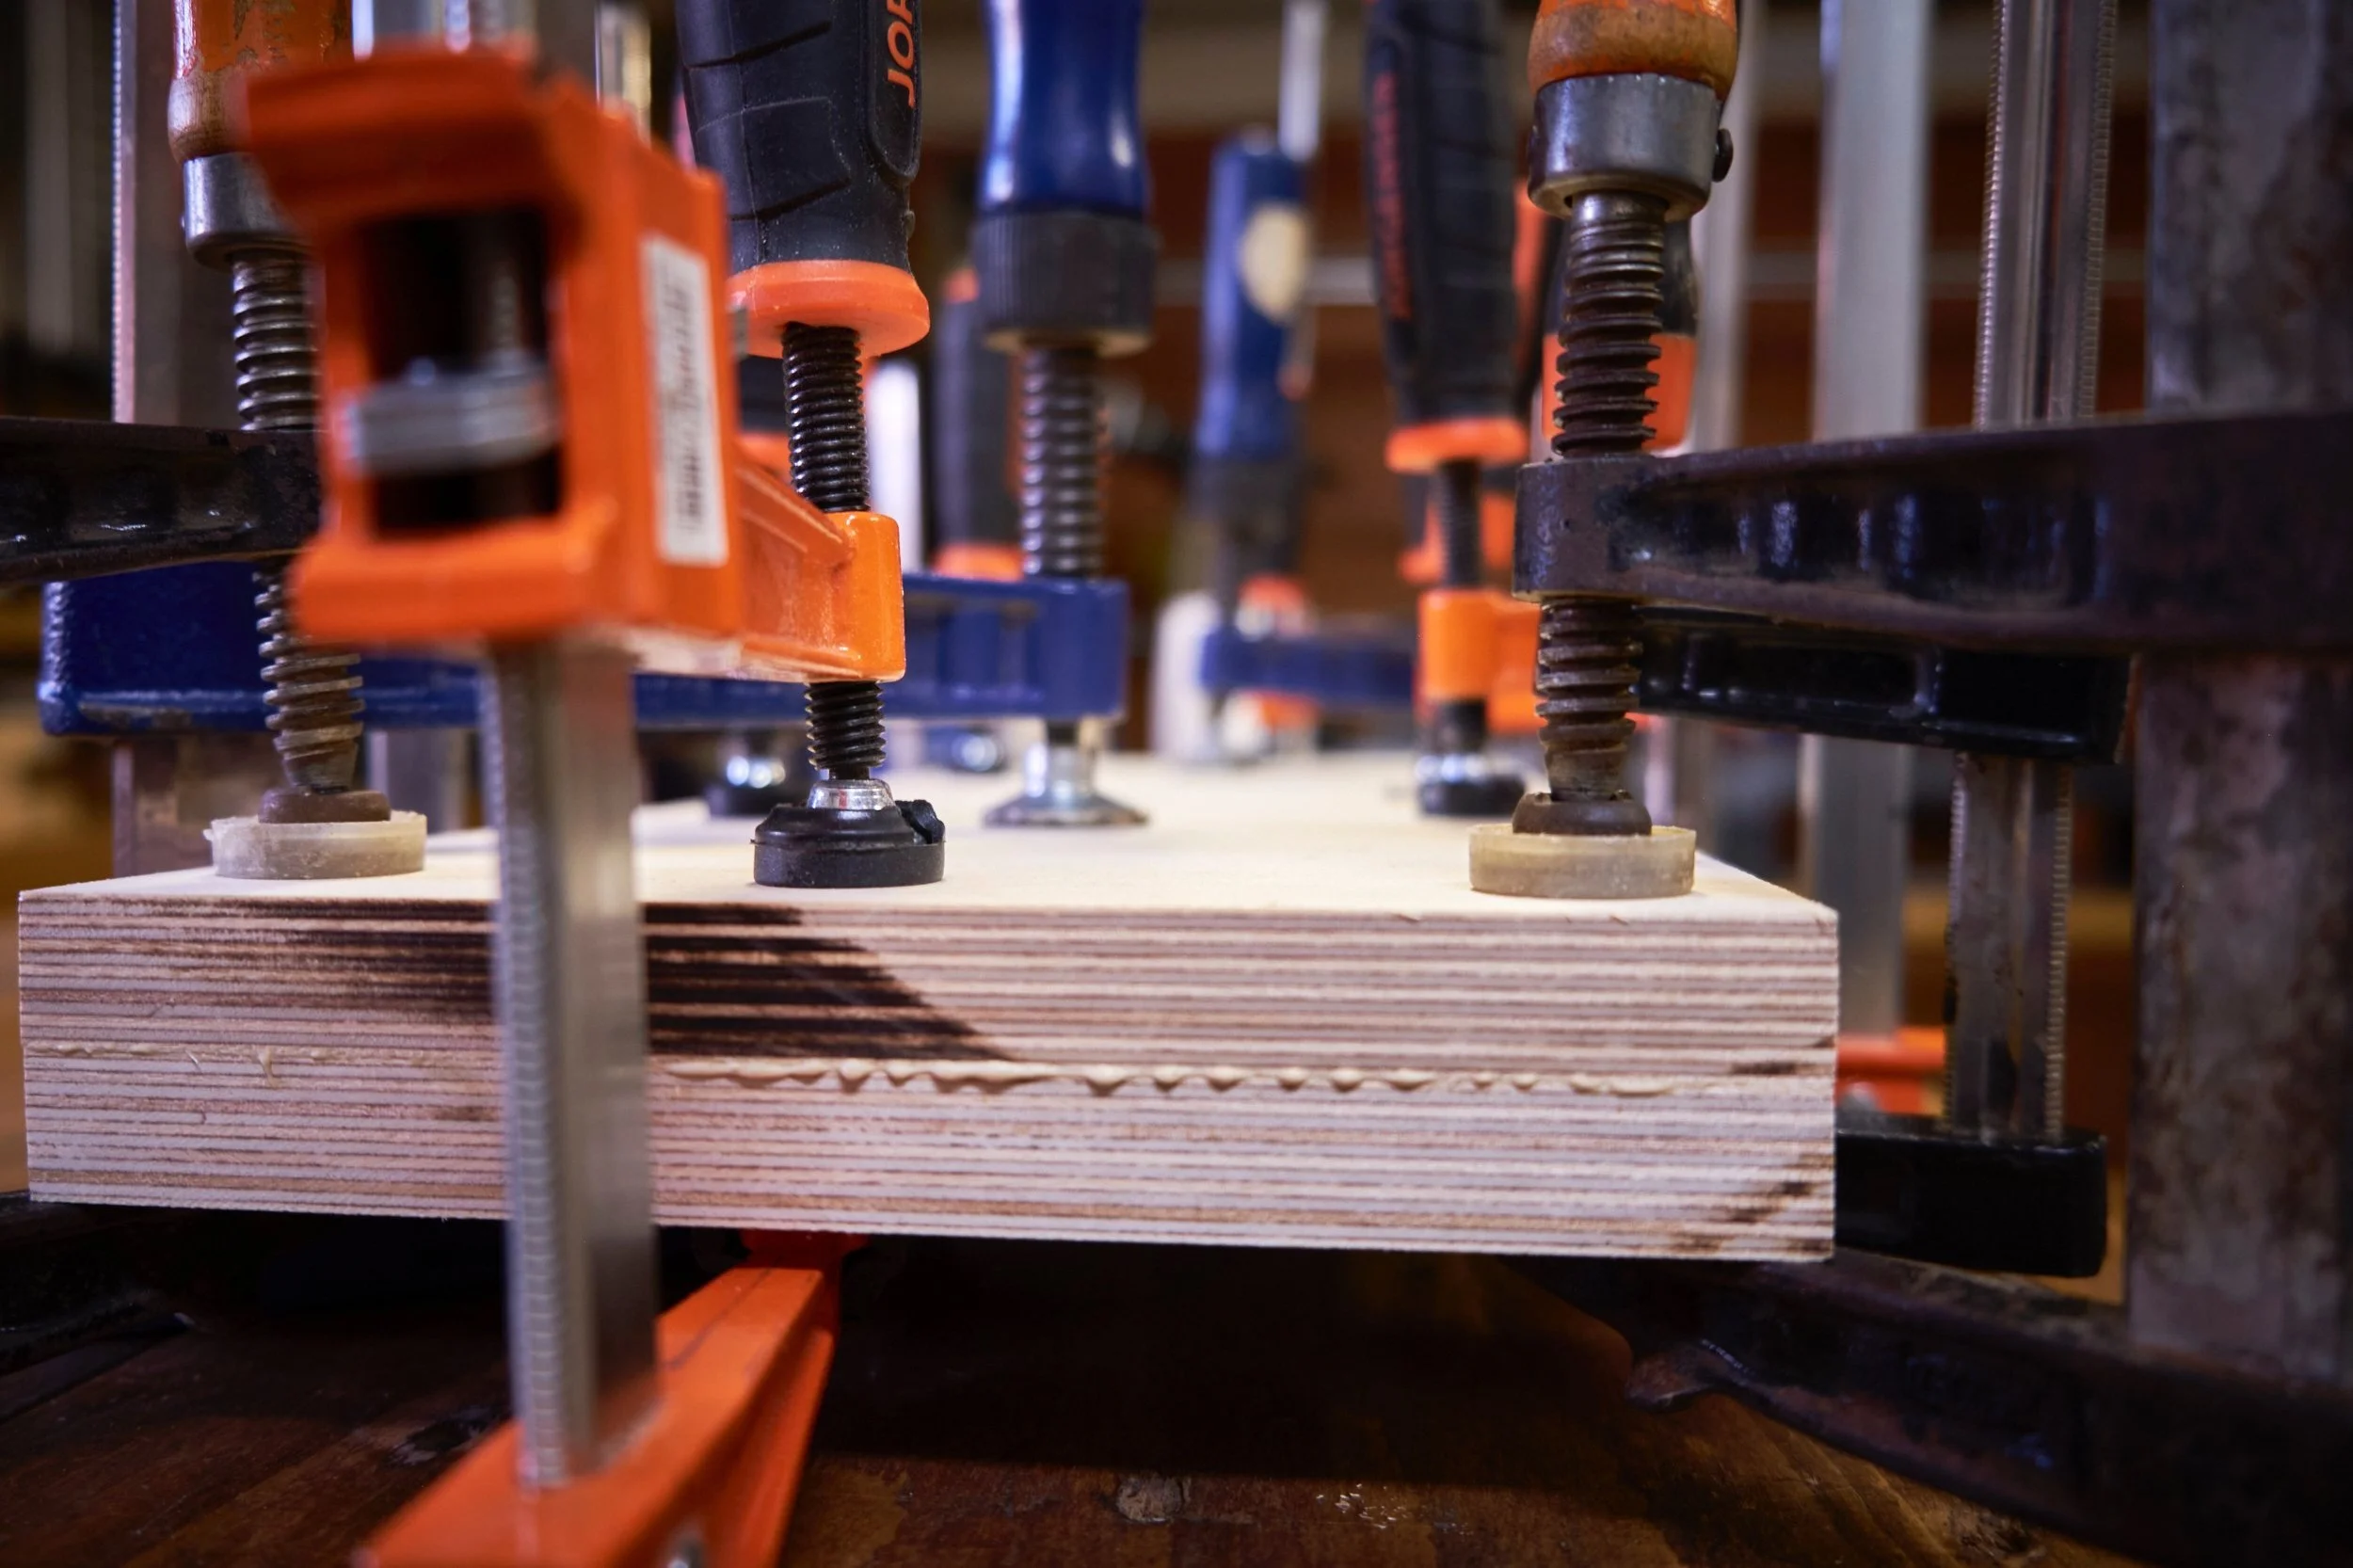
“How to manage slippage when clamping up face laminations”
The title of this particular article remains a toss up.
Slippage………
That thing that happens at the most inopportune time when gluing up face laminations, that thing that often requires parts to be oversize just in case or has the potential to make a complicated glue up even more so!
On some projects I will often do a lot of face laminations primarily as a result of stock not being unavailable in sufficiently thick dimensions such as when making tops, here I’m thinking of workbenches in particular. In other cases I may need to do laminations as a result of the nature of the raw material itself as is often the case when I make stuff out of plywood as I recently did when I built my mini workbench.
By the way if you happen to be in the market for a set of plans for the workbench you will find them in my shop in either imperial or metric dimensions.
From a personal point of view I find slippage during a face lamination to be one of the most frustrating things that could go wrong during a build, especially considering that when I first started on my woodworking journey I was building many cutting boards which seems to be the requisite entry drug for many beginning woodworkers! As a beginner I was prepping all my parts to the exact dimensions of the final item without leaving room for final finishing or slippage during the glue up.
Let’s just say that some boards ended up thinner than anticipated!
Come to think of it I even built a clamping jig to keep the parts of the lamination flat during the glue up. A jig that sees very little use these days and is likely to be converted into a drill press table in the very near future.
Mmmmm, maybe the jig isn’t seeing much use anymore as a result of finally letting go of my dreams to retire on the millions I had planned to earn from making cutting boards?
And just in case you are wondering, I also have multiple sets of clamping cauls lying around somewhere in the workshop gathering dust and I’ll enlighten you more about what I think of them in the honourable mention section a little later on.
My favourite three techniques I use to manage slippage during face to face glue ups is what I will be focussing on right now with those honourable mentions included towards the end.
I’ll start with the most used technique in my workshop which is the Domino and with this, as well as my other favourites I’ll tell you more about how I go about using each and their respective pros and cons.
#1 The Festool Domino
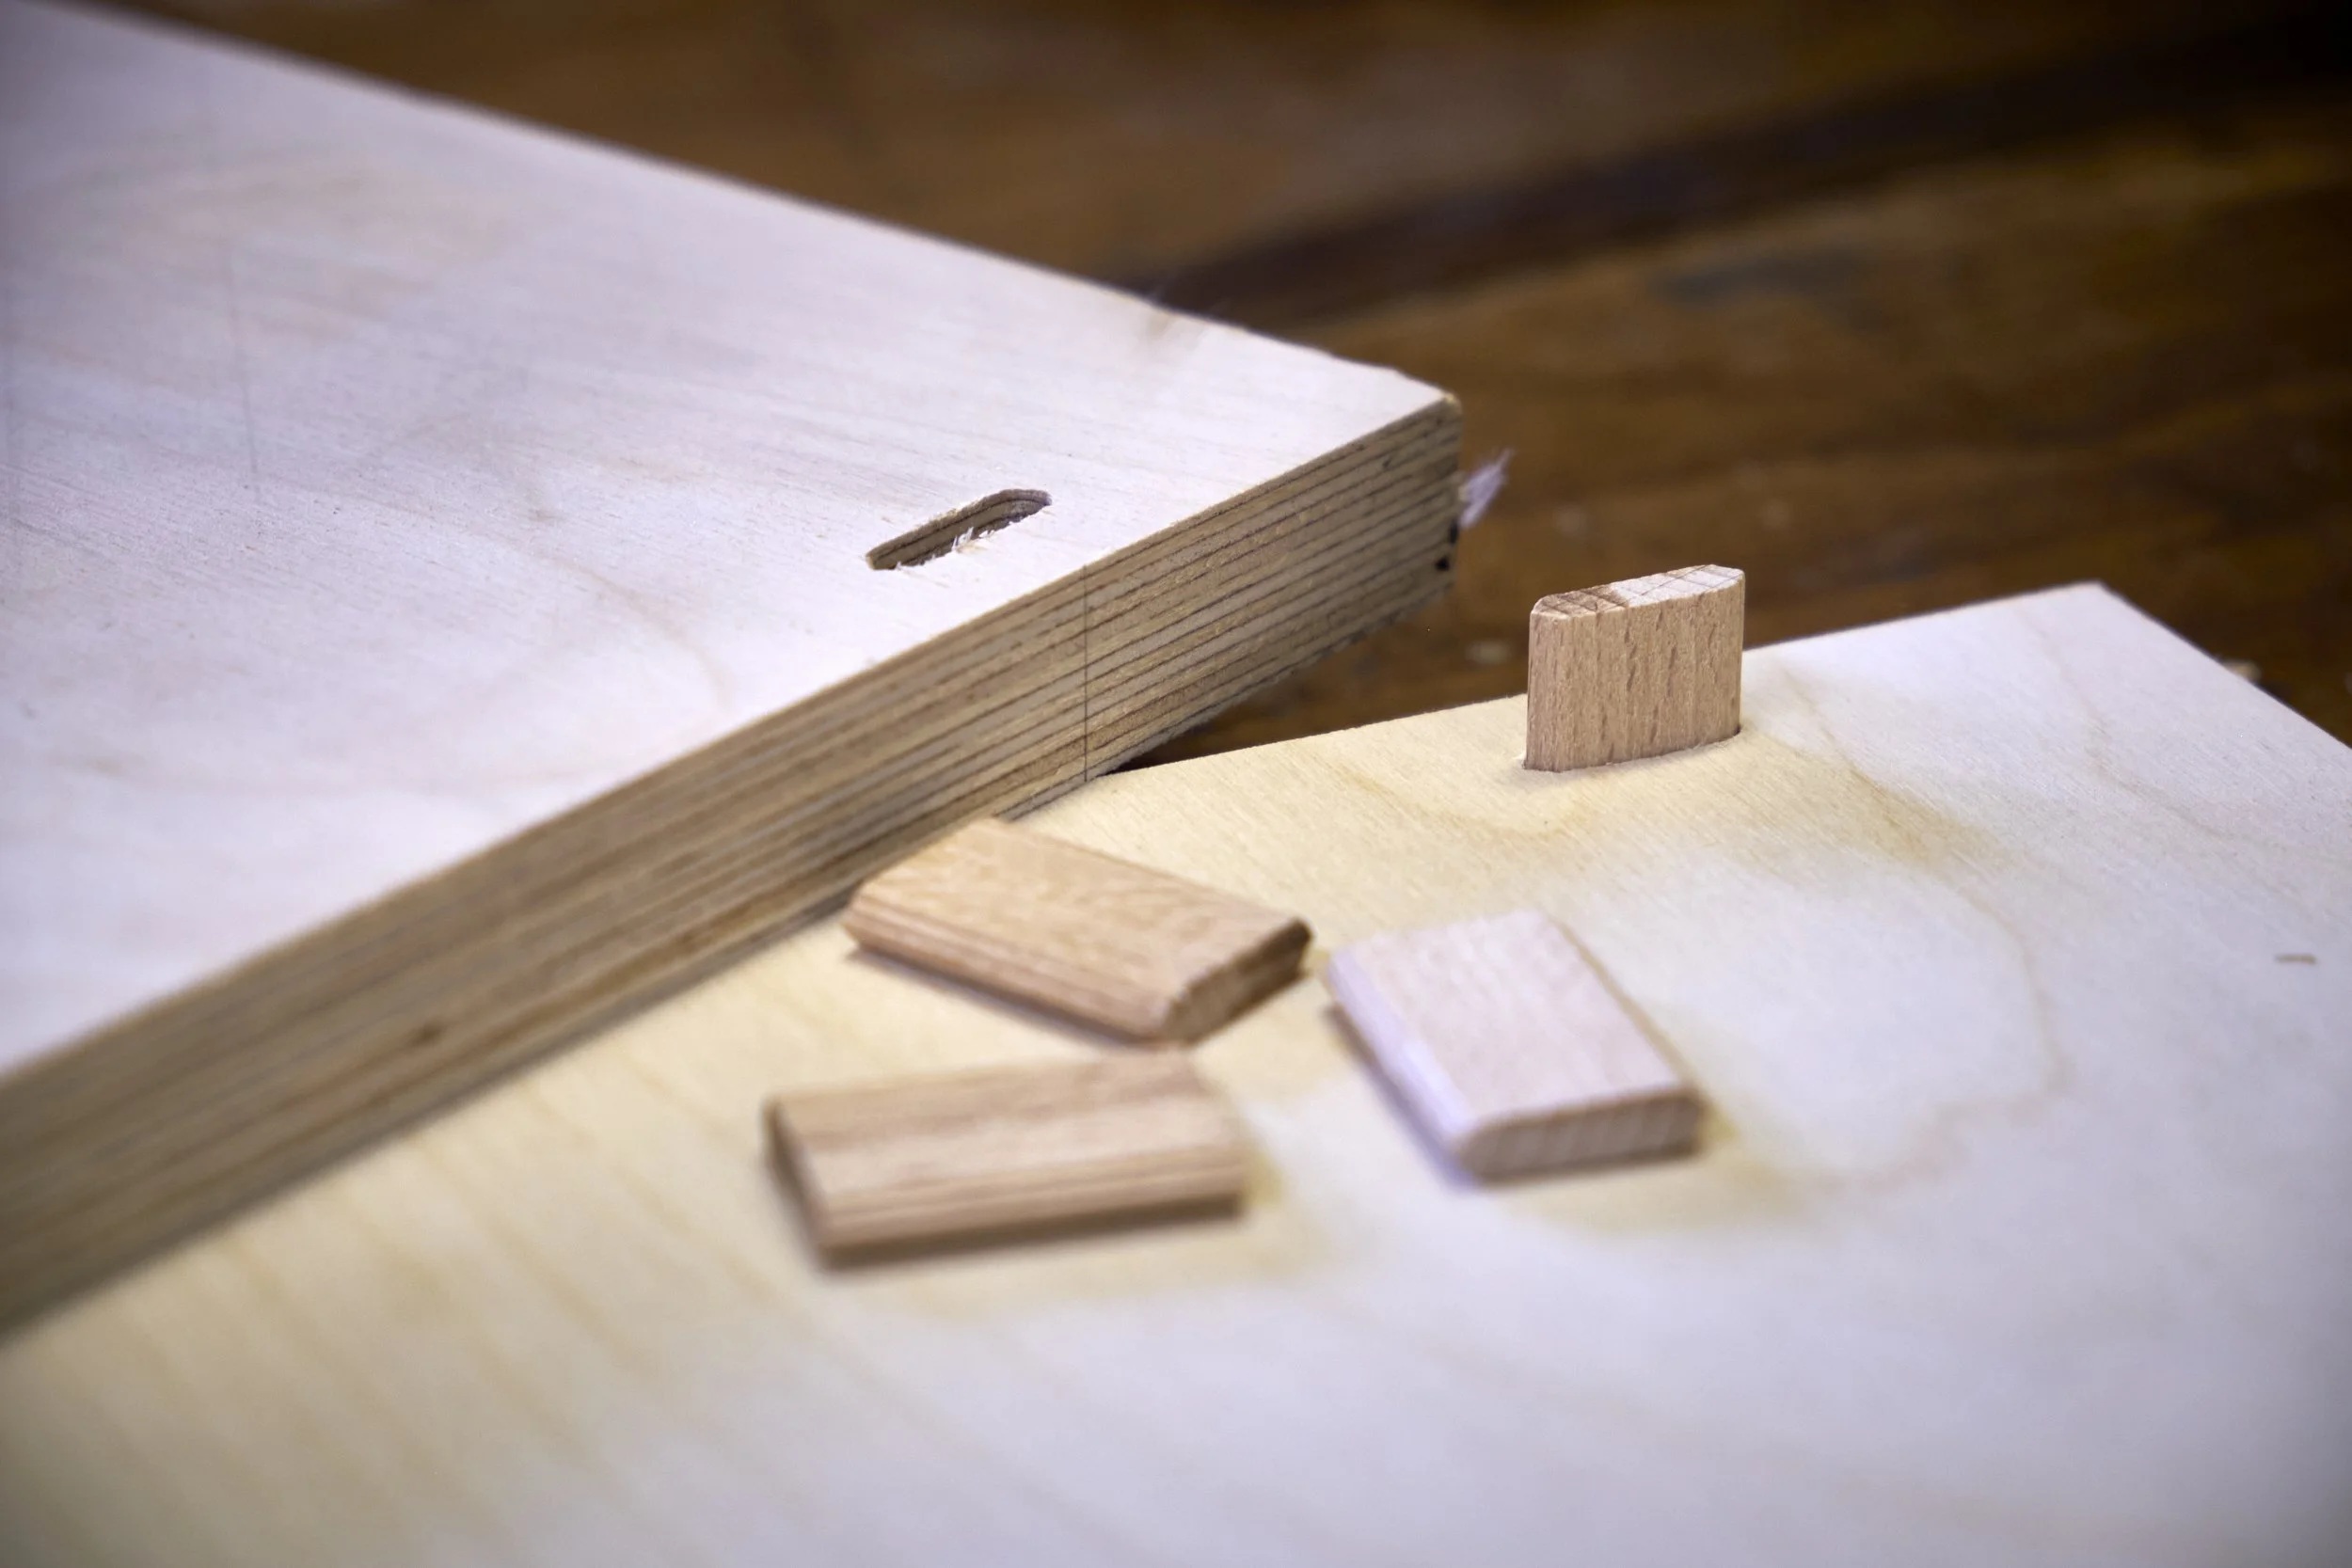
The Domino has become my go to for keeping parts in line during face laminations, not perfect in all situations and I’ll cover this in the cons section but this method is fast and relatively fool proof.
Both aspects that I need some help with.
Steps:
Bring the parts to be joined, together and make sure the edges and ends are flush with one another.
Clamp the components together.
Make a cabinet maker’s triangle across one edge of the whole assembly, this will help you keep track of which edge goes with which when the parts are separated.
Mark the positions of the Dominoes on the edge of the assembly making sure to carry the mark across both parts.
Unclamp.
Set the depth on the Domino machine, I usually go for having the top surface of the Domino about 10-15mm below the edge of the workpiece.
Using the marks cut the slots onto the inside surfaces of the workpieces.
Install the loose tenons and bring the pieces together to check the fit.
Take the assembly apart.
Apply glue to the face of one workpiece and then glue the Dominos into the same face prior to applying glue to the opposing face and clamping them together.
Tips:
The Domino size is determined by the thickness of the stock, choose a size where the depth of the slot does NOT pass through the workpiece.
Related to point 6 above here I am setting the depth of the slot below the edge of the workpiece, keep in mind that if you are expecting to remove material from the assembly later on during the build or at some other point in it’s lifetime (like flatten a workbench top) that if the tenons are placed too shallow, they may become visible after material removal.
Also avoid placing tenons too close to the ends for the same reason, if the part still needs to be cut to length you may cut through a tenon and it will become visible, check out why my bedside tables in this article had breadboard ends added to the top!
If you are laminating more than two pieces together it may happen that the slots for the tenons could be deep enough to cut into the tenon in the opposing face, in this case I stagger the positions of the loose tenons between boards so that this is less likely to happen.
Also related to laminating multiple components I will cut all the slots into the workpieces and test fit the whole assembly to check for alignment before gluing it together two pieces at a time.
How many Dominos? It’s up to you and the size of the workpiece. I will typically aim for at least one tenon on either end and two in the middle, top and bottom. If your workpiece is wider and longer you can add tenons as you see fit.
Pro’s:
This method is quick, easy and repeatable.
I did mention relatively fool proof?
Because of the width of the tenon I find that this method is especially good at limiting movement of parts to the bare minimum during clamping.
Off all the methods I’ve tried I find the glue up the simplest when using this method.
Con’s:
Neither the Domino nor its consumables are cheap.
Not ideal when working with thin stock.
When separating the workpieces after a test fit the Dominos tend to get stuck and the parts refuse to separate. DO NOT be tempted to stick a screw driver in between the parts to leverage them apart, the tool will leave obvious dings in the edge where the panels come together.
This is just me but I’ve had fingers pinched between panels while levering them apart, the blackened finger nail gained during my mini workbench build has just grown out……
#2 Dowels
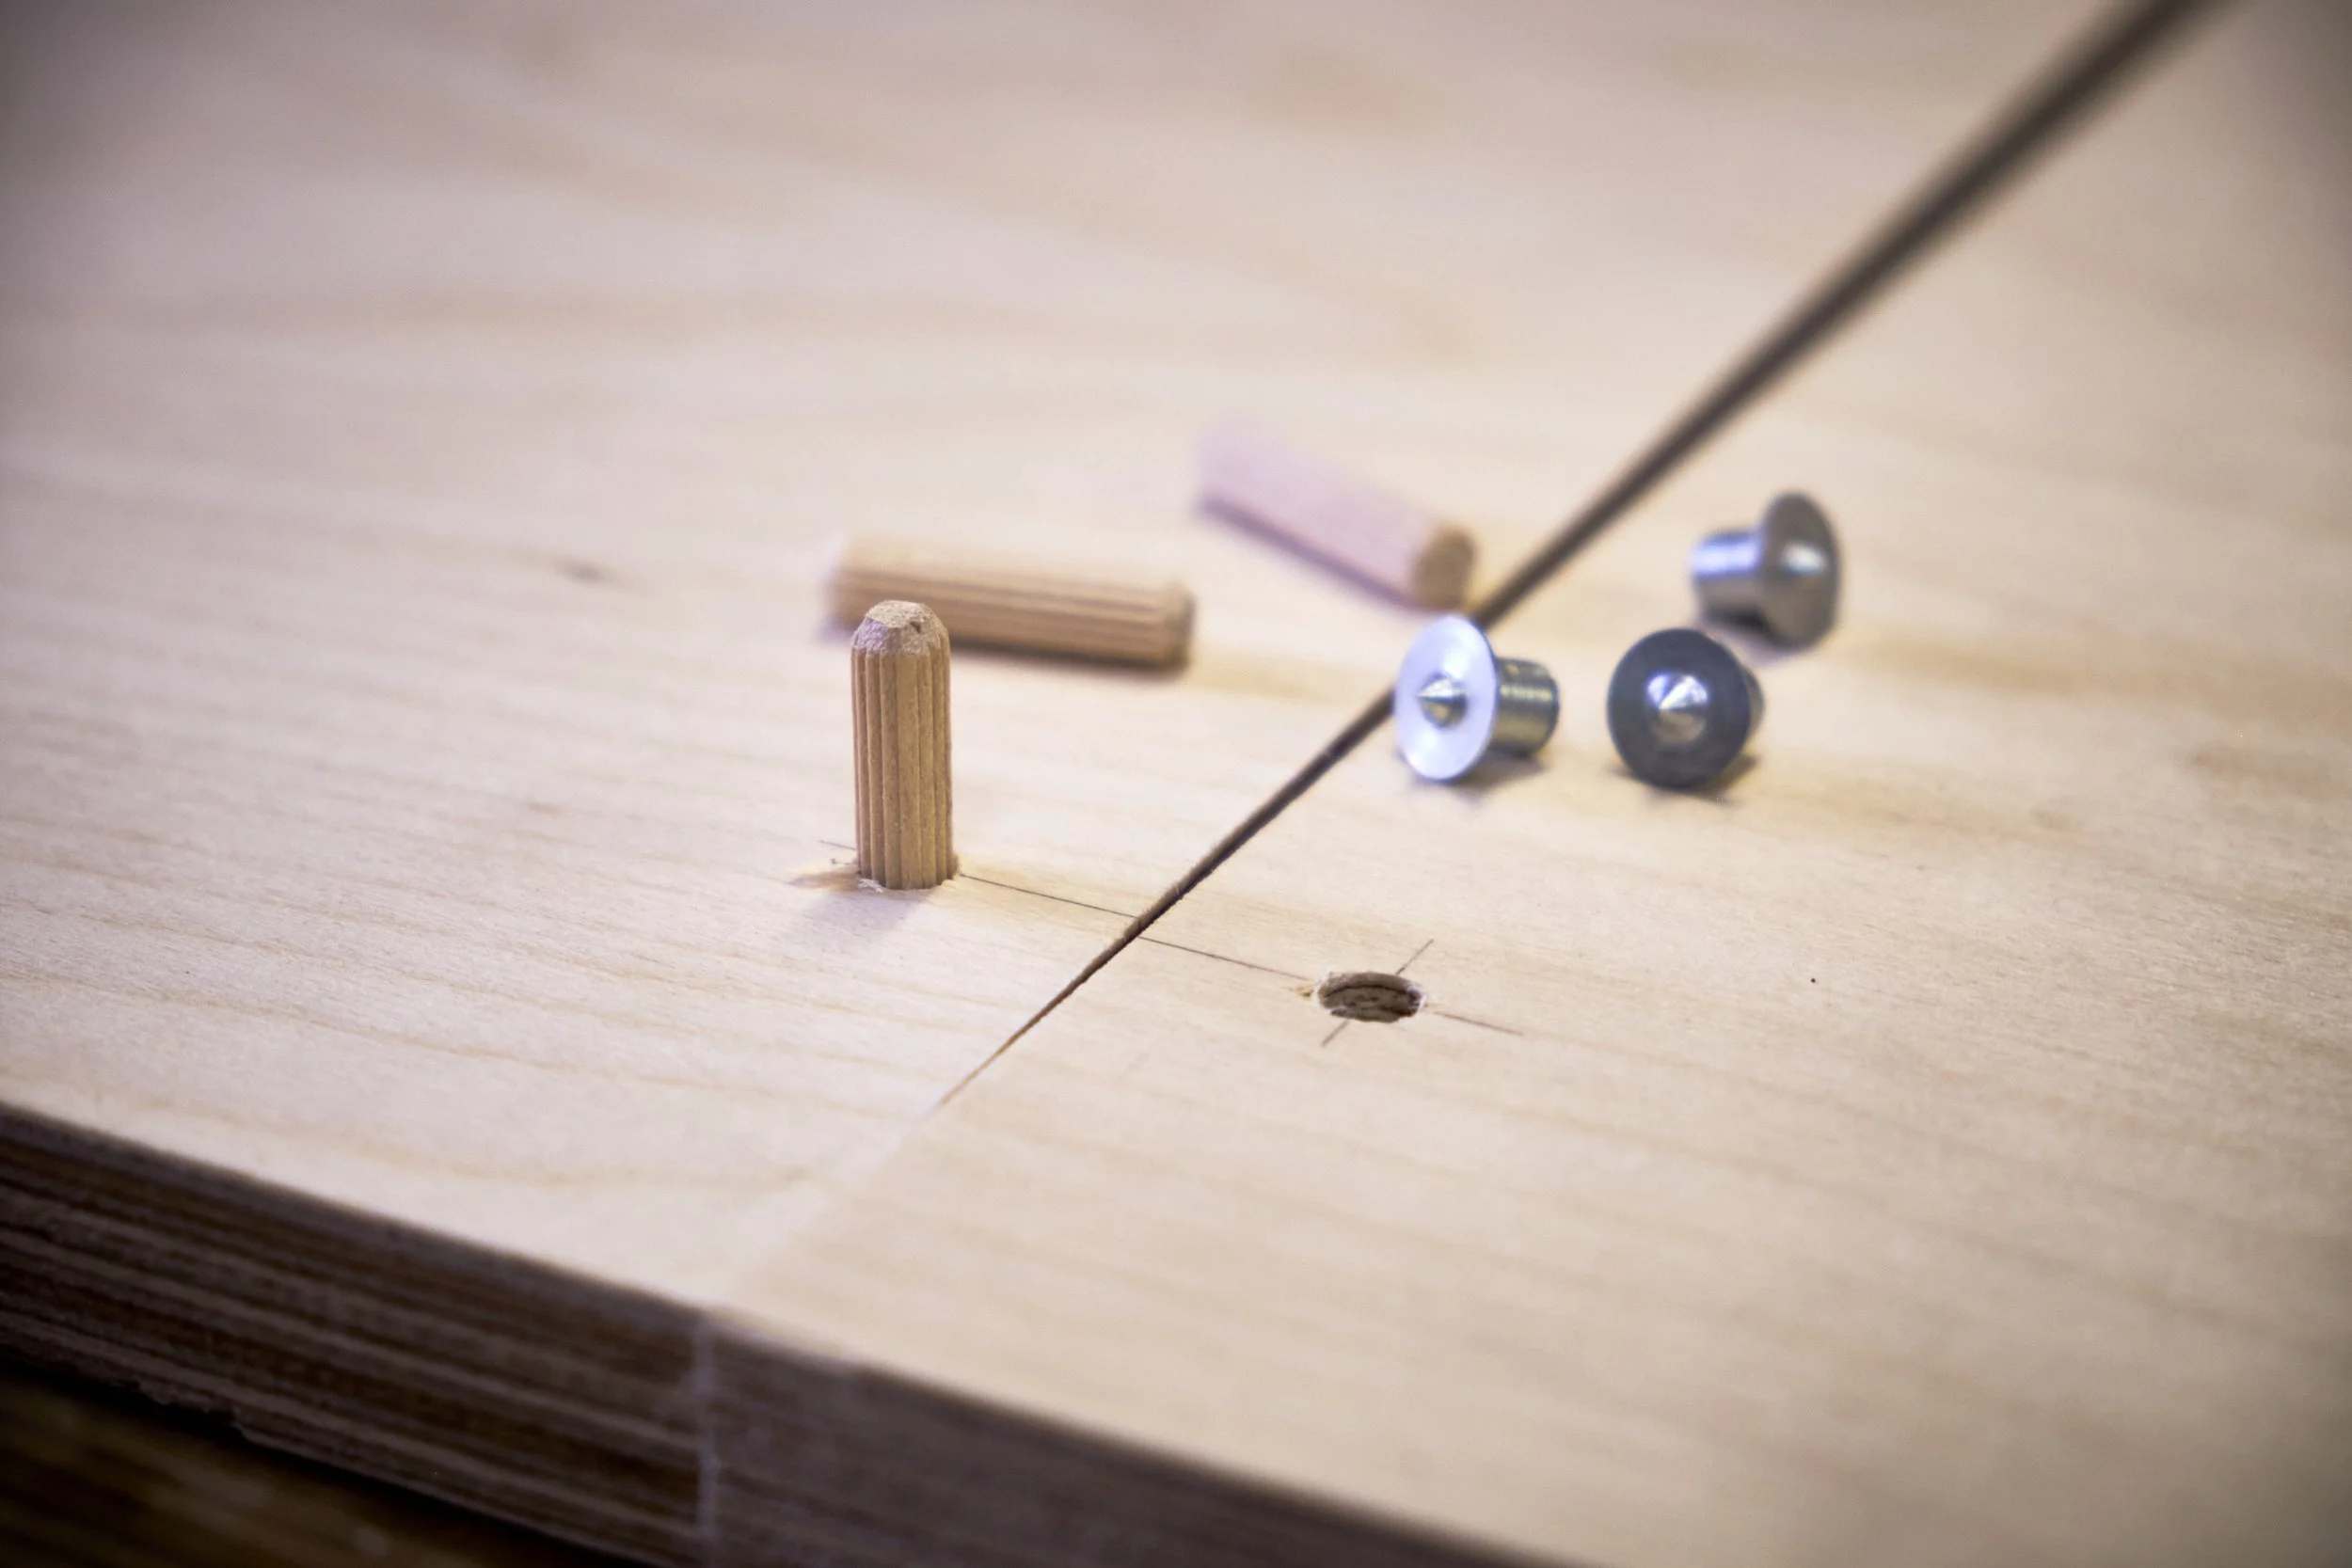
This one is a close cousin to the Domino.
There are multiple ways by which a dowel can be installed into a piece of wood using anything from dedicated doweling jigs to dowel marking pins.
I have two doweling jigs available to me, my first I used on a very early woodworking project at the start of my career and never again since. The second is the Peanut jig which I like sooooo much that I wrote four articles about it here. The Peanut jig is first and foremost used to install Peanuts but can double up as a doweling jig and even as a loose tenon jig! I still believe the jig has more potential than I give it credit for but I haven’t had cause to use it on any recent projects. I’m also not in the mood to buy a new cutter to replace the one I burnt by spinning it too fast in the router and I also no longer own a router large enough to put the bit into.
I have issues with routers.
Anyway when using a doweling jig I would use a similar marking out procedure as detailed for the Domino but below I describe an easy way of aligning the dowel holes without needing to use a jig.
For this method I use alignment pins as shown in the picture, these work well and you can find them in most if not all the standard sizes that dowels are available in. I think I have two sets, one in 5 and the other in 8mm.
Steps:
Take one of the workpieces and lay it on the bench with the face that will be glued pointing up.
Mark the positions indicating where the dowels will be placed onto the face, as with the Domino I mark the dowel positions around 10-15mm in from the edge and I use even spacing between each dowel.
Pick a drill bit in the same diameter as the dowels being used.
Use masking tape or a collar (depth stop) to indicate ½ of the total length of the dowels that will be used directly onto the bit, this will ensure that you do not drill through the workpiece.
Drill the holes for each dowel.
Place a dowel alignment pin into the holes you’ve just drilled.
Very lightly place the face of the second workpiece onto the first and make sure the edges and ends line up accurately between the boards.
Once you are happy with the alignment place even pressure a little bit at a time along the full length and width of the board, this will allow the the sharp tip of the pin to make a mark on the opposing board showing where the dowels are positioned.
Carefully separate the boards and remove the alignment pins from the holes.
Place the drilled workpiece to one side and drill the opposing dowel holes into the marked board at the positions indicated by the pins, be sure to drill to the correct depth.
Install the dowels and clamp the workpieces together to check alignment. If all is good proceed with the glue up as described for the loose tenons.
Tips:
When marking the positions of the dowels on the “reference” face use an awl to mark the positions of the dowels, this will help the tip of a brad point drill bit to register accurately in the mark and stay put during the drilling.
The diameter of the dowel is less important than the depth of the hole that needs to be drilled to accept it, make sure that ½ of the length of the dowel is less that the thickness of the workpiece.
Keep more than one set of alignment pins in a particular size in hand. They usually come in sets of four and if you install more dowels than you have pins available you would need to follow steps 6 and 7 more than once to mark out all the positions. Having more pins makes for a more efficient process.
The method above describes the dowel installation for hidden dowels. If you don’t particularly care about having dowels visible or will be hiding them later using some other method you could simply mark the dowel positions on one outside face, align and clamp the workpieces together and drill all the way through both workpieces!
Make sure to drill as square to the face as possible, it makes for easier assembly.
As with the Domino there may be some overlap between the depth of the holes to accept the dowel so if you are laminating more than two boards together stagger the dowel positions such that you avoid drilling into existing dowels on adjacent workpieces.
Also refer to the tips in the Domino section for more info as these two methods have a lot in common.
Pro’s:
It’s cheap! Both the dowel and the alignment pins are cheap and you can even make your own dowels from commercially available round stock.
No special tools required, just a drill and a drill bit in the correct diameter as well as the pins of course.
If marked out well and drilled accurately this method can be very reliable.
Con’s:
This process can be laborious and take long especially when laminating multiple workpieces together.
You can drill through a workpiece! I’ve had a depth collar move on me resulting in a through hole.
As with the Domino it can be a pain to separate the workpieces after a test fit due to tight dowels.
#3 Nails
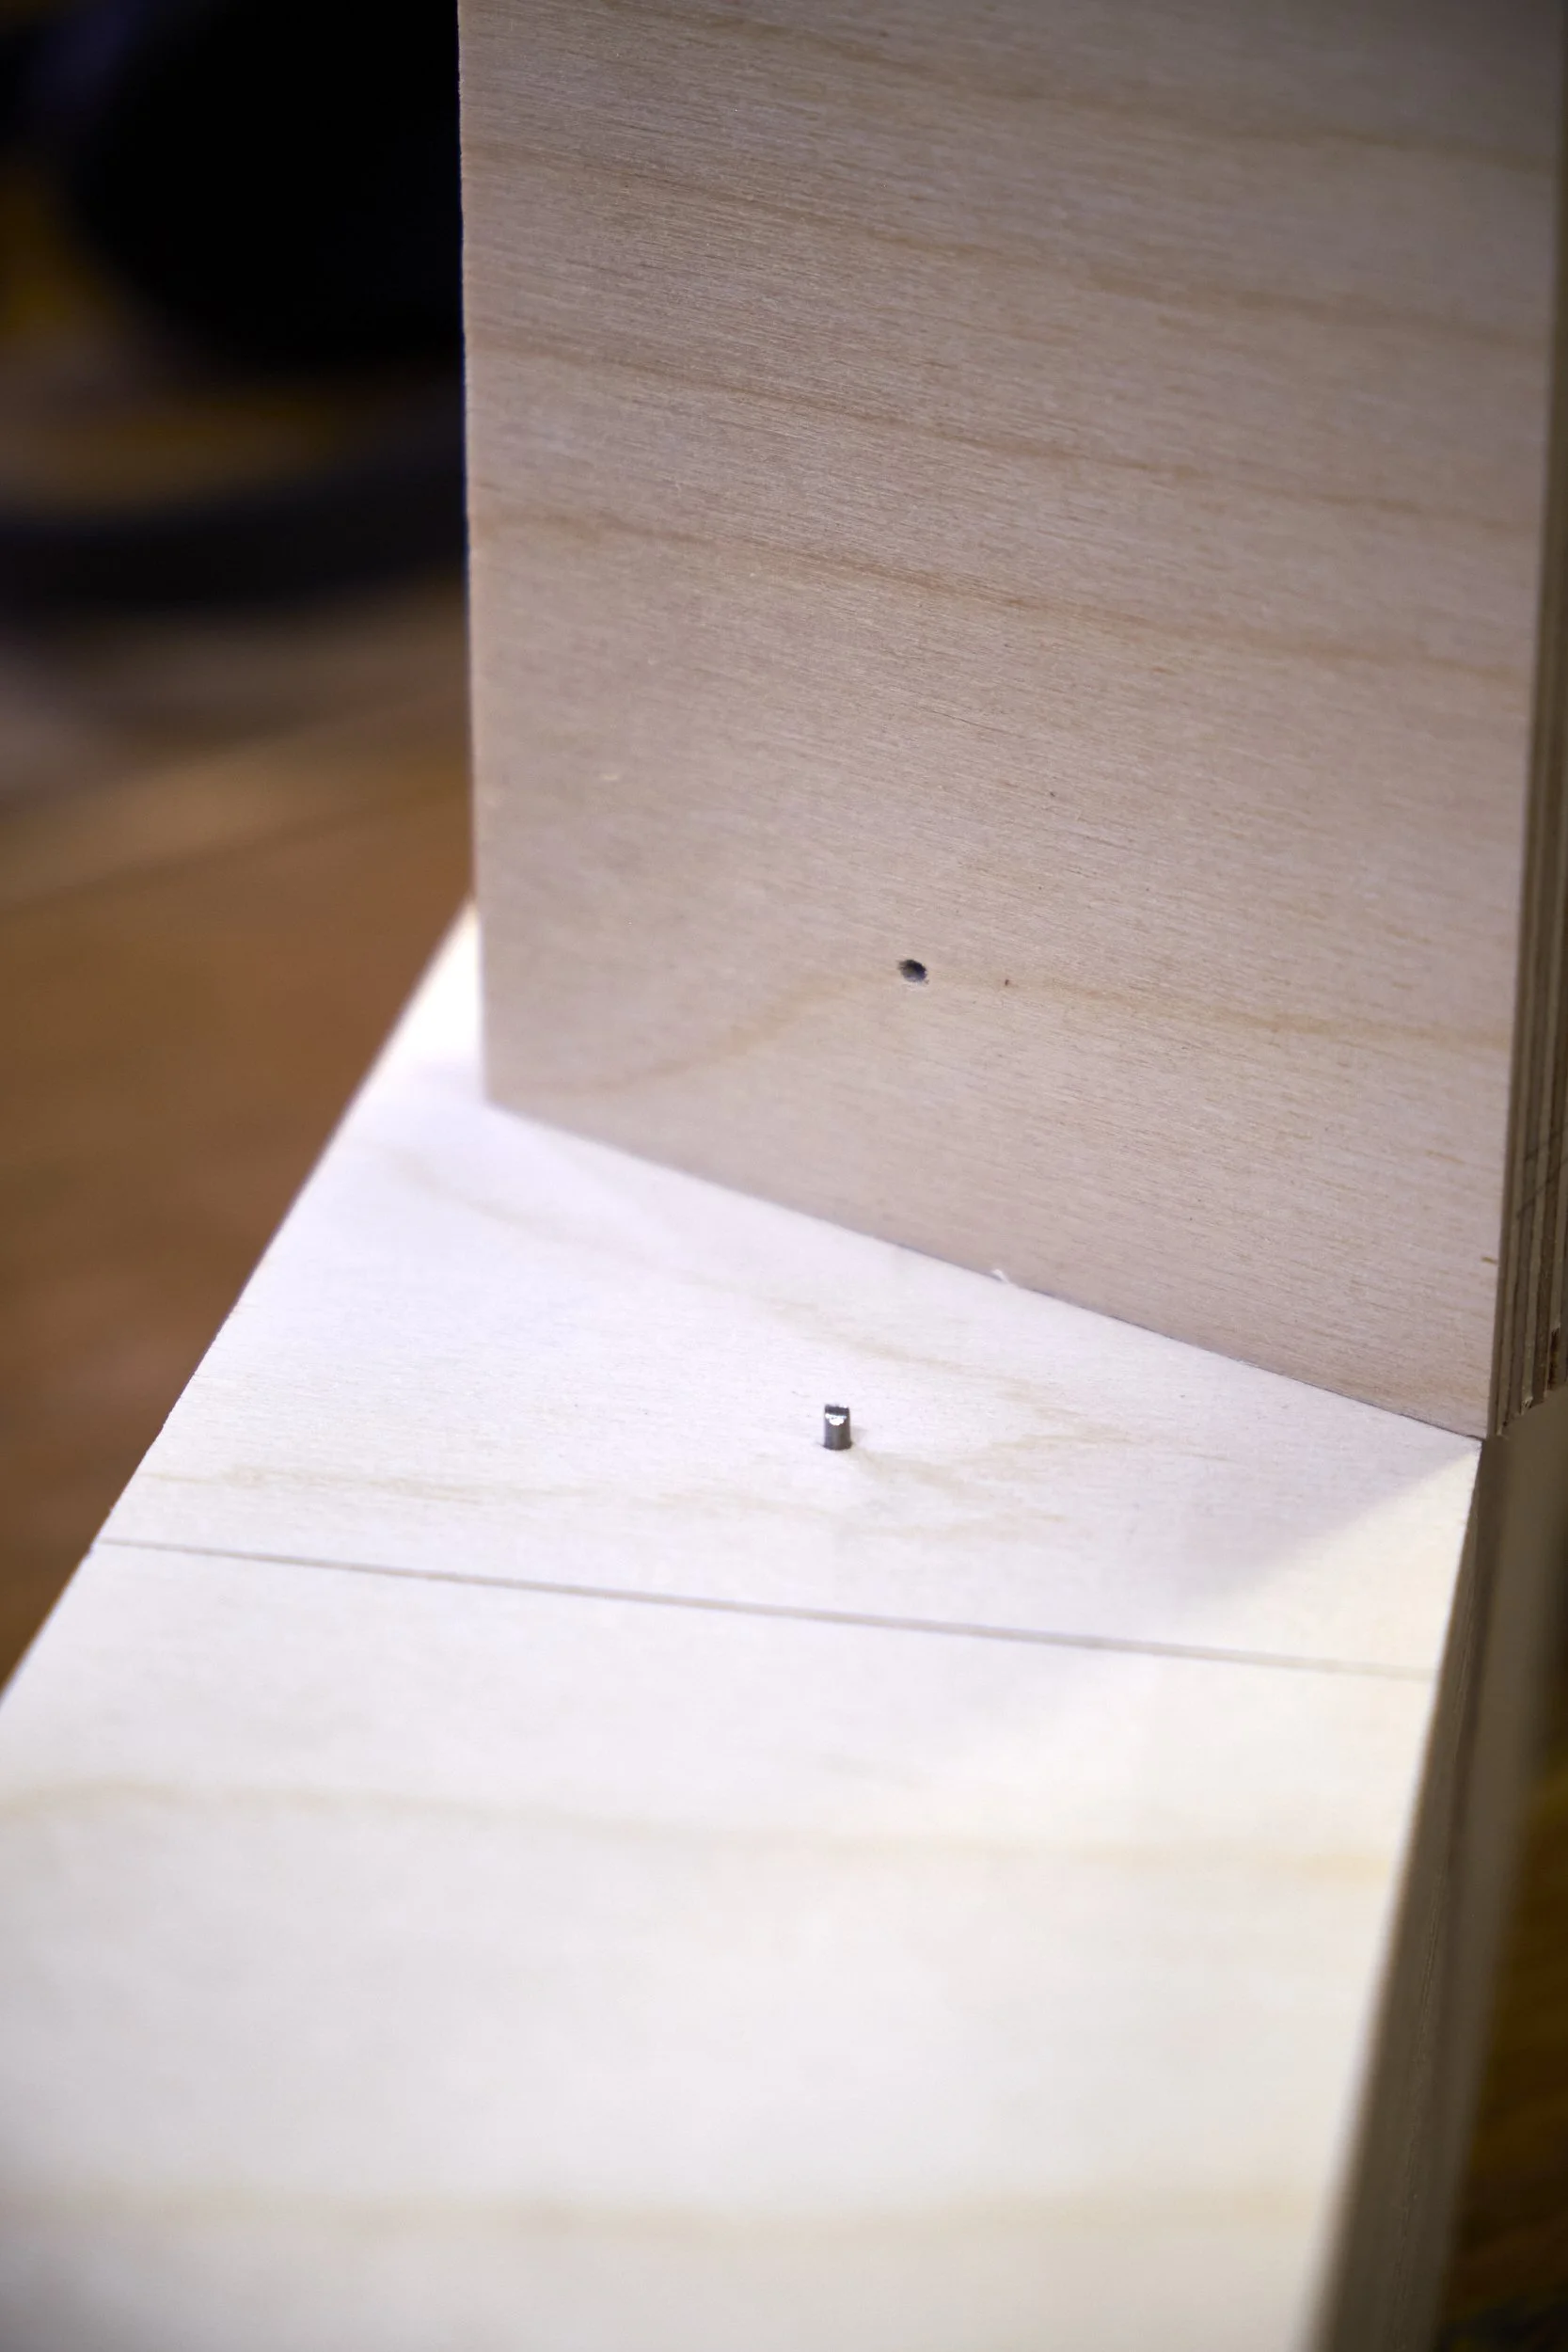
Yes you read that one right, the good old nail!
And I’m not talking about putting a nail through the workpieces to keep them aligned once you’ve applied glue and clamped them together, although it should work. I’m talking about using nails prior to the glue up.
For this you will need smallish nails or pins anywhere between 1-2mm in diameter a pair of side cutters and of course a hammer to do the “installation”.
This is how you go about it.
Steps:
On the face of the board that will be laminated, on each end of the workpiece eyeball about ½ way between the long edges and between 20-50mm in from the end, at your chosen spot hammer in a pin so that about ⅓ of it still sticks out above the surface of the workpiece.
Use the side cutters to snip off the head leaving about 3-4mm of the nail sticking out above the surface of the board.
Bring the second workpiece to the one with the nail and place its inside face gently on top of the nails.
Align the parts to one another and place hand pressure onto the position of each nail. The snipped nails will make an indentation onto the opposing face which will now act to keep slippage under control.
Apply glue to both faces, align and clamp.
Tips:
Use thin nails, they are easier to snip.
WARNING: Protect your eyes during the nail cutting process, the ends have a bad habit of going for your eyes once separated!
ANOTHER WARNING: The cut nails are sharp be sure not to snag any clothing or yourself on them.
Side cutters work best as they are easier to keep parallel to the surface of the workpiece.
This method works better on smaller laminations.
If you install the nail at an angle, as I might be prone to do it is usually best to try again in a different position as any correction in the nail angle by means of the hammer will loosen it in the wood and make the alignment less stable during clamping.
It’s fast, especially considering that you don’t need to mark out anything. Have nail, hammer, side cutter and have at it!
Pro’s:
This method is very cheap and you are using basic equipment which most woodworkers are likely to have at hand.
If you are laminating more than one component you don’t need to worry too much about nails interfering with one another unless you are either very good at repeat eyeballing or particularly unlucky!
Very easy to do.
Con’s:
Cutting through a misplaced dowel or Domino will make you cuss and could have you considering design “amendments”, cutting into an errant nail may very well spoil your day at best or cause bodily harm at worst. Make sure you know where those nails are at all times!
Of all options this one isn’t the most stable and some movement between workpieces may still happen, this can be somewhat managed by applying clamping pressure gently and a slowly at each clamp until you are happy with the pressure.
And those are my three favourite methods of managing slippage between workpieces during face laminations. Let me leave you with a final Pro Tip before I get to the honourable mentions.
PRO TIP: Get yourself a rubber ink roller and use this to spread the glue on the faces to be laminated. You will surprised at how quickly and evenly the roller will spread a bead of glue over a flat surface. In my books any time saved during a stressful glue up helps. Just don’t forget to clean the roller afterwards otherwise you will soon be shopping for a replacement.
My roller is one of my all time favourite non-woodworking tools and if you would like to see the others in my top 5 list you can read more here.
The methods covered above are not exhaustive and I can almost hear the shouts of may readers stating that I am daft for omitting solutions like clamping cauls! Well I have cauls and I am about to cover them in the honourable mention section below.
Honourable Mentions
I’m not starting this section with cauls though but with another method that I have both used and find particularly cool especially for smaller glue ups like when glueing the cheeks to the core of wooden hand planes. For some reason these are especially prone to movement!
If you want to read more about how to build your own wooden hand plane you can follow this link to my 5 part series about the process, in this one I cover one more method to manage slippage.
I digress.
Salt
Or more accurately “salting the joint”.
Yes, humble medium coarse salt can help mitigate slippage between workpieces during a glue up and you go about using it this way:
Apply a thin layer of wood glue on both the faces of the parts that will be glued together.
Sprinkle a pinch of medium course salt onto one of the glued faces, salt from a grinder is about the correct coarseness.
Clamp the sides together and let the glue dry.
The reason this works is that the salt makes one face “grippy” and thus limits slipping between the two faces once they are brought together and clamped. Because salt dissolves in water and most wood glues has some water in it the salt will dissolve and not interfere with the joint.
Nifty, don’t you think!
There is one caveat and that is that “salting the joint” is a historic method and it was used with traditional water based wood glues and as a result I can make no claims about how the added salt would affect modern glues and joint strength. I have used it with Titebond III and I think it made the glue more runny so it did have some effect on the glue composition.
The joint is still holding though!
Clamping Cauls
Finally!
I need to add a disclaimer before I continue.
Cauls work and they work well, I just don’t like using them.
I find them unnecessarily fiddly during the glue up process and when I am laminating more than two sections to make up a workbench top I really don’t need the complications they bring. I just want to apply glue, clamp and be done.
Two tips I have picked up when looking for solutions to remedy my relationship with my cauls are these.
Use a rubber band over the ends of each set of cauls to bring and hold them together, ready for clamping. This one will somewhat mitigate the complication of adding a clamp to one end while the other is waving all over the place and being wholly uncooperative.
Stick some masking tape onto the edge that will be in contact with the workpieces, this will help ensure that your caul does not remain stuck to your lamination once it’s all dry. You can also add a light coat of paste wax to the surface of the masking tape to help separate the cauls from the lamination once it’s all said and done.
I have a love, hate affair with my cauls and I have four sets in differing dimensions in my workshop. There are some use cases where they are indispensable but gluing up face laminations isn’t it for me I’m afraid.
And there you have it, three ways to less stressful face laminations, at least as far as wood slipping all over the place during a glue up goes.
If you would like to get access to my FREE plan page, why not consider signing up to join the Sharpen & Shavings Club here. Remember to verify your subscription to have news, special offers and exclusive deals sent directly to your inbox.
As always it was nice to have you here and I hope you found this article helpful.
Have a good one, cheers!


This is the first article in a series detailing the process of making your own wooden hand plane.
Hand planes, even the wooden variety, need good, sharp blades and if you will be making the plane you might just as well consider making your own blade. Most woodworkers, though, would hardly consider making their own blades an achievable goal but in this step by step article I show you how simple it can really be!