
Build Your Own Wooden Hand Plane - Part 1
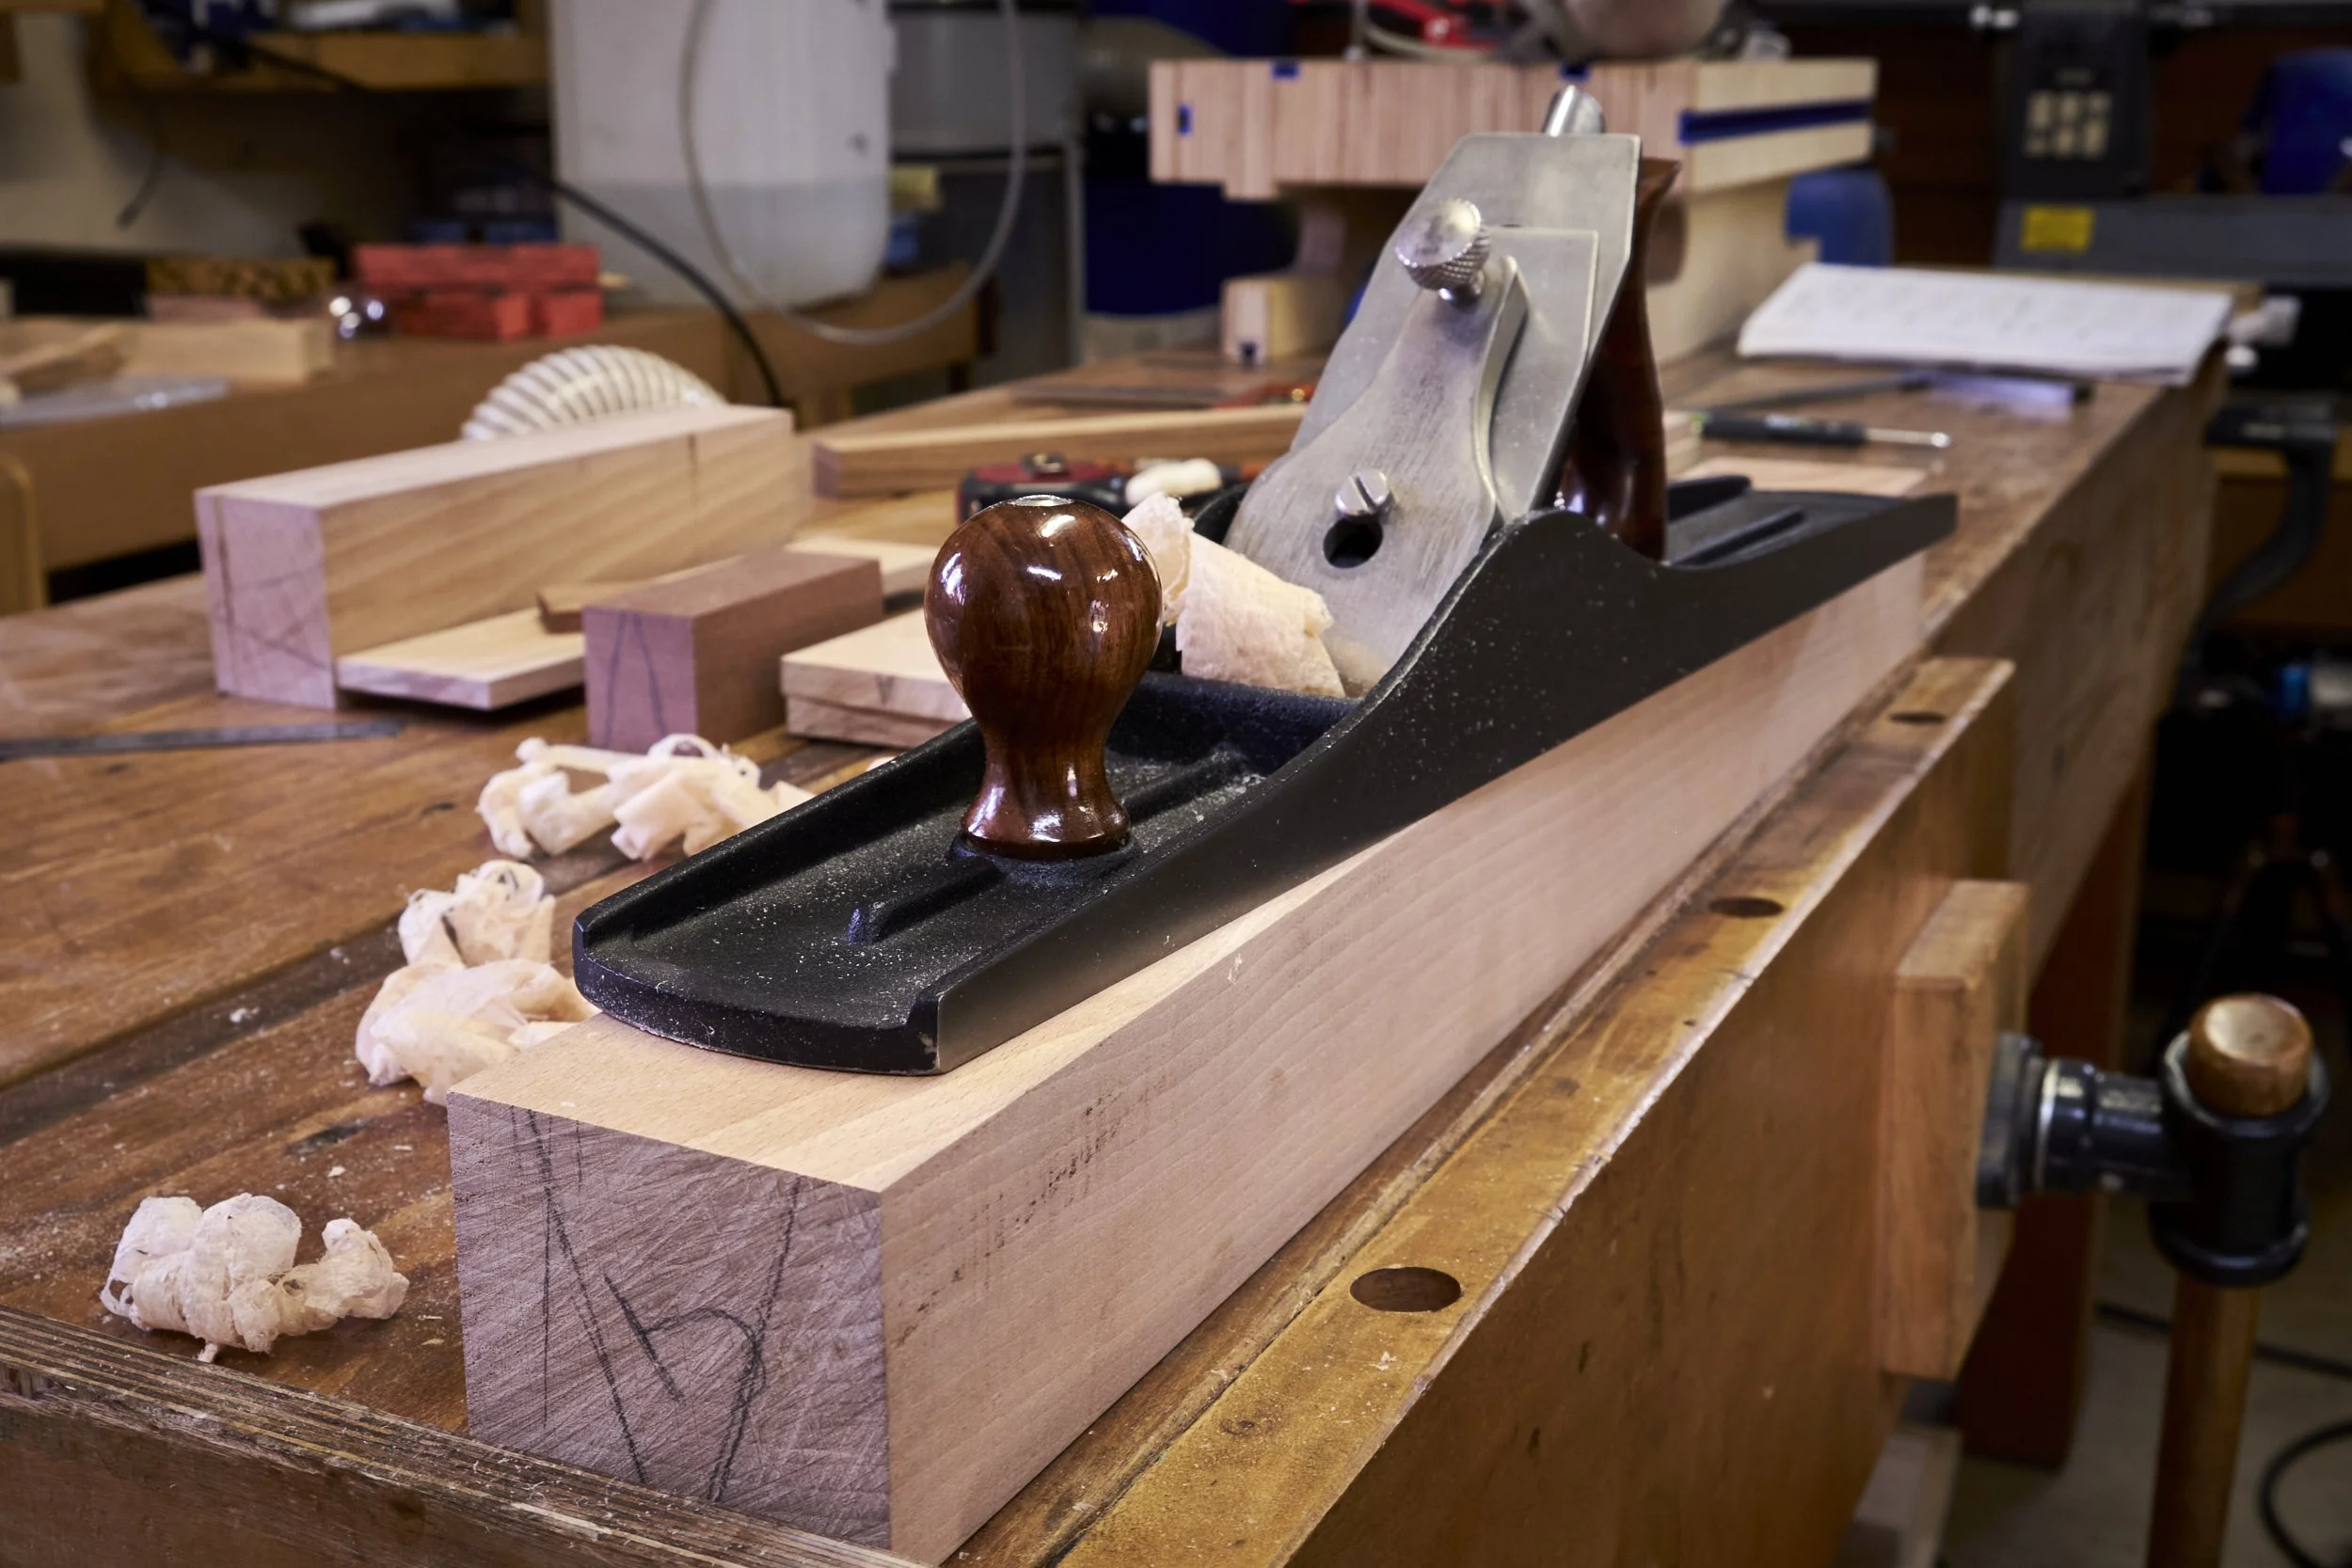
Blade in hand we now start with the wooden plane body and the main reason we make the blade first is that its width determines the width of the core block (centre) of the plane body.
You may find this and the next posts detailing the build process surprisingly short, at least compared to some of my other posts 😏.
In this post we’ll get as far as prepping the raw blank, cutting the cheeks from the core block and getting the parts ready for the lamination.
The next three or maybe even four posts will cover cutting the blade bed from the core, laminating the plane body, securing the blade, installing the handle and finishing off the plane.
A Word On Wood
Use a hardwood.
Done!
Well it may not be that simple. You DO need to use a hardwood though, and you are looking for a species that is hard, stable and relatively easy to work. It also needs to be reasonably hardwearing in the long term.
Hardwearing and stable are rather obvious requirements and the best you can match your choice of wood to these two requirements the less maintenance your plane will require down the line. The “relatively easy” to work requirement relates to how easily you will be able to form and shape the handle as well as the abutments and wedge later in the build. My first plane was built from Rhodesian Teak and it ticks the boxes for both hard and stable but it was a pain to shape!
Beech is an ideal choice and I tend to lean towards the stock originating from American shores. It also just so happens that Beech was commonly used to make wooden planes historically (at least the samples around here) and it is also one of the species available to me in dimensions that allow me to make larger hand planes like my recent jointer which will be featured in this and the following articles detailing the build process.

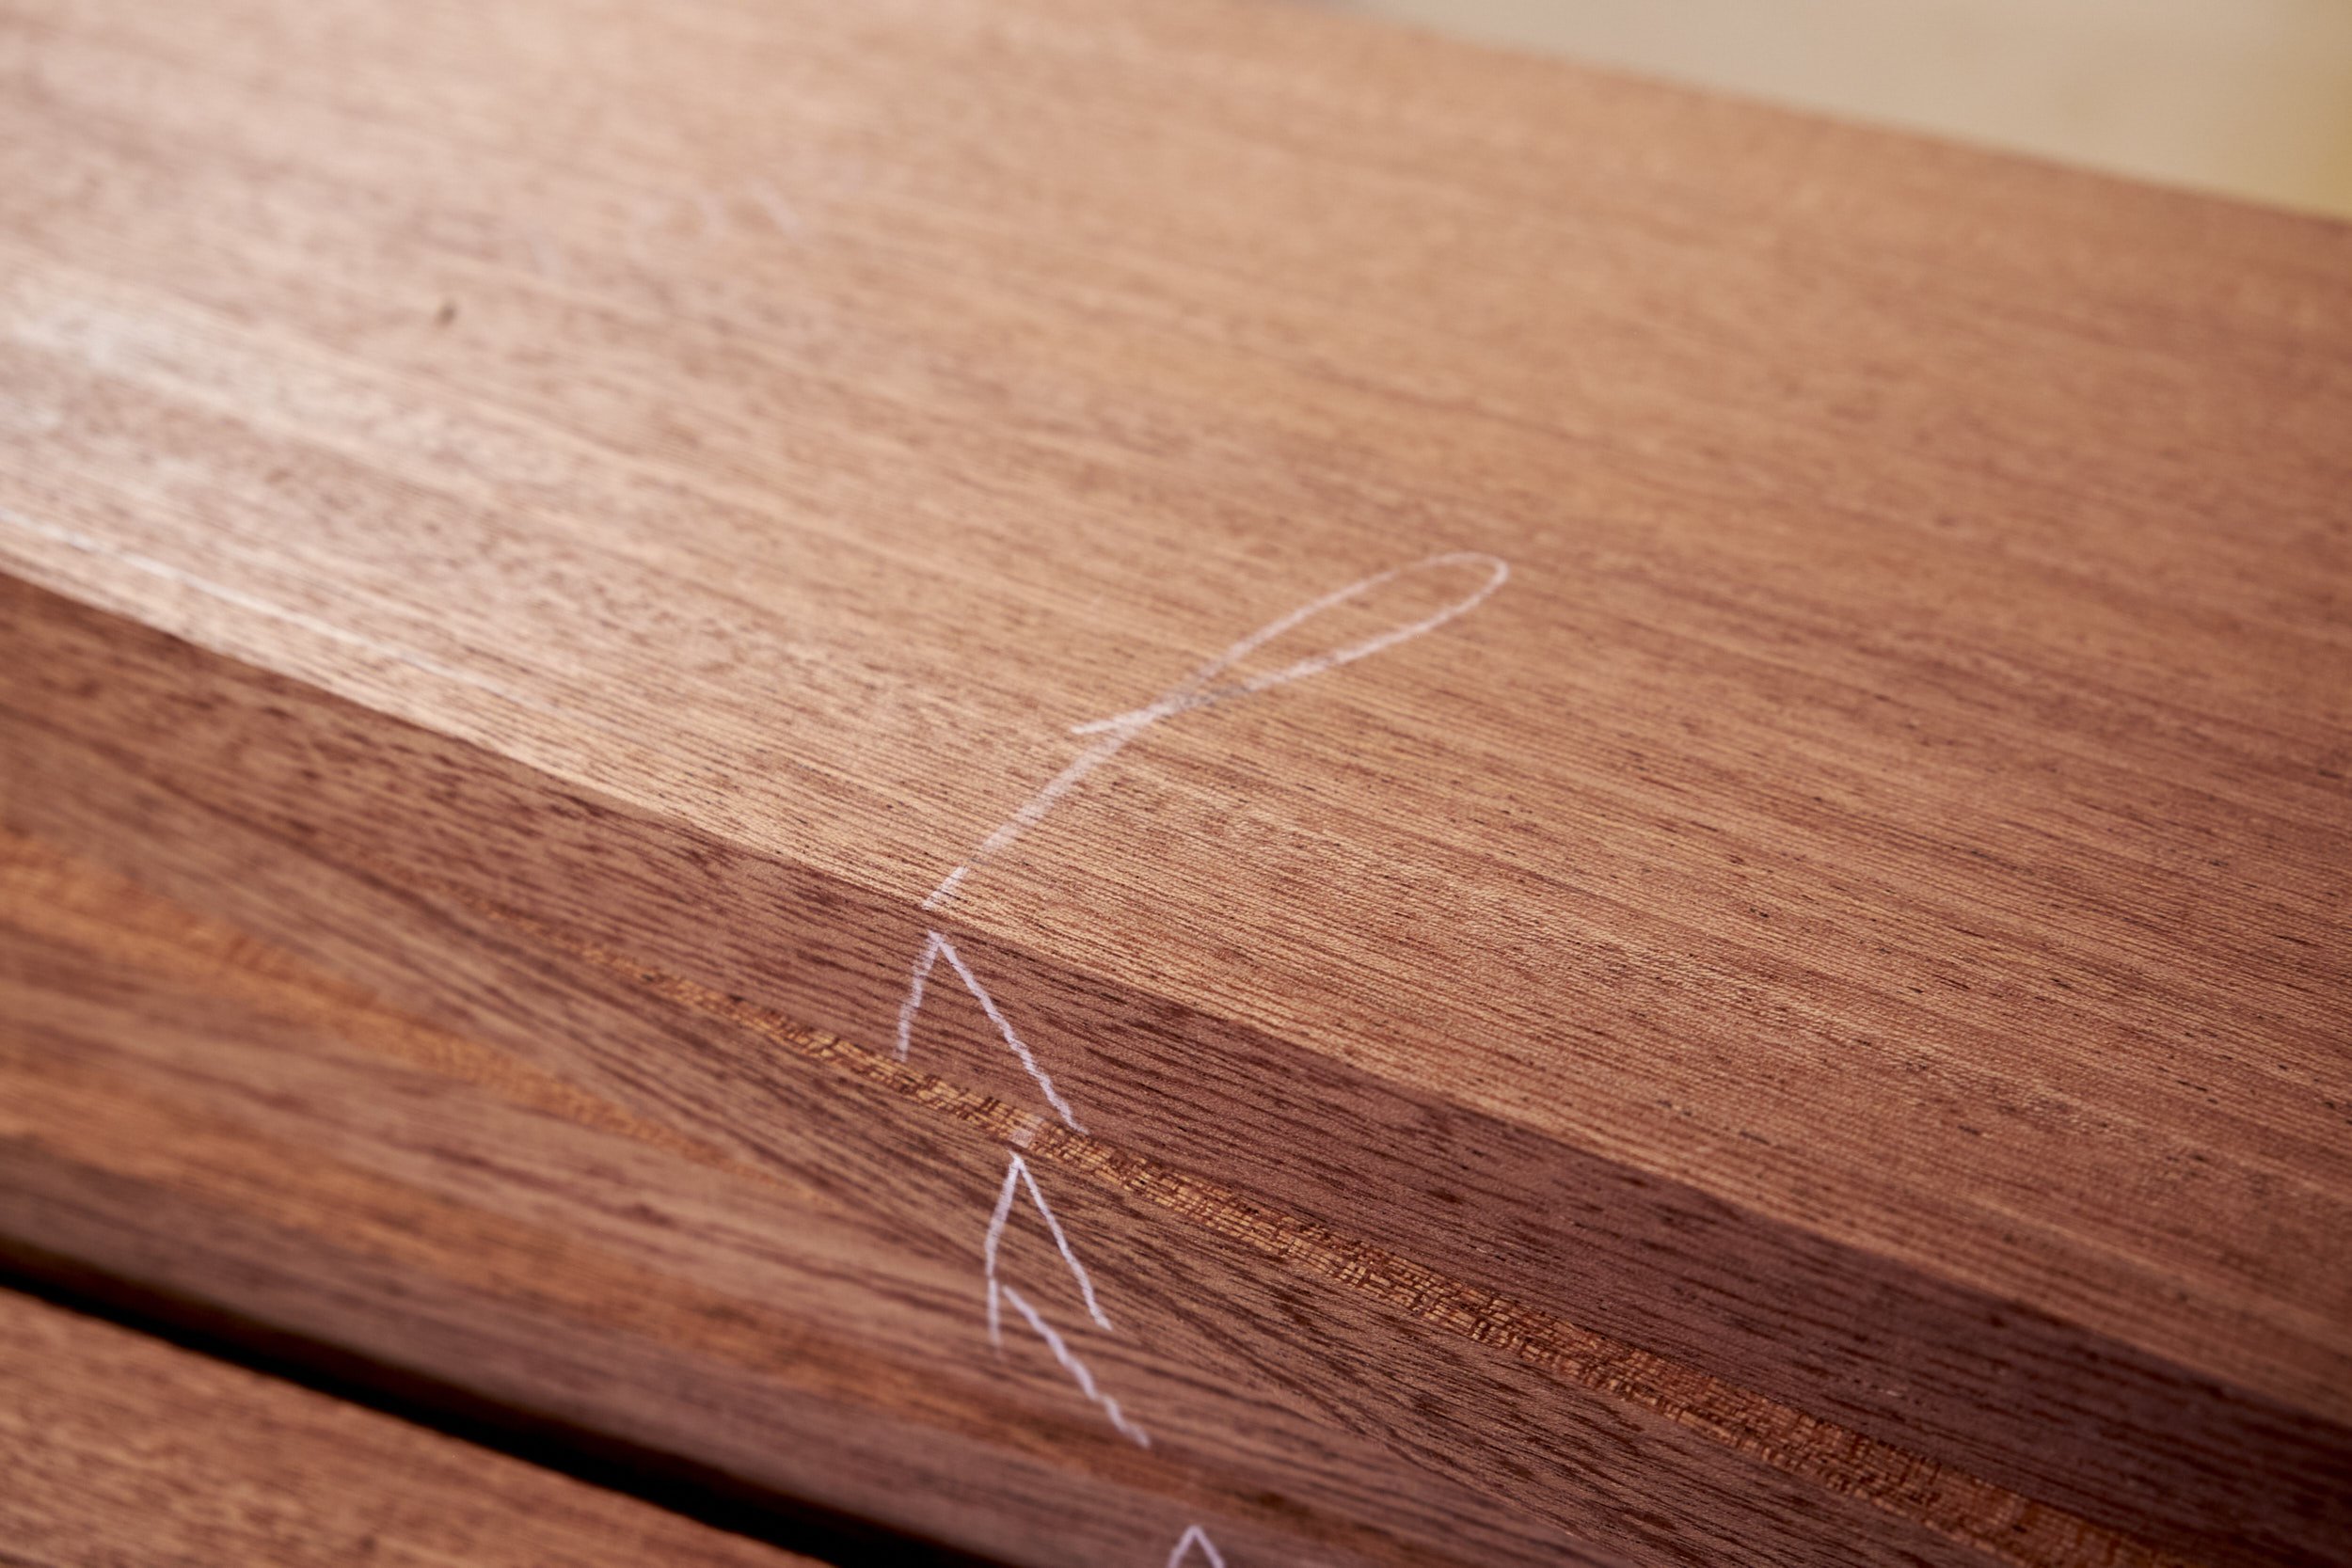
One would think that the grain orientation of this quarter sawn section would be ideal to make the body of the hand plane, if the sole is placed in the direction shown by the top arrow.
In my case I positioned the sole on the face indicated by the left arrow and I find that grain orientation is less important than some would like us to think.
At least when it comes to wooden hand planes!
What about, grain orientation?
I have a book on plane making called “Making Wood Tools” by John Wilson and have also followed along with the English Woodworker’s video when he made his and neither even mentioned grain direction or that the wood needed to be of a particular cut like quarter sawn to ensure stability of the plane body, so personally I don’t pay much more than fleeting attention to the grain orientation of raw materials I use.
I am sure that wood movement takes place and I am more concerned about the quality of the body laminations and allowing for all the parts to move together whilst looking good when choosing my stock than actually worrying about a wooden plane going wonky on me.
I have used both cores and cheeks from the same blank or even made up the components from separate sections of scrap wood and have yet to have a plane warp or de-laminate and should the plane body move in any way a quick flatten will sort it out in a jiffy. I do yearly maintenance on my planes anyway so it’s never been an issue.
In short I use Beech for 95% of my hand planes and a mix of offcuts for the rest, especially the smaller specialty planes like block planes or the small compass plane I made recently - also featured in these posts.
Step 1: Prep The Blank
The plane parts need to be cut from stock that is at least 3S in other words a flat reference face with two edges that are square to it. You can have the opposing face parallel to the reference face if you like but it isn’t strictly necessary at this point.
The width of the raw blank is determined by the type of hand plane you will be making with the blade dimension across its width and the thickness of the cheeks making up the total width. As far as the thickness of the stock goes I usually choose my blanks to be close in dimension to the final height of the hand plane, however if your stock is much thicker than the plane will be high you can either plane the excess away using a thicknesser before the sections are cut out, or you can trim off the excess at the end of Step 2.
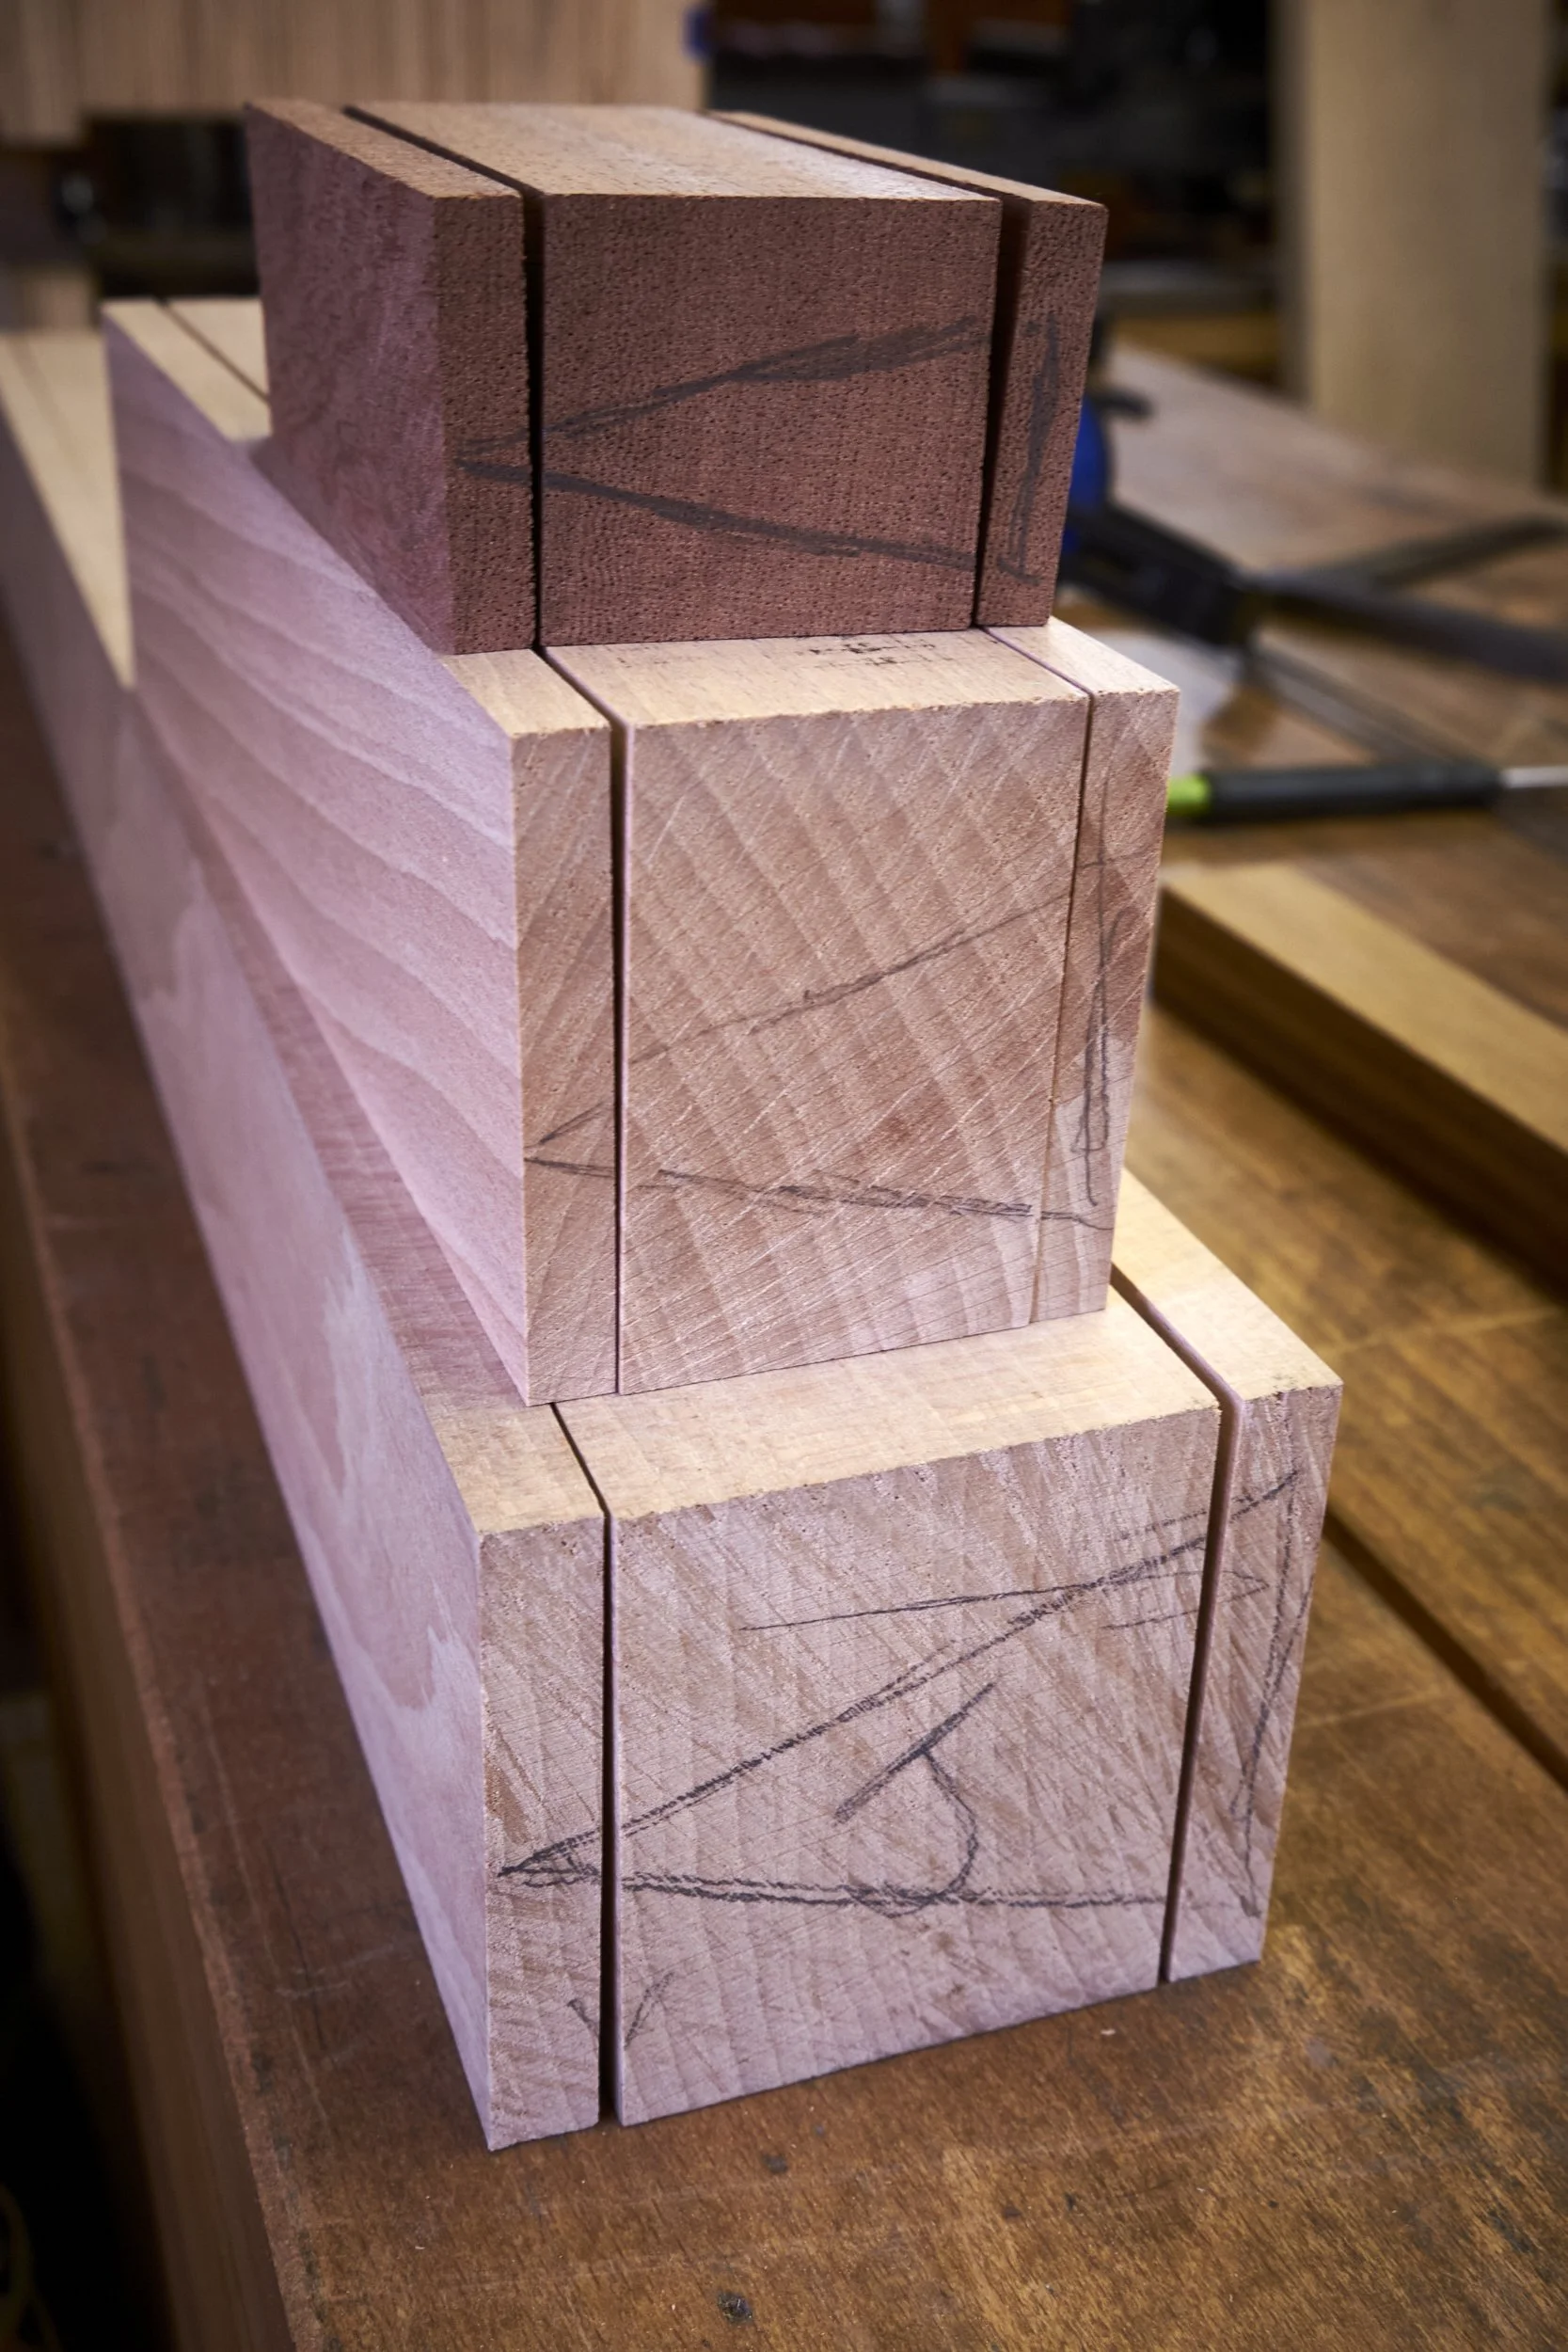
You can make the core and cheeks from different sections of the same plank or even from different planks. Lately I’ve stared cutting the parts from a single length of lumber with all three components cut from the same piece across its width, check out the gallery below to see what I mean.
A last word on dimension and that is the length of the raw blank, I aim to cut mine roughly about 50mm oversize.
Steps for prepping the blank:
Cut the blank from rough lumber, over long by about 50mm and roughly 20-30mm (err on more waste than too little) wider than the final width of the plane body.
Flatten one face of the blank making sure it is both flat and out of twist.
Get one edge square to the reference face and then do the same for the second edge.
Make the final face parallel to the reference face and square to the edges.
Set your band or table saw fence to cut the first cheek, remember to leave enough waste for later cleanup, typically about 3-5mm extra, I lean towards 5mm.
Cut the first cheek from the blank.
Change the fence setting to cut the core block, in this case remember that the width of the core is determined by the width of the blade + space for lateral adjustment (see below) + waste. I tend to cut my core blocks at least 10mm oversize.
Register the previously rough cut face against the fence and cut out the core.
The remaining thinner section will be the remaining cheek.
If your initial layout for the raw blank, taking into account the blade kerf, is correct you should now have the three main parts of the plane body in hand. I usually lean towards the side of caution when laying out my blank and end up with the second cheek somewhat thicker than the one cut out in step 5.
Tips:
Your machine setup needs to be checked and in good standing before you start to cut out the parts. The more square the cuts are to the reference face at this stage, the less work you need to do during clean up.
The final width of the core block needs to be 2-3mm wider than the plane blade to allow for lateral adjustment of the blade.
Once the cheeks are separated from the core there will be some work remaining to get the cheeks and the core square and ready for the lamination, make sure you include the waste in the width of the blank you will be working on.
I like to cut the cheeks from the core using my bandsaw, the thinner kerf removes less wood resulting in a neater joint.
Avoid cutting the cheeks away from the same side of the core, rather cut each cheek from either side of the core, this will result in maintaining the natural flow of the grain but will also help the sections move together once laminated.
Pro Tip: Use a cabinet maker’s triangle to keep track of the sections once they are cut apart. I make mine on the front of what will be the plane body and I do so before I make any cuts on the band or table saw. This ensures that I don’t need to guess how the parts go back together - you would be surprised at how easily they get mixed up. At this stage I haven’t really decided which face will be top or bottom but at least I know how the sides relate to the core and which end will likely be the front.
Step 2: Clean Up
In this step we are not only cleaning up the separated parts of the hand plane in preparation for the lamination, we are also squaring up these parts. Getting everything square at this point will help the plane body come out square after the glue up, thus lessening the work you need to do on the sole and the sides later. Parts that go together squarely will also contribute to a simpler lamination process.
It is also the first step towards making a plane that is accurate and easy to adjust as we’ll see in Step 3 in this series.
Clean up steps:
Bring the cheeks and core together in the correct orientation as indicated by the cabinet maker’s triangle.
Decide which side will form the top or sole of the hand plane and mark the top with another cabinet maker’s triangle making sure it covers all the components.
On the core block ensure that the face that is now the sole is flat and out of twist, if it is not, make it so.
Clean up one rough sawn face on the core block making sure that the face is flat and square to the sole.
Place the blade that you will be using flat onto the surface of the sole with one long edge lined up with the square edge you had just made in step 4.
With a pencil make a mark along the opposite edge of the blade onto the sole’s surface.
Add about 2-3mm to this mark and strike a line along the length of the block, making sure it’s parallel to the square edge. This mark indicates the final width of the core block that will accommodate the blade whilst leaving room for lateral adjustment.
Clean up the remaining rough sawn face and bring the core block to final width along the mark made in step 6. This face needs to be both parallel to its opposing face and square to its adjoining face (the sole), again working as accurately as you can.
Moving on to the cheeks. Clean up the rough sawn face on both cheeks and bring them close to final thickness leaving them a couple of mm oversize. The cleaned up faces need to be parallel to its opposing sides and out of twist.
Make the narrow edges that are opposite to the surface that was marked as the top in step 2 square to the face of the cheek that will be glued to the core block during the lamination.
Trim the width of all the parts to just over the final height dimension of the plane on the table saw or plane them down by hand. If using the table saw make sure you reference the surface of the sole against the fence so that you don’t cut away your hard work!


Tips:
If your blank was well prepared and your tools set up accurately the faces should be close to square and require minimal work.
I prefer to use my thickness planer to get the cheeks close to final thickness before finishing off with a hand plane to get rid of any snipe that may be present.
On the core you can use a thickness planer to get the sides parallel before switching to a hand plane to get all the faces square to the sole and clean the sides before the glue up.
No need to mark the surfaces with face and edge marks as the cabinet maker’s marks will help you keep track of how the pieces go together.
Get the glue surfaces as clean as possible, it will make for a better looking joint.
Try your best to get the faces that will form the sole of the hand plane as square to their respective sides as you can, it will not only make for a square body after glue up but it will simplify the clean up a great deal.
It is the most important to get the faces and edge of the core square to one another as you will need accurate reference surfaces when you cut the 45º bedding angle for the blade in the next step.
With one squared up core and two cheeks in hand, it where we’ll leave it for today.
I want to keep these posts short and concise so I’m aiming to describe each stage in about 2000 words or less and if we head into the bedding angle layout and cuts I will quite comfortably exceed my target.
If you want to read more about layout marks and how to prep raw lumber you can follow the links provided.
When I see you again we’ll do the layout for the angle cuts on the core as well as cut them out. We may even get as far as the glue up.
In the meantime if you haven’t done so yet consider signing up to join the PlyCreations community below. You will get access to FREE goodies and be the first to get in on special deals and promotions in the shop.
Until next time, have a good one.

This is the first article in a series detailing the process of making your own wooden hand plane.
Hand planes, even the wooden variety, need good, sharp blades and if you will be making the plane you might just as well consider making your own blade. Most woodworkers, though, would hardly consider making their own blades an achievable goal but in this step by step article I show you how simple it can really be!