
Build Your Own Wooden Hand Plane - Part 2
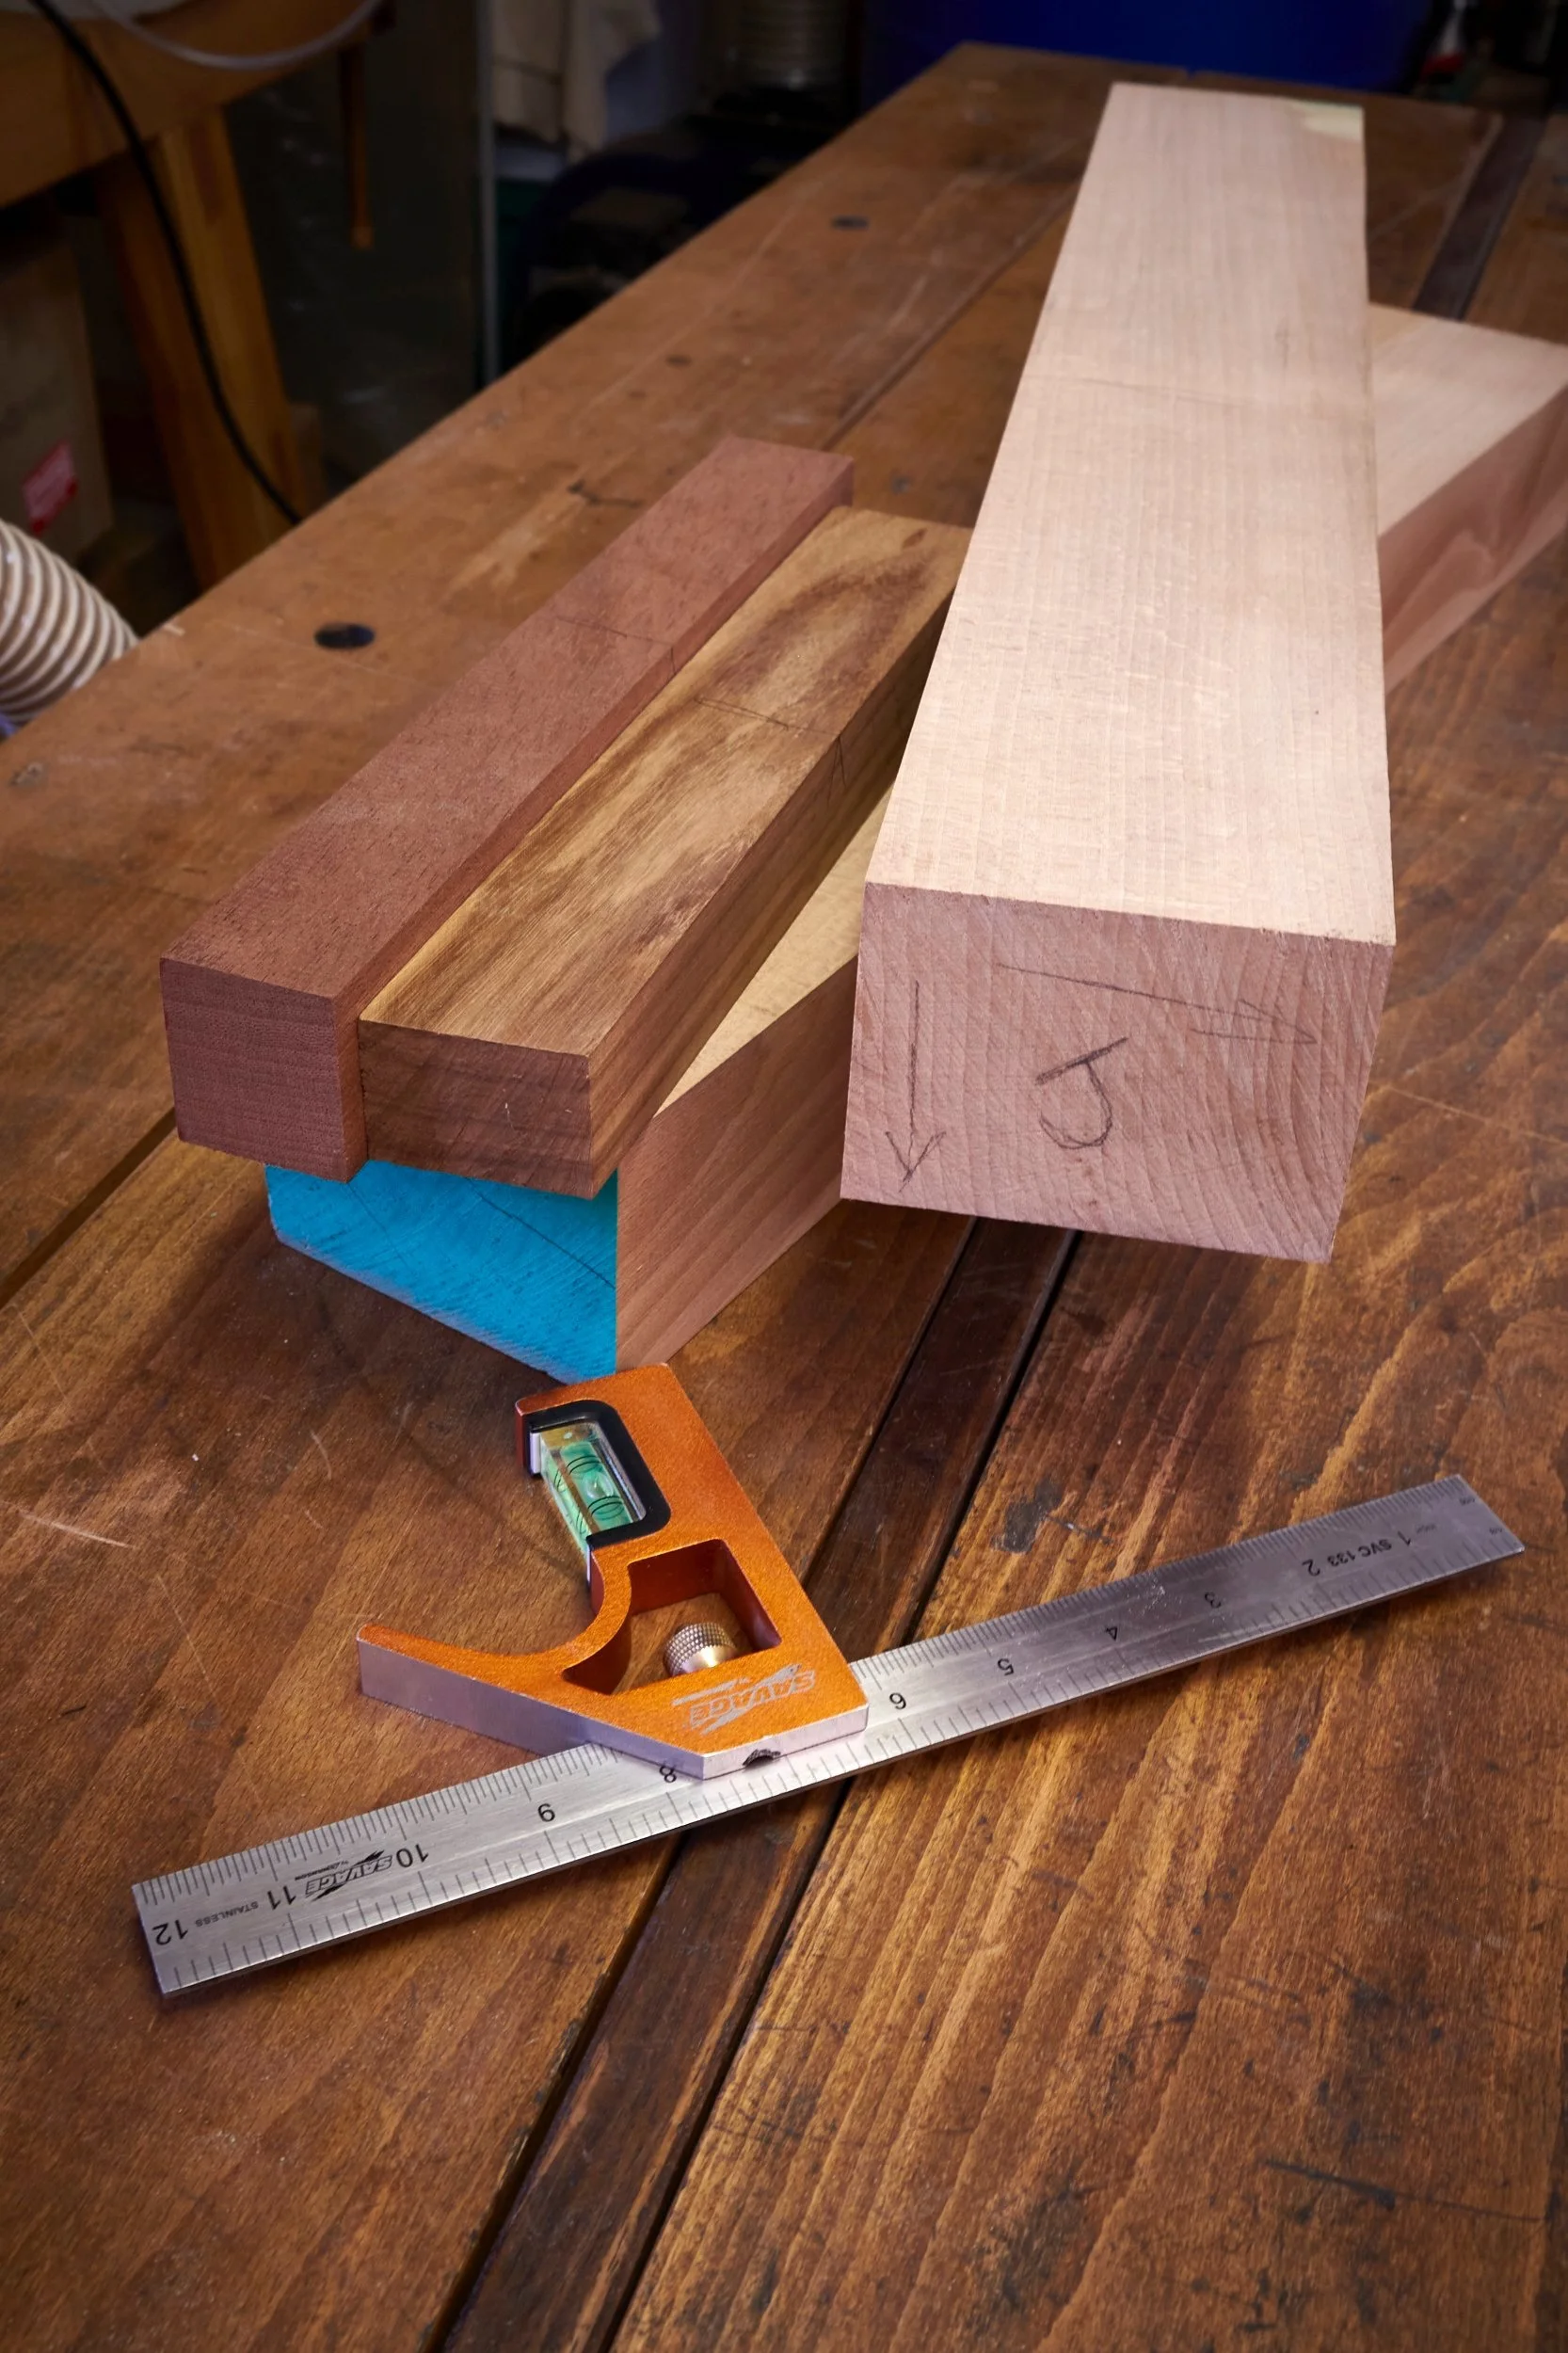
The parts needed for the hand plane are piling up on the workbench and we’ll have more before this article is done.
Today we lay out the angled cuts for the bedding and the fore angles, then we’ll cut the core section into the fore block and blade bed respectively.
Before we start I need to provide more information on the angles we will be using and why they matter.
Let’s start with the simplest which will be the fore angle. The surface inside the plane body that results from making this angled cut forms the front opening of the mouth and is part of the structure that helps shavings exit from the plane itself. The angle of this cut and thus the resulting angle of the surface in the relation to the sole needs to be anywhere between 60-70º. Any shallower than 60º and the savings will tend to stay in the mouth and any higher than 70º could result in the mouth blocking up with shavings during use.
Now for the blade bedding angle and this is where we can get ourselves into a deep, dark rabbit hole filled with strong opinions and minor disagreements. Maybe we’ll head down that particular hole on another day but not today.
For the purpose of this article we are making hand planes with the bedding angle set at what is generally considered to be the standard 45º, we can go up from there to as steep as 60º. I’m sticking my head into the rabbit hole by stating that we use angles higher than 45º for smoothing planes and in cases where we would like to remove more material but that is as far as I will go today.
On to the layout then, I have 1700 words left to take you through Part 2 of this series.
Step 1: Mark For The Angled Cuts
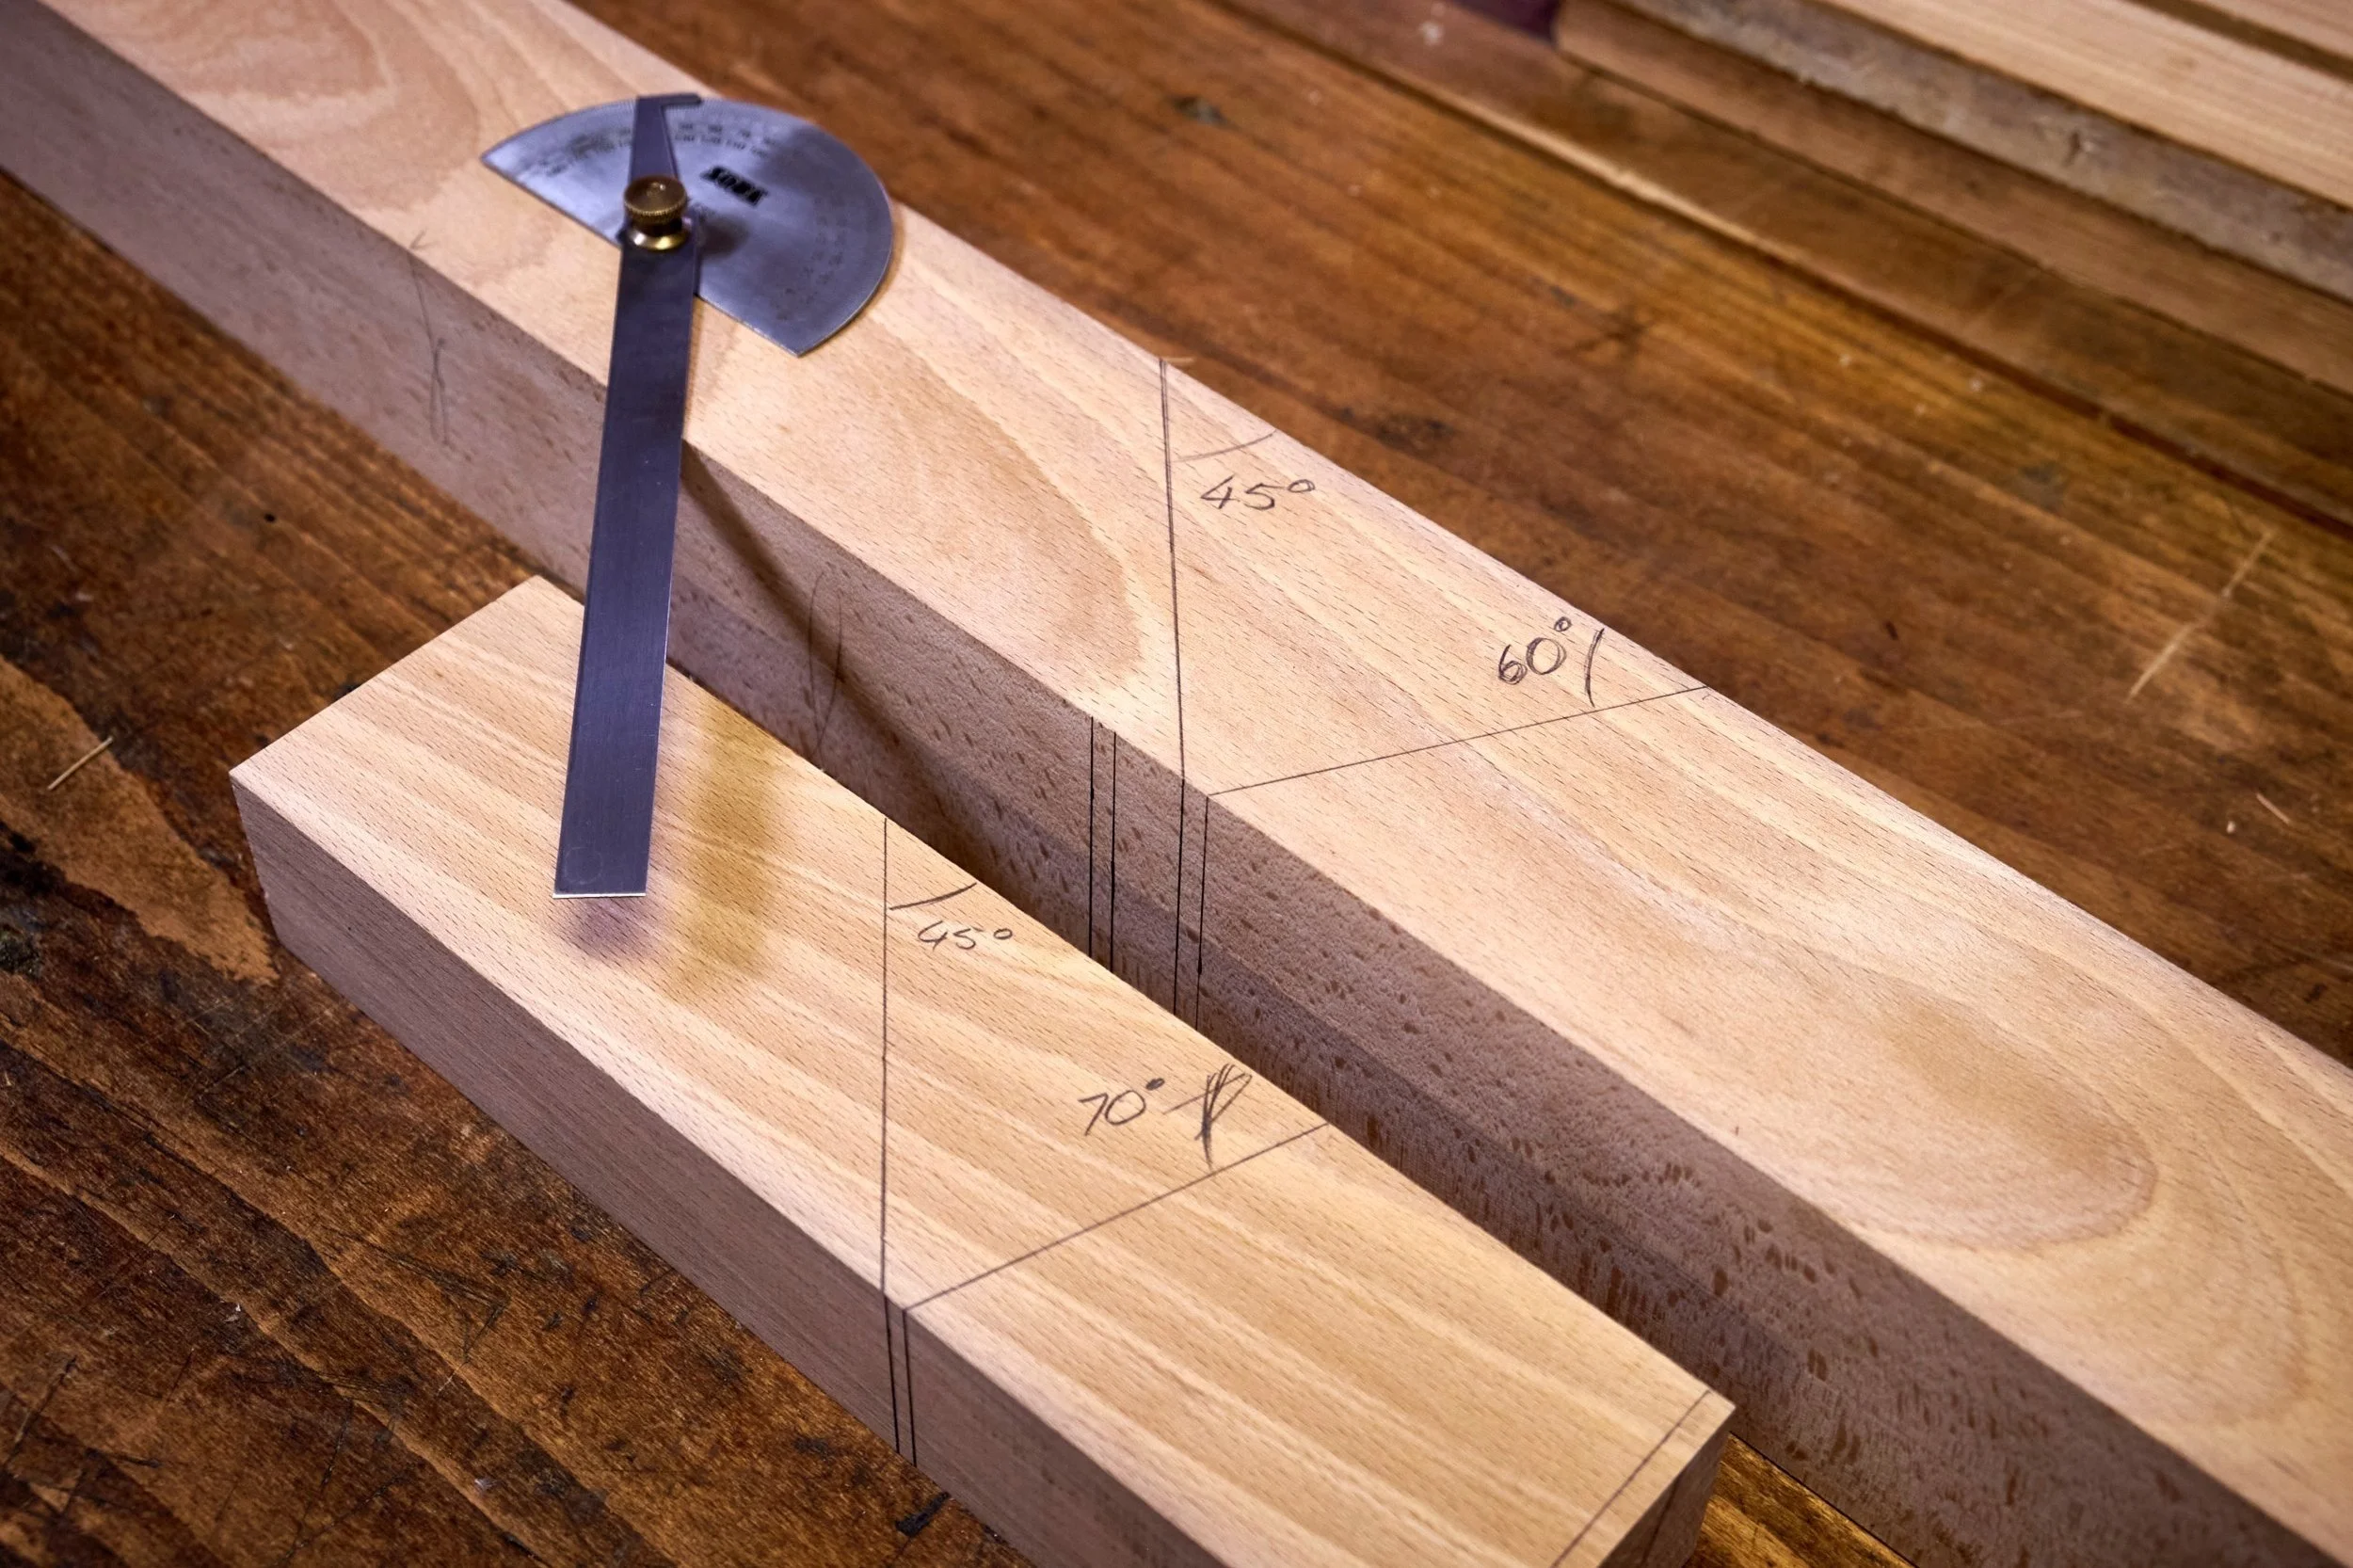
Use a Protractor
Use a combination square to set the 45º angle and a bevel gauge for the rest. Of course a protractor like this one will do it all!
For all the marking steps you will be working from the surface of the core block that will become the sole of the hand plane as reference - remember you spent a lot of time getting the sides of the core block square to the sole. The positioning of the layout lines and dimensions will to a large extent depend on the design of your plane, the width of the mouth and the means by which you will be making the angled cuts.
Marks are only made on the core block, set the cheeks aside until you get to the lamination step.
Layout Steps:
Check that all the faces of the core block are still square to one another and flat, if not, correct accordingly.
Consider the hand plane design you are working from and mark what will be the back edge of the hand plane onto the sole, this will be the reference for subsequent measurements.
Measure and mark the position of the bottom edge of the blade bed onto the sole of the core block.
Strike a square line across the surface of the sole using an accurate square, this line represents what will eventually become the back of the mouth.
At the position where this mark meets the sides draw a 45º line BACK up both sides of the core towards the line demarcating the back of the plane.
Join the two 45º angle lines across the top of the core.
Measure about 5mm or a ¼” forward from the line made in #4 and make a mark.
At the last mark square a line across the bottom of the core, this line represents what will be the front of the mouth.
Use a bevel gauge set to the desired angle (60-70º) to mark a line up the side of the core towards the FRONT of the plane.
Connect the two angled lines across the top of the core.
Tips:
It’s important to decide which ends of the prepared parts will be the front or the back of the plane before moving on to the layout, you may recall from the previous article that I mark the front of the plane with a cabinet maker’s triangle.
Leaving the parts of the plane over long becomes important now as you need extra material for finishing as well as enough stock to allow the front part of the core block to be moved in and out to form the mouth.
For the 45º mark you can use a combination square to mark out the bedding angle and for the fore angle you can use a bevel gauge set to the desired angle, I use a protractor to mark all the angles.
The distance of 5mm or ¼” between the start of the bedding and fore angles will not to be final width of the mouth opening, this comes later.
Make sure that the blade bedding angle leans “back” towards the rear of the plane and the fore angle leans “forward” to the front.
Mark all parts clearly, this will limit the likelihood of confusion. I have on occasion marked the angles front to back and couldn’t for the life of me figure out why the proportions of the plane looked wrong!
Pro Tip: The distance of 5mm or ¼” measured between the start of the bedding and fore angles is a suggested minimum and it’s a good idea to keep the kerf thickness of the cutting tool you will be using to cut the blocks free from the core in mind. Your cutting tools will affect your own layout and ideally you don’t want to cut into the bed of the opposing component due to the kerf of the blade being wider than the room allowed. In my case I measure at least 6-8mm between the two lines representing the back and the front of the mouth to allow for the 3mm kerf of my table saw blade to pass between these two lines without cutting into the opposite face.
Circling back to the width of the mouth, this is another potential rabbit hole and this one is shrouded in even more controversy! We’ll cover it in a bit more detail later but as an fyi I don’t pay particular attention to making sure that the mouth is “closed” on the hand planes I build or even on my metal planes for that matter.
With the layout done we move on to one of the most critical phases of the whole build and taking your time on the next step is crucial for the accuracy and usability of the plane.
Step 2: Make The Angled Cuts
Take your time here this step is important.
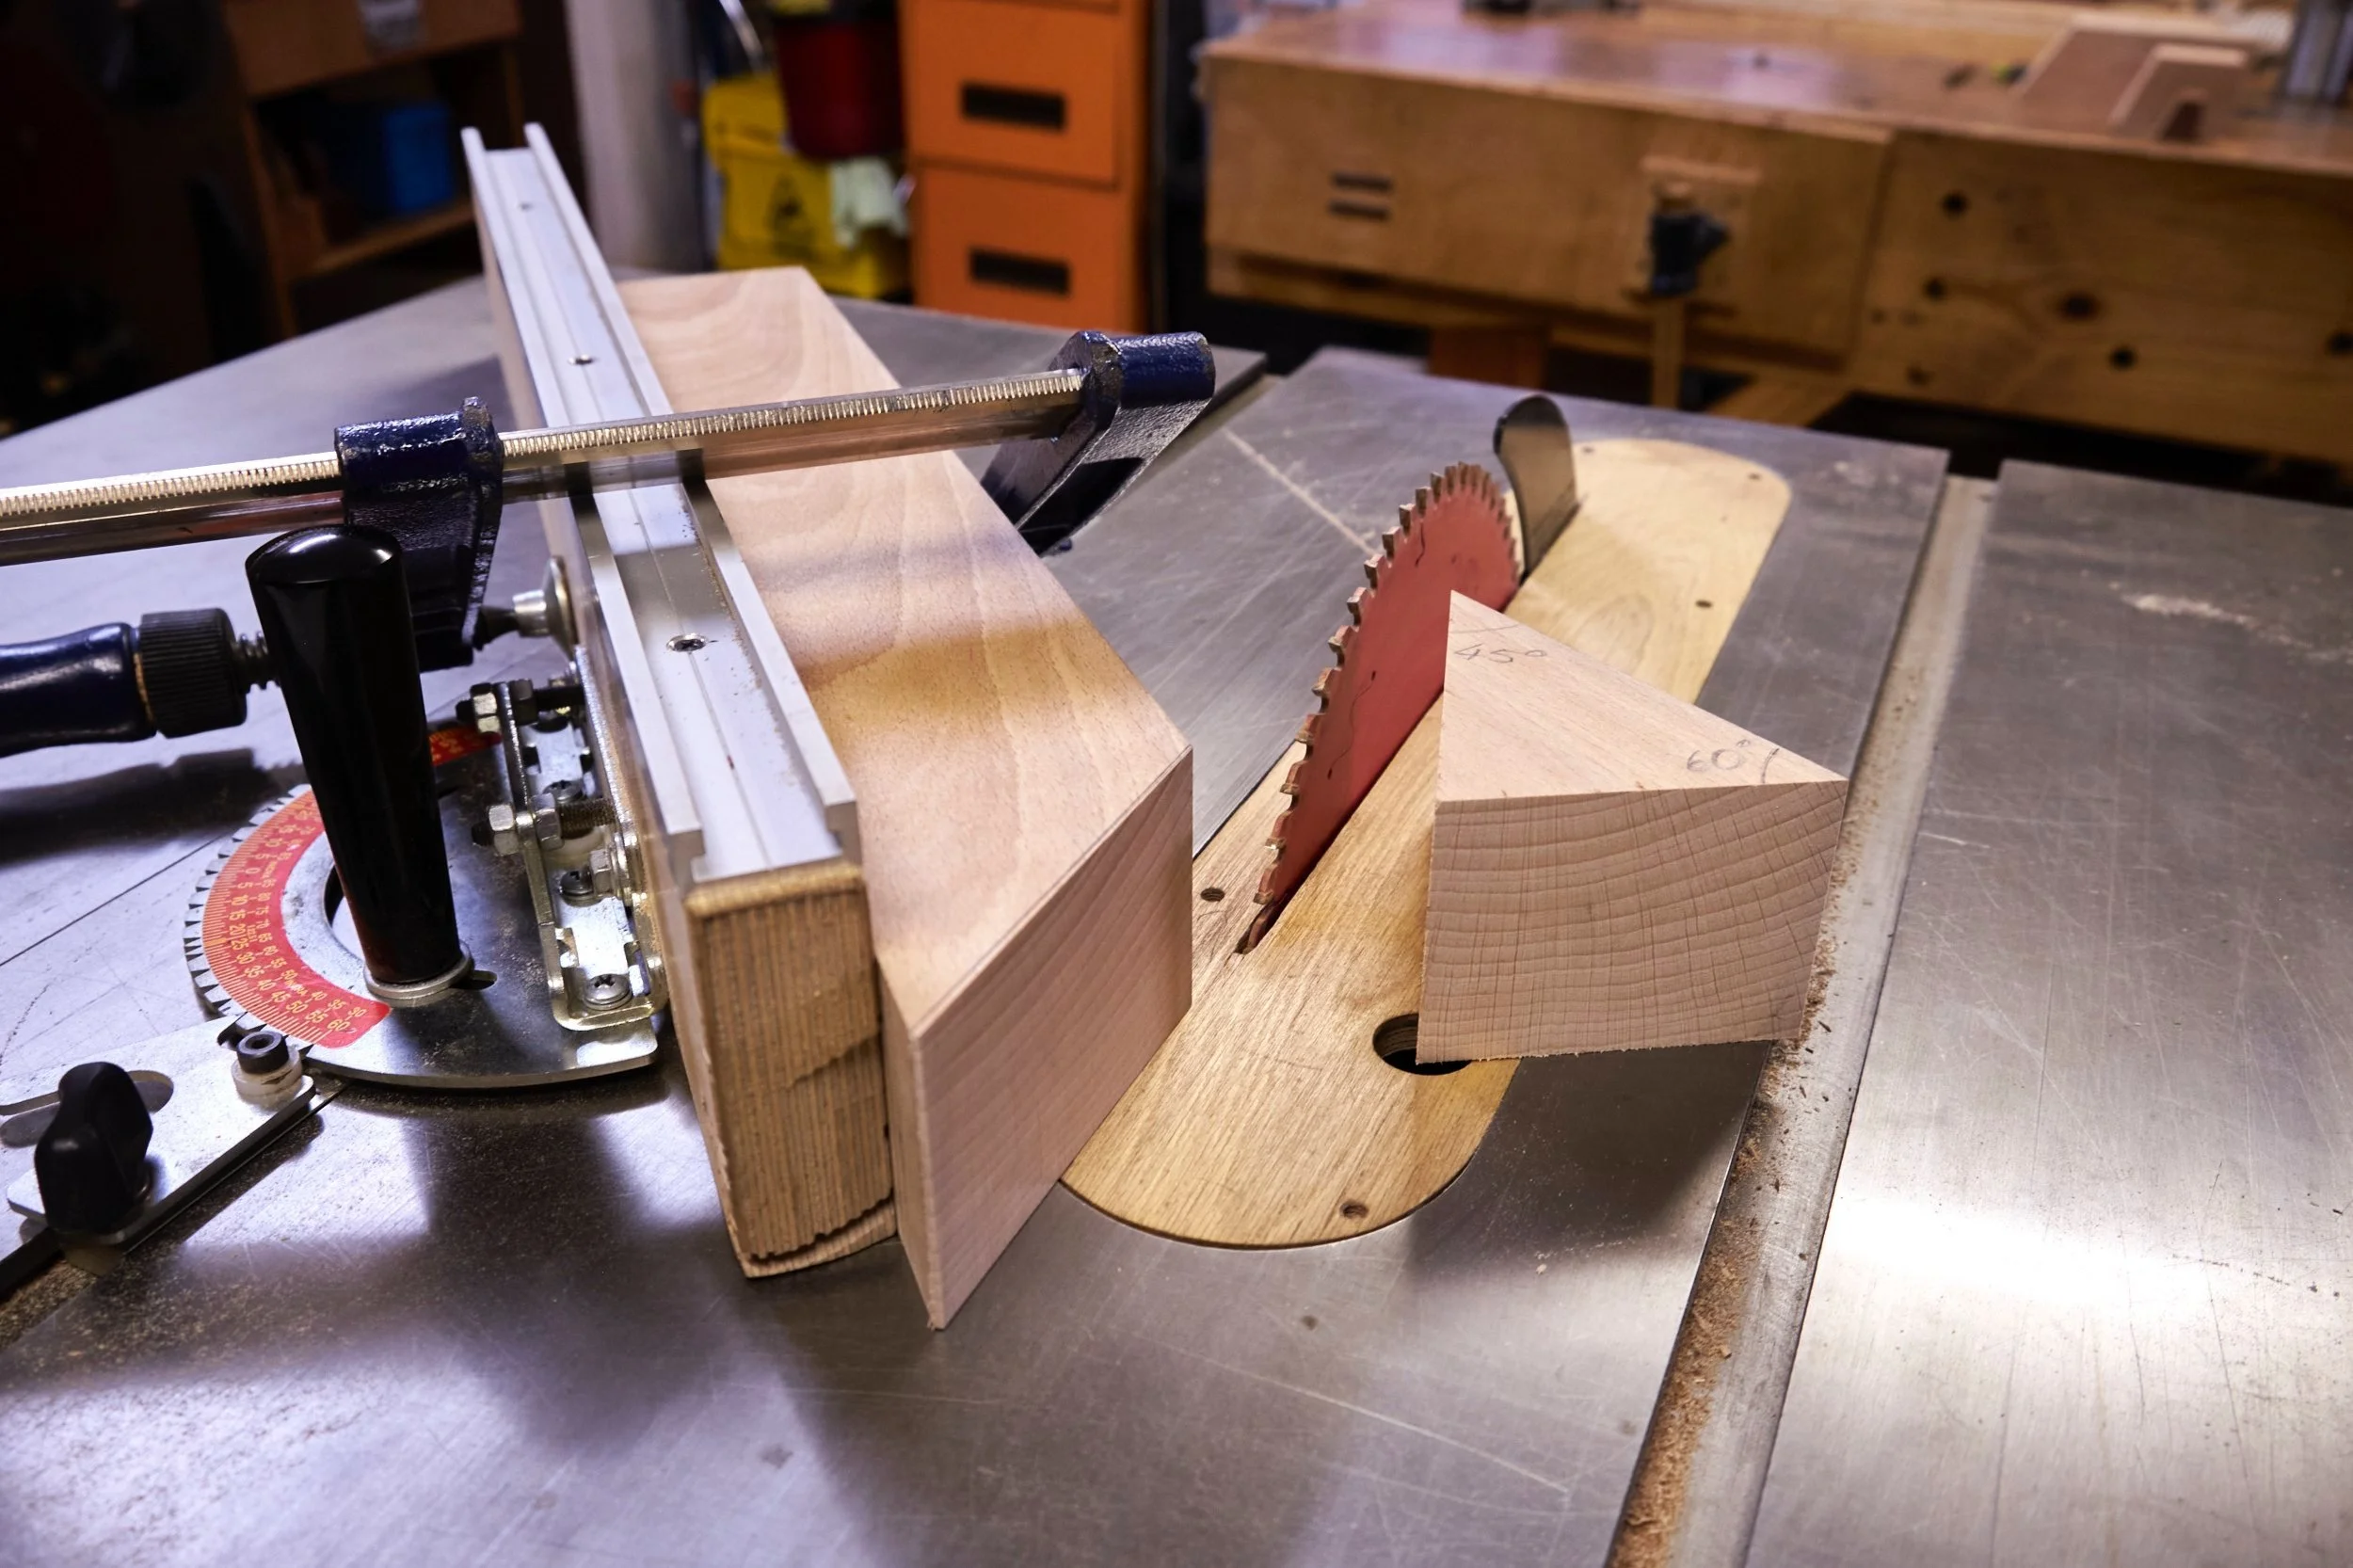
Slightly off….
The observant amongst you may note that the angle of the cut on the table saw is slightly off and one may assume that the mitre gauge alignment is off. I’m reasonably sure that in the this case the protractor might be at fault!
It isn’t absolutely critical to hit the 45º bedding angle exactly as long as the bedding surface is square to the core sides and the surface is flat.
You can make the angled cuts however you choose to separate sections of wood from one another, from using a handsaw to a table saw - the table saw being my preferred method - they will all work.
You want two things to result from this step.
The first is that the surface of the blade bed has to be square to the sides of the core block. If it isn’t the blade will not be square to the sole in use and you will have a hard time setting the blade to make square cuts, especially during jointing operations.
The second is that the blade bed is perfectly flat across its whole surface, both in the vertical and horizontal dimensions. If there are any lumps or bumps in the bedding surface the blade will pivot on these raised areas and you won’t be able to set the blade consistently. You want the blade to rest completely flush against the bed.
Not getting any of the above requirements dialled in and the issues that occur as a result, is what most likely puts most woodworkers off using wooden hand planes. These issues also happen to be common problems on antique examples and is as good a reason as any to make a new hand plane rather than refurb an older example!
The angled cut to separate the fore block isn’t as critical as the bedding angle cut and I will often make this cut first to check my equipment setup before cutting the bed from the core block. If you want to have a tight mouth on your plane though, it does matter that the angled surface of the fore block is square to the core sides.
Let’s cut some wood shall we? The steps below assumes that you will be using a table saw to make the angled cuts and if you are making your first hand plane I would strongly suggest going this route. Check out the tips section below for some advice on using other methods to make the cuts.
Angled Cut Steps:
Set the table saw mitre gauge to the fore block angle used for the layout in Step 1.
Place the surface of the sole against the mitre gauge fence.
Line the core up on the mitre fence so that the blade will cut on the waste side of the fore angle mark.
Secure the core and make the cut.
Check the angled surface of the fore block to see if it’s square to the core sides and flat along its whole surface.
If not square make the necessary corrections on the table saw before cutting the plane bed.
Set the mitre gauge up for the 45º cut, again making sure to cut on the waste side of the mark.
Secure the core.
Make the cut.
Check for square and flatness and correct before going to the lamination step.
Tips:
The beauty of the using the table saw to make these cuts is that the resulting surfaces should be flat. If not, they need to be fixed, check out my Pro Tip to learn more about the perfect tool you can use to fix any issues.
If you use any method to saw the angled cuts that will leave a rough surface i.e. a hand or bandsaw you would need to clean up the surfaces so make sure you leave some material to allow you to creep up to the layout lines.
A hand plane or a belt sander work well to do the cleanup.
Make sure your table saw is set up to make a square cut.
If you use a mitre gauge it is a good idea to have a fence that will allow you to secure the core to it, this will allow you to keep your hands well away from the cut.
Use an accurate square to check the bedding surface for squareness and flatness.
Correct any errors NOW before doing the laminations, make small adjustments using a hand plane or a belt sander and check your progress often.
The actual bedding angle of 45º is less important than the bedding surface being square to the sides and flat. Being a degree or two off on either side of the angle you are aiming for isn’t critical.
Keep the scrap triangle that was cut from the core block, you will use it again later.
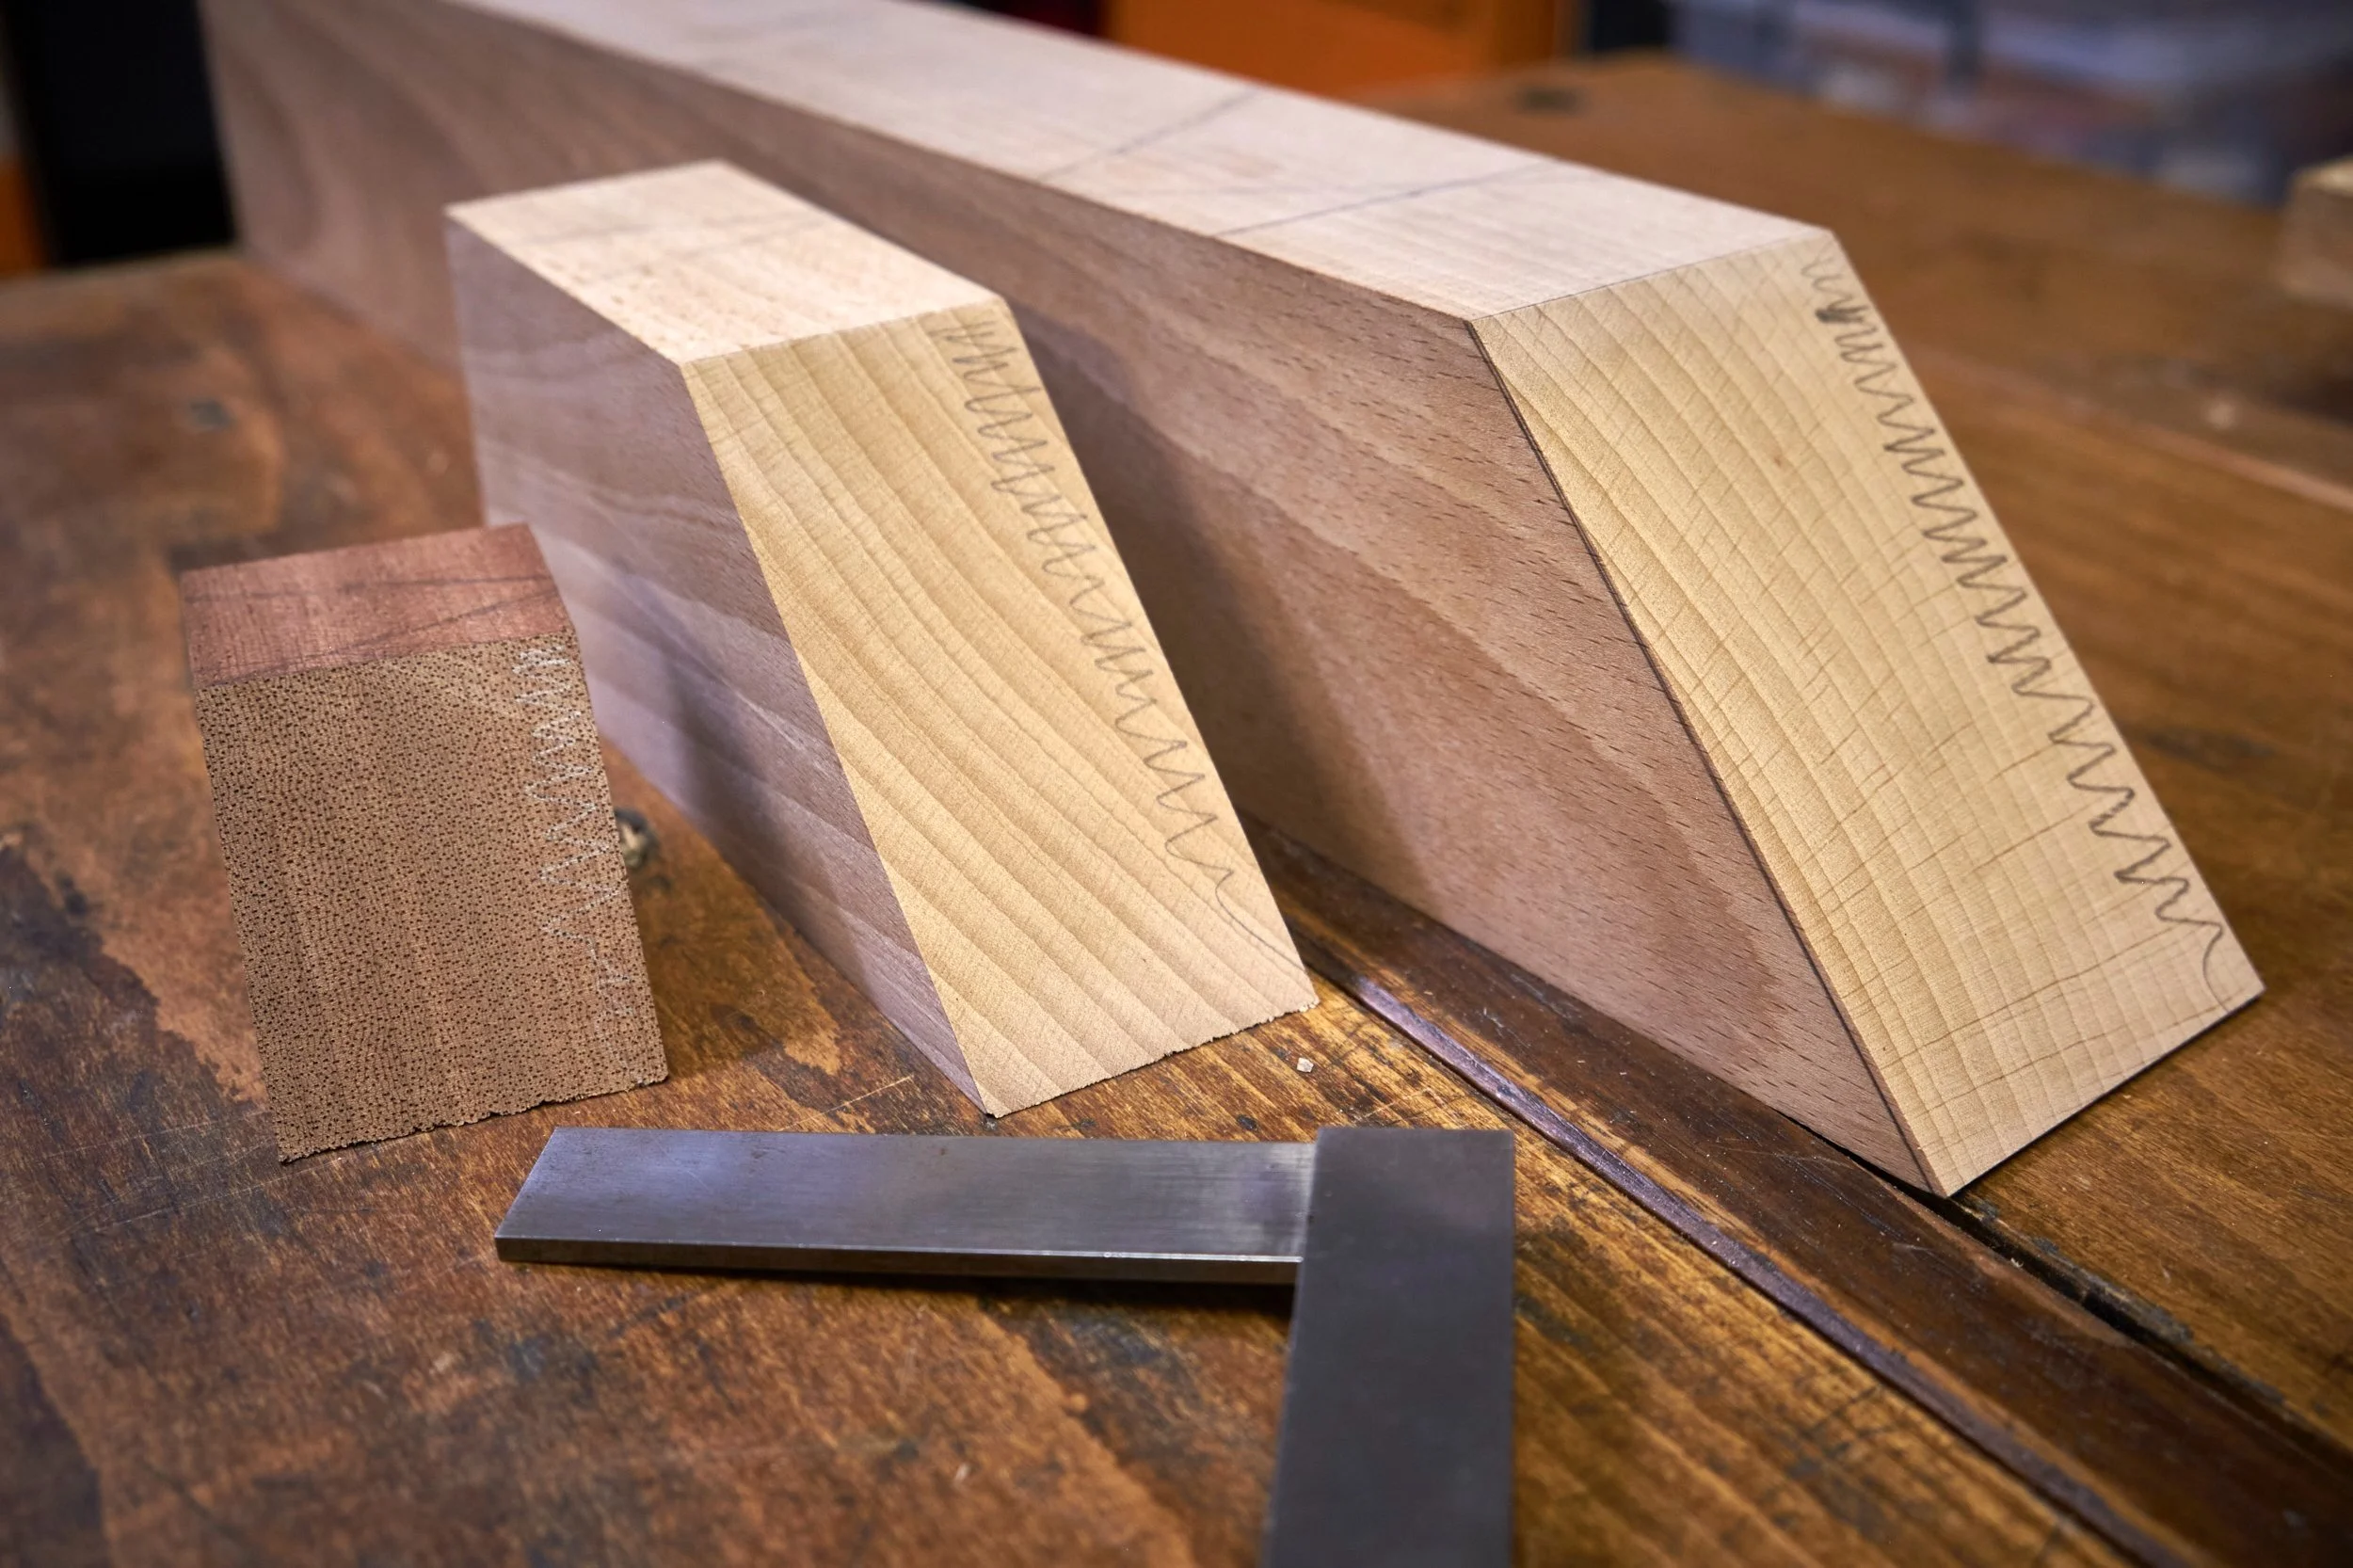
Fettling Required
My table saw wasn’t set for an accurate square cut and the plane beds on the full batch of new planes needed to be corrected.
I used a hand plane to get them the surfaces square to the sides being careful to blend the surface back in to avoid any high spots.
Pro Tip: Use an old or cheap chisel to make a “blunt chisel”, there is literally nothing better for taking small amounts of material off a hardwood surface and I constantly use one to make sure that the bed is flat. Check out this link to see how to make one and use it.
Note: Angle cuts on short stock come with a level of risk, make sure to pay attention to your own safety!!
It’s official I’ve bitten off more than I can chew! I have more information than I thought I might need to share and we’ve reached the 2K word deadline again!
It seems as if I need to write a book on making hand planes and make it available on the site?
Next time I see you on this topic we’ll set up for the laminations and finally commit some glue to the project. This will of course include a quick sojourn into the rabbit hole that is mouth openings and why I don’t particularly care……..
Until then.
Low angle jack planes are often sold as the ultimate do-it-all hand plane, but they may not be the best first choice for beginners. Here’s why I would usually start with a standard No. 5 jack plane instead.