
Why I Prefer High Angle Planes
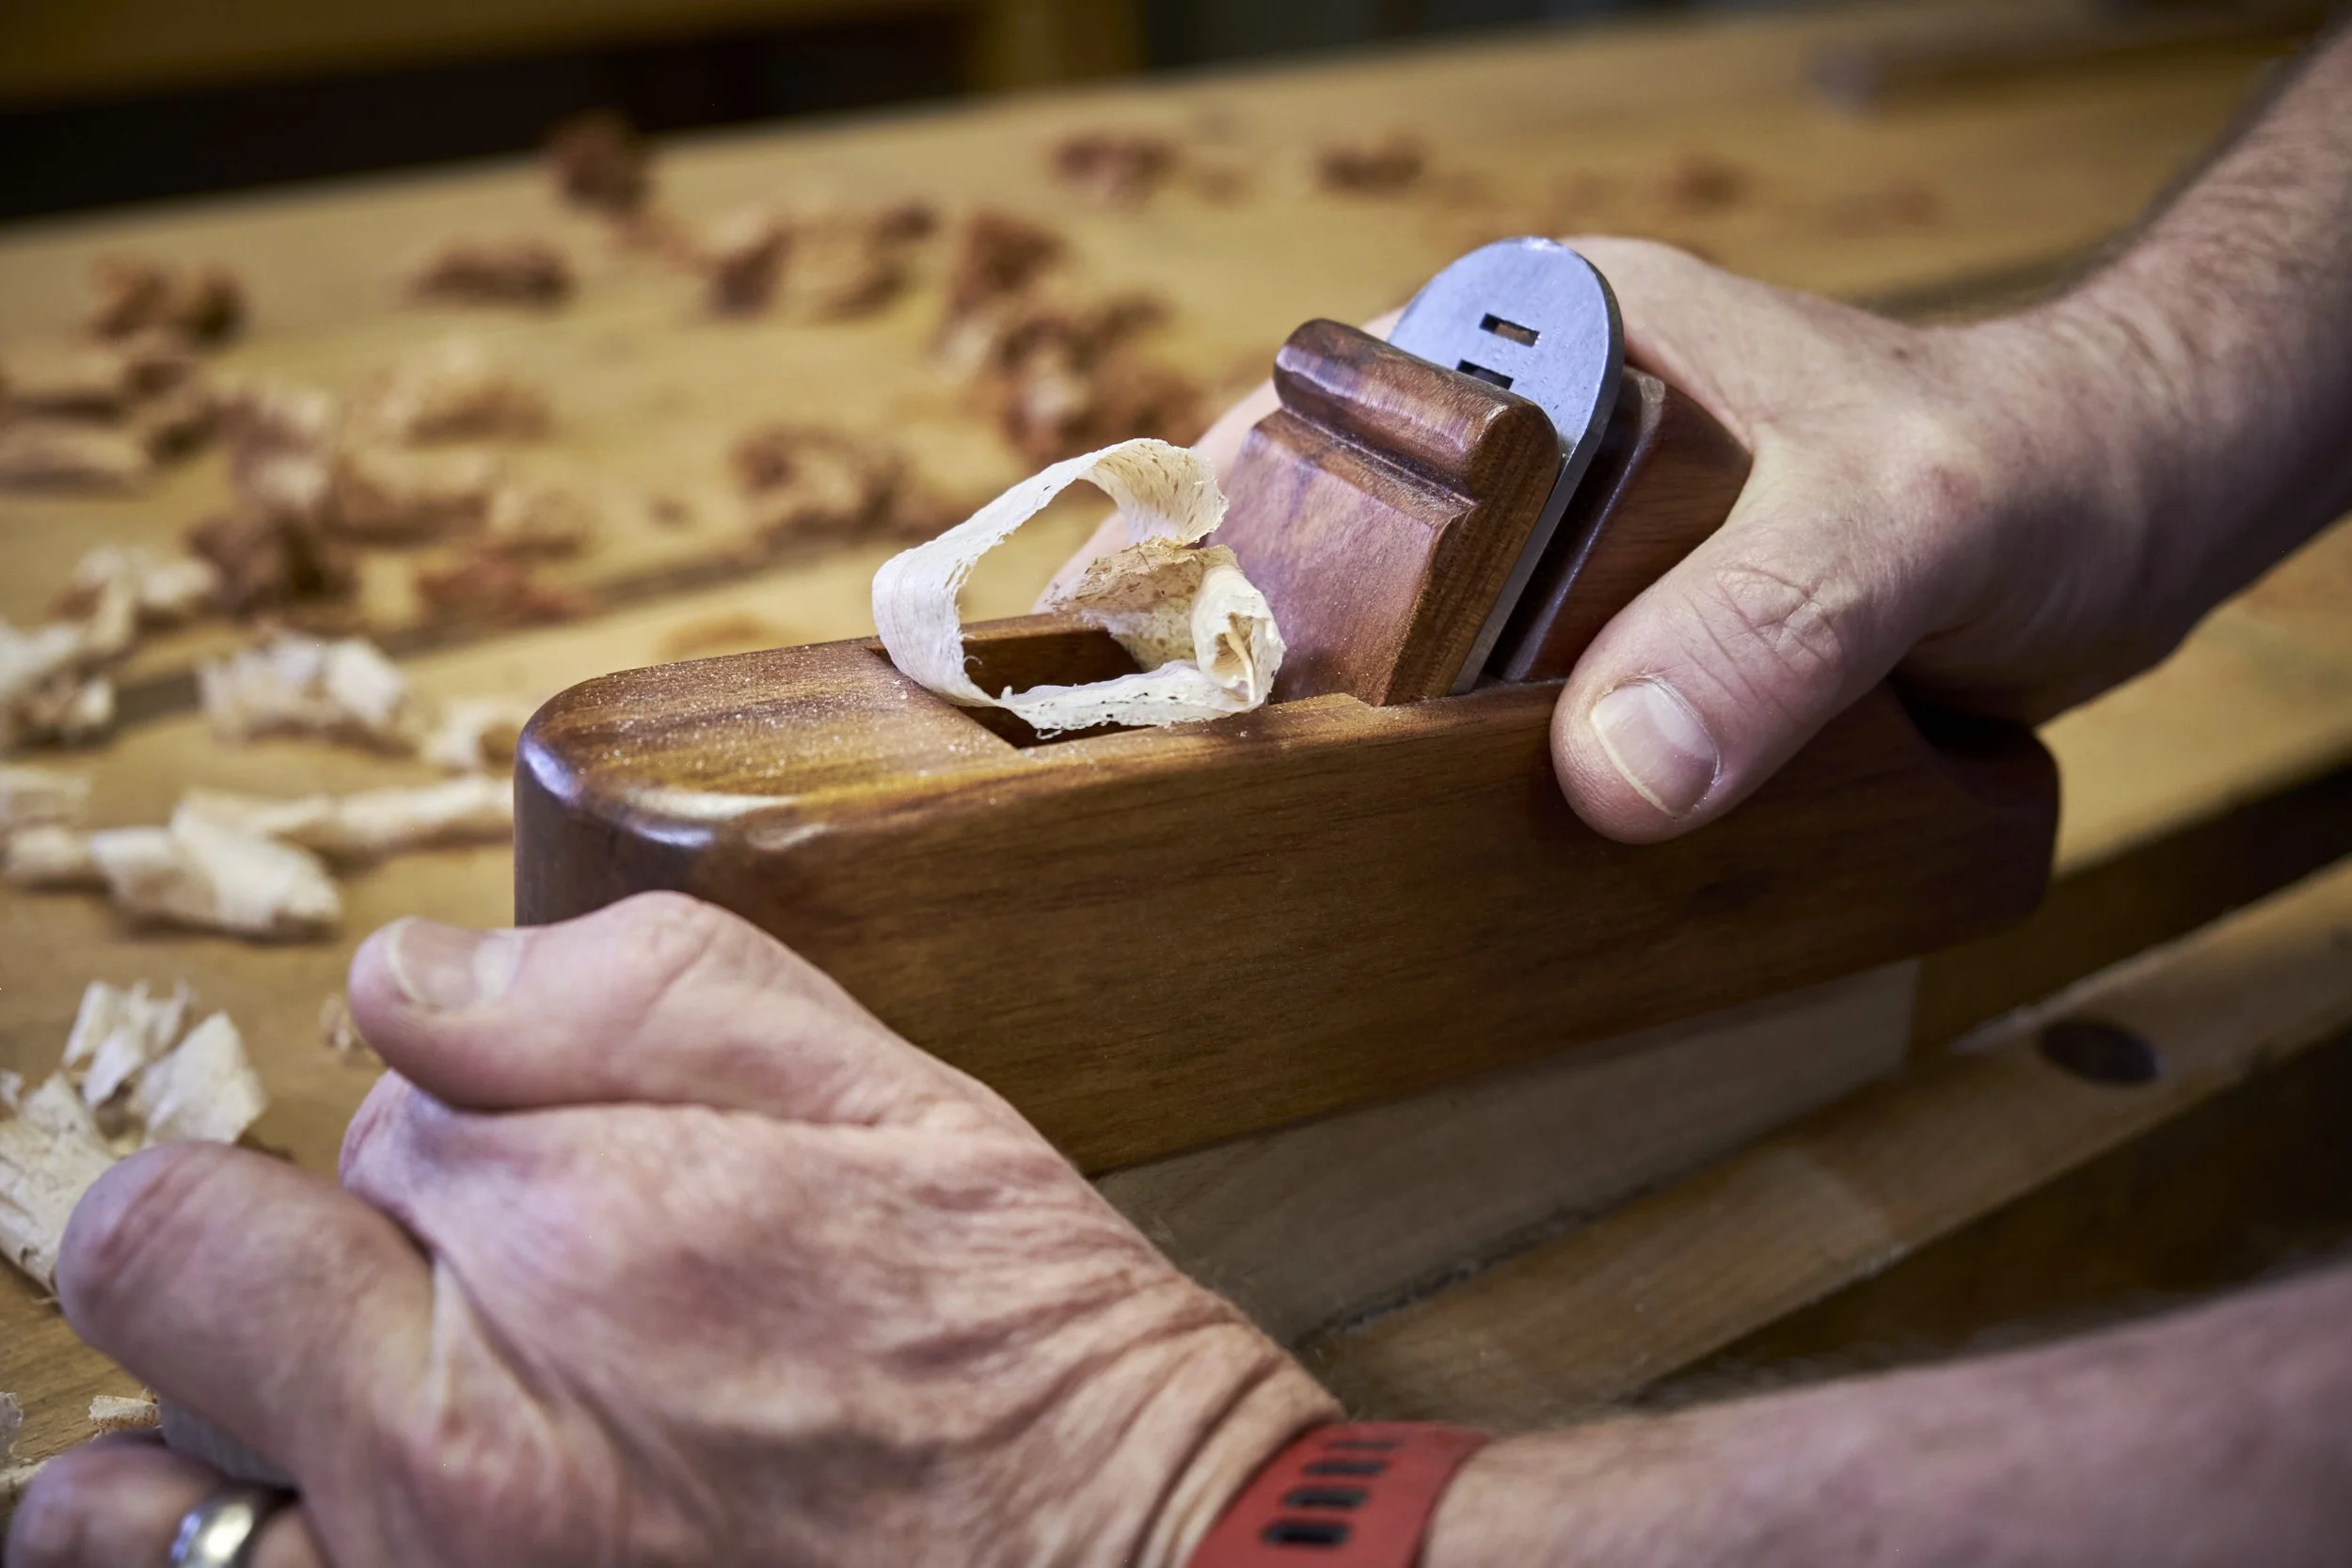
As a woodworker, there are a few things you can be reasonably sure of.
You will get splinters.
You will need to repair mistakes.
You will cut on the wrong side of the line.
You may even get the occasional cut bad enough to need a plaster.
The one thing I can guarantee you, though, is this:
You will encounter tear-out.
I have written extensively on my site about the strategies I use to manage tear-out. You can read more about scrapers and high angle planing here, and you’ll find additional approaches covering a wider range of strategies here.
If you sign up, you can also access my free downloadable infographics and checklists. Just head to the downloads page, search for what you need, and grab the PDF.
Anyway, back to tear-out.
Today, I want to look more closely at high angle planing and explain why I prefer this method over other hand plane-based options when it comes to managing tear-out.
First, I want to explain where high angle cutting tools fit into my workflow, and what I move on to if they don’t give me the results I’m after.
My Tear-Out Workflow
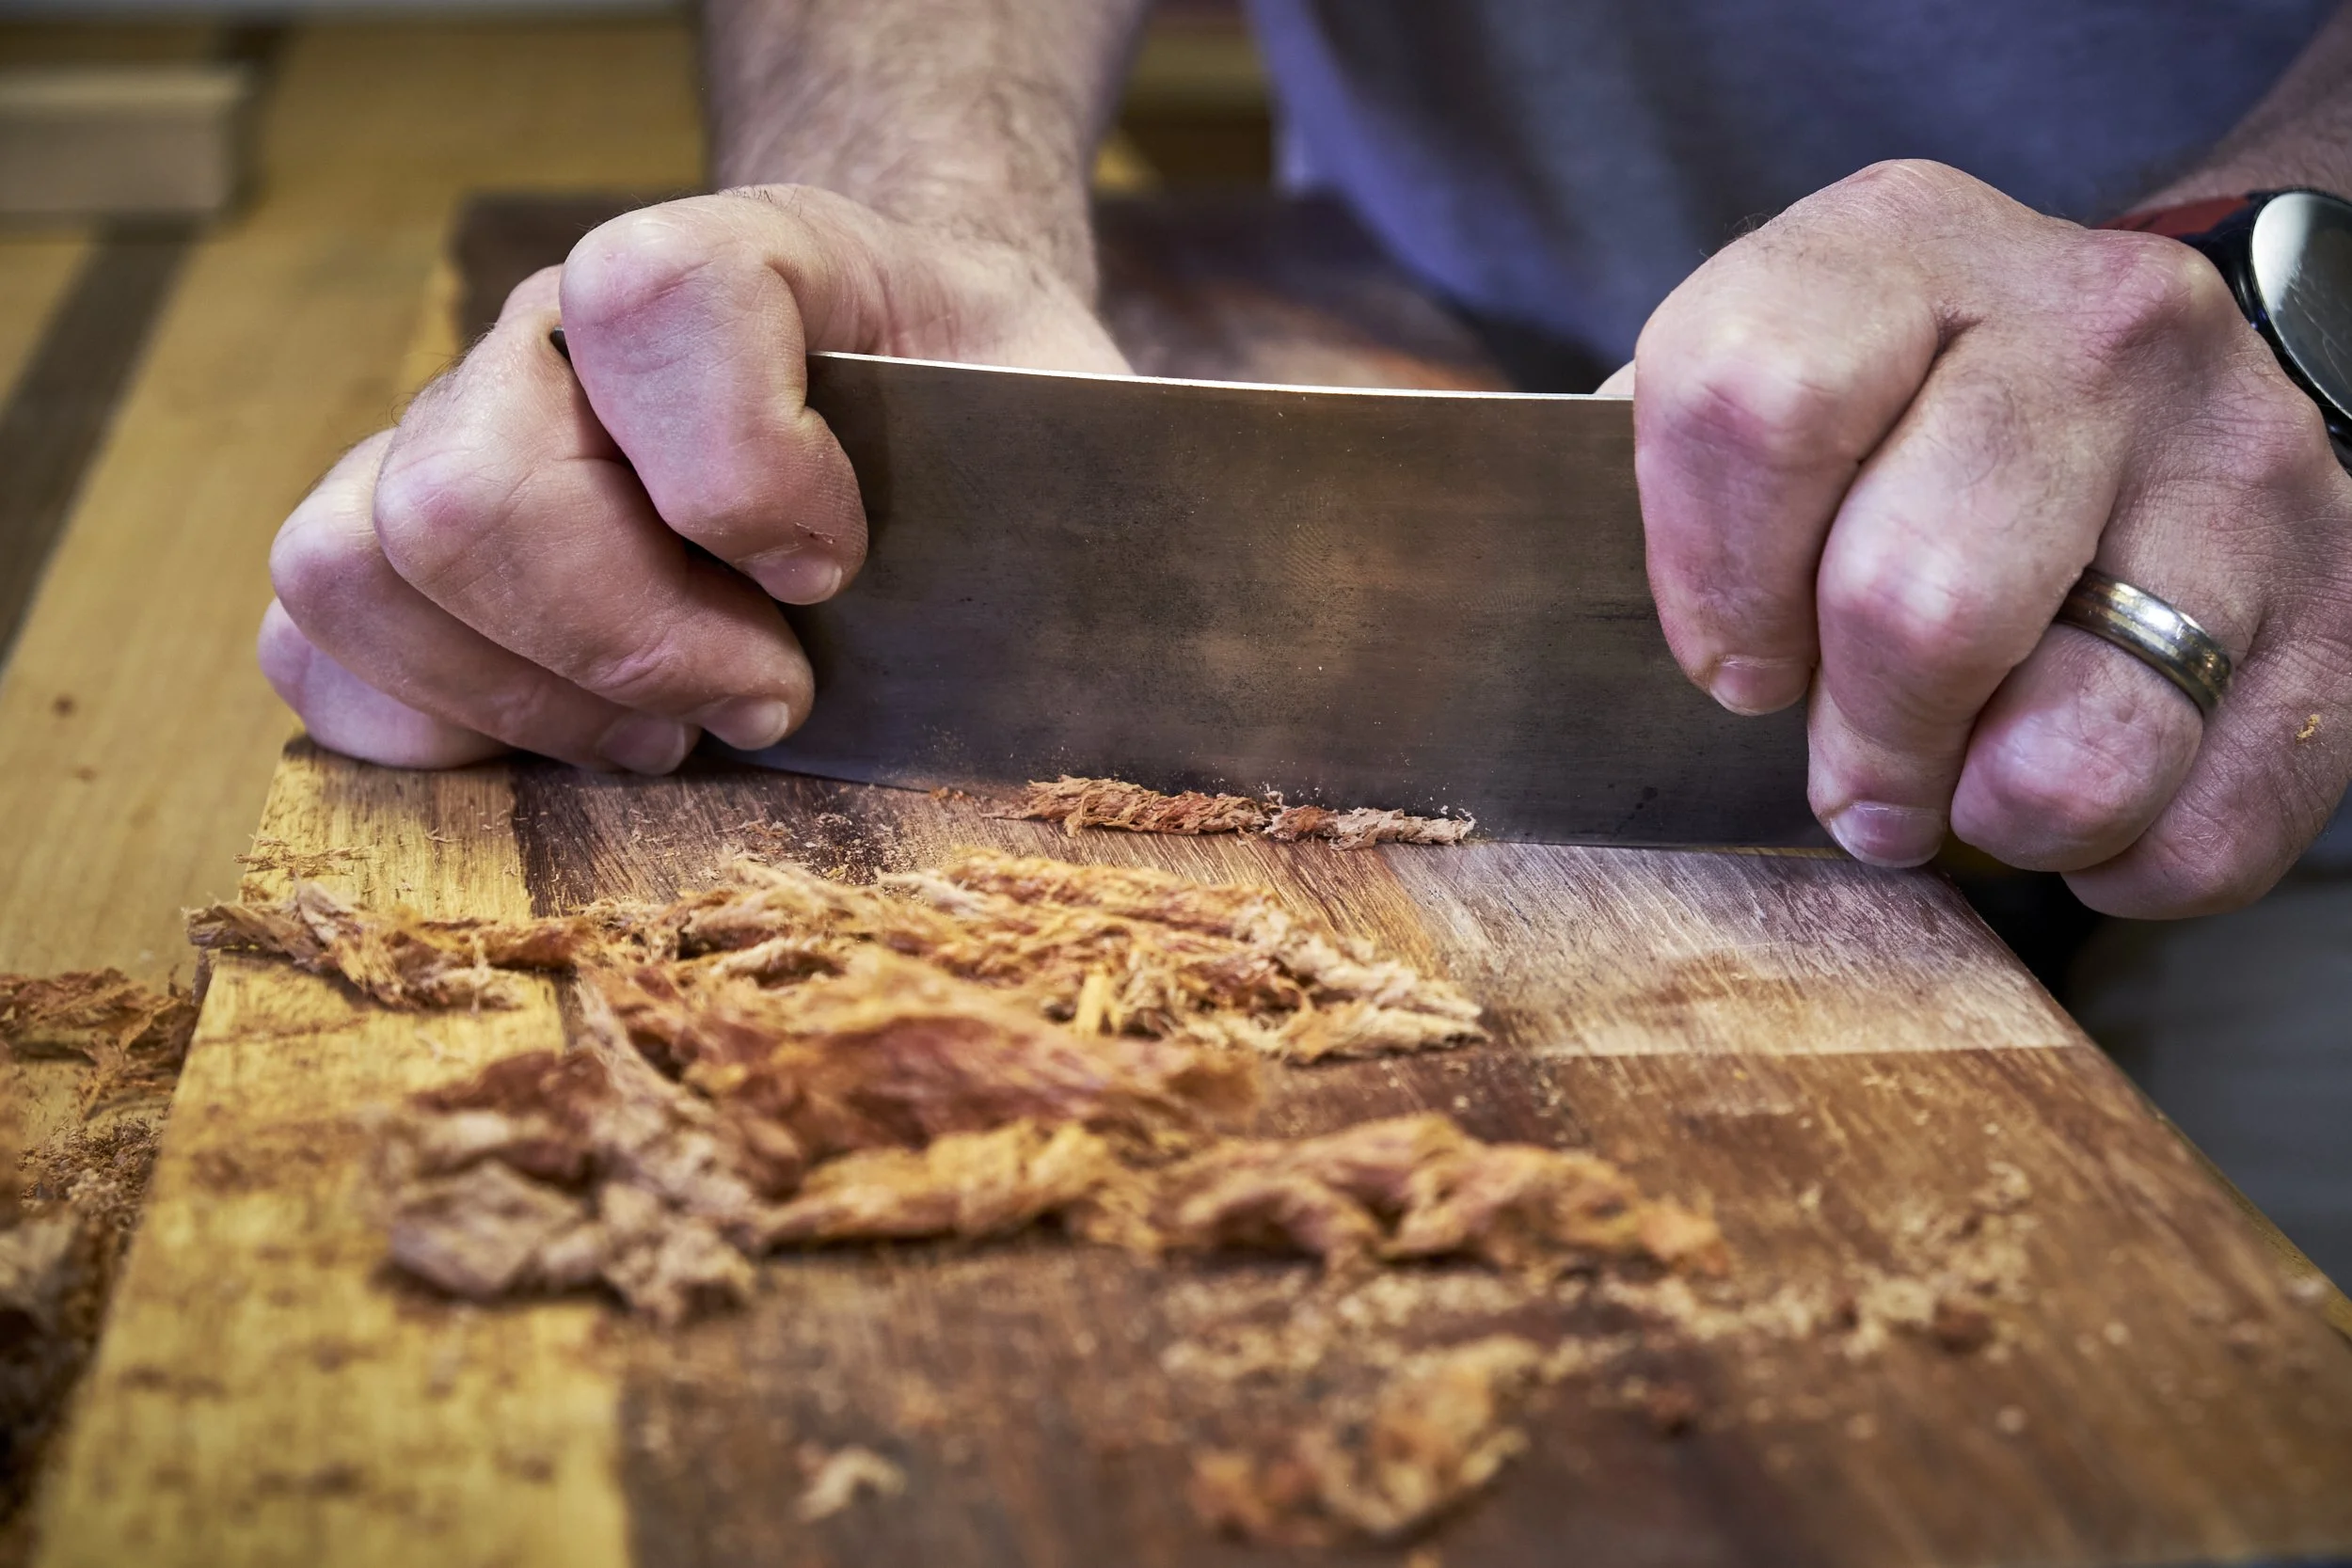
When I first encounter tear-out, or suspect that it may become an issue on a workpiece, I work through the following steps.
Step 1: Resharpen
When tear-out appears, I do two things before anything else. First, I put a fresh edge on the plane iron I’m using. Second, I make sure the chip breaker is set to take the finest cut possible.
Step 2: High Angle Planing
If step one fails to clean up or prevent tear-out, I move on to my high angle planes.
In my workshop, I have two options available:
– A Stanley No.4 with a 17° back bevel (York pitch) on the blade
– A high angle wooden smoother with the blade bedded at 60°
Step 3: Card Scrapers
If steps one and two don’t get the job done, card scrapers are next.
Step 4: Cabinet Scraper
This is the “secret weapon” in my tool chest, and usually the final word when nothing else works.
More often than not, I only get as far as step two.
Why High Angle Planes Work So Well
High angle planes are the most reliable way I’ve found to manage tear-out in my workshop. They are not the only solution offered by hand planes, nor are they the most popular.
Most advice suggests closing up the mouth of the hand plane, and this is where my own opinion diverges from the norm.
Not because closing the mouth doesn’t work, it absolutely does. There’s a lot of proof out there that it’s an effective solution. I avoid it because, in practice, I find it fiddly to set up and difficult to get just right.
Adjusting the Mouth on a Bailey-Pattern Plane
I use classic Bailey-pattern hand planes in my workshop, and here are the steps required to close the mouth:
1. Remove the lever cap and blade assembly
2. Loosen the frog retaining screws
3. Retighten them until they apply tension without locking the frog
4. Reinstall the blade and lever cap
5. Use the adjustment screw at the back of the frog to move the assembly forward
6. Extend the blade past the sole and check the mouth opening
7. Adjust forward or back if needed
8. Remove the blade assembly again
9. Fully tighten the frog retaining screws
10. Reinstall the blade and lever cap
11. Hope nothing has shifted!
12. Tighten the frog adjustment screw in its forward position
13. Test — and repeat if necessary
After all this, you still need to check the results and repeat the process if required.
What About Bedrock Planes?
Is there an easier way? Yes, it’s called a Bedrock.
Bedrock-pattern planes use a different frog design that allows the mouth opening to be adjusted far more easily. My issue is availability. Where I live, they are either rare, expensive, or both.
It would be disingenuous to say that closing the mouth of a Bailey-pattern plane is hard. It isn’t. Personally, though, I’ve found the process unsatisfying and inconsistent, despite repeated attempts.
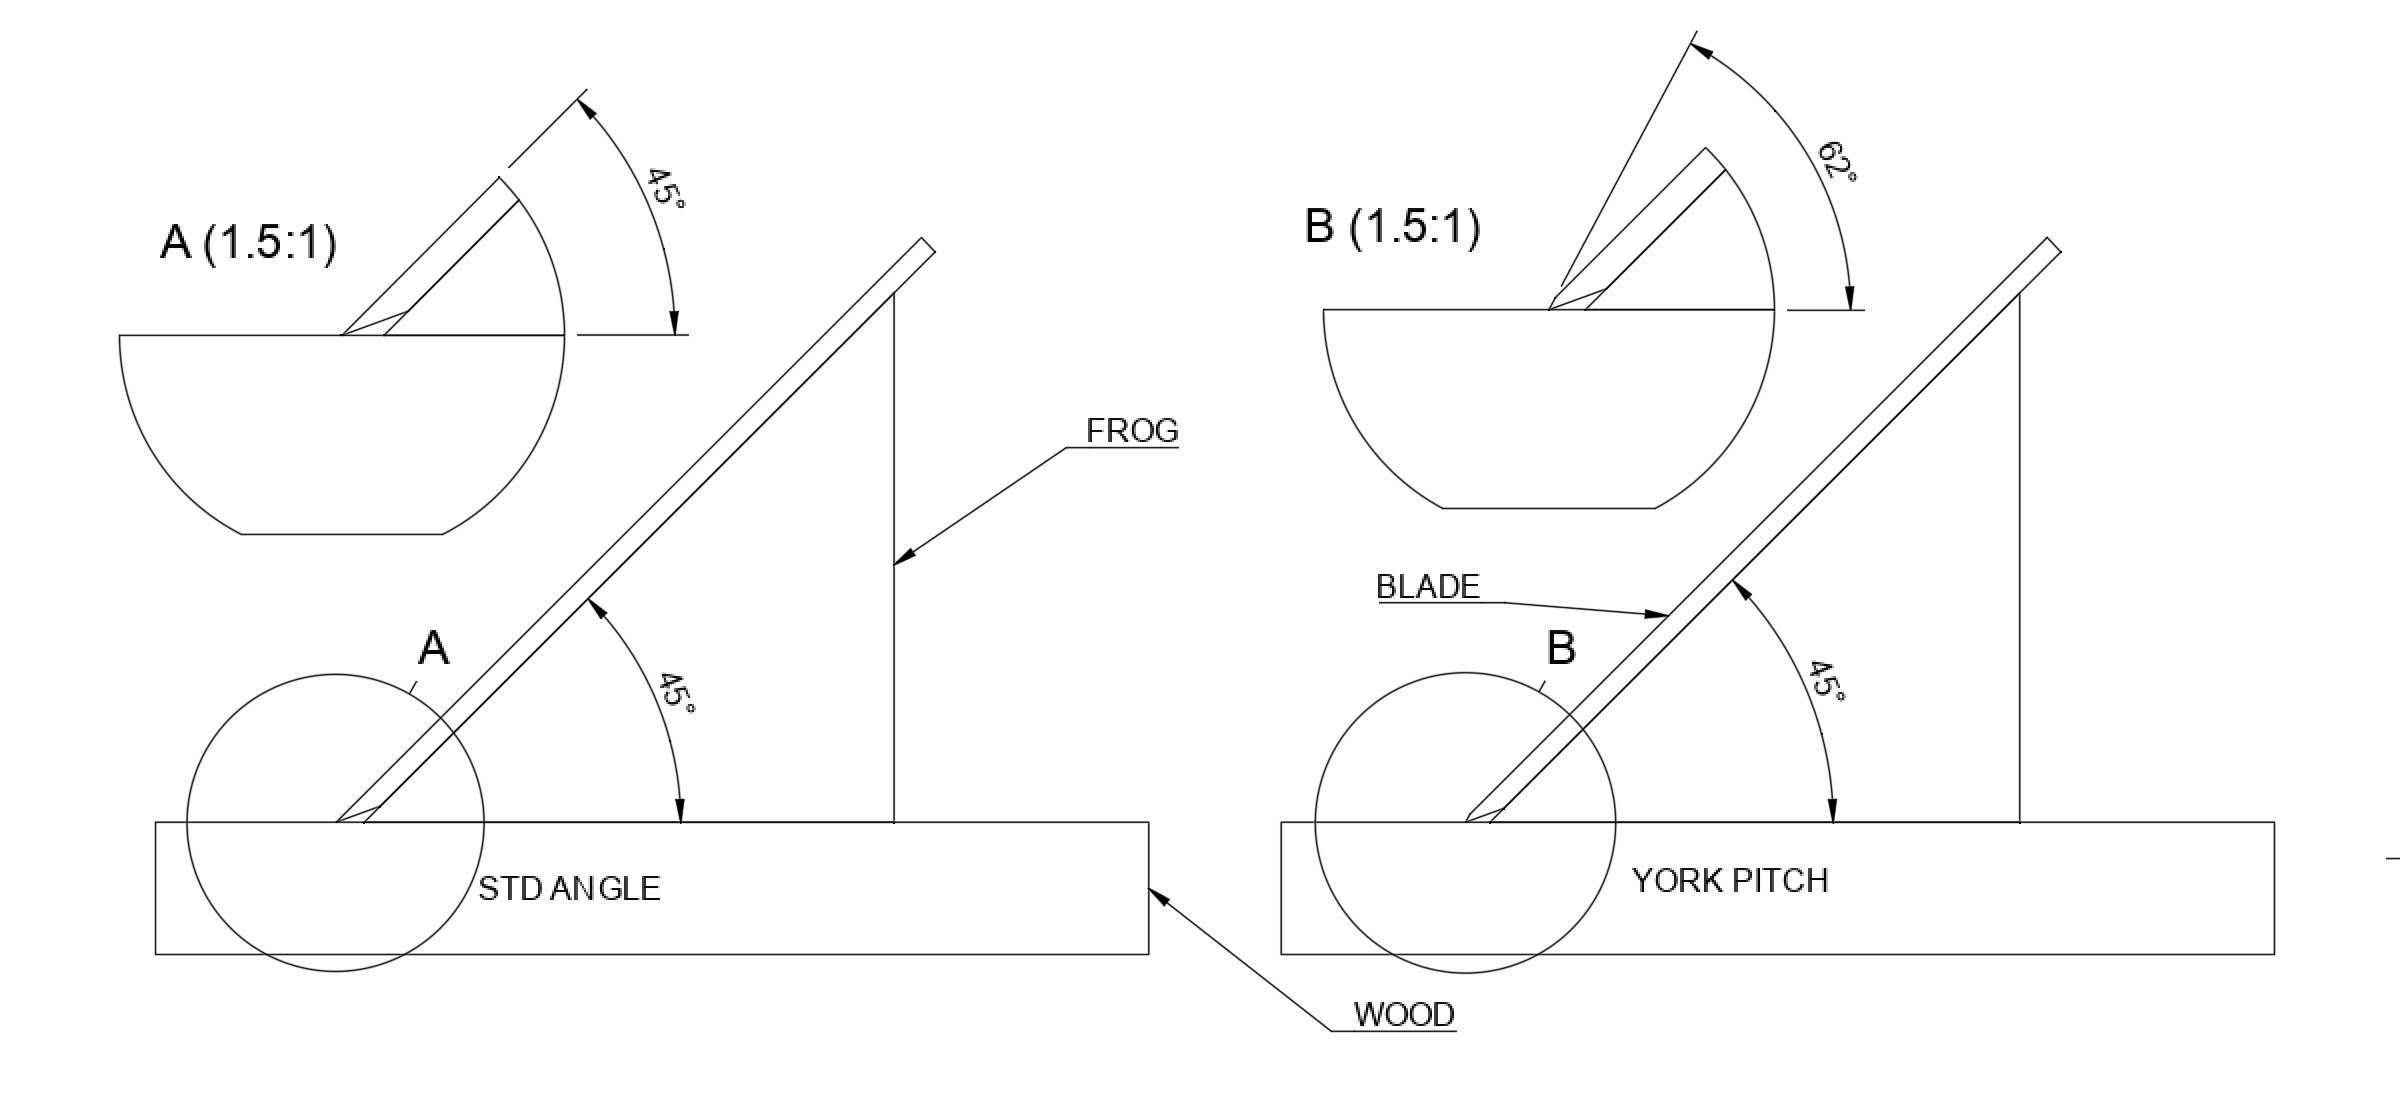
plane at higher cutting angles
At the time I was experimenting with mouth adjustment, I only owned one No.4. Constantly opening and closing the mouth every time tear-out appeared quickly became a source of frustration.
My opinion shifted when I learned about York pitch, and realised there was very little practical difference between:
– A high angle cut, and
– A standard plane with its mouth tightly closed
That conversion was cemented after I built my own high angle wooden smoother — actually, I built two — both bedded at 60°.
They worked so well that I sold one at a woodworking show after demonstrating it by planing directly against the grain. There’s a reason you still see so many vintage high angle coffin smoothers around, many were made!
Having experienced how well high angles perform for the amount of effort I’ve become a firm high angle convert.
The Easiest Way to Try High Angle Planing
Not everyone wants to make their own hand planes.
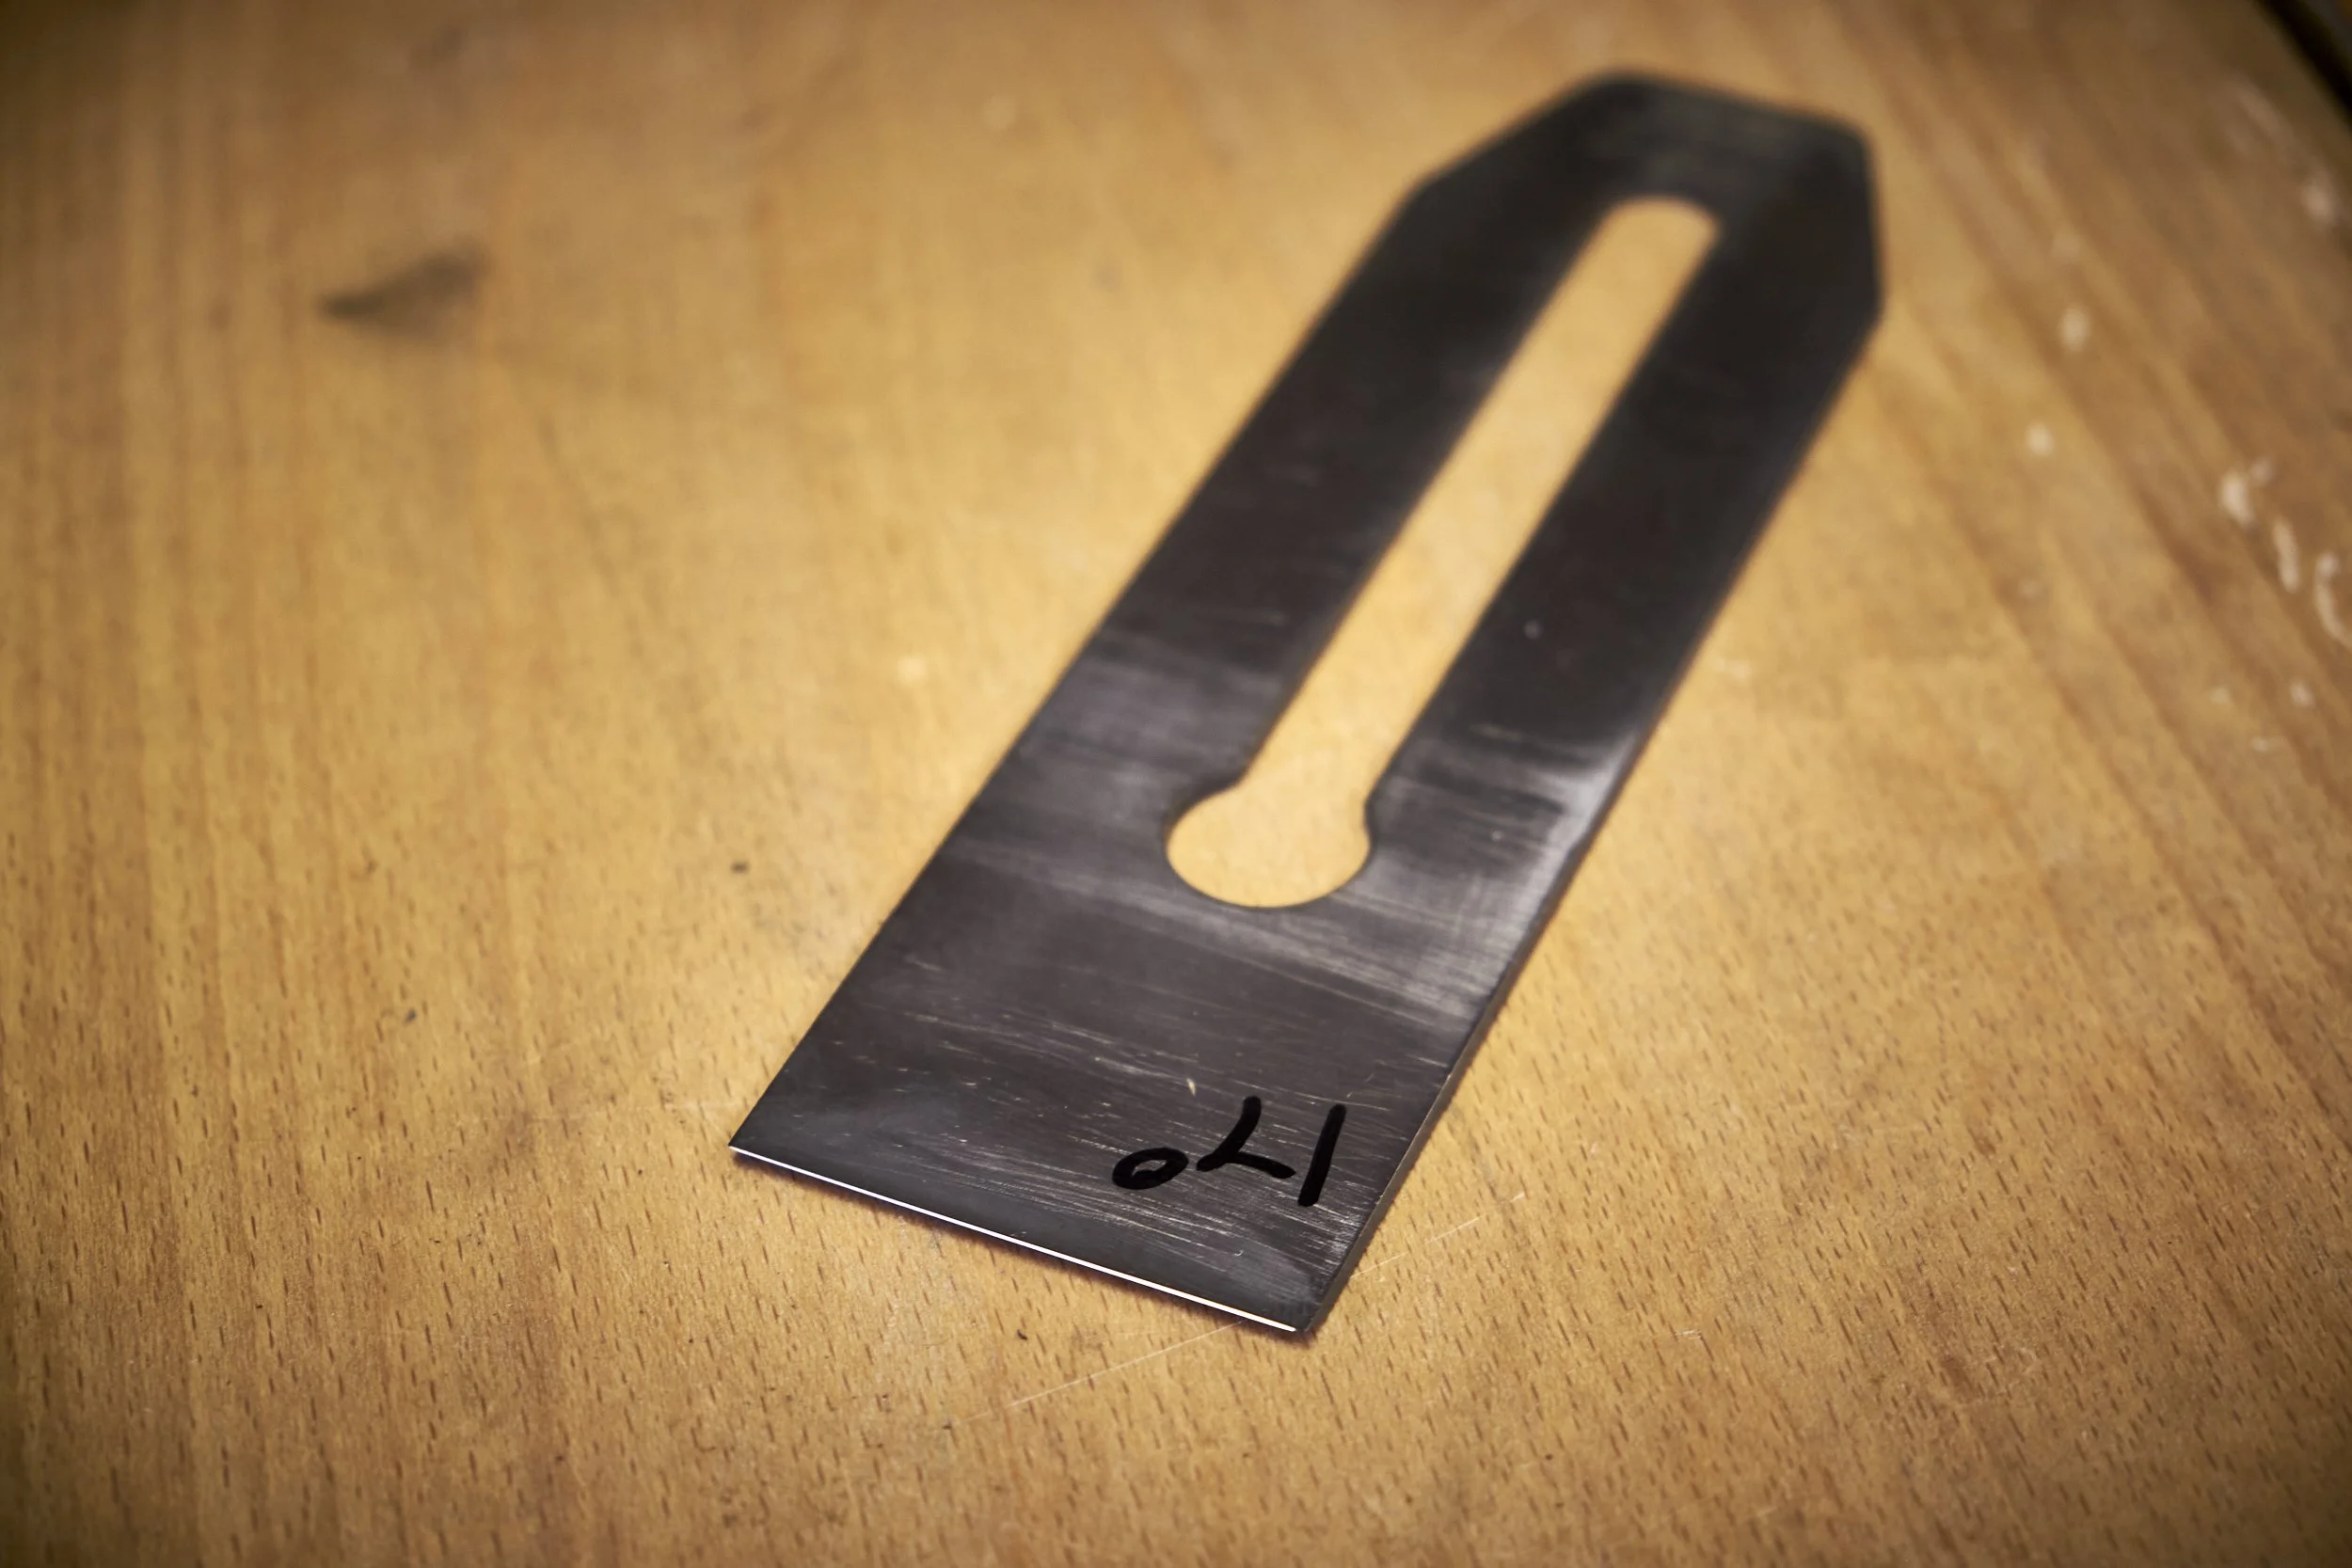
That said, the easiest way to get into high angle planing is to add a York pitch or back bevel to an existing blade.
The advantage of this approach is flexibility:
– Keep a dedicated back-bevelled blade ready to swap in, or
– Set up a hand plane permanently for difficult grain
Are back bevels perfect? No, that’s why my card and cabinet scrapers are still close at hand.
But it sure beats spending a frustrating Saturday morning adjusting a frog.
Considering that a closed-mouth setup often requires a dedicated plane, a York pitch blade can also be the cheaper option, especially for beginners whose plane collections are still growing.
One Important Caveat
Avoid converting irons wider than 50 mm (2").
High angle cuts generate a lot of resistance, and blades wider than those found in a No.4 or No.5 become hard work very quickly.
If you would like to give building your own high angle wooden smoother a go you can find my 6 part primer here on my blog.
Final Thoughts
I’m not completely opposed to closing the mouth of a hand plane. Maybe one day I’ll save up and give a Bedrock a go.
But until then, when tear-out shows up unexpectedly, I know exactly where I’m reaching first.


Tear-out can ruin an otherwise perfect woodworking project—especially when working with tricky grain. In this guide, you'll learn how to prevent and fix tear-out using both hand tools and power tools, with practical techniques for clean, smooth surfaces every time.