
How to Prevent or Repair Tear-Out In Woodworking (Beyond Hand Planes & Scrapers)
If it seems like I’m on a tear out “binge”, I am.
There is much that can be written about this thing that can so quickly spoil your day in the workshop and we may very well never cover all the possible nuances and solutions to manage tear out.
At least not in two relatively short articles.
I also promised in my article about using high angle planes and scrapers that I will be covering more steps towards handling tear out that could be considered as more general techniques rather than the specialised “tools” covered in my previous article.
It also bears mentioning that included in surface tear out on your workpiece, what follows also covers solutions to manage tear out where a blade or hand plane exits the cut, as is often the case when planing or cutting across the workpiece, this kind of tear out is also sometimes referred to as spelching.
Of course as always I wanted to cover just 10 steps to make the article simple but ended adding two more as a bonus!
Anyway let’s get into it shall we?
Step 1: Choose Stable, Predictable Wood
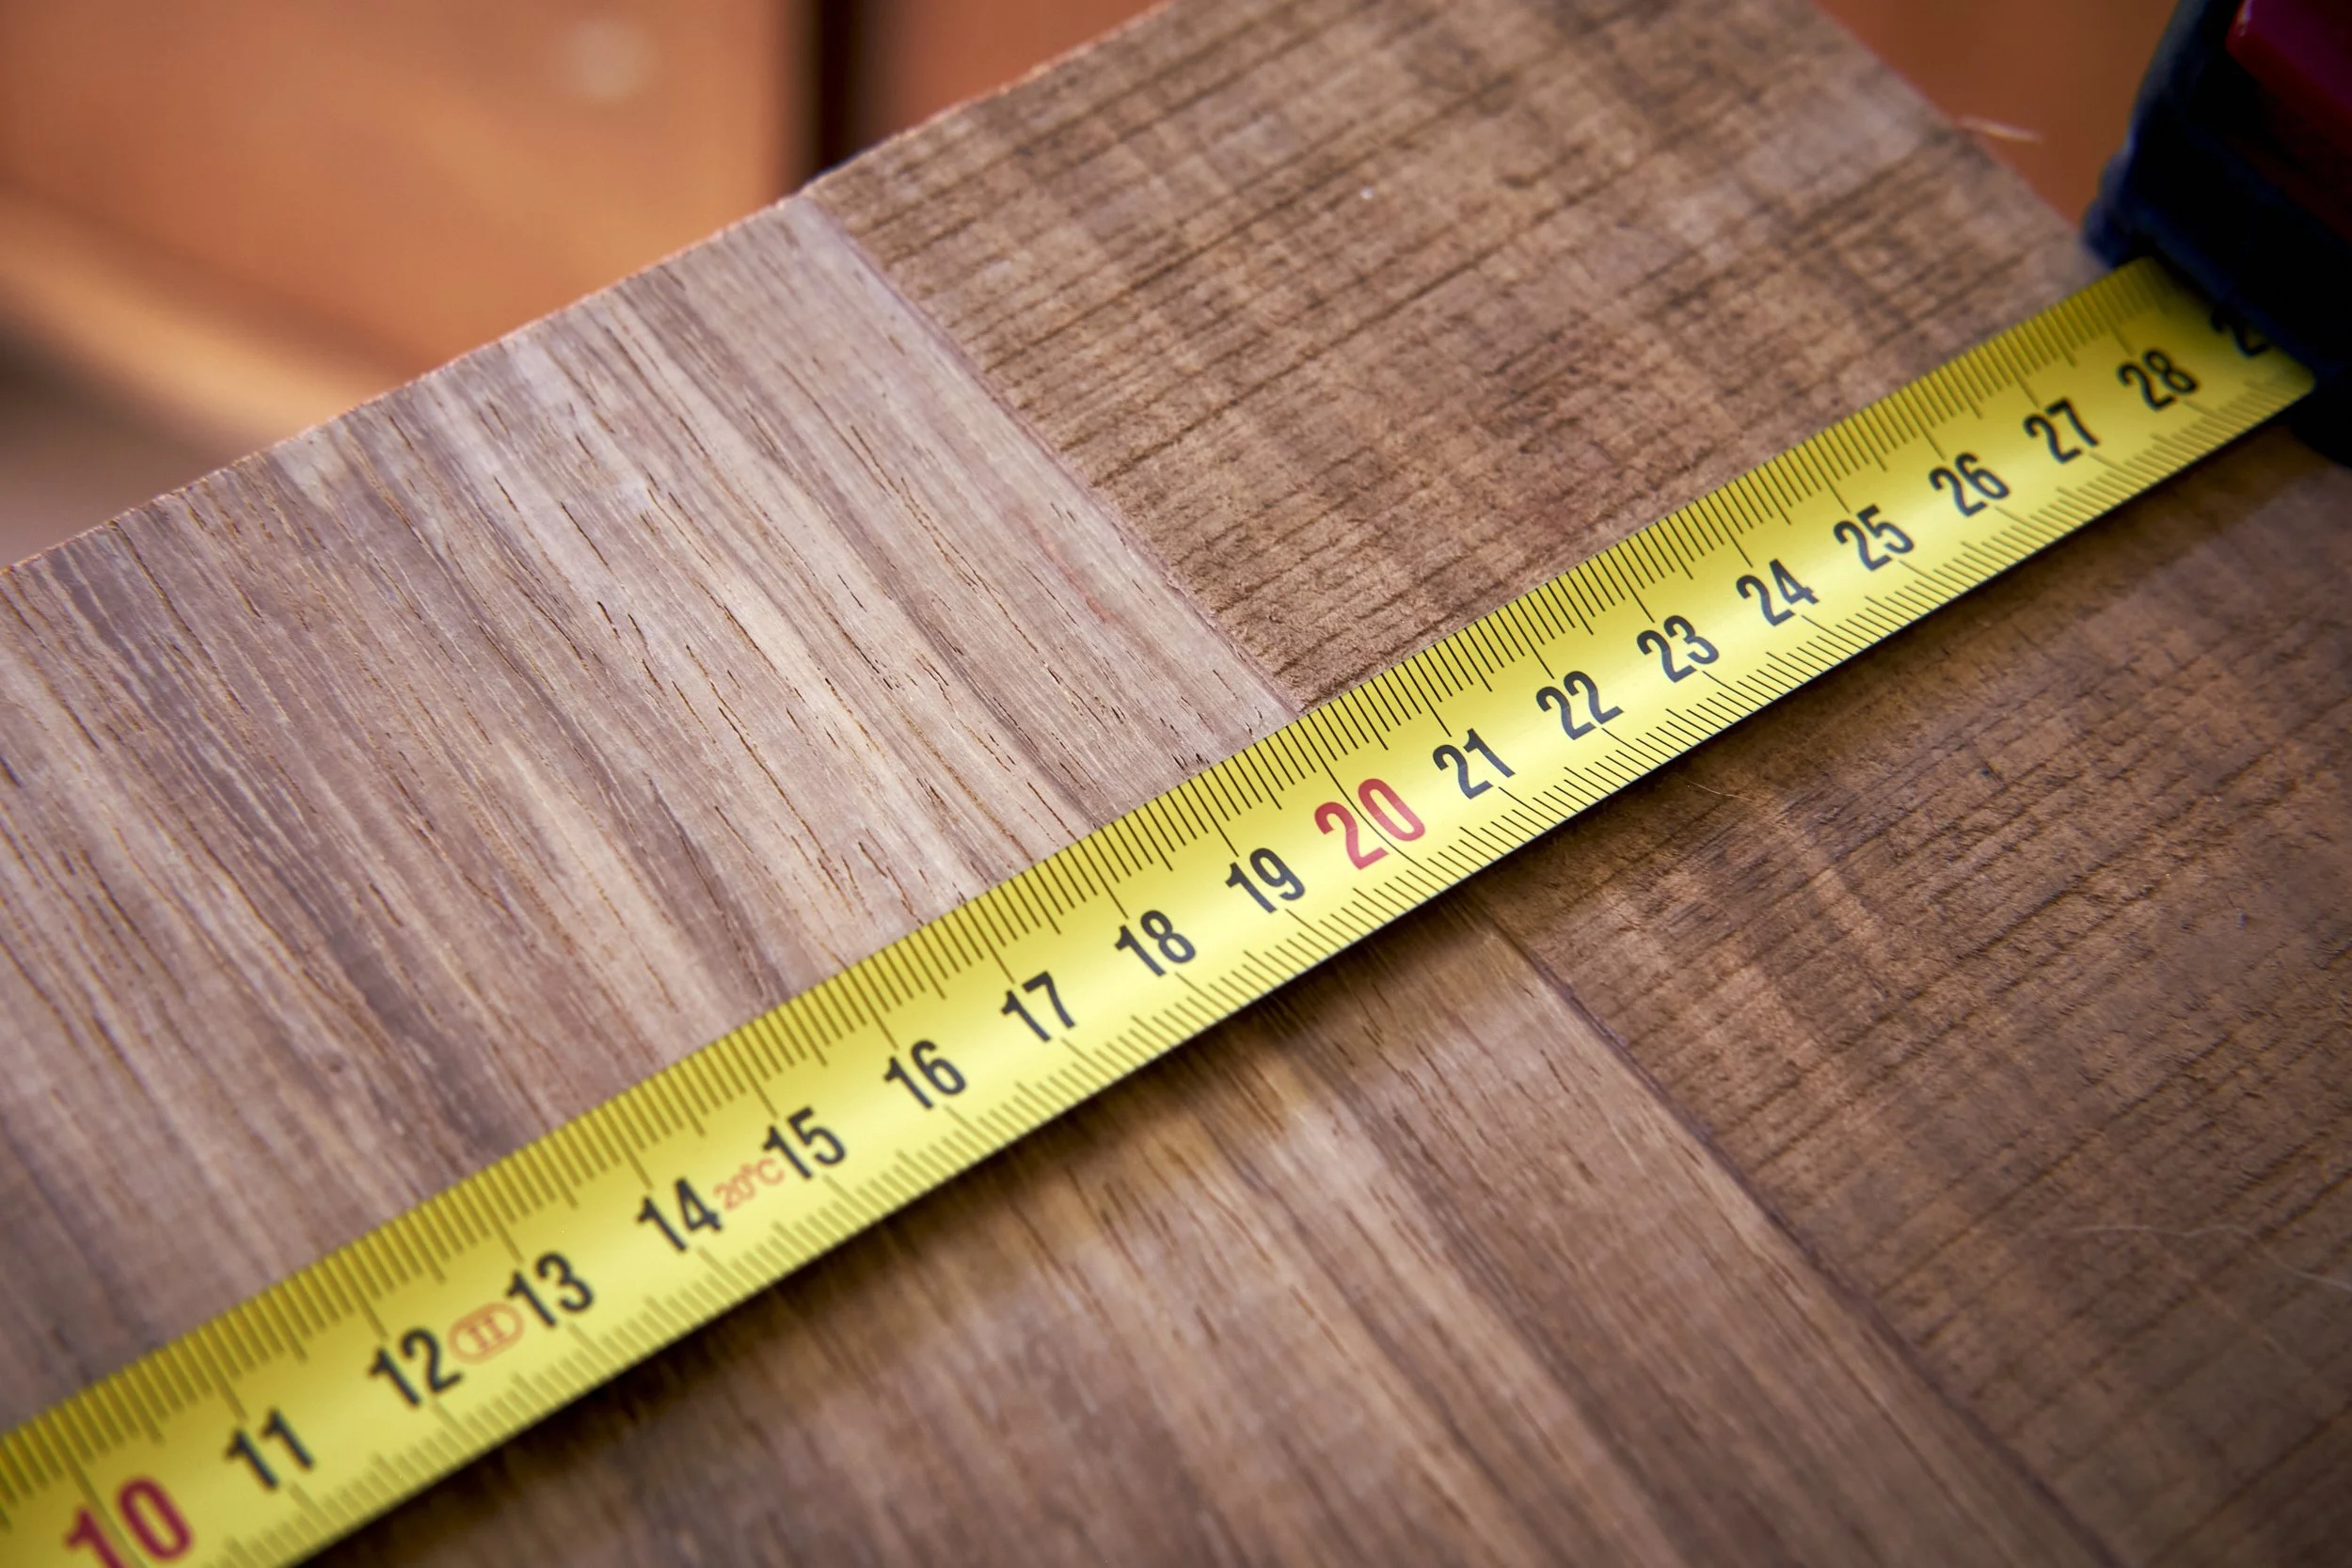
Prevention starts at the lumber yard. Select boards with straight, consistent grain.
Avoid woods with wild, interlocked, or reversing grain (e.g. curly maple or ribbon sapele) if you're new to the craft.
I know this isn’t always easy. As one is just getting into woodworking it may be hard to select the easiest raw materials to work with. On top of that it isn’t always obvious what the grain is doing when it is hidden by the rough cut surface of raw lumber!
Until you have developed the experience in selecting your raw materials or the skills to work with more difficult grains I would suggest at least the following as a start.
Avoid lumber with obvious knots in it and read up on the species available to you before heading off to the lumber yard to acquire your stock, research will often show what you can expect from different kinds of wood.
Step 2: Understand and Read the Grain
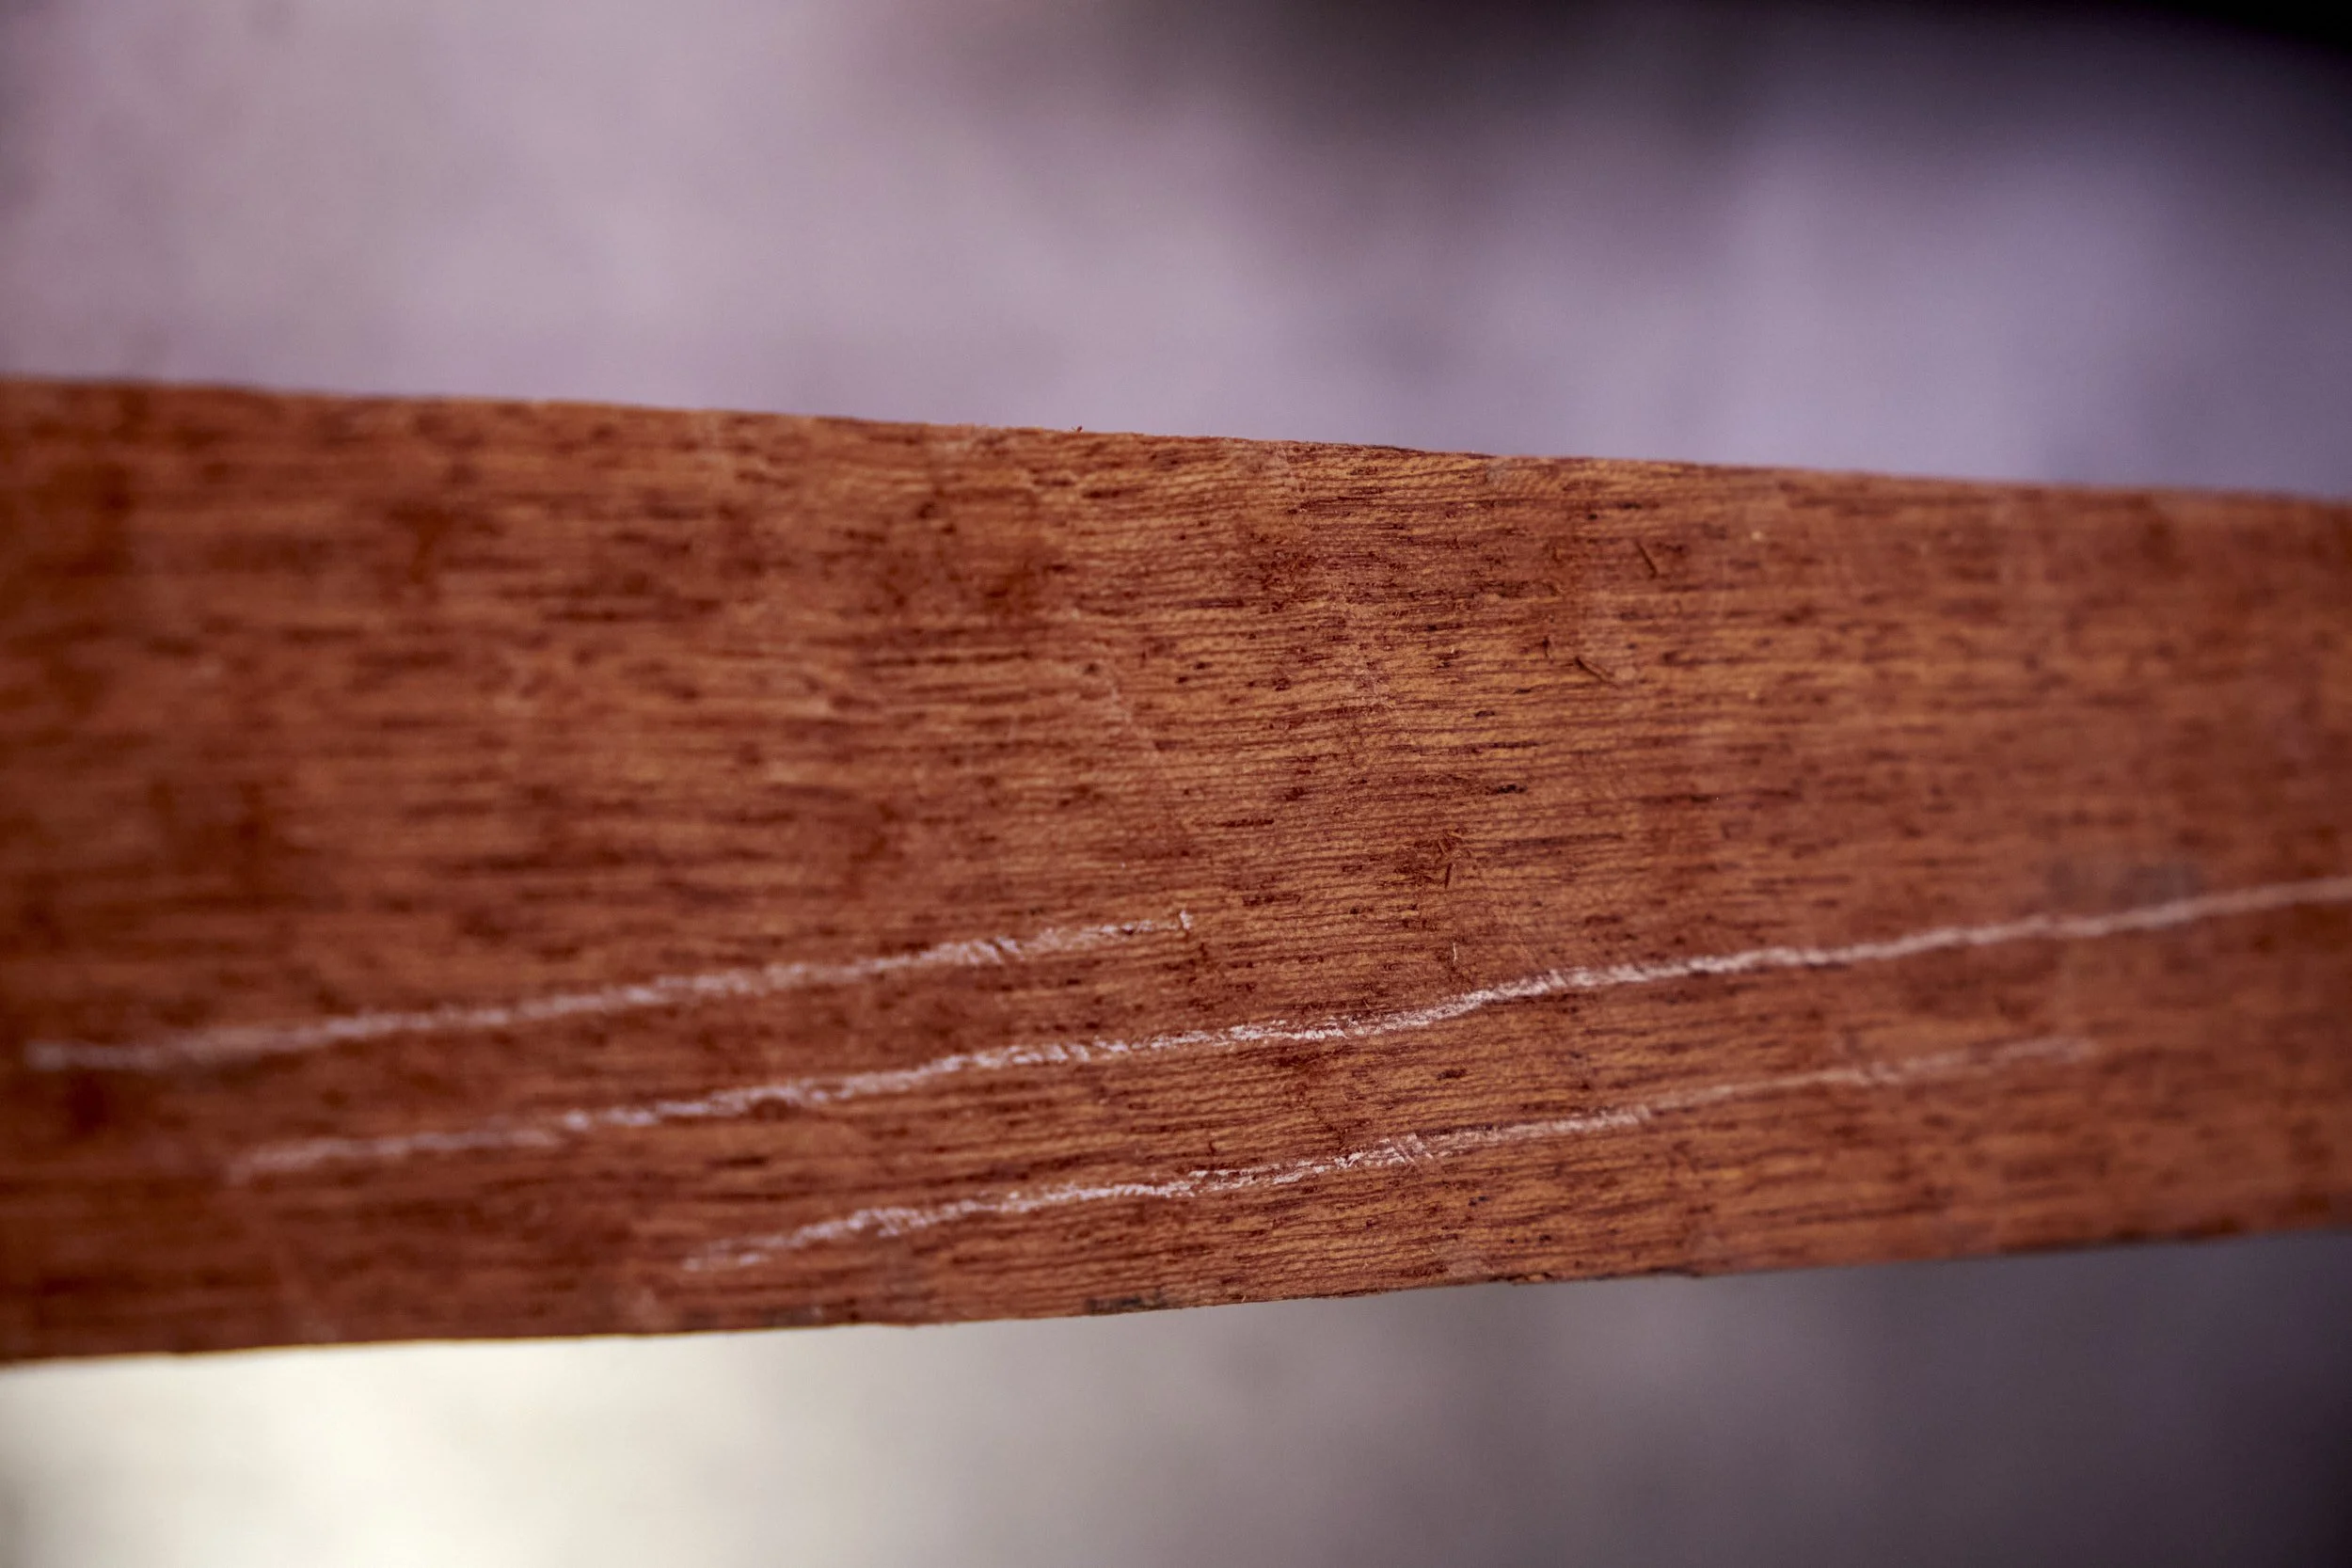
Look for the grain's "direction" or "slope" on the face and edge of the board.
Run your fingers along the board—smooth in one direction is typically the preferred planing or cutting direction.
Mark grain direction with a pencil to keep track during machining or hand tool work.
Understanding grain quite possibly trumps Step 1 in importance and being able to read the grain will contribute significantly to making the right choices when selecting the raw lumber for your projects.
Problem is, you can often only really understand what the grain is doing once you start processing your lumber!
I can say this, learning about grain direction and how it affects how you work with lumber is fundamental to woodworking and the sooner it is learnt and understood the easier the craft becomes.
I can help you get started on learning about grain direction, check out my 10 simple steps to processing raw lumber here.
Step 3: Use Sharp Tools (Always)
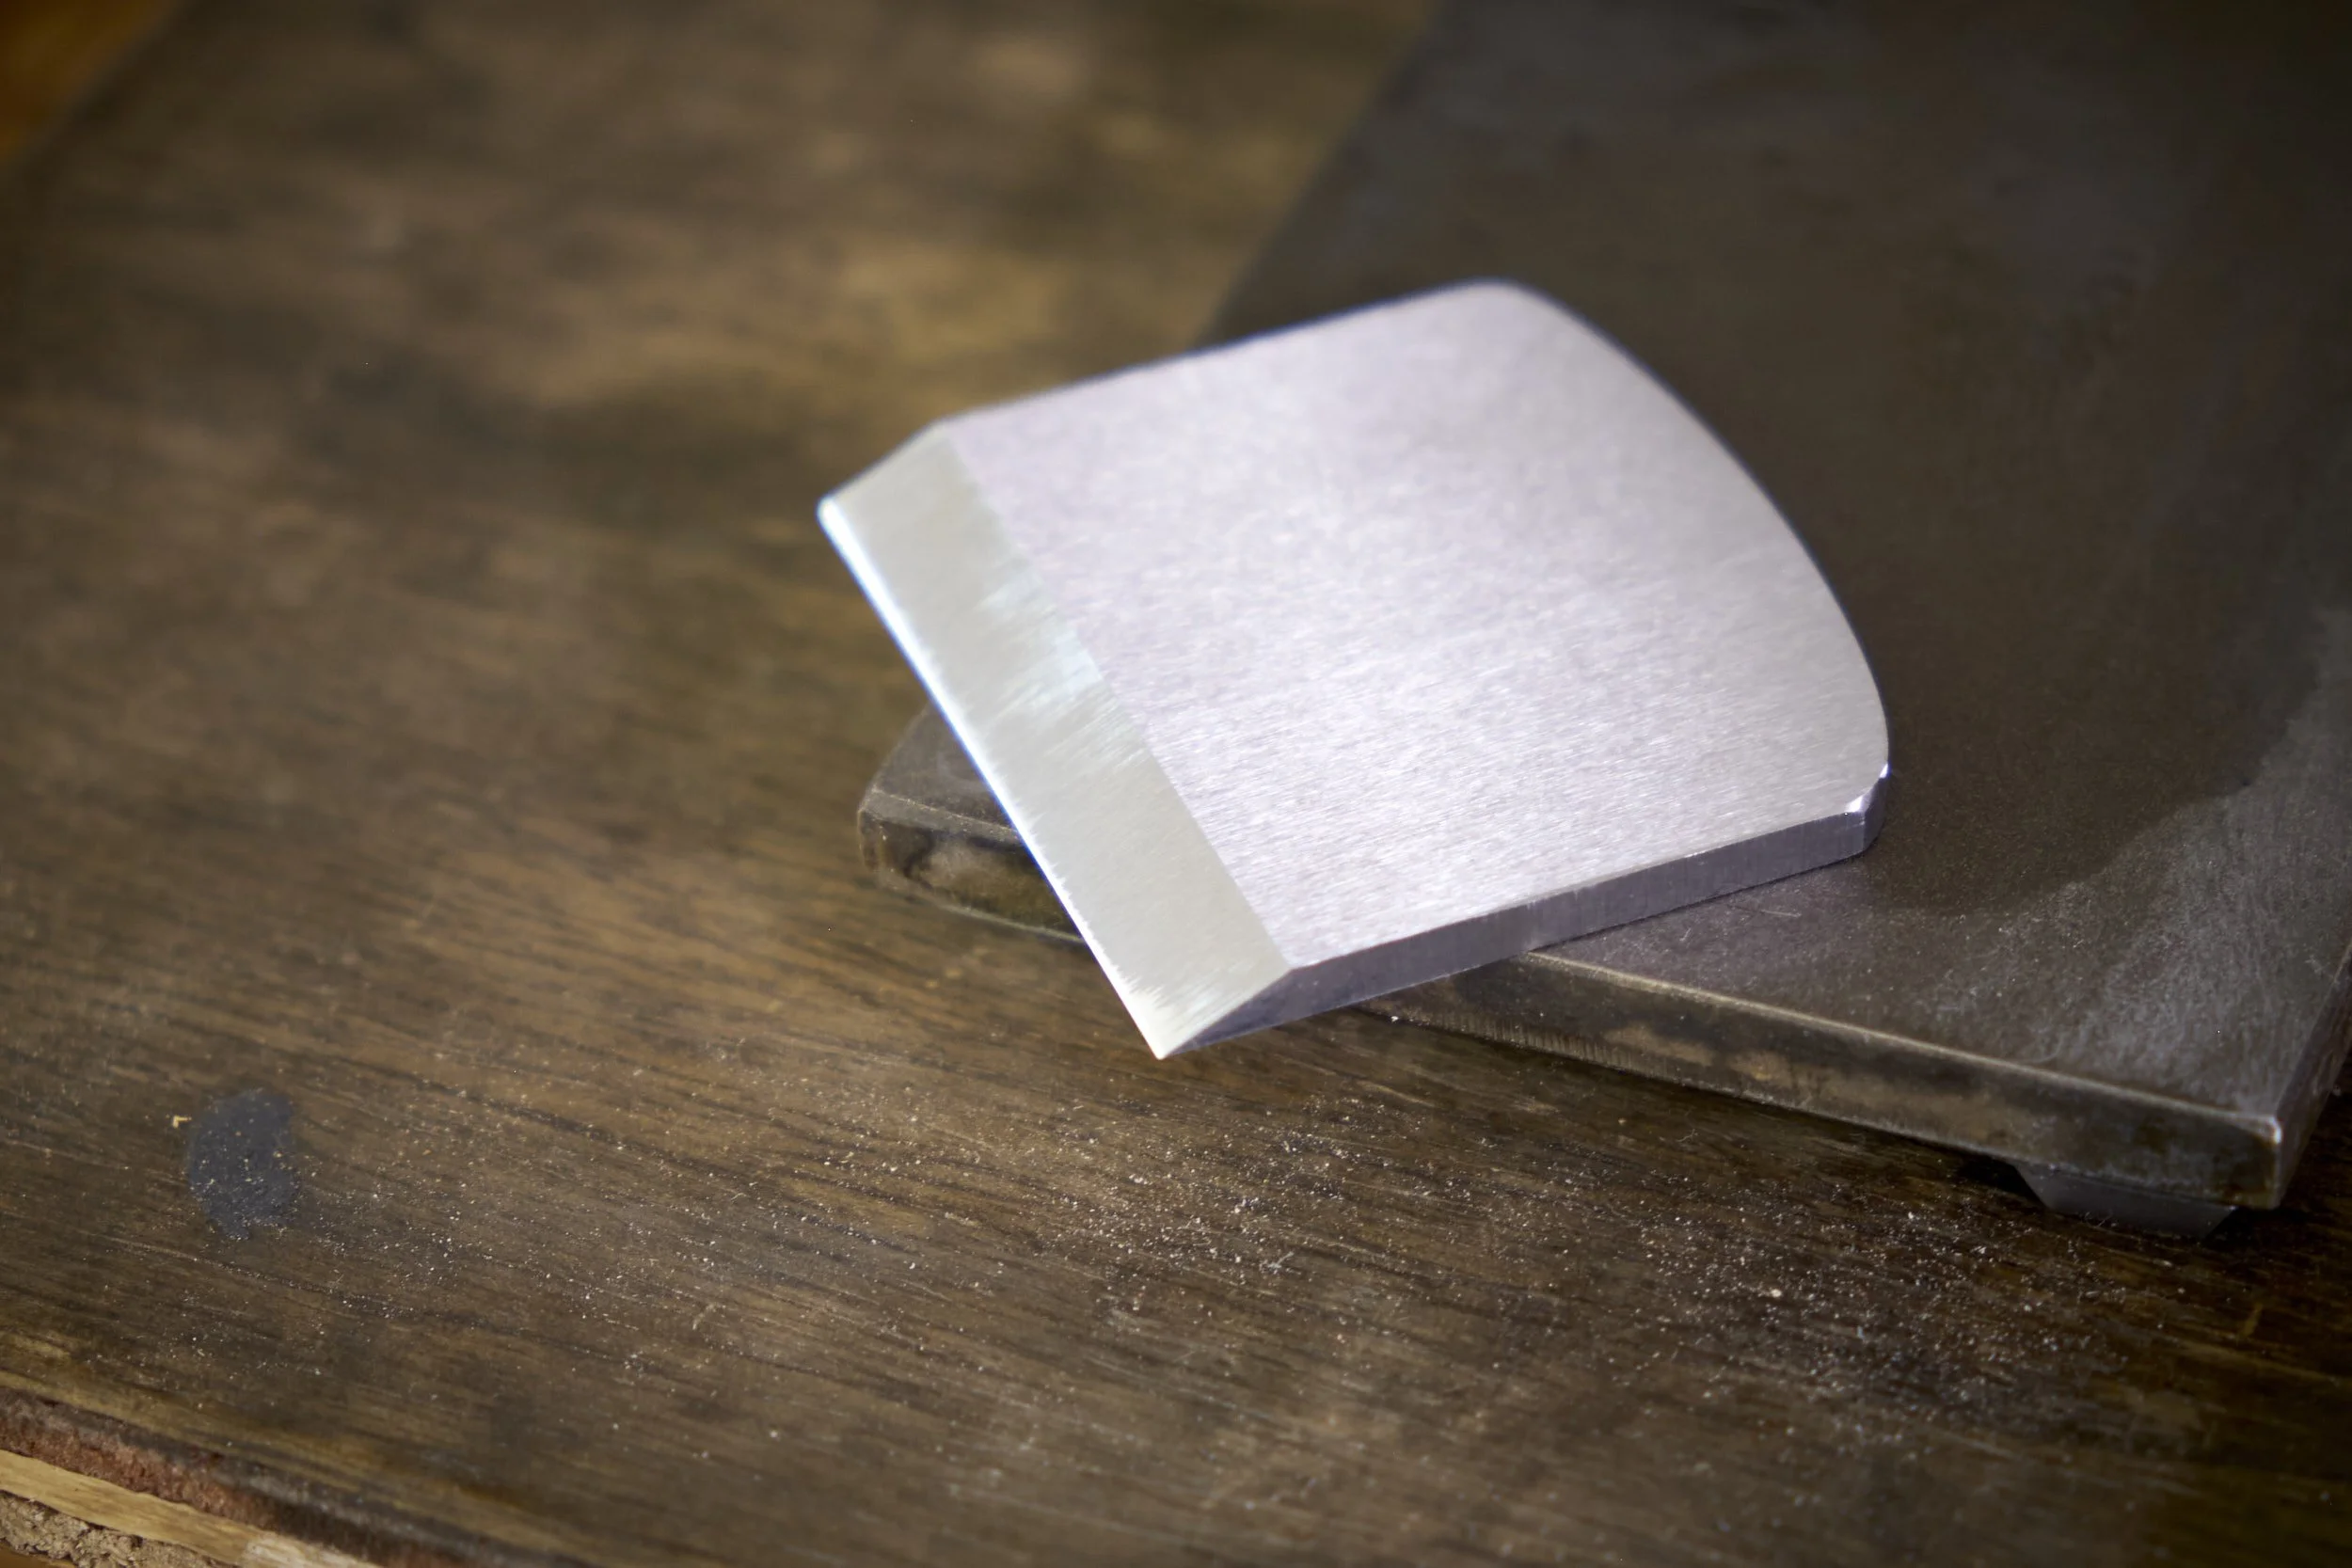
Whether it's a plane, chisel, saw, or router bit, a sharp edge is critical.
Dull tools crush and tear fibres instead of slicing cleanly.
Regularly hone chisels, plane irons, and replace or resharpen dull router bits and saw blades.
This cannot be overstated! And it doesn’t just go for hand tools, make sure all the cutting tools in your workshop are sharp, this includes table/bandsaw blades, jointer/planer knives and even turning tools!
Sharp tools not only ensure cleaner cuts but there is a very real safety aspect to using sharp tools over dull ones.

Step 4: Use The Right Tool
When using a hand saw use the correct tooth setup for the job - cross cut to cut across the grain and a rip cut to cut along the grain.
On table saws and circular saws use a blade with the correct tooth geometry for each type of cut.
On the latter I am preaching to myself, I am a “put a combination blade on the table saw and leave it” kind of guy because I’m too lazy to swop out blades between cuts and I have paid the price on important cross cuts, believe me.
By the way if you happen to be into cutting dove tails by hand you only really need a rip saw to make all the cuts, even some of the short cross cuts that need to be made. The sales guy who wants to sell you that second cross cut saw just for dove tails wants to relieve you of your hard earned cash.
Then again this is coming from a guy who suffers as much from Gear Acquisition Syndrome (GAS) as any other woodworker.
Step 5: Take Light Passes
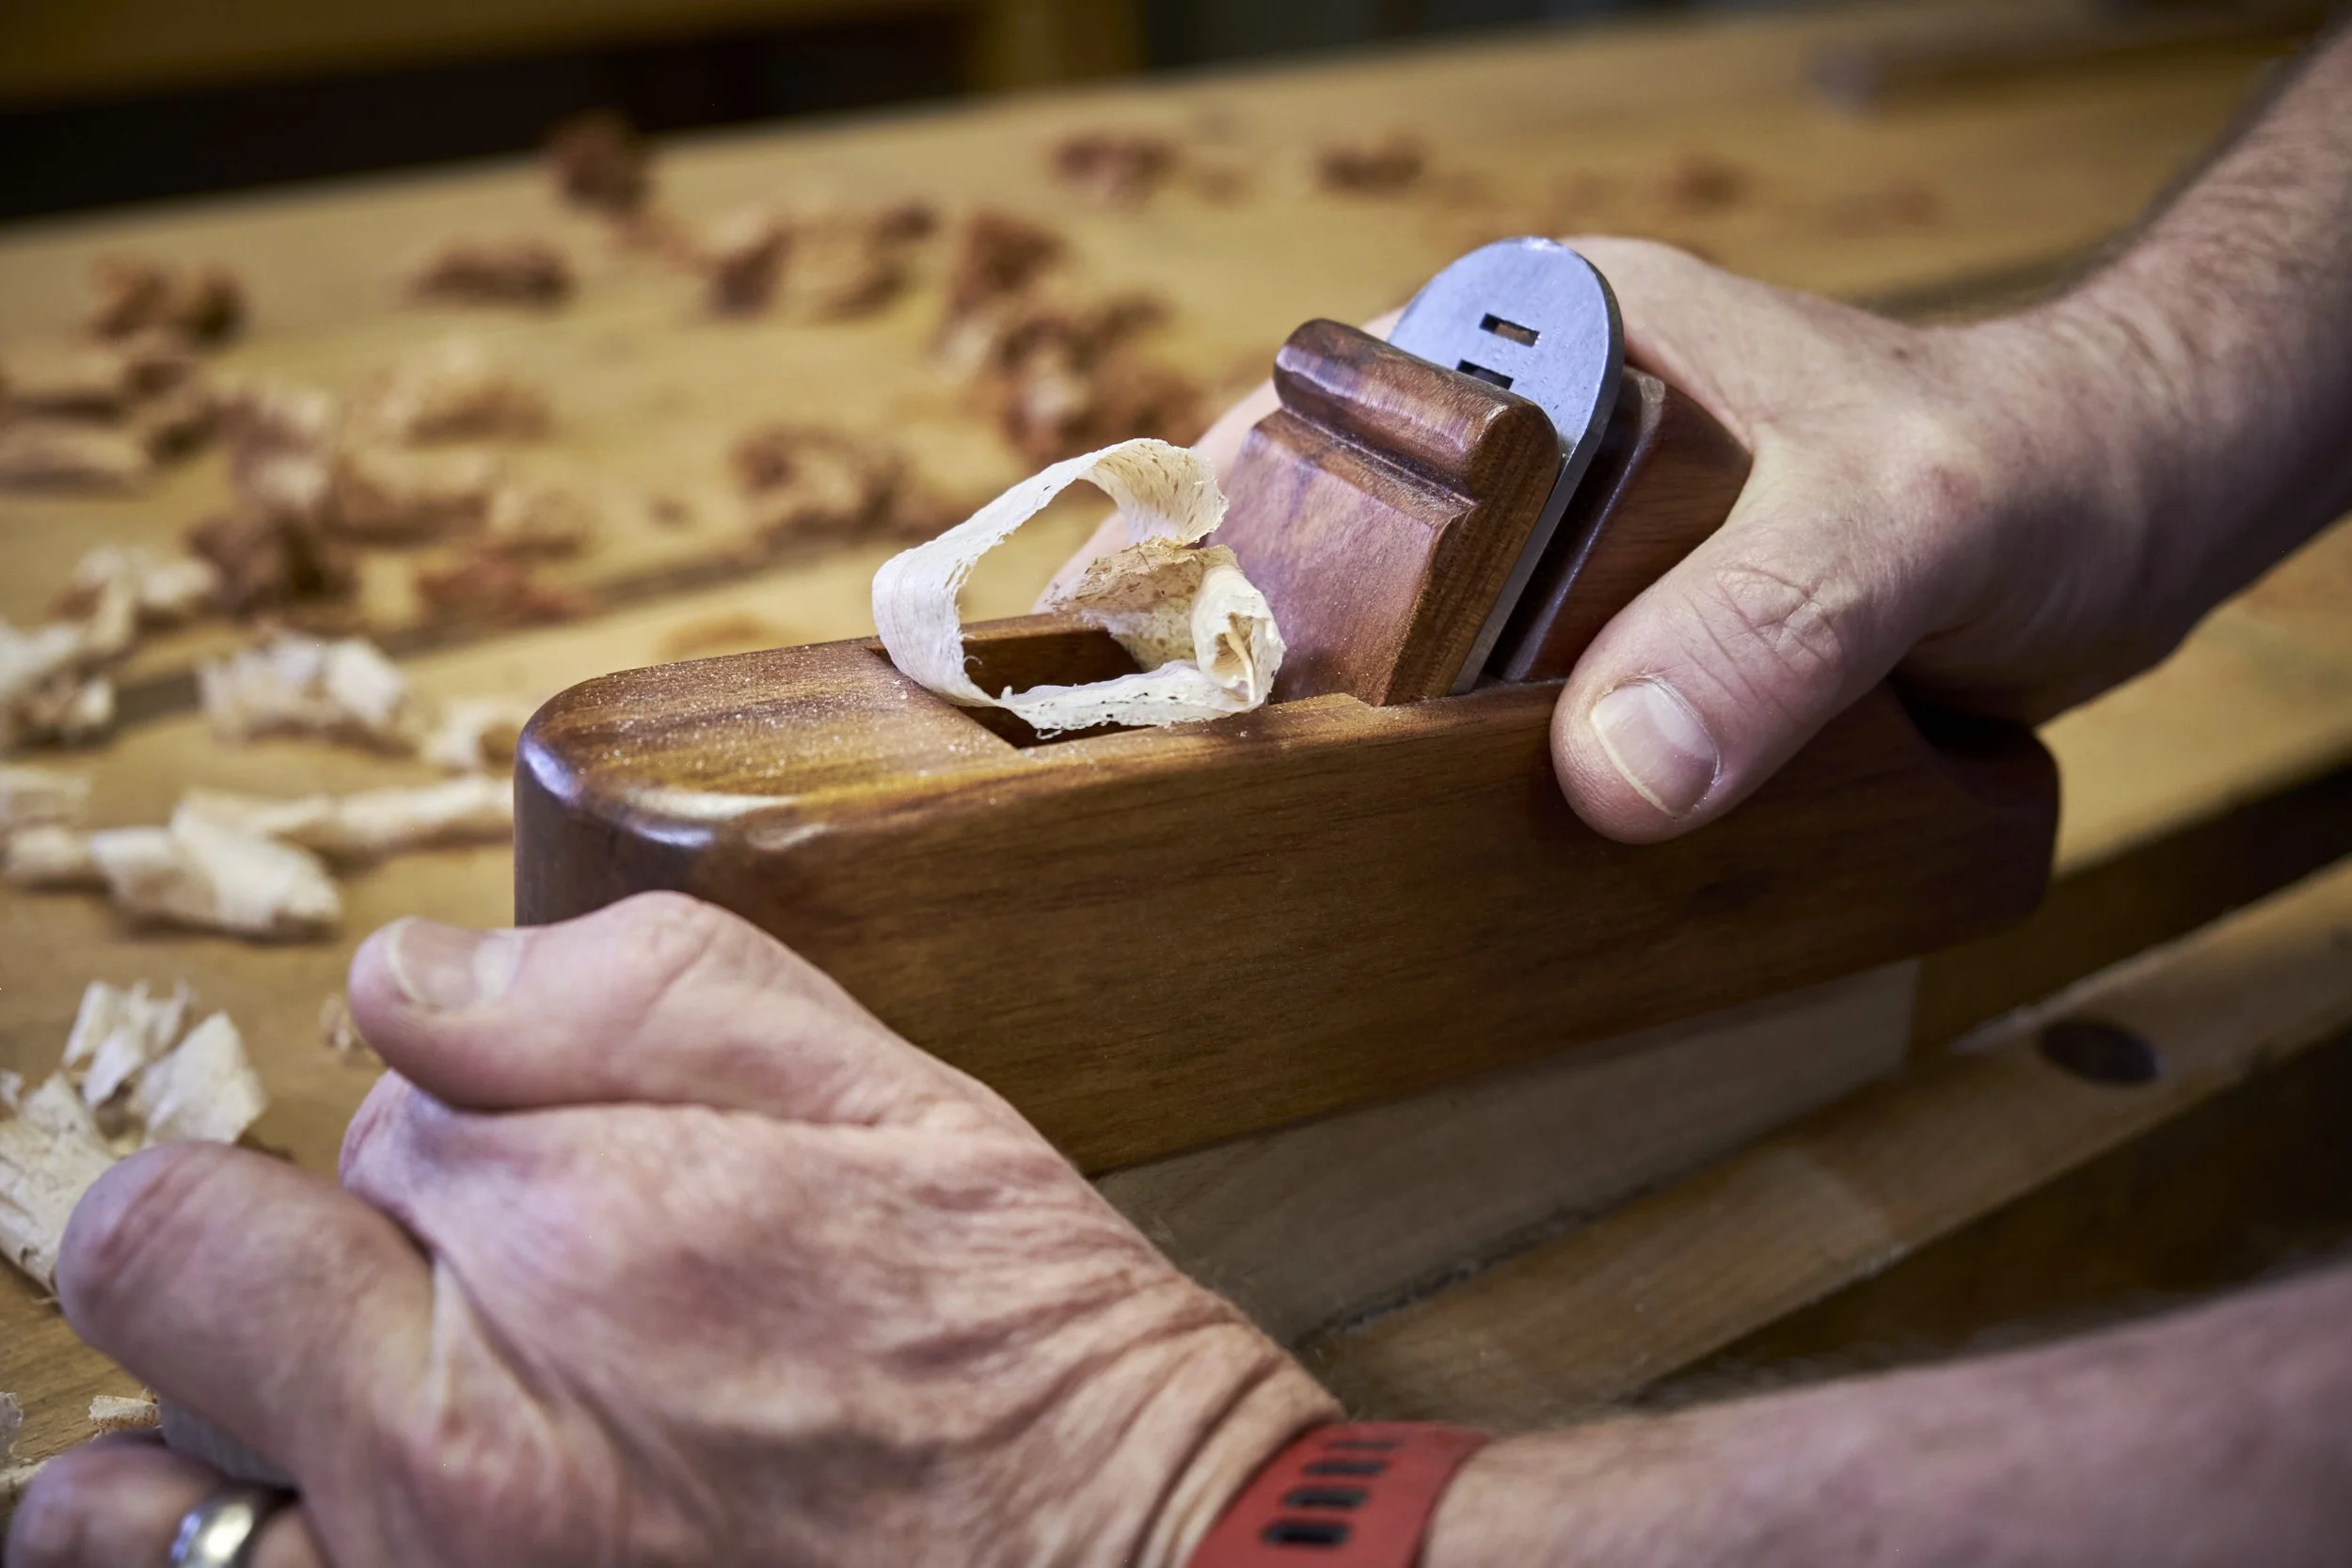
With any cutting operation—planing, routing, jointing, or even sanding—take multiple shallow passes instead of one deep cut.
This is especially crucial near end grain or knots where tear-out risk is high.
This can only be achieved if your tools are set up well and yes you have guessed it, SHARP.
I can help you with both.
If you are able to get to my workshop I offer in person classes in both setting up your hand tools and getting their edges consistently sharp. Check out my course curricula here.
If you are unable to come to a class why not have a look at this “intro to hand sharpening” talk I gave at a local tool supplier recently.
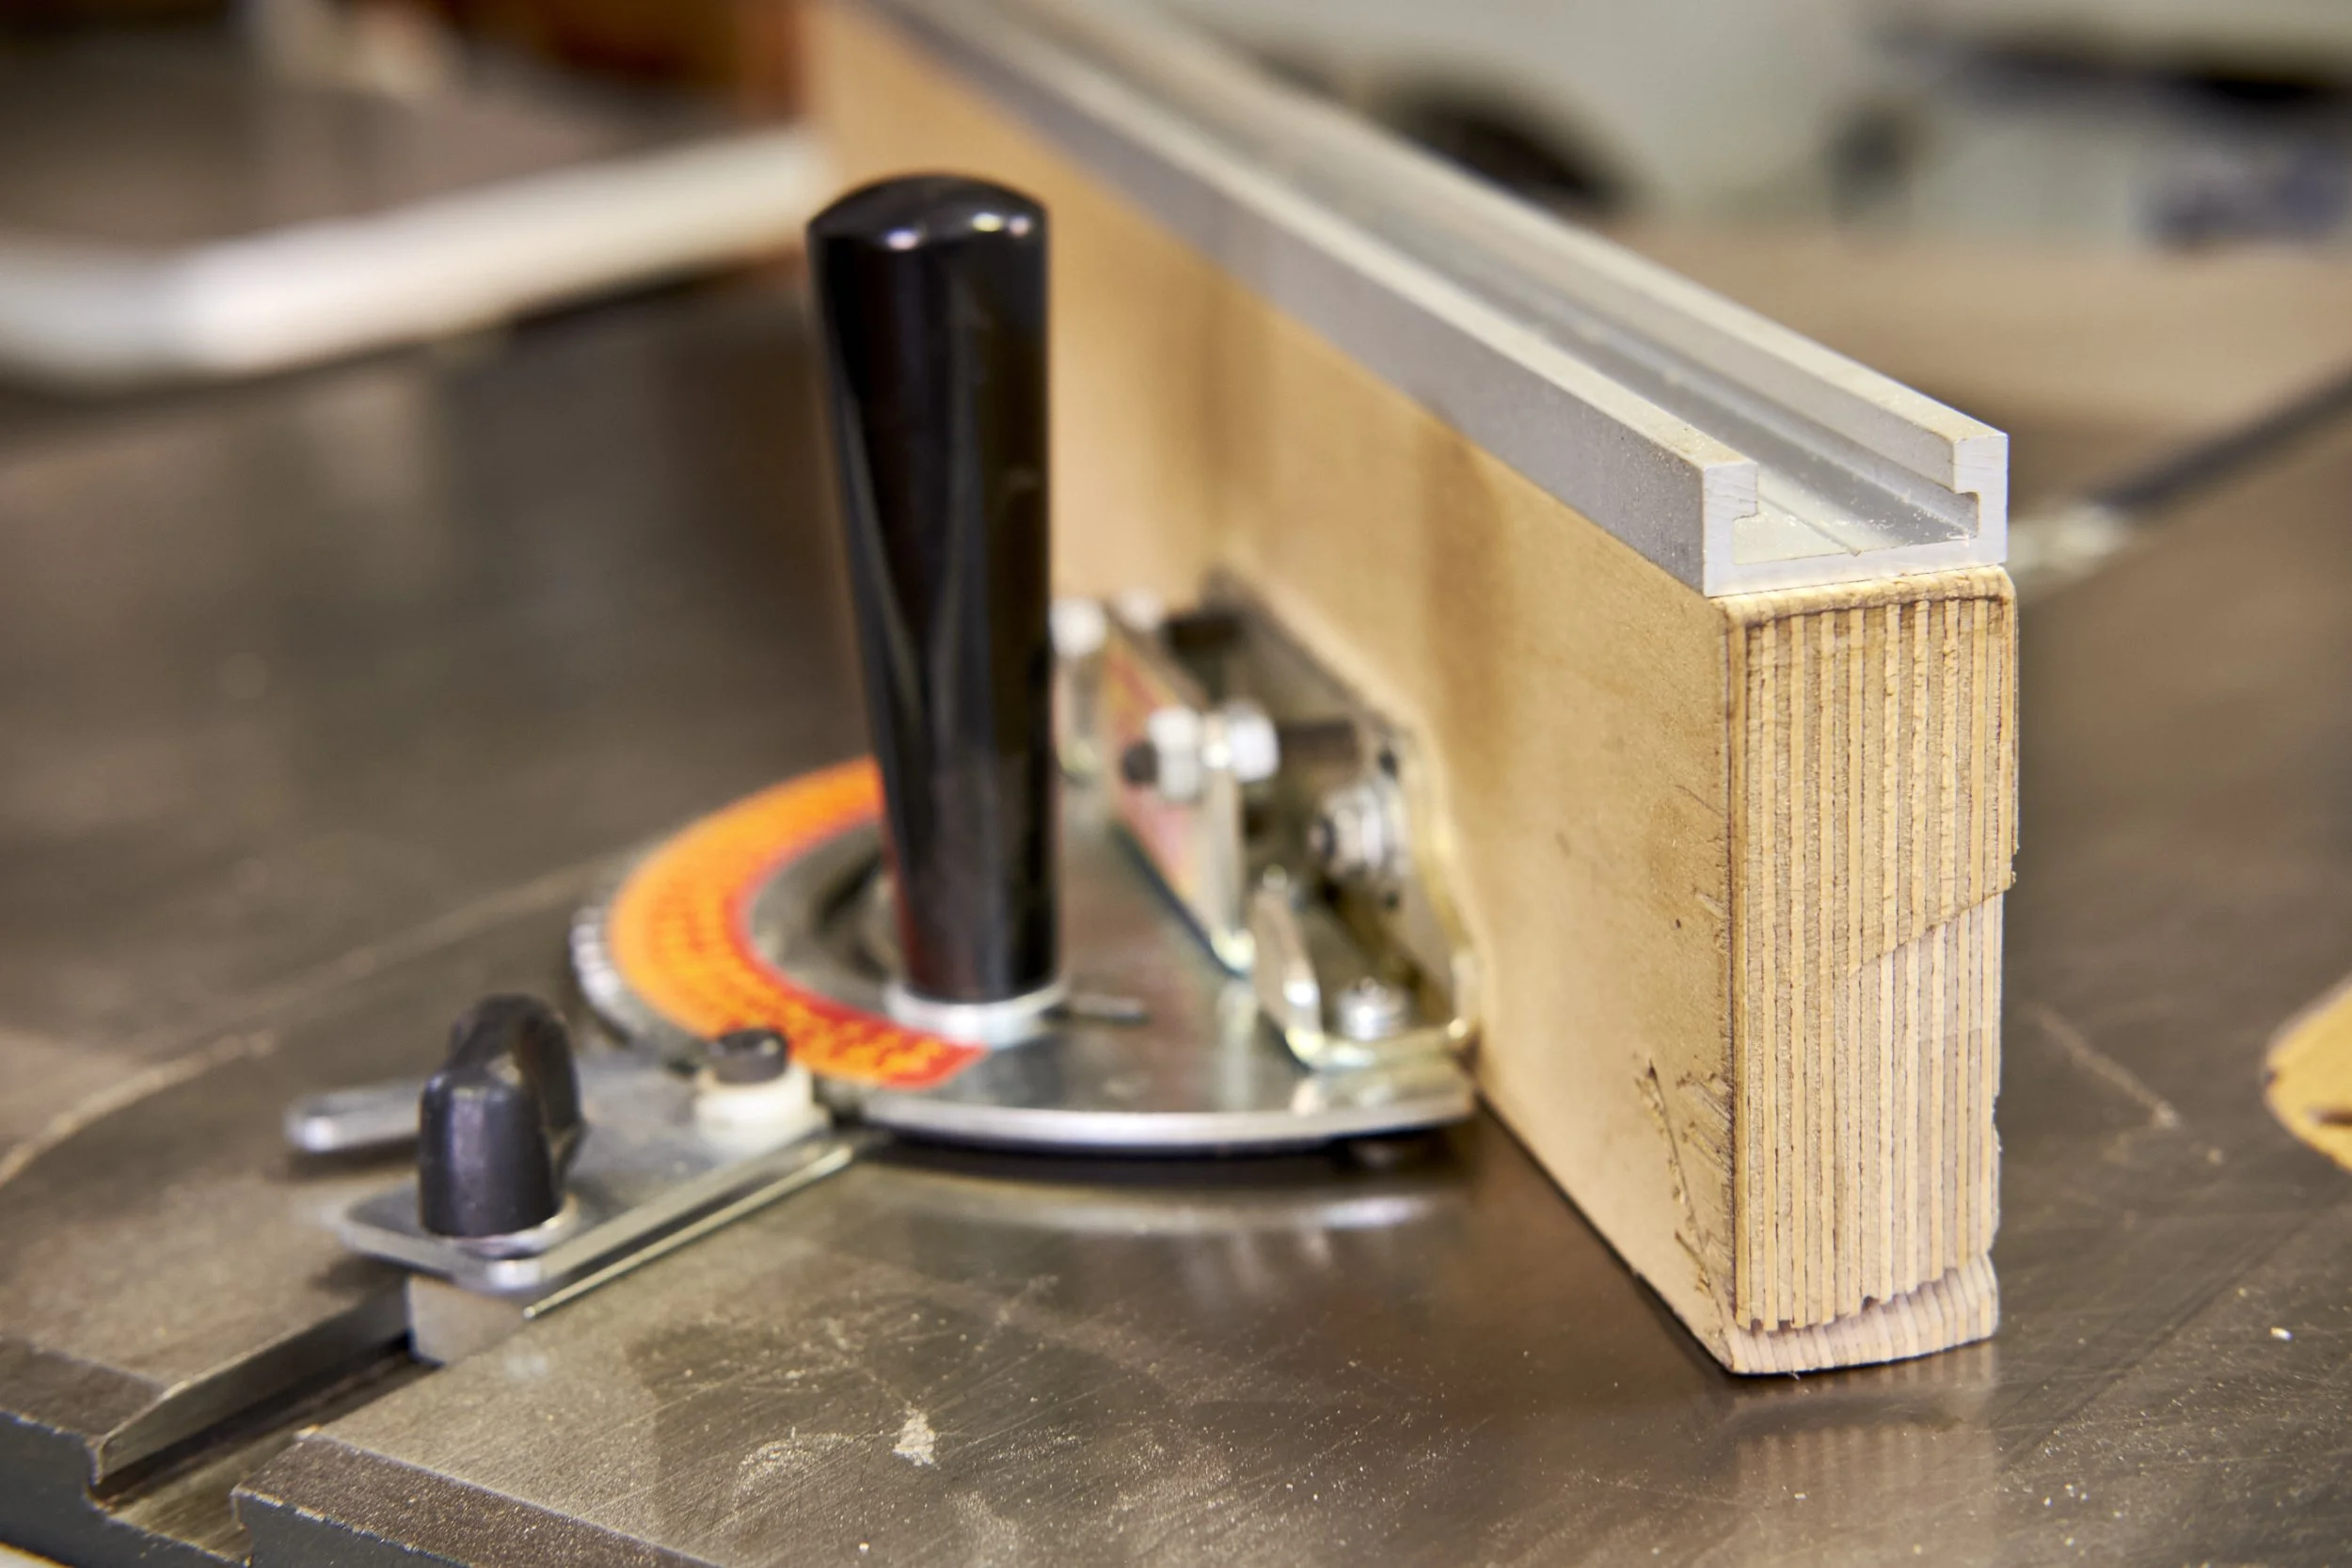
Step 6: Use Backer Boards, Sacrificial Fences and Zero Clearance Inserts
Use temporary backing boards behind the workpiece where the cut will exit, this works for both sawing and routing.
Install a sacrificial fence on your table saw’s mitre gauge.
Make zero clearance inserts for your table and/or bandsaw.
All of these solutions provide support to the fibres of your workpiece where the blade or bit exits the cut and in this manner helps stop breakout.
Even the back fence of your cross cut sled serves the same purpose. Of course if you build my cross cut sled you would need another solution because the fence is on the other side!

Step 7: Pre-Chamfer
Use a block or a hand plane to chamfer the edges, where you suspect tear out will happen, before planing the adjoining surface.
Most often used when planing end grain as one would do to clean up table ends or the top or bottom of legs. Also useful when shooting end grain to make sure there isn’t any tear out where the plane exits the cut.
A low angle block plane is especially suitable for this job.
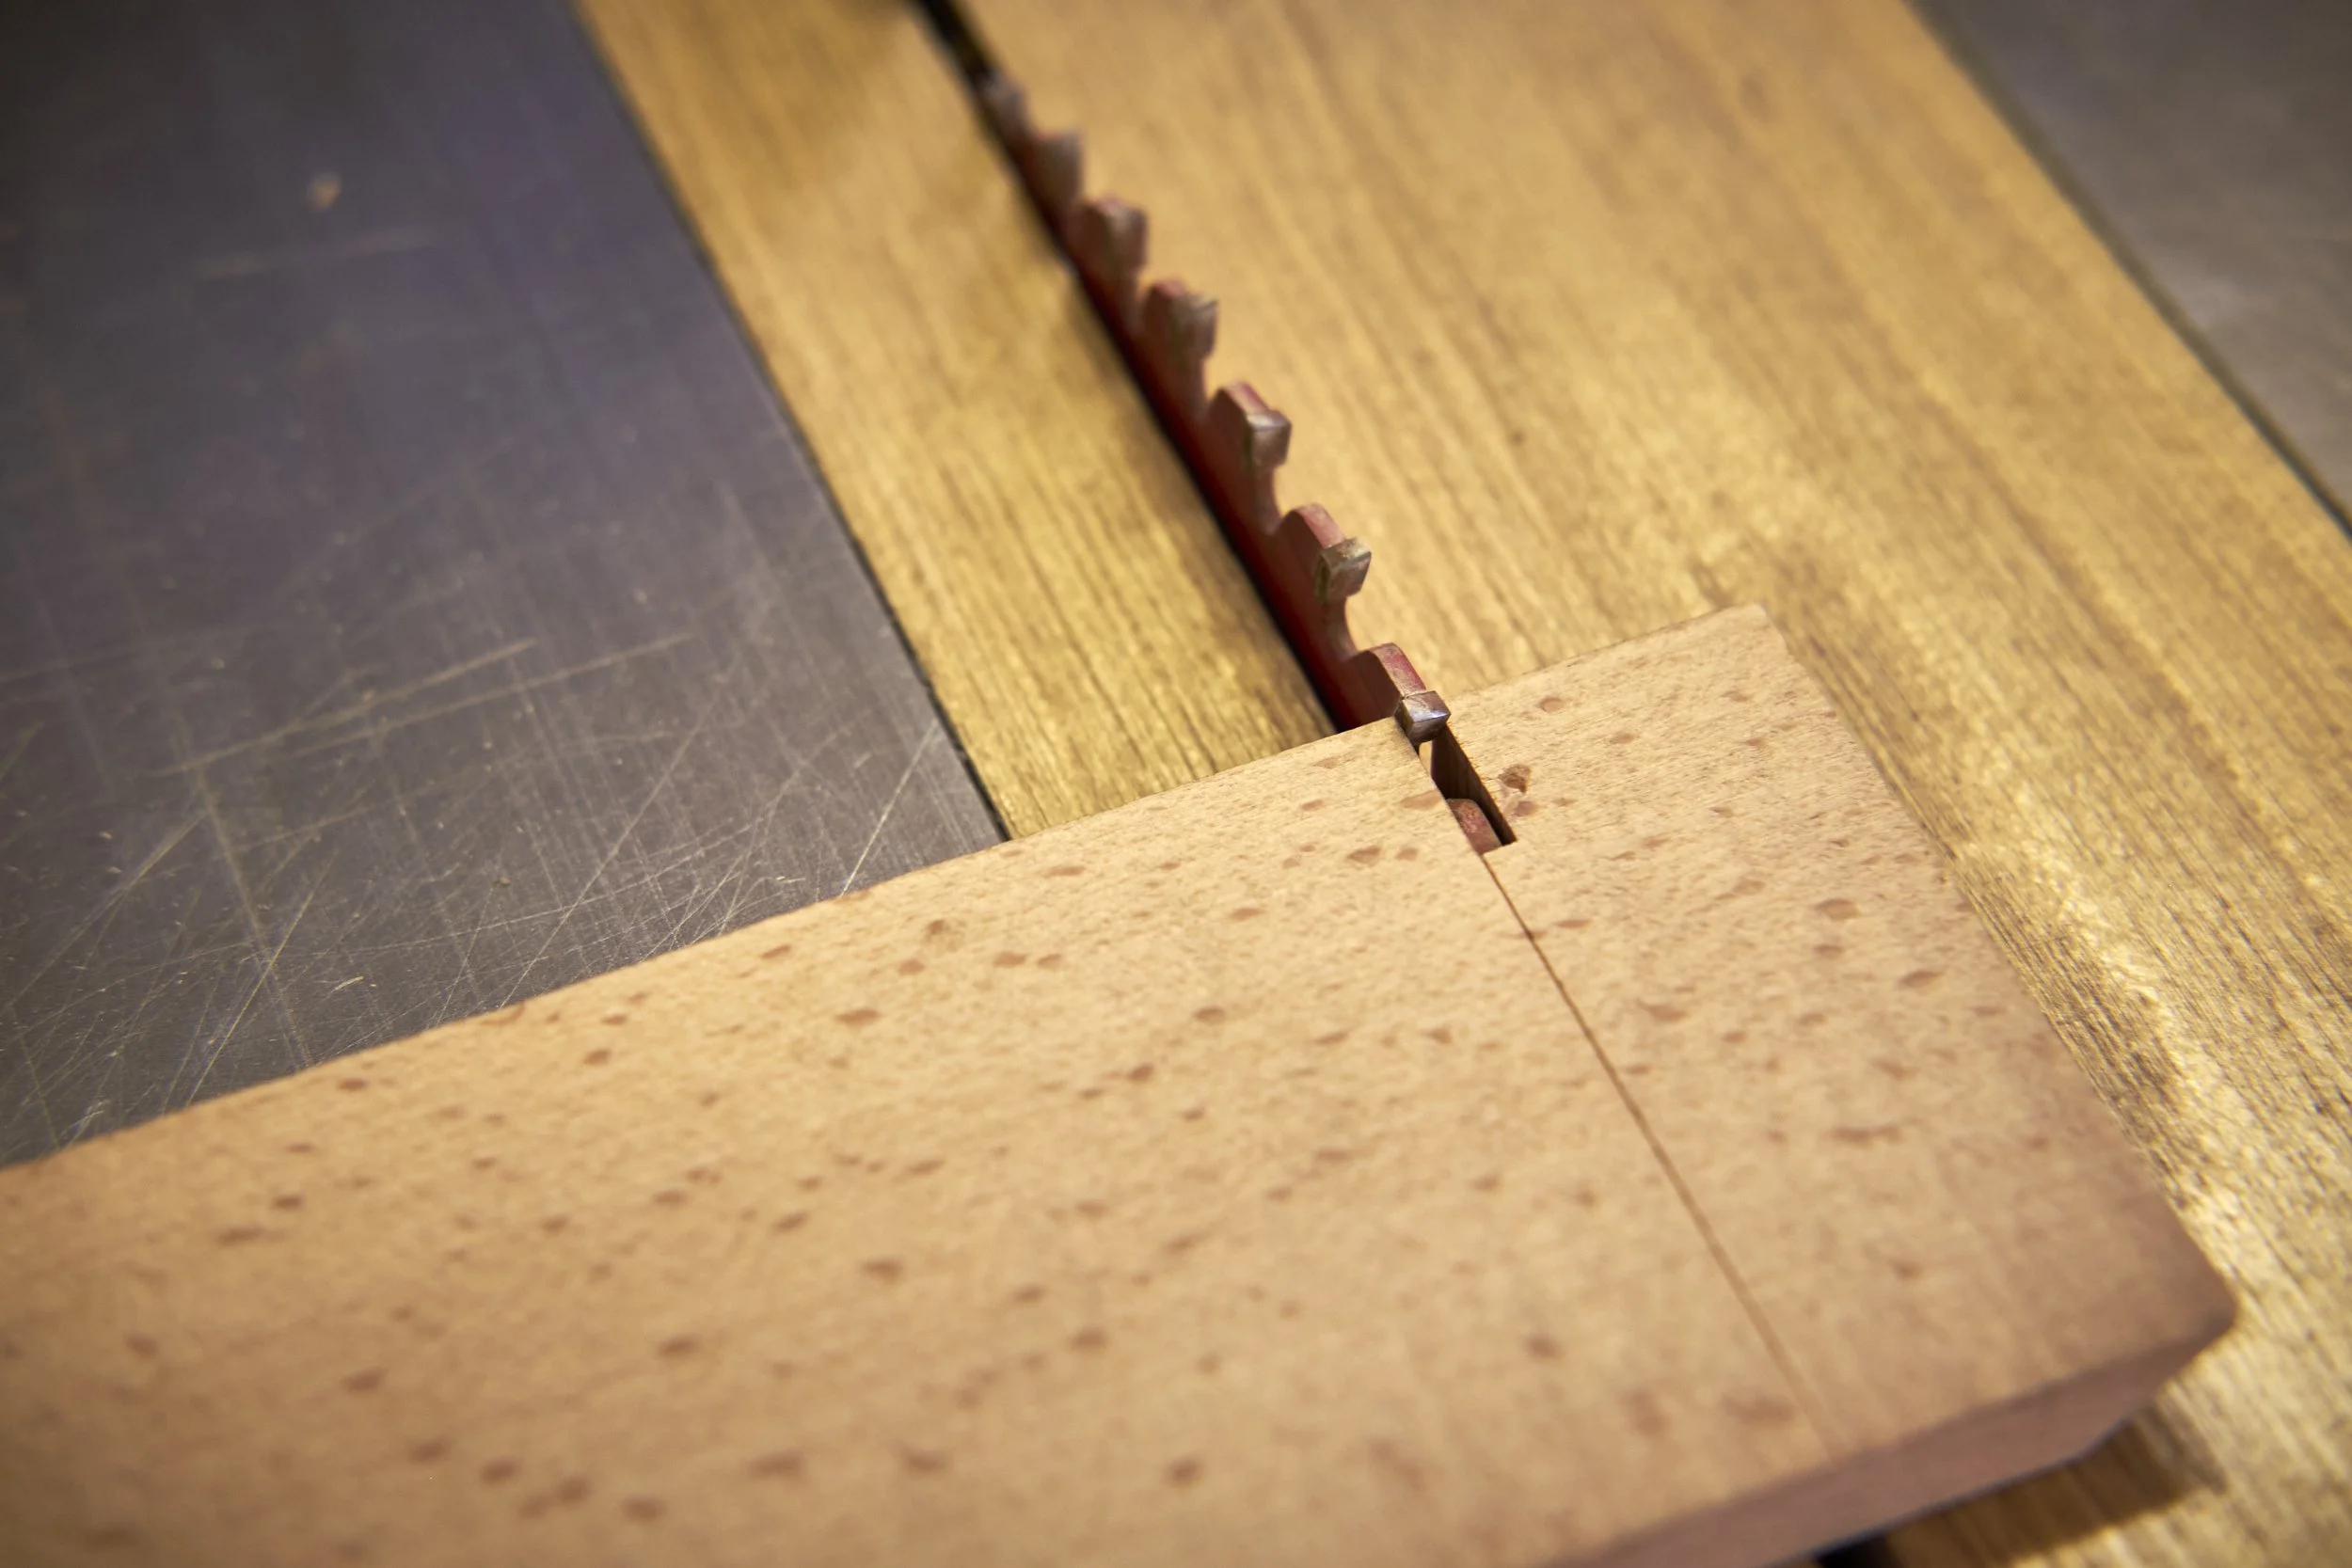
Step 8: Score the Cut Line
Before using a chisel, plane, or saw across the grain, score the cut line with a marking knife.
This severs surface fibres cleanly and contains potential tear-out to a confined area.
This one is useful when you want to make a final cross cut on a workpiece and need the edge to be as clean as possible, especially on the table saw. It may sometimes be tricky to line the saw blade up with the line, at least it is for me!
This technique is also very useful when cutting rebates with anything that isn’t a dedicated fillister or rebate plane that actually has a nicker installed that severs the fibres for you in front of the actual blade.
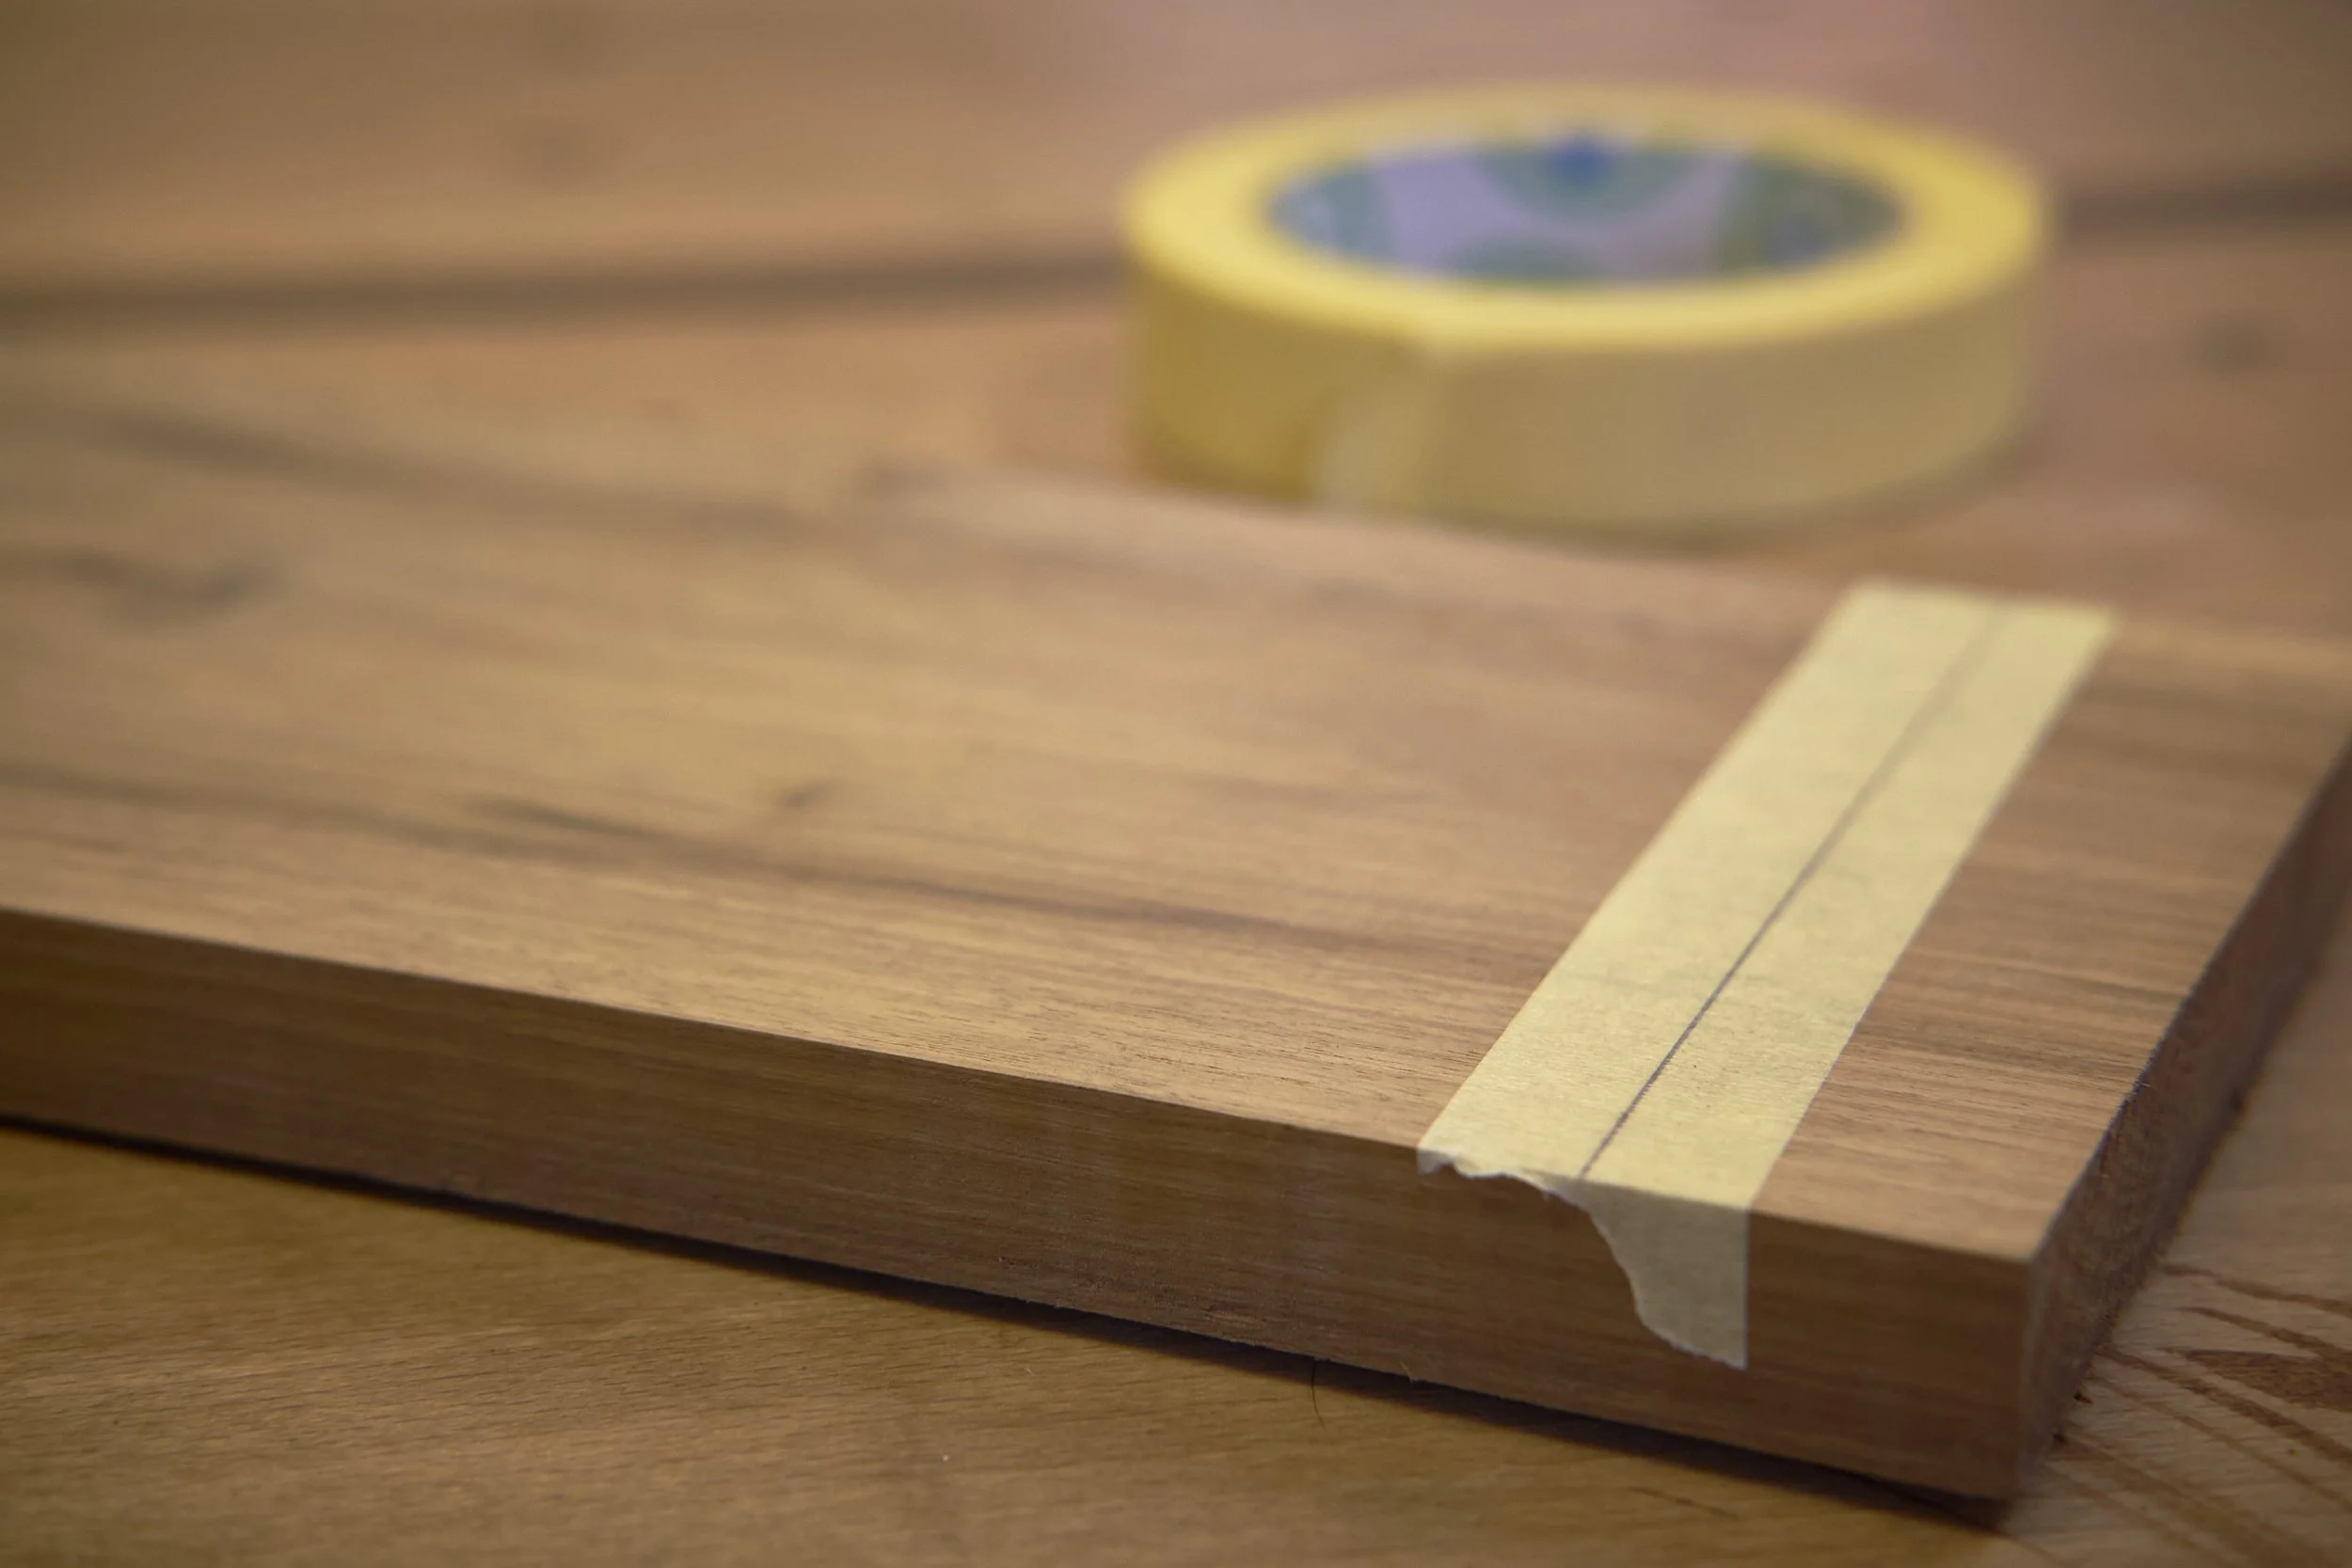
Step 9: Apply Tape or Shellac
Apply painter’s tape over the cut line before crosscutting on a table saw or miter saw to hold fibres in place.
For planing or routing, applying a thin coat of shellac or mineral spirits can stiffen surface fibres temporarily, making them less likely to tear.
Both these methods “stiffen” the fibres before the cut and although I can attest that tape works I’ve never actually used shellac in this manner.
The tape trick is especially useful on man made laminates like chipboard and it is significantly easier to apply a wide strip of tape and hit the correct area of the cut than aiming for a very thin scored line.
Of course scouring a line on chipboard is somewhat futile.
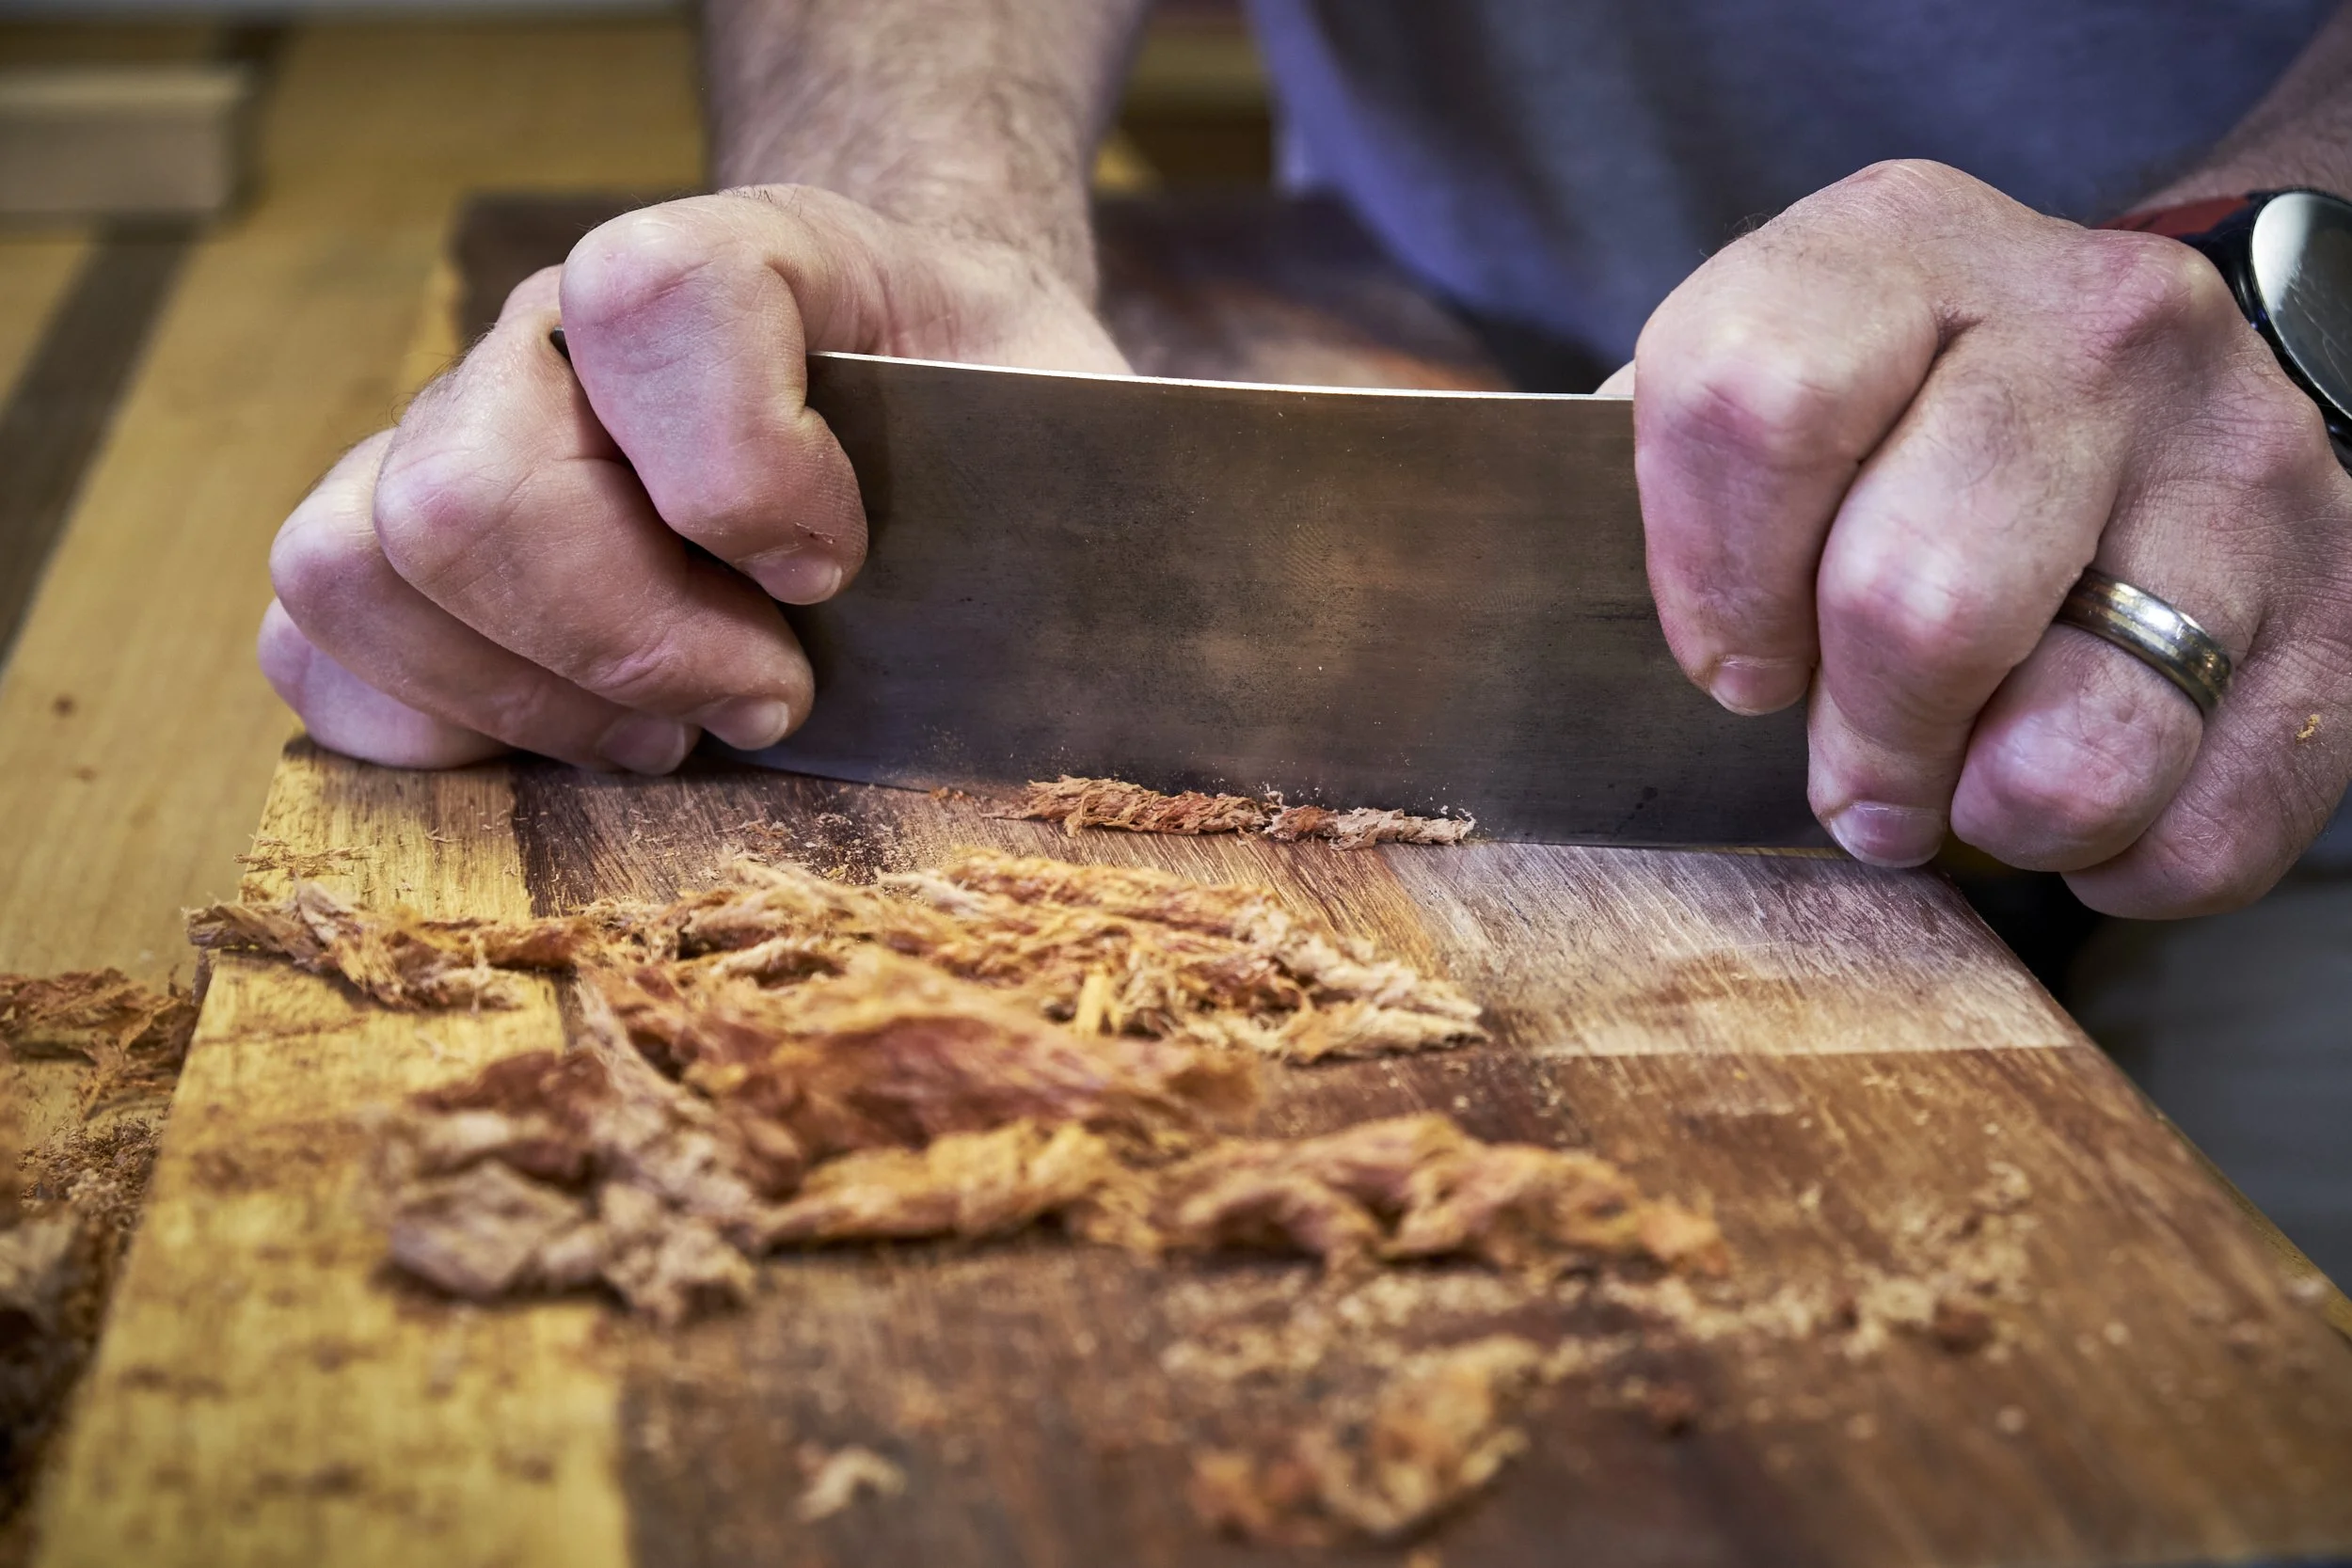
Step 10: Use a High-Angle Tool or Scraper
Use high-angle cutting tools or a card scraper for highly figured or reversing grain.
Cabinet scrapers and scraper planes work well where other tools fail—they shear the fibres cleanly with minimal risk of tear-out.
Still my go to for preventing and fixing tear out. If you’ve missed my much more detailed article about these tools you can read more here.

Step 11: Sand Strategically
After planing or scraping, sand the surface to blend in small areas of tear-out.
Start with a fine grit (120–150) and avoid aggressive sanding that could dish out the surface.
Sanding can be a very effective way of avoiding tear out in the first place. If you happen not to have followed the advice in Step 1, I would actually suggest sanding your workpiece to final finish rather than use a cutting tool to get there.
Personally I dislike sanding, but it can be at least bearable with the right tool. I like my Metabo SXE 450 sander and you can read more about why I like it on my review of this tool.
Step 12: Use Backer Boards and Climb Cuts for Routing
When routing cross-grain, especially on end grain (e.g., a table edge), use a backer board to support fibres.
For very delicate areas, try a climb cut (moving the router in the same direction as the bit rotation) to reduce tear-out. Caution: this increases the risk of tool kickback, so do it safely and with proper control.
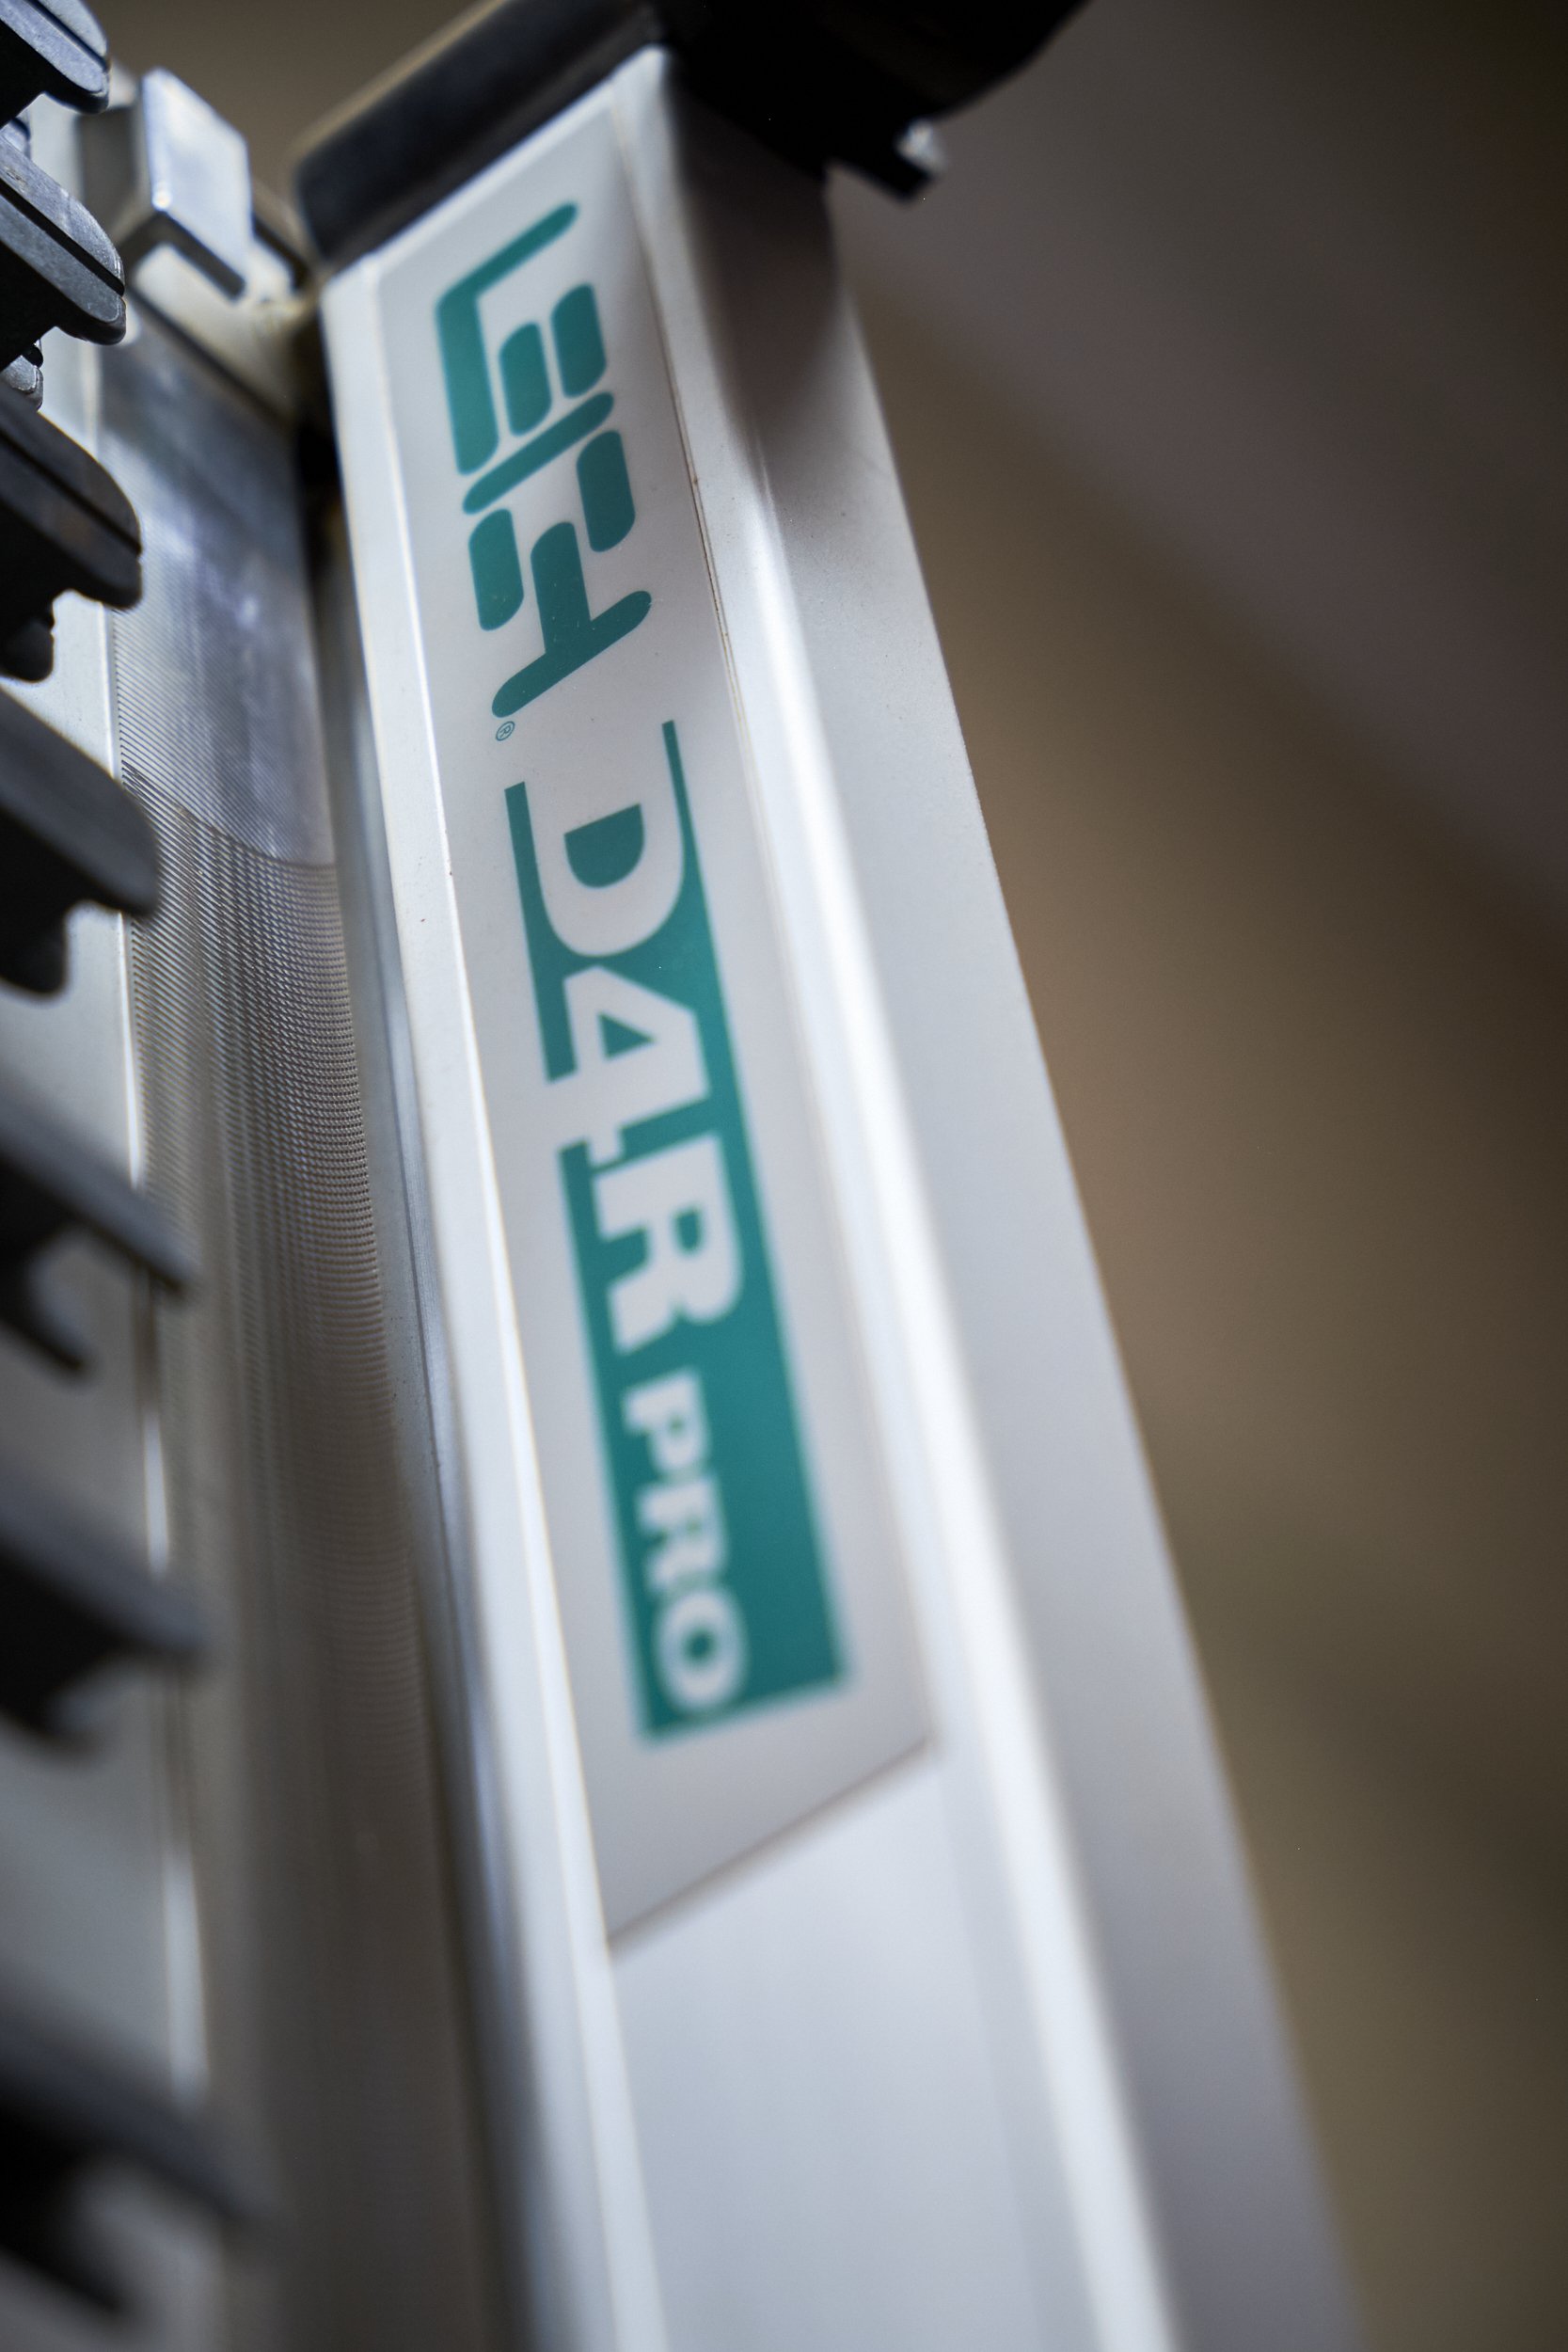
I do not rout a lot but when I do I’m often using it to cut dovetails on my Leigh D4R Pro dovetail jig. The D4R implements both a backing board and climb cutting to ensure clean joints.
Conclusion
Preventing and repairing tear-out is about planning, sharp tools, proper technique, and patience. By mixing approaches—hand tools, machine strategies, grain reading, and finish work—you can achieve clean results even in the most stubborn wood.
And that’s it, 10+2=12 techniques to prevent and manage tear out. Of course the last two were added for the sake of completeness, I didn’t want to leave the sanders and routers out of the discussion……
I think that’s enough on tear out for the moment, although there may be one in the works focussing on hand planes specifically. Hey, who knows I might even have accumulated enough material to write that book about tear out by now!
Anyway, remember to check out my YouTube channel here where I do a lot more hands on stuff. It would be great if you could join me on my channel.
Cheers, until next time and remember, be safe in your workshop.

What does it take to turn an idea into something that actually works? I share what 3D printing is teaching me about prototyping, from adapting designs and testing small parts to choosing materials, asking for help and staying organised.