
Fix & Prevent Tear Out: Scrapers & High Angle Planes
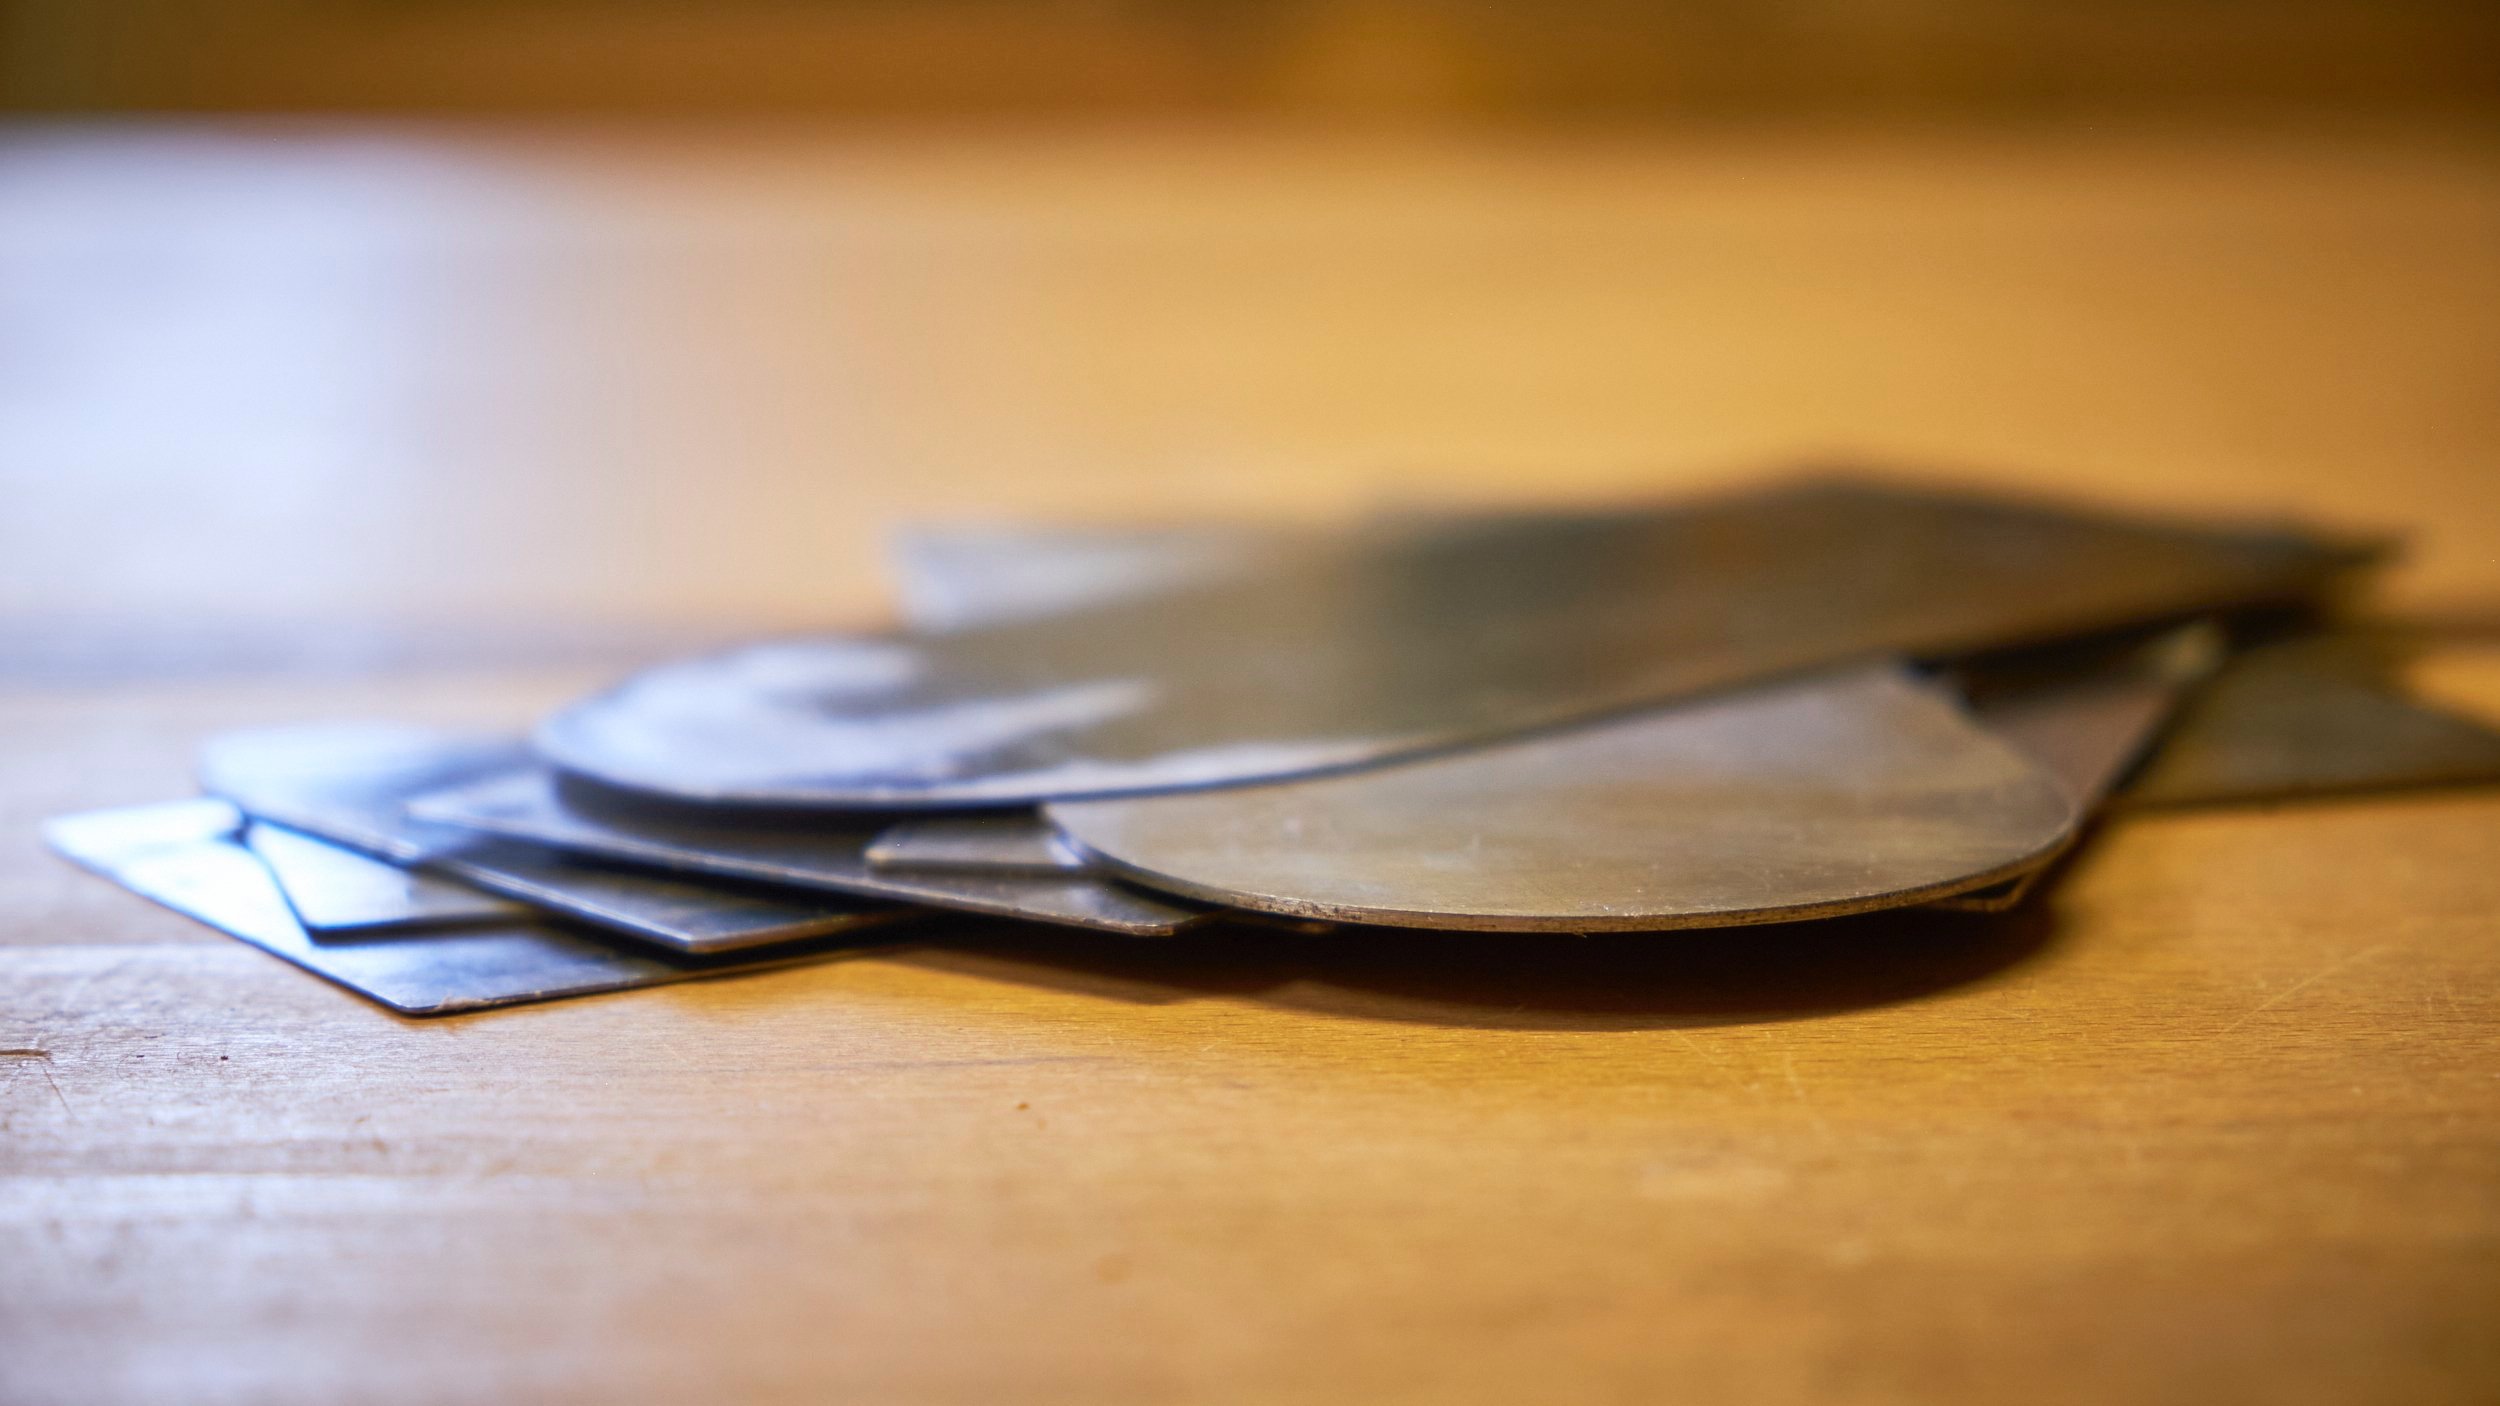
Oh, if only I could title this article “How To Prevent Tear Out With A Hand Plane” life would be so much simpler……
If you have spent any amount of time in the company of cutting tools you would not only know that they can help repair or avoid tear out but that they are often the main culprits in causing it!
Today I share two methods I use to manage tear out. Both of which will help you avoid it if you suspect that it might happen or repair a surface when it does.
To be clear, there are a whole slew of strategies in managing tear out that can be called upon by the woodworker, even before we get to any one of the techniques I am about to share with you.
Of these, a sharp blade, a well set plane and considering grain direction immediately come to mind but these are not included in those I will be covering in this article. Not to fear though, I am working on either a video for my YouTube channel or another article discussing these other options in more detail.
Today, we discuss two of what I personally rank as the best tools for both preventing and fixing tear out.
Sanding will not be mentioned! Ok, maybe once or twice.
As with many aspects of working with wood I can almost write a whole book about tear out, what it is, what causes it, how to avoid it, how to fix it, how it spoils your day and even why it sometimes doesn’t even matter but I won’t be doing that in this article, maybe another one for a different day.
Under each main heading of my favourites you will find two further sub-headings providing more details on each tool involved.
We start with my lesser favourite of the two and I would be willing to guess that this one may be the absolute least favourite for many of you reading this now.
That is SCRAPING!
Scraping
The first of the two “sub-headings” that we will cover is the much maligned card scraper.
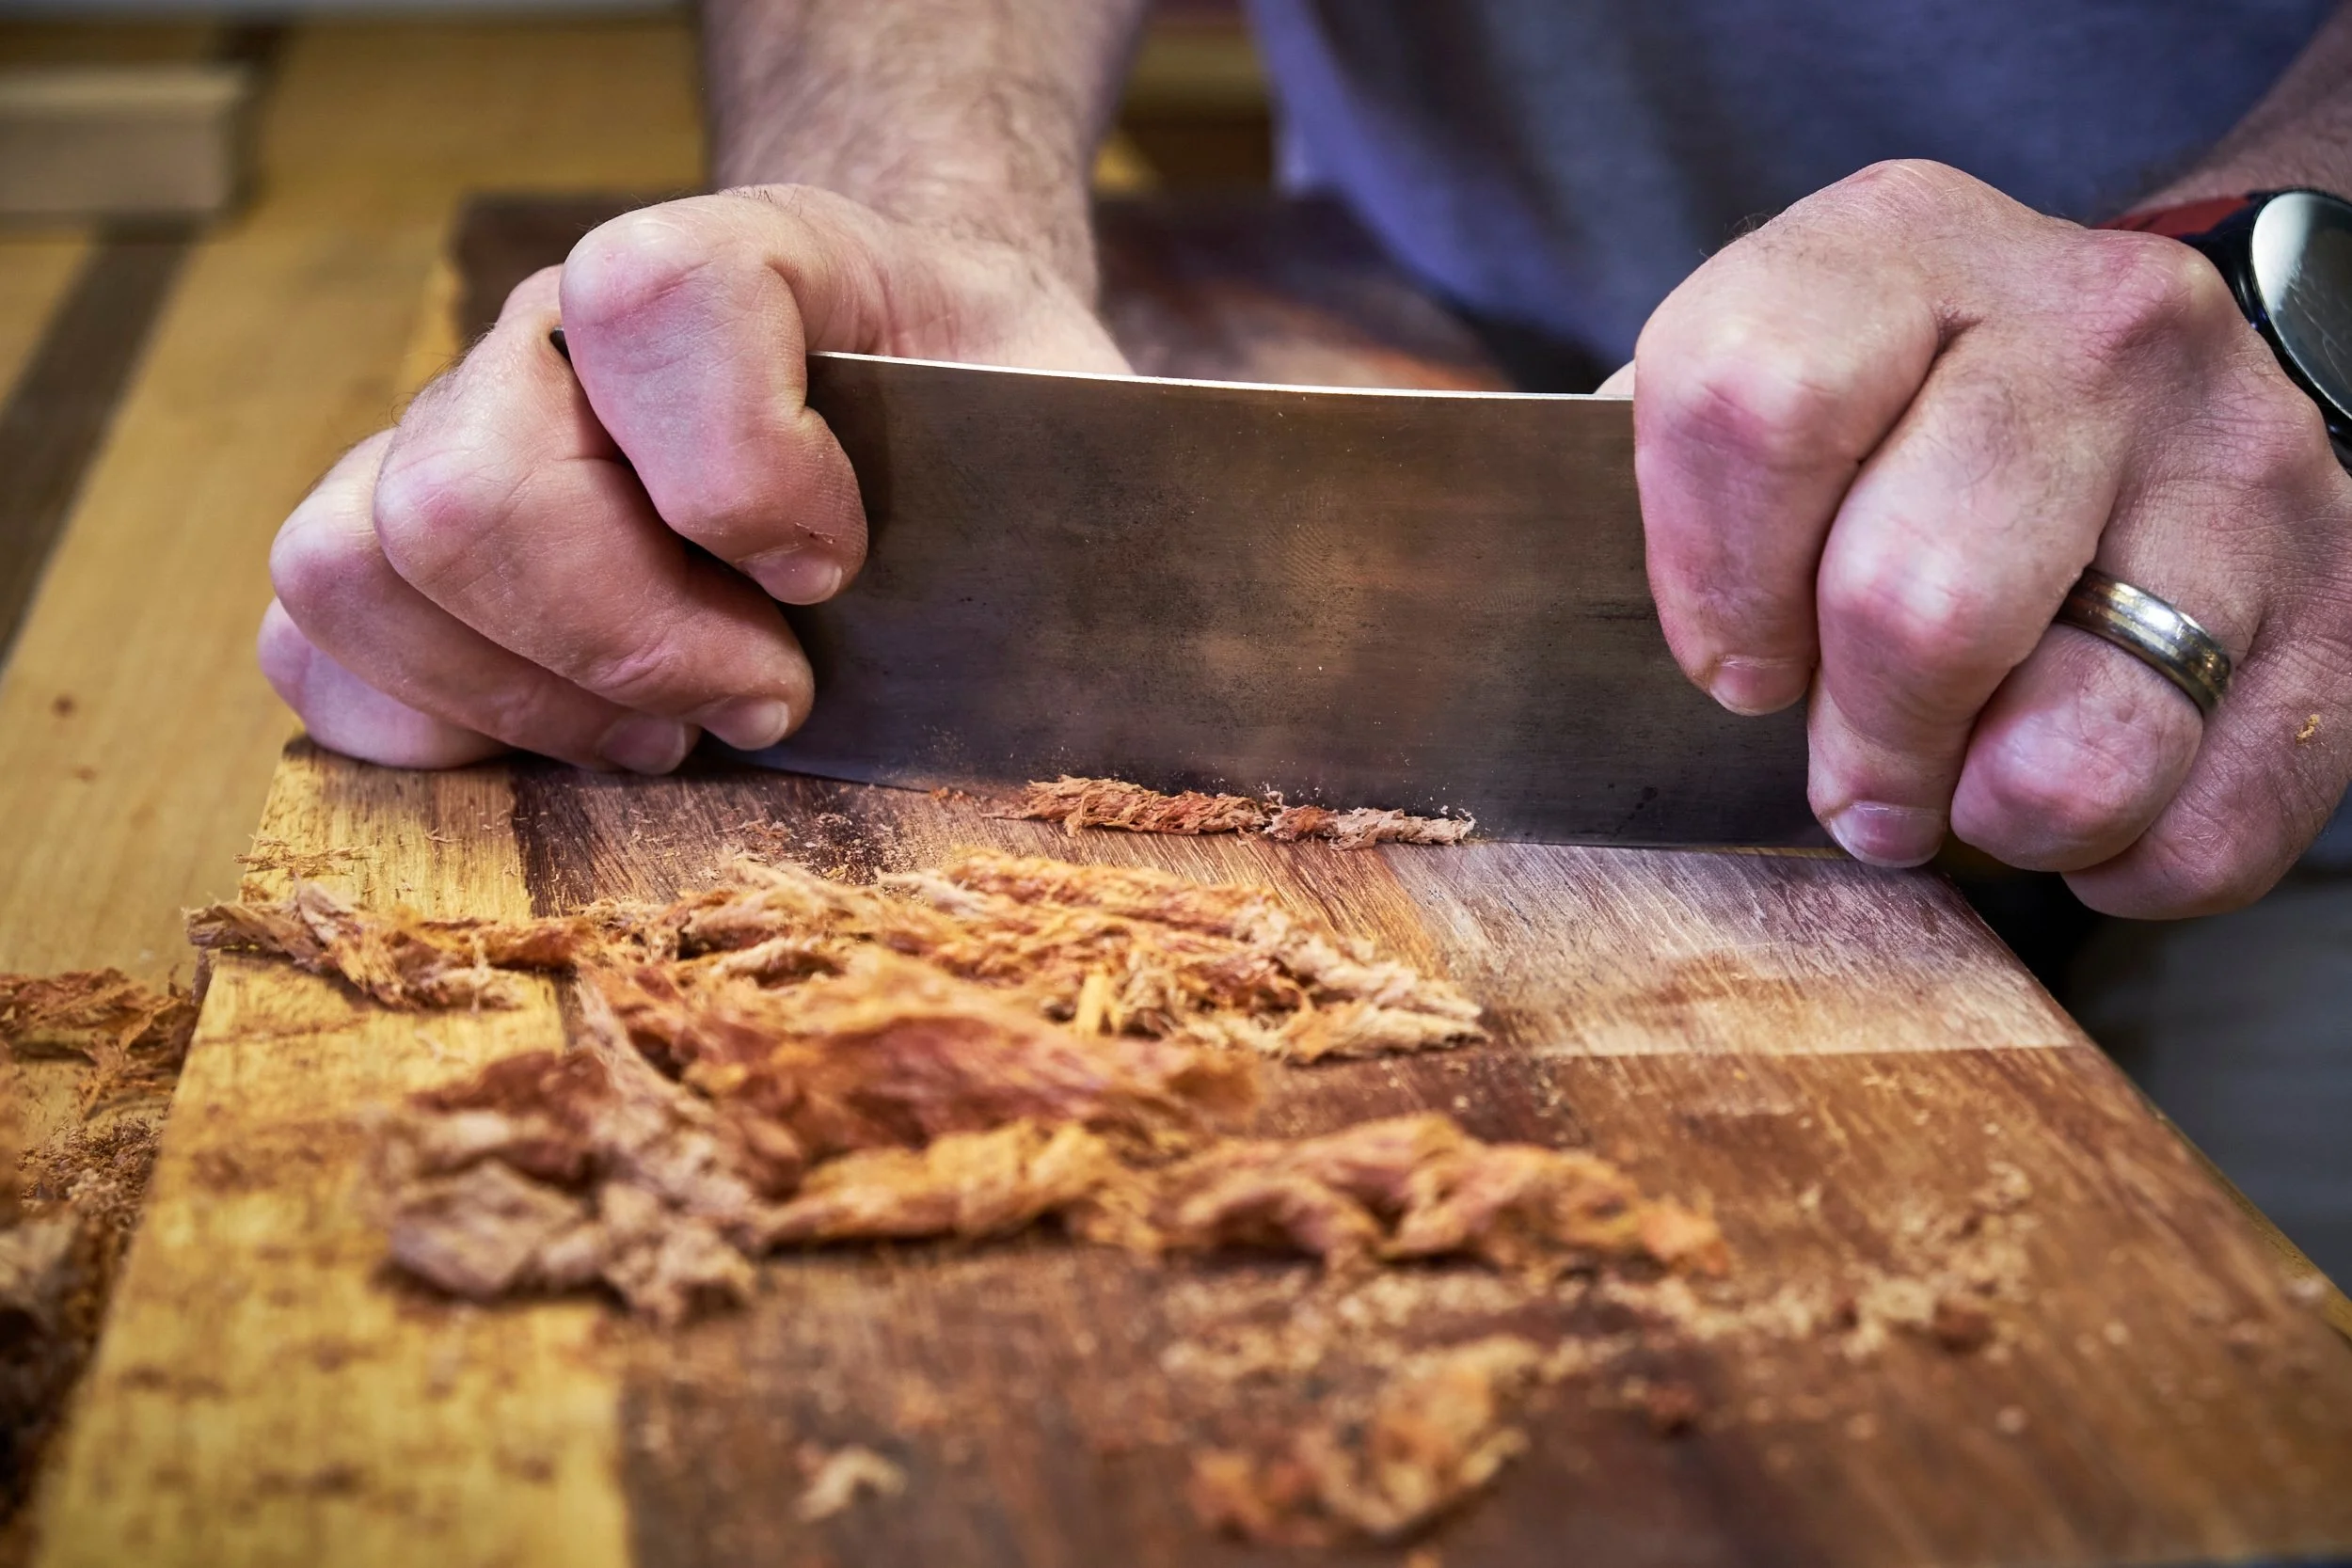
1. Card Scraper
I am of the suspicion that many woodworkers either have a set of card scrapers that never sees the light of day or that some haven’t even bothered acquiring at least one, for this simple reason.
They are hard to sharpen!
Well, I am here to tell you that they are not hard to sharpen and that having a set of well sharpened card scrapers at the ready to deal with figured wood, reverse grain or knots (if you like that kind of thing- I do) is not the exclusive purview of those who have gone to some special, secretive place to learn the dark art of sharpening a scraper under the tutelage of a grey bearded hermit who only comes out of hiding once a year to share his knowledge with a privileged few.
The chosen!
If I can do it, anyone can, and to help you out I’ve even written a detailed step by step guide on sharpening card scrapers that shows you exactly how to sharpen this elusive tool and you can find it here. If you would like me to do a video on my YouTube channel showing you how I do it, why not mention if you would like to see a video in the comments below and I’ll see what I can do.
Enough with the ridicule though, it isn’t hard and it is well within the ability of all woodworkers to both sharpen and use scrapers and honestly you may be doing yourself a disservice by not adding the skill and a set of card scrapers to your woodworking quiver.
Off the soapbox I will climb.
I have more than one set of scrapers in my workshop and these vary from about 1mm in thickness down to much thinner examples. They are incredibly versatile tools and I use them for anything from standard scraping to shaping and getting rid of tool marks when making handles for my hand planes. Yes, I make my own hand planes and you can read more here, I also teach woodworkers how to make their own so be on the lookout on my scheduling page for my next course dates.
I’ve even modified some scrapers to clean up the bottom of the wooden spoons I occasionally carve.
Scrapers do have some drawbacks though and I’ll detail the pro’s and con’s below.
Pro:
Extremely effective in getting rid of tear out.
Very good at being able to target small areas (around knots) or large areas (table tops) with a single tool, I do find the thin flexible versions best when tackling the former.
They have four cutting edges so they can go for a while before needing a sharpen.
Scrapers are cheap, you can even make your own from old handsaws - as far as I’m aware that’s what card scrapers were originally made from.
They are easy to sharpen with basic equipment and some solid advice. A reminder that you can find my step by step guide on sharpening card scrapers here and I can even help you make a DIY burnisher, check out my video detailing the process here.
Grain direction doesn’t matter much to scrapers and you can approach torn grain from almost any direction, I say almost because some brittle or coarse woods will not allow you to ignore grain direction completely.
They excel at non-traditional jobs like shaping handles and making spoons.
Can be pushed or pulled in use.
Con:
Sharpening scrapers involves a learning curve.
They get HOT! O’boy can they get hot! The friction between scraper and wood causes a lot of heat and I have had blisters on my fingers to prove it.
They don’t always leave a perfect finish and you might need to lightly sand a scraped area before applying a finish. Sanding! Sacrilege, I know.
Scrapers can leave divots or shallow dips in the surface, this especially happens when one gets a little over zealous on a small area with a thin scraper.
Don’t ask.
The good news is that the last con can easily be handled by the next option.
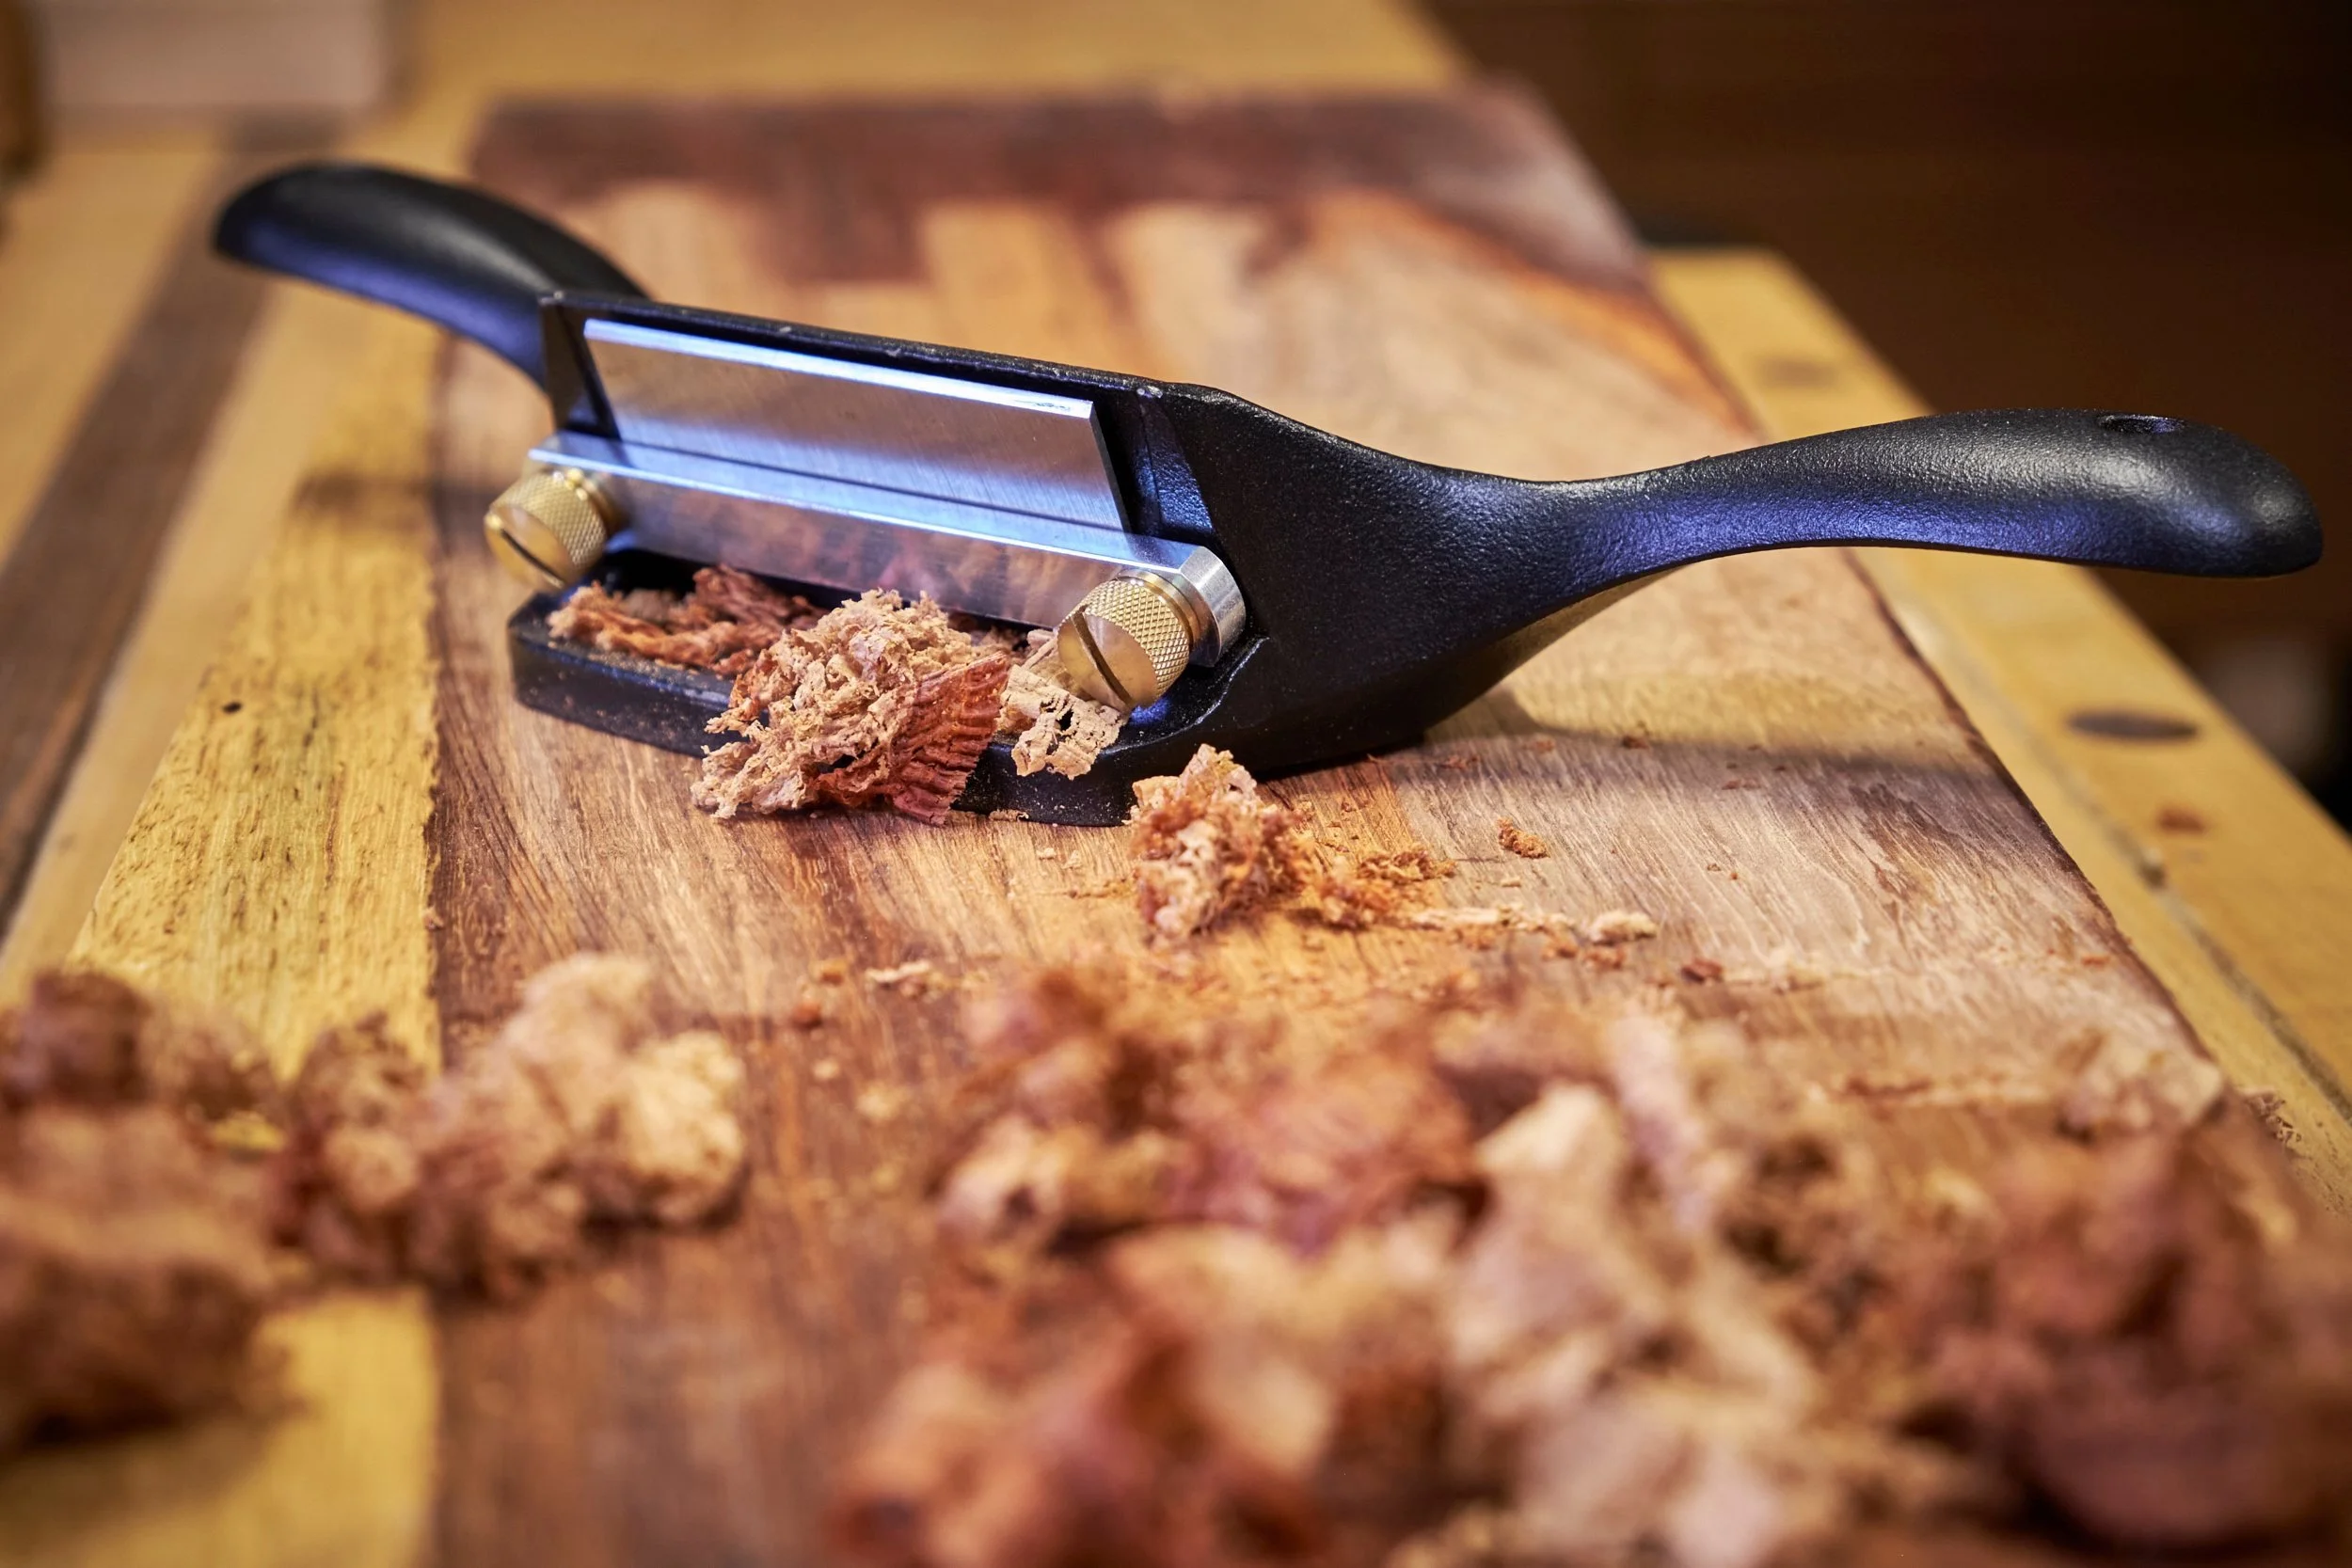
2. Cabinet Scraper
This tool is often also referred to as the Stanley #80. It is also the Stanley that is more often found in the wild but Veritas also makes their own version and it is one from their stable that I use in my own workshop.
I got mine when I made a pair of bedside tables for a customer and knowing that they wanted to have it done in Australian Blackwood gave me the perfect excuse to pull the trigger on this one. Blackwood is considered an alien here in SA but it’s a popular option for furniture. The raw lumber is actually more expensive than some local hardwoods!
Apart from being popular it is also brittle and just looking at it skew can cause tear out!
How does the cabinet scraper differ from the card version?
For a start it has a sole so it addresses one of the cons of the card scraper. It also uses a burr to do the cutting but it’s sharpened differently from the card scraper and finally the blade is held within a metal body, apart from these the cabinet scraper functions very much like the card variety.
I love mine in spite of the fact that it sees less use in my workshop than card scrapers and I honestly wouldn’t want to live without it. I’ve never used a #80 myself but I’m told that the Veritas is an improvement over the original.
Pro:
The sole ensures that the cutting edge doesn’t dig into the surface being scraped so it alleviates the risk of leaving a divot when removing material. This is ideal where you want to leave a flat surface after scraping as would be the case with table tops.
The blade is held in the metal body of the scraper which acts as a brilliant heat sink. No burnt finger tips!
The blade is flexed inside the body by means of a tension screw that causes the cutting edge to engage in the cut, setting the tension in this manner also sets the depth or aggressiveness of the cut which is very handy.
The tool can be both pushed or pulled with the latter being my favourite way of using it.
Parts are readily available if your Stanley #80 is incomplete and the Veritas blade is a viable alternative for missing blades (see below). Some woodworkers have been known to replace the original with the Veritas blade as a matter of course.
Con:
More expensive than card scrapers and not readily available in some parts of the world. Here in SA we don’t often have the Veritas available and if they are they can be surprisingly expensive.
If you manage to get your hands on a #80 do be aware that it might need some form of refurbishment before you can use it and often some parts may be missing. More often than not it is the blade that goes astray and if I had to guess at their final destination it would be the same place where missing socks and #4 or #5 chip break screws go.
Because of its sole the tool isn’t as effective at targeting small areas of tear out.
Depending on the amount of use the tool sees it might need occasional maintenance but if looked after this would likely only be limited to an occasional flattening of the sole.
Sharpening the blade can be tricky.
In the case of scraping it isn’t a simple case of card scraper vs cabinet scraper, as there is a lot of overlap between these tools and yet each has it’s own place in my workshop.
If I was to advise any woodworker starting out with scraping I would without a doubt suggest that they start out with card scrapers and if they ever come across a good deal on a #80 to jump on it and then incorporate it into their workflow.
I am aware that scraper planes exist, I’ve never used one and frankly I would rather spend the money to make myself another high angle smoother.
And that dear reader is another fortuitous segue into my all time favourite methods for tackling tear out.
High Angle Planing
Using a high angle smoothing plane for tear out is my favourite, not as versatile as scraping but a favourite non the less and they often leave an amazing finish to boot.
Just like a burr is the common denominator amongst scrapers, so is a high cutting angle on the next two tools.
All standard angle, bevel down planes cut the wood at a 45° angle. This is a result of the fact that the bedding angle is set to 45° and because the blade’s bevel is pointing “down” the angle of the cutting edge does not contribute to the angle at which the wood is being cut. It will become clear in a minute.
Note we are not talking about low angle, bevel up, hand planes such as the low angle block or jack here. These work differently to bevel down planes and personally I have found them to be prone to causing tear out exactly as a result of their bevel up nature. Nothing beats them at planing end grain and that is what I mostly use them for, at least in the case of my Veritas low angle jack
End grain aside let's discuss the York pitch.
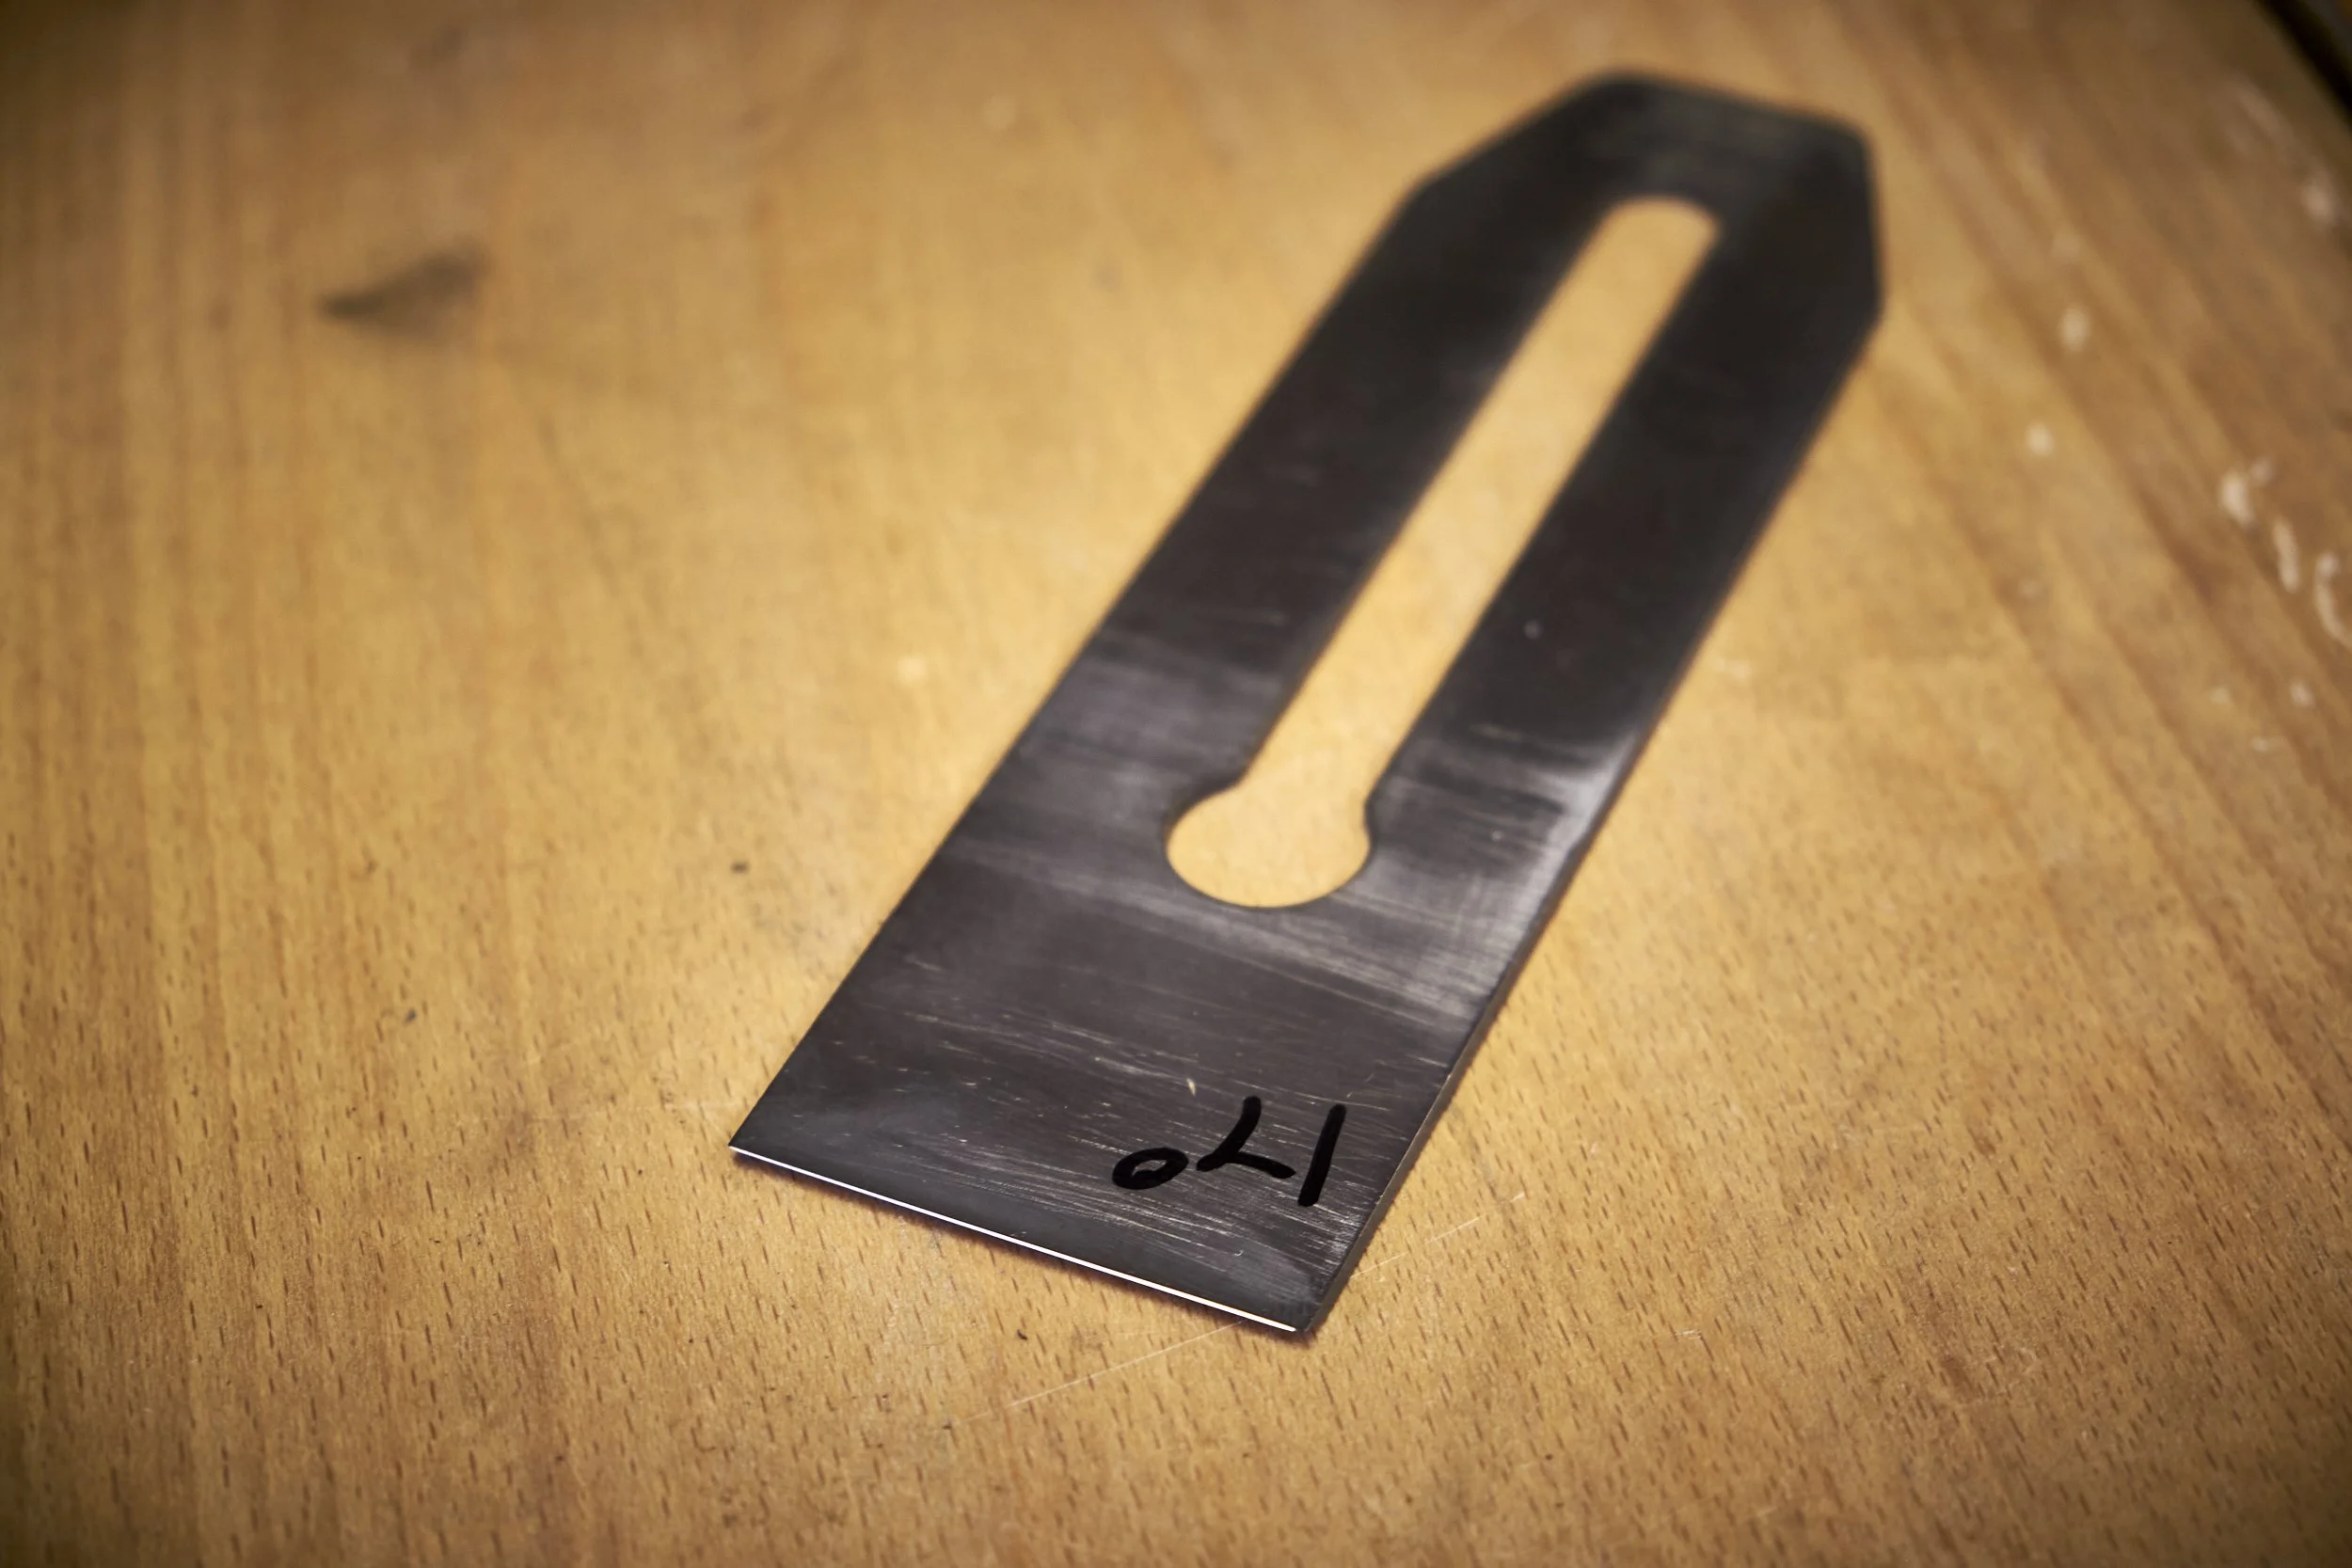
17° Back Bevel
Only a narrow back bevel is needed to increase the angle of the cut. In the case of my dedicated #4 Stanley I use a 17° back bevel for a resulting cutting angle of 62°.
1. add a back bevel
Apart from the card scraper this one is likely one of the easiest strategies for any woodworker to implement when waging war against tear out. All you need as an extra plane iron in the size of the hand plane you will be using it in. Personally I lean towards the classic #4 and I actually have a hand plane with a modified iron permanently installed and dedicated solely to high angle work.
I even have the back bevel angle written on the blade with a permanent marker because I keep forgetting what angle I used when setting up the blade!
Please don’t let the word “modified” scare you off, the modification I am talking about is little more than adding a bevel on the opposite side of the primary bevel or in other words on the back of the blade. This graphic will explain it better.
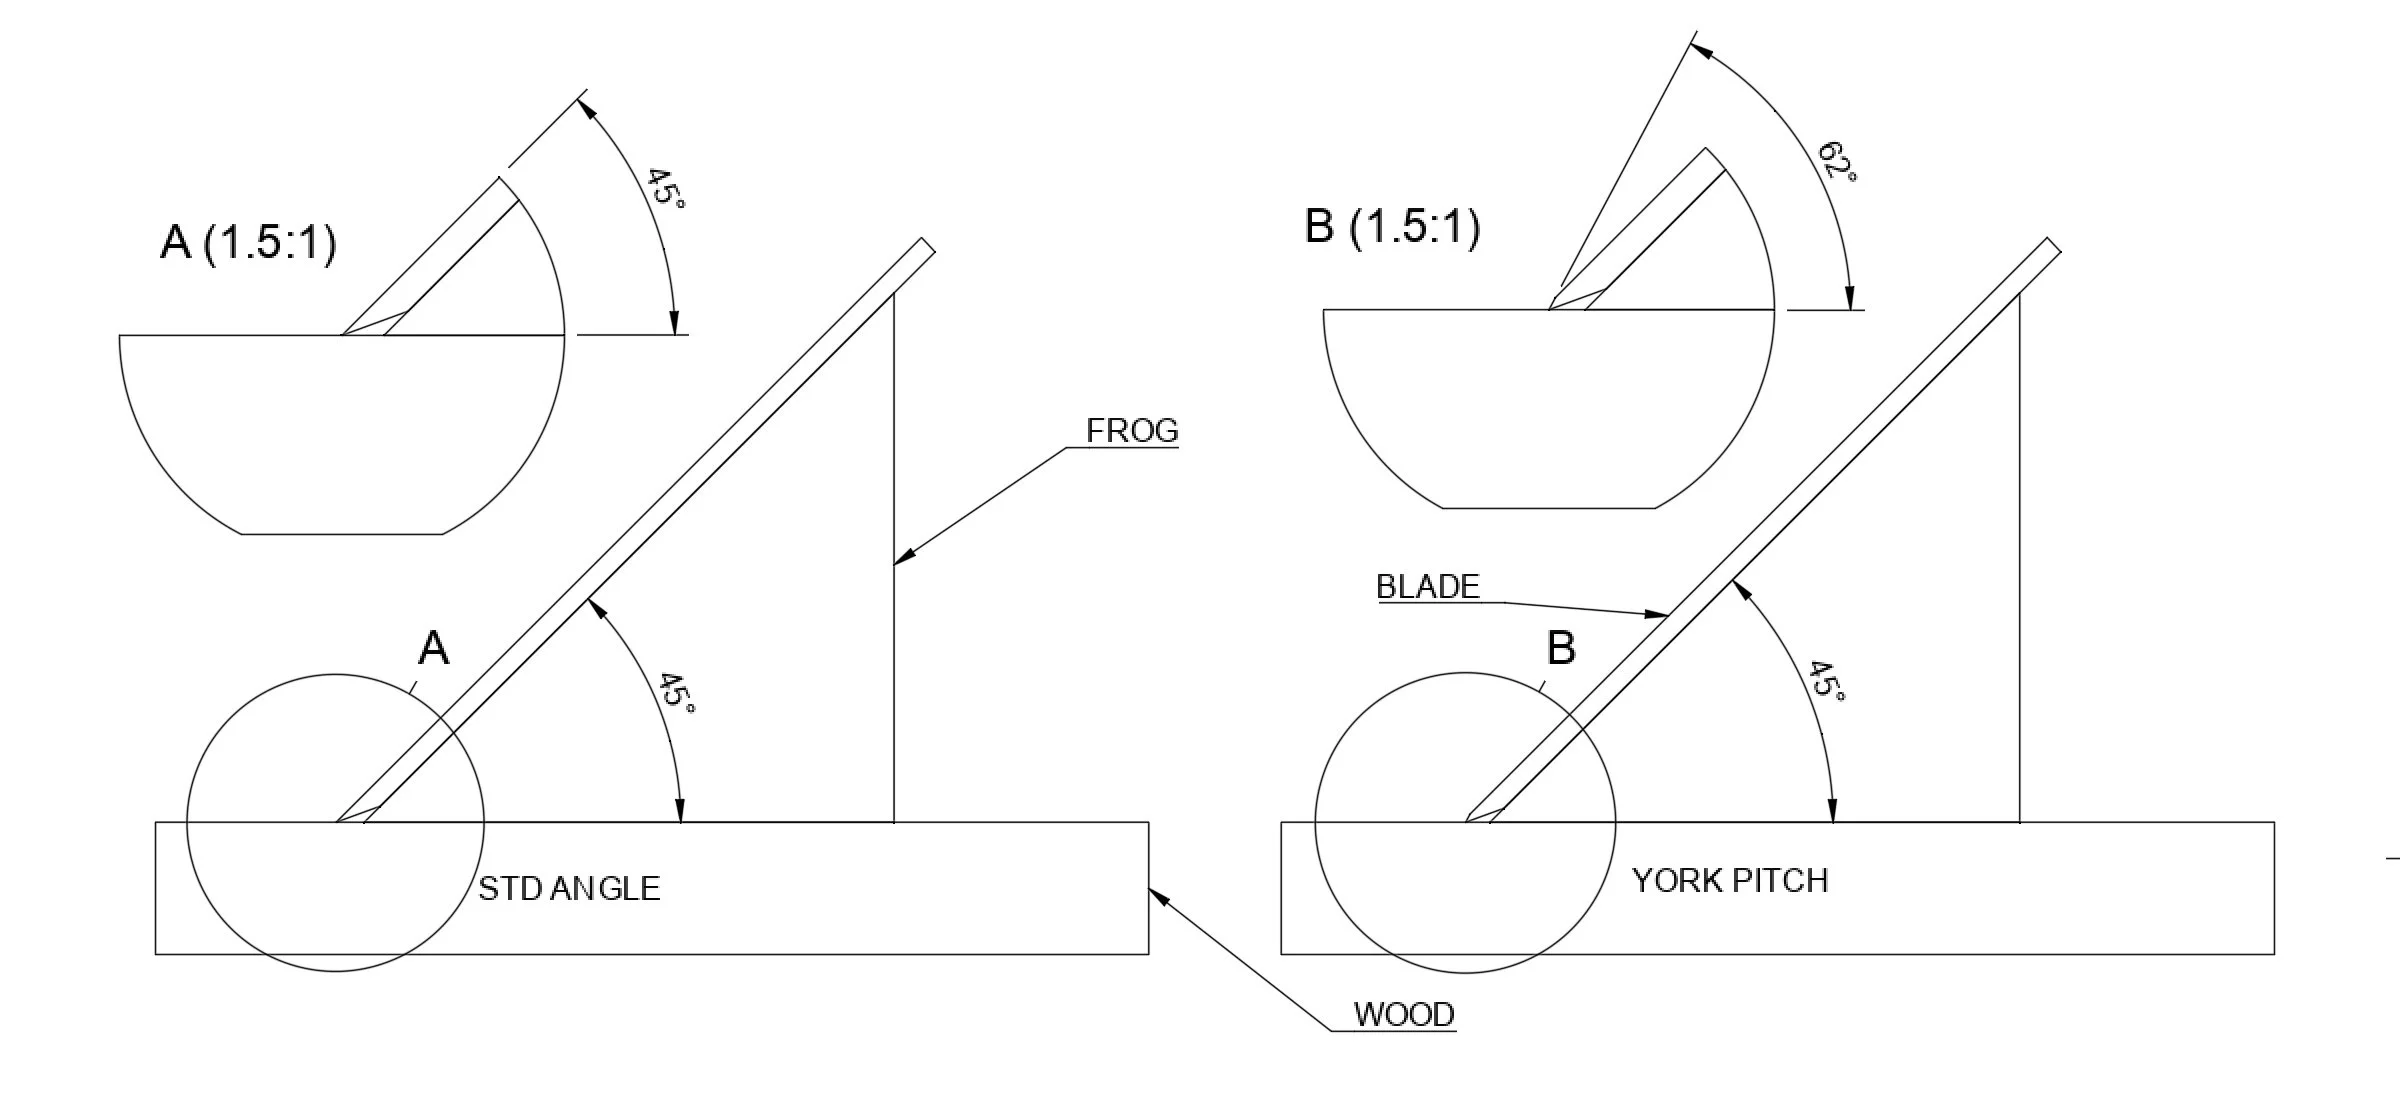
A back bevel should not be confused with the Charlesworth ruler trick that some use to flatten the backs of plane blades. Although the ruler trick adds a very slight angle to the back of a blade, it’s nowhere near as steep as a York pitch.
As you can see, by adding a bevel to the back of the plane iron you are effectively increasing the angle at which the hand plane is making the cut by adding the back bevel angle to the standard bedding angle of the the frog (the part of the plane the blade sits on) which is 45°. I use a 17° back bevel and if you add this to the bedding angle you get an effective cutting angel of 62° which results in a shear cut of the wood fibres and this effectively helps with tear out.
Because of the higher cutting angle the plane is harder to push through the cut so a sharp blade and light cuts are the name of the game when using a York pitch. Also, it is for this reason you would want to use a hand plane with a narrower blade, a #4 or #5 is ideal and I would avoid any plane that has a ½ added to that number, their blades are just too wide to work well for this one.
Pro:
Easy for any woodworker to implement, it’s a simple matter of adding a back bevel to a plane blade.
Relatively cheap if you are using a hand plane with readily available blades.
You don’t need an extra hand plane and can simply swop in the York pitch blade when needed.
There are few better excuses for acquiring a new hand plane as a dedicated tool!
Does not cause hollows when used.
OK for smoothing larger surfaces.
Cons:
You need a dedicated blade.
Some sort of honing guide will be needed if you would like to hit the same back bevel angle when sharpening, so you will need more tools. Bummer! The Rider Sharpening Station that I demonstrated on my YouTube channel is ideal.
The hand plane will be harder to push through the cut, that means you will work harder.
As I mentioned this is likely one of the easiest method to implement but it still isn’t my favourite.
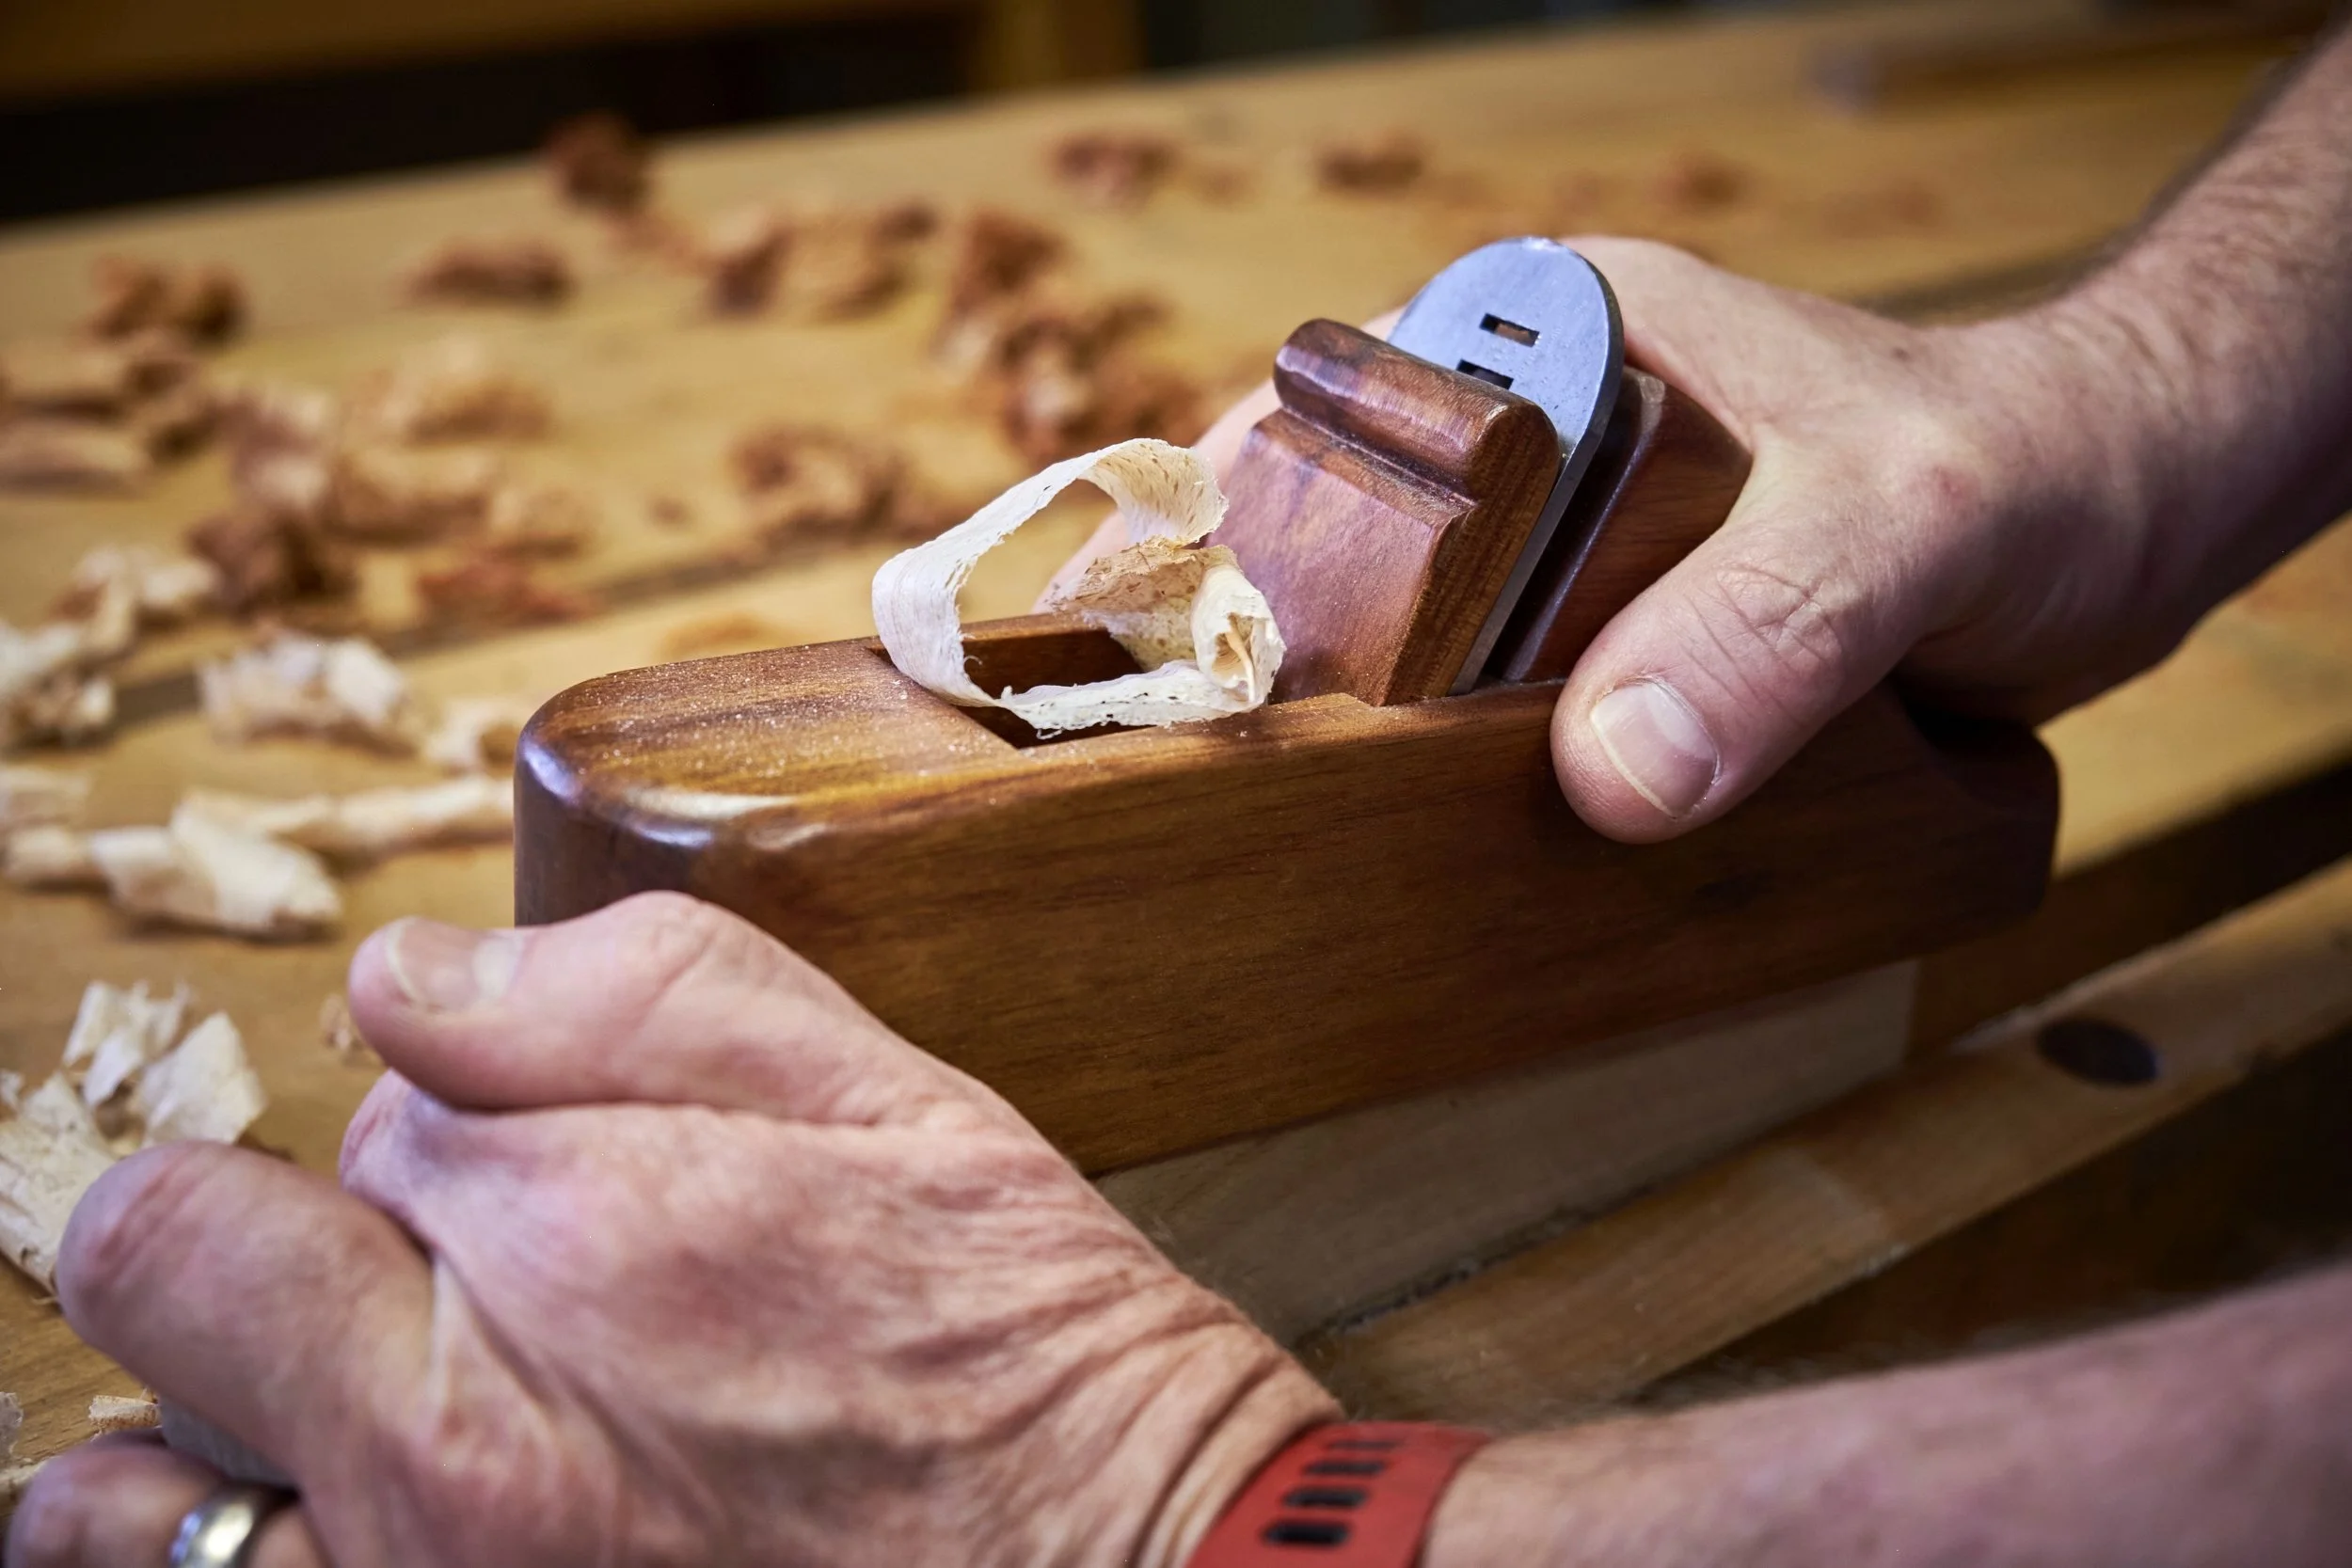
You already know that I like making and using my own wooden hand planes and by some margin my DIY high angle smoother is my all time favourite tool to use when avoiding or fixing tear out.
2. High Angle Smoother
In stead of adding a back bevel to a blade in an effort to increase the angle of the cut why not just increase the bedding angle of a bevel down plane? Be steepening the angle of the plane bed you can increase the cutting angle of the plane without having to go through the trouble of adding a York pitch.
The problem is that unless you make your own plane you are faced with only two other options. The first is to refurbish and old high angle smoother, often in the from of a “Coffin” smoother or invest in a hand plane of which the standard angled frog can be swopped for one with a higher angle. I know the latter exists out there but I have never personally seen one and in regard to the former it may just be easier to make your own hand plane rather than refurbishing an antique.
Making your own wooden hand plane is really not hard and in this series I take you through the basics.
I built my own high angle smoother from plans and instructions from this book and for a blade I used a commercially available replacement for a low angle block plane which fit the dimensions of the plans perfectly.
I forgot to mention above that the cutting angle of a high angle plane is considered to be such if it’s anything higher than 45° with anywhere between 50-60° being the most common angles to use. I think the plans in the book called for 50° but I bumped mine up to 60°.
I love this little plane and it just works!
Pro:
It is a surprisingly easy build and a perfect scrap wood project.
Blades are readily available and you can even make your own.
The plane is ergonomically designed and feels easier to push through the cut than using my #4 Stanley.
It’s cheap and you can build as many as you need.
Ok for smoothing larger surfaces.
Con:
Setting wooden hand planes can be tricky, especially for thin cuts which you would need to make when using this hand plane.
Even with a narrow blade the hand plane is still hard to push through the cut.
Because of its smaller footprint it may hollow sections of a work surface if one hacks at an area of tear out without taking the time to blend your strokes.
Just to prove the point about how effective this little hand plane is here is before and after, click on the images to see more info.


I have one more Pro to add.
This little plane also happens to be a very cool party trick!!
When I do demonstrations at shows I let visitors use this hand plane to purposefully plane a section of wood against the grain and they often stand mouth agape in surprise when I show them the resulting cut on the same piece of wood using a standard bevel down plane.
As far as hand planes go the quality of the surface left by this plane while cutting against the grain is almost unheard of and the fact that as a “woody”, it’s considered an old fashioned tool, just adds to the fun.
Coming to the end of this article I would like to leave you with these parting words spoken by Paul Sellers in one of his YouTube videos.
“Some woods just don’t want to be planed.”
He uttered these immortal words during one of his videos about scrapers and it is one of the best reasons for anyone to dig out their scrapers from that dark and forgotten corner and get comfortable sharpening and using them.
Scrapers shouldn’t be the only option available to wood workers when it comes to managing tear out though and the more techniques you have available to you the better you can handle the scourge that is tear out.
Heck, you can even sand the freaking thing but where is the fun in that!
Until next time……..

What does it take to turn an idea into something that actually works? I share what 3D printing is teaching me about prototyping, from adapting designs and testing small parts to choosing materials, asking for help and staying organised.