
5 Tools I’m Glad to Have But Rarely Use
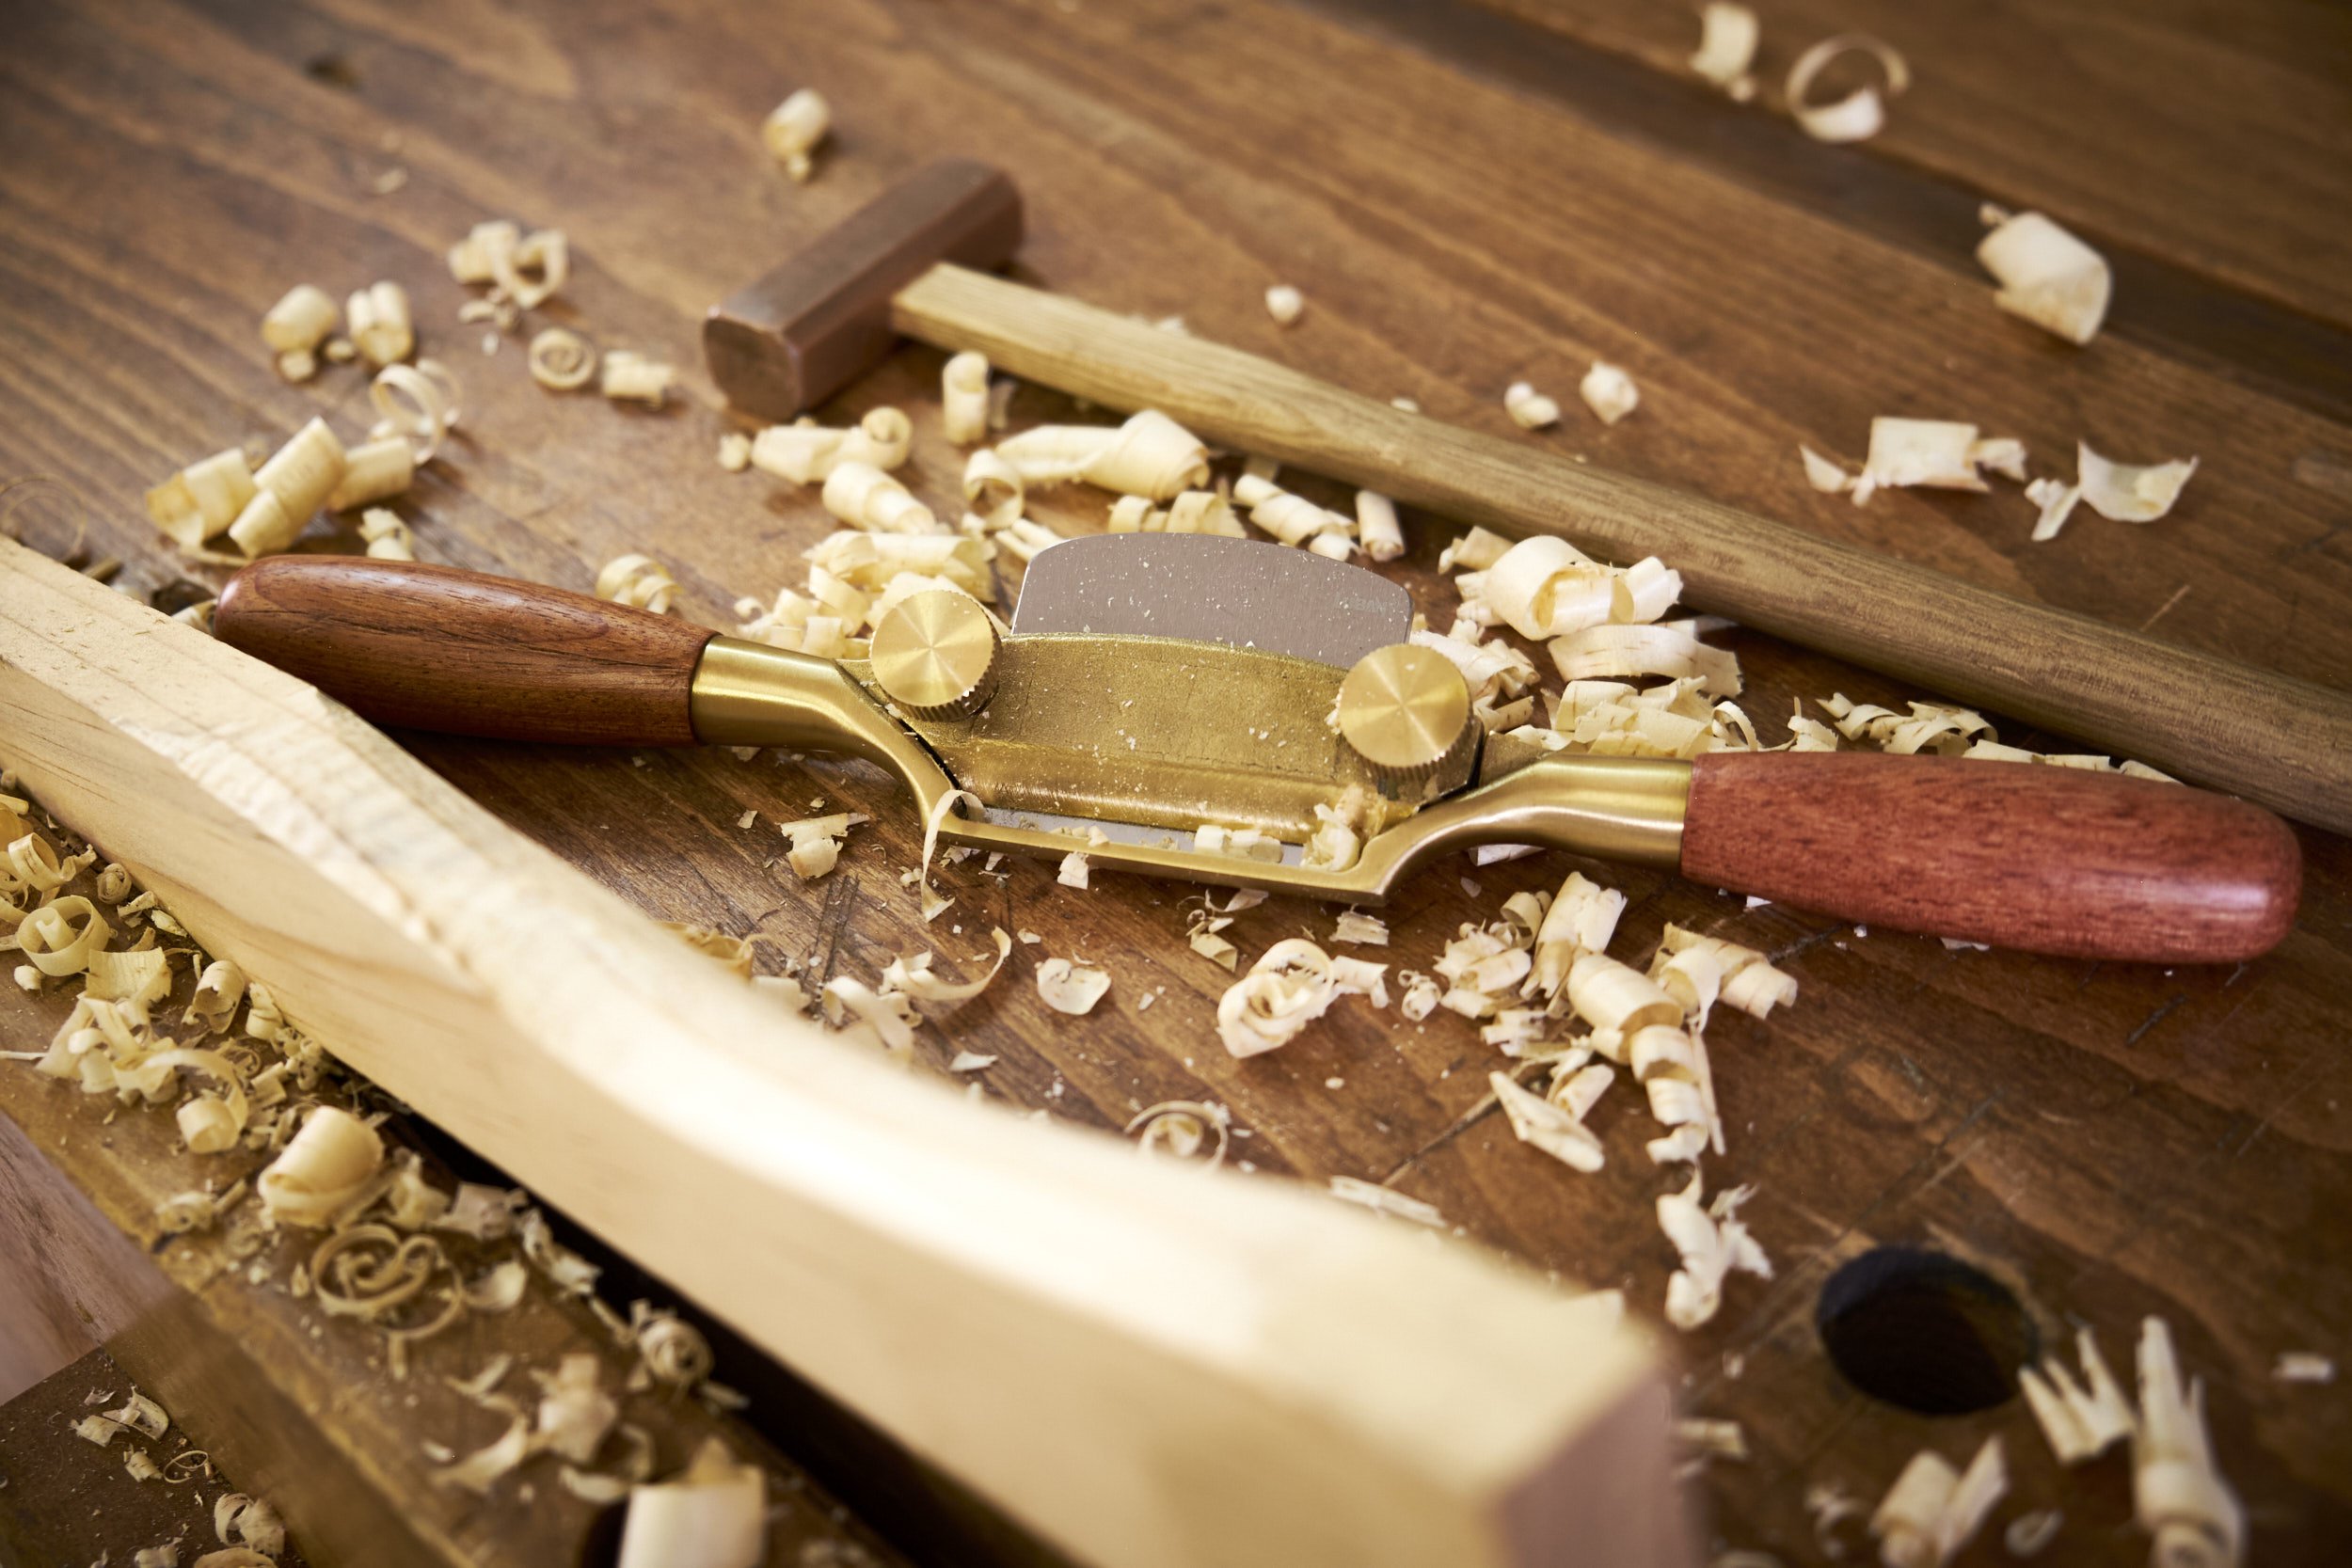
I like tools.
I like searching for reading about and shopping for tools and I have a sneaky suspicion that some of you reading this may be able to relate.
I like using them too, by the way.
Running a commercial workshop often necessitates that one acquires specialised items for specific projects, sometimes such acquisitions are somewhat motivated by GAS (Gear Acquisition Syndrome) and often such buys are little more than what I like to call “grudge buys” in the form of tools that I know I cannot complete a project without but are neither desirable nor sexy.
Pipe clamps come to mind……..
The thing about these tools though is that they often go back onto a shelf to gather dust after their first use but occasionally become indispensable for specific projects that you never dreamt of taking on or tasks that can simply not be done any other way!
Again, pipe clamps………
This article is a follow up on a piece I published in January about my favourite non-woodworking tools I use in my workshop and I’ve actually been planning on writing this one since then and have been taking pictures of each of the following 5 tools in use as I’ve needed to dust them off for projects.
All but one, I’ll be taking its picture just before editing the images for the article.
So where shall we start? The one I’ve had the longest or the one I use the most
Neither.
Luban Spoke Shave
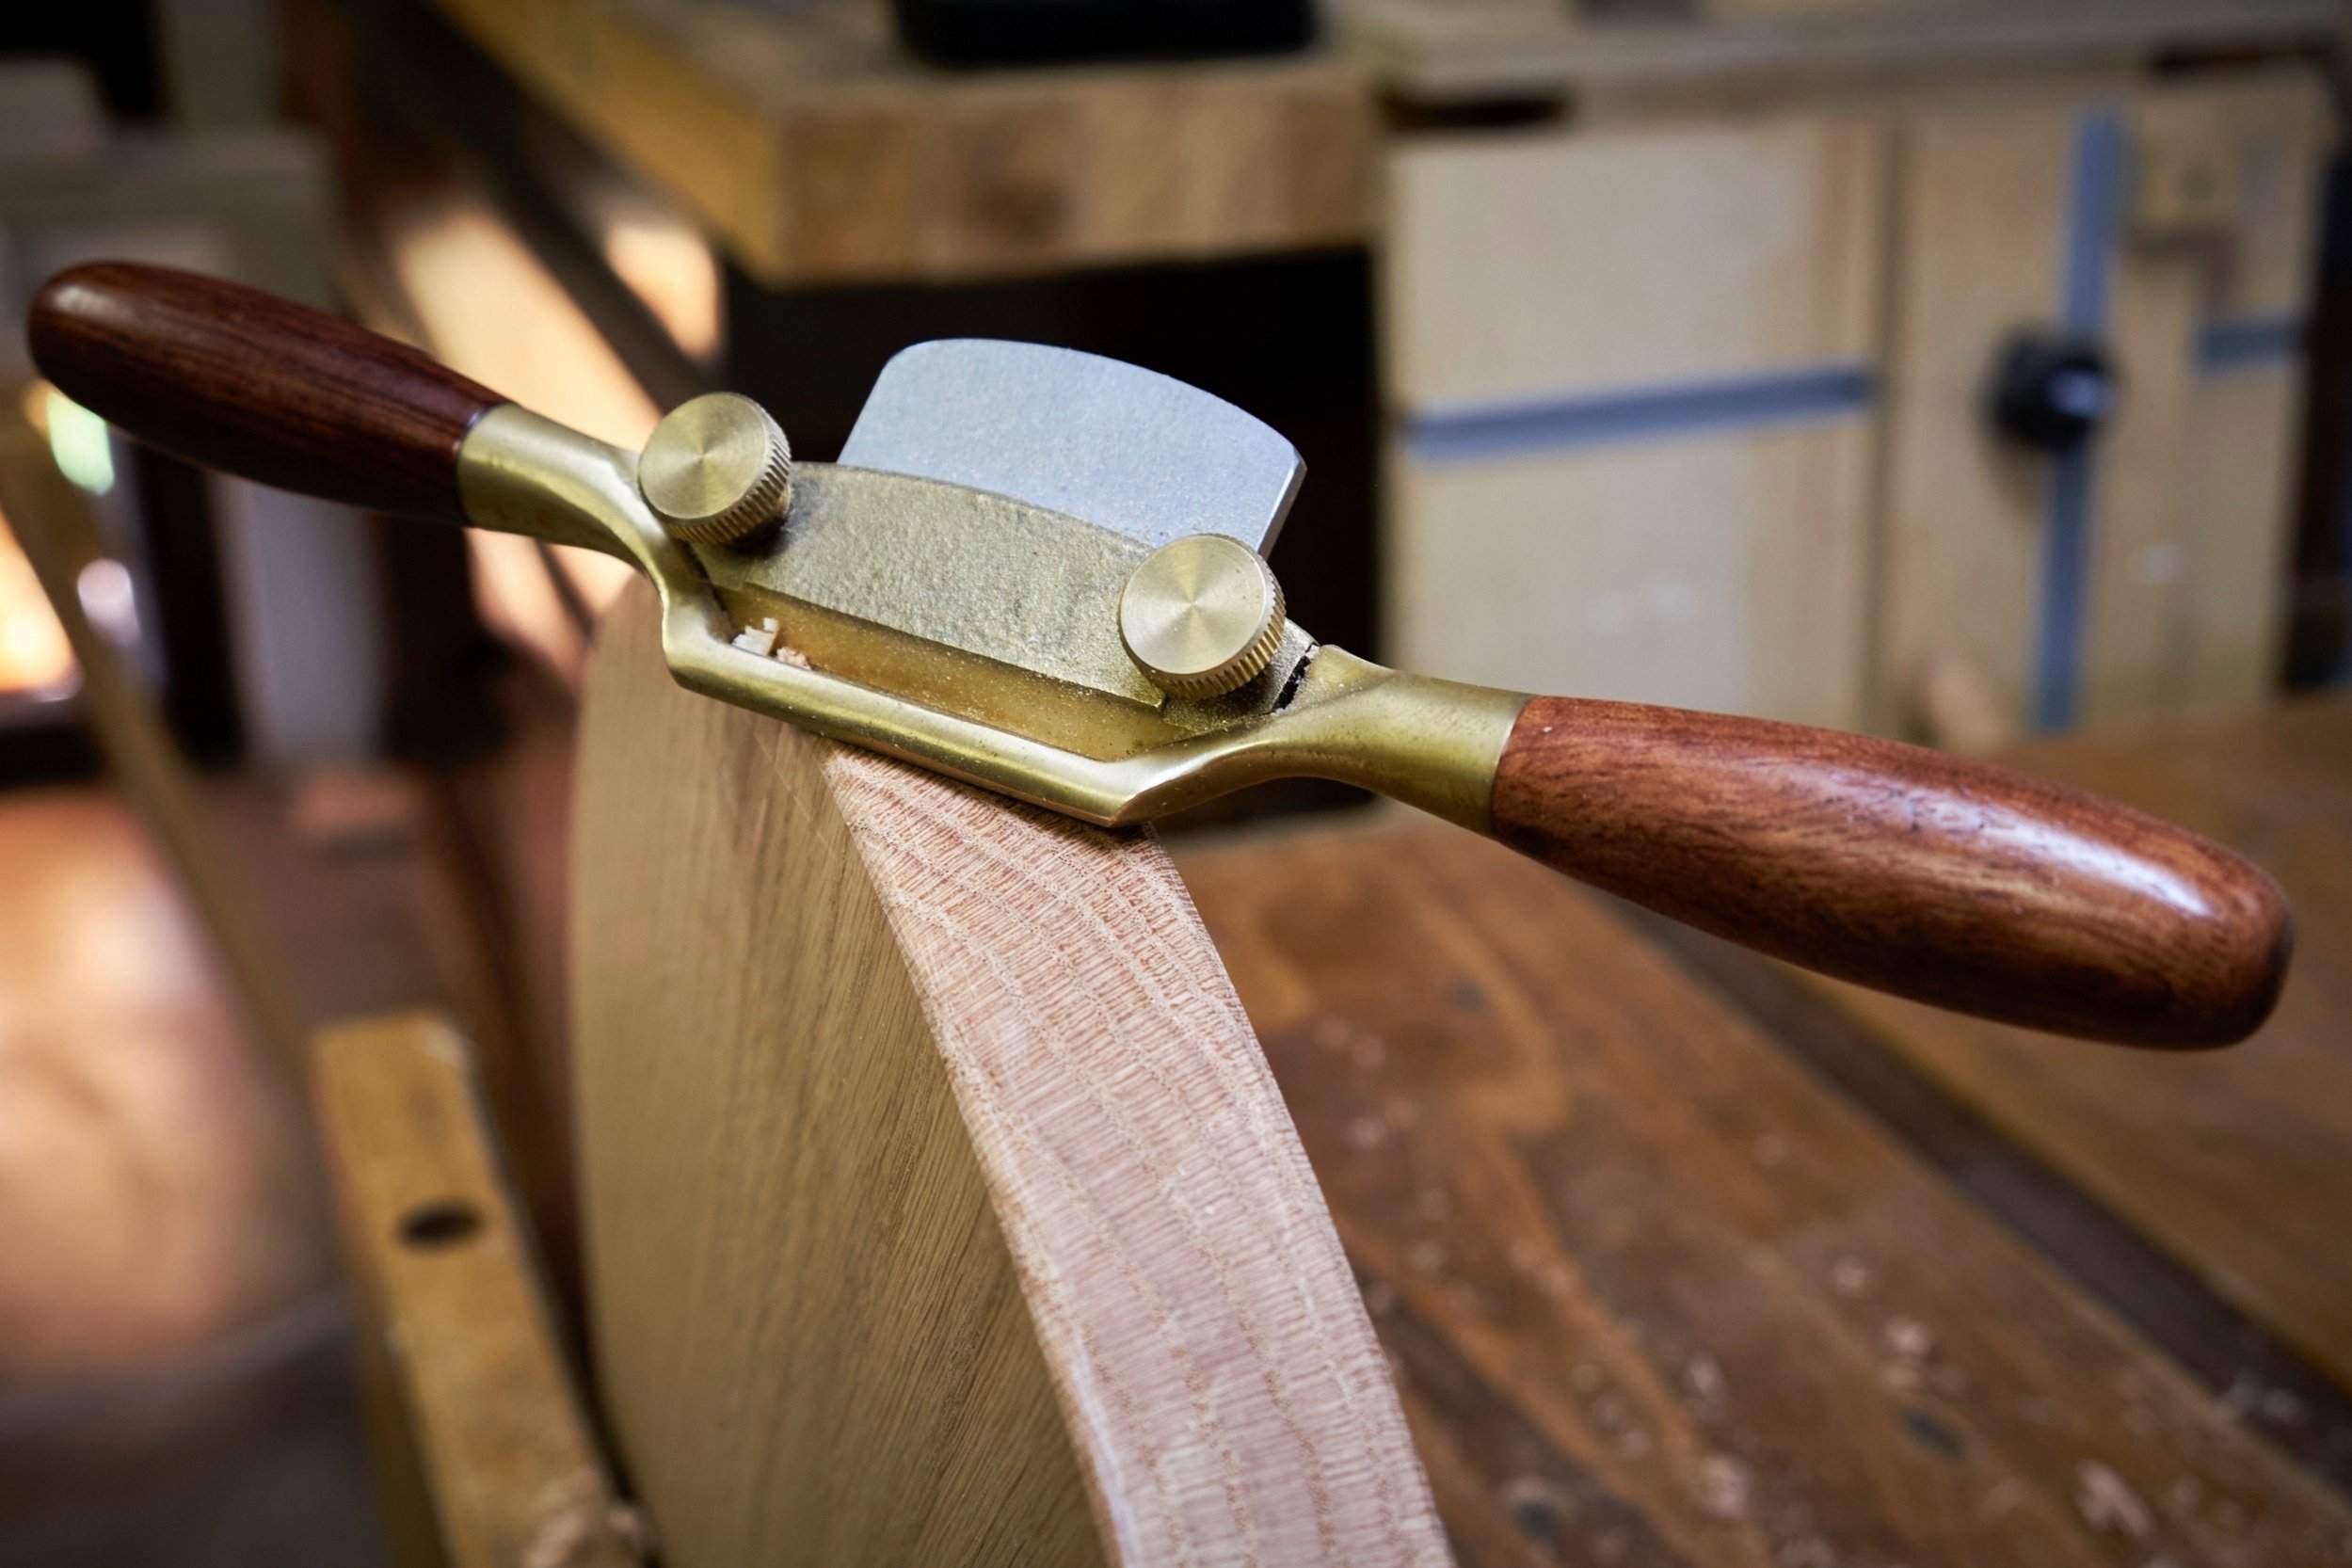
You can say that I have my roots in hand tool woodworking and it was watching Paul Sellers flatten a piece of lumber with little more than a #4 Stanley and winding sticks that got me curious about working with wood. In time and after many hours on YouTube I discovered the spoke shave and apart from the low angle block plane I found few tools as desirable or more fun to use as a spoke shave. I even like the round bottom type which I find to be one of the most difficult tools to use in the workshop.
Non-woodworkers might consider this a bit weird but I know some of you are slathering at the mouth reading this and are already halfway to the workshop just to go and make shavings with a favourite shave!
At last count I own five, a flat and round bottom version from Luban, a cheap copy of a Stanley which also happens to my first and finally two home made versions that I made recently as a batch of new wooden hand planes. If you follow my blog at all you will be aware that this article is a short break from the series I am working on detailing the process of making your own wooden hand plane, blade and all.
So was it just the look of the tool that got me into spoke shaves? Nope.
I wanted to get into spoon carving at the start my woodworking career and Mr. Sellers is again to blame for introducing me to spoke shaves during one of his spoon carving videos and I can confidently claim that I have carved all of two spoons with any one of my spokeshaves since!
It is stick chair making that has resulted in my spoke shaves regaining somewhat regular use in my workshop and I am finding more and more that these unique planes are becoming indispensable in the process of cleaning up bandsaw cuts on curved surfaces and fettling round tenons for that perfect fit into their mortises. So much so that I’ve also gotten my hands on a round bottom version of the Luban spoke shave to get into tight corners and as mentioned made two more just to have more options available during the chair making process.
By the way the blade of the round bottom spoke shave is a bit of a star. It featured in my article about prepping and hand sharpening.
All I need to do now is make more chairs, they are great fun!
I’m also getting back into spoon carving by the way.
Pipe Clamps
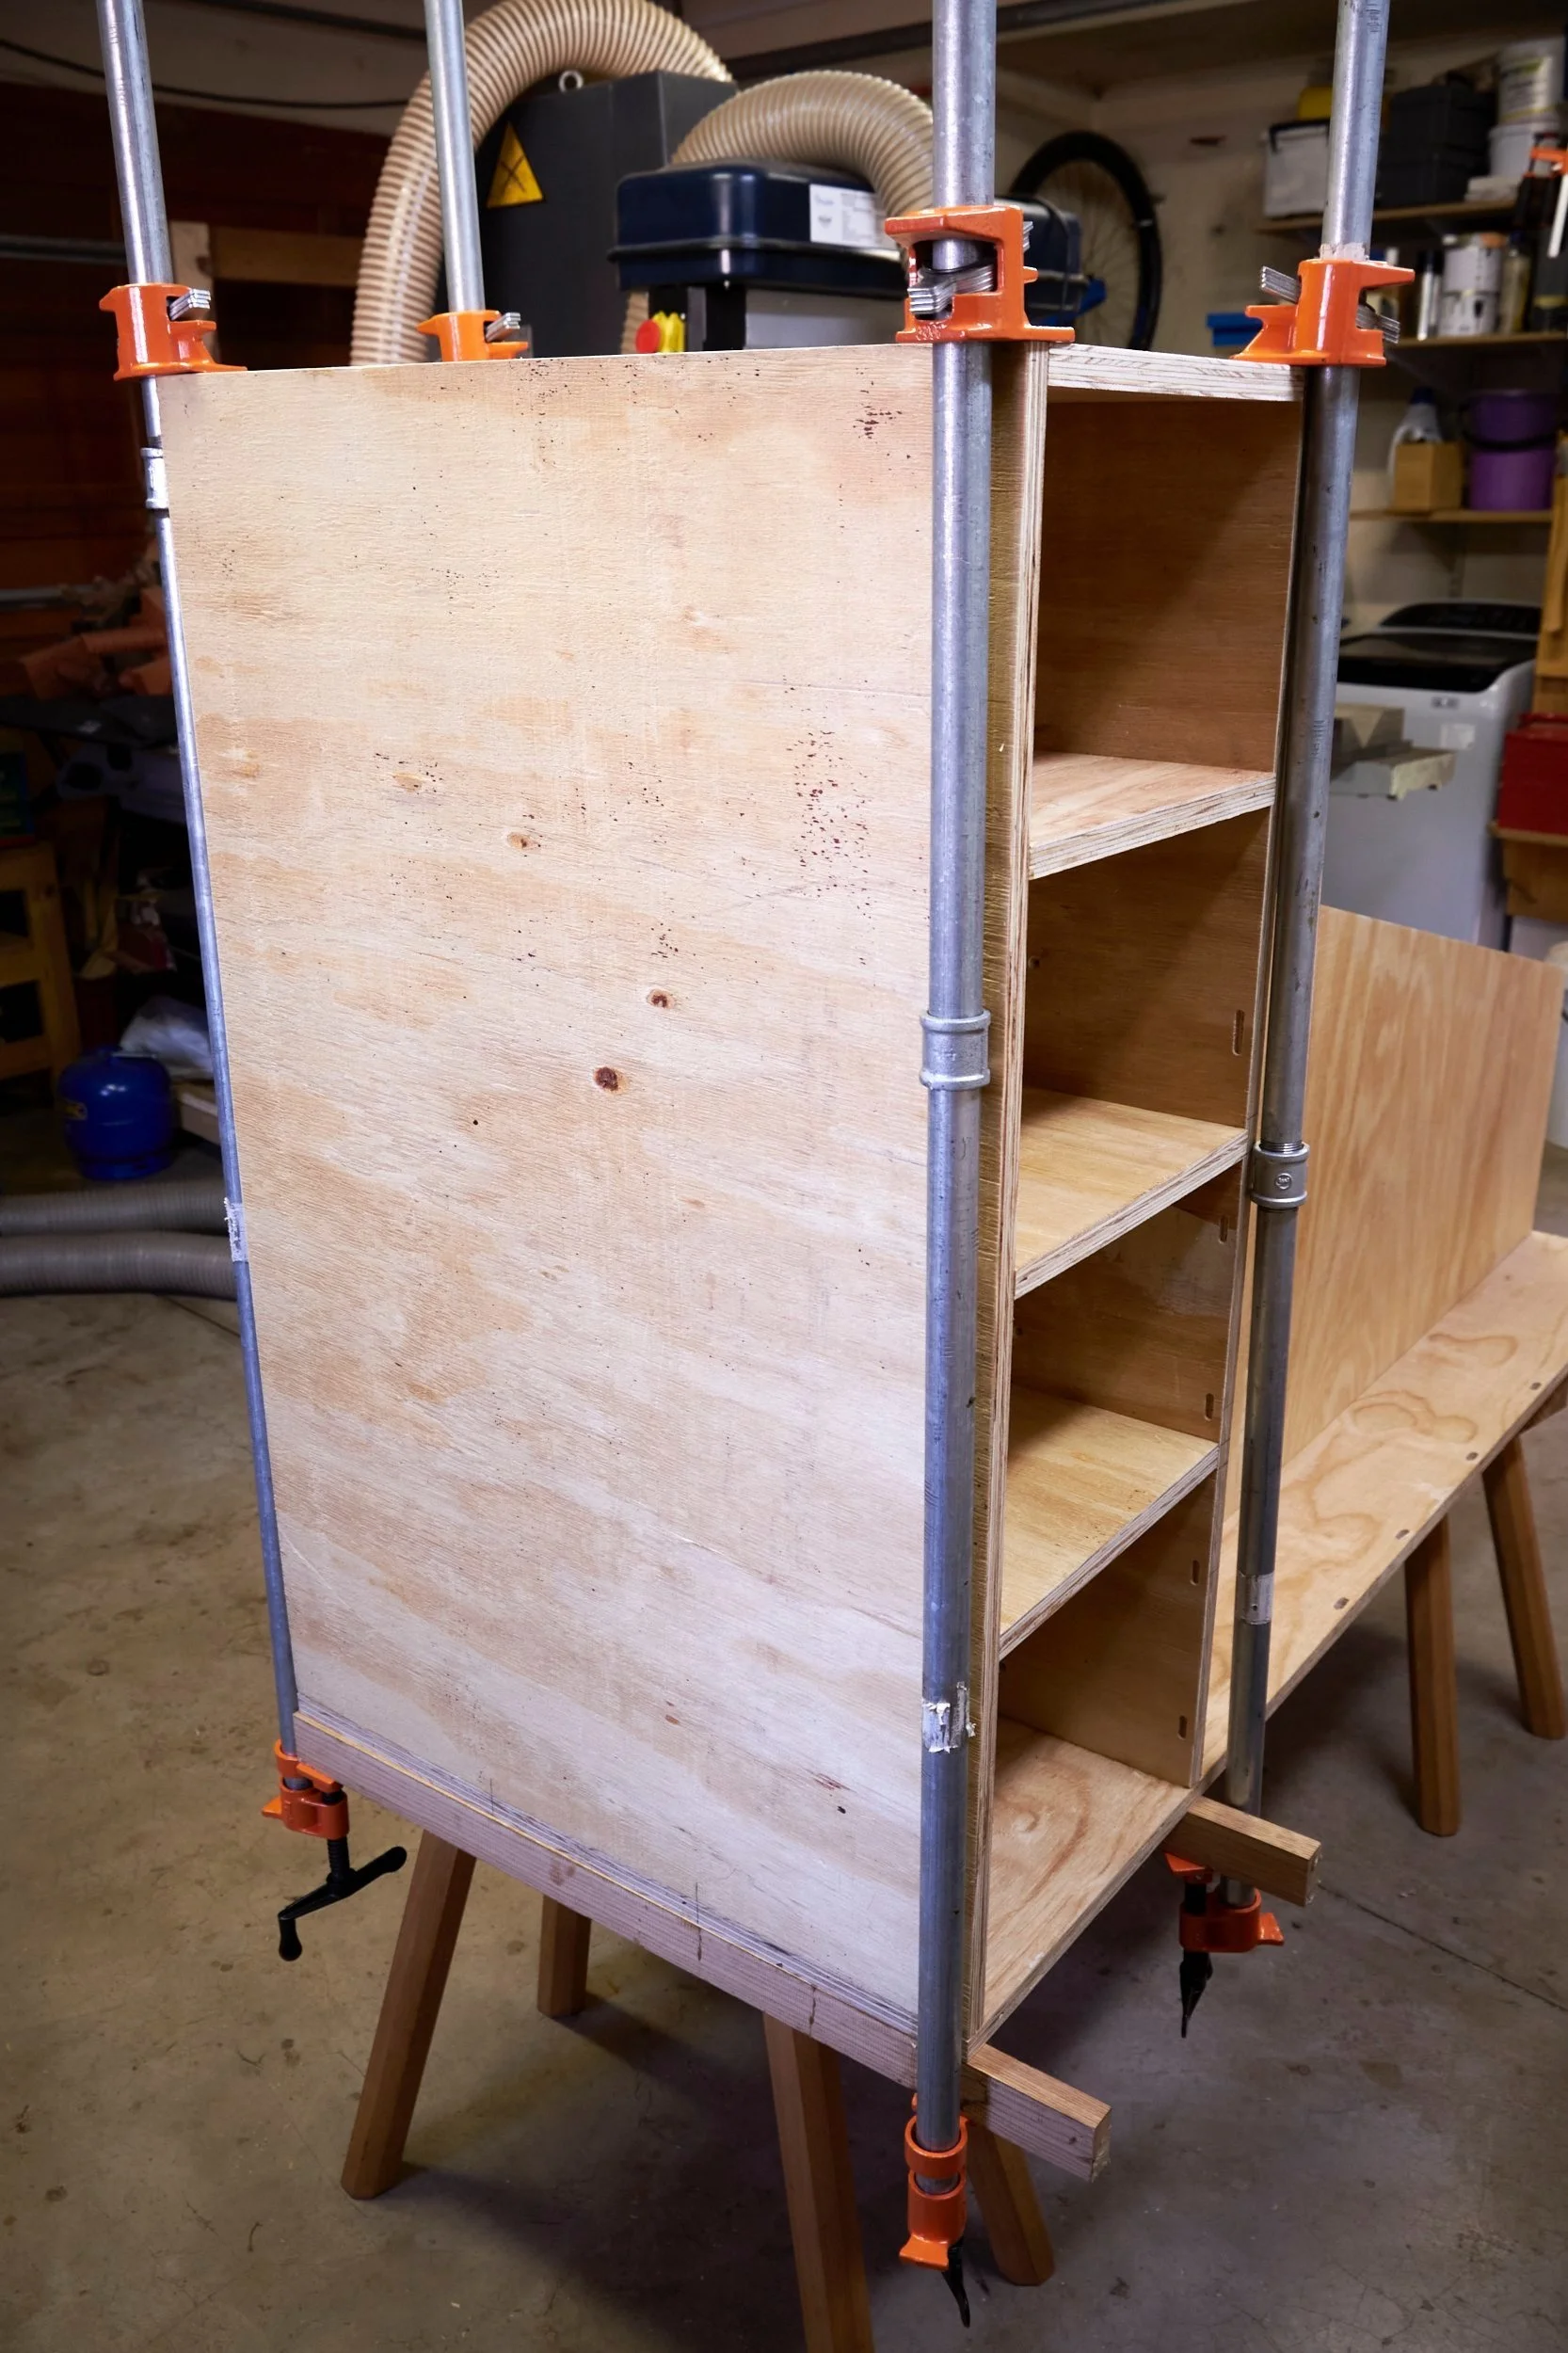
A staple in many workshops I got my first set of four to hold a really long TV cabinet together during the glue up. This was one of my first grudge buys as pipe clamps might be cost effective in your neck of the woods but around here we are not only limited for choice but you have to wait for them to go on sale to make the cost worth it.
Admittedly they aren’t ridiculously expensive in the grand scheme of things but pulling the trigger on four imported brand name items (the only ones I could find) when you can’t ever see yourself using them again - boy was I wrong - and still need to buy the pipes, was hard!
I have to admit that I wouldn’t necessarily equate versatility with any clamp but in the case of pipe clamps it’s exactly this claim what makes them one of my favourite tools. Once you have a selection of different pipe lengths and connectors available the humble pipe clamp becomes one of those “do it all” tools in the workshop.
From keeping really large assemblies together to helping out when I run out of my normal selection of clamps, pipe clamps have become one of the true staatmakers in the shop. So much so that the occasional sale on my preferred brand now becomes an excuse to get more and at a point I had more clamps than pipes to put them on.
There is no proper translation in English for the word staatmaker, I am sure my Afrikaans speaking readers will agree but the closest you are likely to get is “dependable”.
My pipe clamp selection sits quietly in a corner of the workshop knowing that if I was ever to close shop that they would likely be the last to leave, I love them that much!
MilesCraft Circle Guide Kit
If ever there was a tool I bought for a specific project this would be it. It is also the tool in my collection of rarely used must haves that I’ve had the longest.
Just when I started my woodworking business I was high on motivation and low on wisdom and agreed to build a speaker’s podium for a local church. They wanted the front of it curved and the whole thing was riddled with compound curves.
My wife has been informed to slap me really hard if I ever use the words, customer and compound curve in the same sentence.
I digress.
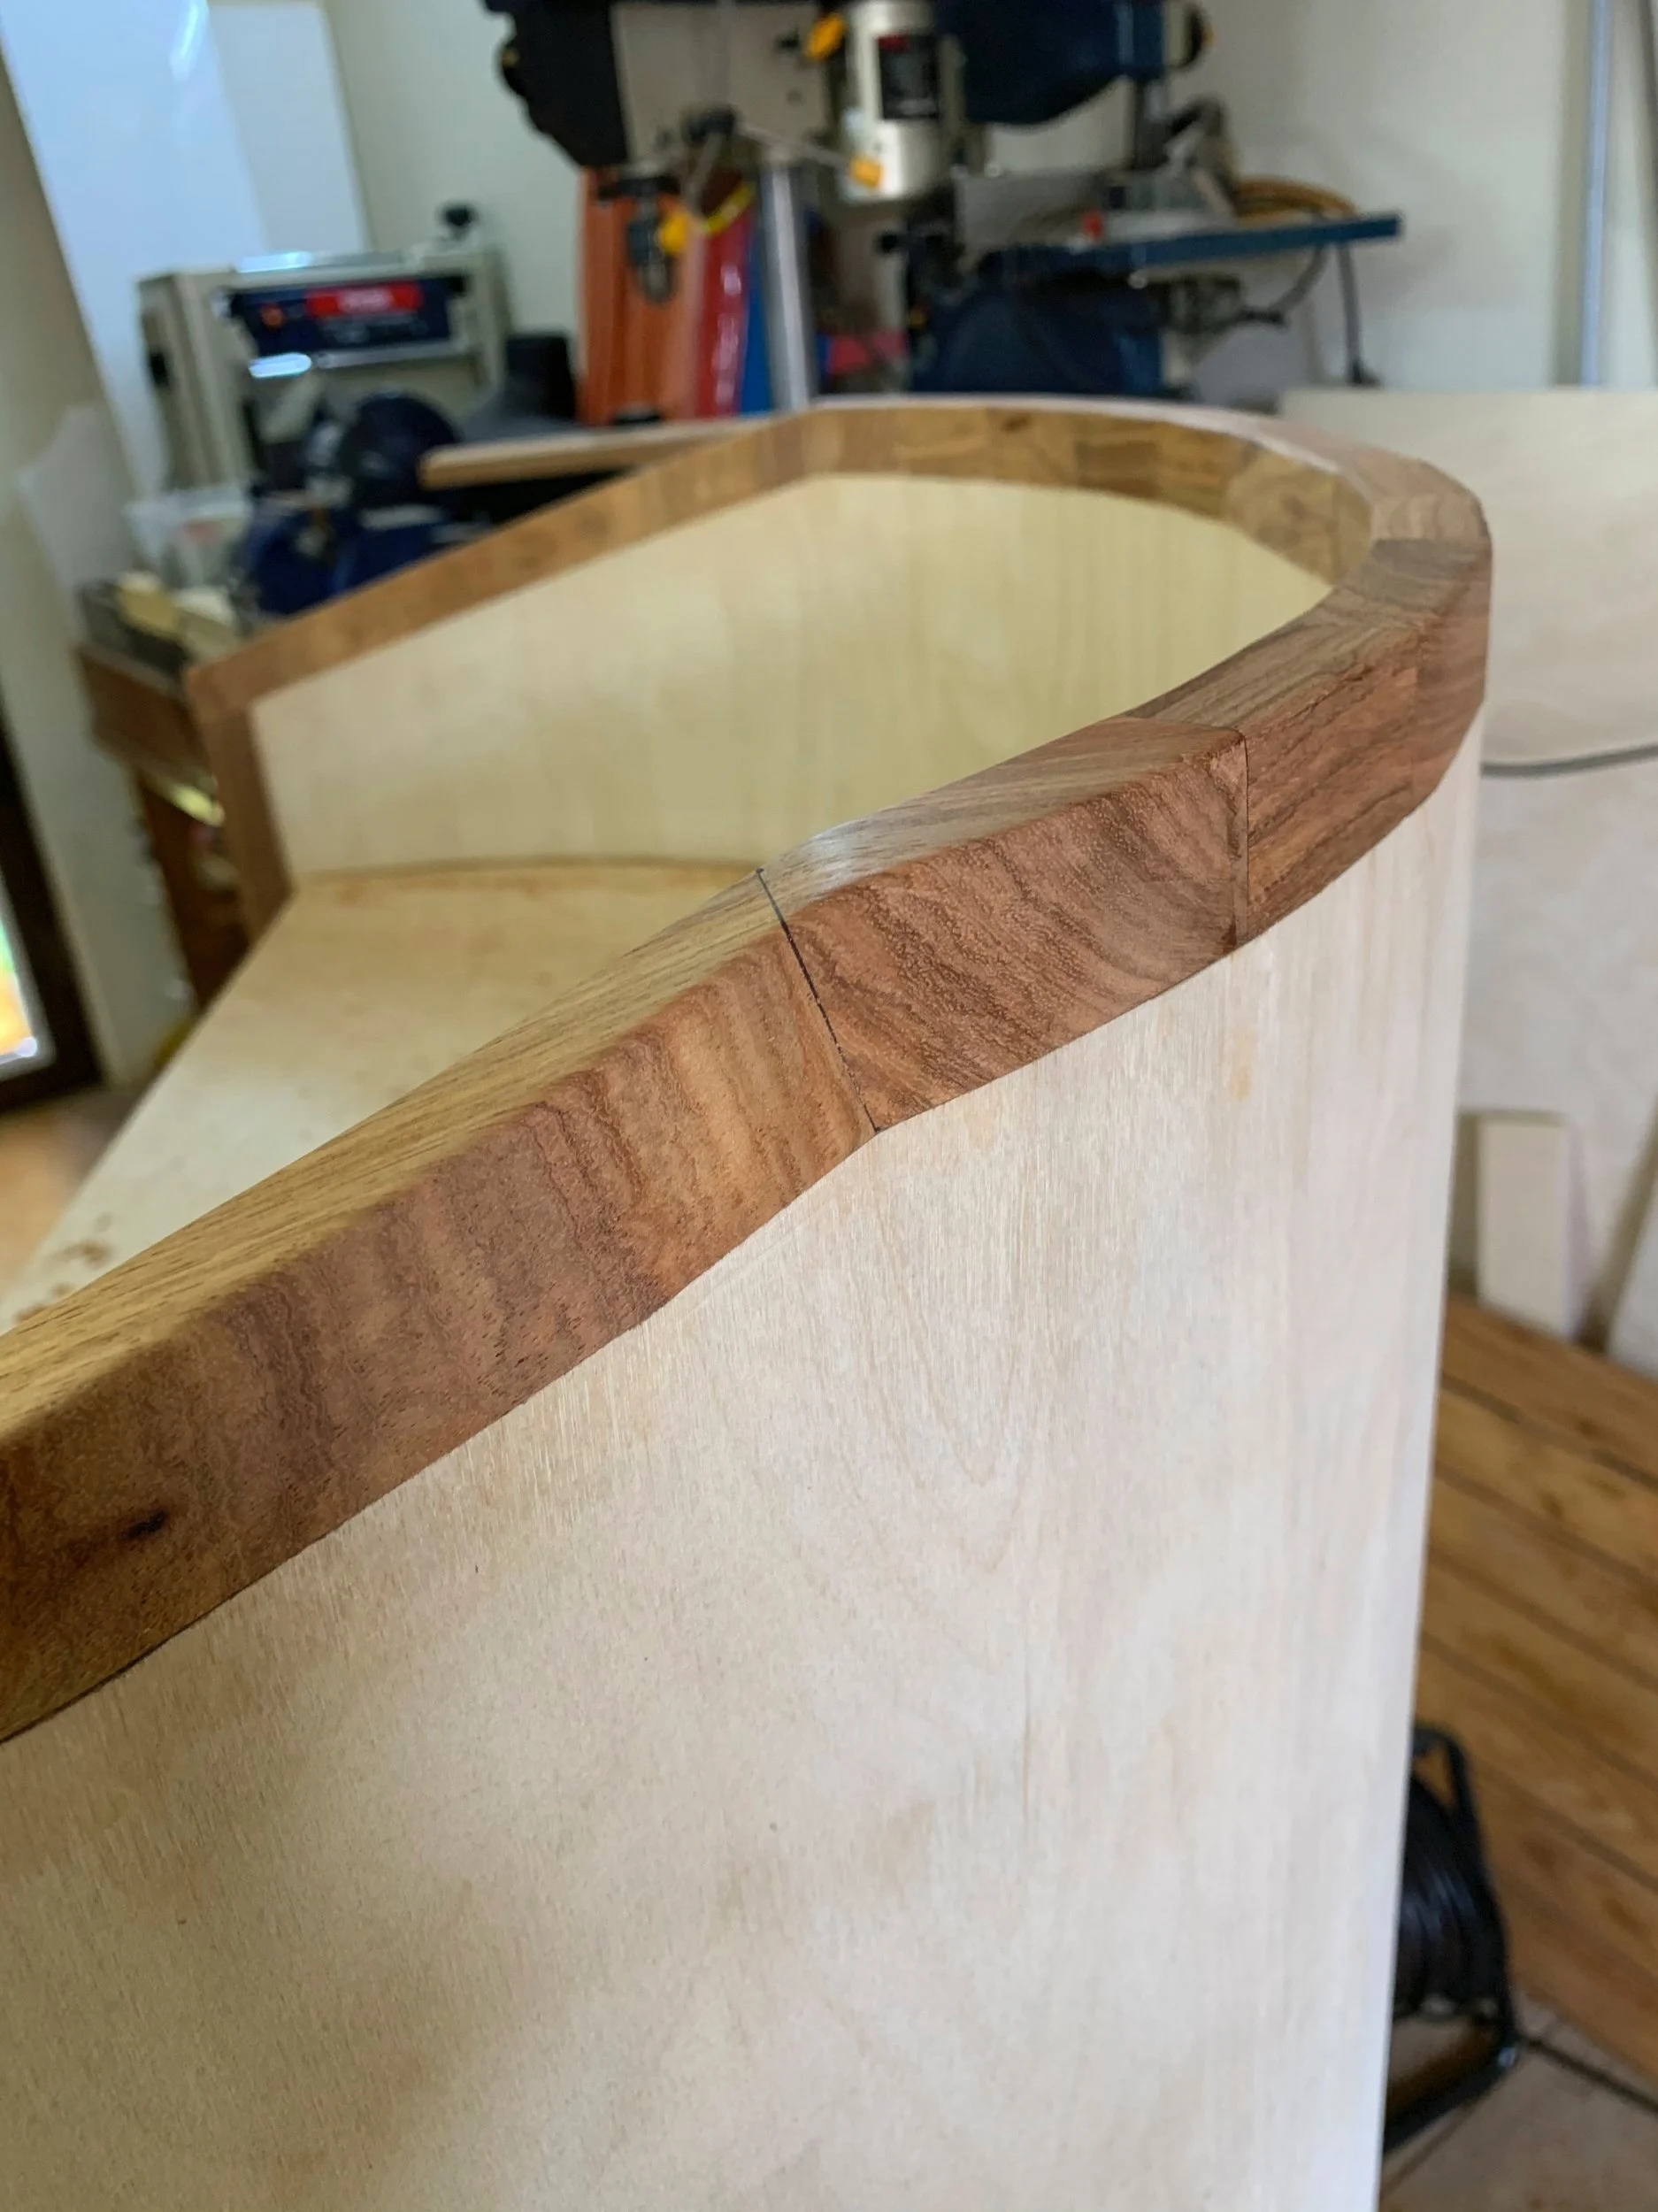
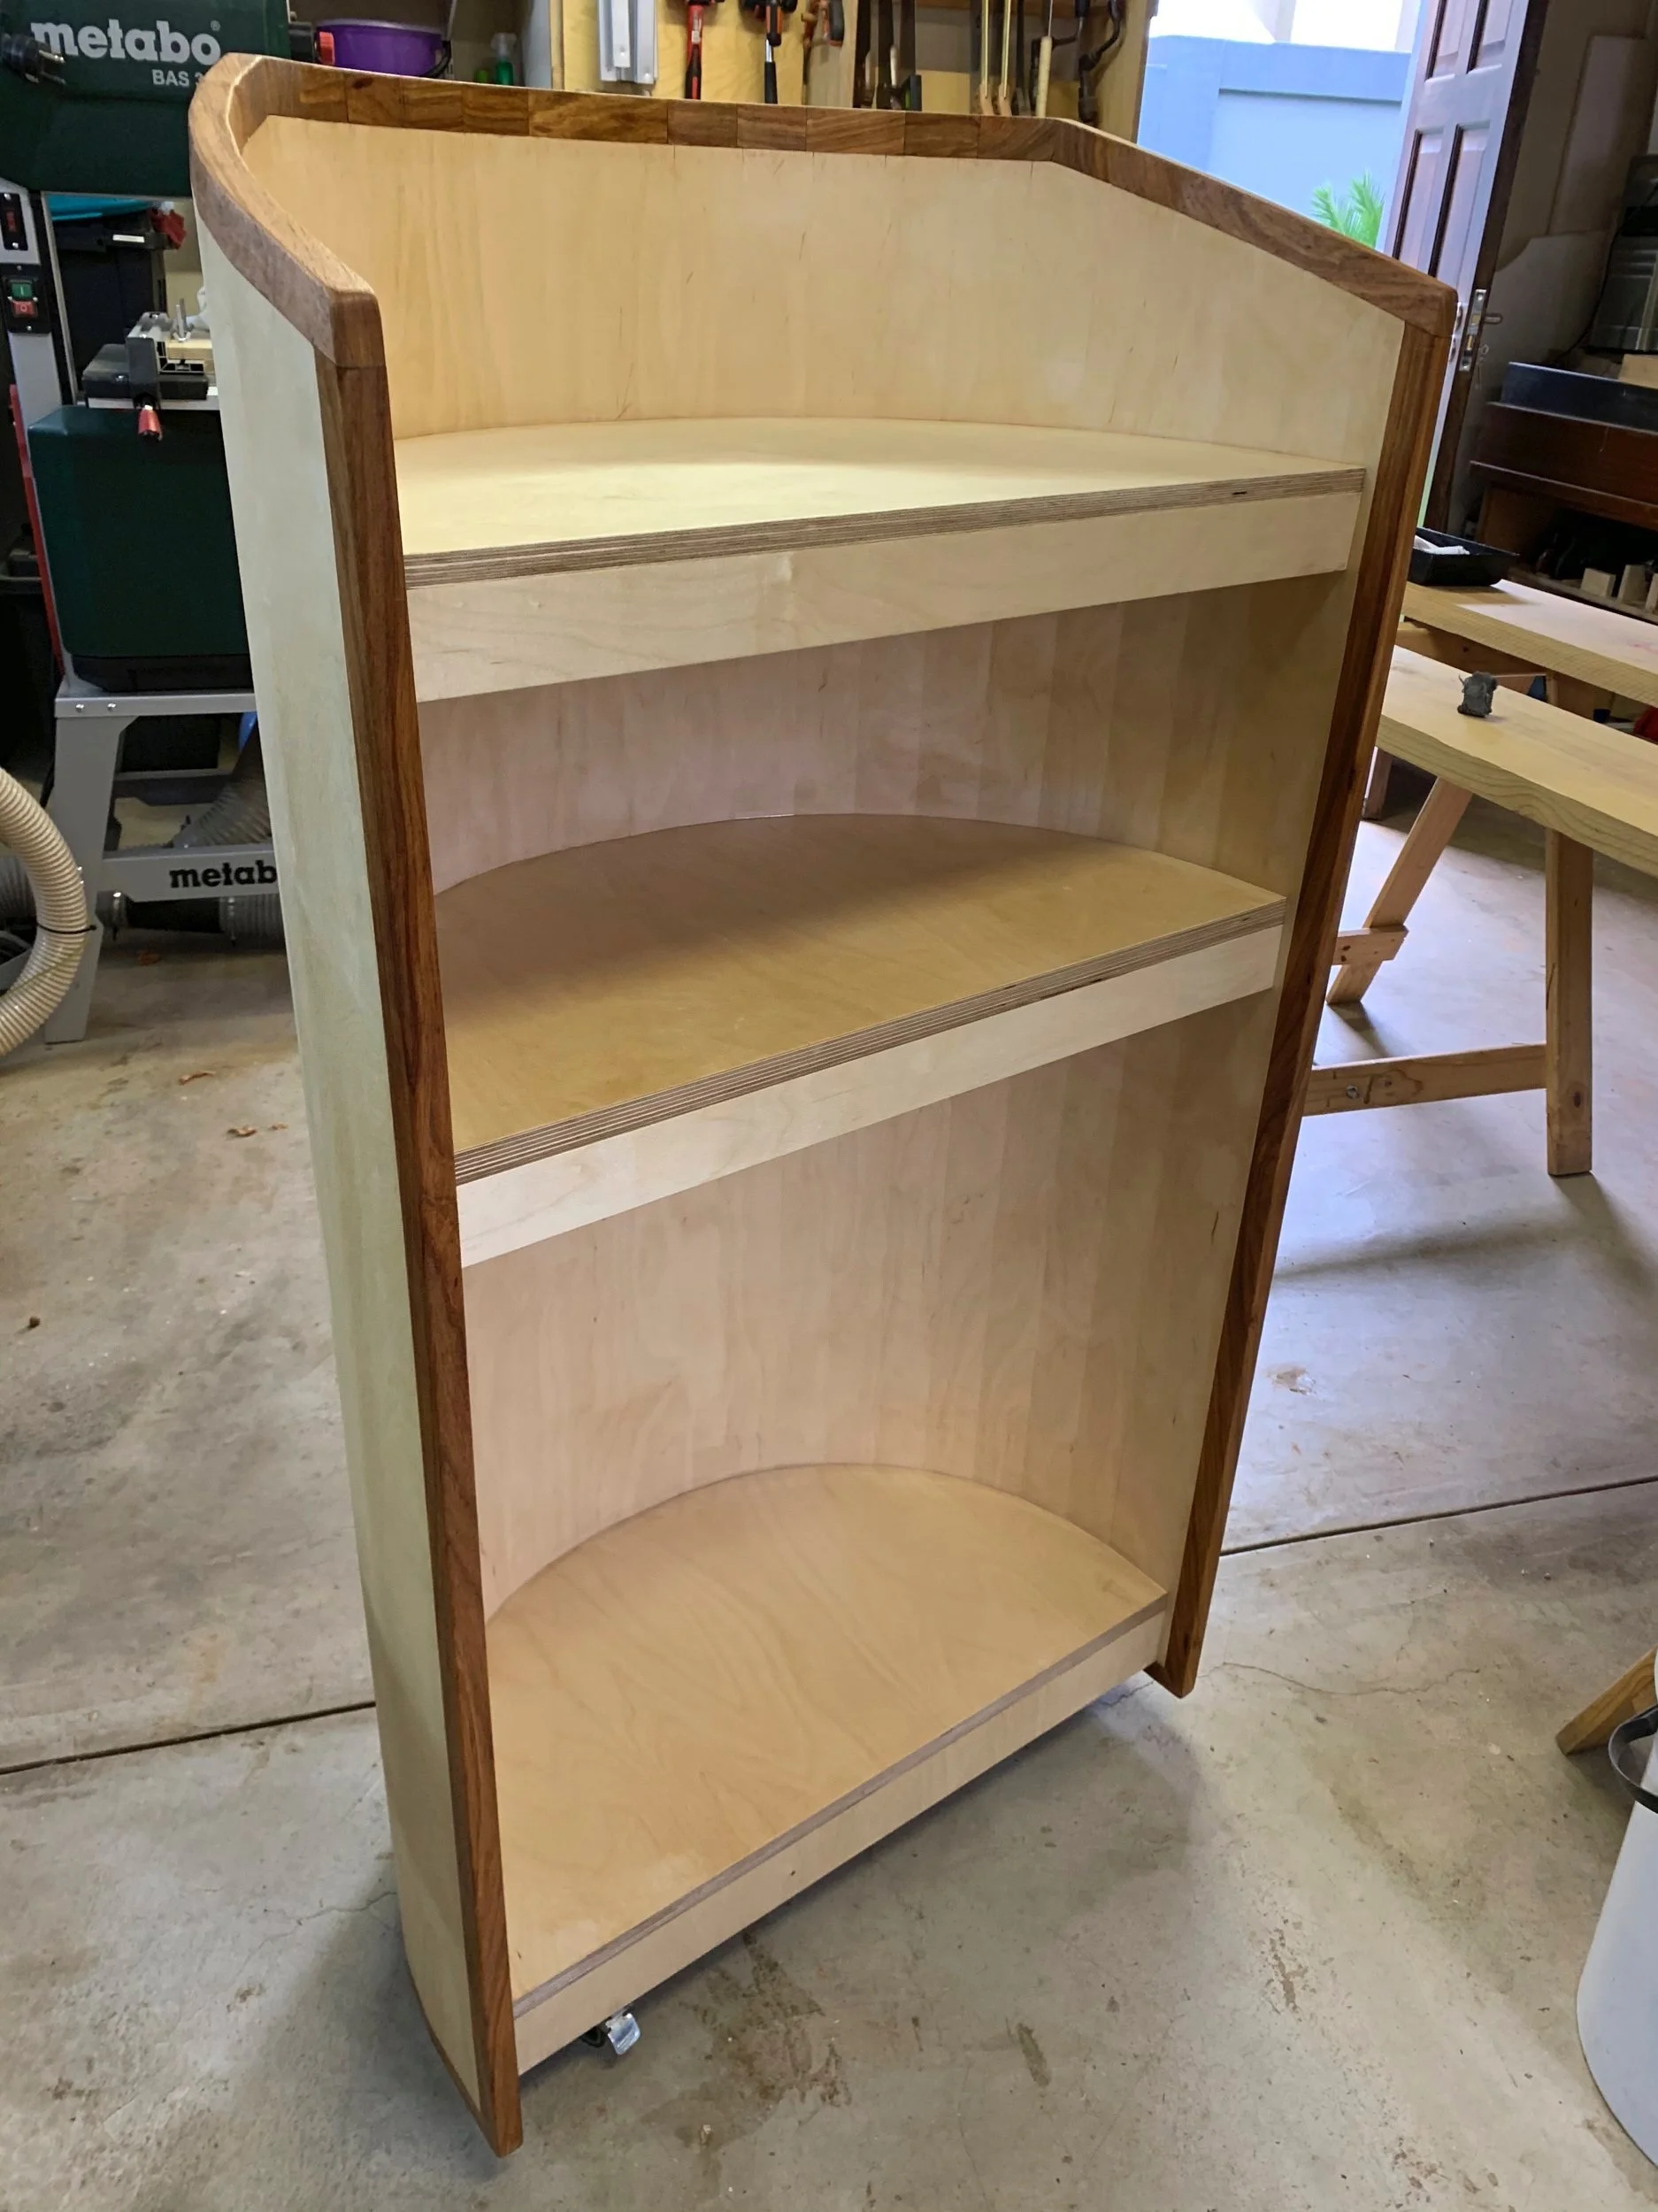
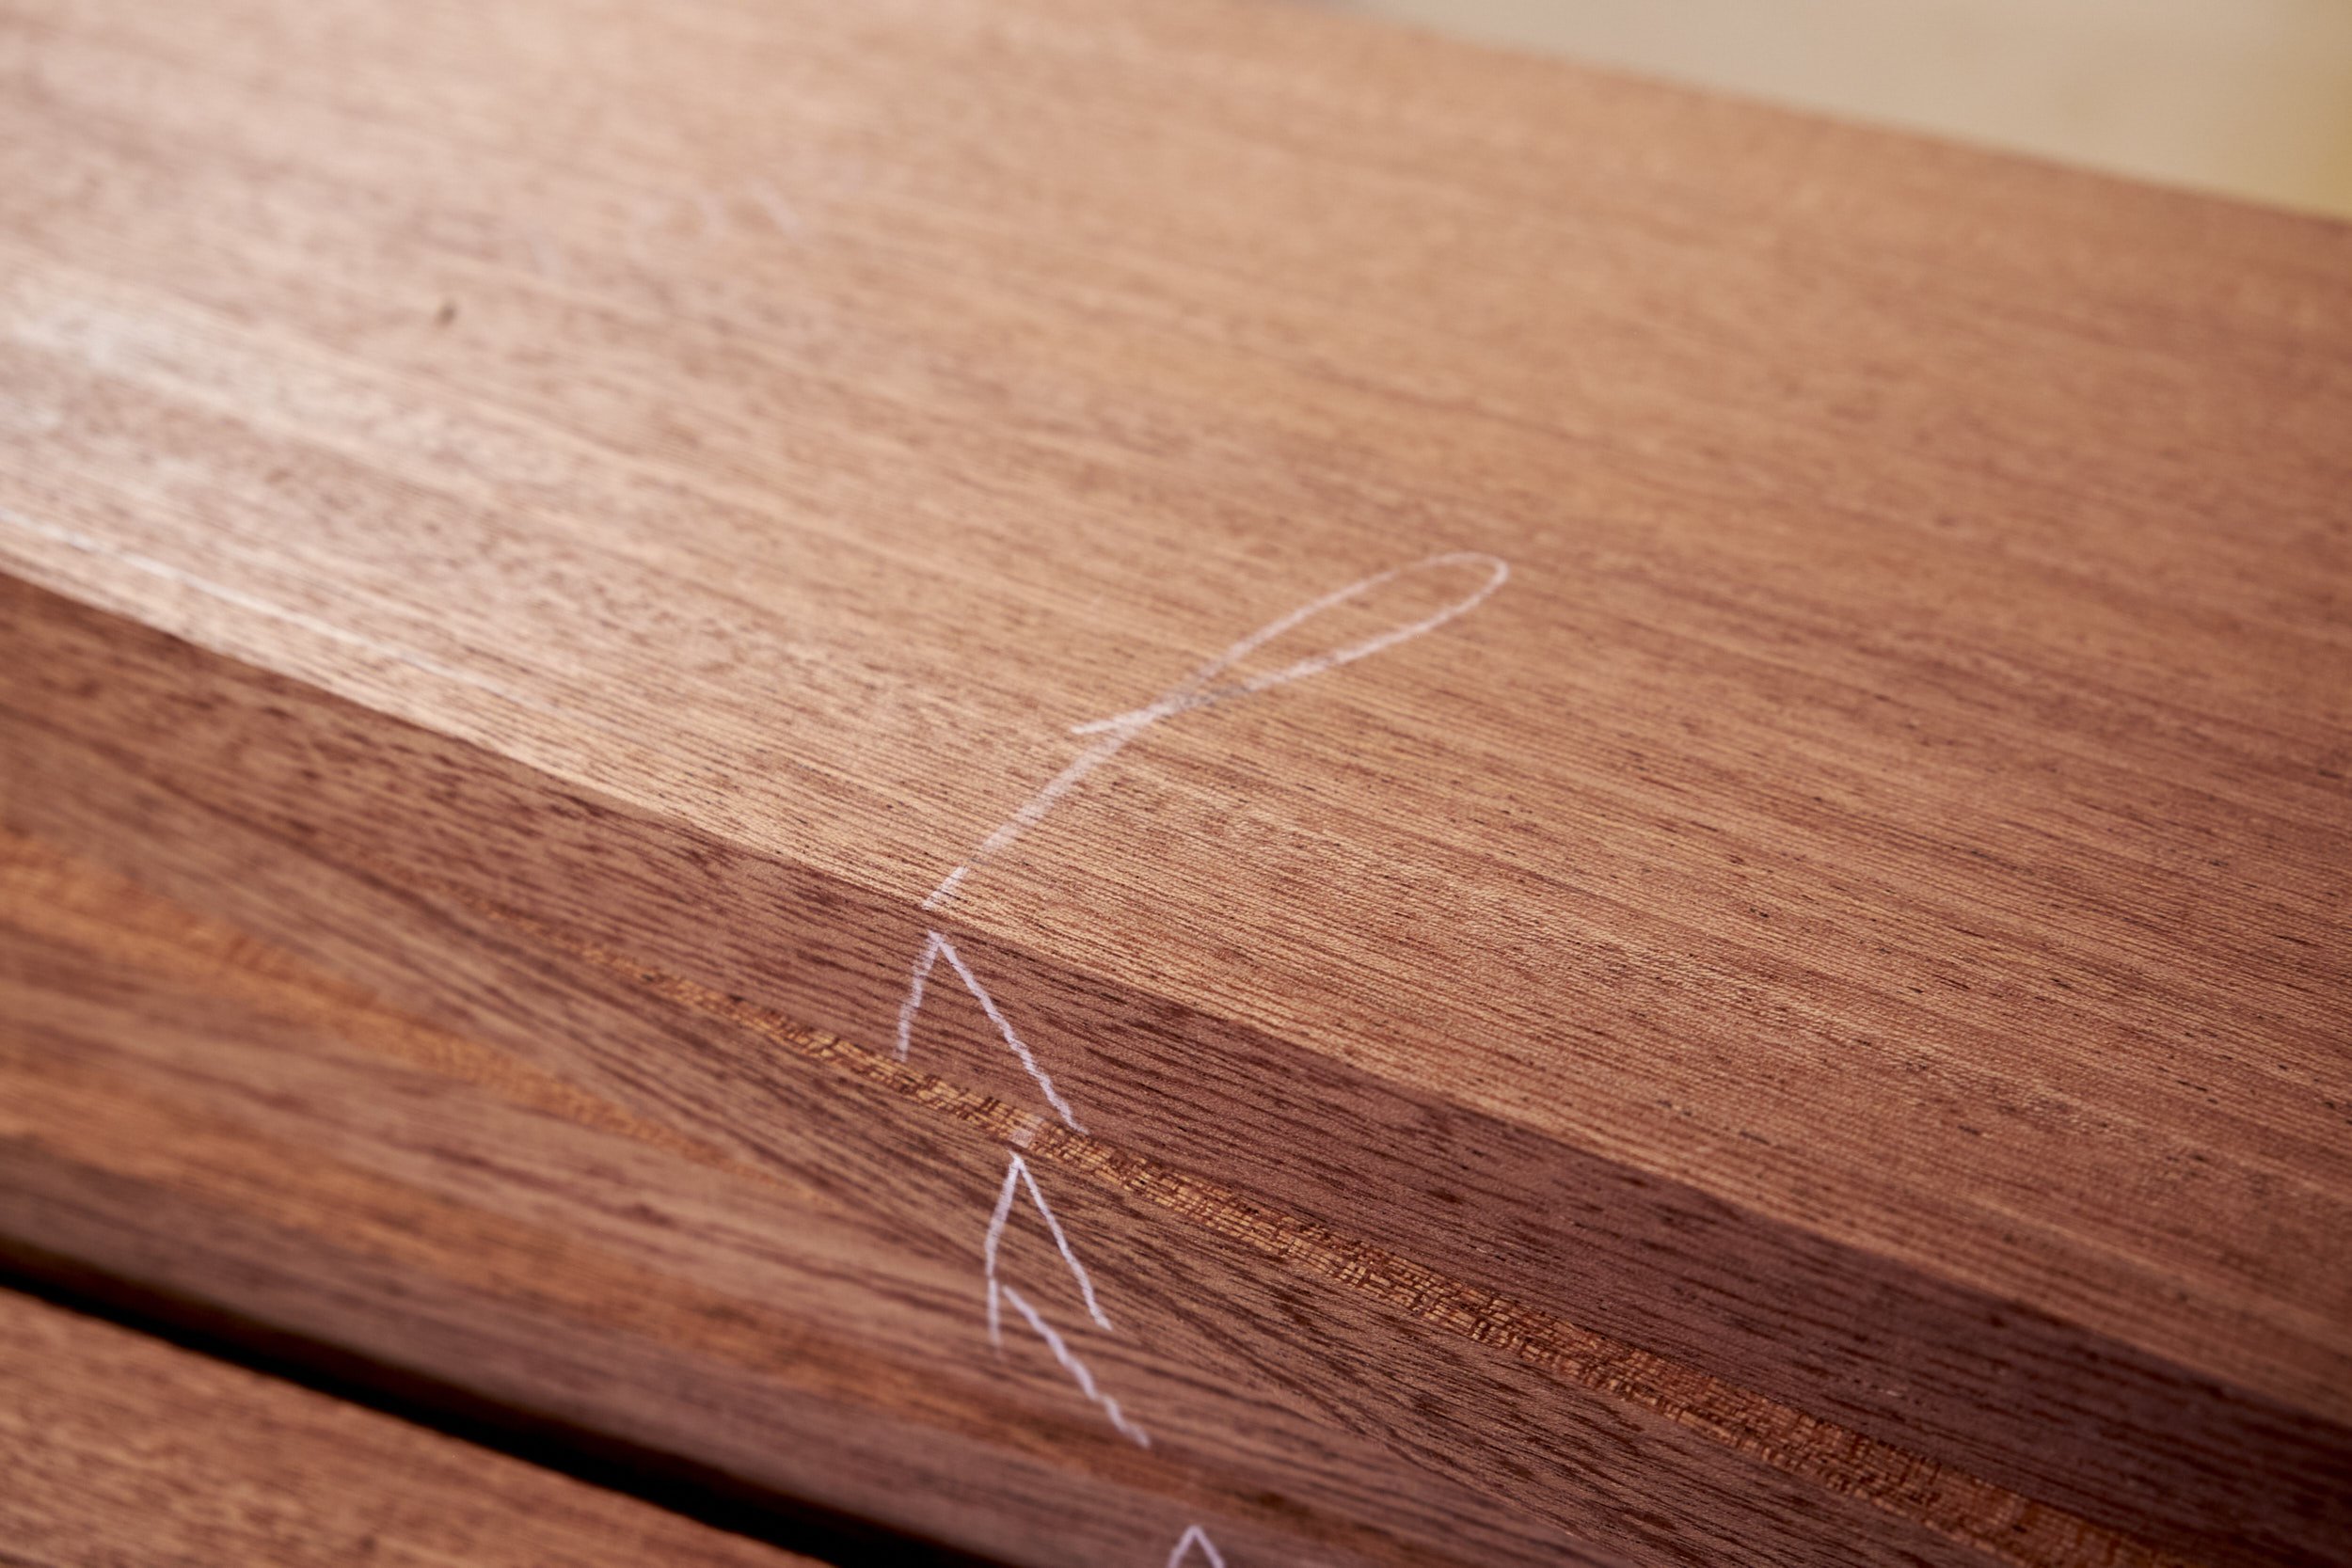
The construction was of birch ply, using kerf cuts to bend the front of the podium around radiused shelves and finishing off the edge using a local hardwood called Kiaat with a cross on the front, also in Kiaat.
Enter the Circle Guide Kit whose job it was to cut the radius on the shelves so that they could act as a form around which the ply sheet would be bent. A really good idea as long as the kerf cuts resulted in a symmetrical bend which it didn’t!
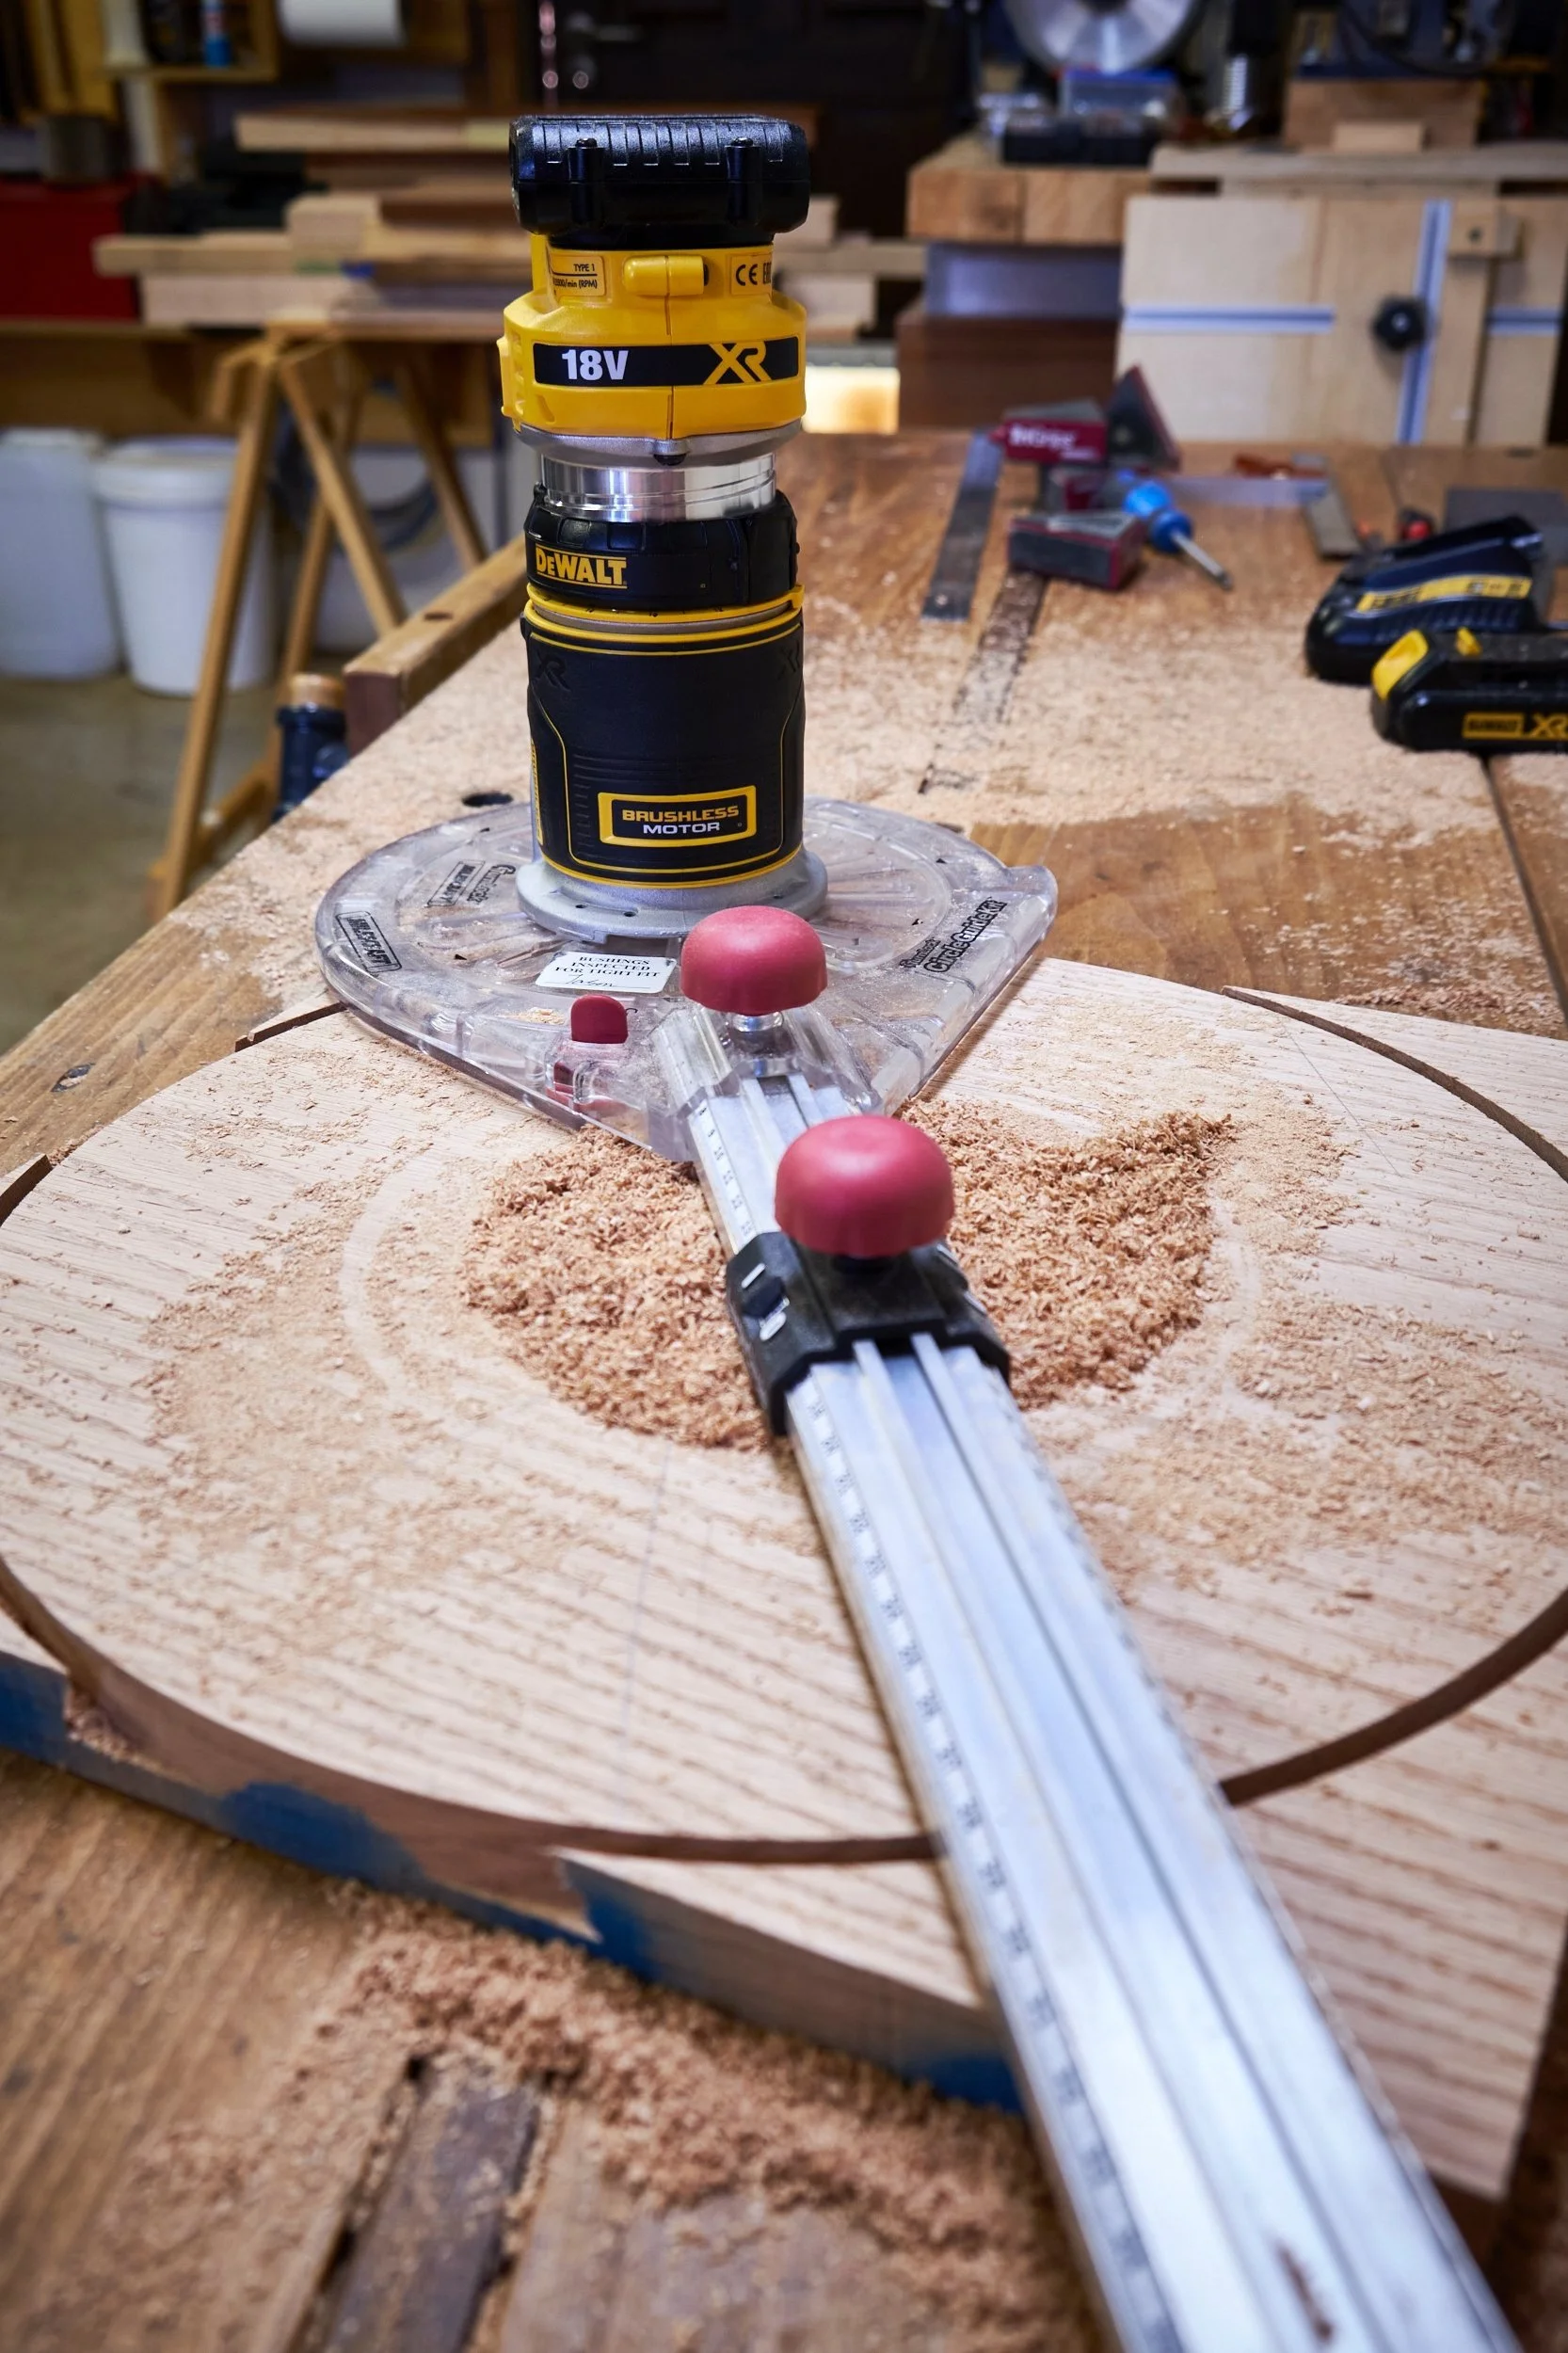
At least the kit helped me get the shelves into a “rough” shape that I was able to sand on the belt sander to get a perfect fit. Thankfully there was only THREE!
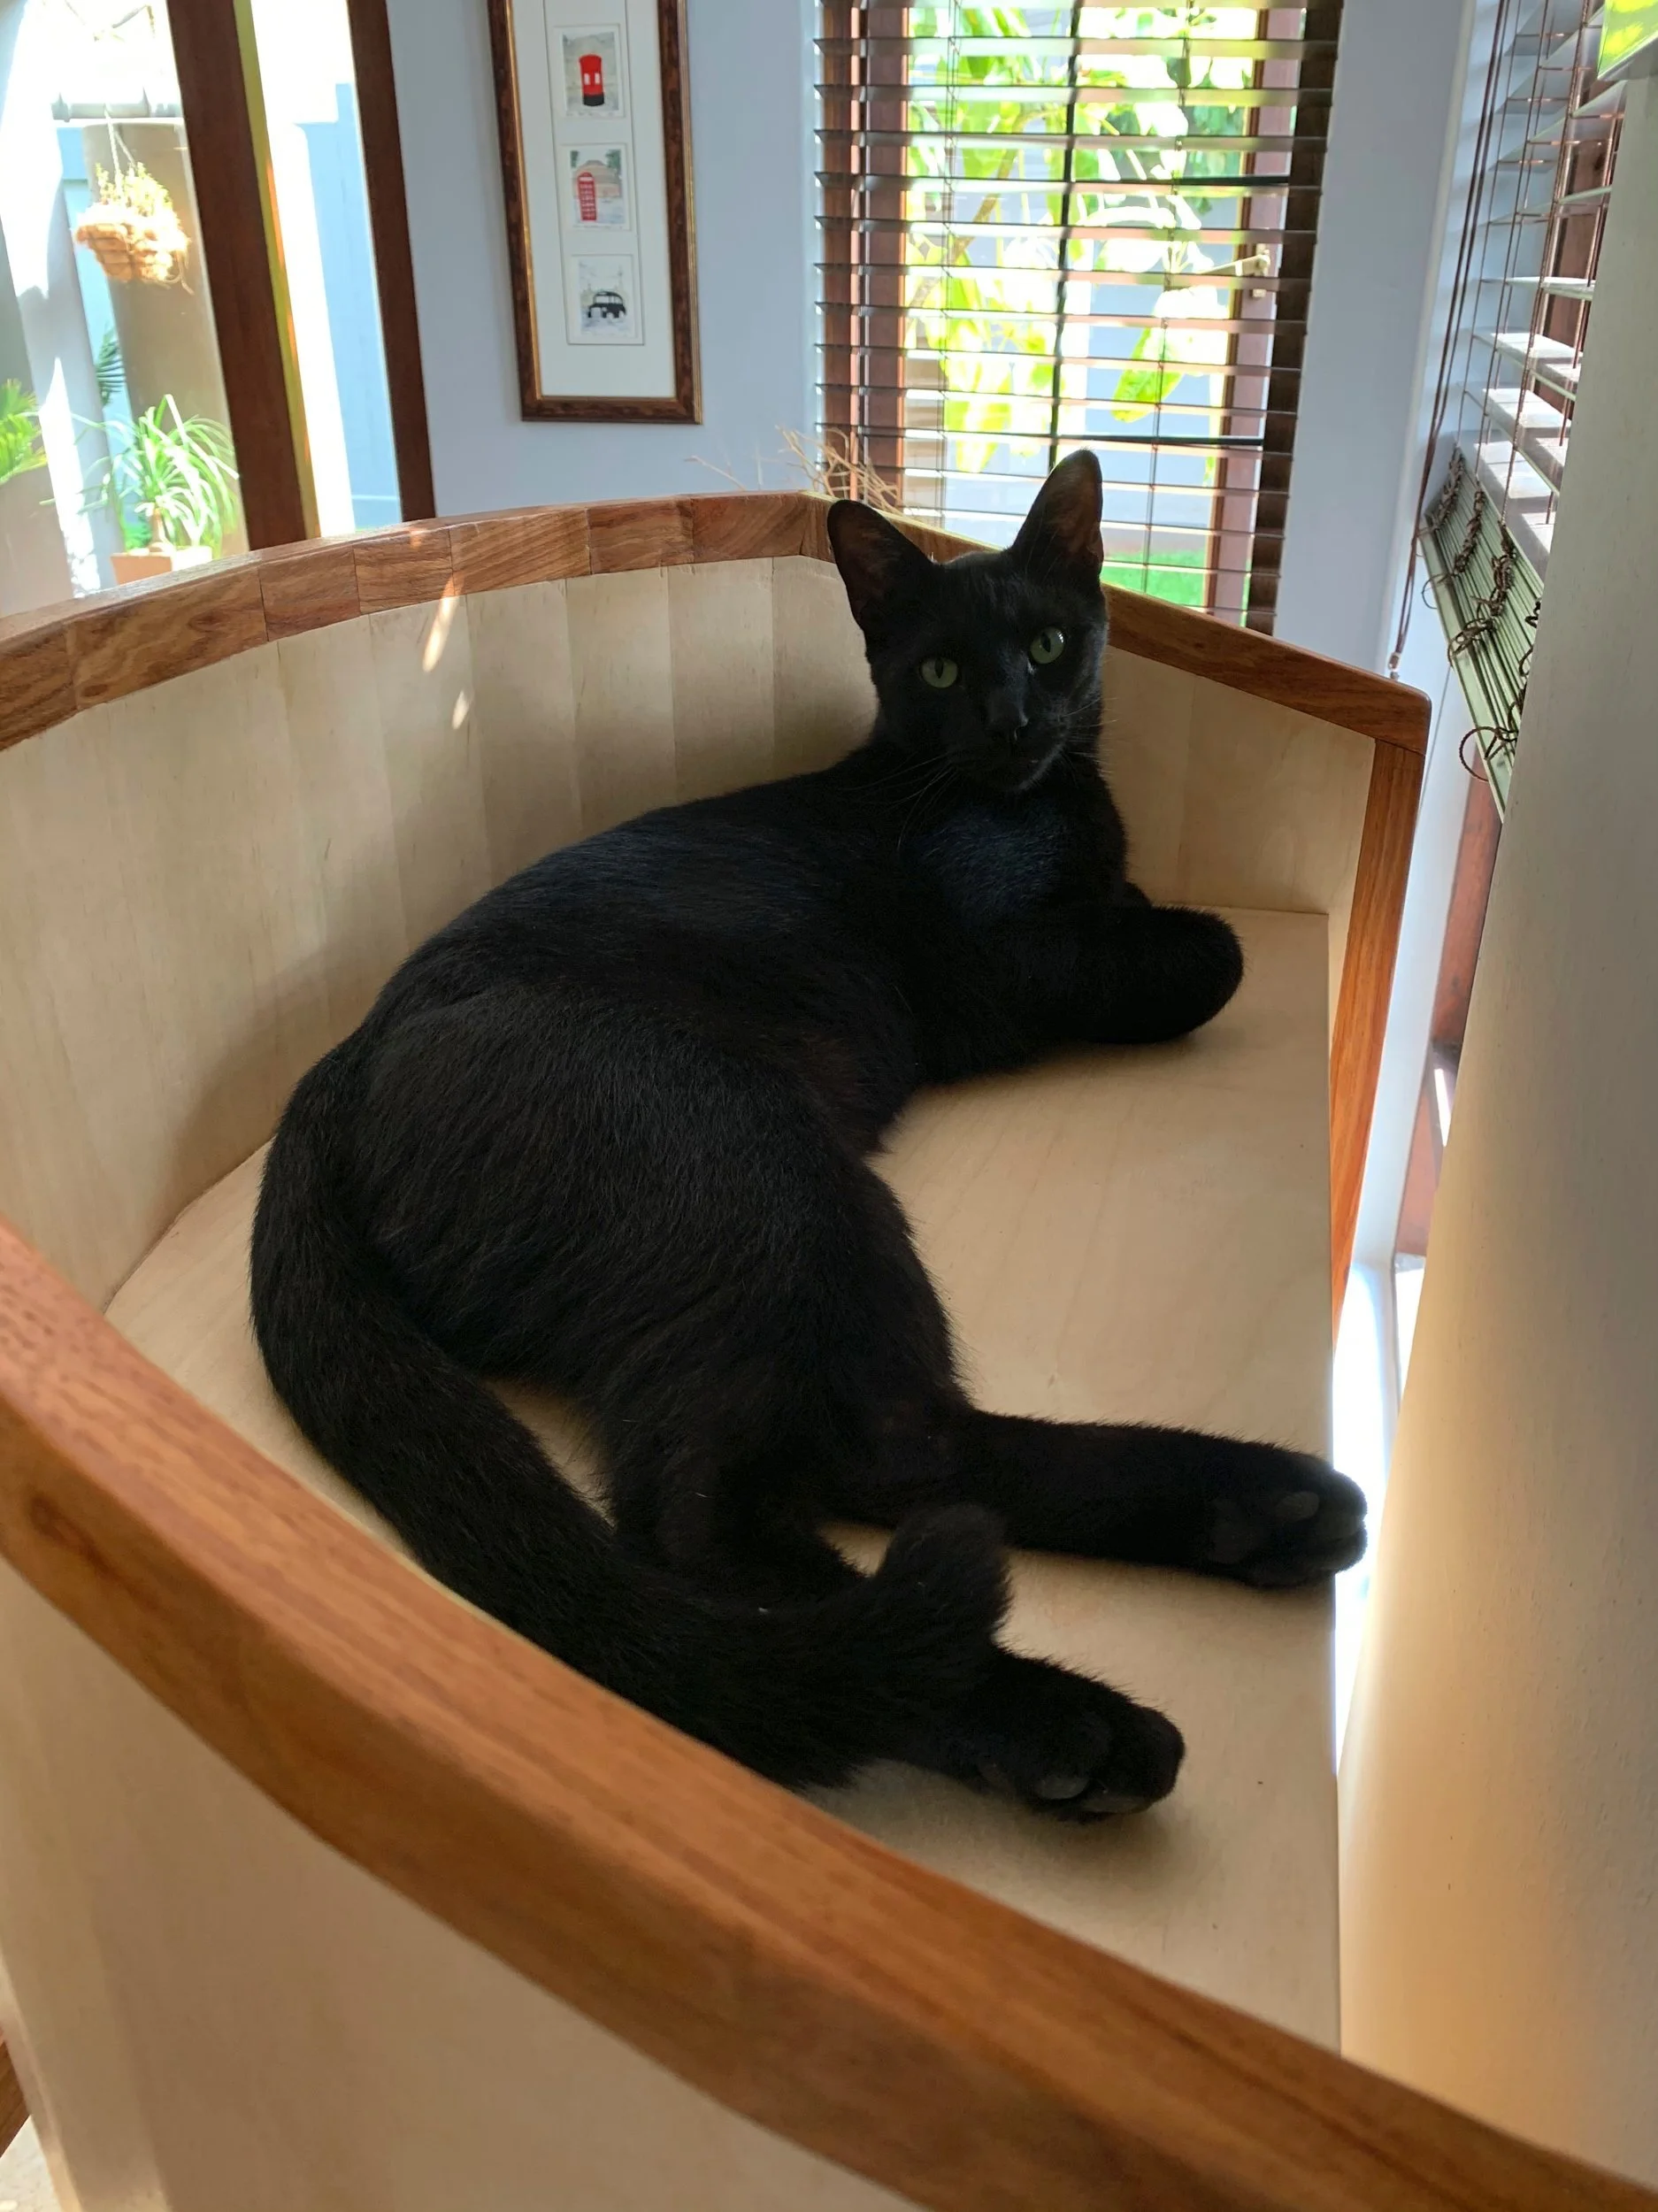
The podium turned out great and I’m told it’s still in use, three years after the fact. I just have to share pictures of it being made so check out the gallery at the end of the article, I’ll even include a pic of Solo making it his favourite spot in the days before delivery.
These days the kit has become my favourite way of making the recesses to accommodate the feet of small bowls on a wooden condiment server that has since become popular with my sister in law as a Christmas gift. Many servers have been given so the kit has seen much use over the last few years. Come to think of it we are almost heading into November and I haven’t received any orders yet, I should follow up.
The MilesCraft Circle Guide Kit partners perfectly with my DeWalt cordless router and sees more use every year.
Frankly it’s this tool that inspired the article you are reading in the first place.
By the way the podium resulted in the acquisition of two other dedicated tools, check out the honourable mentions at the end of the article for more on these and another.
MilesCraft ScribeTec
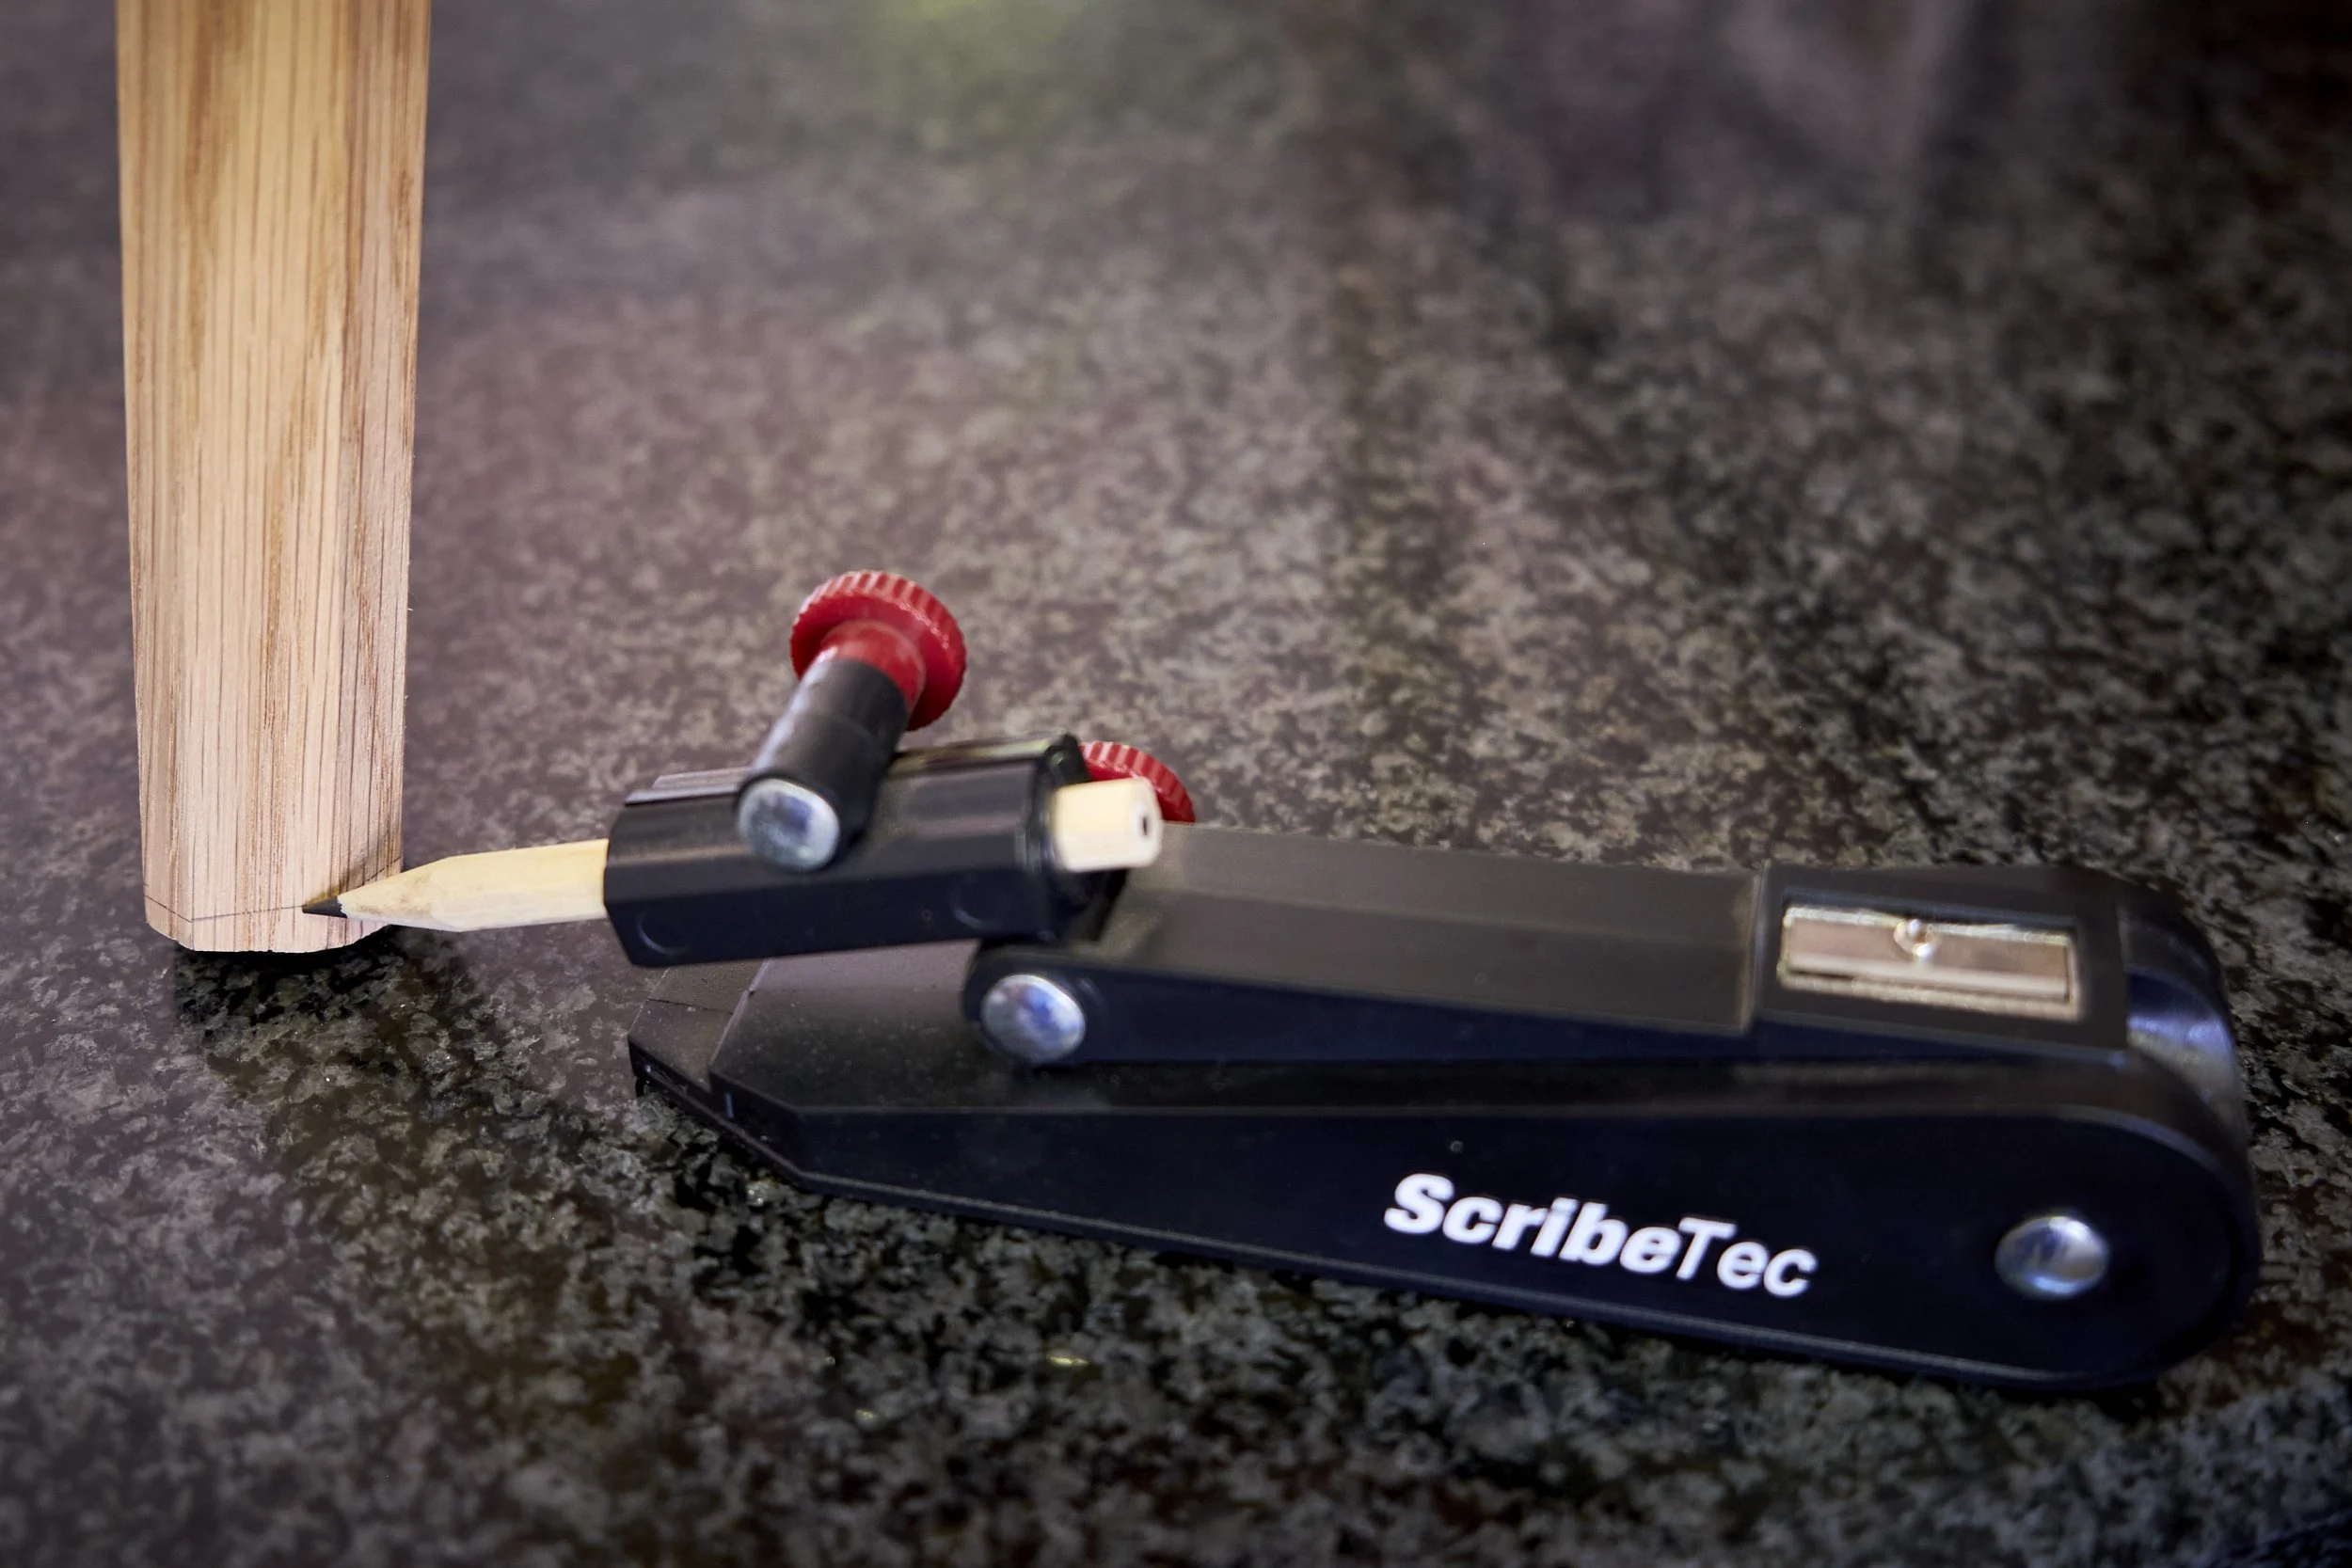
This nifty little thing came into my workshop along with my newfound desire to make stick chairs towards the end of last year.
Well, no, I lie……
It arrived in the workshop much earlier, after the thought of possibly building a stick chair was first hatched whilst reading The Anarchist’s Design Book by Christopher Schwarz. After purchase it stayed in the bag until I “unboxed” it during this article. Another item on the blogging to-do list is either a review of the ScribeTec or a how-to on using the tool.
I did purchase the item for doing layouts during stick chair builds and so far it has seen service on two saw benches and four chairs thus far.
As with the other tools in the list I bought the scribe for a specific purpose but it has come to shine in an unintended use. My first thought for using the scribe was to mark out the shelf that accommodates the backrest dowels on a chair seat before shaping the saddle. Considering that I have yet to actually make a chair with a saddle it has become my go-to when marking out the bottom of the legs during the levelling process. A role it fulfils with aplomb!
I am still looking for uses outside of chair making.
Leigh D4R Pro
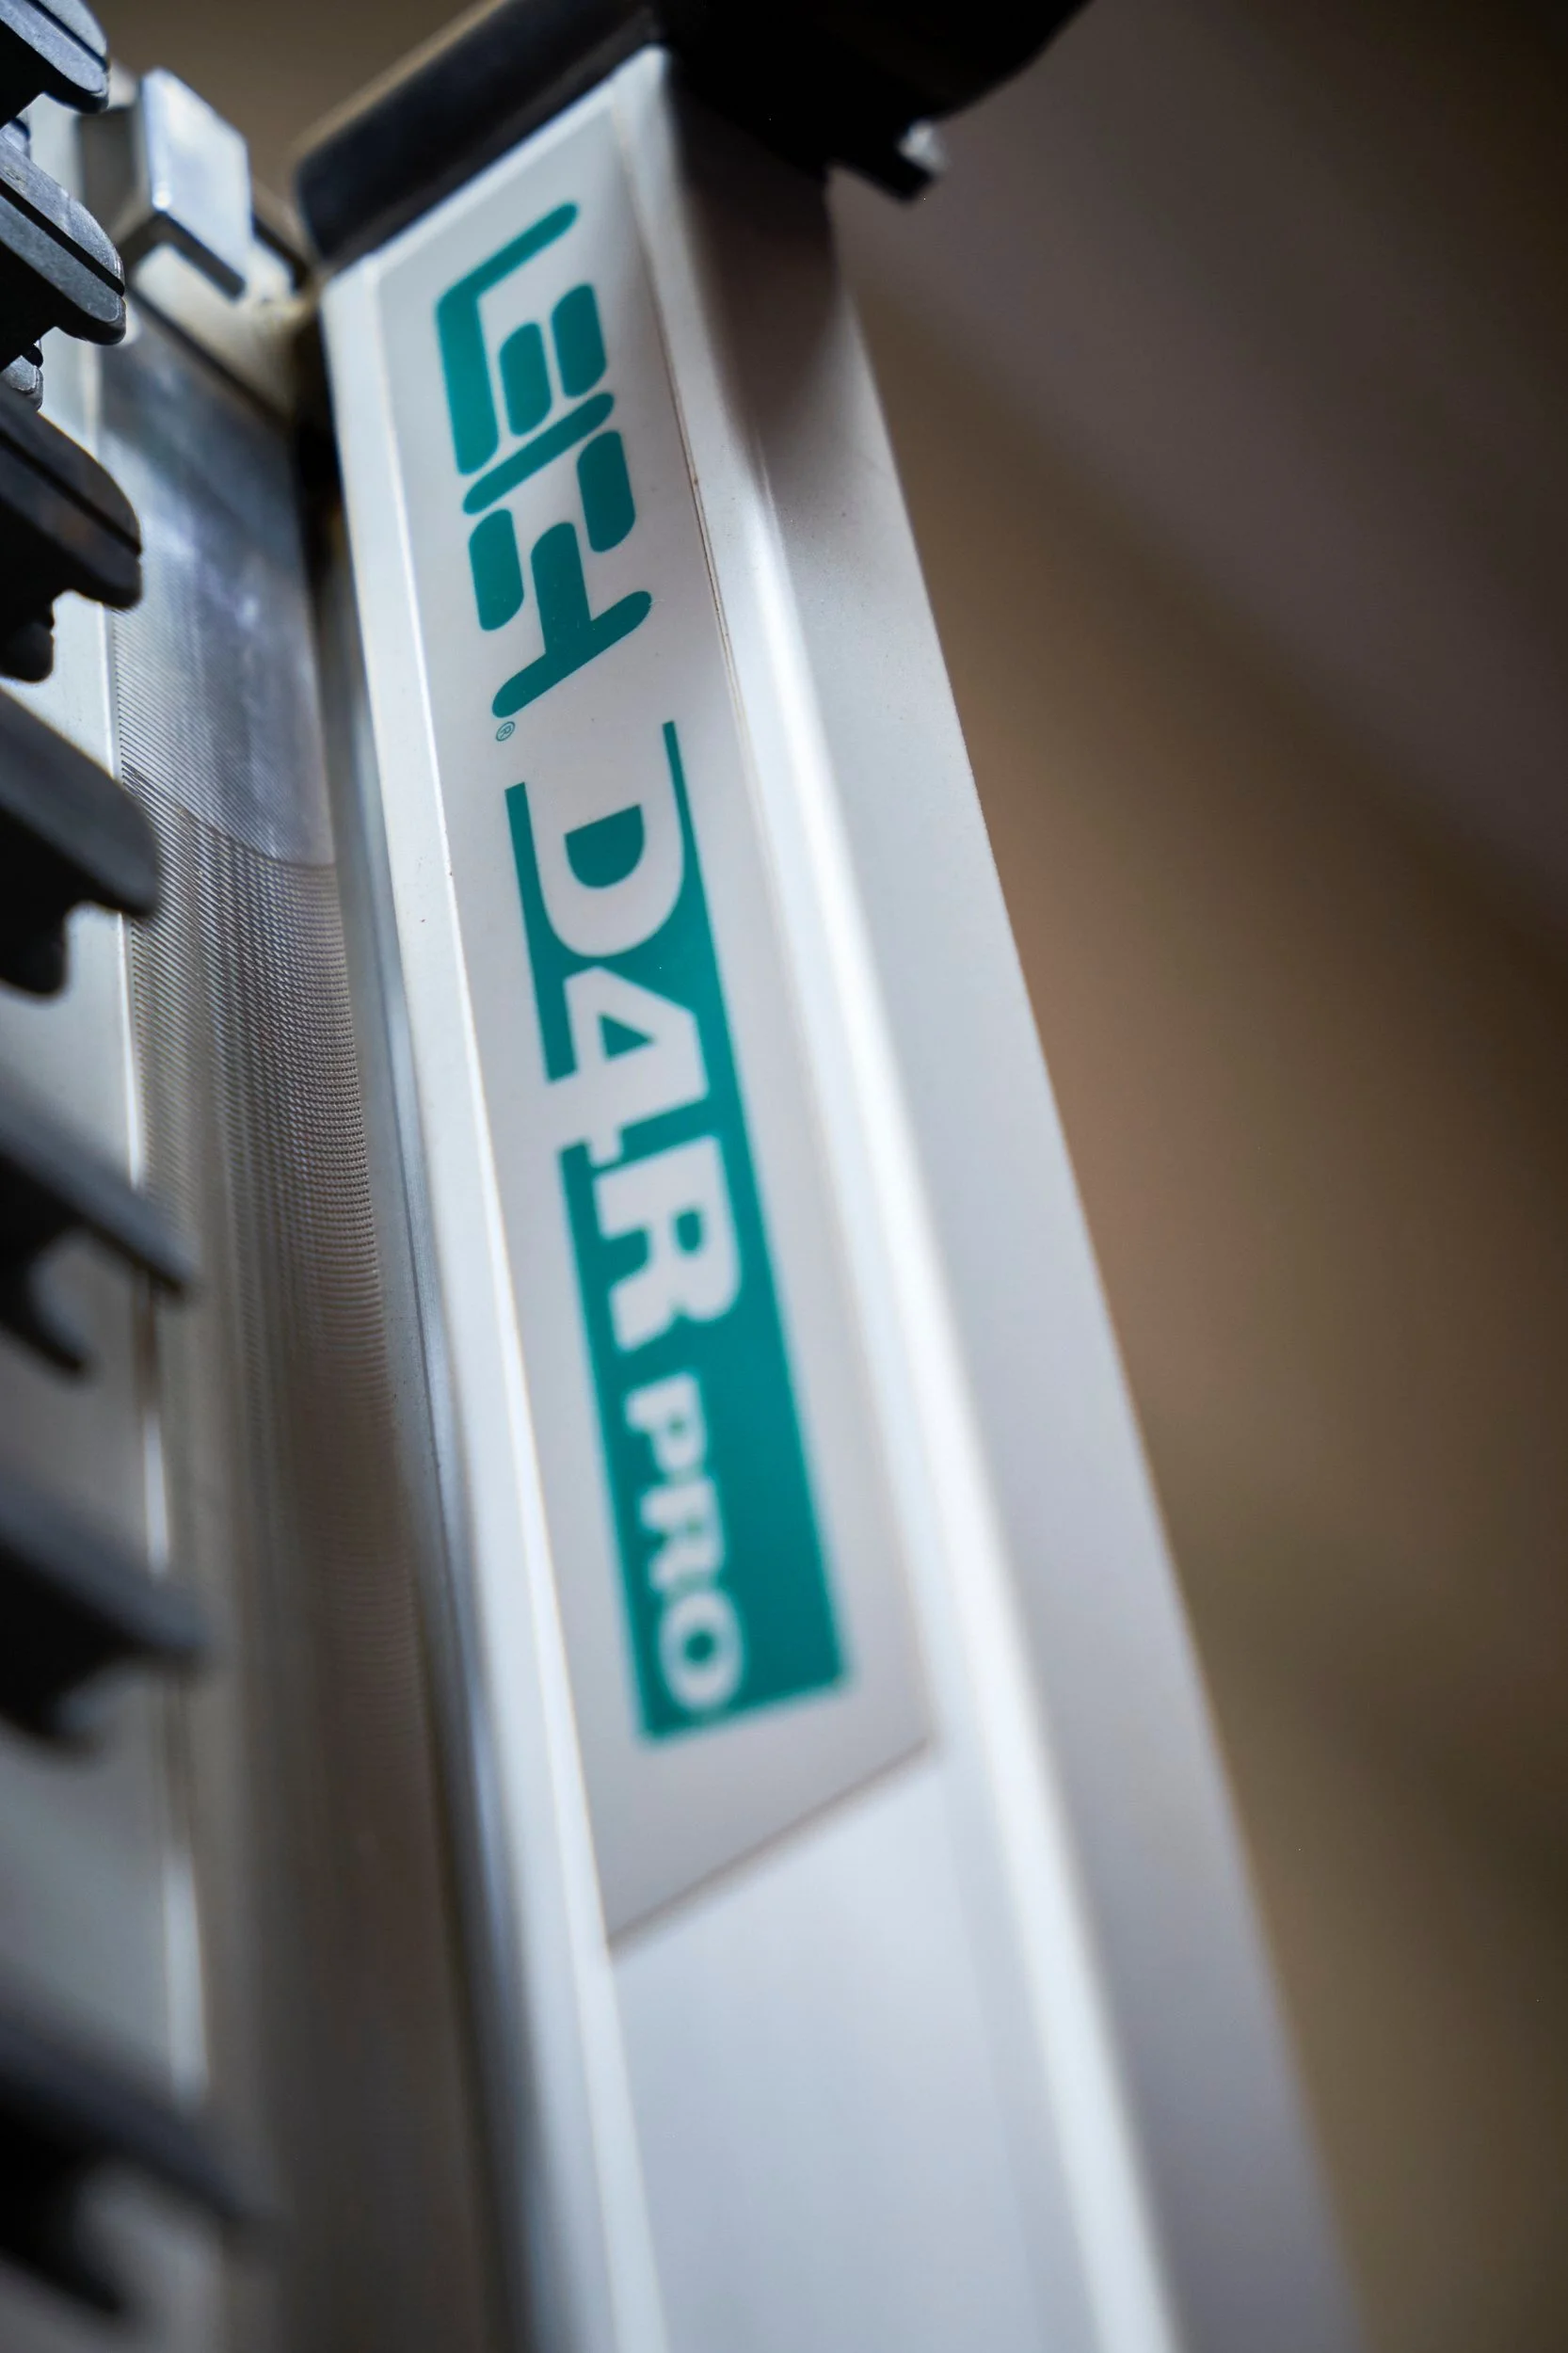
I am actually surprised that I can remember the “D4R” part without having to go down to the workshop to confirm I’m right. Usually it’s just referred to as the “Leigh jig”.
I do still need to go down and take its picture.
This one has a story and it involves a strong desire to cut dovetails on all my projects, a road trip to Still Bay and a second hand example becoming available in Bloemfontein. Torrential rain was involved at some point as well.
I love dovetails but have not been able to teach myself how to cut them by hand yet, I’m too busy learning about stick chairs and spoon carving.
Anyway a D4R Pro became available some years ago and the gent who was selling happened to live in a town that we would be passing on our way to visit my Dad in Still Bay on the Southern Cape coast. We reached Bloemfontein in pouring rain and got soaked getting out of the car to view the jig and then back to the car to clear padkos from the back seat to make space for our new passenger, an almost brand new Leigh D4R Pro which was part of a set of twins. Yes, the seller had two complete jigs amongst a twin set of Makita power tools, I kid you not, two of everything and I’m not talking about the small stuff but the biggest and best the manufacturer had to offer.
Nothing wrong with having a back up when you live in the middle of South Africa and about a four hour drive from the economic heart of the country is there?
How many customer projects have I cut dovetails on using the D4R?
One.
I don’t even have a big enough router to use with the jig anymore, having sold my large machines with the wooden screw cutting jig I was using to make the vice screws for my benches. I’m in the market for a new router by the way.
Why did this one make the list then?
I just love having the jig and the ability to cut good looking dovetails without having to learn how to do it by hand and although I’ve only had cause to use the jig on one paying job so far I have used it to make a few other projects for my own pleasure.
As in the case of staatmaker there isn’t really a good translation from Afrikaans to English of padkos, so much so that a local in South Africa is likely to use the term regardless of their mother tongue and it loosely means “snacks for the road”.
Honourable Mentions
This list is not exhaustive as I might still need to use them to make up materials for later posts. Two of these were actually bought specifically for use on the speaker’s podium mentioned earlier.
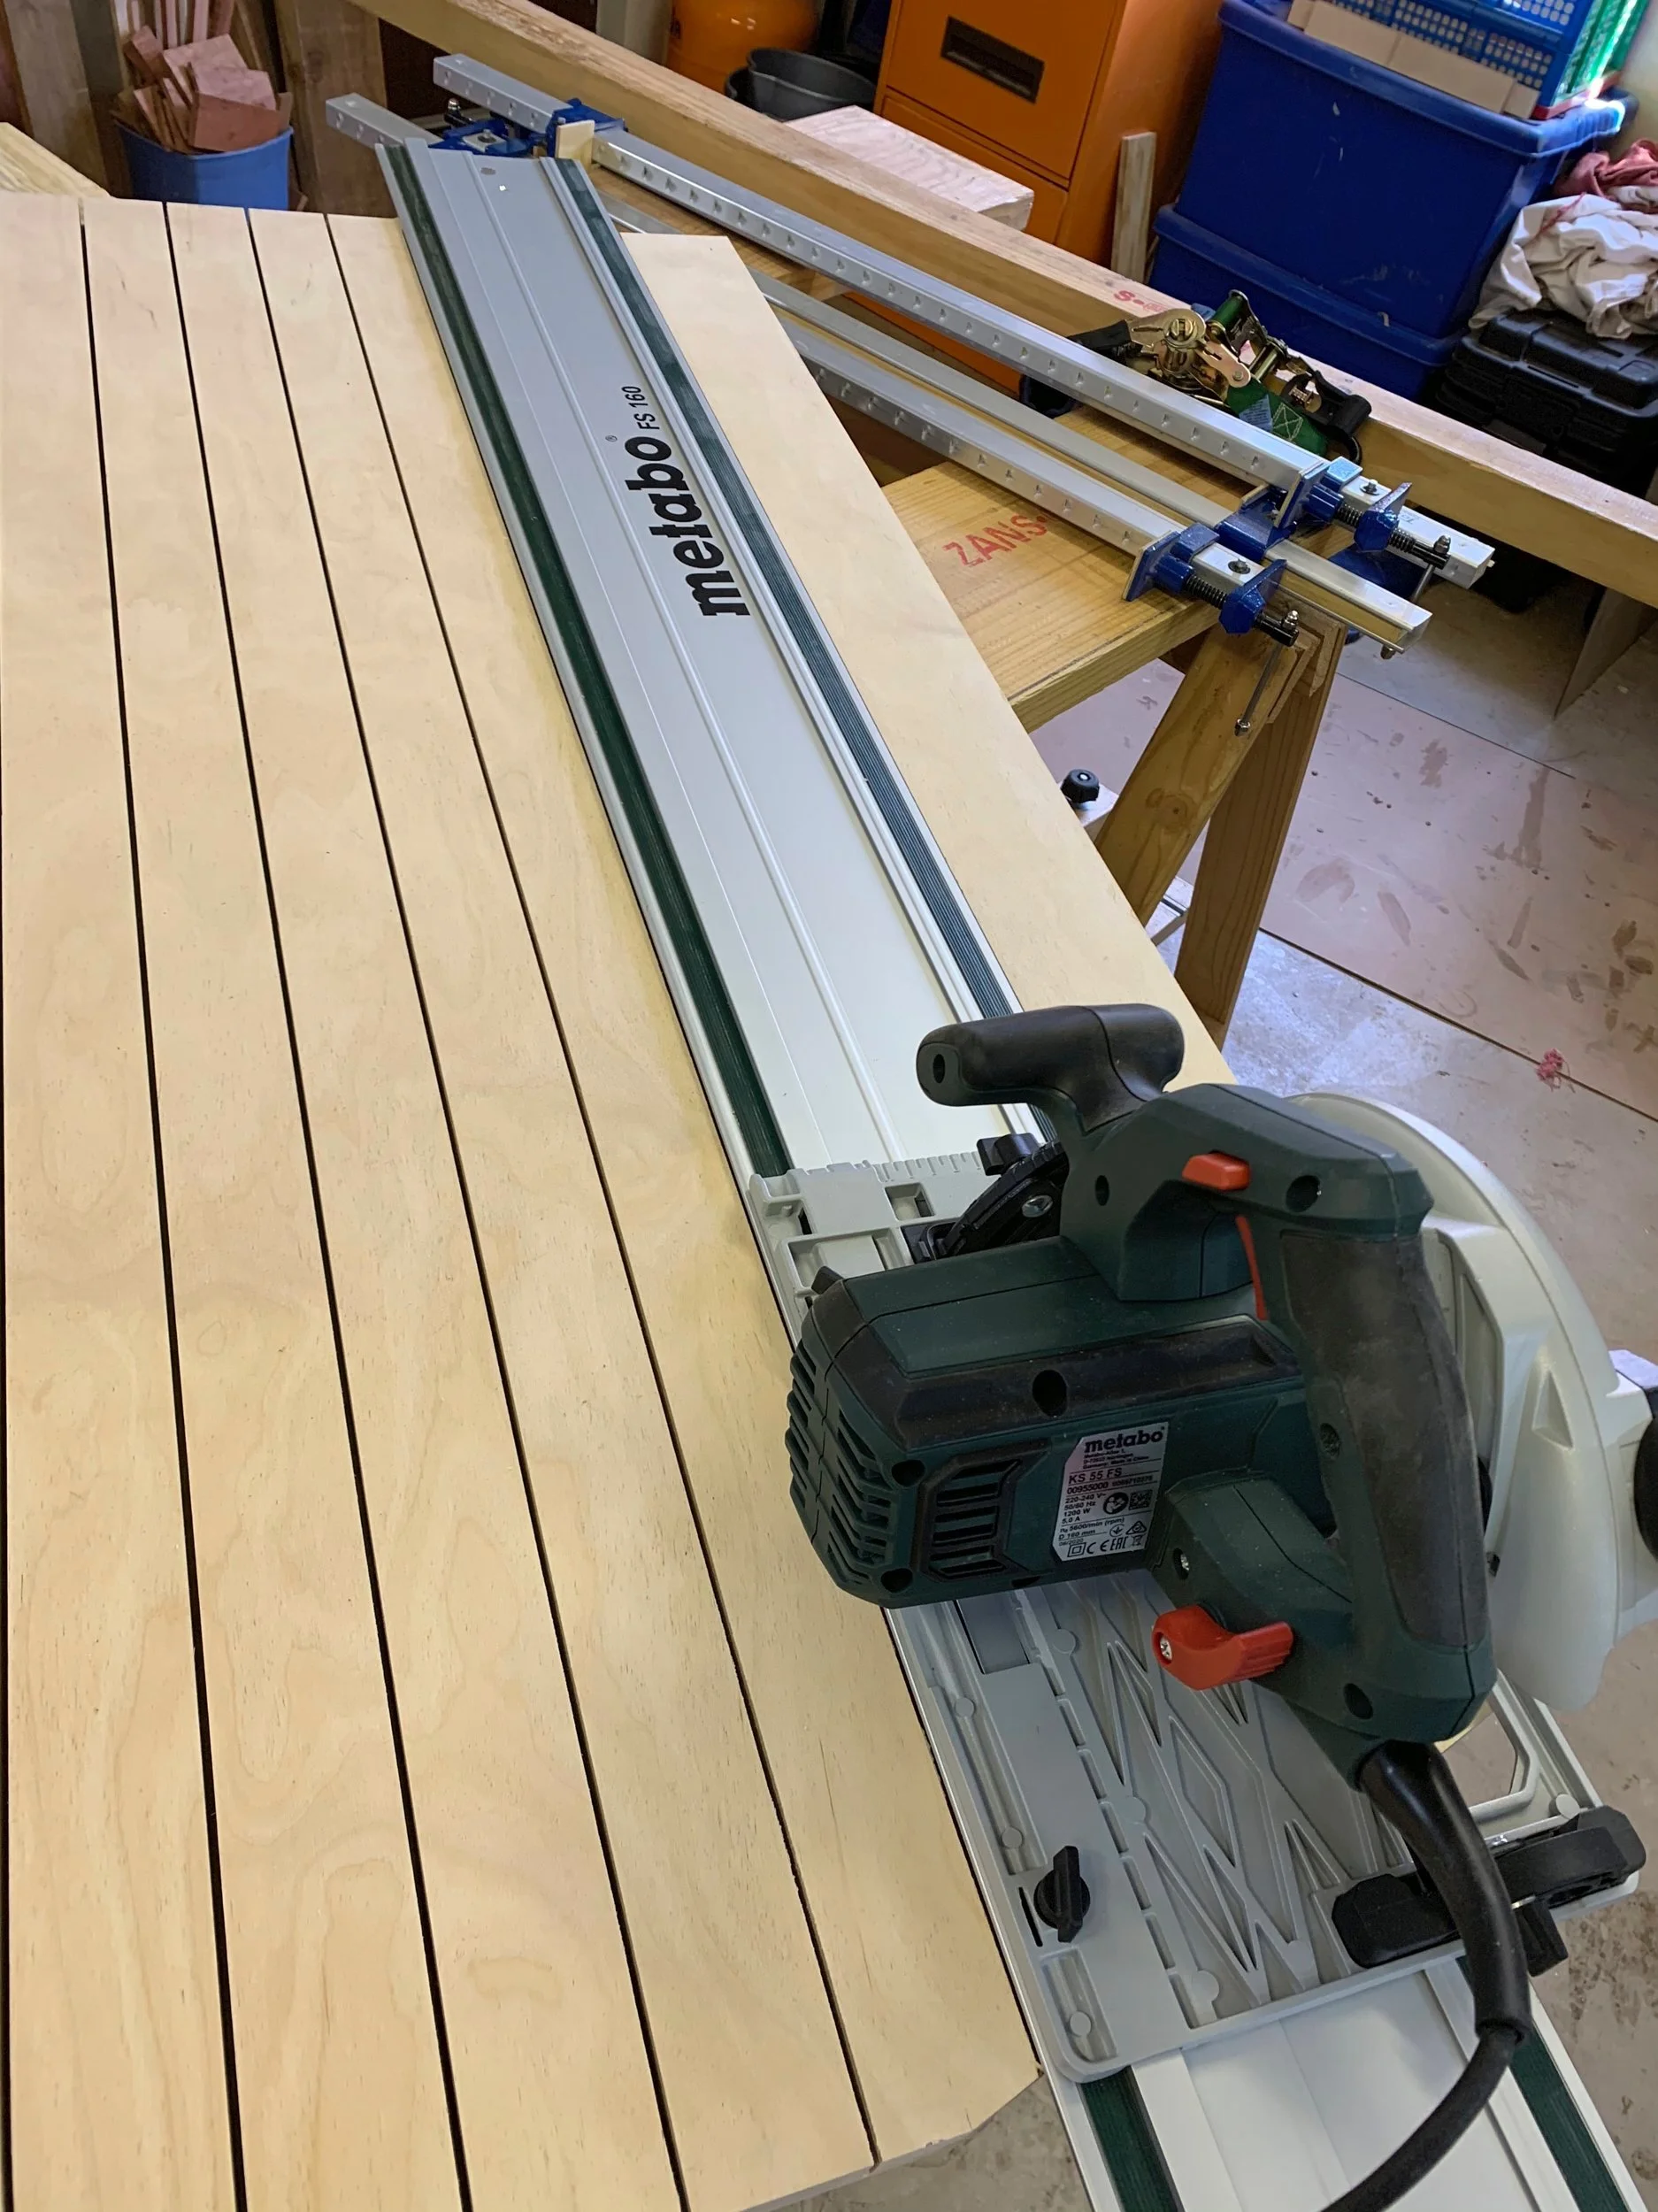
The first is the Metabo track saw you can see in action cutting the kerfs prior to the big bend. It is a brilliantly accurate tool, especially considering the price of the Festool I almost pulled the trigger on and the only reason the Metabo didn’t make the list is because I use it a lot.
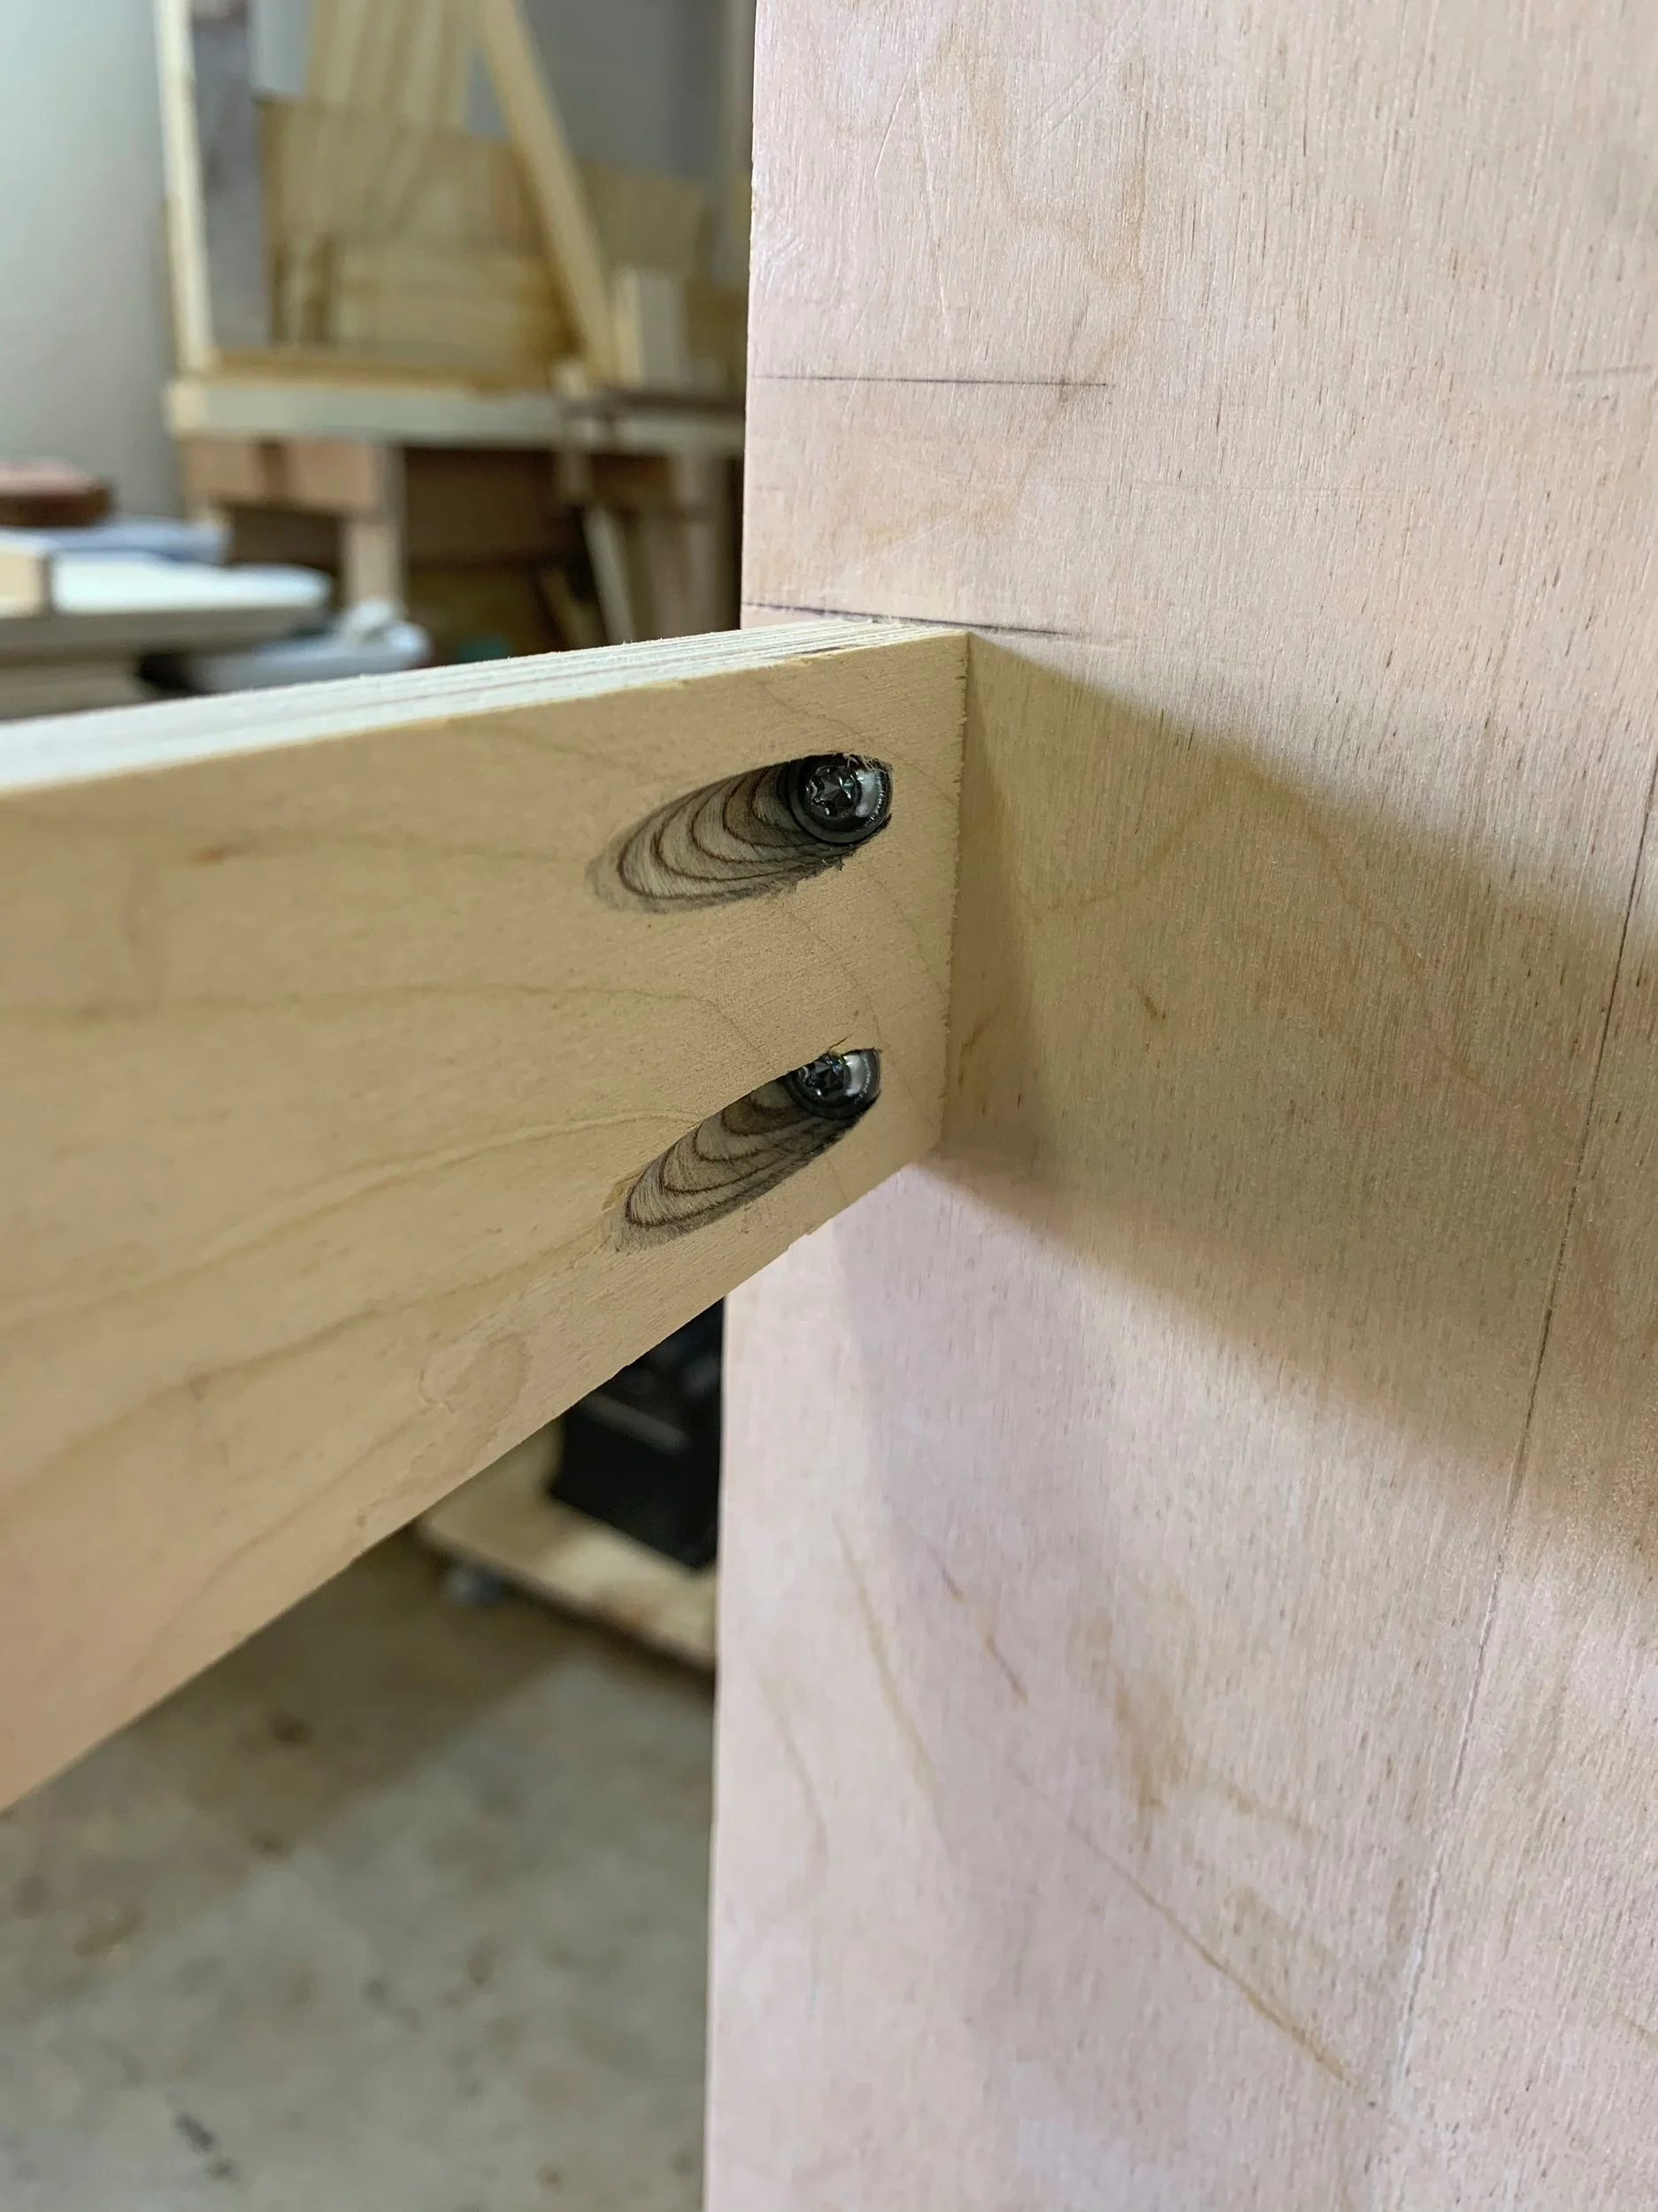
Next is the UJK Pocket Hole jig that I used to install the horizontal shelf braces on the podium, the reason it’s not on the list is that I’m not particularly glad to own it. I must admit that it has solved one or two joinery conundrums for me on occasion but I simply don’t seem to be able to develop a liking for pocket hole joinery.
The last is my belt sander, I bought it when my strategy was to retire by making chopping boards and it seemed to be the ideal solution to sand boards quickly. Honestly a drum sander would have been a better buy for the job. The reason for not making the list is that it's seen a significant amount of action recently, shaping blades and wooden hand planes.
Thank goodness I didn’t buy the drum sander and people don’t pay for decent chopping boards anyway.
As a parting shot I did mention that at the start of my woodworking journey I was a bit short on wisdom, maybe more than I might be willing to admit as witnessed by my plans with the belt sander. However, as I write about my experience while building the podium and finding the photos of the process to share below I am struck with all the ideas that come to mind that would have made the build so much easier!
Still, I’m not building another curved podium and if they ever ask me again they will get a nice wooden box to stand on and at a push I might consider throwing in a small step to help the speaker get on top of it.
Enjoy the photos.




BeaverCraft is know for their solid quality yet reasonably priced whittling and spoon carving tools. Their tools are also now available on South African shores through Creative Turning. Read about my BeaverCraft shopping spree and learn more of our plans to bring spoon carving and whittling to your front door, that is if you happen to call SA your home.