
BeaverCraft Is Now Available In South Africa!
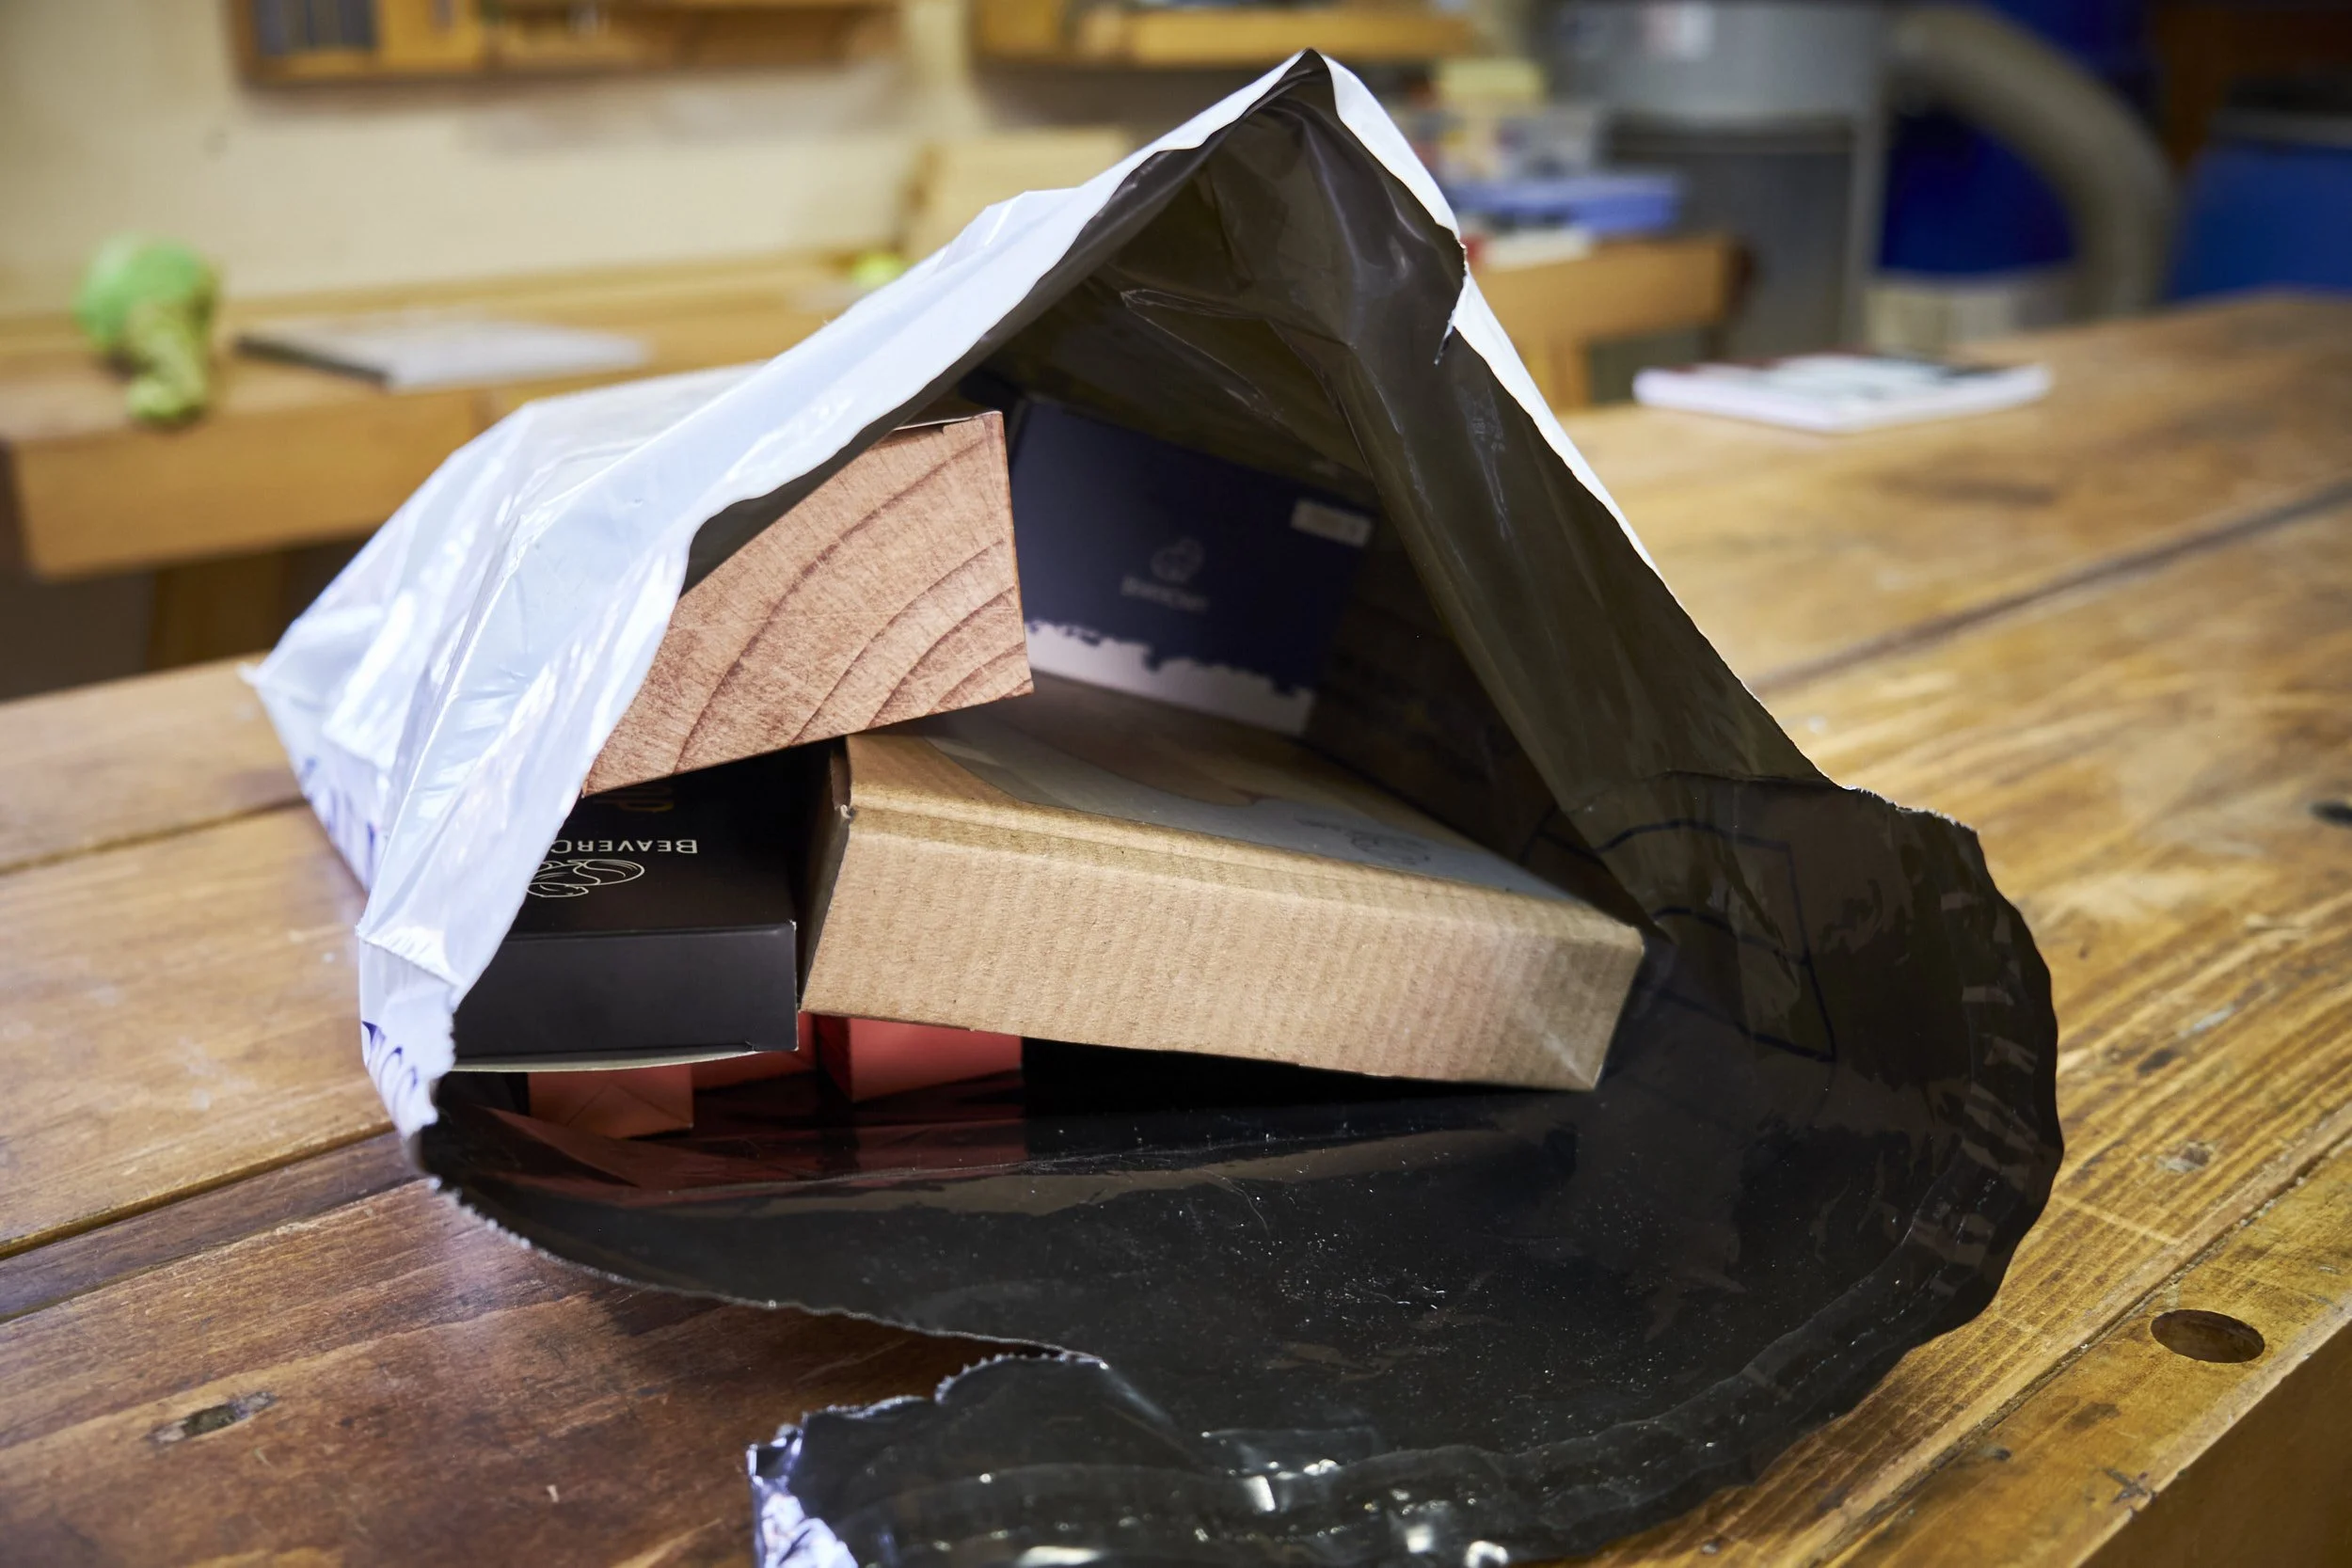
When I start an article with a plastic bag filled with goodies you KNOW what’s coming!
At least this time around the contents haven’t been lying in the workshop and collecting dust for more than a year before I got around to sharing my latest acquisitions with you. Need a reminder? Head over here to watch me unpack that bag.
Some readers will remember a post earlier this year where I detailed my sojourn into the world of whittling and carving. I’m still at it and learning all I can but in that particular example of literary excellence I mention that I managed to get my hands on some BeaverCraft carving tools and that my first impressions of their offering was positive, especially when it came to their brilliant service.
Anyway, as soon as the tools from Ukraine arrived at my doorstep I whittled one or two caricatures and shared the results to a woodworking group I belong to. No sooner did I press send, when I got a reply from another member of the association asking my opinion on the BeaverCraft tools I mentioned in the post.
This is where the story of a plastic bag filled with unopened boxes starts.
Turns out that BeaverCraft had been asking a friend if he would be interested in importing and representing their products in South Africa. Carel, owns a company called Creative Turning here in SA and he is partially to blame for helping me get into wood turning. Since I first met Carel I’ve spent an inordinate amount of time with him at his home discussing turning and learning all I could about this aspect of woodworking.
And so we get to the plastic bag and its contents.
We agreed to meet up and discuss BeaverCraft’s products and at the end of our meeting I offered my services to Carel on the educational front to help develop the spoon carving/whittling market in our region and his company will be the first to stock an extensive range of tools and knives for this pastime here in SA.
To have some idea of what I would be talking about when using BeaverCraft tools I need to use them in practice and inform myself about what prospective customers and students could expect whilst using the tools both during class and afterwards, so I placed an order for myself with Carel to be included in his first shipment from Ukraine and after a couple of weeks came home with a bag filled to the brim with new toys to try out and learn how to use.
What follows is a summary of what I ordered and how each fits in with the broader plan to bring whittling and primarily spoon carving, to our shores, I’ll also share my initial thoughts on each.
Note the date you read these words, it may have historical significance, “we are about to bring the spoon carving culture to South Africa”. The project could also just fail miserably and we will laugh about our naivety over a beer in 5 years!
You can help this grand plan along by signing up to the PlyCreations’ community and be the first to learn when our first spoon carving courses go live and get in on discounts and special offers. Also keep an eye on the course page on my site for this and other upcoming courses - I am currently working on three new offerings.
Let’s start with the item I was most excited to get my hands on.
Compact Long-Bearded Bushcraft Hatchet

All hatchets are axes but not all axes are hatchets, let that sink in for a moment………..
This is a new one for BeaverCraft and it became available on their website only a matter of weeks before my first visit to Carel to discuss our plans. Their Compact Bushcraft Hatchet has received positive reviews on the net and would have been my first choice had this version not made its debut.
The reason for going with the bearded axe was that the blade geometry allows one’s hand to move up on the handle and get in behind the force of the cut when doing fine work. At least this is what my research and watching other spoon carvers using a carving axe on YouTube tells me is the case. Bearded axes also look incredibly cool and provide the user with a healthy macho score in the eyes of onlookers during use. All part of our marketing tactics as soon as we start doing demos and offering classes.
My initial impressions of the hatchet are good and I was surprised at how light it felt in hand. I was concerned by the weight at the start, preferring the weight of quality but after shaping my first two spoon blanks my right wrist was very thankful that quality could also come in lighter packages!
The BeaverCraft website claims that the hatchet comes razor sharp but it needed honing before I could make my first cuts with it - is that cuts or chops? Don’t get me wrong it came sharp out of the box and would likely take the fingers off a careless lumberjack but I wouldn’t call it razor sharp by any means.
Did you know that the head of an axe is hung off the wooden handle? Neither did I, but in this case the handle is of very straight grained ash which seems to be well secured to the head by a metal wedge. All good things I am told and time will tell if the head of the axe remains hung in extensive use.
But not all is perfect.
The description on the site also mentions that the bevel leading to the cutting edge is shaped convex in an effort to “facilitate seamless penetration” into the wood “allowing for deeper cuts with minimal effort”. Ideal in a bushcraft setting I am sure. However, whilst hacking at my first spoon blanks I found this bevel configuration to be slightly frustrating when making high angled cuts into the blank, with the bevel glancing off the wood before the edge could “bite”.
Consensus seems to be that a flat wide bevel on a hatchet is the way to go in a carving situation so I spent this morning making the convex bevel flat and moving the bevels even further back into the head of the axe and getting the edge as sharp as I would dare. I now have a hatchet that has shiny flat bevels on either side and can slice paper, just like on YouTube!
By the way I never thought you could get an axe this sharp.
I have to add that this convex bevel thing is no fault of BeaverCraft, they don’t tote their axes as carving tools but rather as bushcraft tools and as such a convex bevel is the norm. It could be sharper though.
On to another essential.
Dual-Sided Leather Paddle Strop For Hook Knives & Gouges + Stropping Wheel
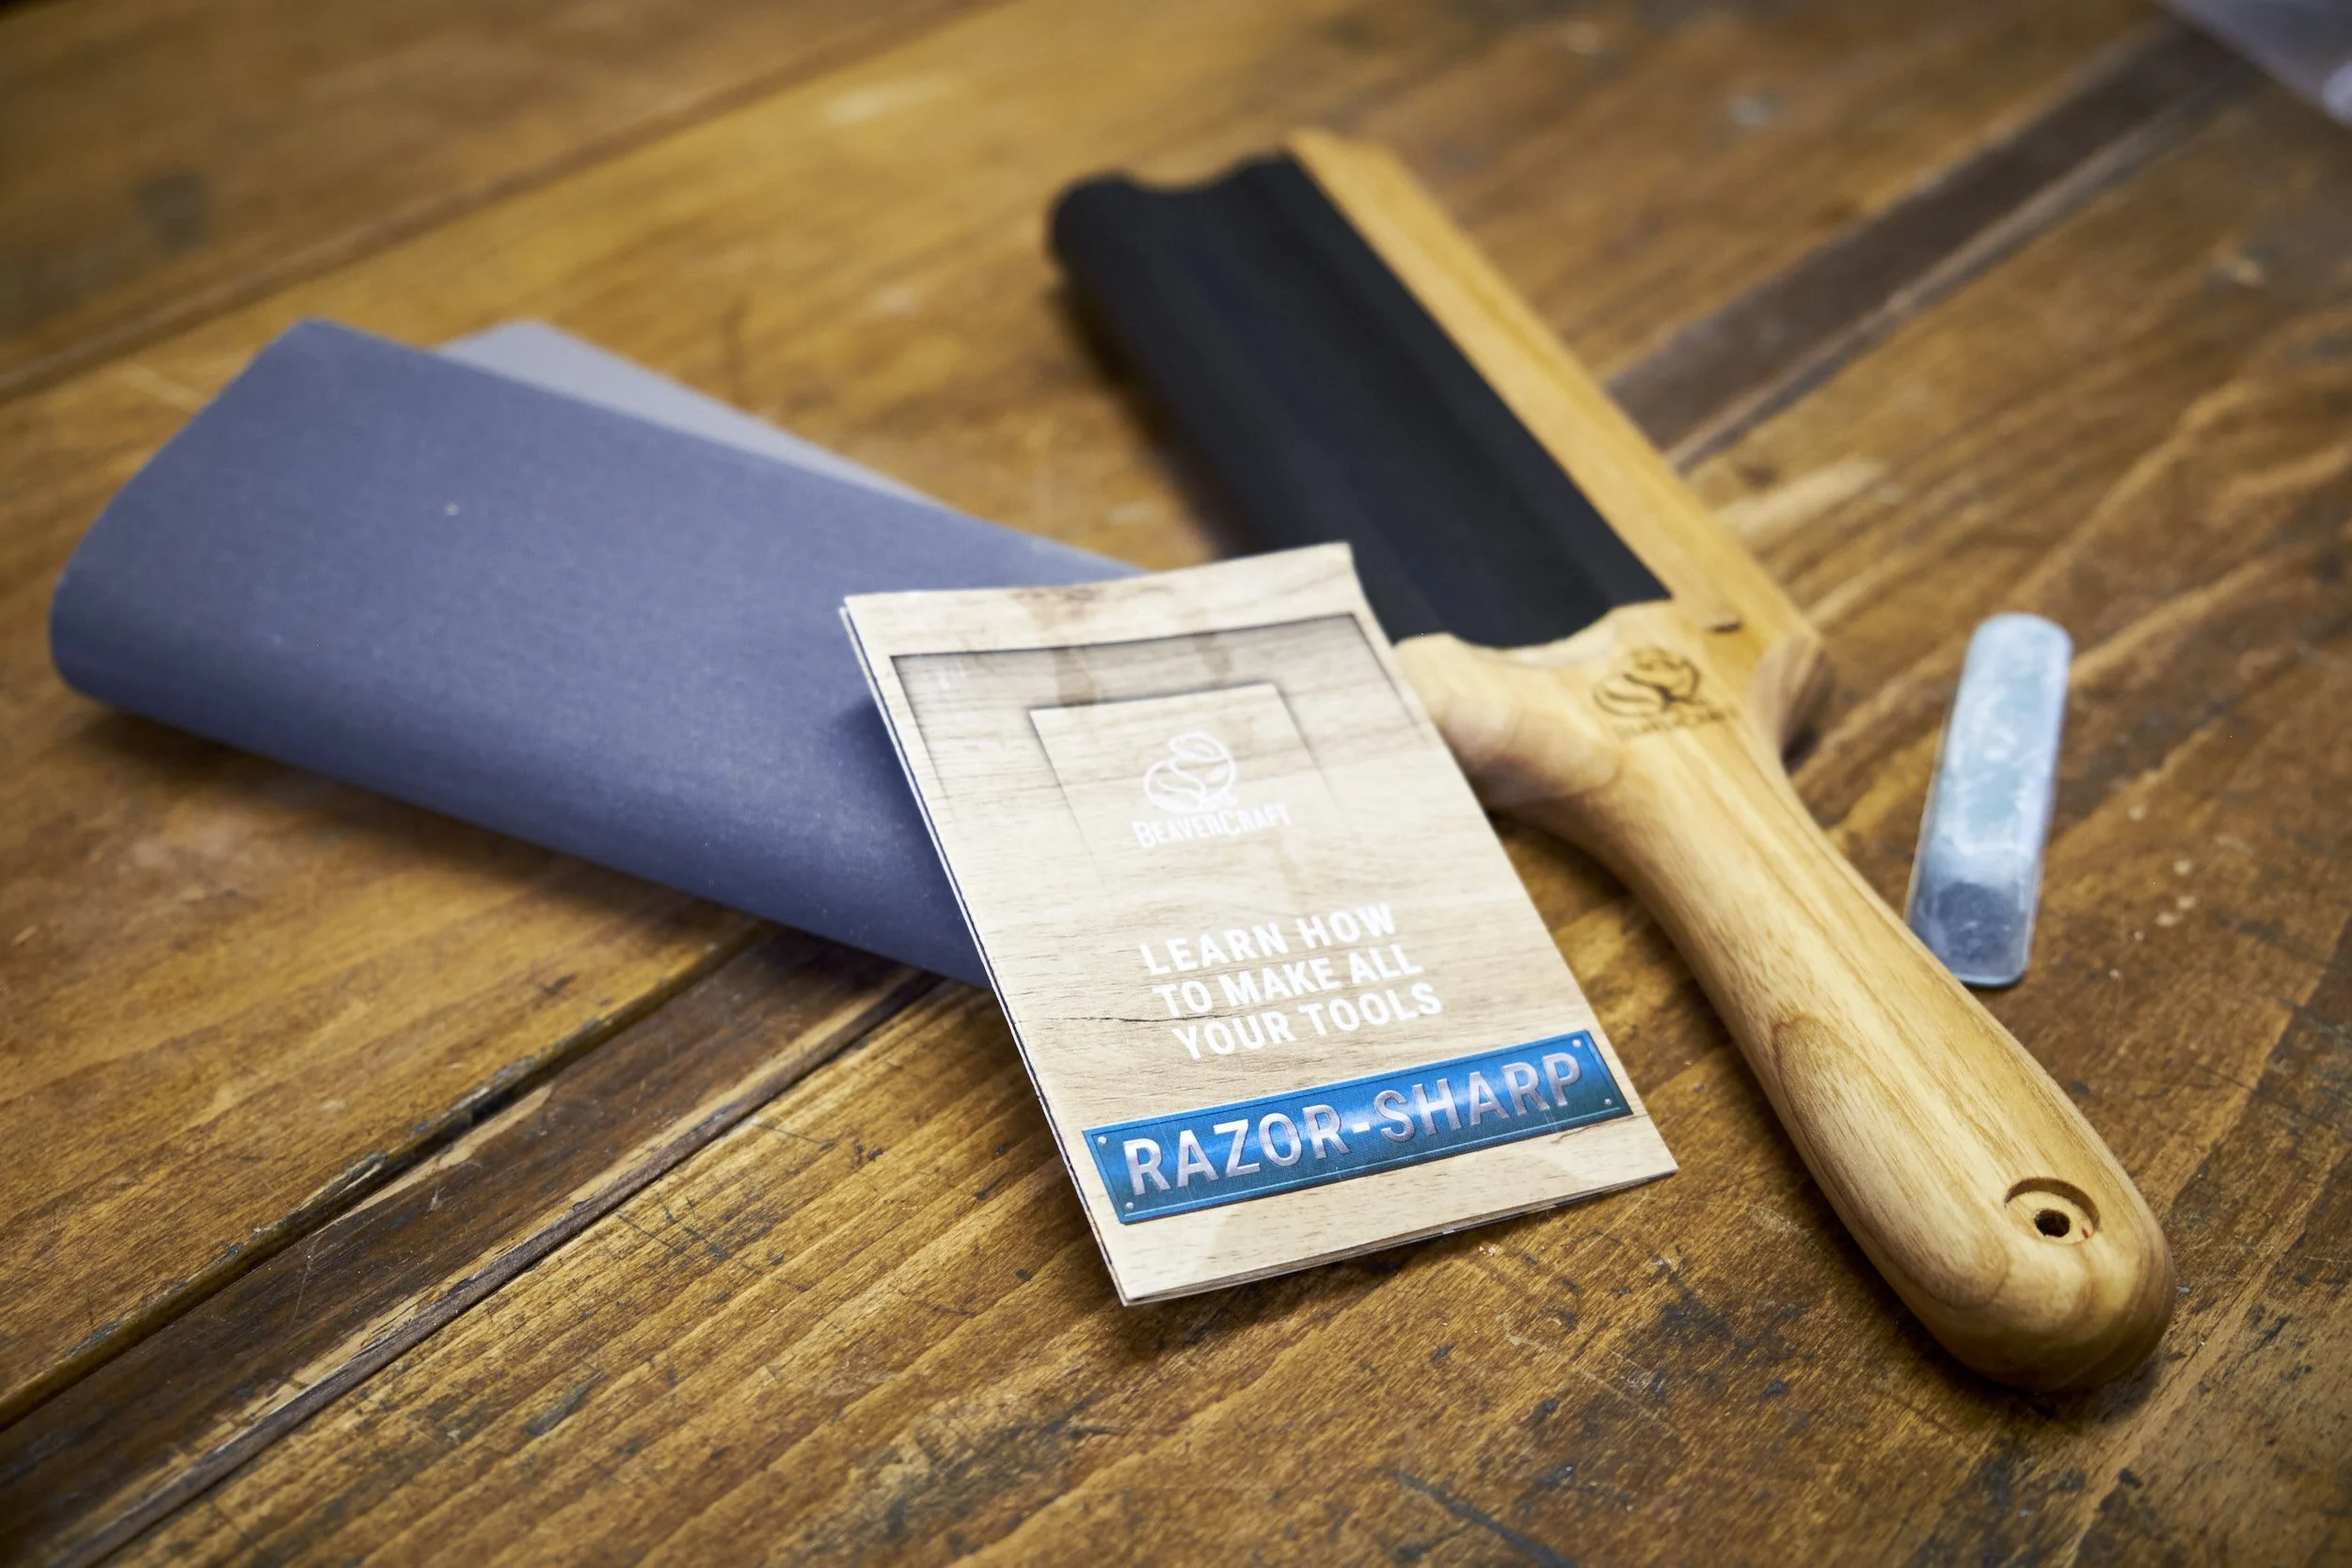
I’ll cover both of the honing and sharpening tools in the bag under the same heading but I will discuss the paddle in more detail, partly because I’m still figuring out how to use the wheel and considering that a beginner would most likely invest in the former rather than the latter.
If you’ve read the article made mention of earlier you would know that sharpening the hook knife almost had me running for the hills.
This sharpening and honing paddle is designed especially for hook knives and gouges came in a very close second on the wish list after the hatchet. In the previous post I alluded to the solution I came to, to get the hook knife sharp and for the most part the dowel worked really well. However, with its scooped out groove matching the curve of a hook knife it was a doddle to polish the outside bevel of my hook knife using this new tool.
I could not form a perfect edge mind you, but here the knife itself was to blame and I’ll cover this in the next section.
The leather on the paddle is glued onto the rounded edge of the paddle and this is to allow the inside bevel of a knife to be polished as well. I did find it a little fiddly to use the paddle on the inside of the knife, especially on the very tip of the blade with the width of the paddle body making it hard to reach into the last bit of the curve. As a result I found myself gravitating towards the stropping dowel and I eventually got excellent results using this alternative.
I do believe that the paddle alone will work without needing the dowel once I get used to it.
The paddle is made from solid ash and feels solid. The B side is made to accept a sheet of sanding paper that can be used to reshape both the inside and outside bevels. Considering the challenges with my first hook knife it is easy to imagine how much simpler this paddle and the sanding paper would have made the process of correcting the outside bevel of the knife as detailed in my other article.
After spending some time with the paddle and the hook knife from the kit (next item) the knife is now ridiculously sharp, much sharper than my first knife and I’m looking forward to getting the other one just as sharp using the new paddle strop.
The stropping wheel is hard to find on BeaverCraft’s website and I saw it for the first time at Creative Turning. Still figuring out the best way to use it and I’ve had it mounted via a Jacobs Chuck on the lathe as well as on the pedestal drill. So far I prefer it on the lathe but I’ll need to spend more time with it. Of course I managed to gouge a small piece out of it when I approached the turning leather wheel from the wrong direction with a sharp edge but fortunately the damage is minimal.
I’ll let you know how I get on with this one.
Now for the spoon carving kit.

Spoon And Kuksa Carving Professional Set With Knives And Strop - Right Handed
I might be wrong here but this might be one BeaverCraft’s most versatile kits if you would like to get into spoon carving.
In all the research and YouTube watching I’ve done the two main tools used when carving spoons are the hook or spoon knife and the Sloyd knife. This kit has two different Sloyd knives - the longest and shortest blade lengths available from BeaverCraft - a hook knife and a bent gouge. The first three cutting tools will allow the user the ability to carve most spoon designs they would like and with the addition of a detail knife which can be purchased later they can start experimenting with various embellishments and details.
It’s the inclusion of the bent gouge in the kit that makes this one versatile and the thought of sipping coffee from my first Kuksa helped me decide that this kit might be a good choice for someone looking at getting into spoon carving whilst later expanding into the world of carving traditional wooden drinking cups.
The tools in the kit seem to be of good quality and come sharp out the box. I did spend some time on the strops just to bring them to the next level of sharpness. The hook knife included in this kit also needed some extra attention on both bevels to get it sharp. Thankfully the paddle strop made this process easier this time around.
Of all the tools in the kit, the bent gouge was a revelation and although the outside bevel was easy enough to hone using the paddle, I found the inner bevel tricky due to the bend in the gouge which leaves limited “length” inside the tool to strop and I needed to take short stabs at the inner bevel using the honing paddle. Once I got the hang of the technique I managed to get the gouge very sharp! Possibly the sharpest of all my tools.
The tools come in a nice tool roll with a leather strop and honing compound included, I have yet to use the strop and I’ve come to realise that I might never need to. Since I’ve started making my own plane blades and gotten myself into carving, I’ve been making a lot of strops of different shapes and sizes and I now have about six or seven of them potting around the workshop!
I have more to say about the honing compound included in this kit and the honing equipment mentioned above later, so keep reading.
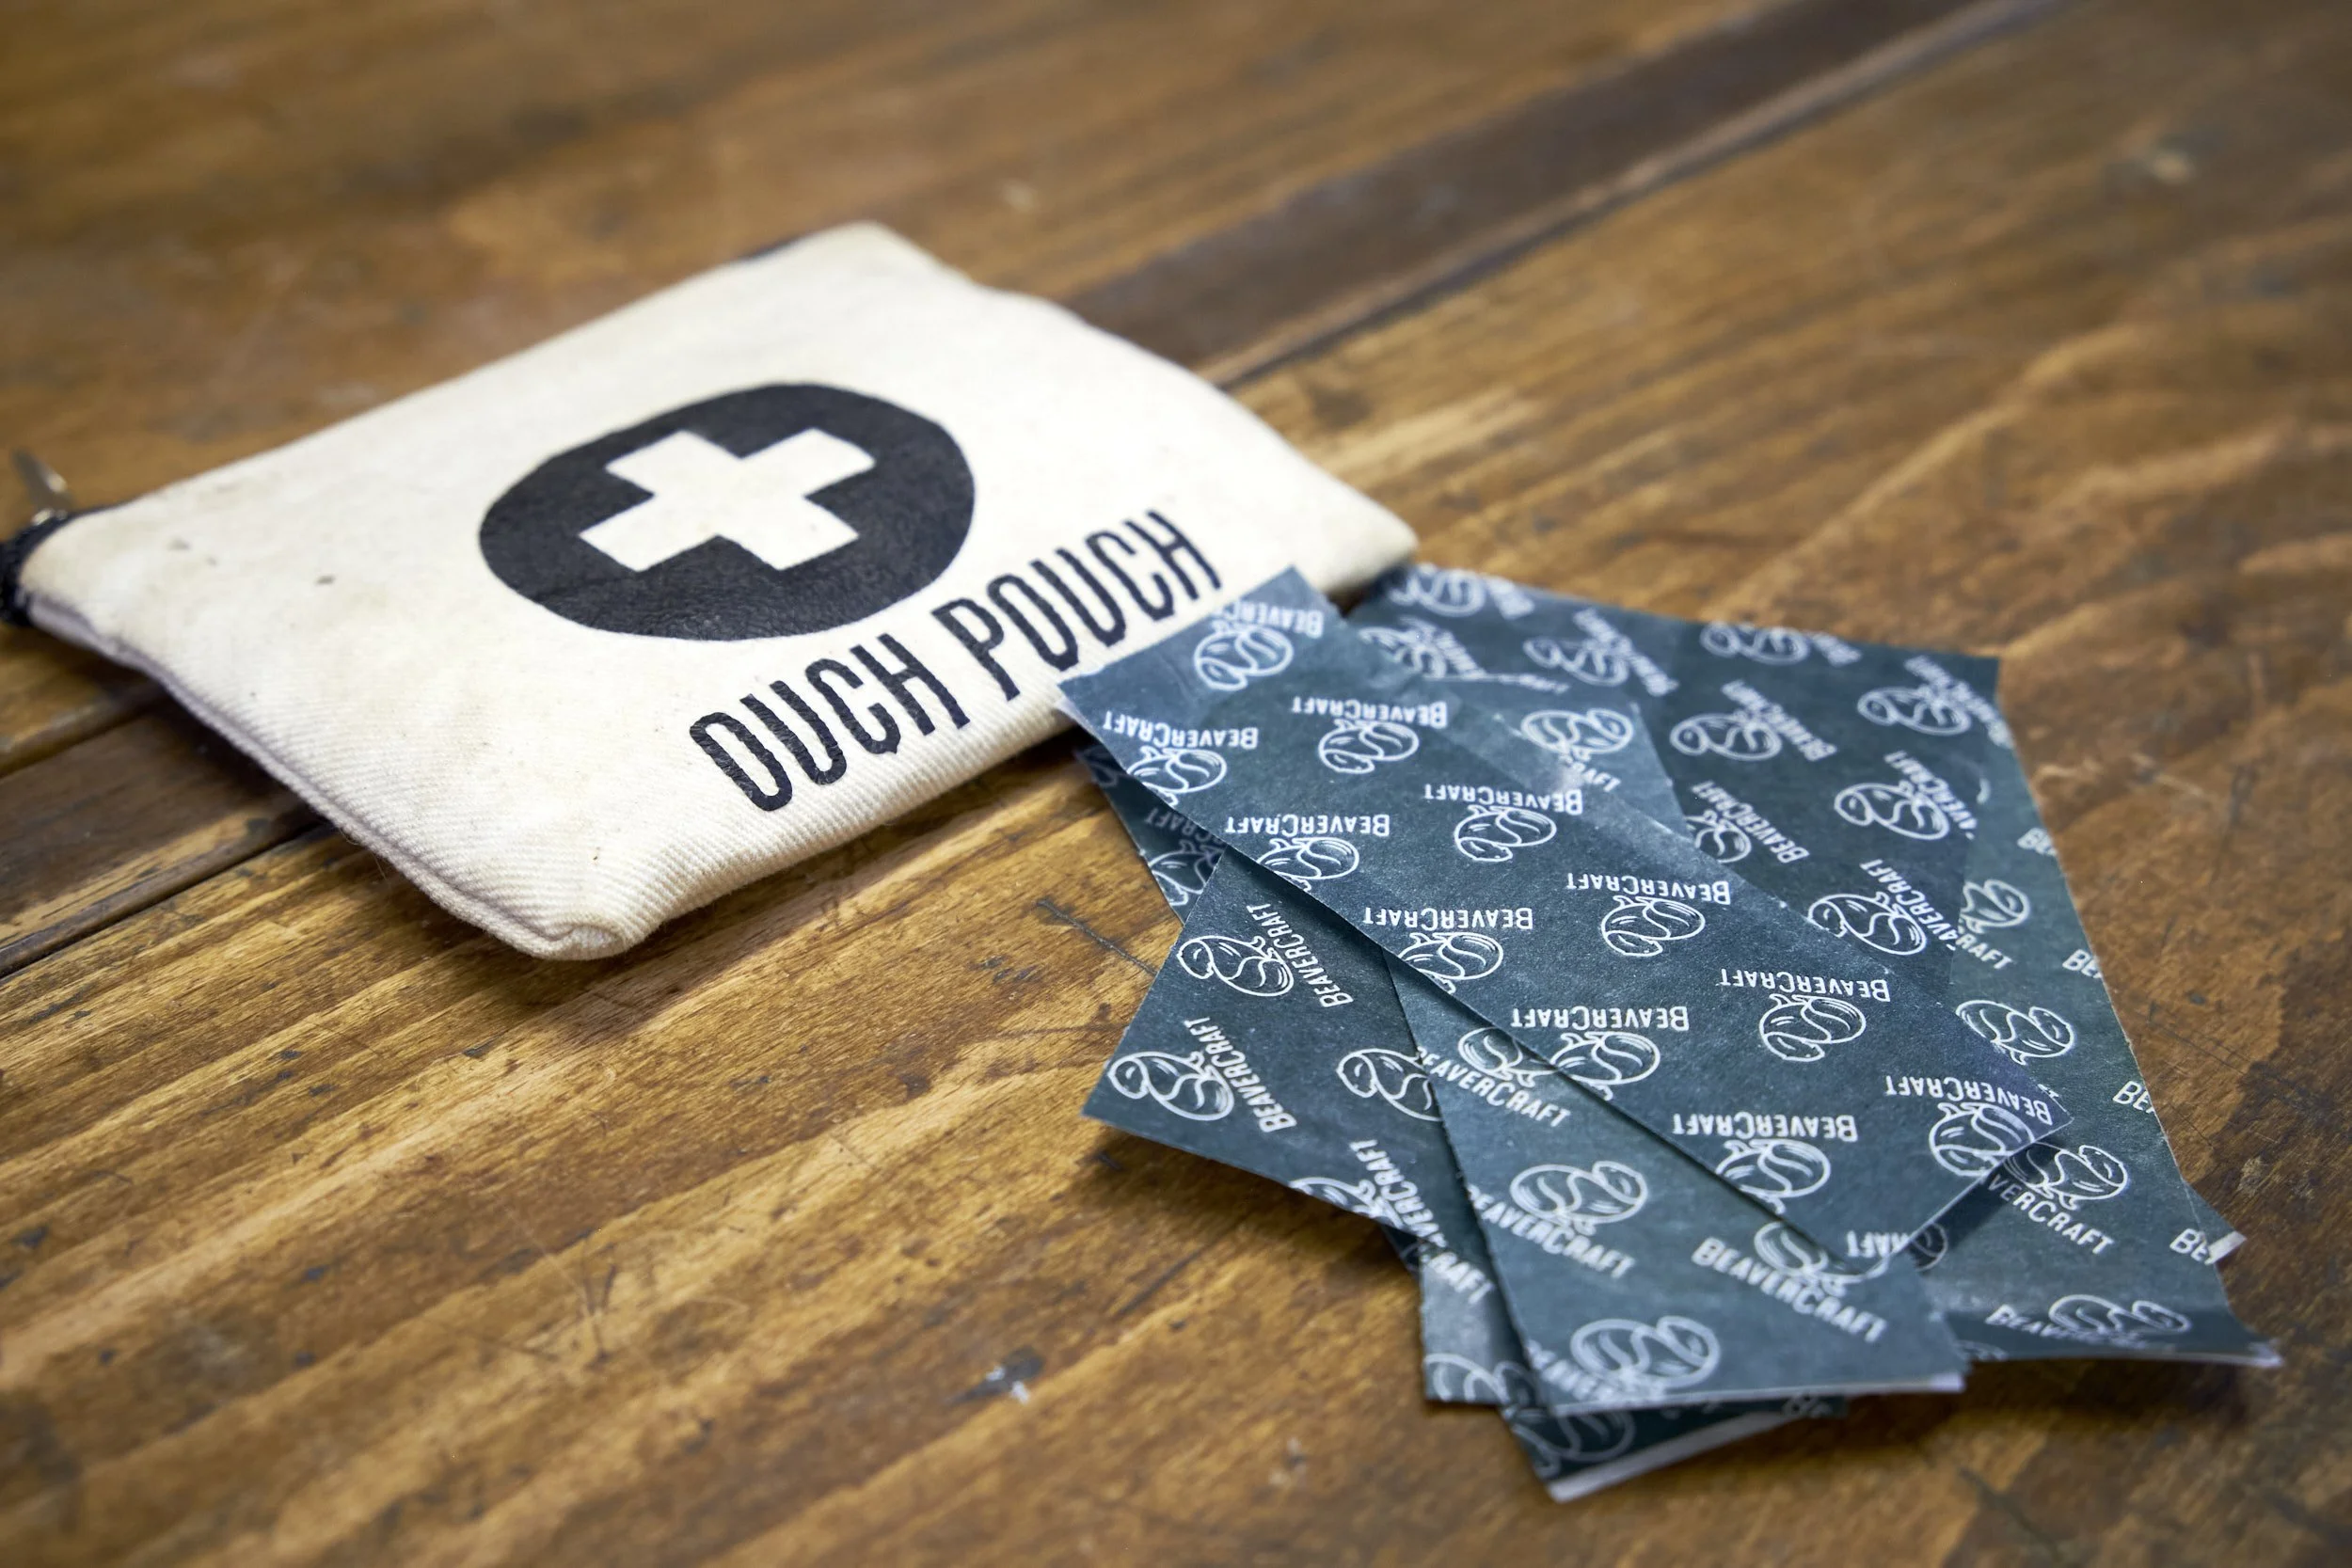
Not sure if it’s an inside joke or just thoughtful marketing but BeaverCraft also includes complementary plasters with their cutting tools and this kit is no different, including two branded plasters for the nicks and cuts that are sure to occur when working with sharp tools. I usually need tourniquets and bandages to stop the bleeding when I work with sharp edges but the plasters are welcome!
We move on to tools that came about due to curiosity.

Palm Tools
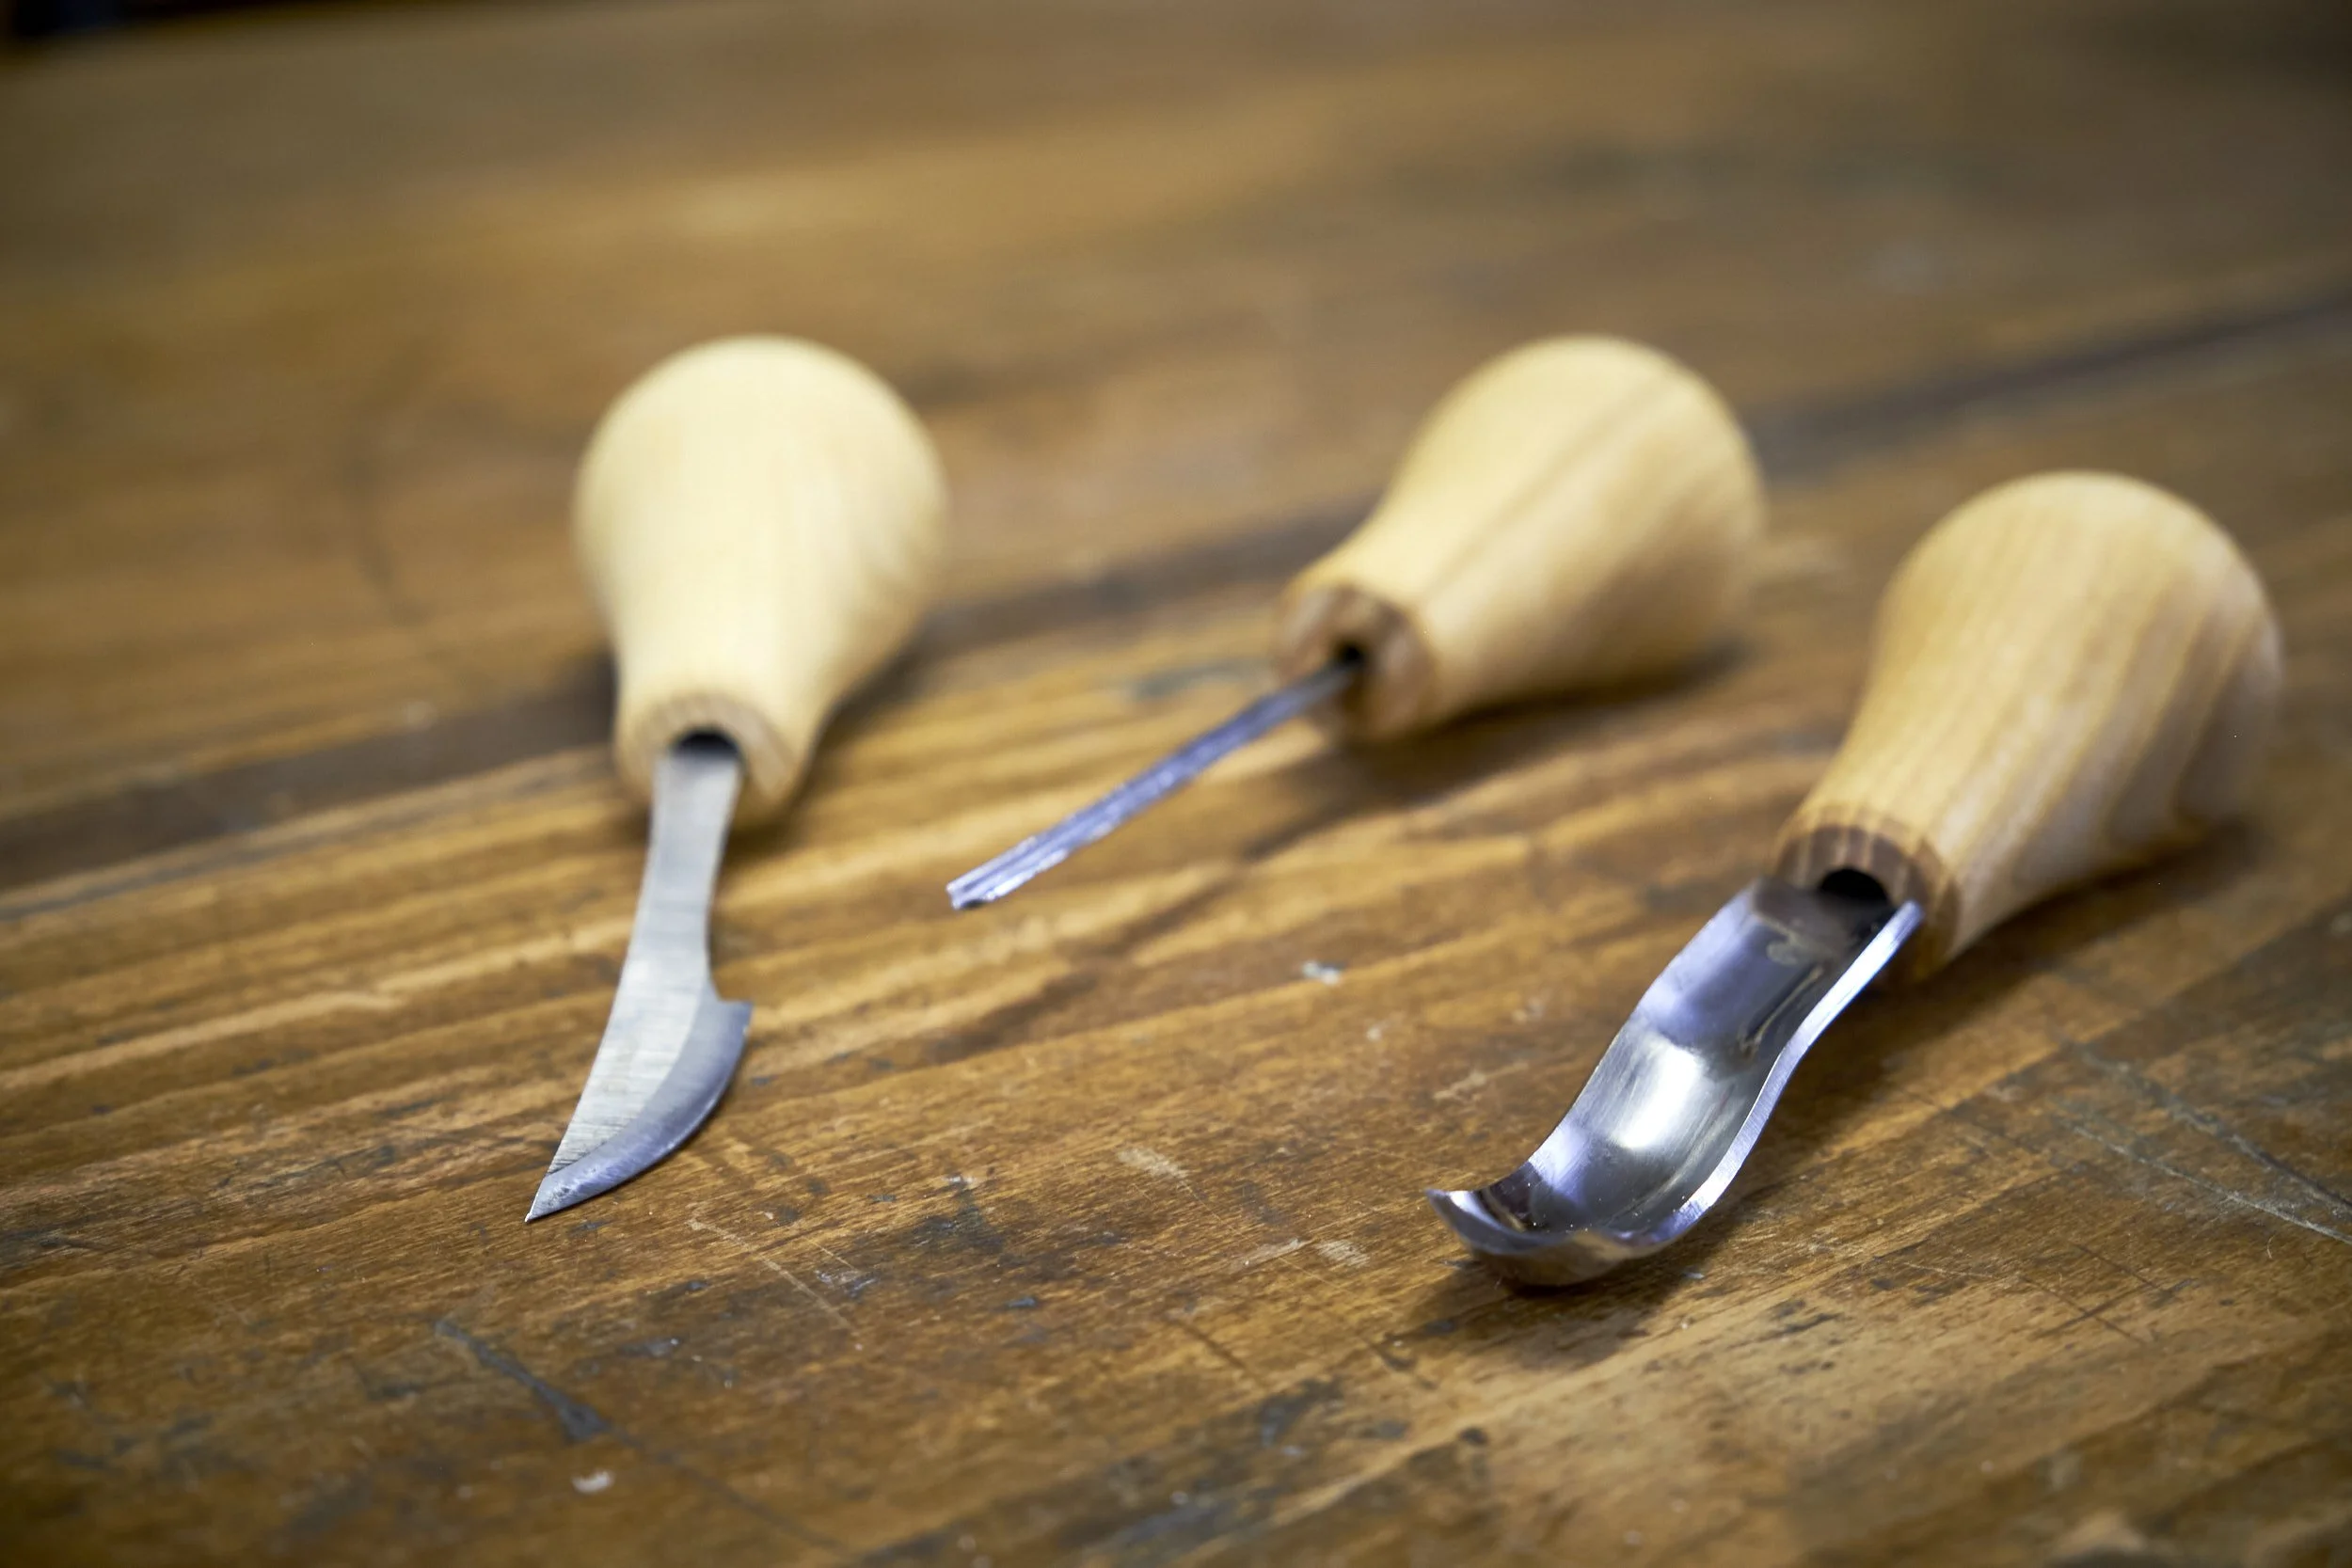
We start on the left.
This one is called the Universal Detail Pro Knife With Palm Handle. Just like my obsession with squares and hand planes I think I might be developing a similar infatuation for detail knives when it comes to carving. This one is touted on the BeaverCraft website as a “super-quality cutting tool with no limits”. Time will confirm its usefulness but this one was very much chosen for its curiosity factor.
Curiosity also killed the cat but that is a matter for a different day.
The middle is next.
Here we have the Palm-Handled Wood Carving V-Tool (Sweep #12). As much as the detail knife seems to be proof of some weird form of obsession, it’s the V-tool that you can’t have too many of when carving. I now have four and I haven’t shaped a single strand of hair or texture in any one of my whittles, a common use of the V-tool. This one covers the middle ground in sizes I have on hand.
Off to the right.
I am hoping that the Palm-Handled Bent Carving Gouge (Sweep #8) will help me carve shot sized Kuksas.
Because every house needs at least one!
I think the more acute curve of the gouge allows for tighter curves at the bottom of a hollow form resulting in steeper sides and making for a smaller bowl. At least I think it will, I’m the beginner here but it does work that way in bowl turning!
All these tools have ash handles with a flat spot on one side to stop them from rolling off your work surface, the handles also sit comfortably in the hand.
Each tool comes with……….
You guessed it, plasters! I am once again flush with plasters in my Ouch Pouch.
This last one I’m saving for something special.
Blade For Whittling Knife C4

As far as I can tell all BeaverCraft’s knifes can be purchased unhandled which means you can handle your favourite blade how and with what material you wish. A complaint I often see on reviews of BeaverCraft tools is that some reviewers do not like the tool’s handle geometry and feel in the hand, with Alec LaCasse actually going through the steps he used to modify the standard handle of his detail knife to suit himself.
I have not read or seen any reviewer complain about the quality and edge retention of the steel BeaverCraft uses for their tools, so it makes sense that unhandled blades would allow you to both personalise and resolve any ergonomic issues you may have with the tool.
I’m thinking African Rose Wood or Iron Wood for mine.
Is it all good, though? Not exactly, I’m afraid.
As soon as you can, bin the honing compound that comes with the strops and in some kits. I find it to be wax like and almost “wet” in character. It seems incapable of staying on whatever leather surface you apply it to, constantly coming off on the blade you are trying to hone. When I did manage to get the compound to actually hone a blade it left a dull surface on the metal which also tells me that the grit isn’t especially high and as a result the cutting edges of tools will not be as sharp as they could be.
Get an “after market” compound, you will thank me later. If you are based in South Africa try these, I use number 5 for general sharpening and 6 for the keenest edge possible. Not based in SA have a look at what is available to you or try what you have on hand if you already use strops. If you have no other option use the compound supplied, it is better than nothing.
And that, my friends, is how we empty a plastic bag of goodness.
I can confidently state that I am looking forward to learning all I can about carving spoons and being able to teach others to do the same!
Keep an eye out for my next article, it will be about the finish that I use to treat the wooden handles of these and other tools in the workshop as well as on my workbenches.


I used to dislike sanding but these days I find the process almost bearable if not marginally therapeutic. It’s all the fault of this exceedingly likeable random orbital sander from the Metabo stable. Easy and comfortable to use the Metabo SXE 450 Turbotec is feature packed and great value for money to boot! But don’t just sit there, read the more detailed review for yourself.