
Is This The Best Workshop Finish?
Sometimes a new project or something else I might be busy with in the workshop gives cause for an article to be written. It doesn’t happen often but when it does, my carefully planned (I wish!) blogging schedule needs to make way for such a post.
This is one of those occasions.
So, what do you use as a finish in your workshop? No, not what do you use to finish your furniture projects with. What weird concoction of chemicals do you use to treat bench tops, tool handles and wooden hand planes with?
What do you mean, you don’t have any wooden hand planes in your workshop?!
For me it’s a 50/50 solution made up from boiled linseed oil and turpentine. It couldn’t be easier to make up this cocktail but here are the steps just in case.
1. Take one clean glass jar.
2.Fill ½ way with boiled linseed oil.
3. Fill the jar to the top with turps.
It is true that “real” boiled linseed oil is somewhat of a rarity these days and that the stuff off the shelves at the local hardware store uses chemical additives and a form of heat treatment to make it go hard quicker. Just get the bottle that says boiled linseed oil on the label, it will work. Turpentine can be more complicated as it seems like it’s called different things depending where you happen to find yourself in the world. Around here the proper name on the label says mineral turpentine and I know that elsewhere in the world it may sometimes be called mineral, white or petroleum spirits. However it seems likely that most people simply call the petroleum derived clear liquid “turps”.
According to Wikipedia it also seems that turps is universally used to start fires, irrespective of what it’s called!
Application couldn’t be easier.
Simply wipe, brush or roll it onto any wooden surface that needs to be protected and repeat as necessary. Most of the time the finish will simply soak into the surface being treated and you can re-apply as many times as you wish but I find that three coats is usually enough. In some cases where a surface was previously treated or the wood species isn’t particularly absorbent, an oil residue may remain on the surface after application. In that case just let the solution sit for a few minutes before wiping it off with a clean rag. Even if there isn’t 100% penetration you could still give the surface more than one coat to maximise the treatment.
WARNING: Dispose of all oily rags in a safe manner by either soaking them in water or letting them dry outside before discarding. Spontaneous combustion of linseed oil rags is real, I’ve just come from a client who says it’s a regular occurrence in his workshop!
Getting back to the wooden hand plane matter. Seriously, why don’t you have one? I can help you with that. Sign up for my newsletter and I’ll let you know when my blog series on making your own starts.
But is it really perfect? The finish that is, and why does it work?
Almost perfect, read on and I will let you in on a little secret, one recently discovered, that has added significantly to the likability of this finish.
Let’s tackle why it seems to work so well.
Readily available - The raw materials for this finishing cocktail are really easy to find at a reasonable cost.
Easy to prepare - Mix oil and turps at a 50/50 ratio, it couldn’t be easier. You can even experiment with the ratio to suit your needs. You also do not need lab equipment to get the mix right, the mark one eyeball is more that sufficiently accurate to judge the mix.
Shelf live - Make a batch, use it and put the jar away. It does not go off but I have found that the turps tends to “evaporate” causing the solution to thicken. If that happens just add more solvent to the mix before using it again.
Easy of use - Apply using a brush, rag or roller. Let it soak in and wipe off the excess if it doesn’t, repeat if necessary. It really couldn’t be much more simple and you don’t even need to sand between coats.
Protect - This finish protects tools and surfaces from dirt and abuse during use and also simplifies maintenance down the line by providing a protective layer to surfaces.
Feel, more on this one in particular below.
Point 6 deserves its own paragraph or two for me to explain what I mean.
Some would argue that what I am about to say is absolutely subjective or even anecdotal.
It is as if this particular finish “keys” any work surface that it’s applied to, making that surface less slippery in use. It is hard to fathom how two oily substances can combine on a wood surface to make it less slippery, but in this case I find it to be true. I am no chemist and I am not sure what the main contributing factor is to this phenomenon but it does seem to work well. Hand plane totes and handles are easier to grip and chisels remain well in hand, even on hot days or when that do or die mortise and tenon needs some fettling to fit perfectly.
It’s on my workbench tops though, that the curious result of using this finish seems to have most effect with workpieces not slipping and sliding around as much during routine hammering and cutting as one might normally expect. At least not as much as that tomato I had to chase around on the kitchen counter last night, I wonder how my wife would feel about moving all food prep into the workshop?
Need more examples of where I use the finish? Happy to oblige but before I do……..
How did my preferred workshop finish become perfect? By becoming environmentally friendly of course!

Some of my readers may know that I’ve become a big fan of ProNature’s line of products and since discovering their plant based turpentines I have been looking for an excuse to combine their Indoor Natural Clear oil with their Plant Turpentine to make up a batch of my favourite finish. The awaited excuse came around a couple of weeks ago and so we come full circle to the opening paragraph of this post and the examples I am about to share.
Another reason to love the ProNature finishes is that the Plant Turpentine actually smells great with the citrus peel oil making your workshop smell like an orange orchard!
Workbenches
The first time I came across this particular finishing cocktail was during the English workbench build series offered by the English Woodworker and after trying it on my own bench I became a convert.
This past week I finished off my version of a mini workbench using plywood and like all benches in my workshop this one needed a coat of finish so this became excuse number one.

I did mention earlier that this 50/50 turps and BLO mix provides a non slippery work surface but I also alluded to the fact that a few coats of the finish also makes surfaces easier to clean. This is my workbench top and as you can see it is well used, very well used I would admit and it is due for some maintenance as soon as I can find time. However, glue drips and spilled finishes still simply wipe or scrape off quite easily all thanks to a few liberal coats of the finish that was applied after the top’s last flattening about two years ago.
By the way I am not aware of any finish out there that protects against mechanical wear or abuse, at least not any finishes that will leave a bench top functional for woodworking.
My latest workbench is another reason for you to sign up to join the PlyCreations community. My plans for the design will be available for sale in the my shop in a few weeks and if you are signed up you will get access to special offers in the shop.
Without getting into a workbench rabbit hole I would like to offer one last piece of advice in regard to finish. DO NOT varnish your bench! It may look pretty, especially when showing off those hounds tooth dovetails you’ve spent hours cutting by hand but it does nothing for the functionality of your workbench. Go ahead varnish the legs and non-work holding surfaces all you like but please do not use varnish on the top, it will be slippery and you will be chasing workpieces around the top all day.
Better yet, don’t apply any finish at all, some swear by it. Personally I don’t have the heart for it.
Tool Handles
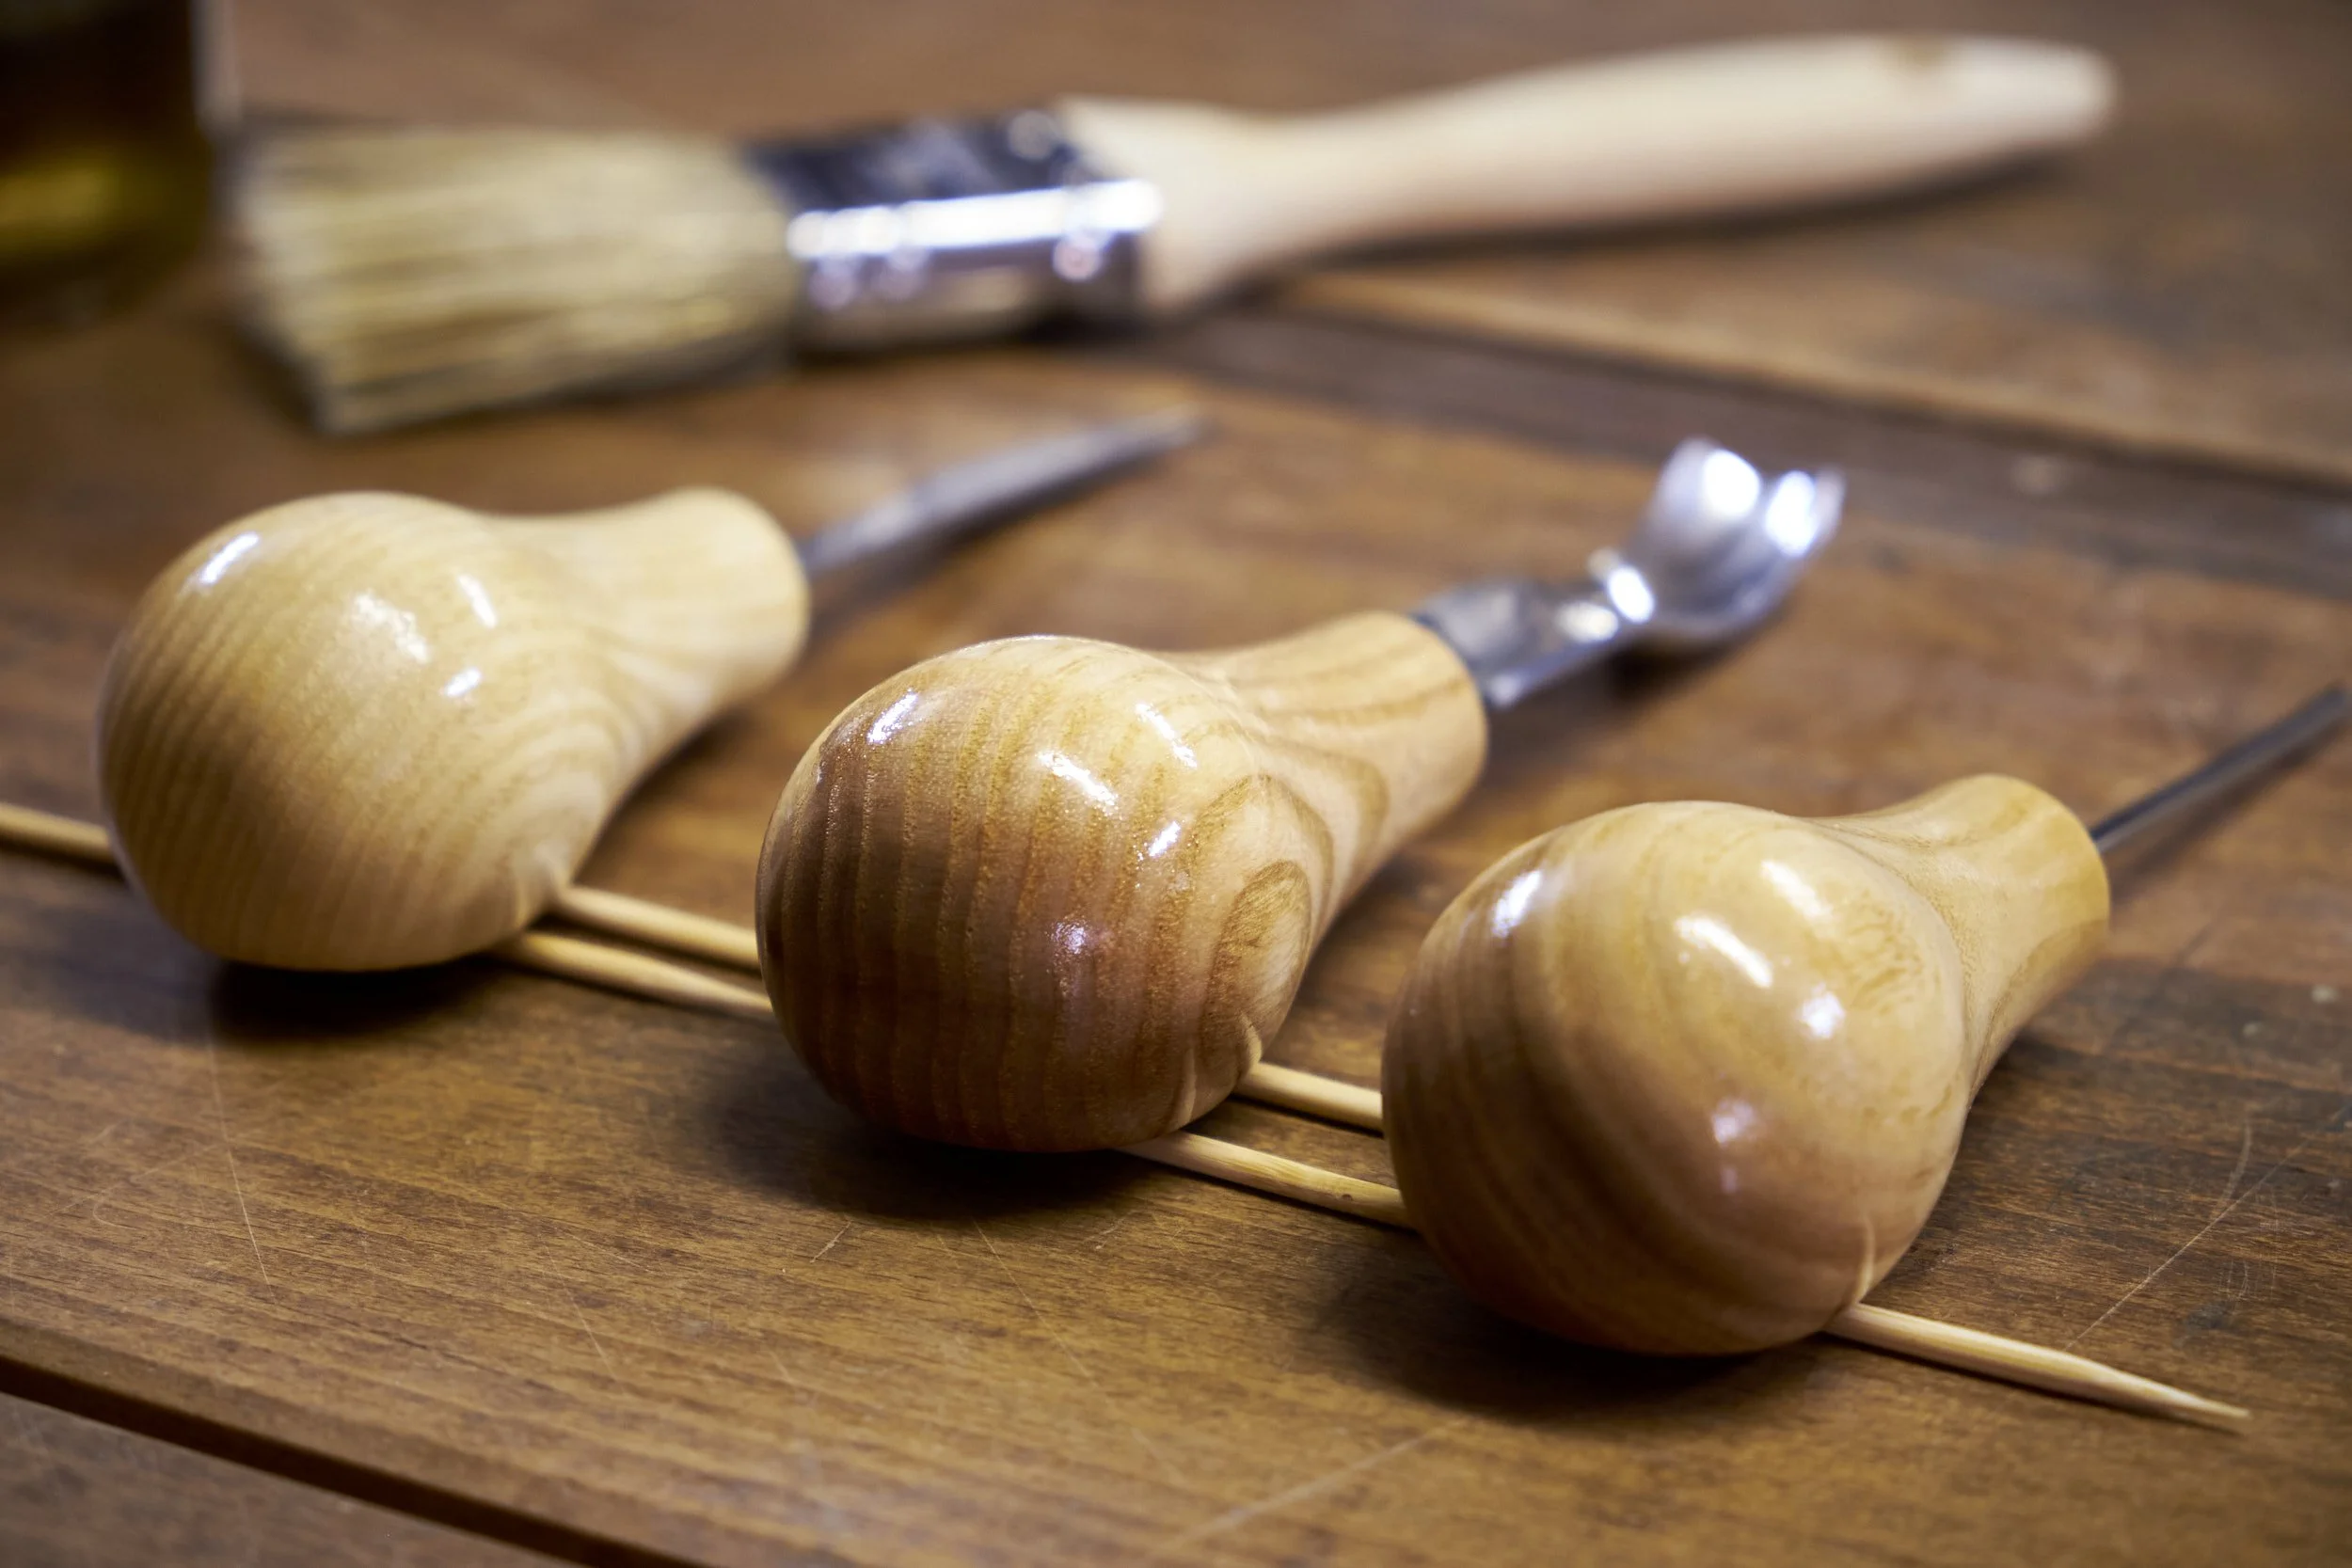
Simply apply and wipe off if needed. You might recognise some of these items from my most recent post prior to the one you are reading right now.
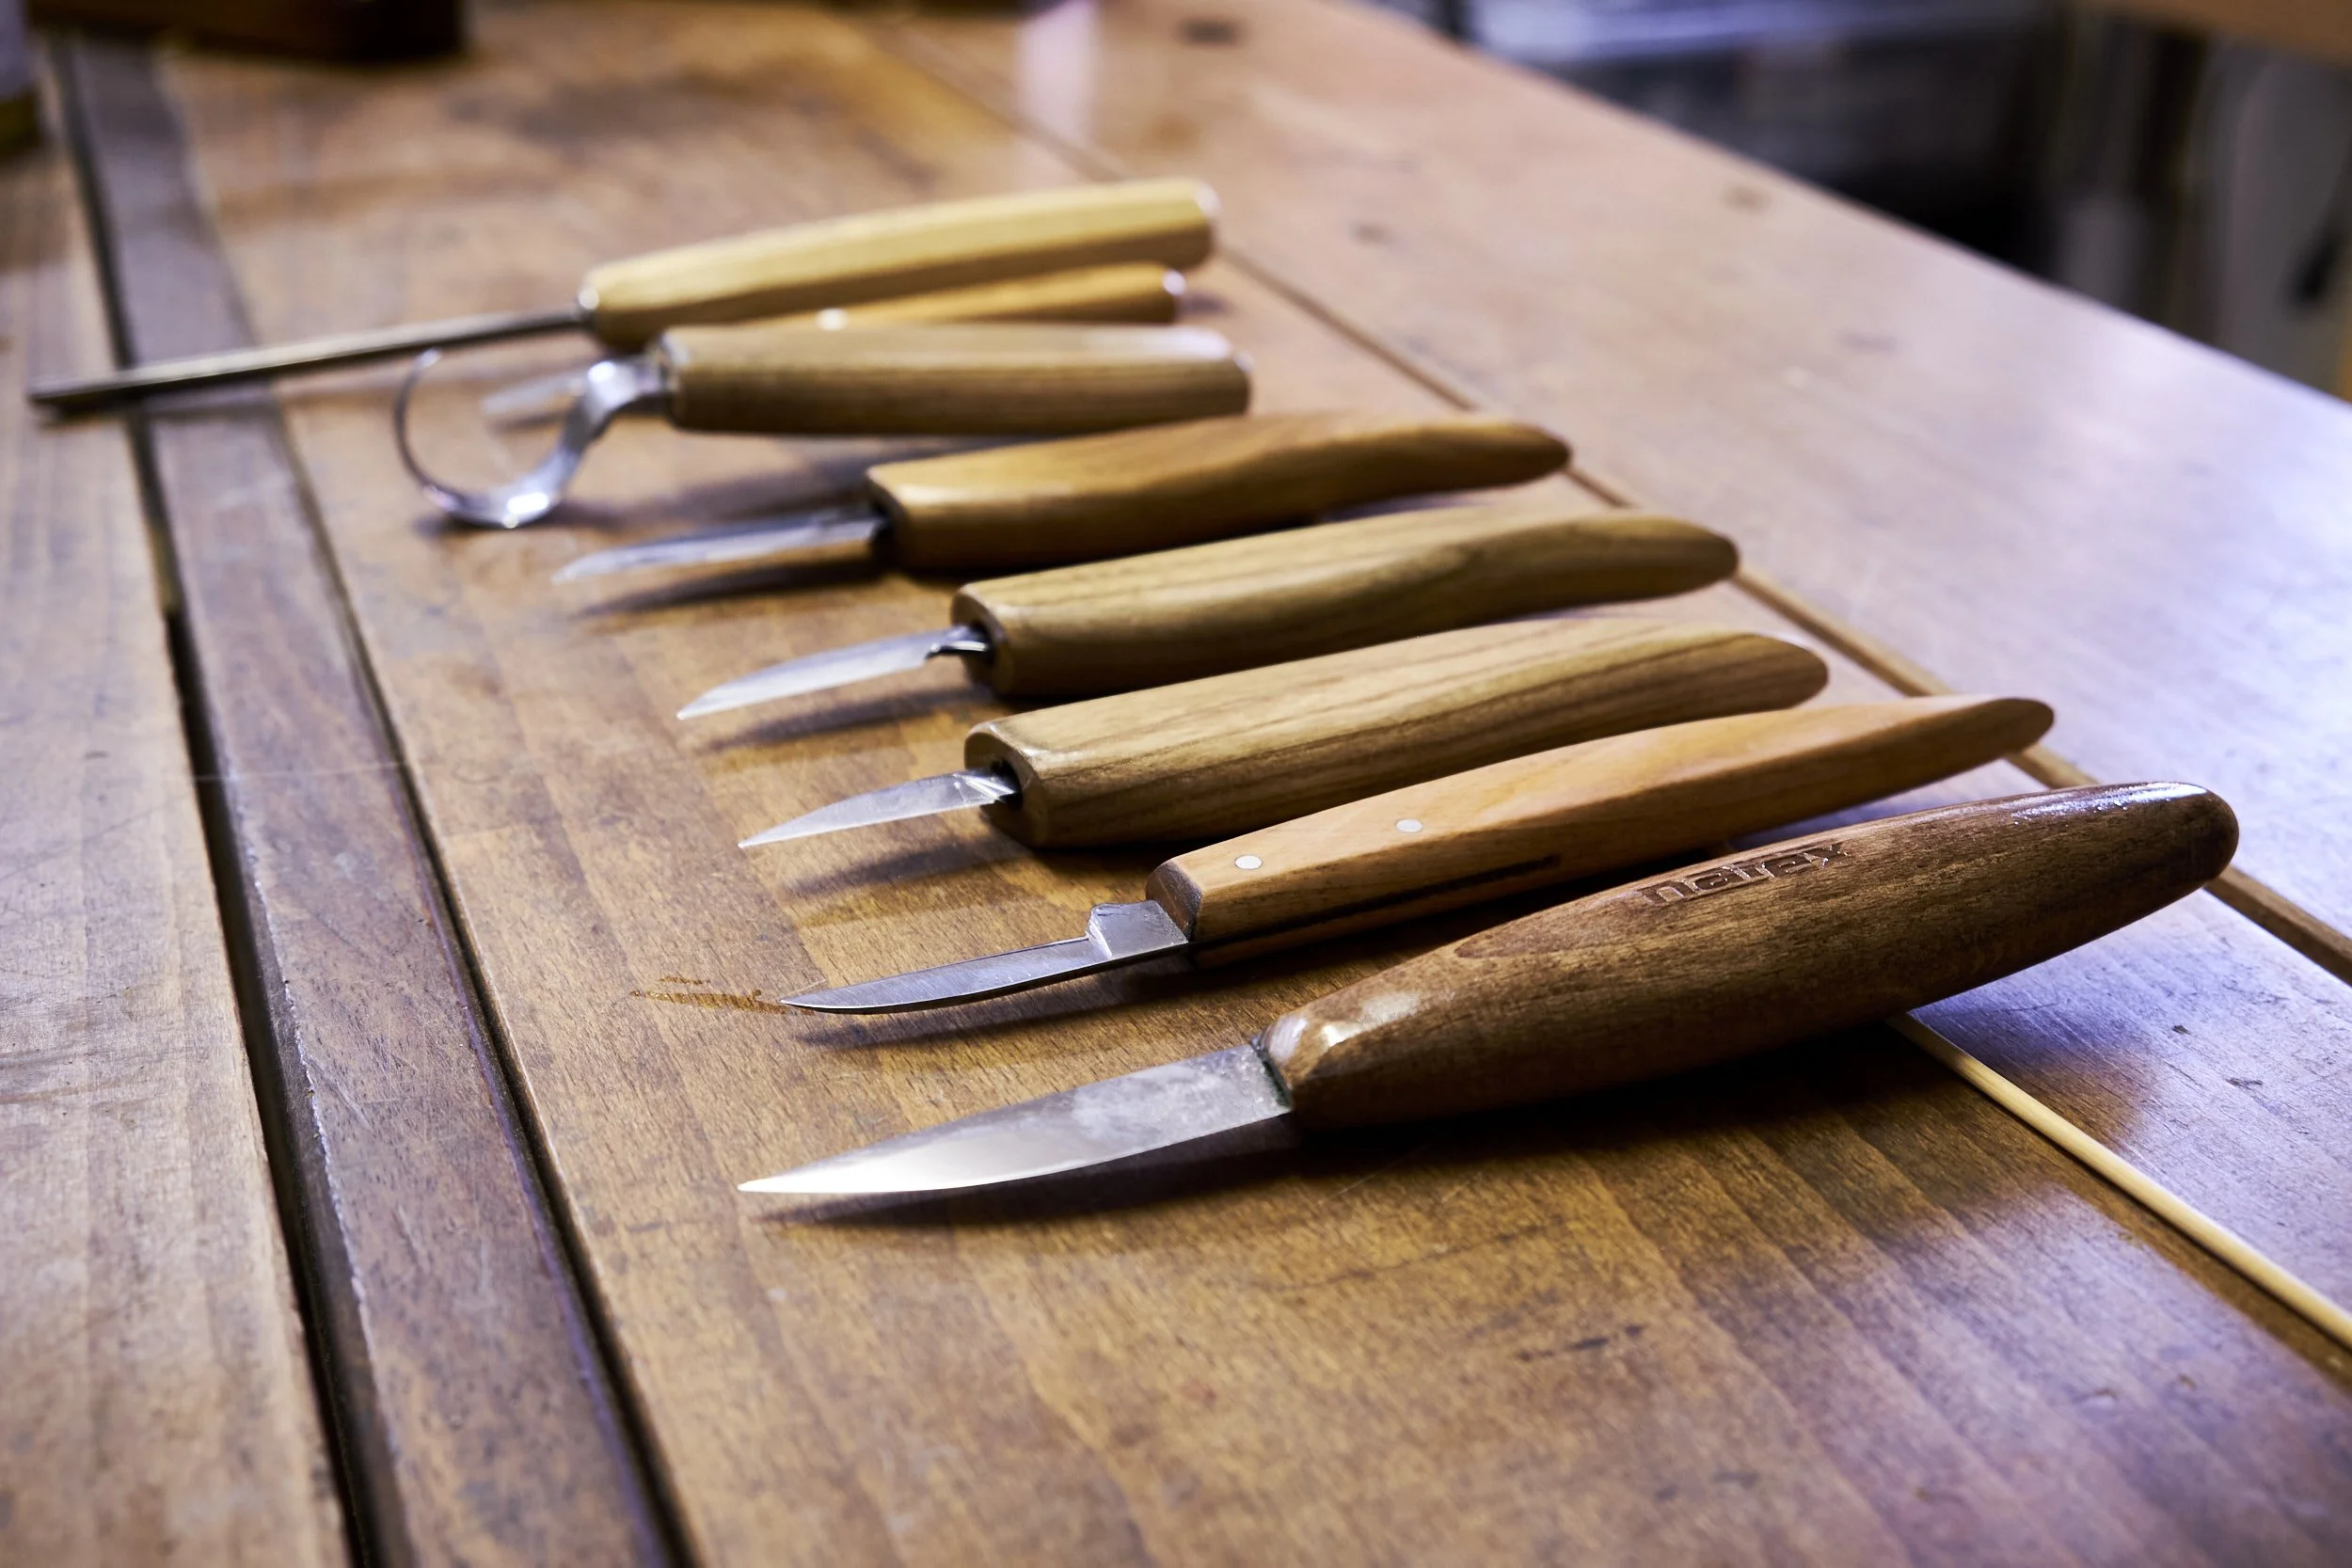
I am finding more and more that tool handles need much more love than most woodworkers give them and tools are so expensive these days we need to look after them the best we can, simply replacing tools is no longer an option.
Feed the wood and oil the steel, there are few things as sad as rust on a tool that gets used regularly. Try Paul Seller’s rag in a can, I give all the exposed metal parts of my hand tools a wipe down after every use. One of my managers used to say “if you look after your tools they will look after you”.
Obsessive compulsive I may be, but we are lucky if we get one Veritas shipment a year down here. That low angle jack needs to look good if I am to sell it one day to fund my retirement!
Hand Planes
Yes, I own and use a few wooden hand planes even if it is to impress kids during demo days at woodworking events. I’ve made all of mine myself and the finishing part of the process is almost the most satisfying, that’s apart from using a tool you’ve made with your own hands of course.
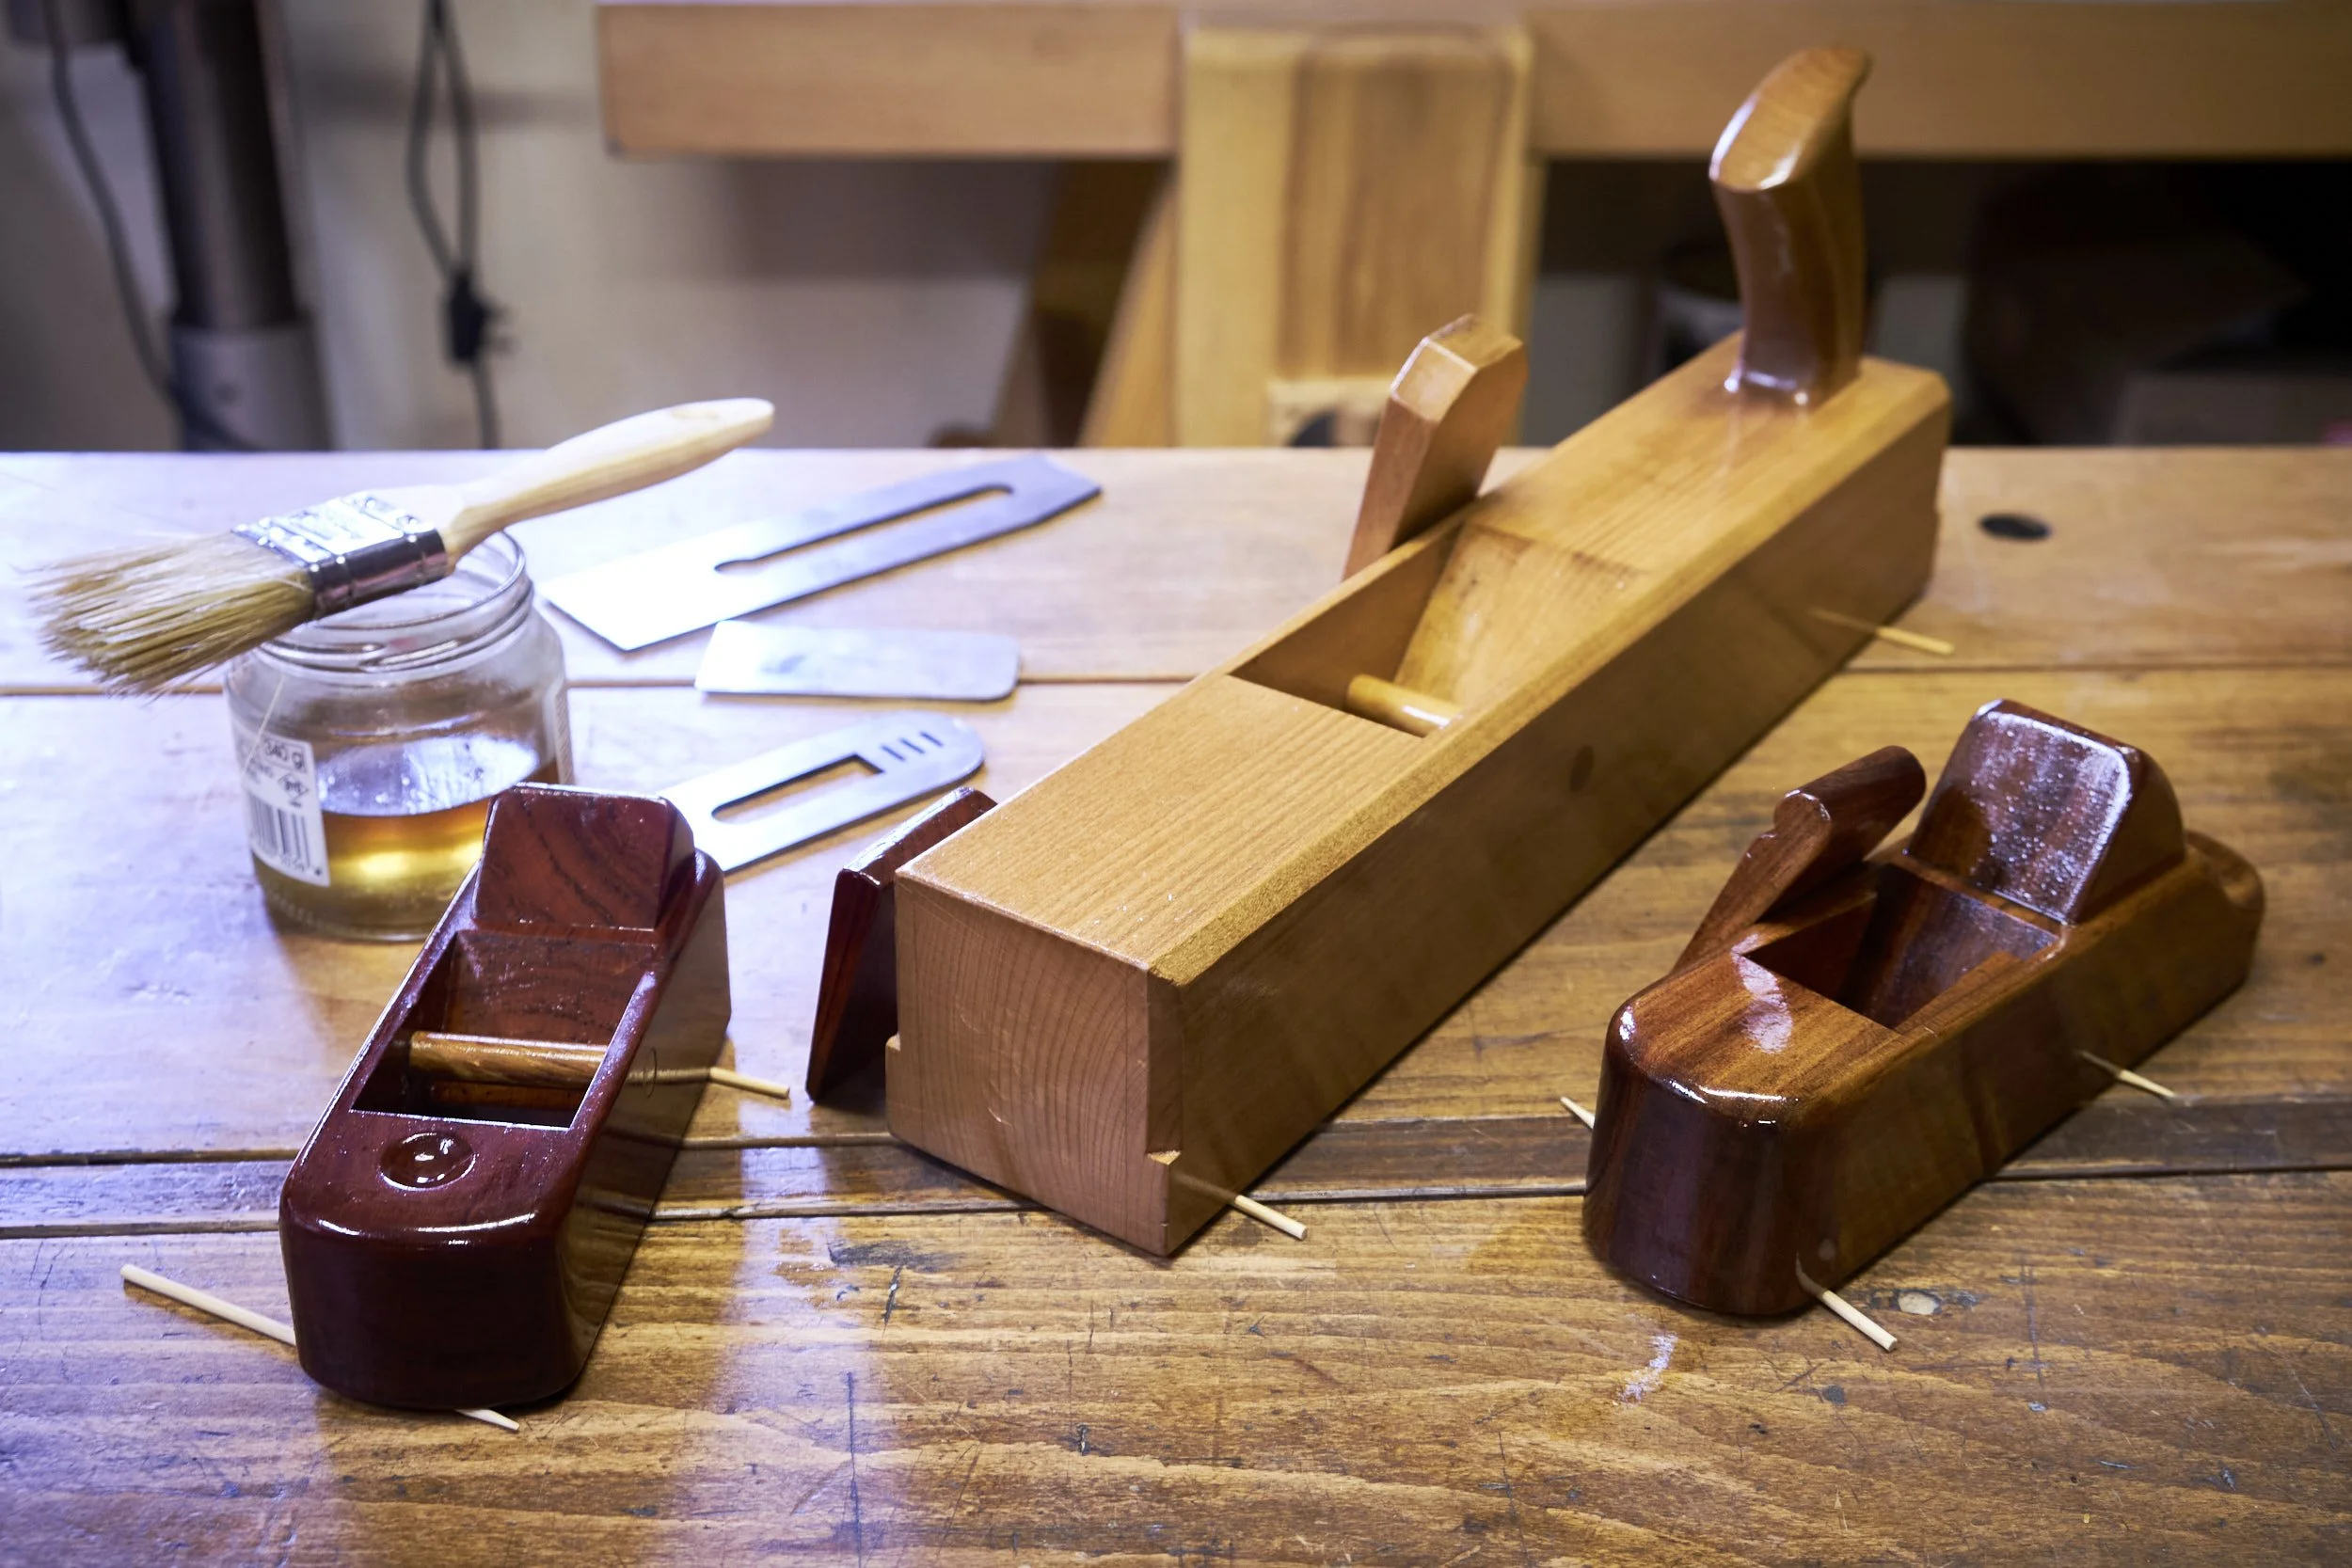
The finishing process looks like this:
Find a shallow tub in a size that will house the plane.
Place the newly completed hand plane into the tub, be sure to include the wedge that keeps the blade in place.
Slowly pour you finishing cocktail over the plane and let the thinned oil flow seductively over the pristine wood body of the plane, pay special attention to how the oil brings out the grain pattern on the handle as it flows around its curves - who says woodworking isn’t a passionate pastime!
If you are a brute you could just dump in the oil and fill the tub about 20mm deep so that the plane sits in an oil bath.
Take a brush and baste all surfaces of the plane with the finish.
Keep doing the basting with the brush every few hours whilst rotating the hand plane onto its sides every so often to make sure that different parts of the planet gets an opportunity to soak up the turps/oil mix.
Keep up this process for at least 24 hours.
Lift the plane and wedge out of the oil and let the excess finish drip back into the tub.
After a few minutes of dripping wipe off the excess oil, let the finish dry for another 24 hours or so before putting the hand plane to use.
The left over finish can be poured into a jar for storage and later use.
Something that isn’t often mentioned is that in the case of hand planes, their ease of use and functionality is somewhat dependent on if they have been well finished or not. I have found that if I struggle to set the blade in a wooden hand plane that as soon as I oil the plane bed, the plane becomes easier to set and that thinner shavings become possible because I can set the blade in smaller increments. It’s for this reason especially that my selection of wooden hand planes gets booked for annual checkup and maintenance. I don’t give them a turps/oil bath again but they do get a couple coats to keep them in top shape.
On the matter of neat oil I do need to clarify that I mostly use the cocktail on bare wooden items and that subsequent maintenance is often done with neat oil, in this case ProNature’s Indoor Natural Clear. This goes for everything except for my workbenches that get a coat of the cocktail after construction or after the top was flattened and maintained.
I’m rough on workbenches, what can I say.
Never one to shy away from a good segue, keep an eye out for my next “series” of posts in which I’m hoping to document the building of a few new hand planes. I will be starting the series by making my own blades and heat treating them myself.
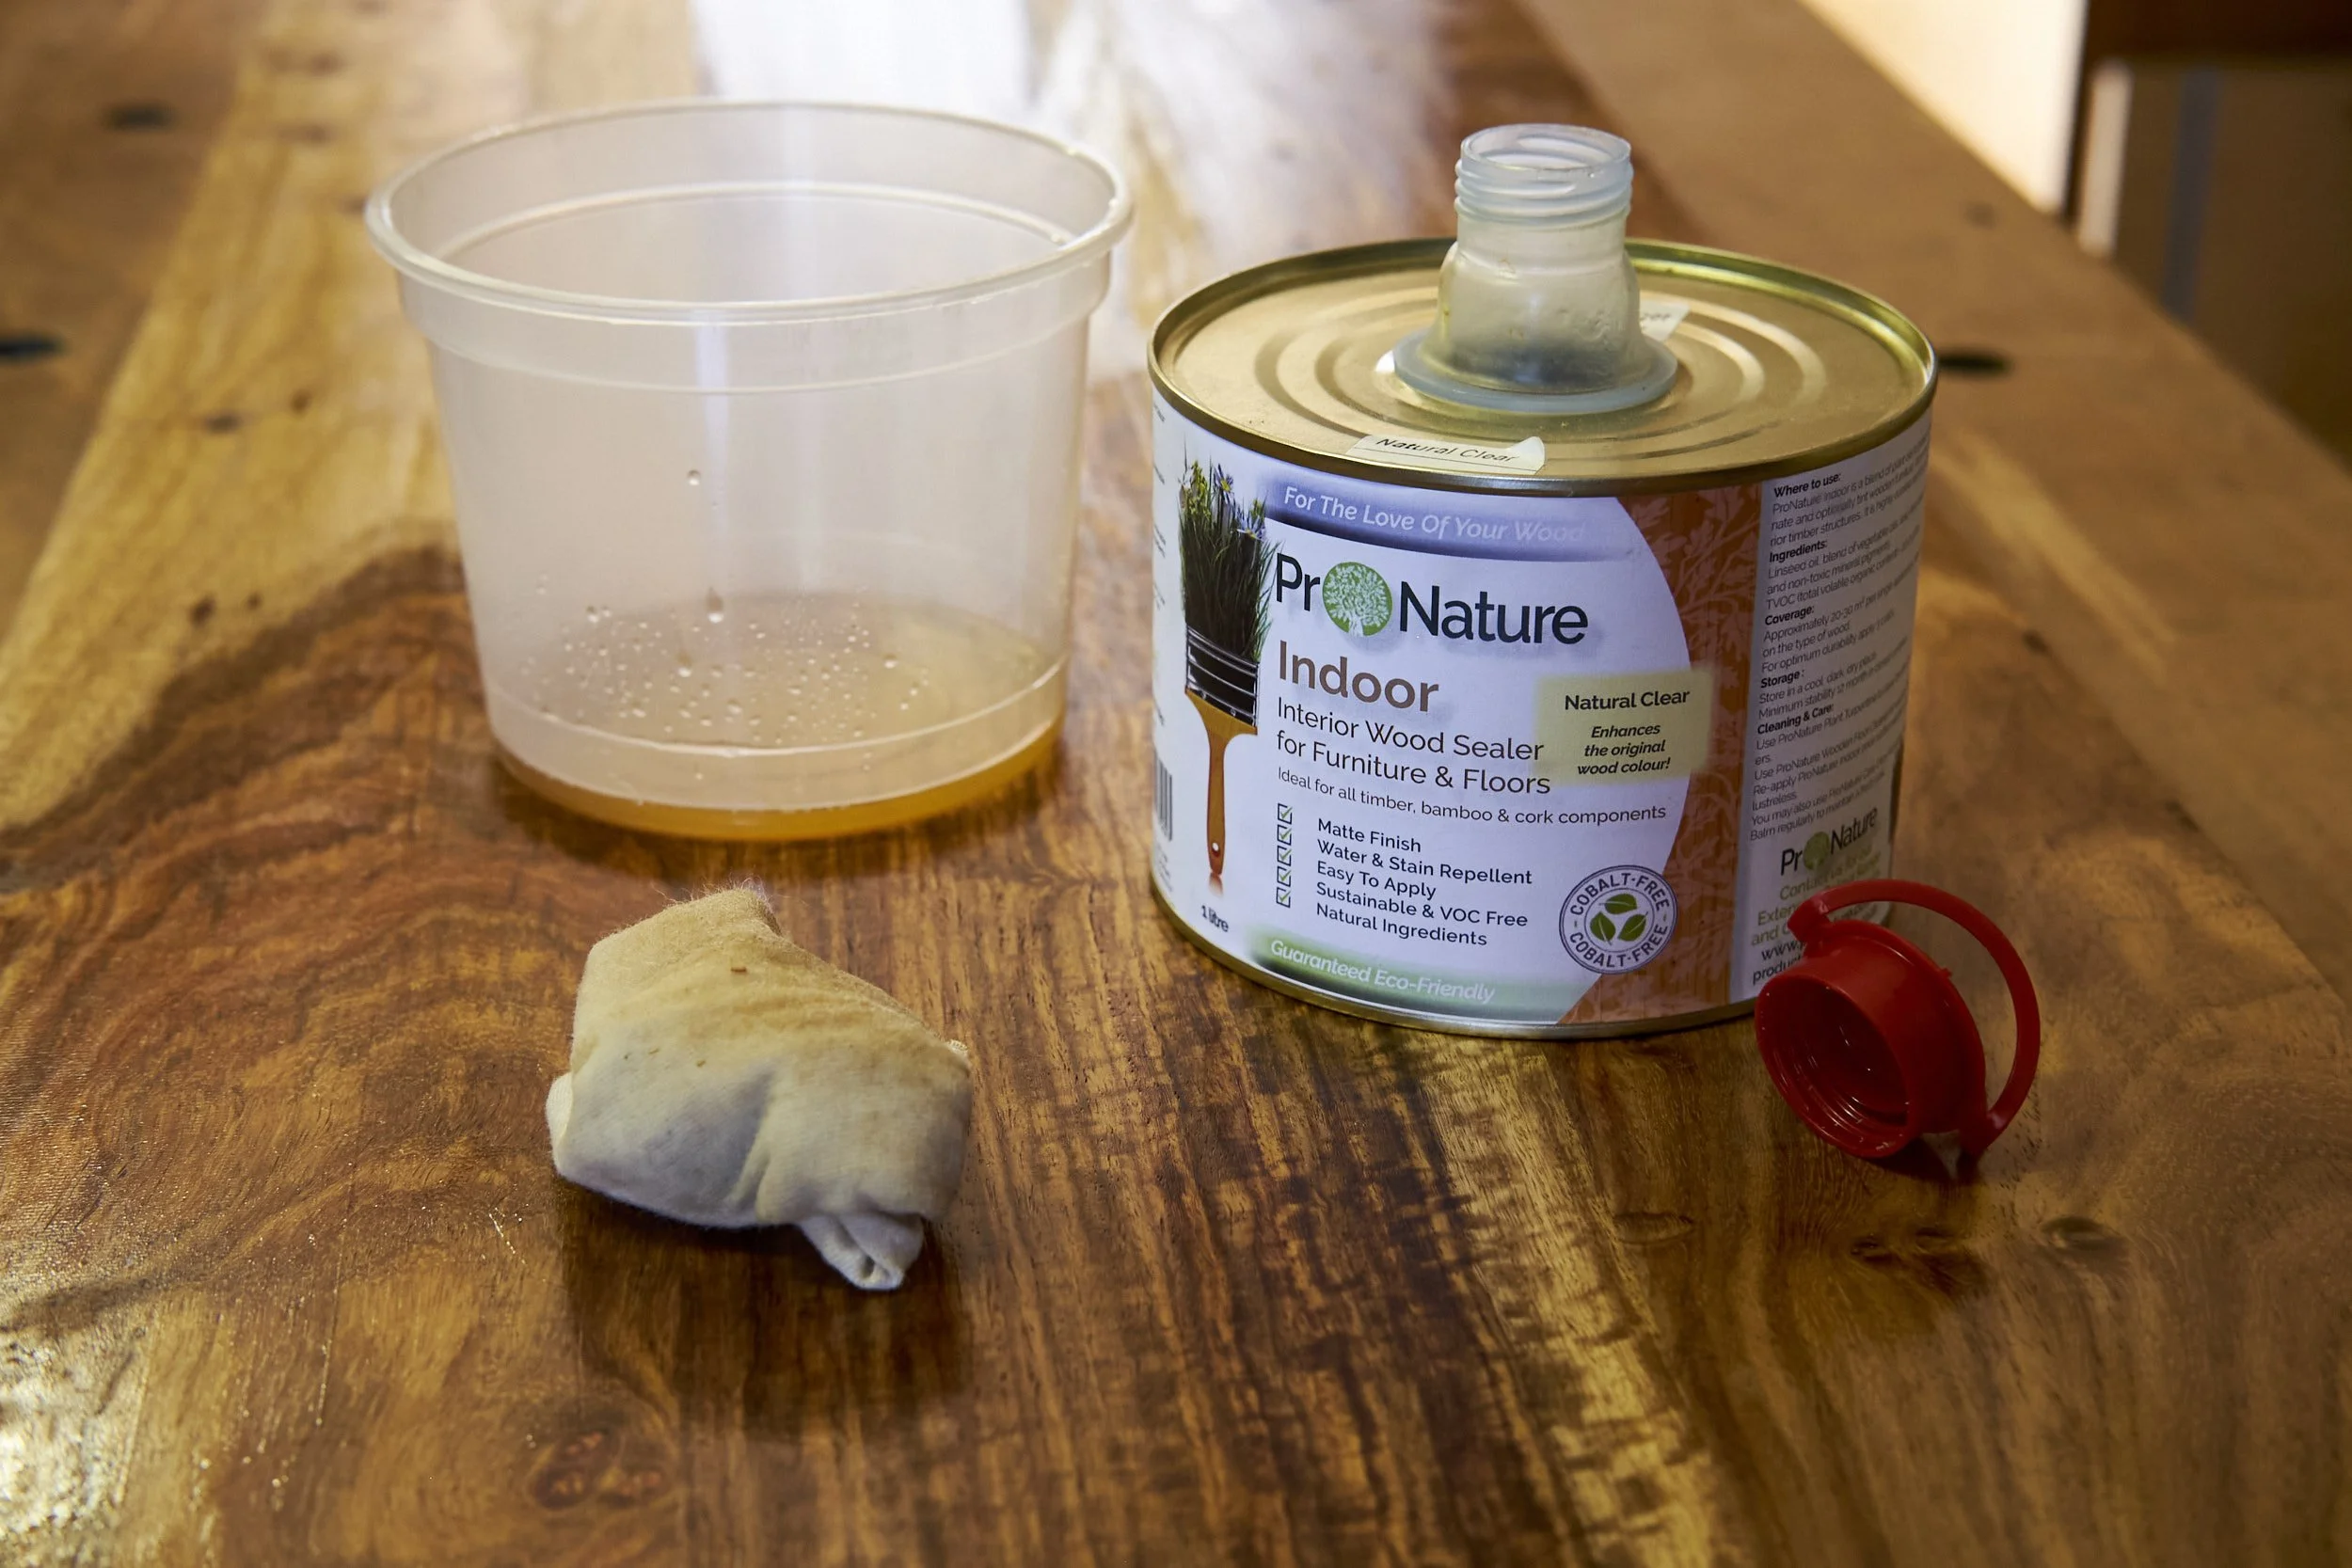
ProNature’s Wax Balm is truly a multitalented finish that will almost certainly find a home in your workshop. I use it for a couple more jobs than it was “designed” for and I might be able to find one or two more.