
Easy DIY Thin Strip Push Block For The Table Saw
Few would likely admit this but some topics in woodworking seem to become fashionable at different times.
I have mentioned this before but when I started in woodworking it was highly fashionable at the time to build cross cut sleds with almost everyone on social media and on YouTube showing you how to make their own version or how to set them up to deliver ridiculously accurate results!
That time has passed and has been followed with short bouts of scary sharp tools and how strong butt joints actually are………..
Two topics that seem to be at the top of the list now are the battle between the millimetre and the inch and table saw safety.
As luck would have it I have covered the topic of metric vs imperial on two separate occasions before and you can read more about my opinion on the inch here but in spite of being bombarded on the table saw safety front I only briefly touched on that topic when I built my simple cross cut sled.
I think it might be time to rectify my laxness on not having written much on table saw safety yet and I will start with a little jig that might help making thin rip cuts on the table saw a less, puckering event!
I also need something to send students too for further reading later this month after a safety demo at a local woodworking tool supplier who have just been awarded the agencies for Laguna and Axminster tools and would like me to help them generate some table and band saw safety awareness. On top of that the new laws in the US related to table saw safety and SawStop technology has further stirred the workshop safety pot and I would be remiss not to jump on the bandwagon with some literary contributions while the iron is still hot so to speak.
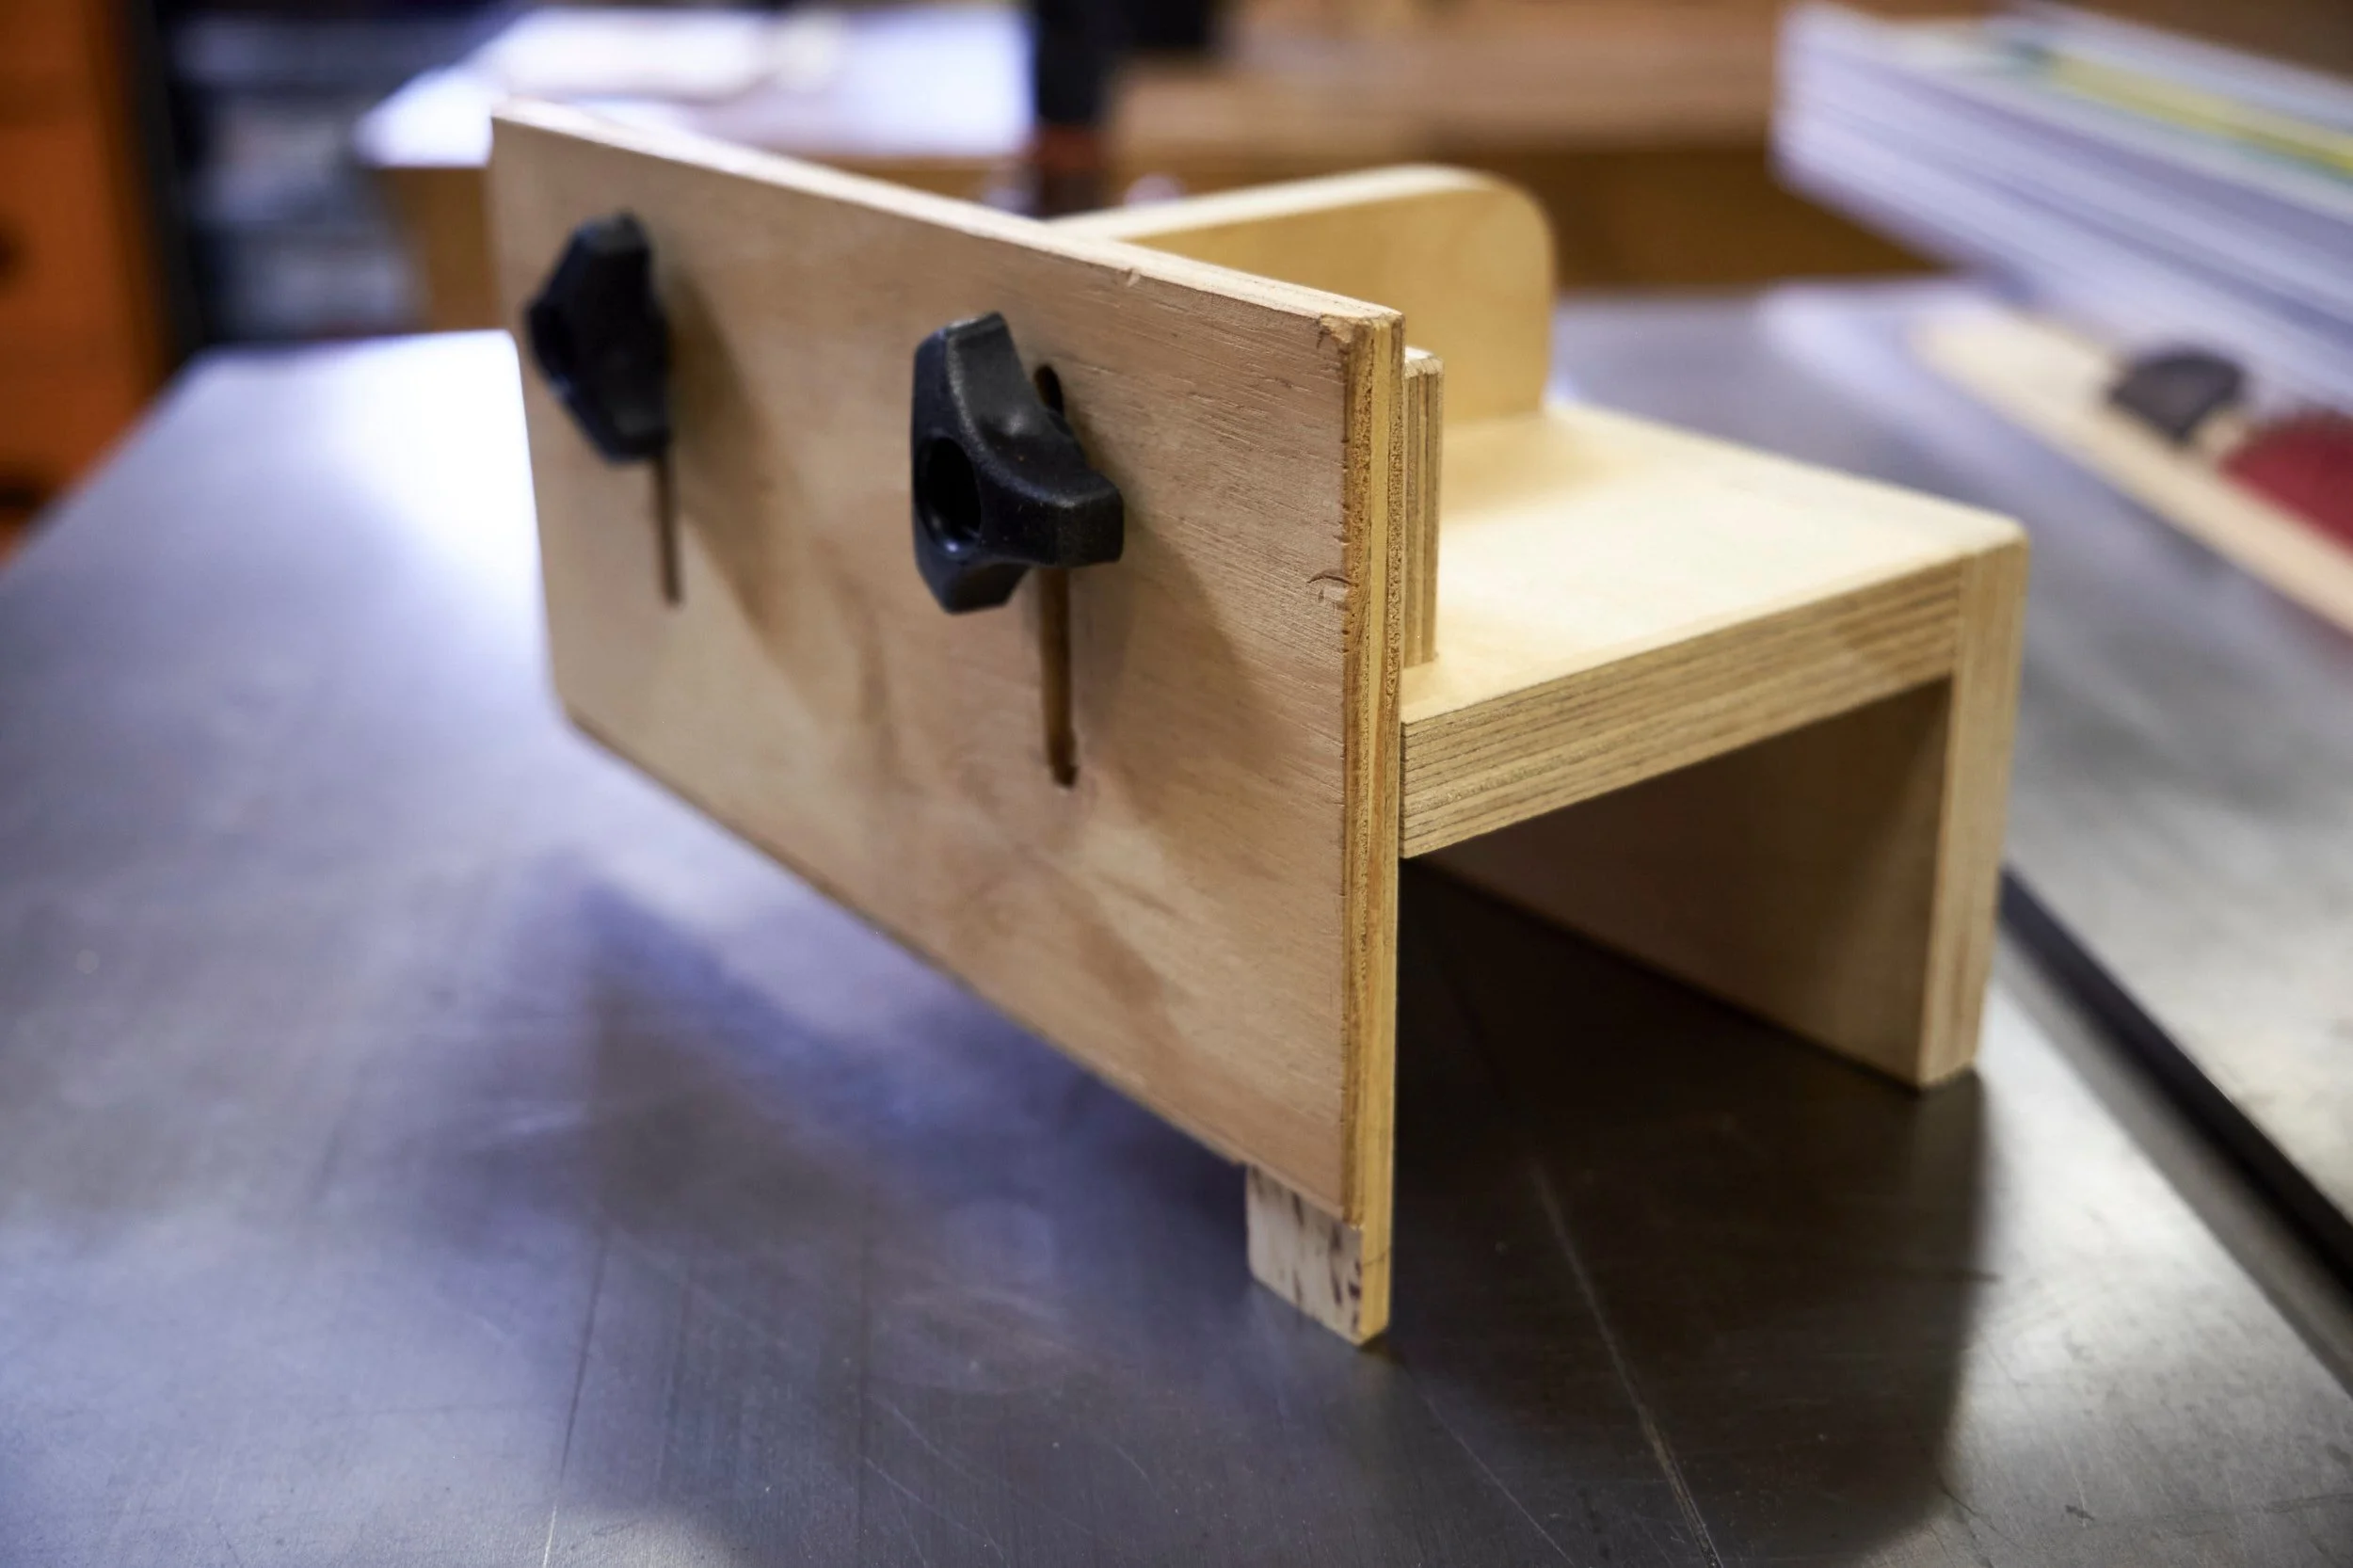
This will likely be the first in a series which will likely include another short product review and a DIY project or two. But in this one we kick it of with a short how to on my “Thin Strip Push Block” plan set that is available for sale on my shop or available as a FREE download if you sign up to my newsletter.
Once you’ve signed up go ahead and download the plan set for the push block and come back here for some info on how to go about building your own.
Design
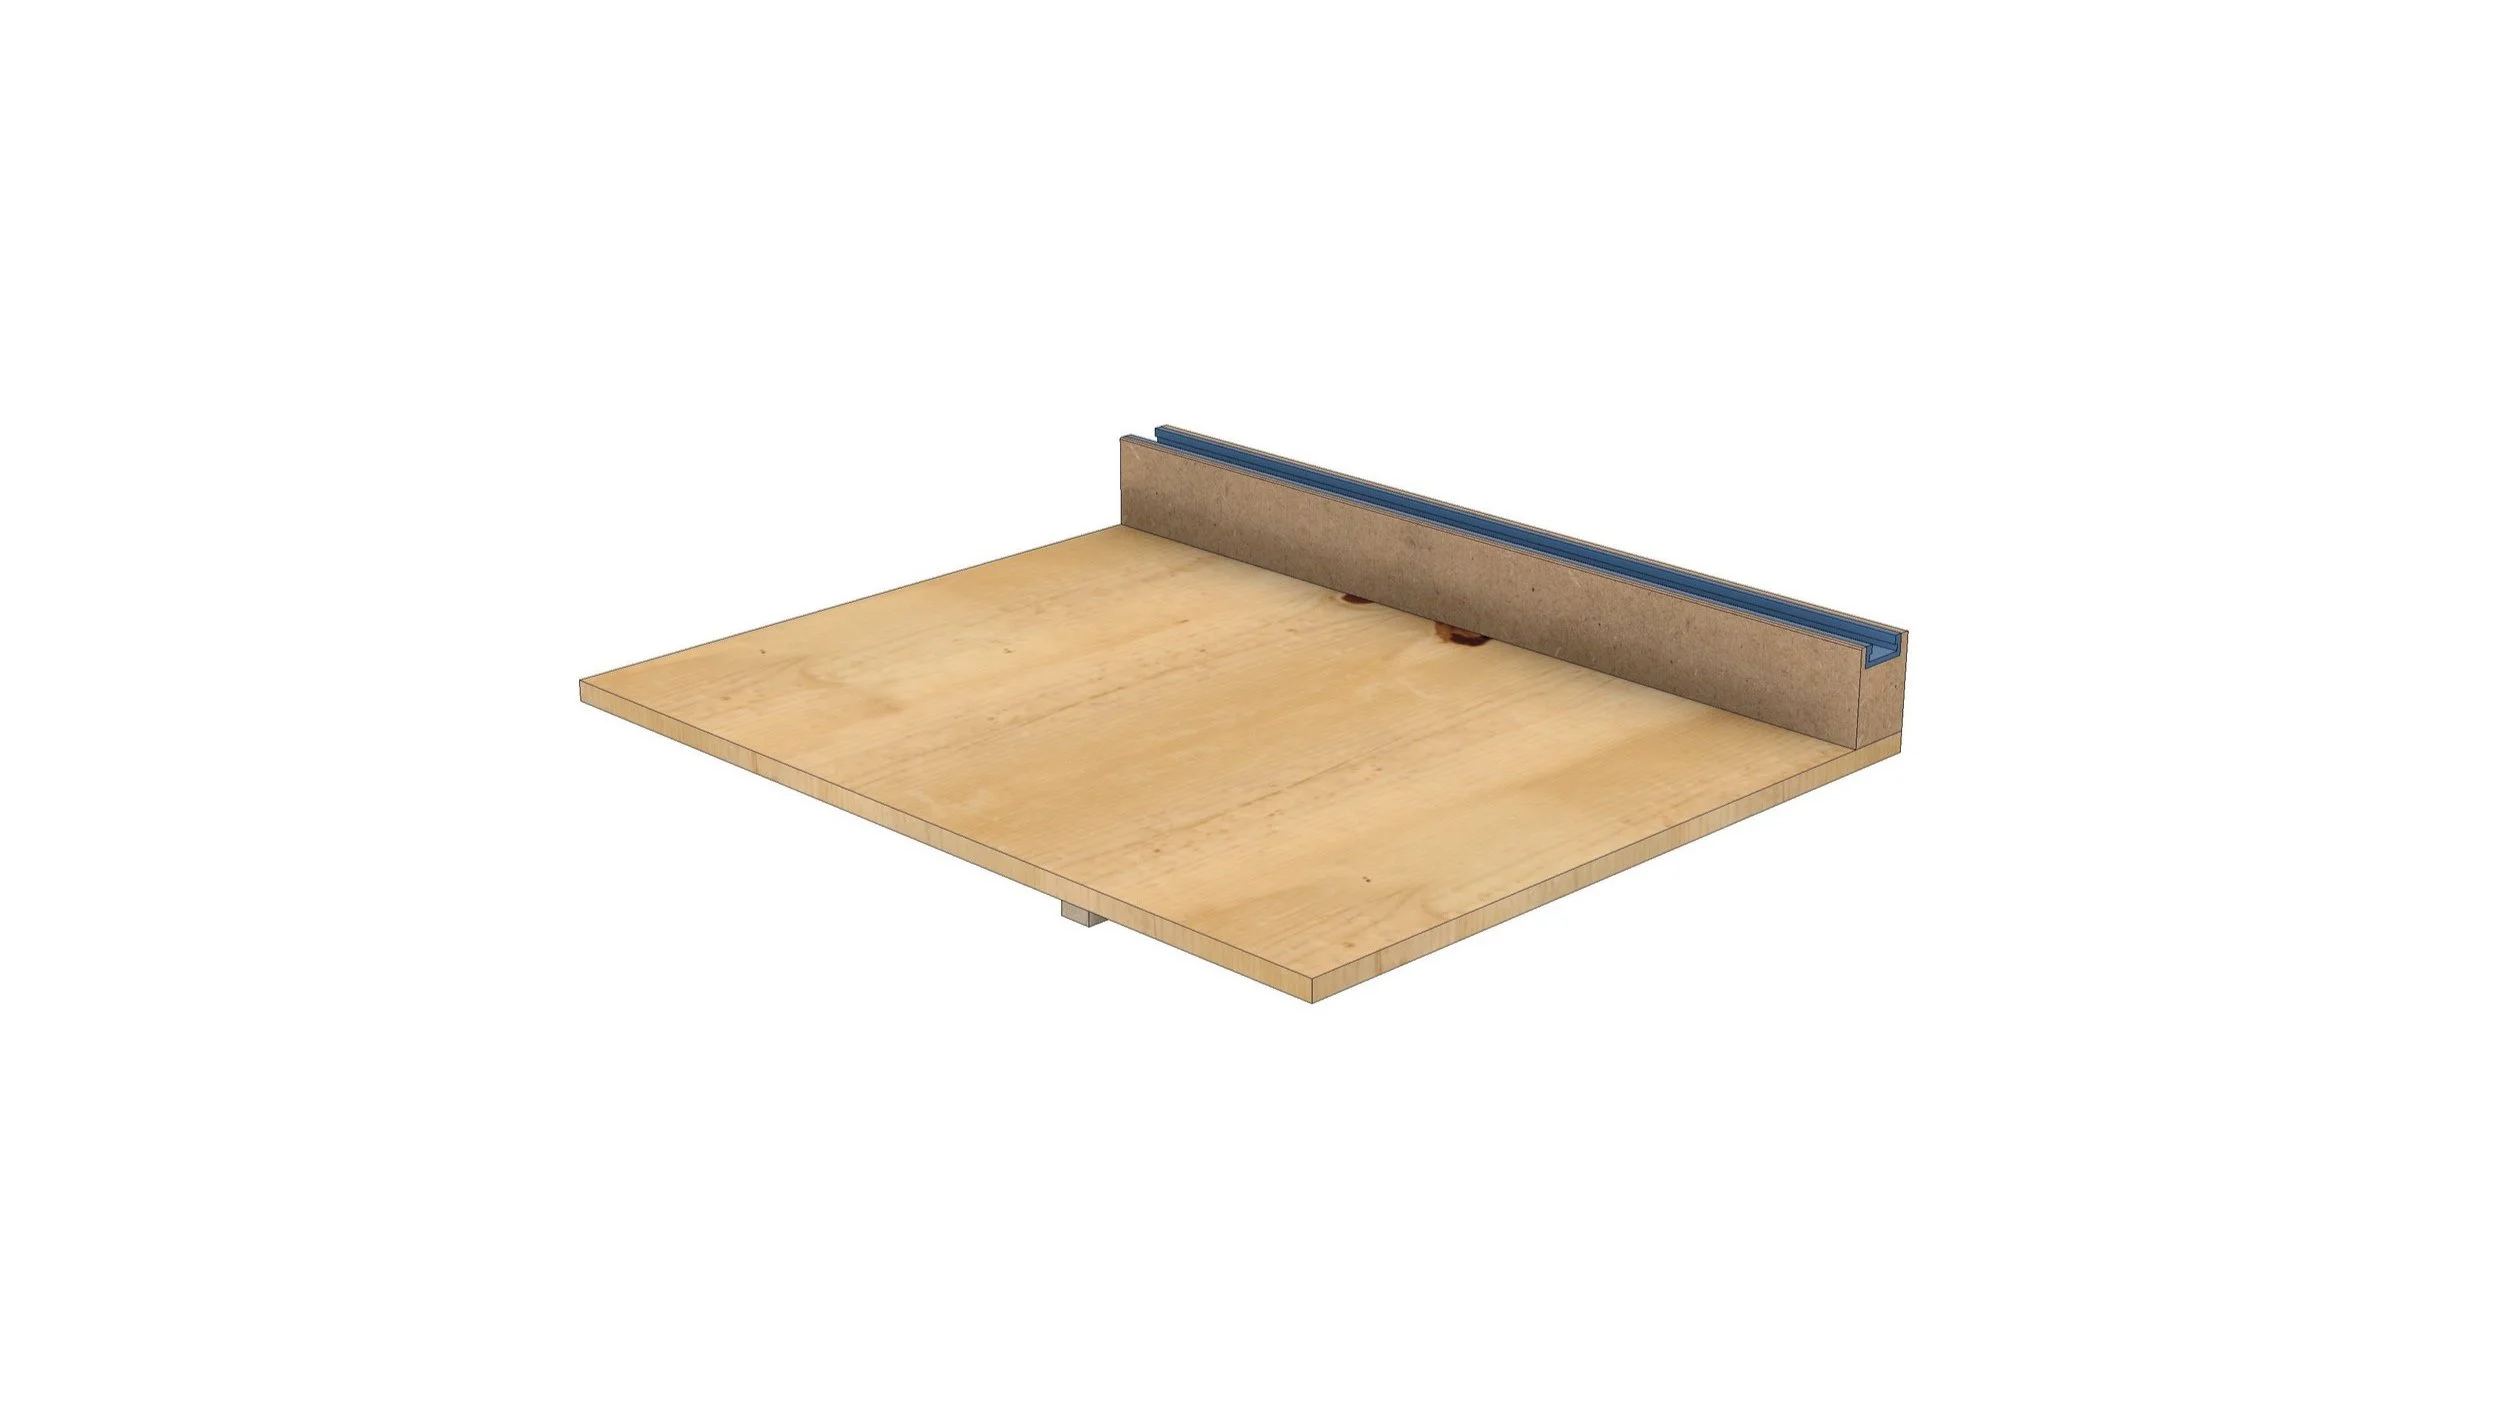
This jig is designed to work with a Biesemeyer style fence but can be modified to work with other styles of fences.
The dimensions quoted in the part list and technical drawings work with my own table saw fence and may need to be changed to suit your own needs. Honestly the only components that may need some tweaking would be the side and top parts as your fence height and width may differ from mine but for the most part I think the rest would stay the same.
Of course the above is only true if you have a Biesemeyer style fence on your saw and if heavy modification is required I am assuming the part list and corresponding dimensions would follow suit.
The fence is the heart of the jig and it is what makes this push block so versatile. The fact that it is adjustable and sacrificial contributes to this versatility, more on that later.

Wood
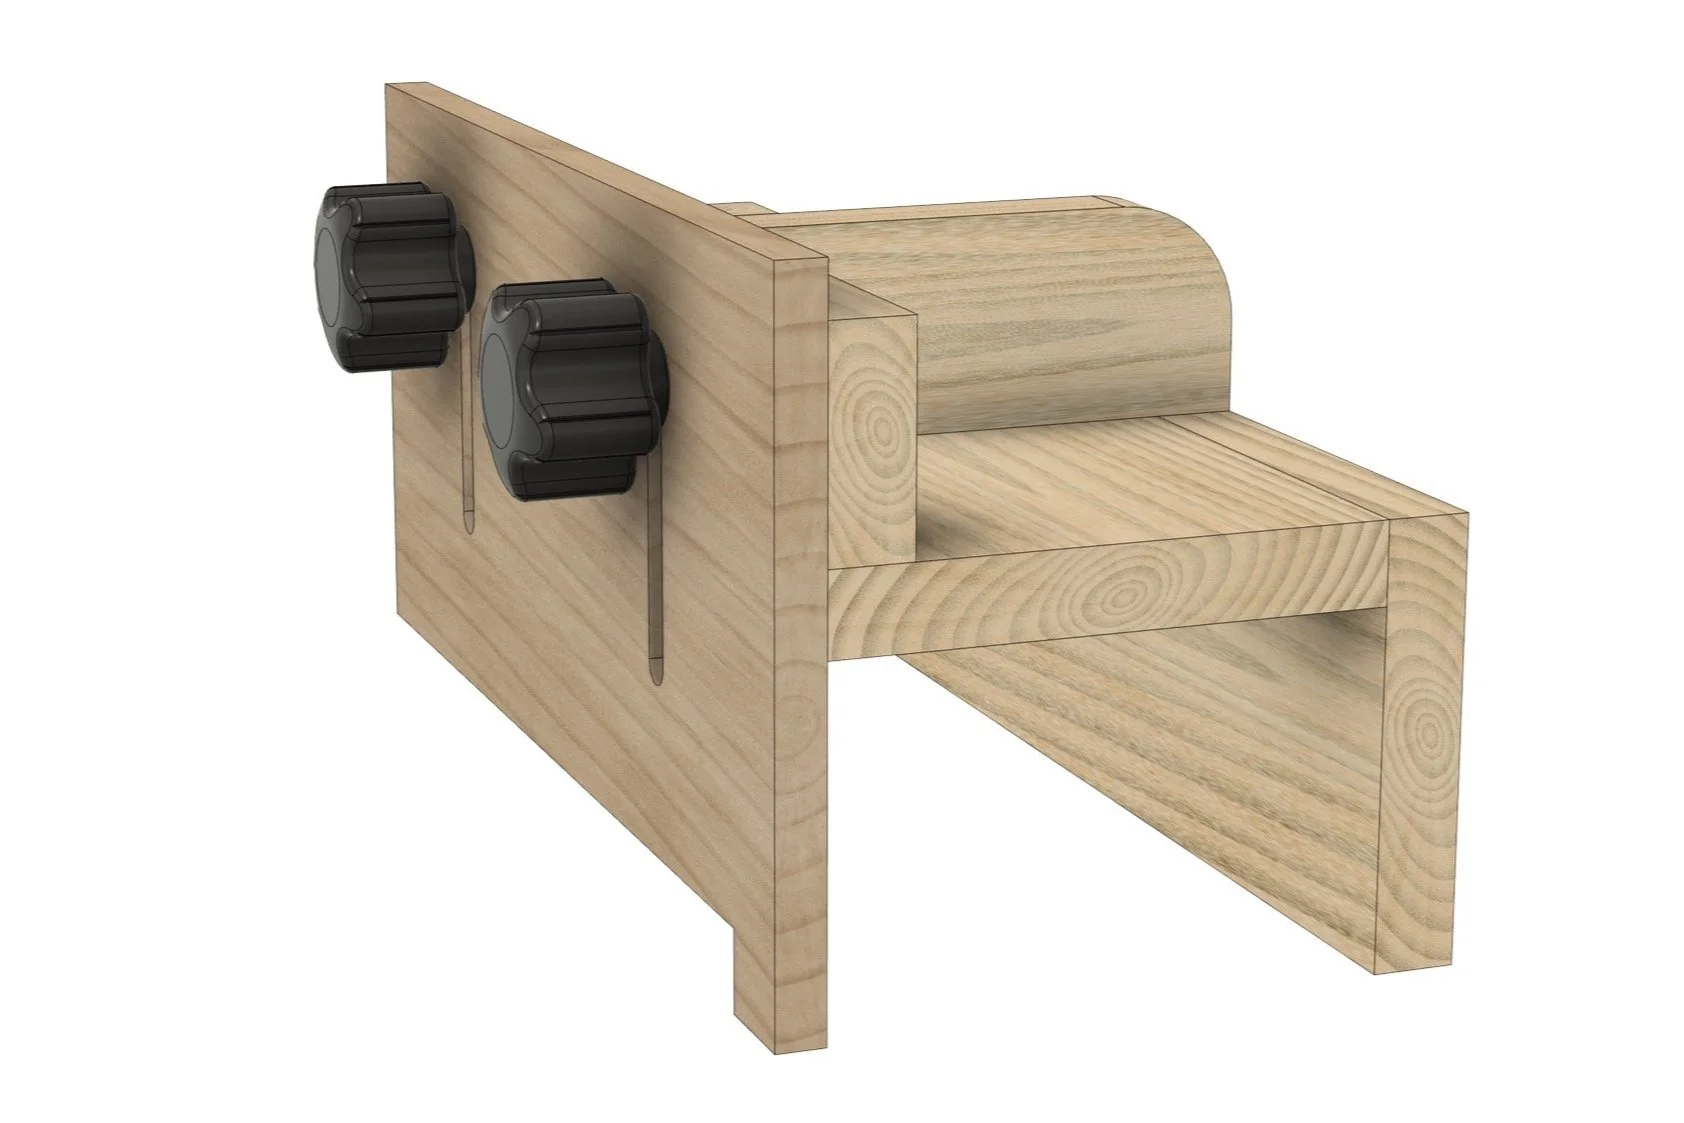
Some jigs are more precision instruments than others and I would class this one as somewhere in the middle between stupidly accurate cross cut sleds and marginally accurate drill guides.
This jig needs to squarely cradle the top of your table saw fence and also move smoothly along it with little to no play. To achieve these basic requirements the assembly needs to be straight and square. The construction of this jig lends itself well to manmade laminates and considering that most workshops have ample offcuts of these available it’s an ideal scrap wood project for a Saturday afternoon.
Stock thickness isn’t overly important on this project and as long as your own parts are ballpark in line with those in the plans you are good to go.
If you choose to use solid wood be my guest, just make sure the stock is flat and square.
By the way the CAD program I use doesn’t have ply in its materials library so the renders are in ash and maple if you are curious.
Glue
Any wood glue will work for the wood to wood joints and no reinforcement of the joints is needed, do make sure to adhere to the glue manufacturer’s clamping and curing guidelines.
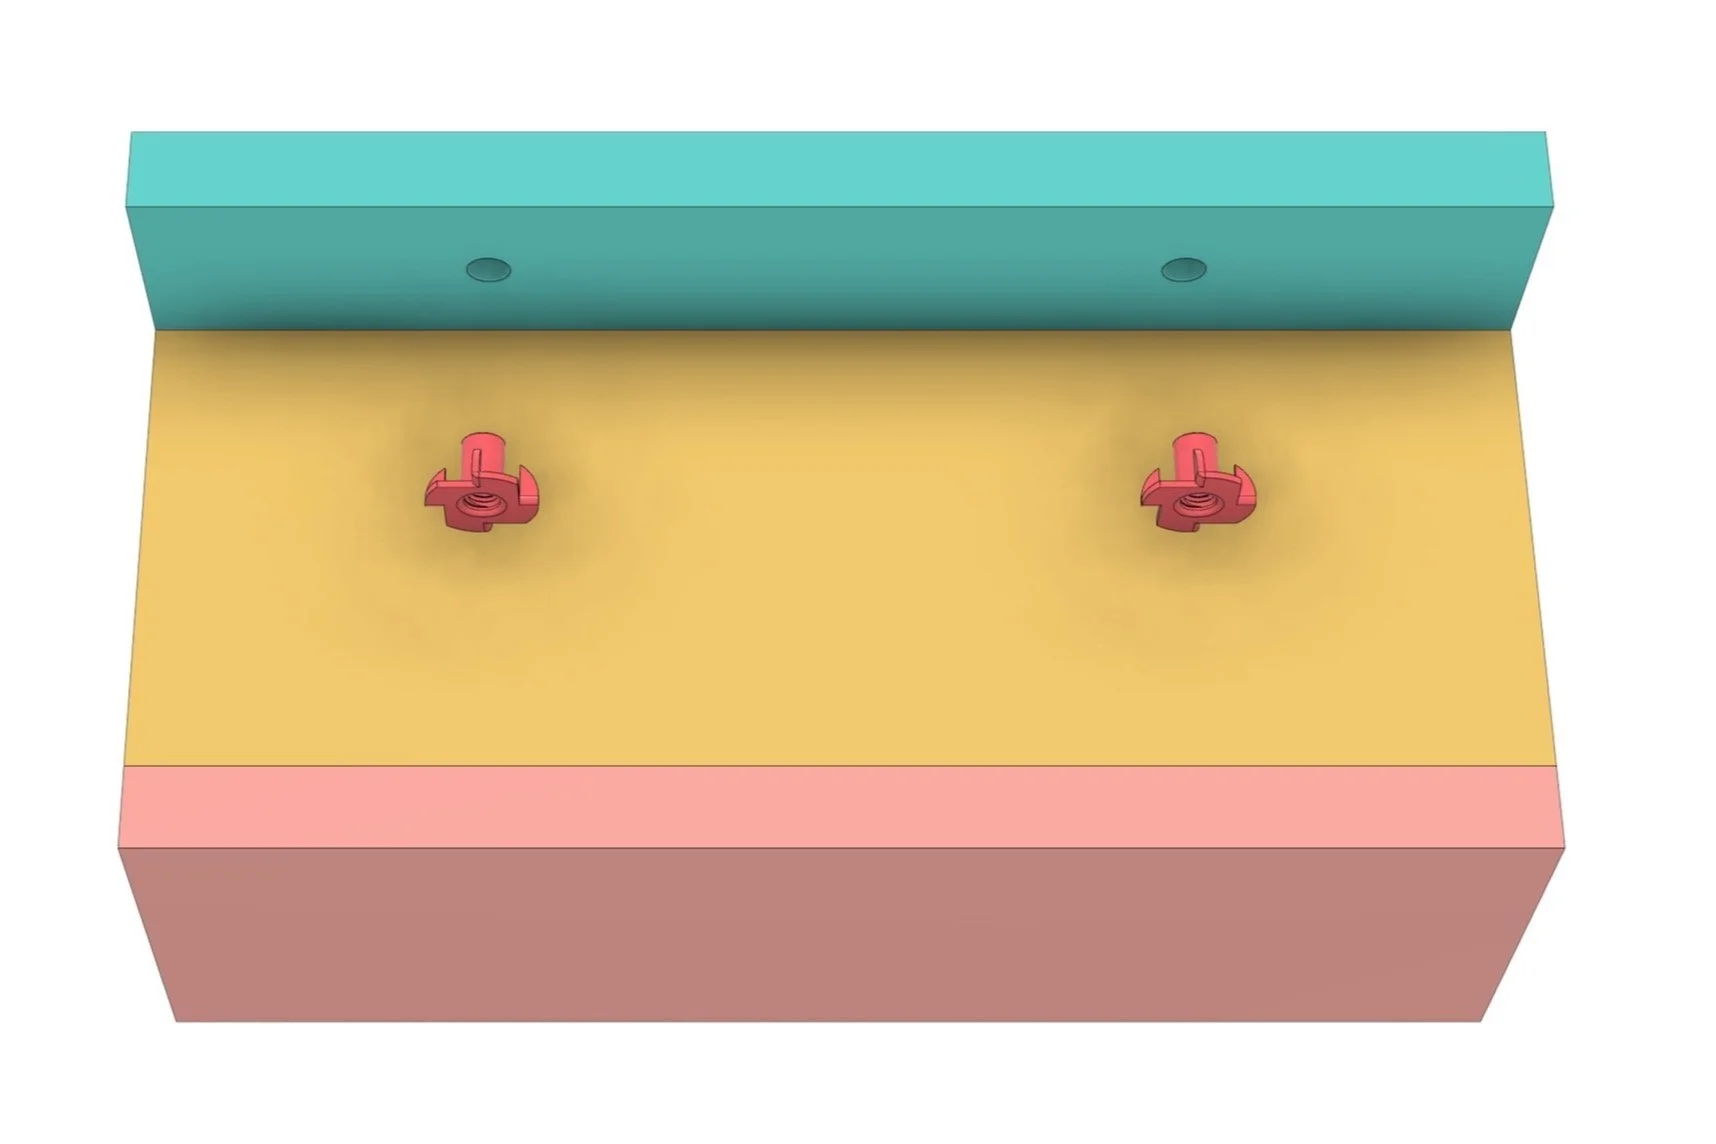
I overdo the construction of my projects and if I were to use the T-Nuts as detailed in the plan set I would secure them with some epoxy, just don’t get any glue in the threads during the installation process and the best way to do that is to apply the glue onto the nut before insertion rather than into the hole.
Hardware
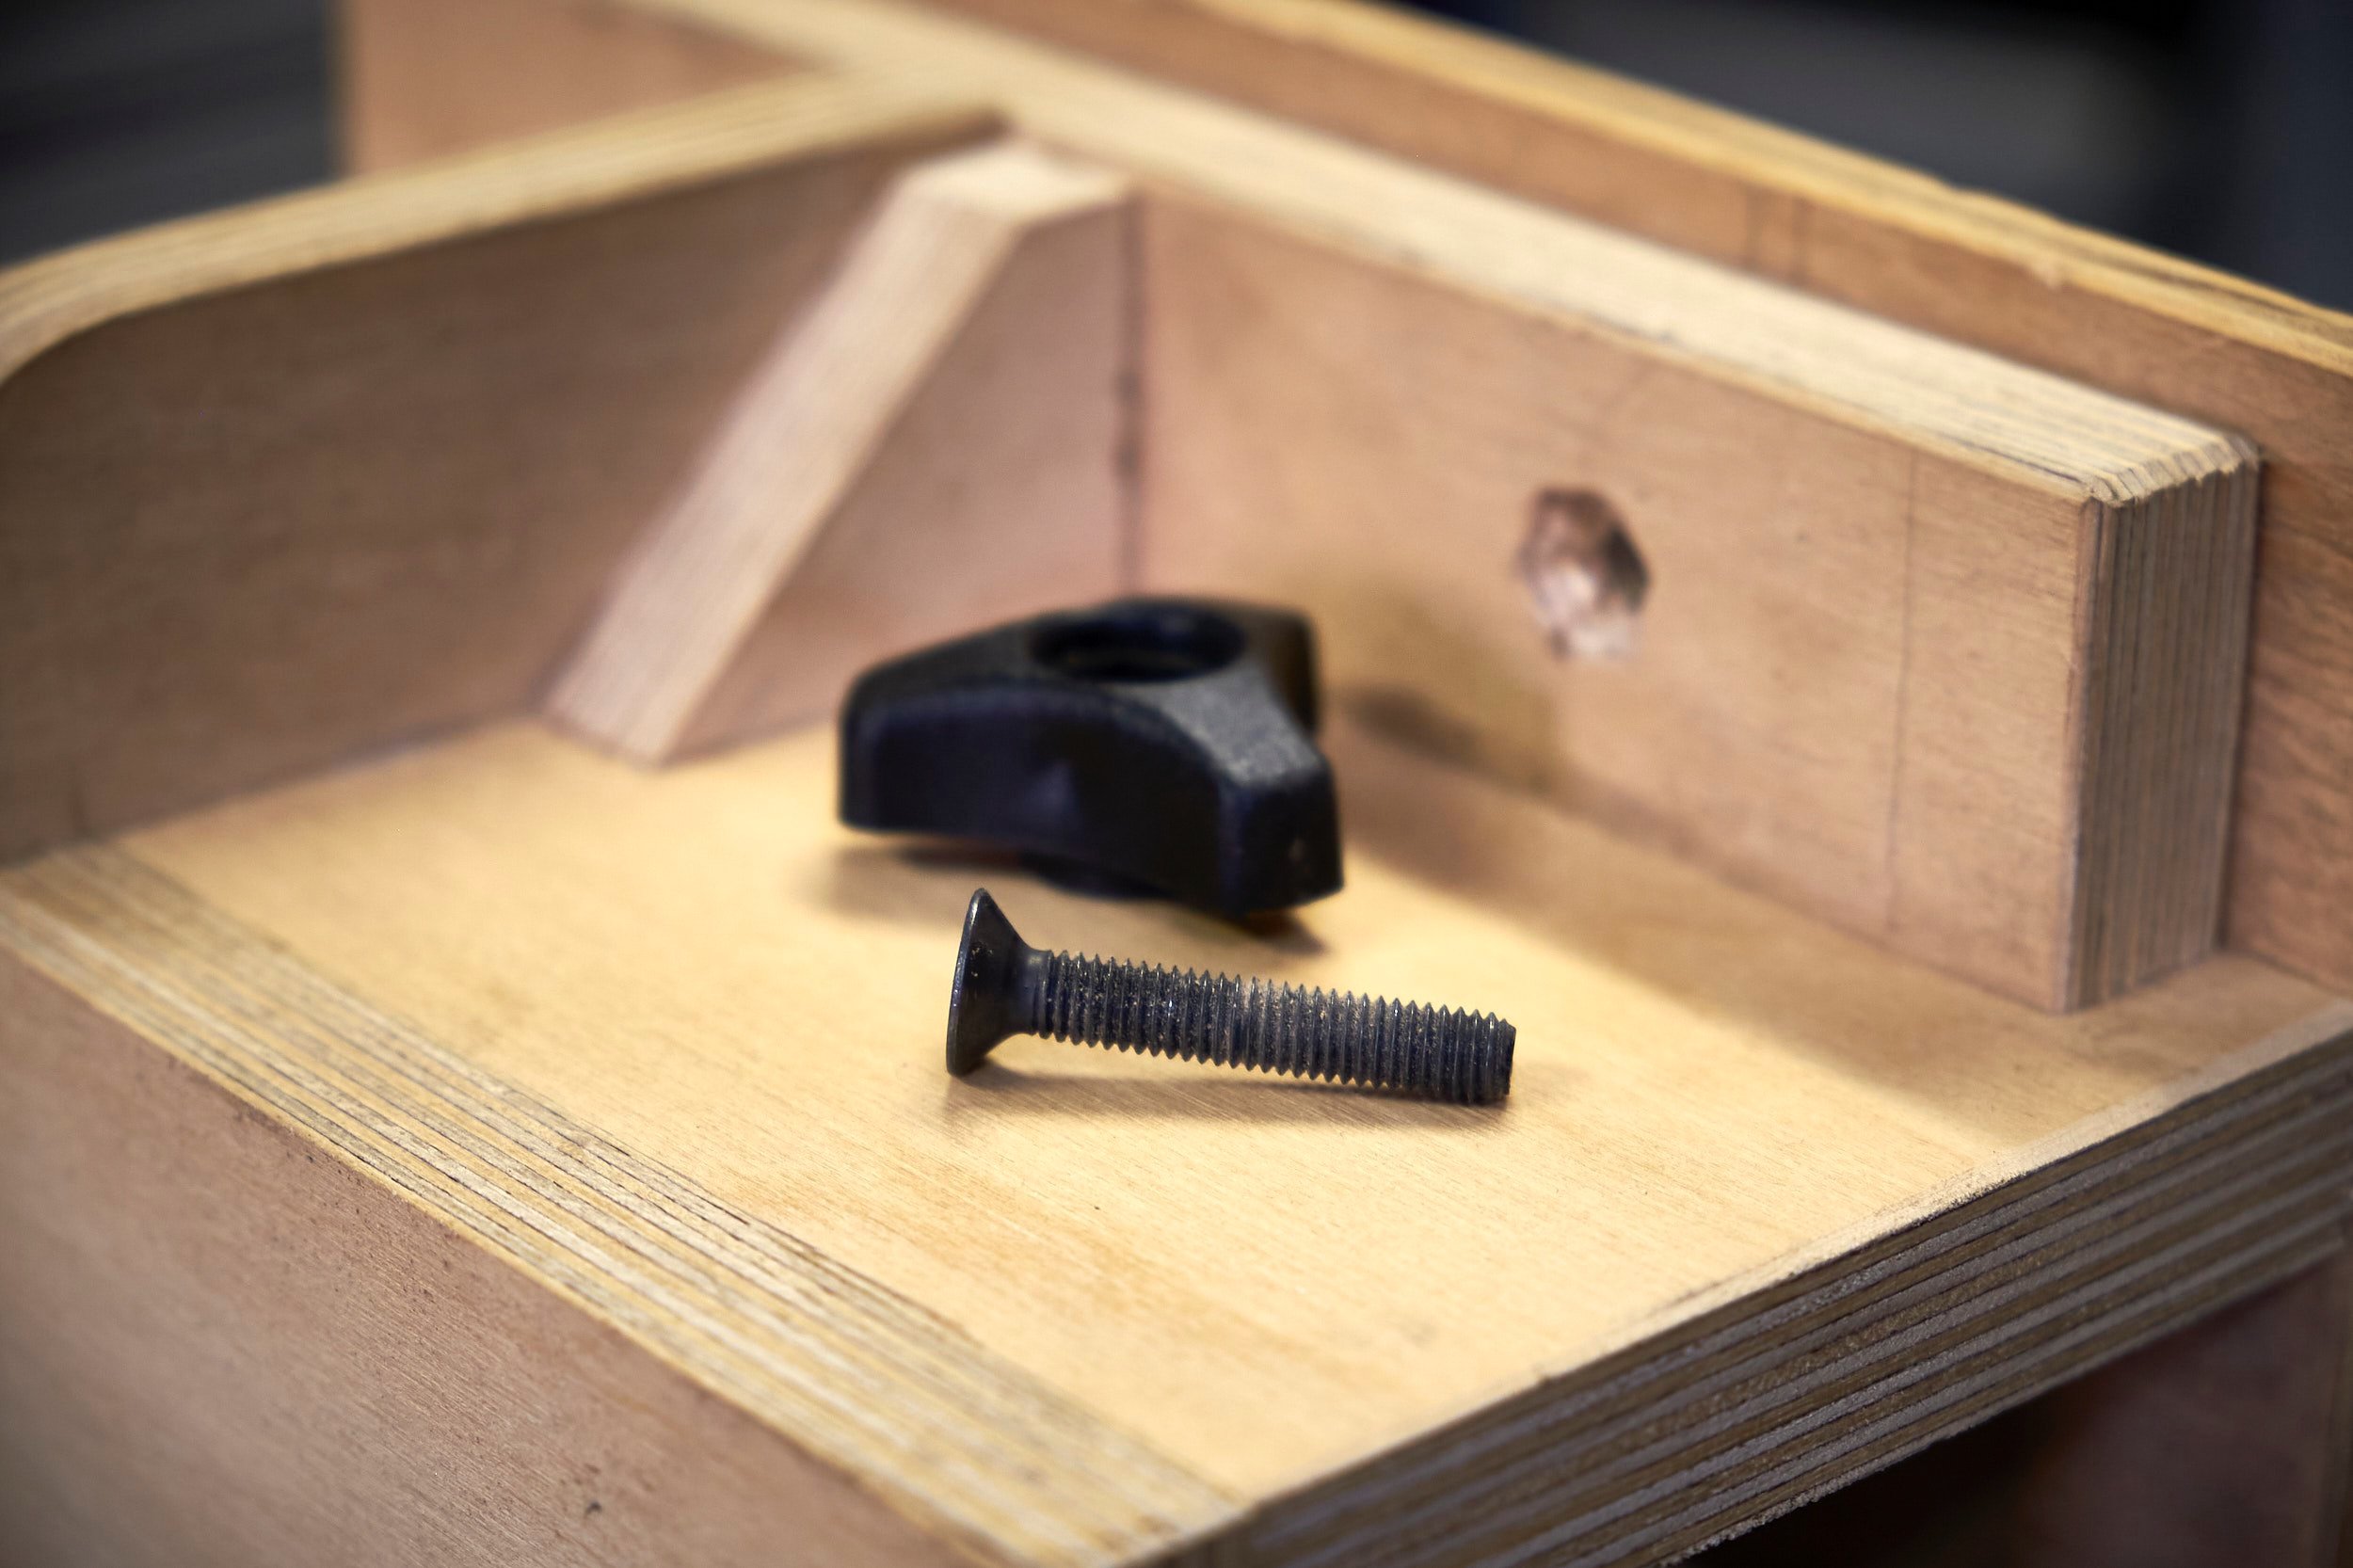
In the plans and on my own push block I use commercially available rubber knobs to attach the adjustable fence to its mounting block. Although not strictly necessary the knobs do make for easier adjustment of the fence but is most certainly not crucial to build the project.
In my case the knobs I have available locally do not have the thread integrated into the unit but rather they have a standard sized nut recessed into the knob itself. I used a allen bolt with a recessed head for the knob to screw onto and just needed to make sure that it was long enough to go through both the fence mount and the fence, with enough meat left for the knob to attach to and allow slack for the fence to be adjusted without the knob falling off.
Regarding thread size, M6 works just fine although you should also be able to use M8.
In the absence of any knobs you could screw an allen cap bolt into a matching t-nut or even use a wing nut instead of a knob using the same solution I used. In both cases you would likely need a washer between the fastener and the fence to stop the head from pulling into the slots that you will be cutting into the fence.
Fence
This is the hardest part to make!
The up and down adjustment slots can either be cut with a router or a coping saw. If you use the latter drill a hole of the correct diameter at the top and bottom of the slots, this will negate the need to make a tight radius with the saw and help you set the blade in the cut.
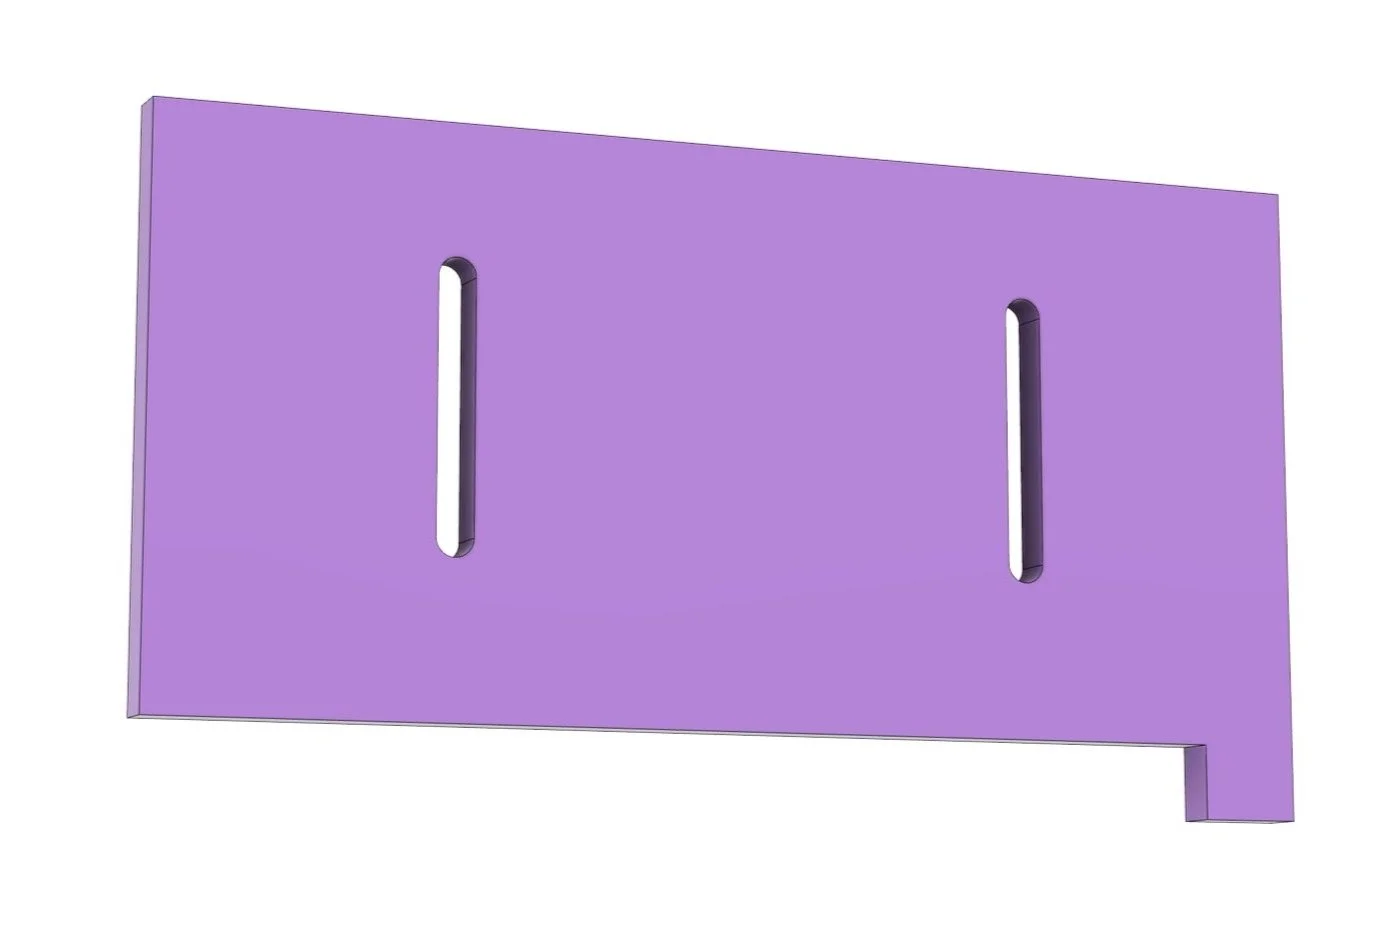
Irrespective of how you make the slots, it is important though that the slot width allows the fence to slide easily up and down. Too wide and the fence will be sloppy, too narrow and the fence will bind on the thread of whatever method you choose to use to attach the knobs/wing nuts/allen caps. As a ballpark go 1-2mm wider than the fastener’s diameter.
The distance of the slots horizontally from one another is determined by the distance between the T-Nuts or holes in the fence mount. The slots in the fence will be wider than the threads of whatever fastener you choose to secure the fence with, so you have some room to work with but it’s best to try and get this spacing right.
Lastly the length of the slots is up to you, I made mine 50mm long.
The final step is to cut a tab into the bottom of the fence which will be responsible for “grabbing” the rear edge of the workpiece and pushing it through the cut. On mine the tab is 15mm deep and how you cut this is up to you. Keep in mind that it isn’t only the tab that does the work during the cut but that the flat section in front of the tab also contributes to the safety of the cut as it places downward pressure onto the workpiece during the cut. Make sure you get this edge as straight and even as you can.
The fence is sacrificial and can be replaced once it gets chewed up in use, this means that strips that are thinner than the fence can be cut, within reason.
Use
Once all joints are cured and the fence shaped, assemble and secure the fence to the rest of the push block, find some scrap wood and test it out.
Follow the below steps to set up the jig and use it:
Position the push block over the fence and loosen the knobs so that the fence can be adjusted.
Place the stock against the table saw fence and position the push block over the stock so that the bottom of the push block fence rests on top of the stock and the tab engages the back of the component.
Secure the knobs.
Move the stock away from the table saw fence and remove the jig from the fence.
Set up your table saw fence and blade height for the cut.
Place the component and push block back where they were during the setup step, making sure that the top of the workpiece sits flush with the bottom of the push block fence and that the tab of the fence registers against the back edge of the workpiece.
Proceed to make the cut making sure that even forward and down pressure is placed on the strip via the push block during the cut.
Continue until the strip has been cut all the way through providing even support for the waste with your opposing hand.
Repeat as necessary.
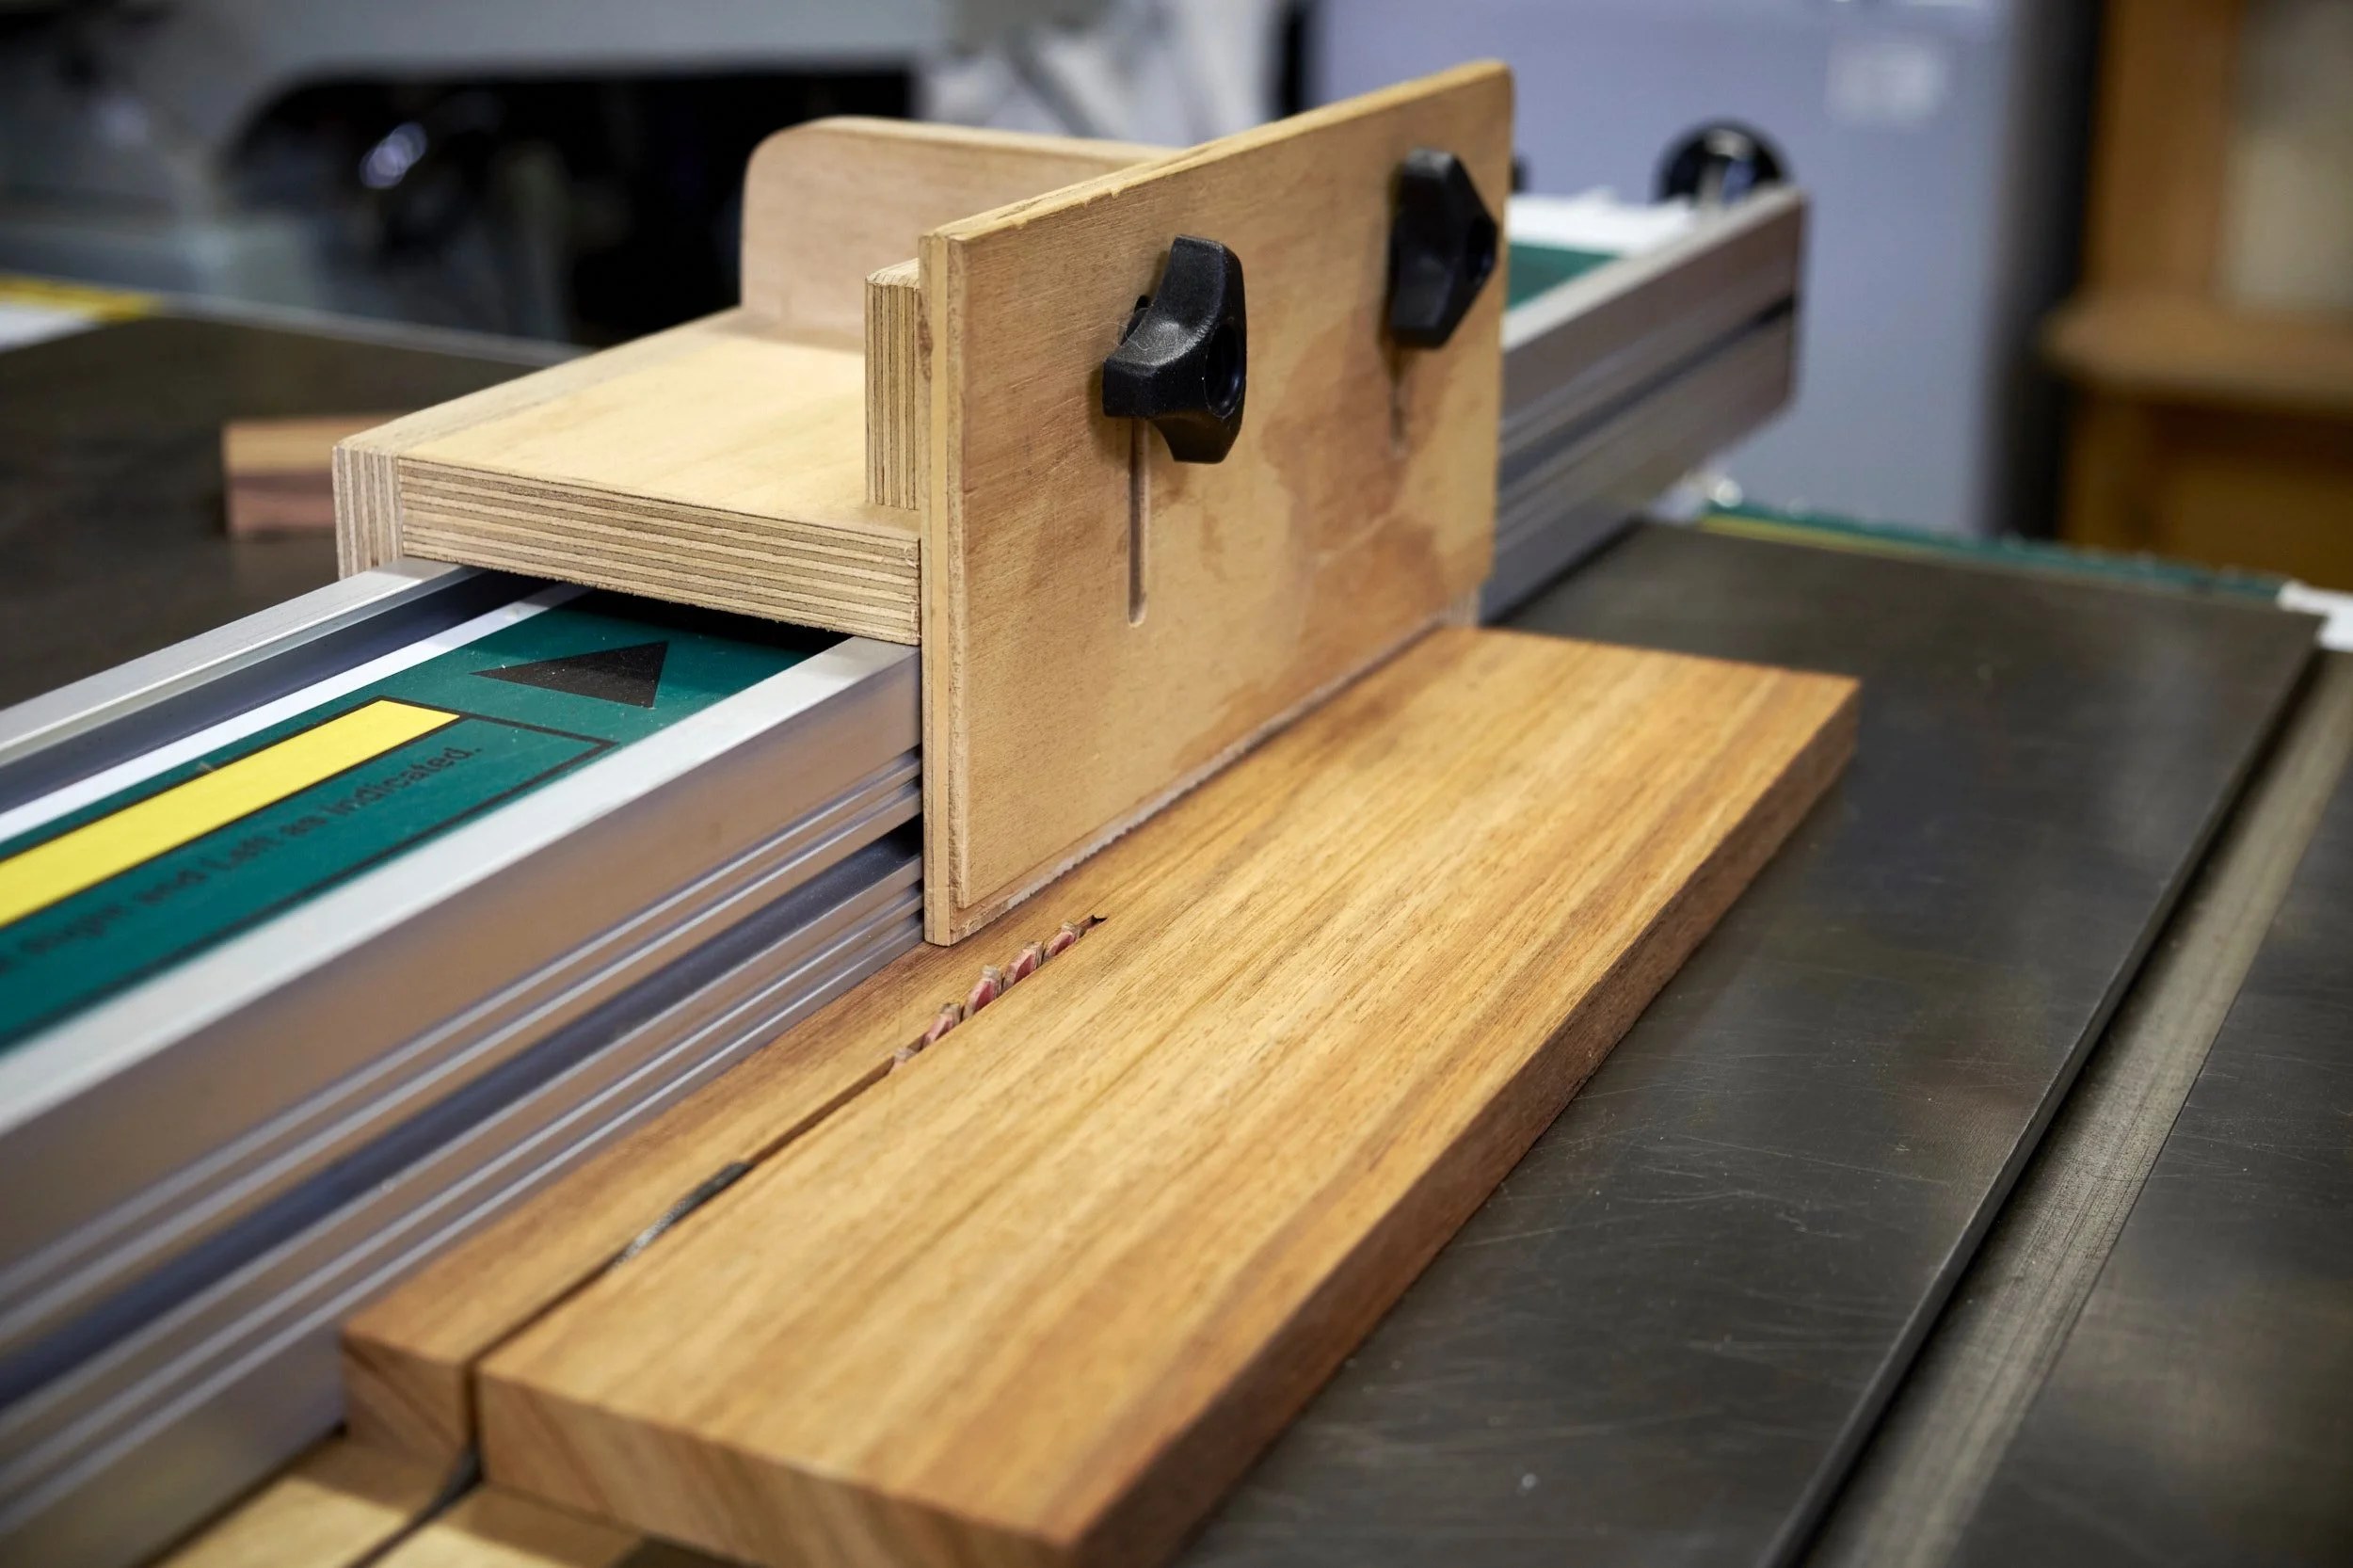
Pro Tip: When setting the depth of the table saw blade I like to have just enough of the blade protrude above the workpiece to make the cut. This will result in two things, less blade protruding above the workpiece increases the safety of the cut and secondly it will chew up less of the sacrificial fence.
Safety Warning: On this and any other rip cut on the table saw, get your body out of the firing line just in case of a kick back. Do this by standing to one side during the cut and not right behind the blade.
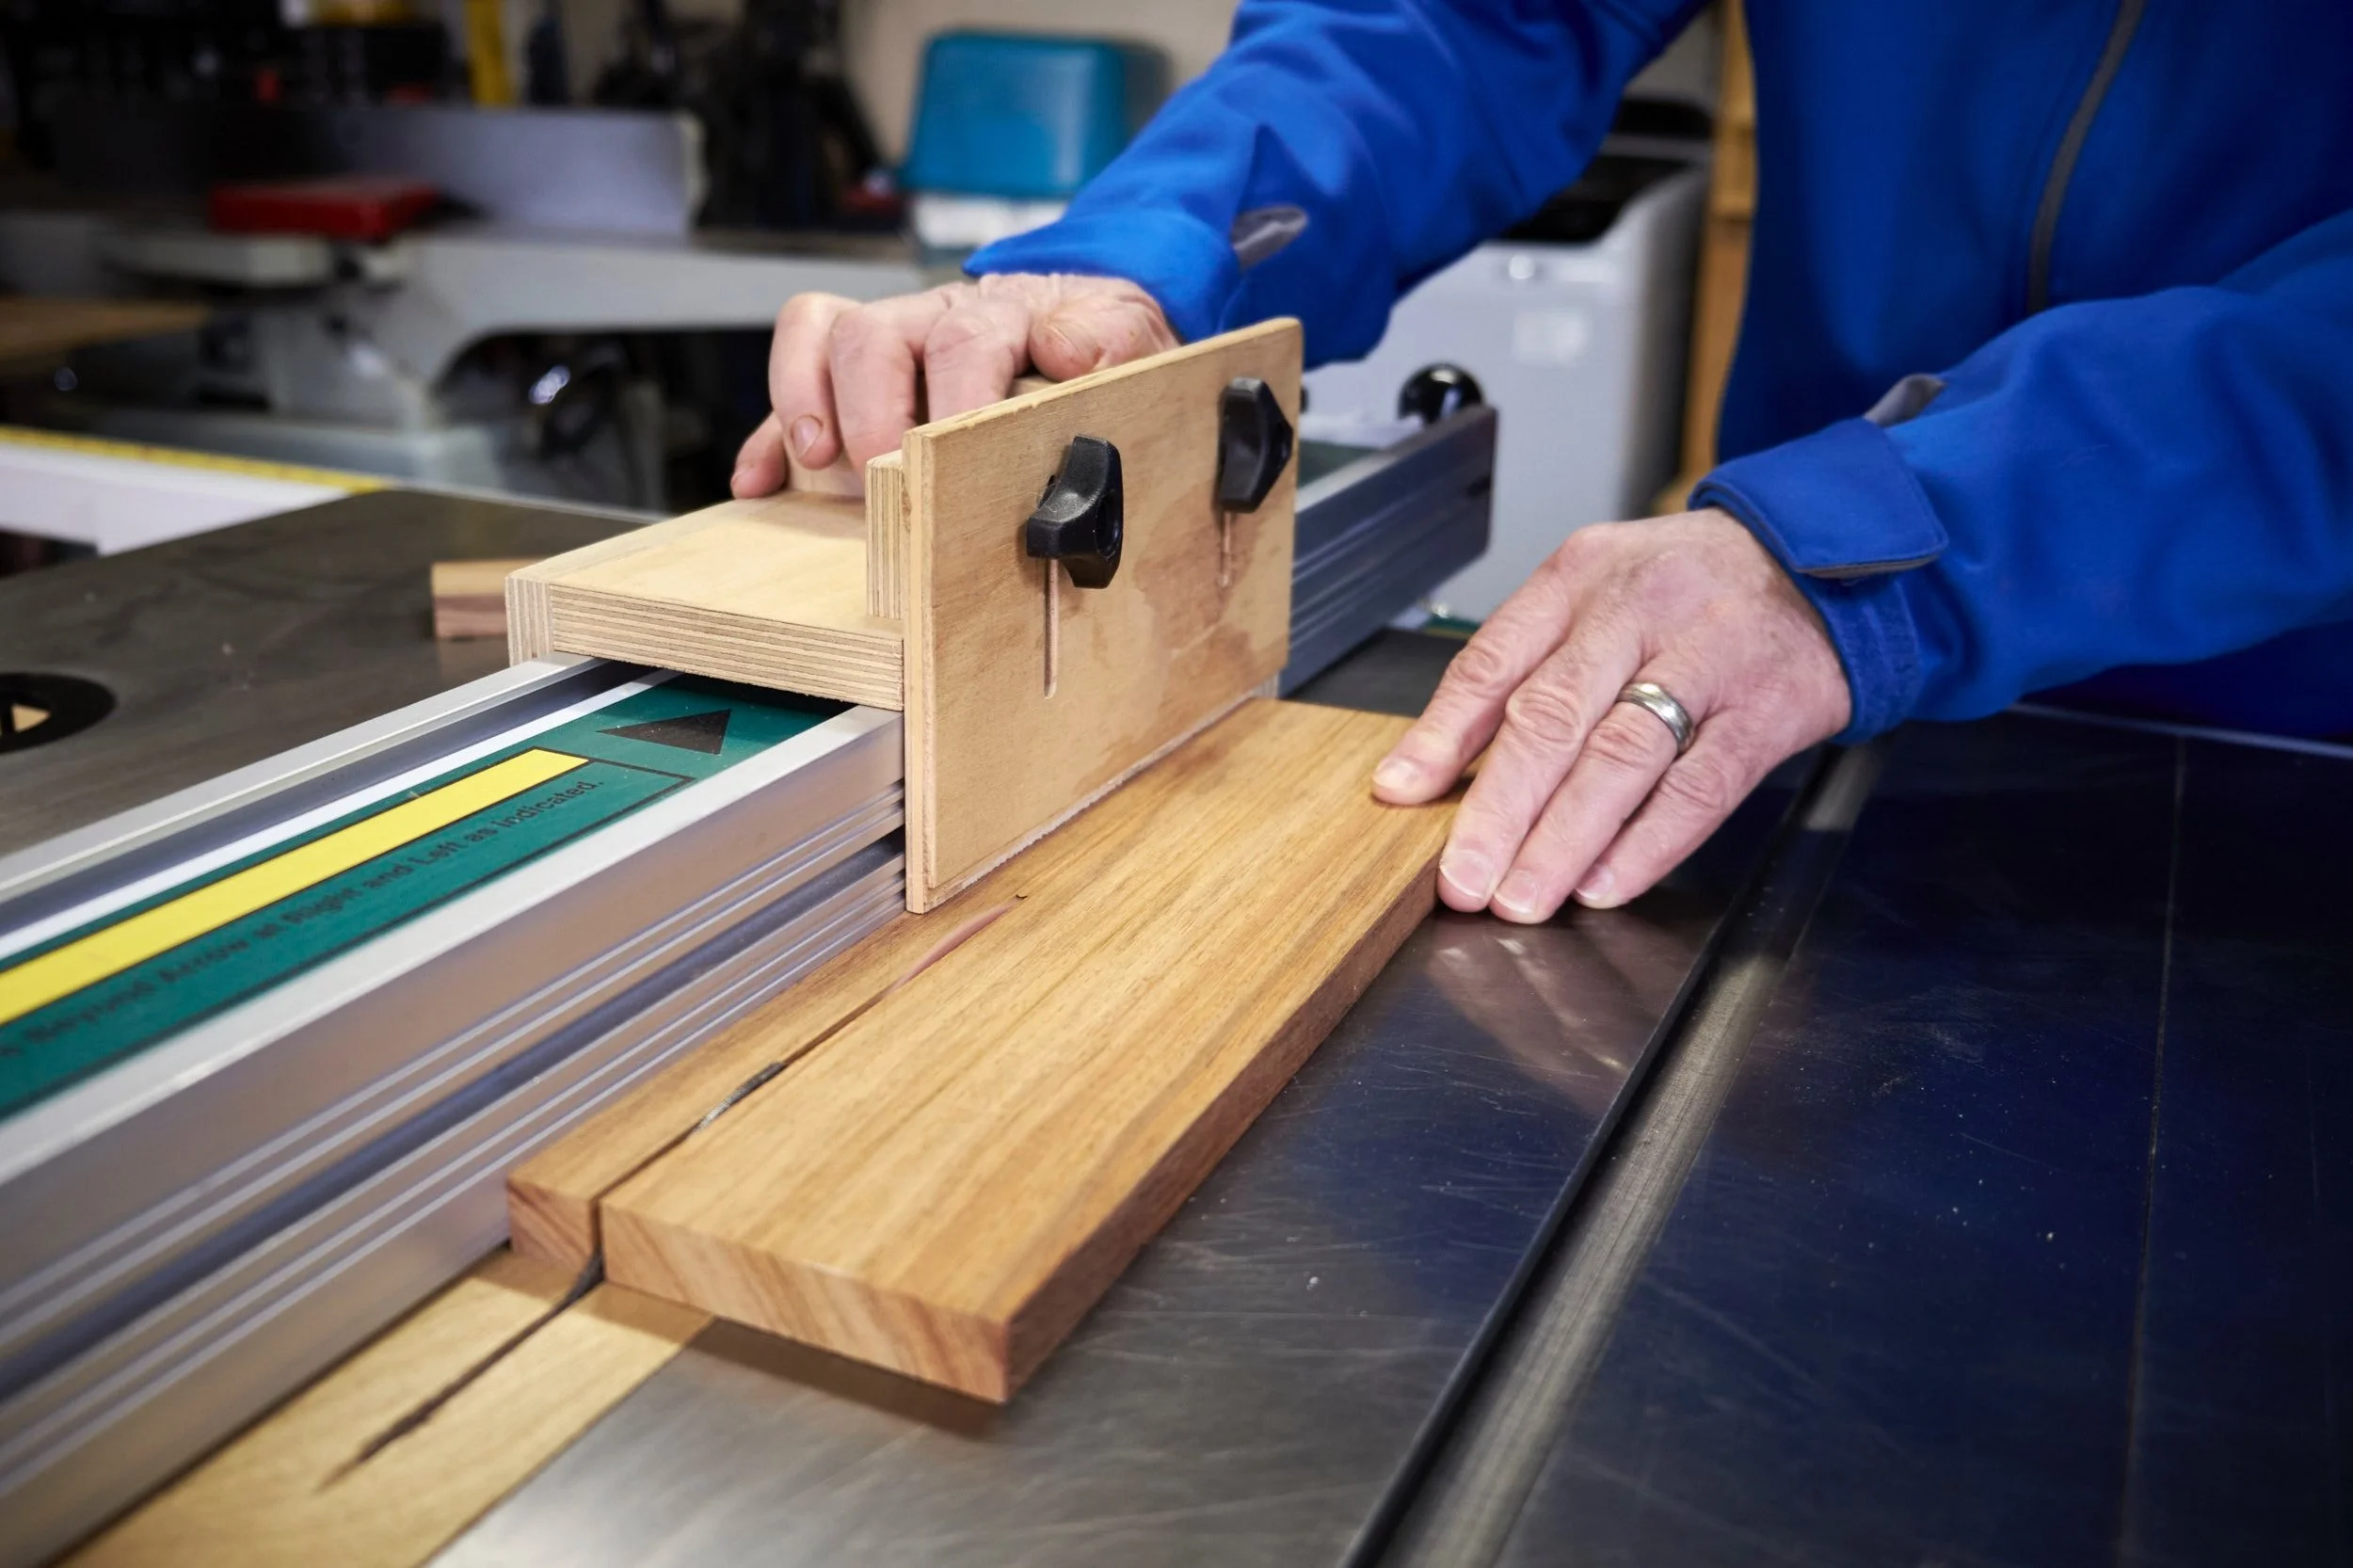
Safety first!
I am standing off to the side, I promise! A kick back will likely miss the meaty parts but could hit the side of my jacket and still spoil my day. This is a good example of not only paying attention to the machine and what you are doing but also other aspects that could affect the safe use of our equipment.
Safety Warning: The thin strip push block stacks the safety odds in your favour when ripping thin strips, it does NOT however negate all risk and the most important safety feature while using a table saw or any other power tool remains your own common sense!
A final note on using this push block when ripping long strips. You will find that your table saw fence won’t be long enough to allow the jig’s fence to engage on the back of the workpiece at the start of the cut. First set up the jig as described above and then place it on the fence as you would normally do but this time let the fence ride over the workpiece as you make the cut, using your hands to guide the start of the cut while keeping them in front of and well clear of the blade. As the back edge of the workpiece passes the tab of the push block’s fence, move your pushing hand onto the jig and complete the cut as you would for shorter strips.
Safety Warning: A final safety warning before I let you go. The friction of the jig on the table saw fence and the pressure of the push block fence onto the workpiece should keep the strip from falling off the back of the table saw after the cut. If it does topple of the back PLEASE AVOID reaching out to catch it!!
The final warning above may be a good excuse to finally build that out feed table you’ve been threatening to build for the last year.
And thus I leave you with another free plan set in hand but only if you join the PlyCreations community, if not they can be purchased from my shop on the site.
If you love your digits and often rip thin strips on the table saw this jig is a good one to have, go ahead build one it will at very least keep you out from under your wife’s or partner’s feet for a Saturday afternoon and use up some of those offcuts you’ve been hoarding for a jig just like this one.