
Build Your Own Wooden Hand Plane - Part 5
Into the final stretch of building your own wooden hand plane and in this last edition we shape and install the handle, shape the plane (if necessary), make it pretty, install hardware and apply a finish.
You could also just cut a broomstick to length and stick that into the plane and call it done.
I’ve been tempted.
Of course if you are going the James Krenov route just shape the plane body to taste and get to using it.
Before we start the step by step I do need to mention that in the examples you are about to see I will be installing a tote or handle into the jointer and a “palm rest” on the compass planes.
Step 1: Shape The Handle


For me personally this part of the build takes the longest.
Let’s talk about the shape of the handle. In the case of the jointer I decided to use a closed handle, similar to what you would find an a handsaw but you could also use an open version as is commonly found on metal bodied planes.
I have a template that I use to trace the shape of open handles on the rough stock but in the case of this build I implemented a healthy dose of artistic licence. In the pictures you will see how I used a saw handle to give me a basic shape to start off with and I used images of other hand planes as a guide on the refinements and final shape.
Whatever shape you go with remember to add enough material to the bottom of the handle to make the mortise that will be going into the plane body.
By the way the proper name for a handle on a hand plane is called a tote.
Steps:
Cut a rough blank just over large to be able to shape the handle and the tenon.
Drill holes in the middle of the handle to allow the use of a coping saw to remove the waste.
Cut the basic shape using a band or coping saw.
Shape the handle using a combination of rasps, files and sand paper.
Sand to final finish.
Tips:
In regards to the thickness of the blank for the handle I like to start at around 30mm thick and thin the handle down for comfort as soon as I have the corners rounded and the basic shape in place.
Make sure you can comfortably grip the handle without feeling any pressure on your hand from any curves of the handle.
Take your time when shaping the handle as this part will significantly contribute to the comfort of using the plane and thus how likely you would be to use it over an alternative.
When doing the layout of the shape I make sure that the blank is orientated so that its grain runs parallel to the top of the hand plane, this becomes important later on.
It isn’t particularly important that the edges and faces of the blank are dead on square to one another apart from the edge that will become the bottom of the tenon. This edge needs to be square to the faces of the tenon.
I usually make more than one handle at a time as things can go wrong and if I don’t use it this time around I have an extra if I want to make another hand plane at short notice.
I’m not going to add much, word wise, to the installation of a palm rest on the hand plane as the images below are somewhat self explanatory.
I will add this though.
The palm rest is made from the triangle left over from cutting the fore block and bedding angle from the core and make sure the edges are well rounded for comfort.


Step 2: Make The Shoulder Less Mortise And Tenon
The tenon on the handle will be installed into a mortise chopped into the upper surface of the plane. This is a shoulder less mortise and tenon and although not particularly hard to make there is no shoulder to hide any mistakes if the walls of the mortise are not fitting well to the tenon.
Once chopped the ends of the mortise in the top of the plane will be square to the sides but where the handle meets the top of the plane it will be rounded. Considering that fitting a hand shaped curve to a square mortise is very hard we’ll stack the odds in our favour by cutting the curve away to make the tenon square, allowing us to fit the handle with the radiused part resting flush to the surface of the body of the plane.
This joint between the handle and the plane will take a lot of abuse in use and it needs to be as strong as possible. We ensure maximum strength in two ways. The first step we took by orienting the blank for the handle so that the grain of the blank runs parallel to the surface of the hand plane and thus parallel to its grain. This gives us a side grain to side grain joint on three surfaces inside the mortise. The second is by making sure that the bottom of the tenon sits flush to the bottom of the mortise, we make sure this is the case from step 6 onwards below.
The position of the handle in relation to the blade is determined by the type of handle used and in the case of an open handle it should be positioned far enough forward so that the index finger of the hand gripping the handle can rest on the blade. Remember one closes three fingers around an open handle with the index finger resting on the blade or wedge. In the case of the closed handle this is less important as the index finger rests on the side of the handle.
In the case of either style of handle it should not be placed so far forward towards the blade that you are unable to get a hammer in between the blade and the handle when setting and adjusting the blade.
Regarding to left to right, I aim for the middle but have heard of guys setting the handle slightly left or right of middle to improve comfort in use.
Steps:
Make a mark along the bottom of the handle to indicate the depth that the tenon will go into the mortise.
Using a hand saw make a perpendicular cut in towards the middle of the handle along the line made above, the depth of the cut will be determined by the radius that was shaped on the handle and should be slightly past the point where the radius meets the flat sides.
Use the resulting square tenon from step 2 to lay out the position of the mortise onto the upper surface of the plane.
Use your preferred method to chop the mortise into the plane body but do not finish it to final depth.
Clean up the sides and ends of the mortise square to the surface of the body using a sharp chisel being carful not to make the mortise too wide.
Use a router or a router plane to clean the bottom surface of the mortise to an equal depth.
Fit the handle to the mortise to check the depth of the handle against the upper surface of the hand plane.
If the bottom of the recess cut in step 2 above does not sit flush to the plane remove more material from the bottom of the mortise and fit the handle again. Continue deepening the mortise until the handle fits at the correct depth.
I find a router plane to be the best tool for taking material from the bottom of the mortise.
Tips:
The length of the tenon is somewhat determined by the size of the hand plane but I usually aim for between 20-30mm deep.
Move the mark indicating one side of the mortise about 1mm in towards the middle of the hand plane, this will help to ensure that the sides of the mortise tighten up around the tenon as the handle is installed, leaving a cleaner joint.
Deepen the mortise in small increments, going too far will result in there being a gap between the bottom of the tenon and the mortise bottom.
I do the mortise layout using a sharp marking knife which helps with accuracy.
With the handle installed fully it should be held in place by a good friction grip.


Step 3: Shape The Plane

If your hand plane needs to be shaped as was the case with the large and small compass planes I built during my last production run now is the time to do it.
Use a bandsaw to cut the bulk of the waste away and use a belt sander to get the final shape.
In the case of the jointer I rounded and shaped the edges on the top and on the ends. This not only gives the plane a finished and traditional look but it also improves comfort in use.
I also slightly round the edges between the sole and sides at this stage as well.
Step 4: Add Hardware

If any hardware is to be added to the plane I do it after shaping but before finishing.
In the case of the jointer and the large compass plane I added strike buttons to the back of both. I glued carriage bolts into holes drilled using a pedestal drill. Strike buttons protect the body of the plane when being hit by a hammer on the rear to loosen the wedge and blade for removal or during setting.
If built right the wedge can place a lot of pressure onto the blade once it is set making it hard to loosen up the wedge and remove the blade. An assertive tap or two on the back of the plane body will usually jar the wedge and blade loose.
Step 5: Finish

I combine turpentine and boiled linseed oil in a 50/50 ratio and use a paintbrush to coat the plane and its wooden parts a few times using this finish.
If you would like to know more about this finish you can read more here.
It is very important to get this finish onto all surfaces and into every nook and cranny of the hand plane and I have on occasion used a container to make a bath and soaked hand planes in this finish for a day or so while constantly “basting” all the surfaces using a brush.
Once the finish is applied and dry to the touch the hand plane is done and ready to be used!!
Keep in mind that this brand new addition to your tool chest is made of wood and some “bedding in” will take place during the first few months of using it and you will most certainly find that it gets better over time becoming easier to set and use.
And that is both it for making your own hand plane as well as 2024!
Thank you so very much for joining me on this journey of learning and teaching and I hope that 2025 brings only the very best for you and yours.
Watch this space, there are a LOT of new things on their way, not necessarily limited to a brand new YouTube channel that I will be launching in the new year.
In the mean time, be safe.

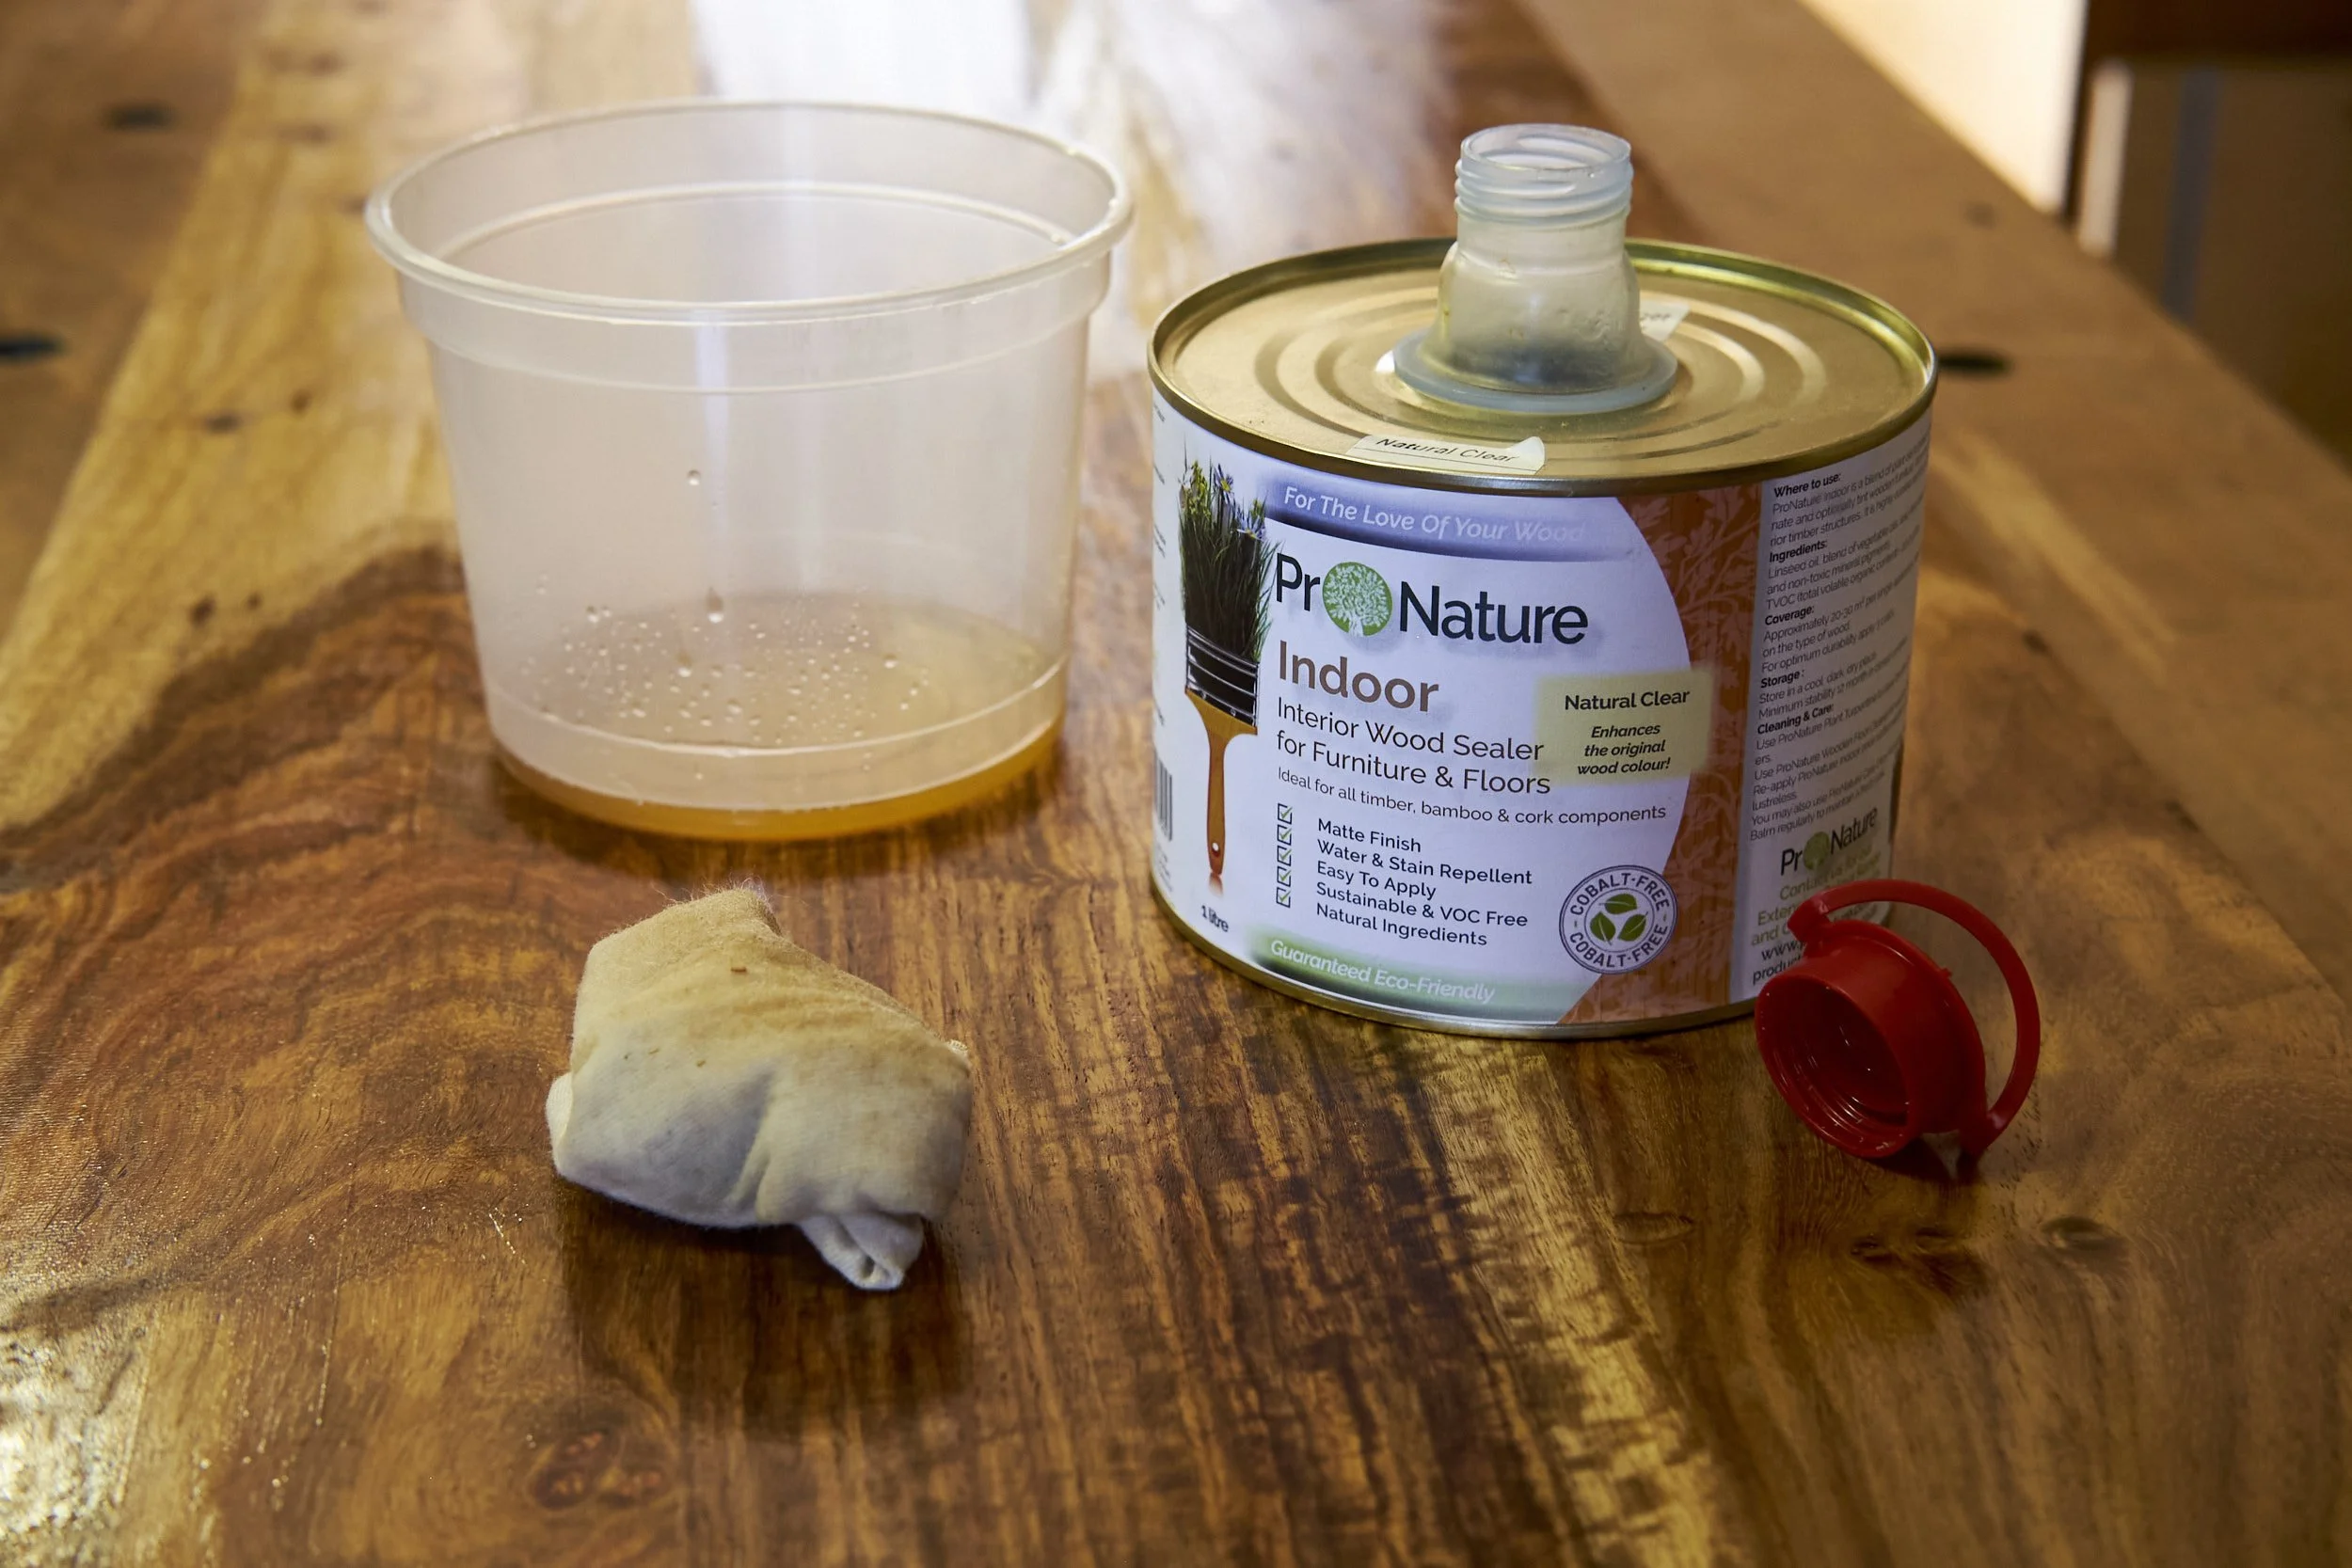
All woodworkers have their favourites when it comes to finishes and I’m not talking about the ones used to be the crowning achievement on projects that go out into the wide world out there. I’m talking about those secret blends that get used to treat and maintain the wooden surfaces inside the workshop………