
Why I Prefer Rebates Over Mitres for Corner Joints
Mitres Look Great… But I Rarely Reach for Them
Mitre joints look clean and professional — there’s no denying that.
But every time I go to cut and glue one up, I’m reminded why I don’t reach for them very often.
Not because they don’t work… but because there’s usually a simpler, more reliable way to get a strong, clean corner.
A Simpler Alternative: The Rebate Joint
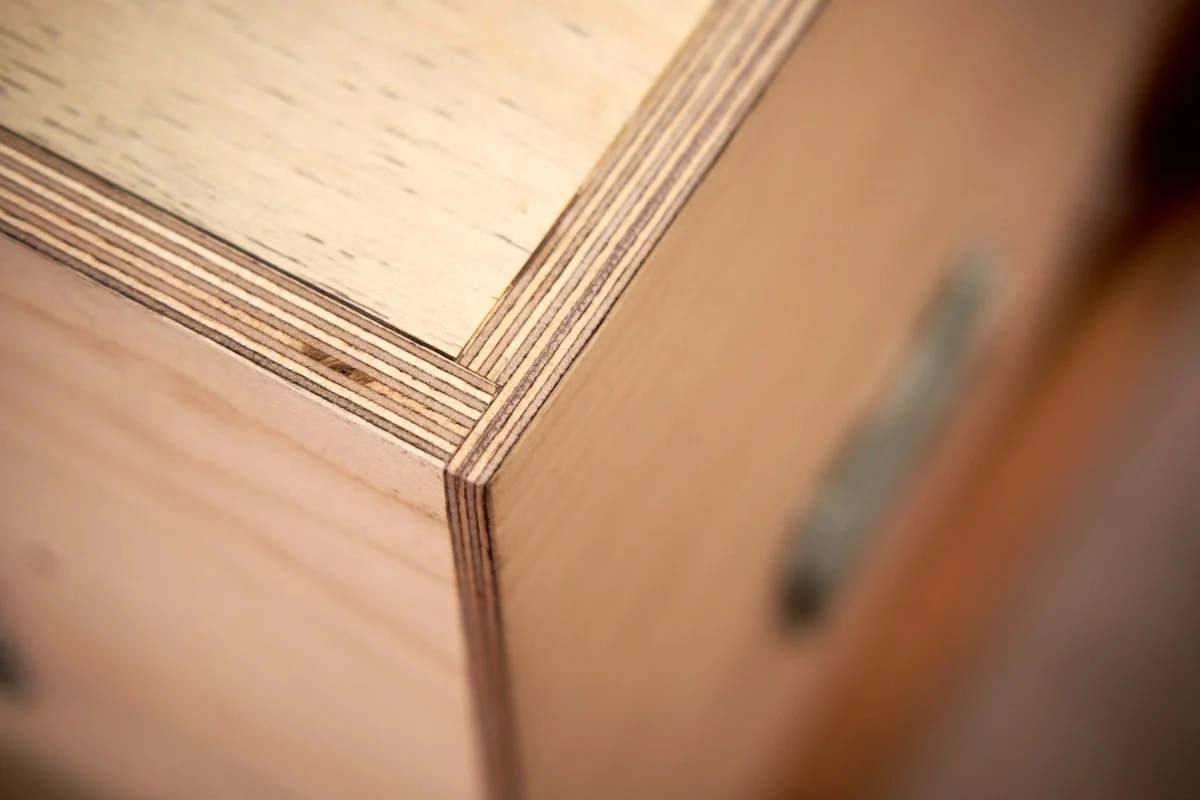
A rebate (or rabbet if you are in North America) joint is one of the simplest ways to join two boards at a corner.
One piece has a step cut into it, and the mating piece sits into that step. That small detail makes a big difference — because it gives you something mitres don’t: a built-in reference that helps everything line up during assembly — and that’s only the most obvious advantage.
Using a rebate can increase the glue surface by as much as 50%, depending on how deep it’s cut. I typically aim for a depth of about half the material thickness.
On top of that, the joint adds a mechanical advantage that neither a butt nor a mitre joint provides, and there are even some intricate ways of cutting a rebate that can add even more mechanical strength.
I’m getting ahead of myself — but I do like rebates.
It’s simple, but it works.
By the way, rebates are not to be confused with grooves — rebates are typically cut across the grain, while grooves run along it.
Why I Don’t Reach for Mitres Often
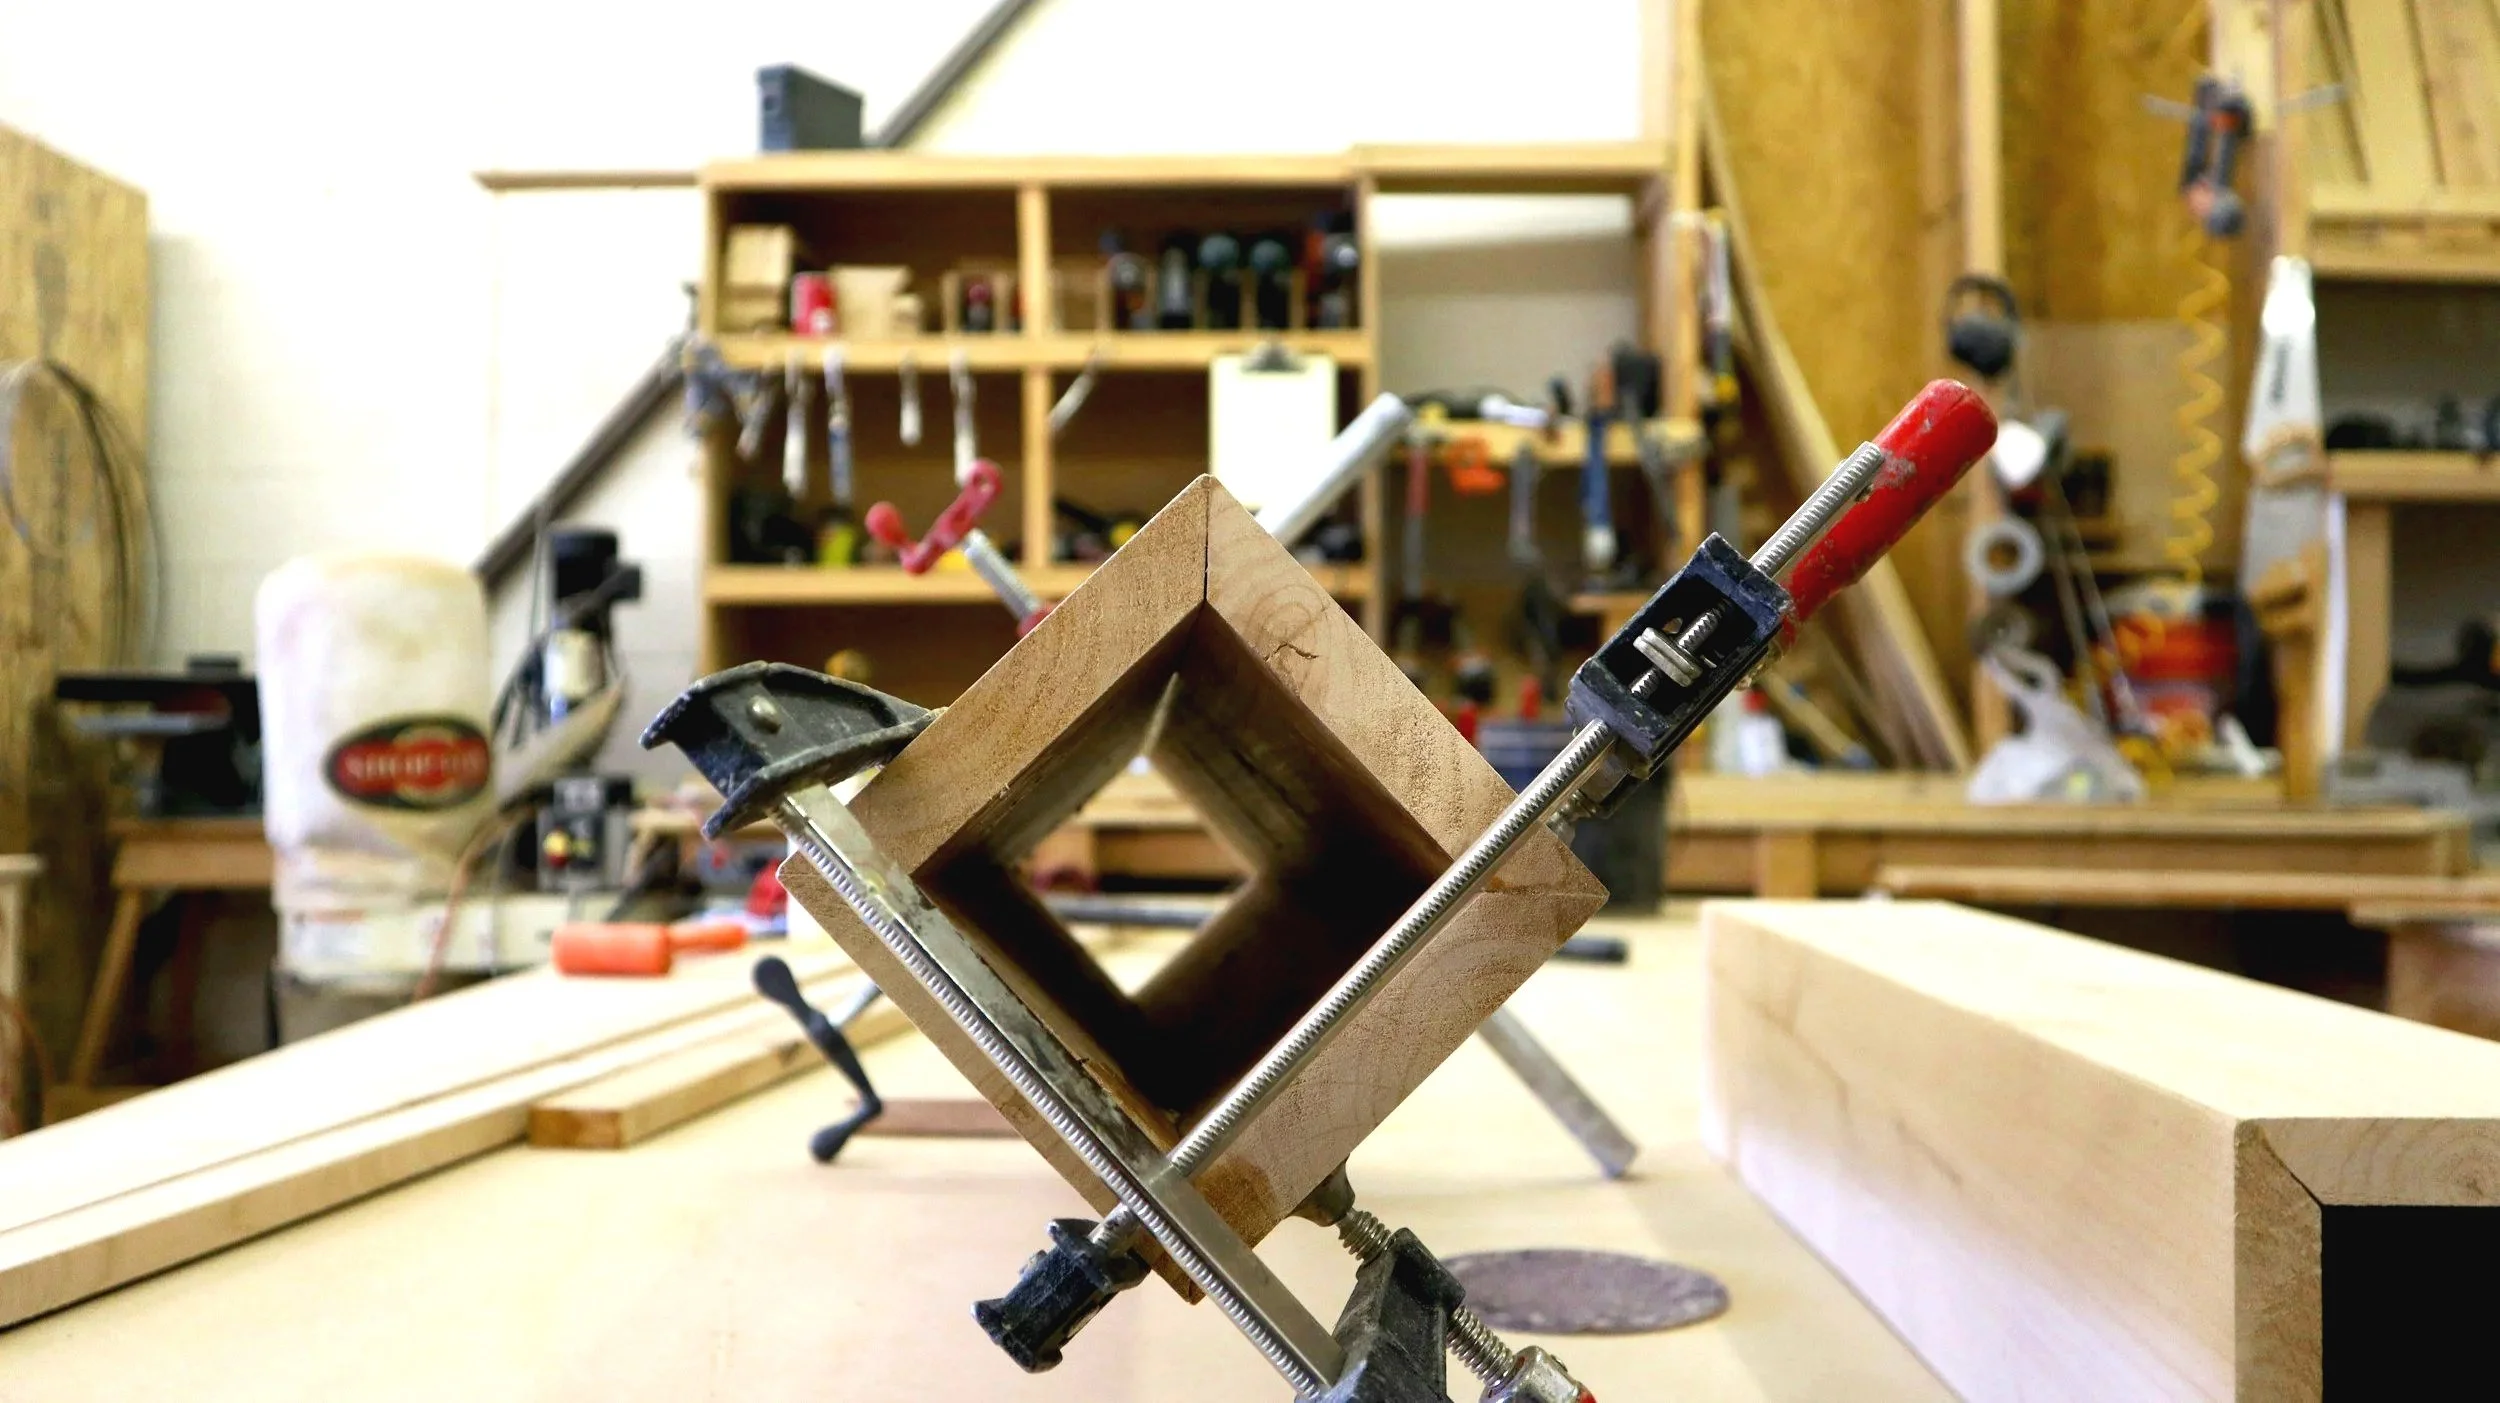
This isn’t about mitres being “bad” — they absolutely have their place.
But in a typical workshop, especially early on, they can be more trouble than they’re worth.
For me, it comes down to a few things:
Limited ways to cut them accurately
They demand a high level of precision
Glue-ups can be awkward
Clamping can fight you
It’s not that mitres are wrong — they just demand more than most people expect going in.
Why Rebates Make More Sense
Rebates solve most of those problems in a very straightforward way.
They self-align
More glue surface
They’re more forgiving
Multiple ways to cut them, both in method and shape
This fits into a modern workshop mindset — choosing what works reliably.
Ways to Cut a Rebate
One of the biggest advantages of a rebate joint is how flexible it is to make.
Depending on your setup, you can cut it in a few different ways:
Table saw (Single blade/Dado Stack) – fast and repeatable
Router (Table/Hand held) – clean and beginner-friendly
Hand saw and chisel – simple and accessible
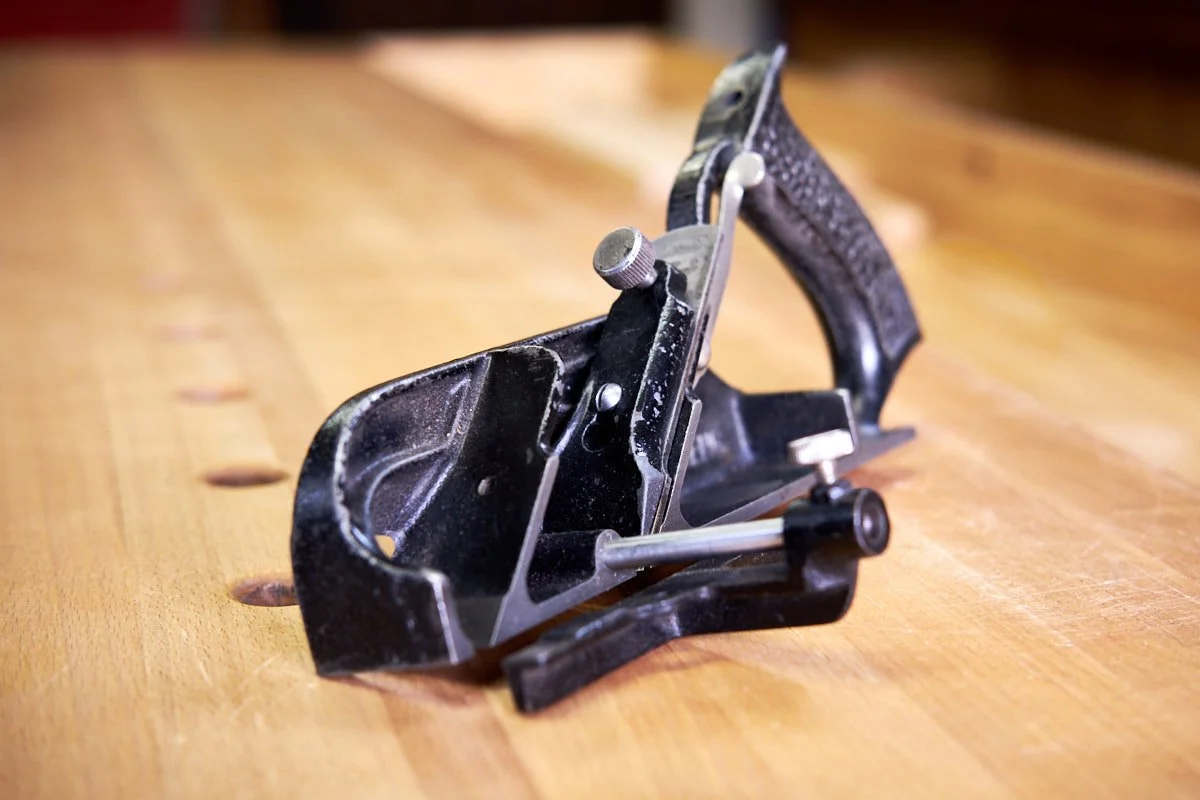
Rebate plane or shoulder plane – great for refining the fit
A router plane is brilliant for finishing off the last two options for the best fit possible.
Is It Strong Enough?
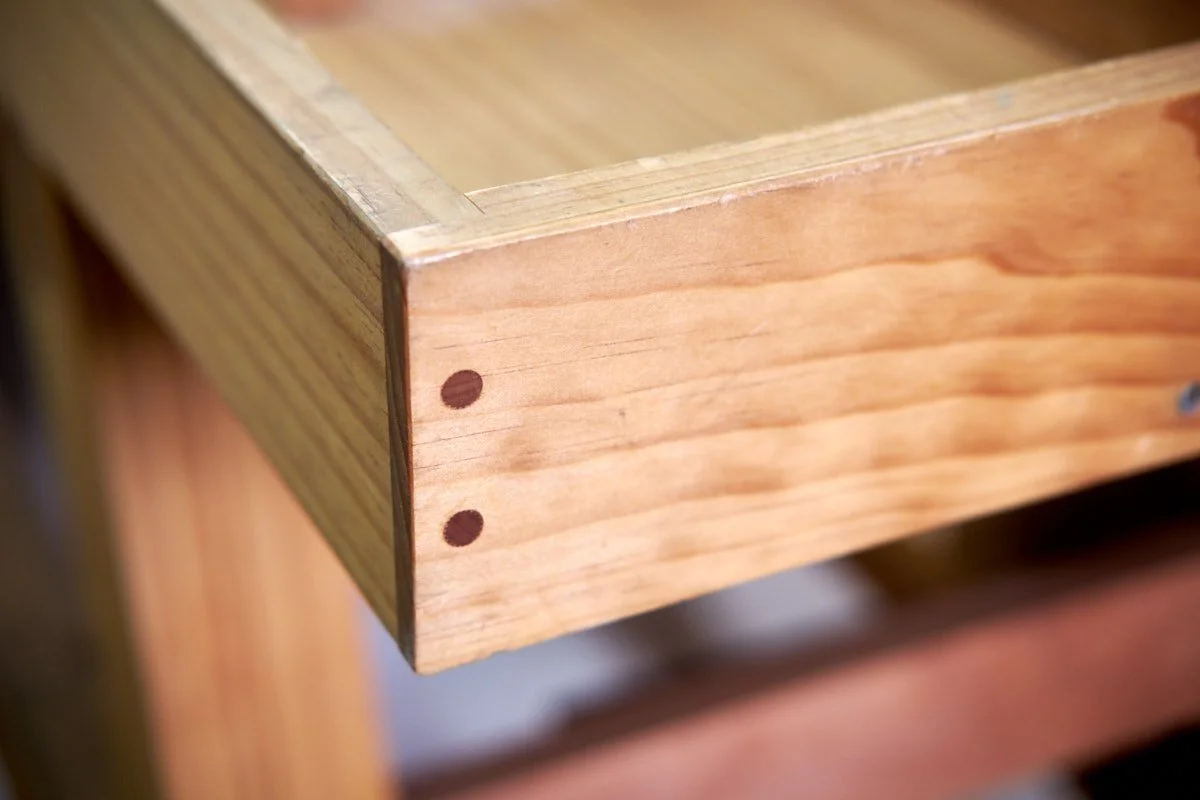
A rebate joint gives you more glue surface than a mitre, especially along the long grain.
For things like boxes, cabinets, and shop projects, it’s more than strong enough when cut and glued properly.
In most builds, shelves, lids, and bottoms are added to the structure anyway, which increases strength and rigidity even further.
And if needed, it can easily be reinforced.
When Mitres Still Make Sense
Mitres still make sense when:
You want clean, uninterrupted edges
The joint is about appearance
You’re comfortable with high precision
This isn’t about replacing mitres — it’s about knowing when you don’t need them.
My Approach in the Workshop
Most of the time, I’ll reach for a rebate joint first.
It’s predictable, quick to cut, and removes a lot of the frustration from the build process.
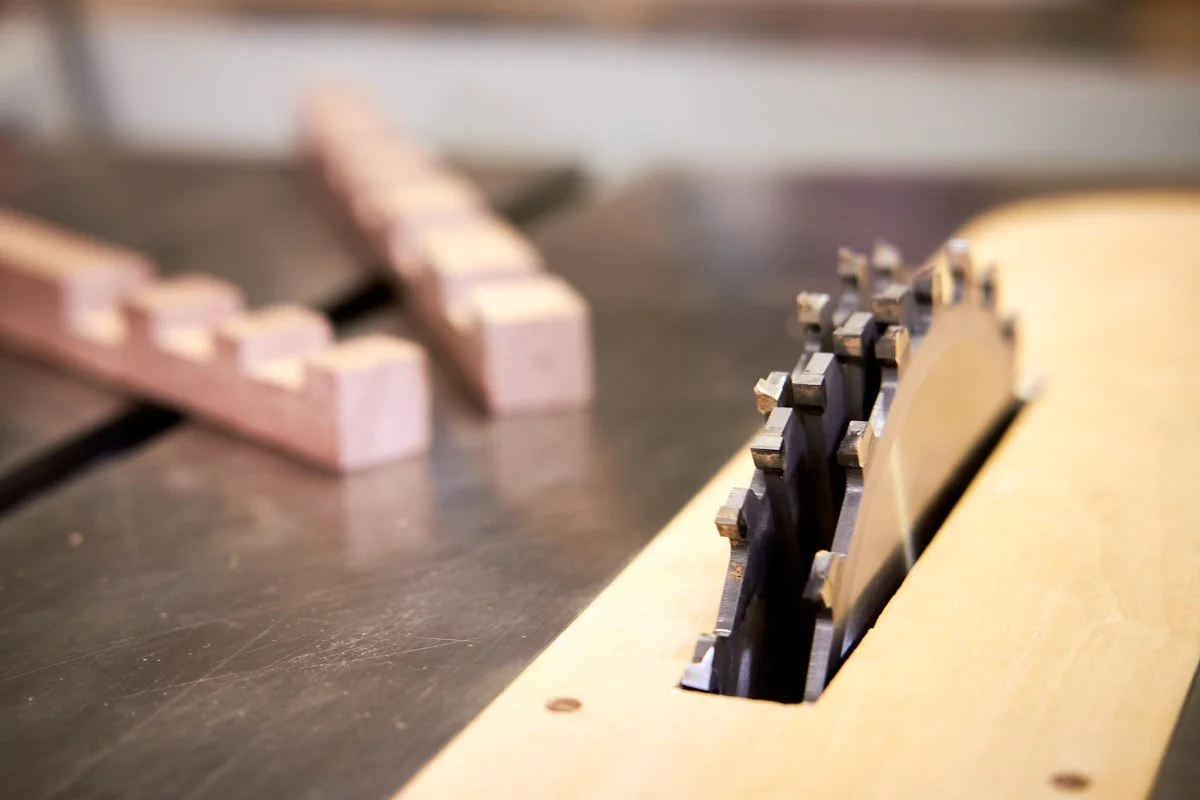
A dado stack on the table saw is my preferred method for speed and accuracy — you don’t need a stack though, and multiple cuts with a single blade or a router work just as well.
The hand methods lend themselves more to small boxes and cabinets.
I’d rather use a joint I can execute well than one that looks good on paper.
A Simple Recommendation
If you’re starting out, rebates will get you further, faster.
They’re easier to cut, easier to assemble, and far more forgiving — which means more successful projects and less frustration along the way. They’re also much easier to strengthen if needed. Adding screws, dowels, or other reinforcement is straightforward and doesn’t require specialised setups.
Mitres, on the other hand, often need dedicated jigs to add strength and are more practical for smaller work like boxes and light casework.
Start with what works. You can always come back to mitres later.
What About Dovetails?
What about dovetails?
Those are for super humans who cut them by hand… and I still have that love-hate relationship with routers I keep mentioning and you’ll need one of those if you will be using a dovetail jig like the Leigh D4R Pro.
They absolutely have their place, but they’re not where I’d suggest starting if your goal is to build clean, reliable projects early on.
What’s Next
I’ll be breaking down different ways to cut and strengthen rebate joints in more detail in future articles — and possibly videos down the line.
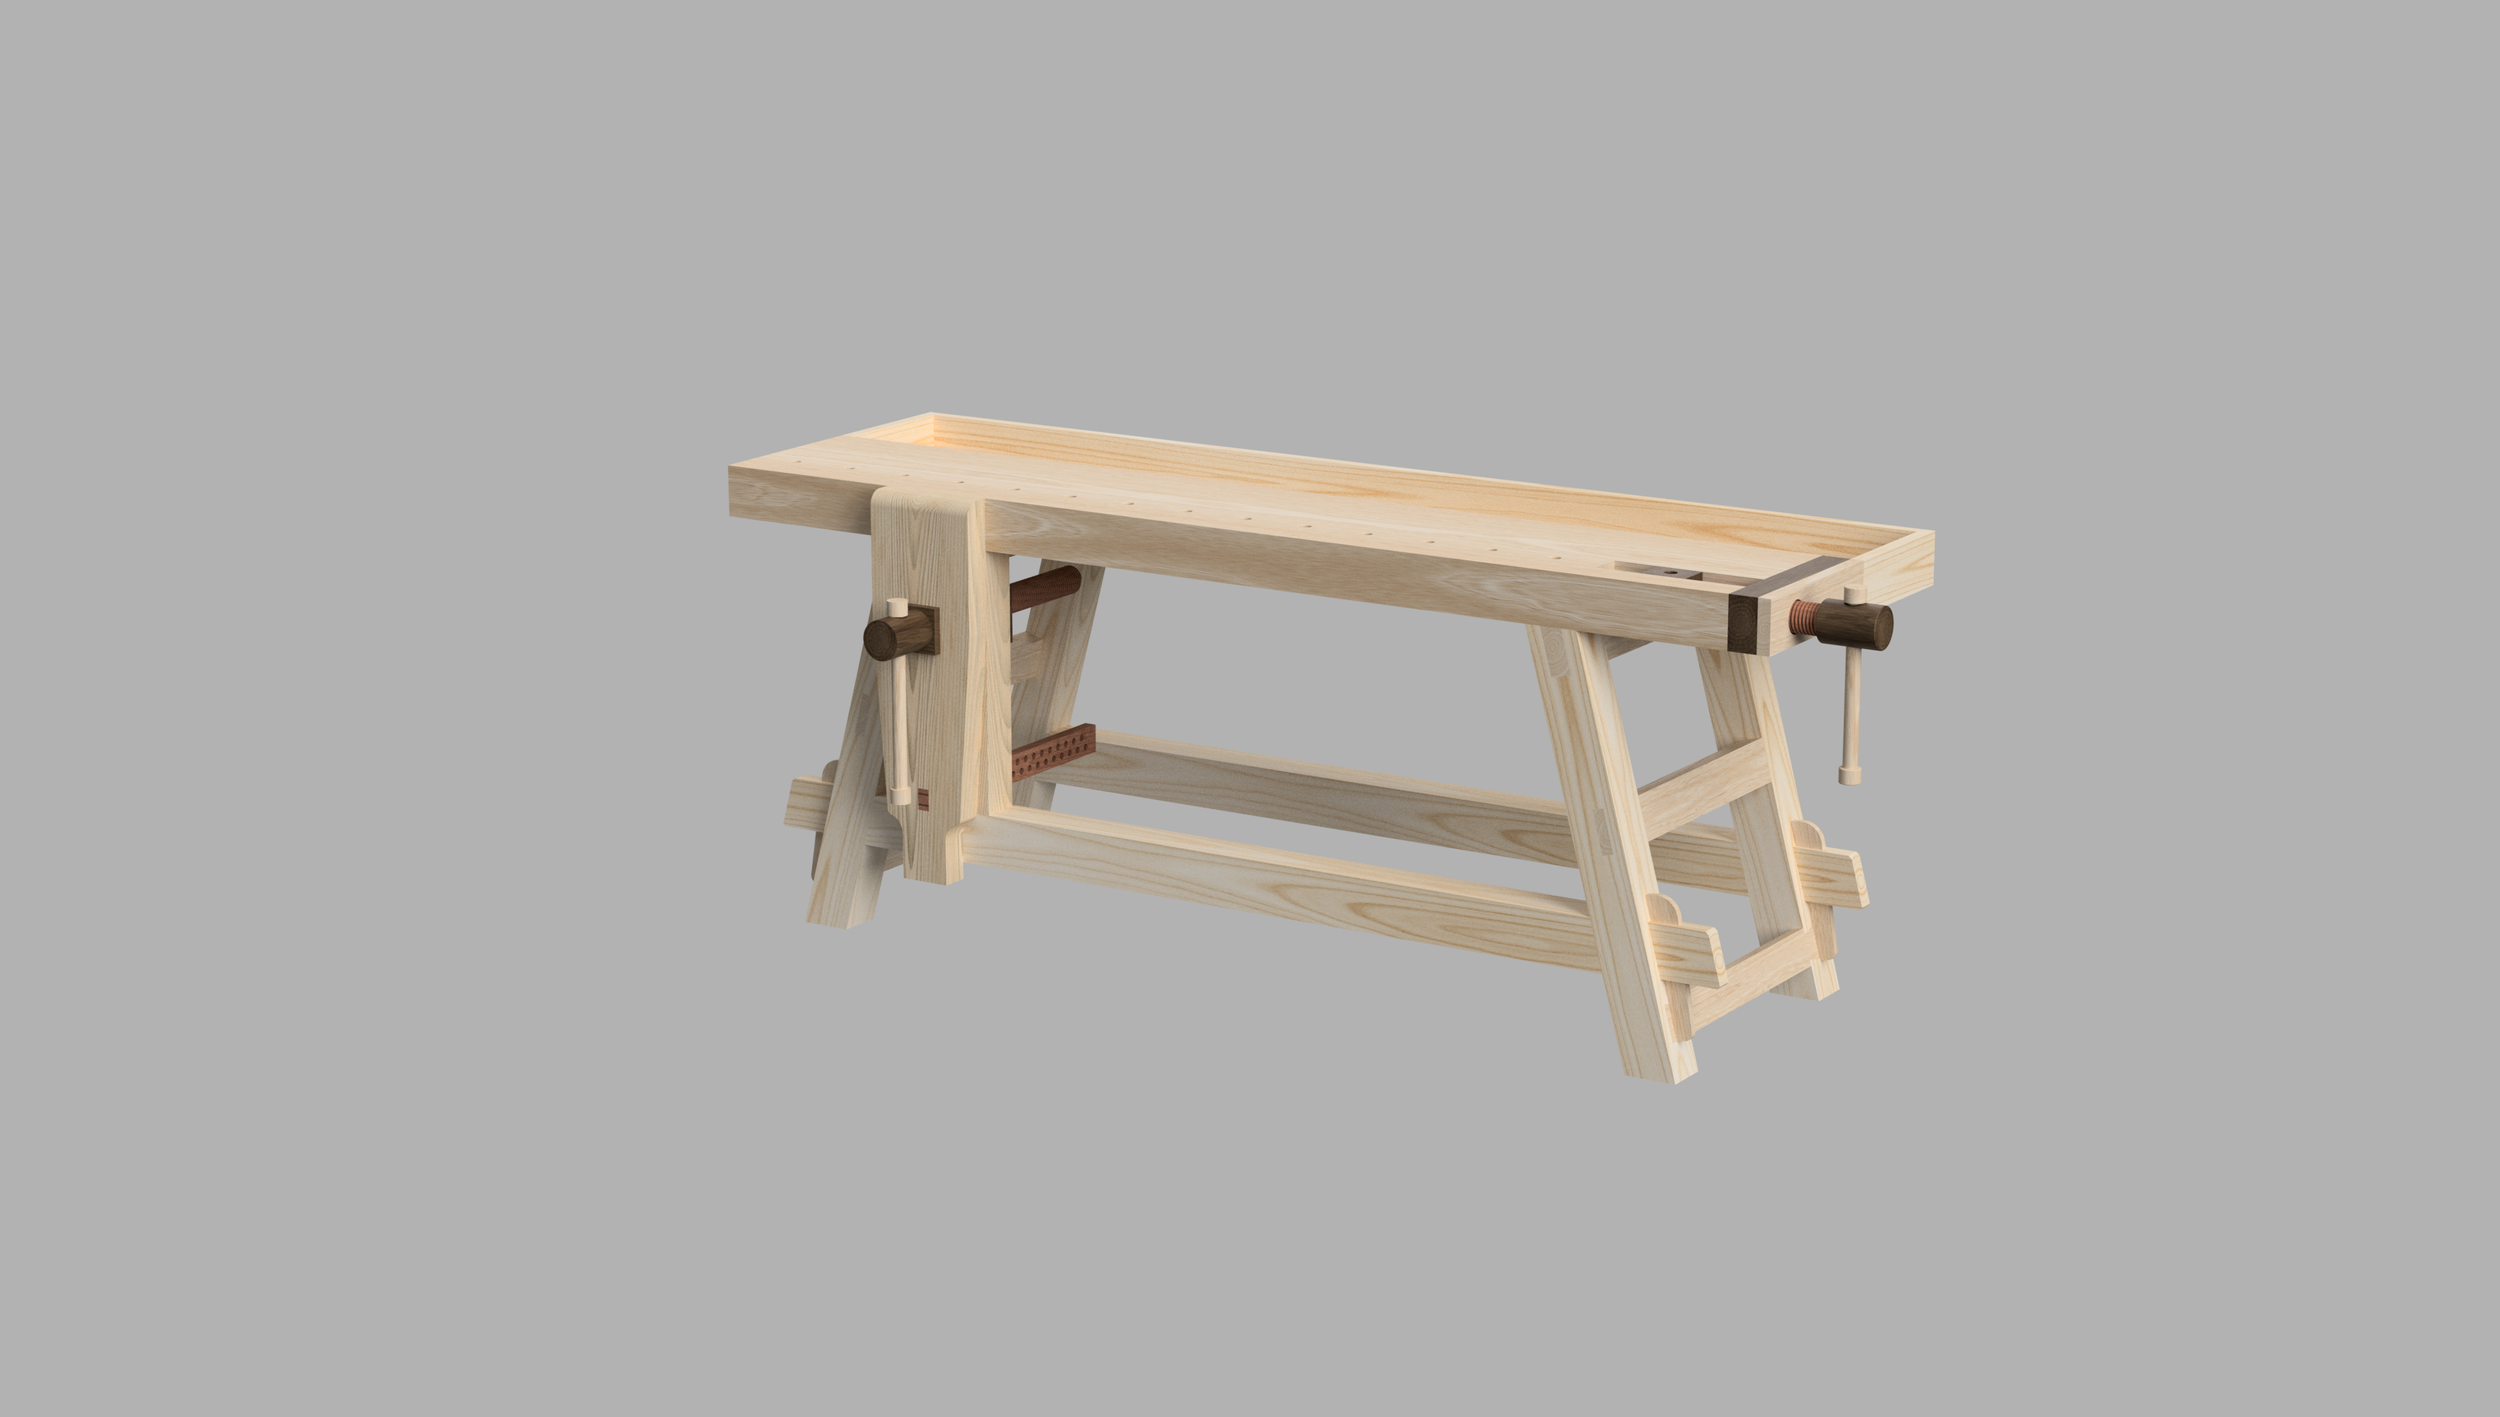
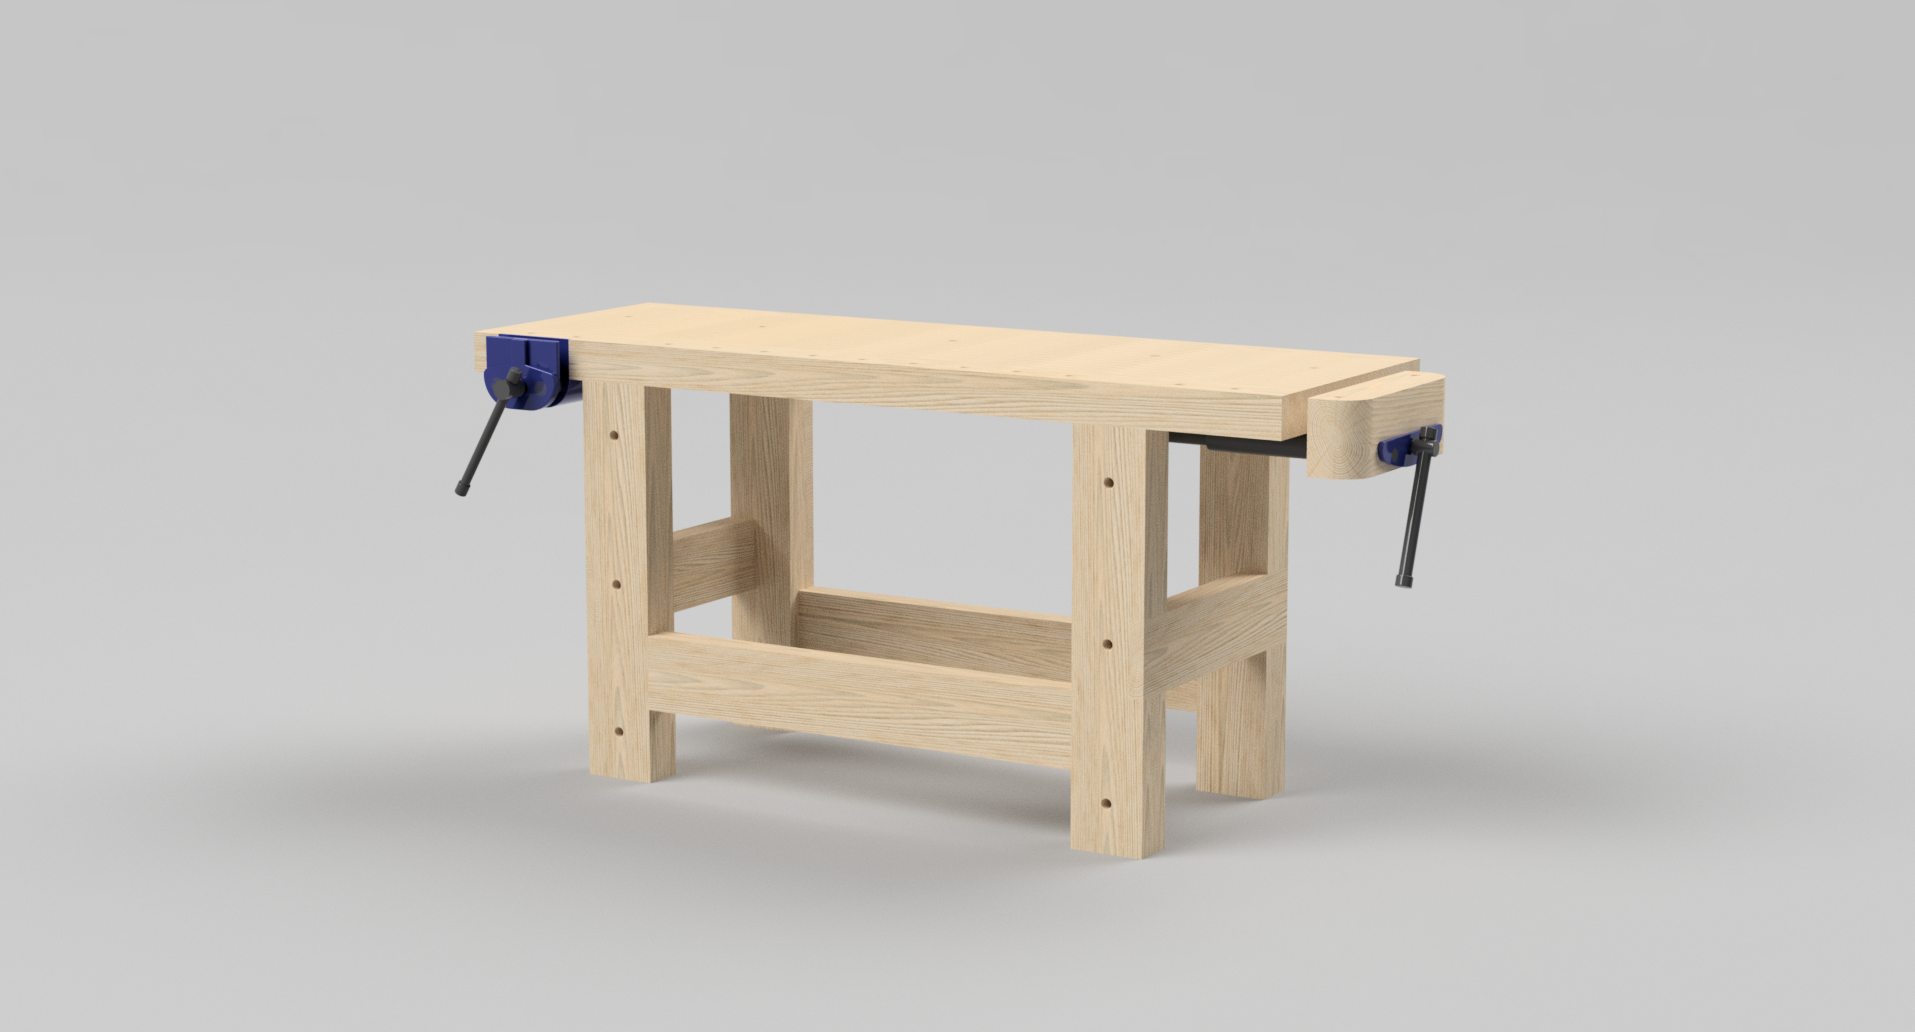
Build your own Moravian workbench—a classic design known for its strength, portability, and versatility. This Metric (millimetre-based) plan includes everything you need to craft a rock-solid bench ideal for hand tool and hybrid woodworkers.
Why You'll Love It:
Breaks down for easy transport
Great for small shops or mobile setups
Clear visuals and instructions throughout
Traditional design meets modern needs