
Two Ways To The Find The Middle Of a Board

This one is for all the South Africans of a certain age that may be reading this.
In the centre Mrs. Venter.
We grew up with this colloquial phrase here in SA to indicate when one found the middle of the object, be it shooting a glass bottle to smithereens with a slingshot or placing a rugby ball between the uprights. Finding the middle of anything qualified and Mrs. Venter was sometimes replaced by Cyril and centre with middle.
Hitting the middle was an accomplishment but finding the middle of stuff has since become a rather important skill in what I happen to do for a living now.
Come to think of it I should have paid more attention to maths at school during that part of my youth, fractions have become important in said vocation, read more about my opinion on the Imperial standard of measurement here.
Anyway back to the middle of things.
More and more of late I build stuff without worrying as much as I used to about absolute measurements from technical drawings, these days I’m more inclined to use measurements taken directly from components, reference surfaces and spaces between things but by far the one I like the most is no measurement or math at all!
Today I am going to share two ways to find the middle of things with you that require very little maths and only a marginal amount of common sense.
Both are useful in different situations but especially so when marking out rough stock.
Ready? Let’s get to it then.

Swing the rule diagonally across the board.
Make sure the resultant value is easily divisional by 2 and mark from the correct edge of the rule!
Method 1 - Metal Rule
For this one you will need a rule that is long enough to cross the workpiece diagonally from one edge to the other.
As one who always has a good excuse ready to acquire more rules and squares for my workshop I always have rules that are long enough but I find that I reach for my 600mm rule more often than not, Google says that comes to around 23.6 inches so a 25 inch rule would suffice.
Ok, this is what you do.
Line one corner of the rule up with an edge of the workpiece, being right handed I always line zero up with the left edge.
Now swing the rule up or down so that it lays diagonally across the workpiece but don’t just do this randomly.
As you swing the rule diagonally, align the opposing edge of the workpiece up with a number on the rule that will be easily divisional by two, lets say something like 120mm that will divide to give 60mm or 8 inches that will divide by two to give 4.
With the rule lined up as described, mark the dimension you have just calculated onto the workpiece using the position of the calculated value on the rule i.e. at 60mm or 4 inches.
Carry this mark along the rest of the workpiece using your chosen method, more on this at the end of the post.
Congratulations you have now marked the middle of a workpiece without having to measure its actual width or do complicated sums.
A word of caution before we continue to method 2.
When marking the middle be sure to use the correct side of the rule. I have on occasion used the “back” edge of the rule, in other words the side closest to me when using the edge furthest away to line up the graduations with the board. This is NOT the middle!
Method 2 - Marking Gauge
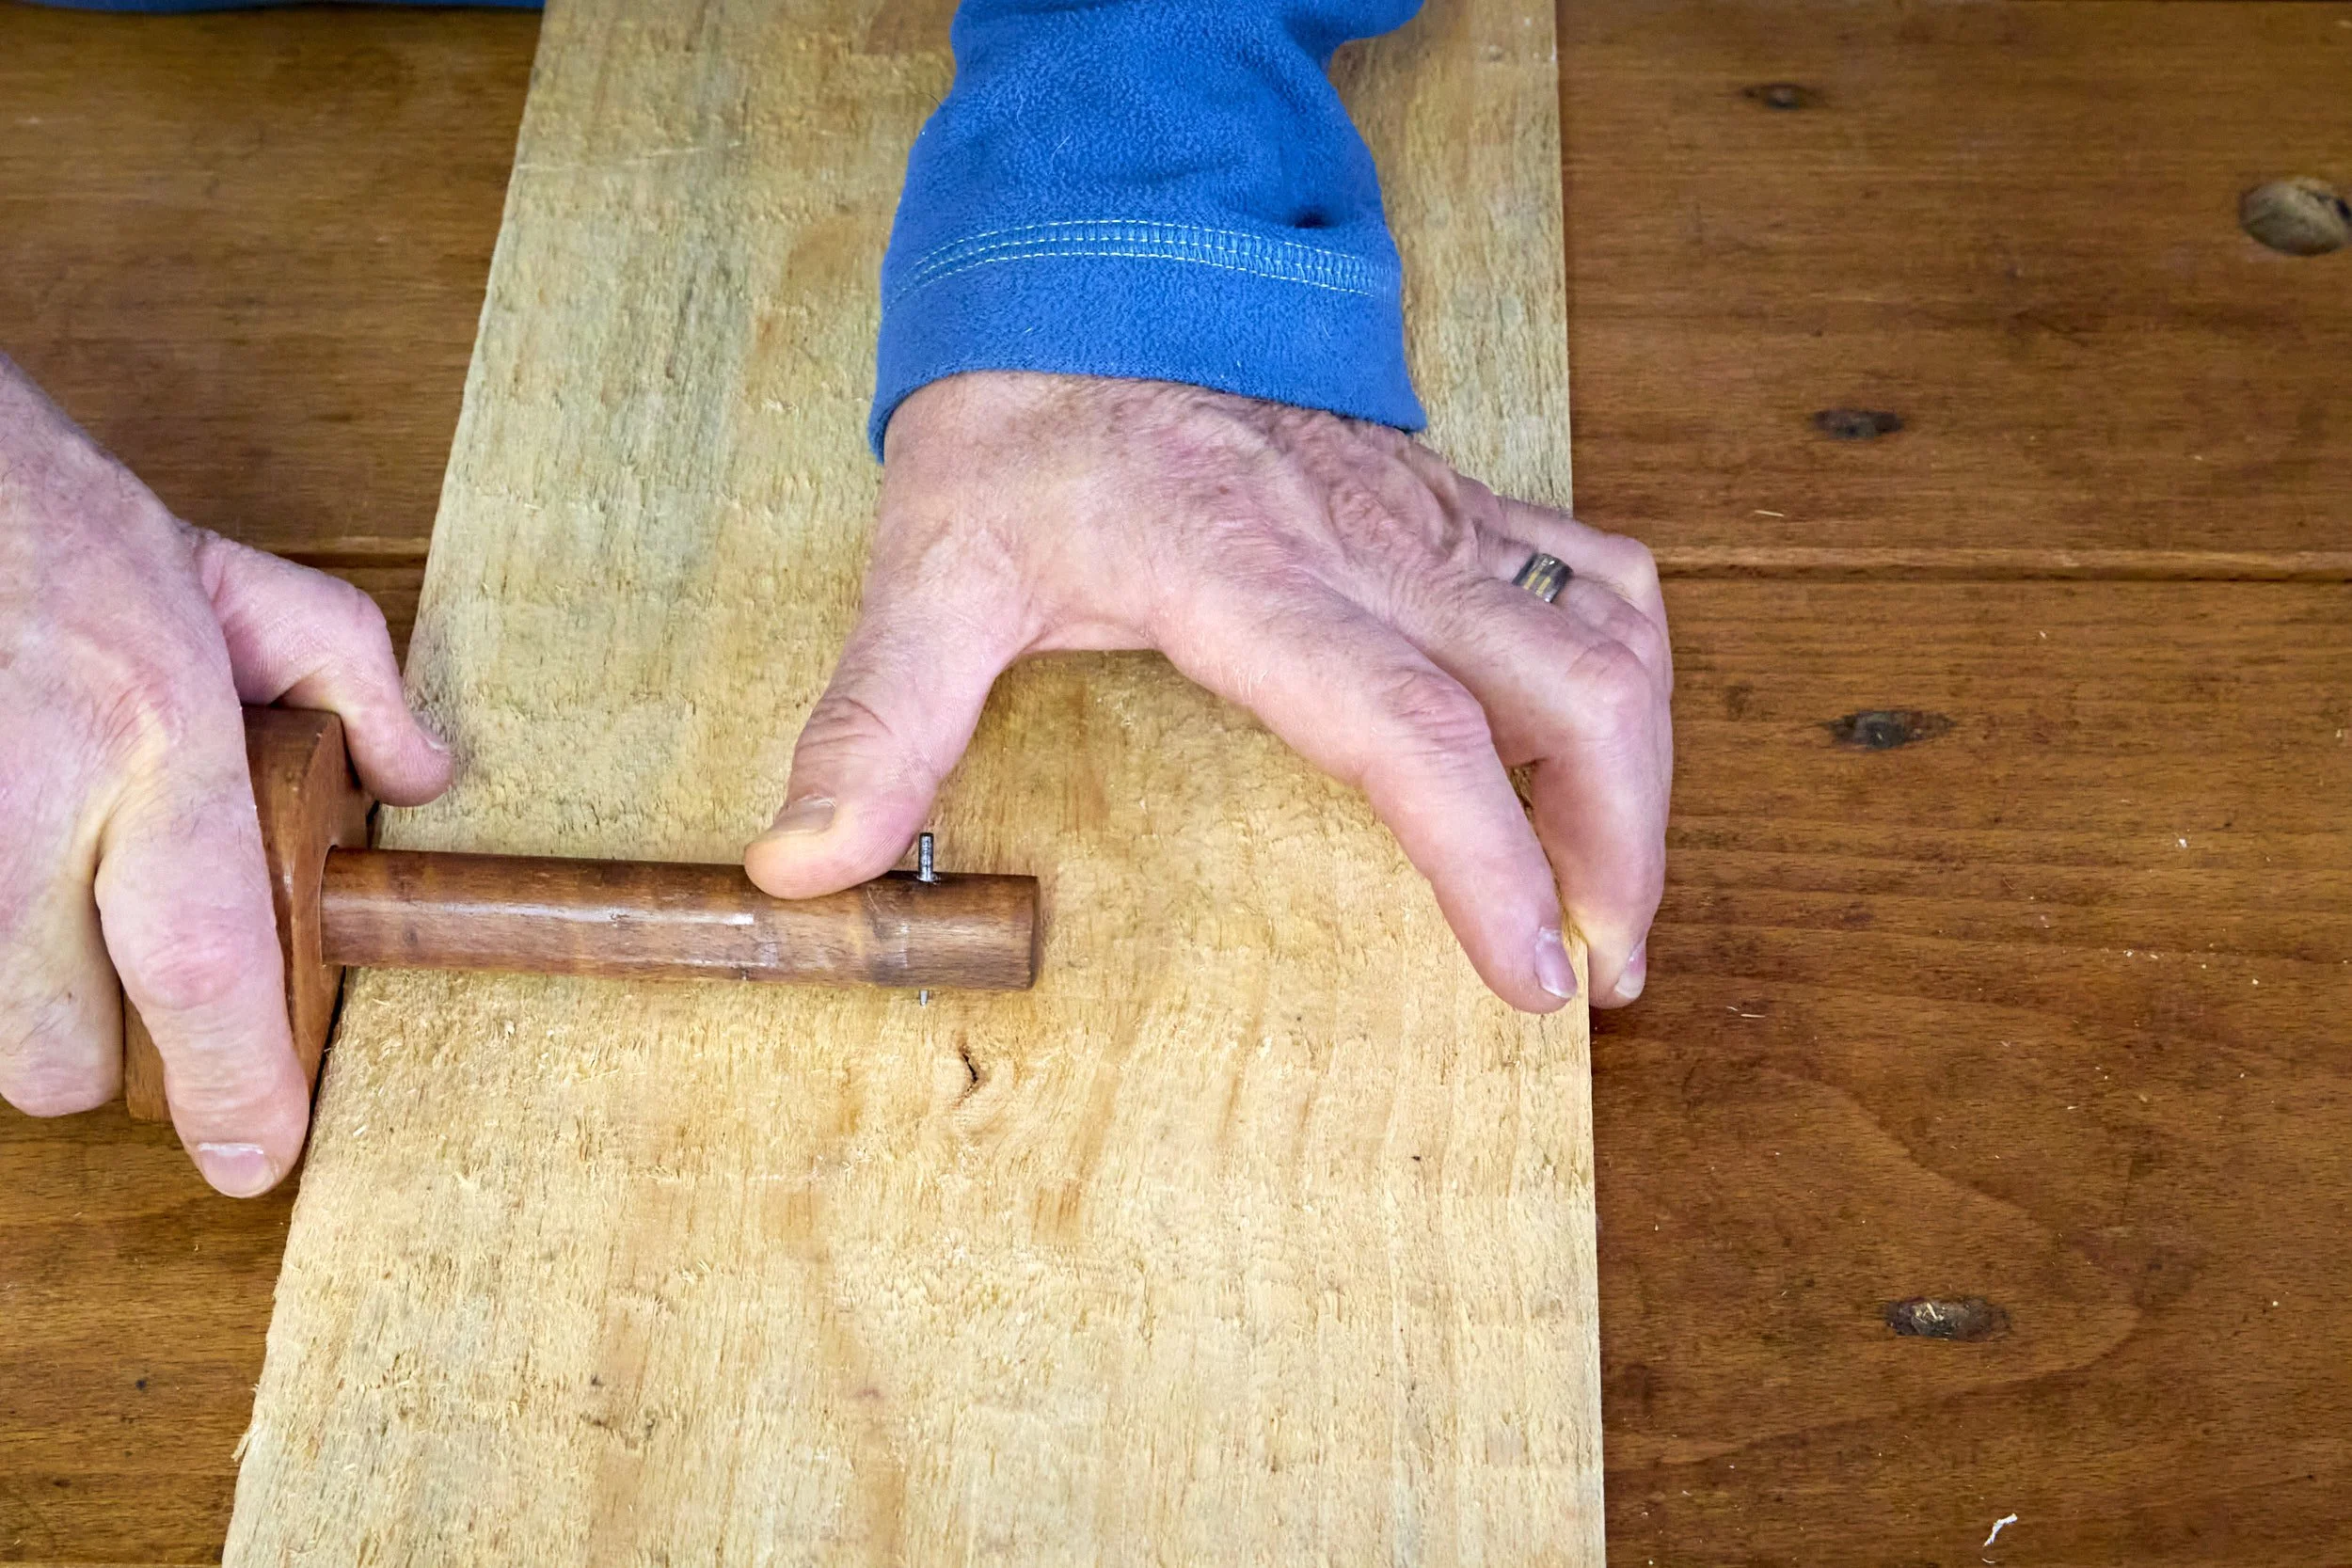
For this method I use the good old traditional pin type marking gauge.
No maths or numbers required on this one at all.
Here’s how.
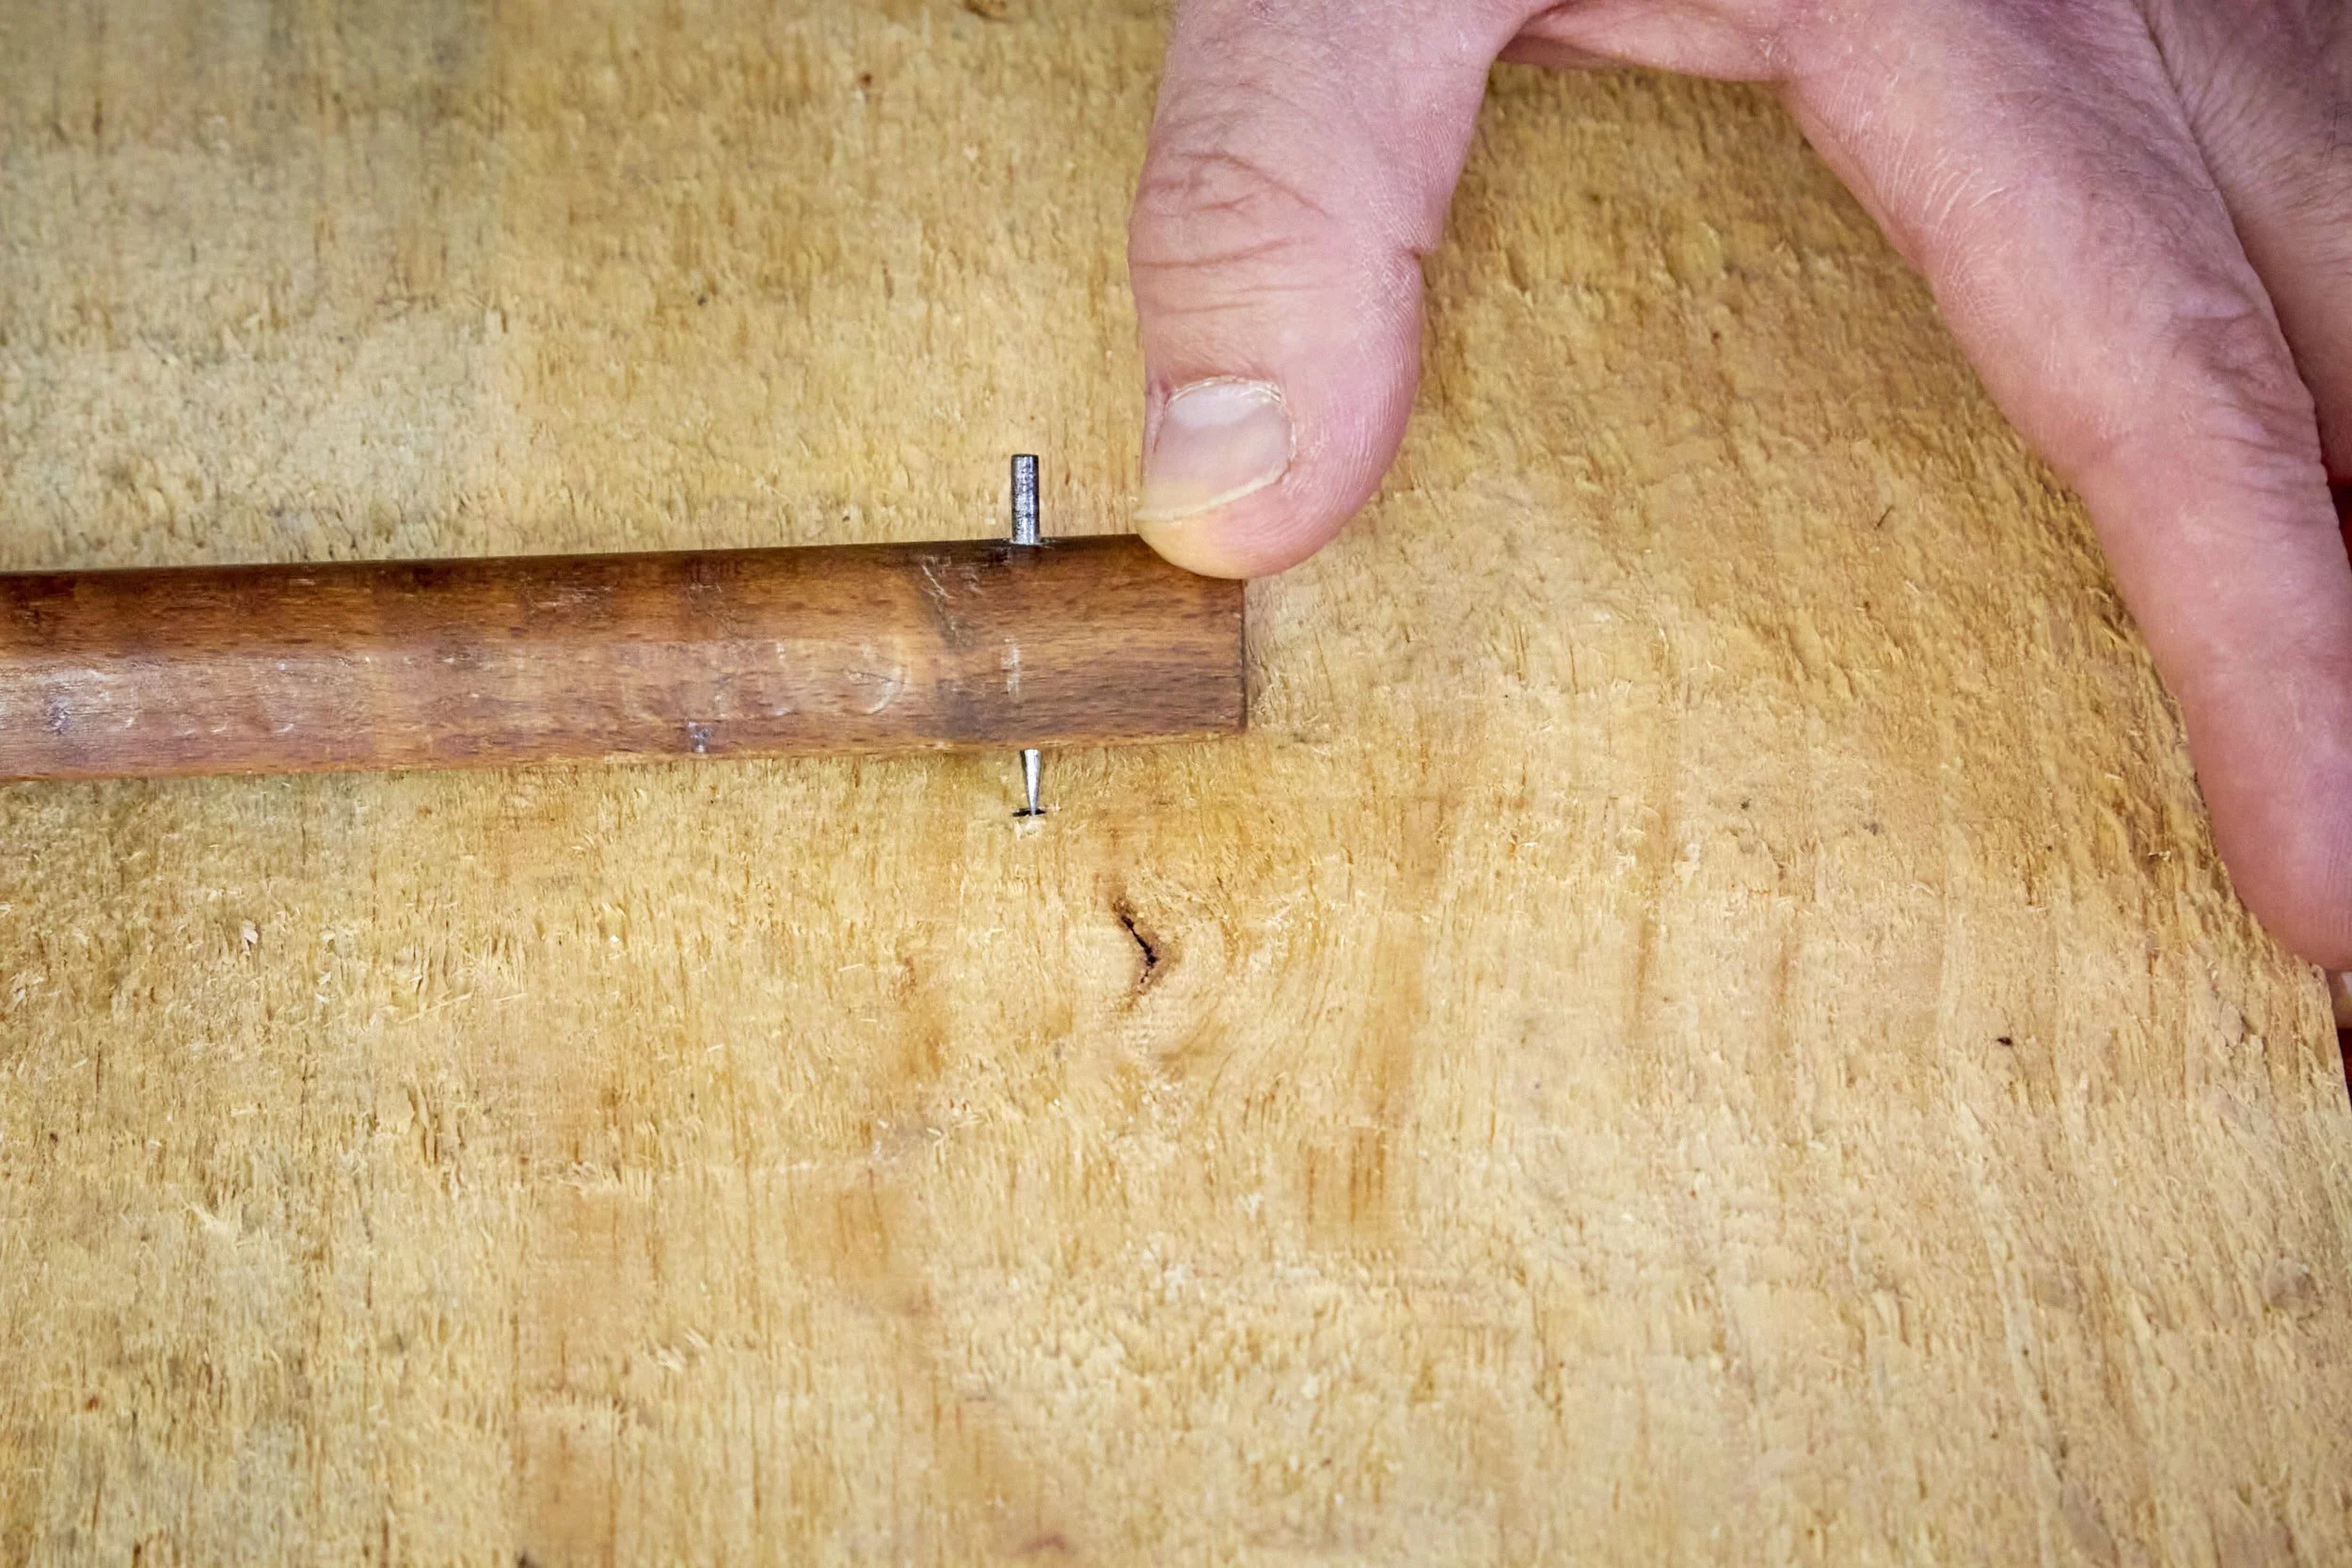
My right!
Make the first mark referencing the fence from the right side of the board.
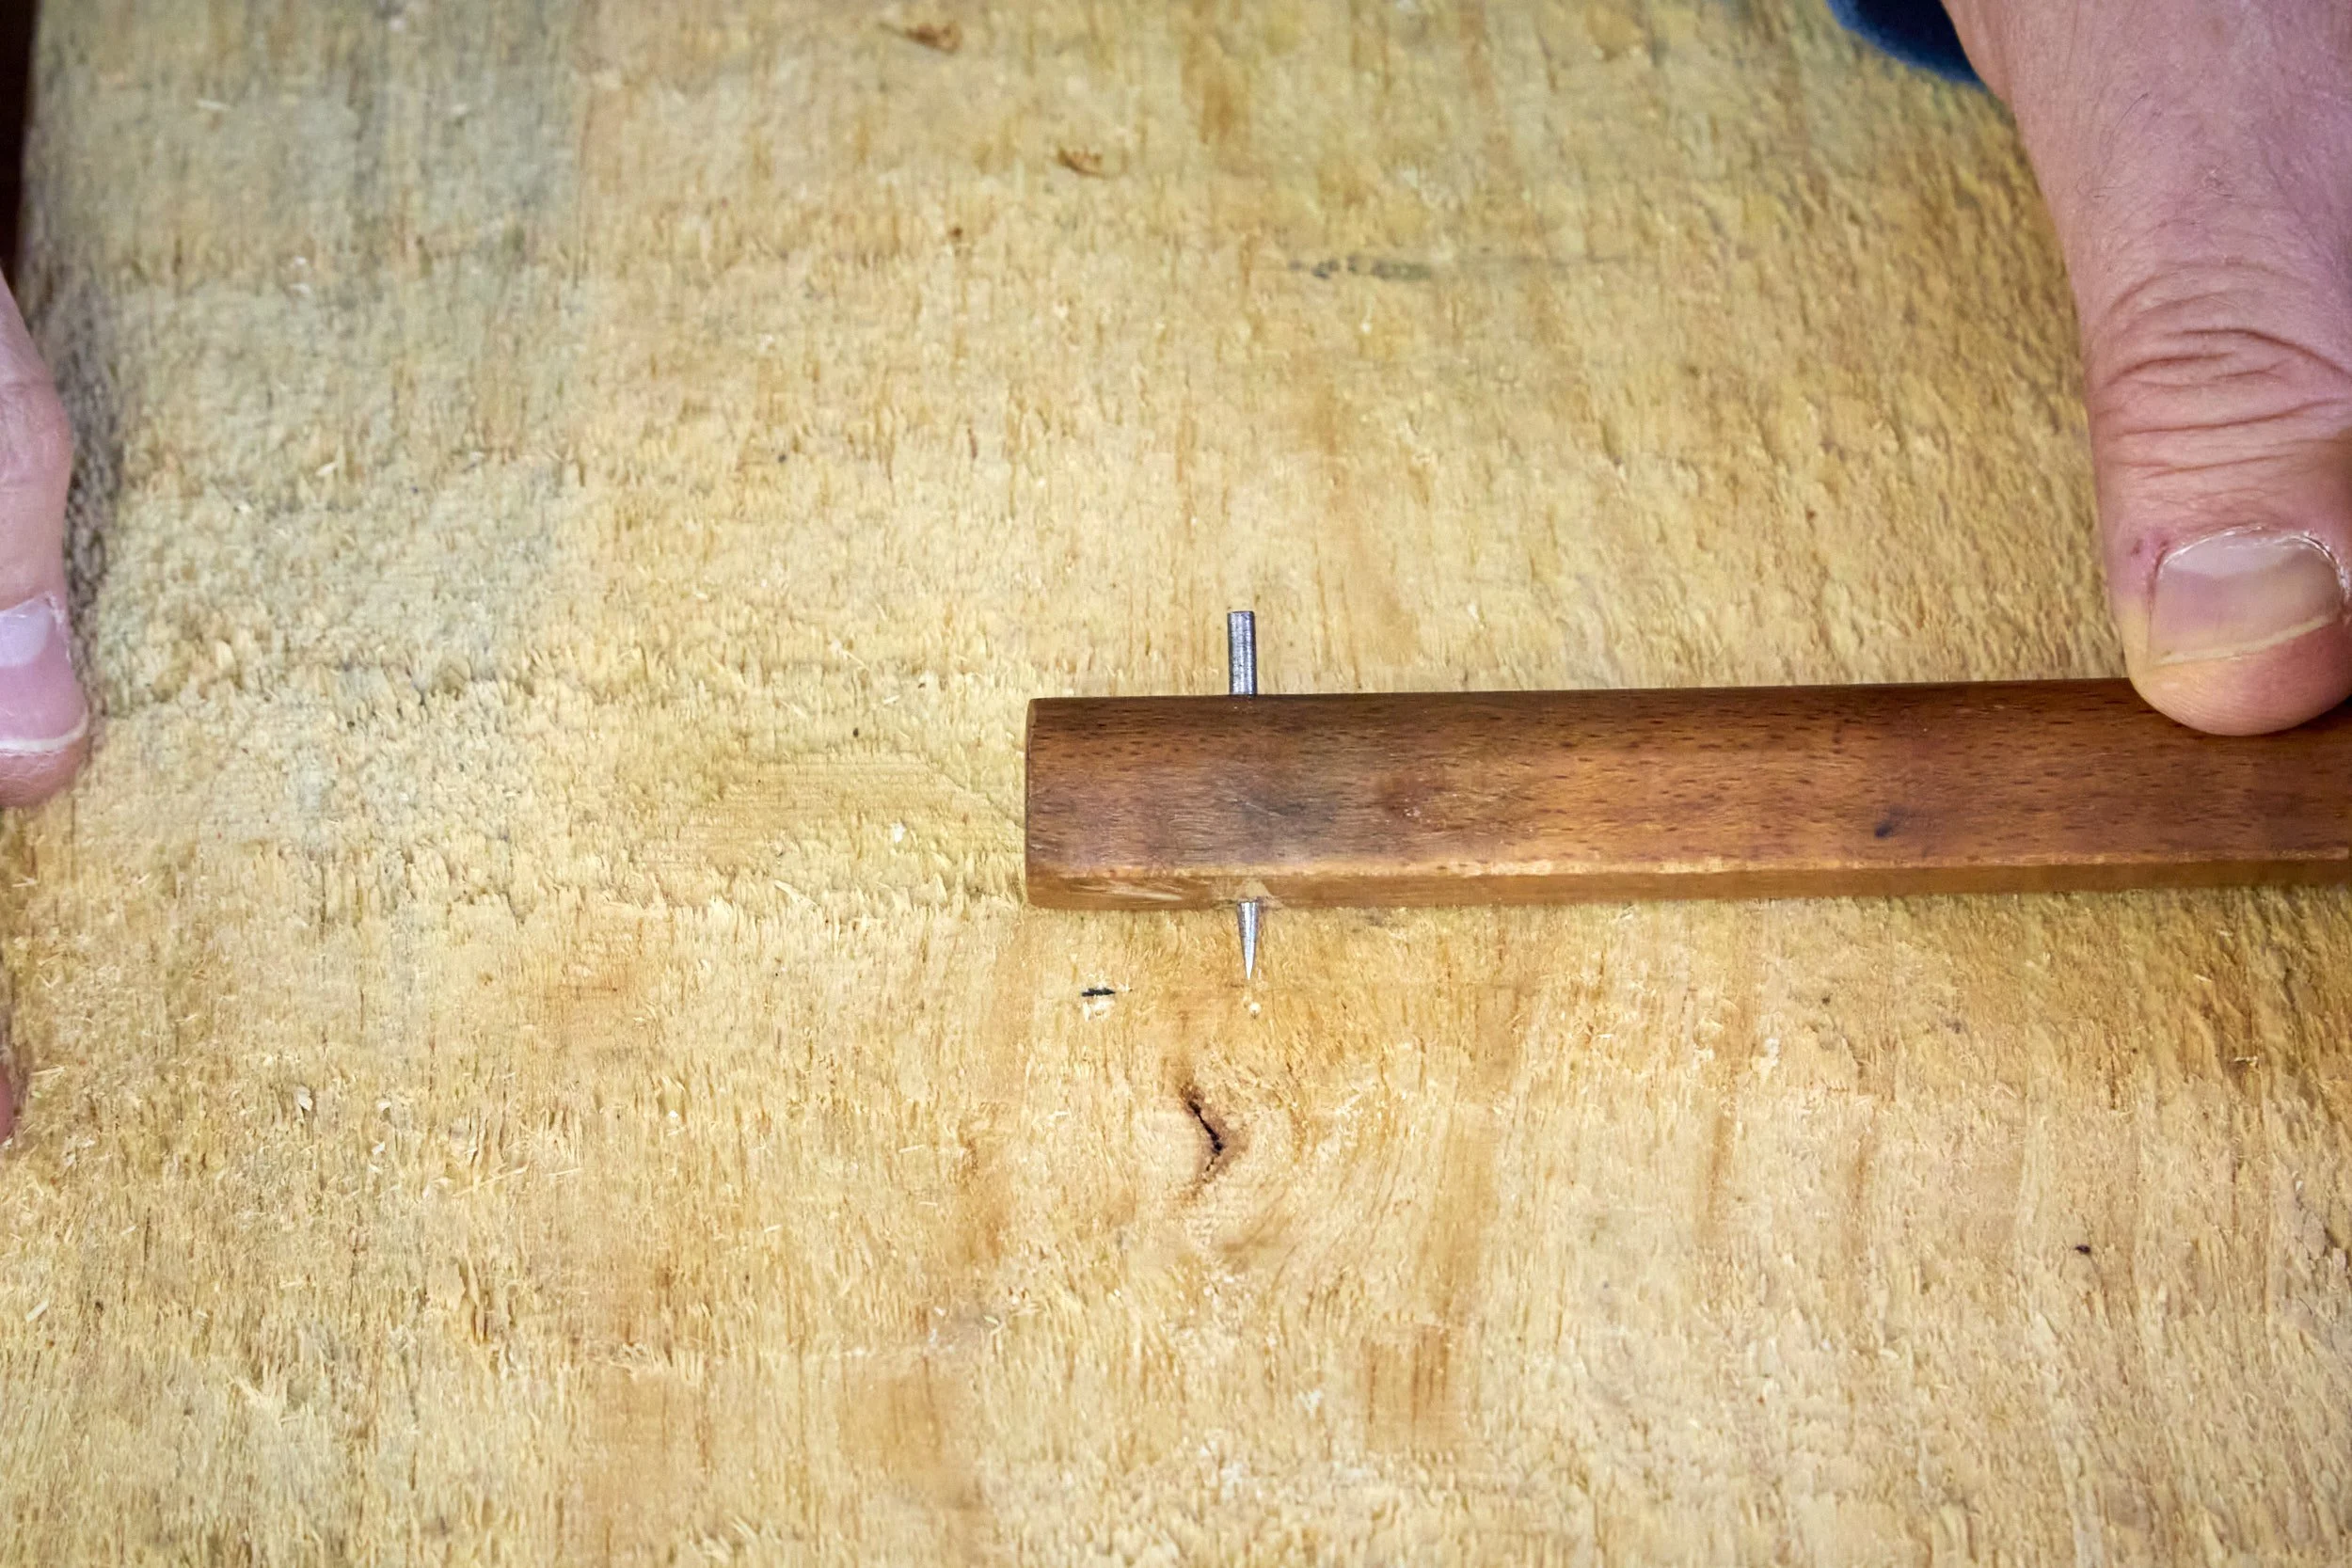
Now the other side.
Now mark from the other edge, here the fence is not extended far enough and needs further refinement.
Eyeball the middle of the workpiece and set the fence of the gauge so that the pin will sit at roughly ballpark middle of the piece being marked.
Register the fence against the right edge of the board and make a light mark with the pin.
Now register the marking gauge fence against the left side of the board and make another mark.
Compare the two marks. I have indicated the actual sides to register the fence to as this will aid in describing the next steps more clearly but it doesn’t matter on which edge you register the fence first as long as you understand how to make the necessary adjustments to find middle.
If the second mark is closer to the right edge than the first mark, the fence is set further away from the pin than the middle of the board and it needs to be adjusted closer to the pin.
Should the second mark be closer to the left edge the fence needs to be adjusted away from the pin as the distance is then shorter than the actual halfway point between the edges.
Make the necessary adjustments and mark again.
Once the pin marks meet when registering the gauge fence from both sides you are in the middle Cyril and you can scribe a mark along the length of the board.
Some tips when using this method:
Tighten the fence only slightly before making the marks on the workpiece. This allows the gauge to be tapped against the bench to move the fence in either direction and the fence can be fully secured after the correct position is found and before the final layout is made.
It may take a few tries to get the middle and it may be a good idea to make the pin marks on different areas of the workpiece to avoid confusion between multiple pin marks.
I like to make the scribe line along the board more visible by filling it in with a pencil line.
And that’s it, two ways to easily find the middle of a workpiece.
I would like to add some general remarks that you may find helpful.
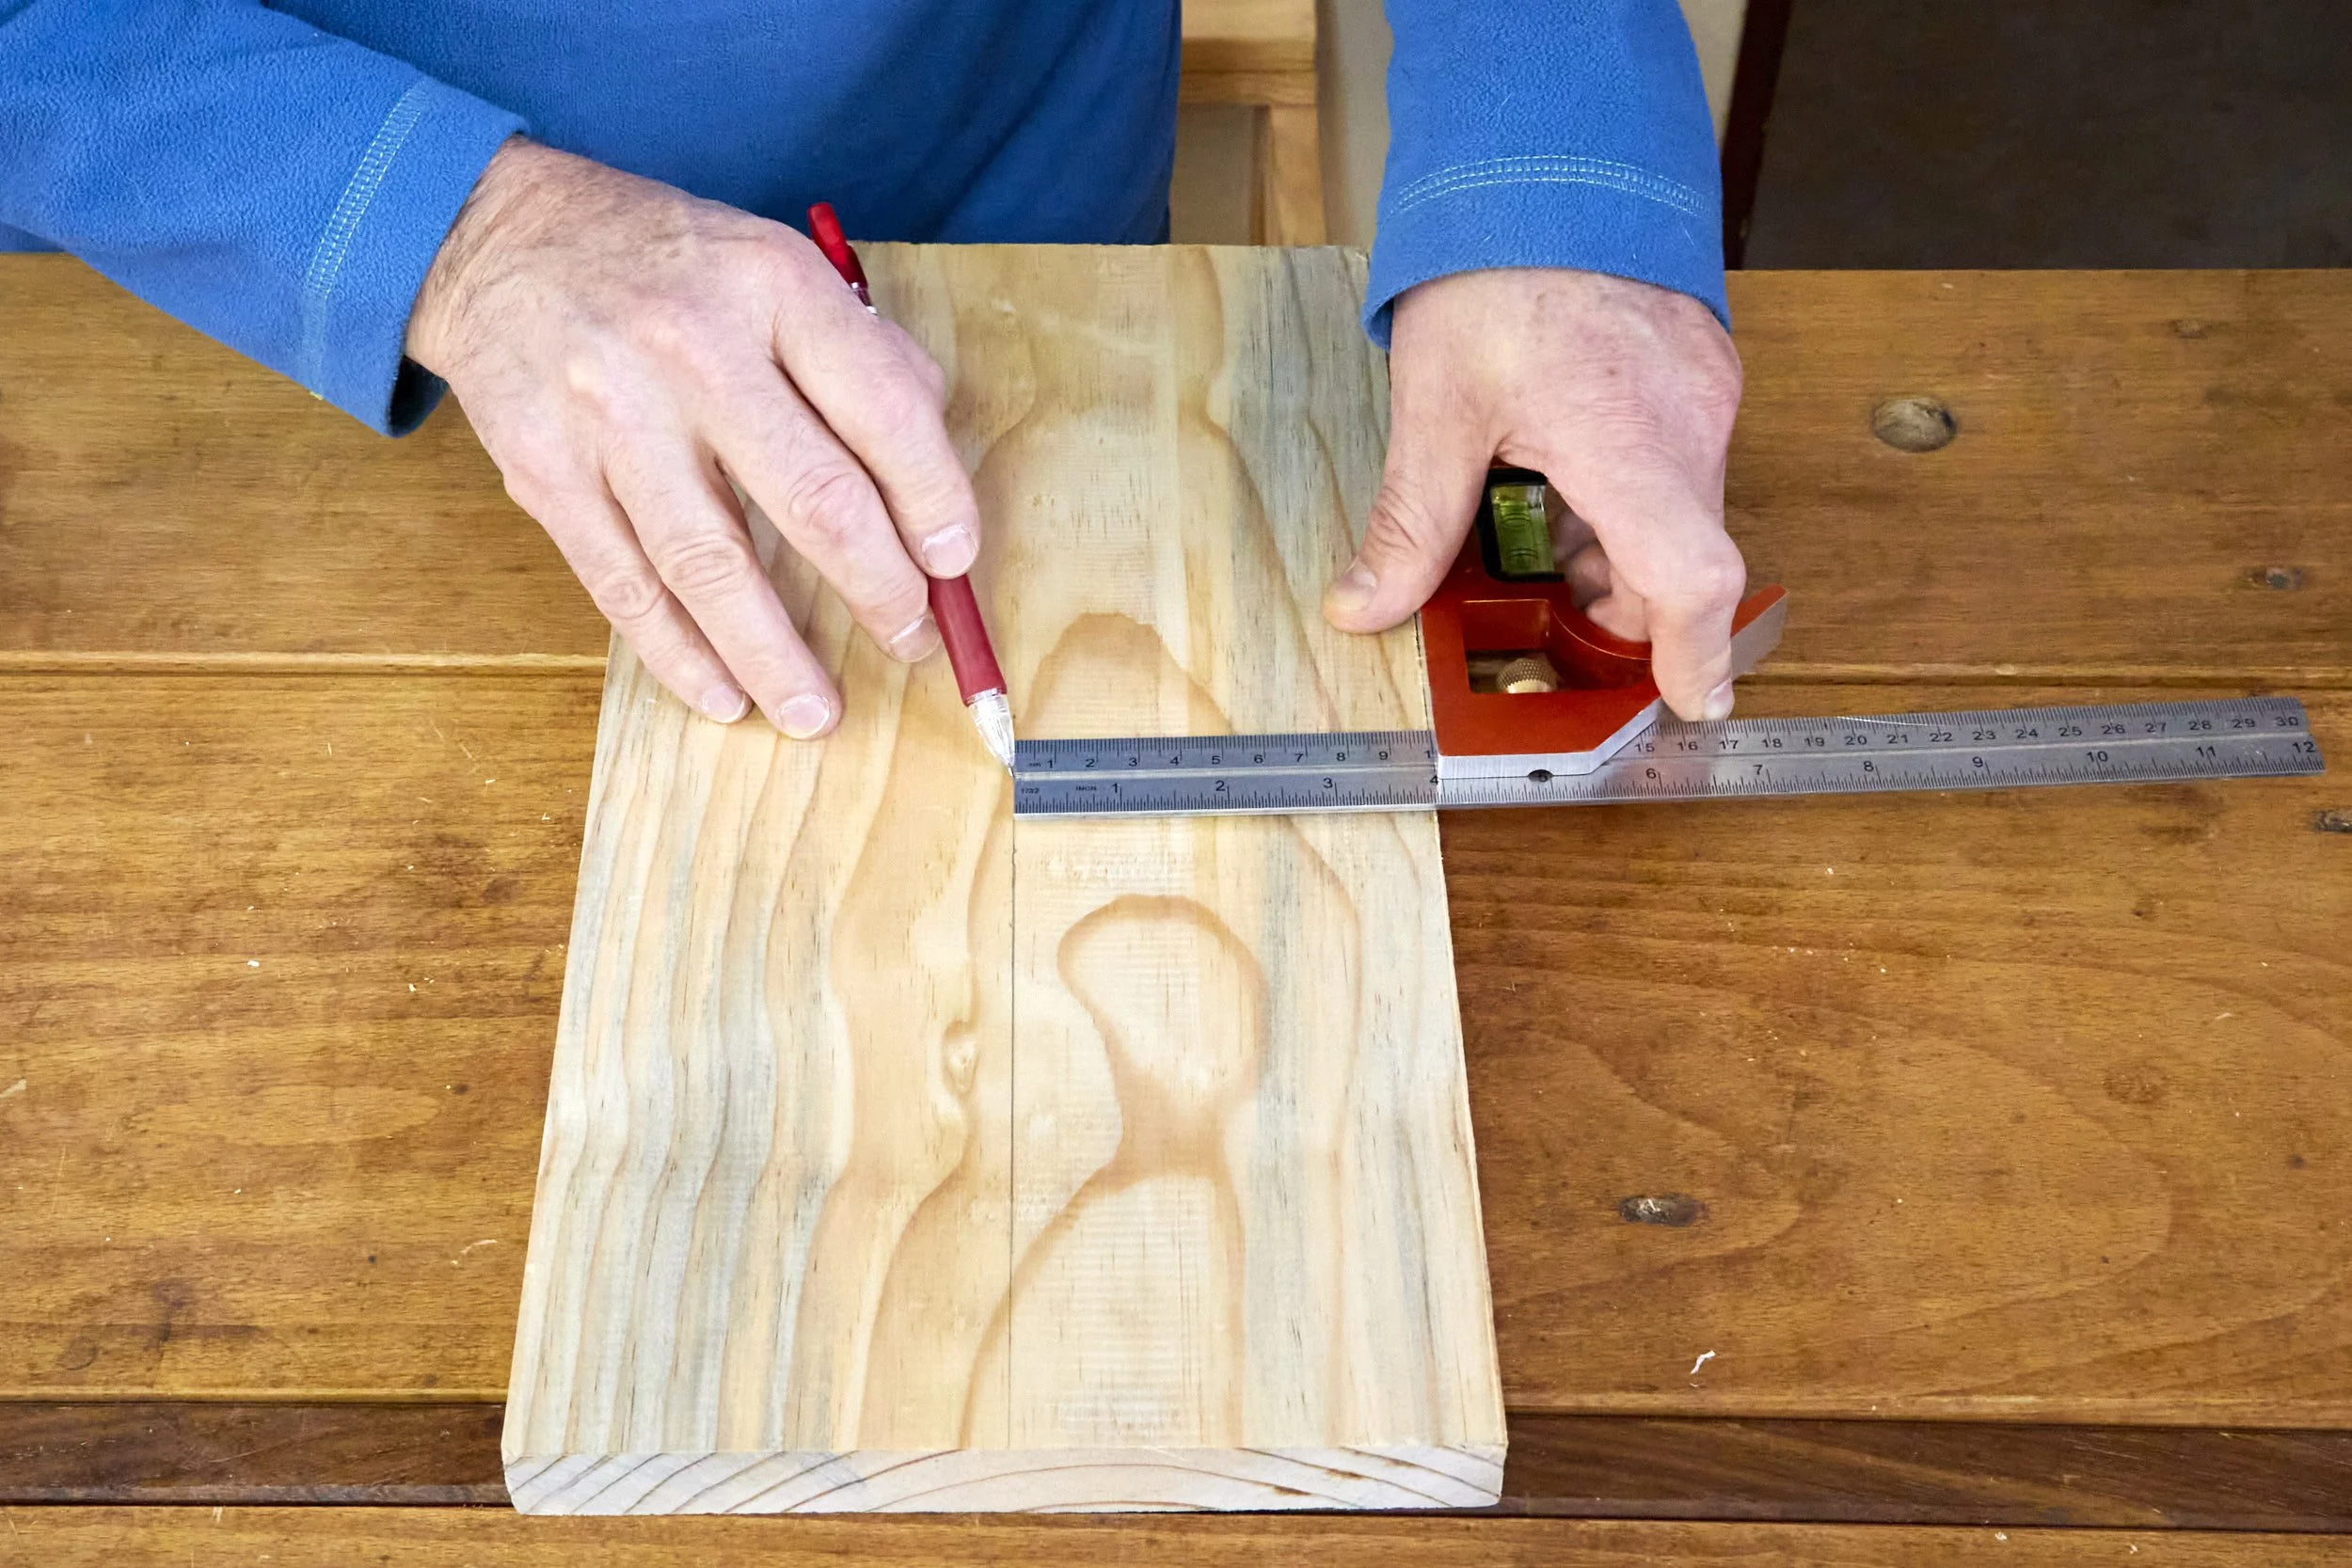
Although you can use these methods to mark most any workpiece I do find that I use them most often on raw lumber during initial dimensioning, because of the variably of raw lumber width and the fact that this is rarely found in round numbers or fractions.
Because of the physical nature of scribing a line using the gauge it may be better suited for rough lumber or on workpieces where the marks can be hidden. Using the rule may better suit situations where permanent marking isn’t ideal.
Where either method is used to mark out rough stock that still needs to be jointed and dimensioned you will find that marking the exact middle is less important with a ballpark being quite sufficient. This is especially useful with the gauge and if the marks are separated by less than a couple of millimetres or a 16th you should be OK.
You can use wheel type or cutting gauges for method 2 but I find the pin type marks to be more visible on rough lumber, especially when adding a pencil line in the mark.
When using method 1 to mark rough lumber I struggle to carry that mark down the length of the board especially when using the blade of an adjustable square set to the middle mark and referencing a pencil against it while sliding the fence of the square against the edge of the board. The fence always snags against the rough edge or my pencil slips off the end of the blade.
The shortcomings of method 1 in point five above makes the use of a marking gauge to mark rough lumber my all time favourite.
There you have it, two easy ways to mark the middle of a workpiece. On this trend I have a post coming at the end of the week about using stops on everyone’s favourite power tool to cut joinery without having to measure anything at all.
See you then, hope you have a safe one.
Oh, and before I leave you to it, I have another one for the South Africans out there with something not being inside, but on………..