
3 Steps to Better Wood Panels (Cleaner Glue-Ups Every Time)
When it comes to woodworking—or most creative pastimes—we sometimes need all the help we can get.
Personally, I need more help than most, especially when glue gets involved!
Today I want to show you three simple steps (plus two bonus tips) that will make edge laminations simpler, easier, and maybe even a little cleaner.
If the thought of glueing up wood panels makes you break out in a cold sweat, this one is for you. Even if you’re an old hand at panel glue-ups, read on, you might just find something here that levels you up to MASTER status.
Step 1: Joint the Edges for Panel Glue-Ups
I’ll start with the assumption that you’ve already read my 10-Step Guide to Dimensioning Raw Lumber.
With your stock dimensioned, it’s time to prep the edges for glueing.
One of the most time-consuming jobs when prepping for edge lamination is getting glue edges straight and square. By hand or by jointer, it can become tricky. My jointer especially gives me grief, and I’m forever struggling to keep the fence locked at 90°.
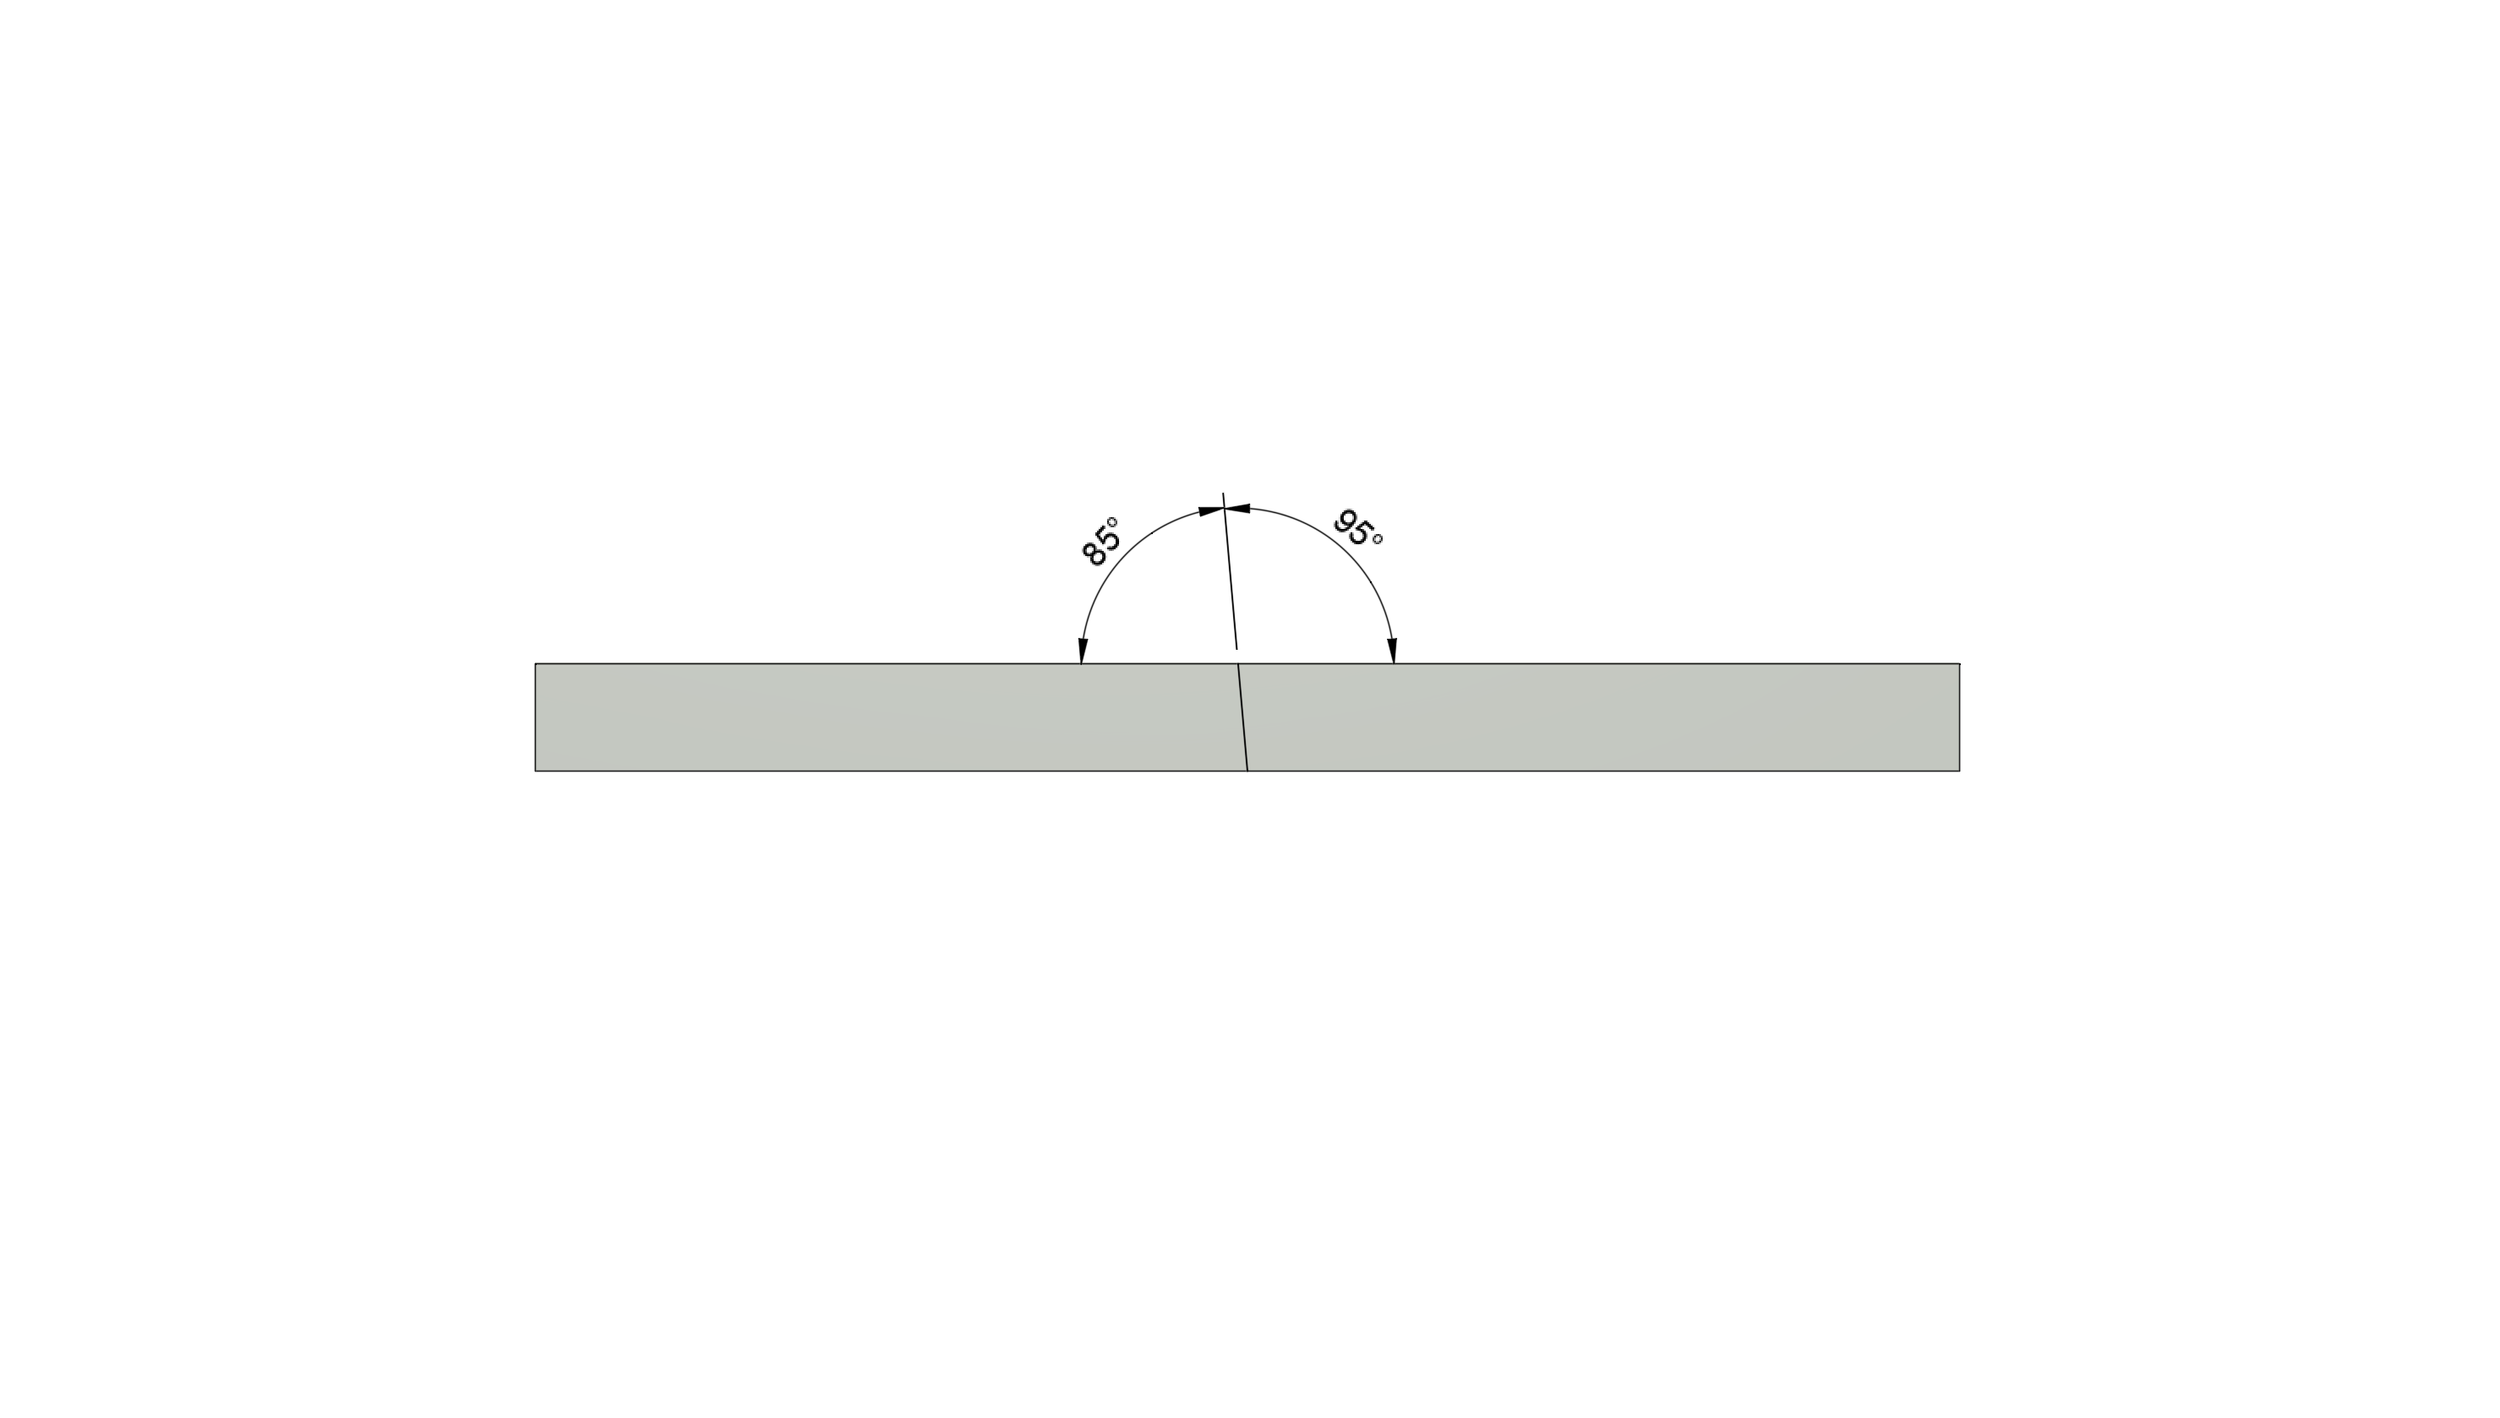
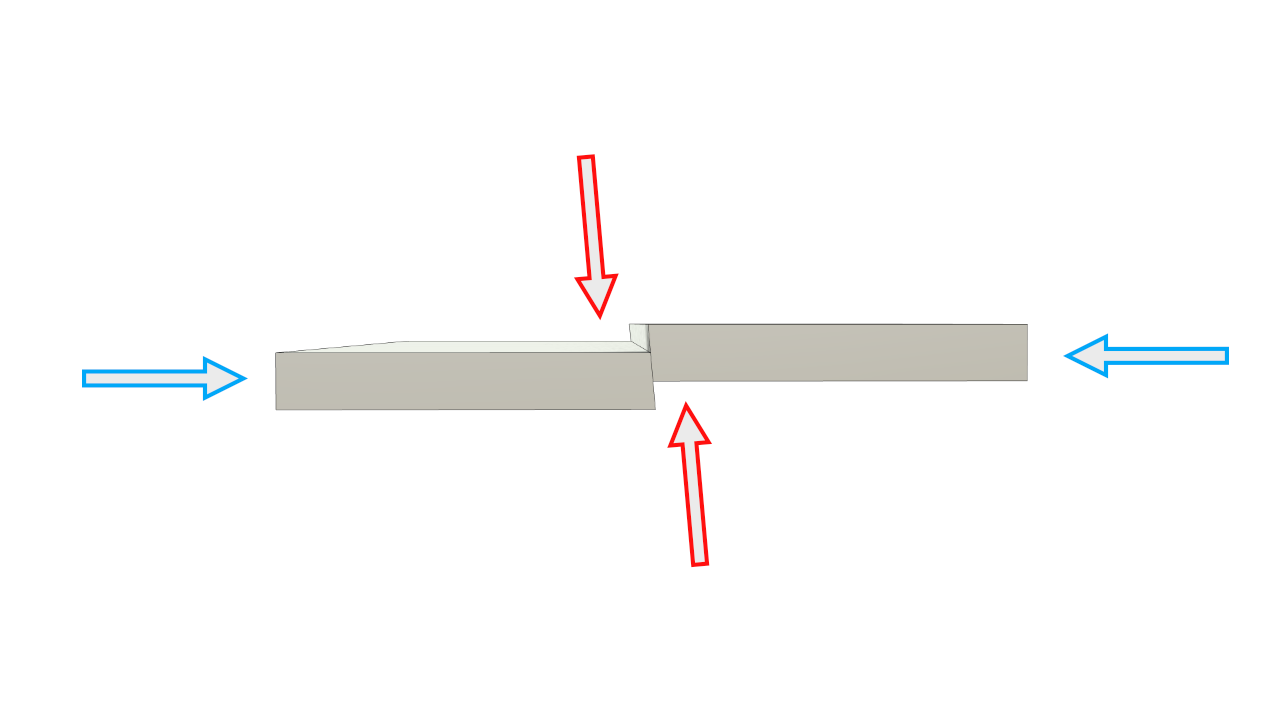
Then I learned: square edges aren’t actually necessary!
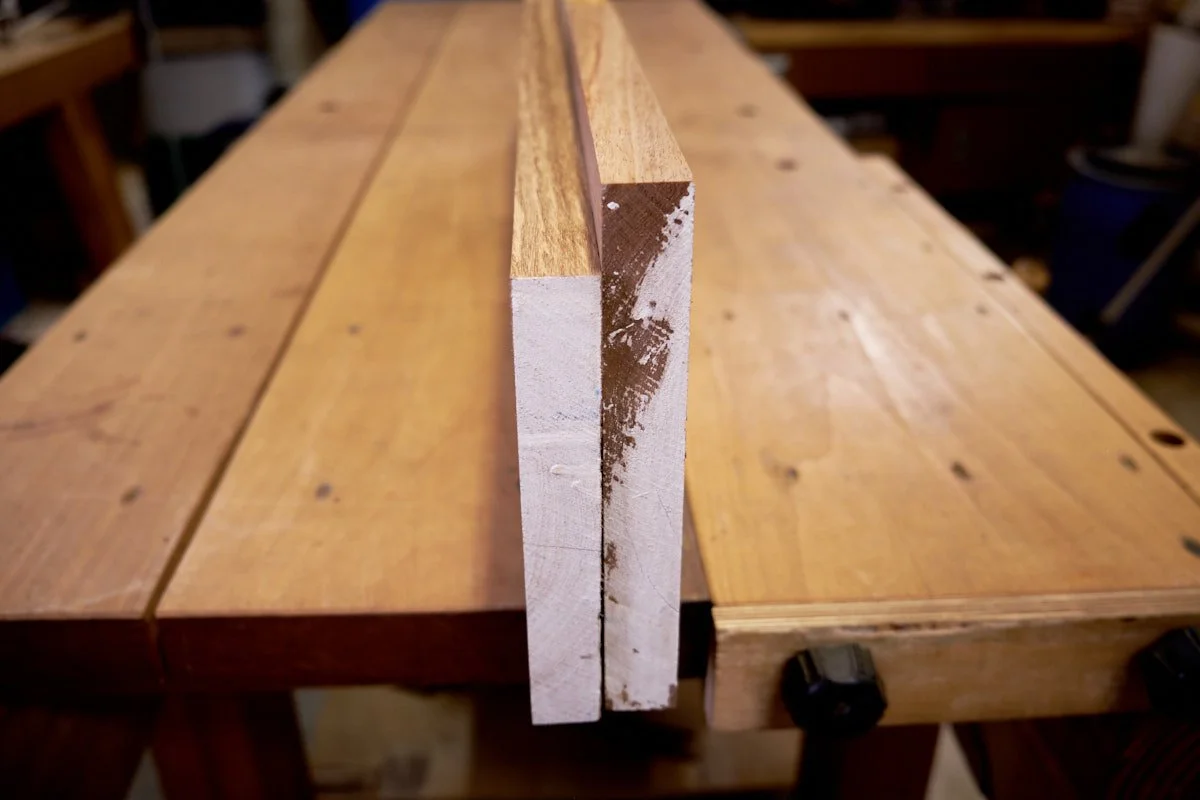
As long as you joint the mating edges together and at the same time, any slight out-of-square surfaces cancels one another out, leaving a seamless joint.
Quick Steps:
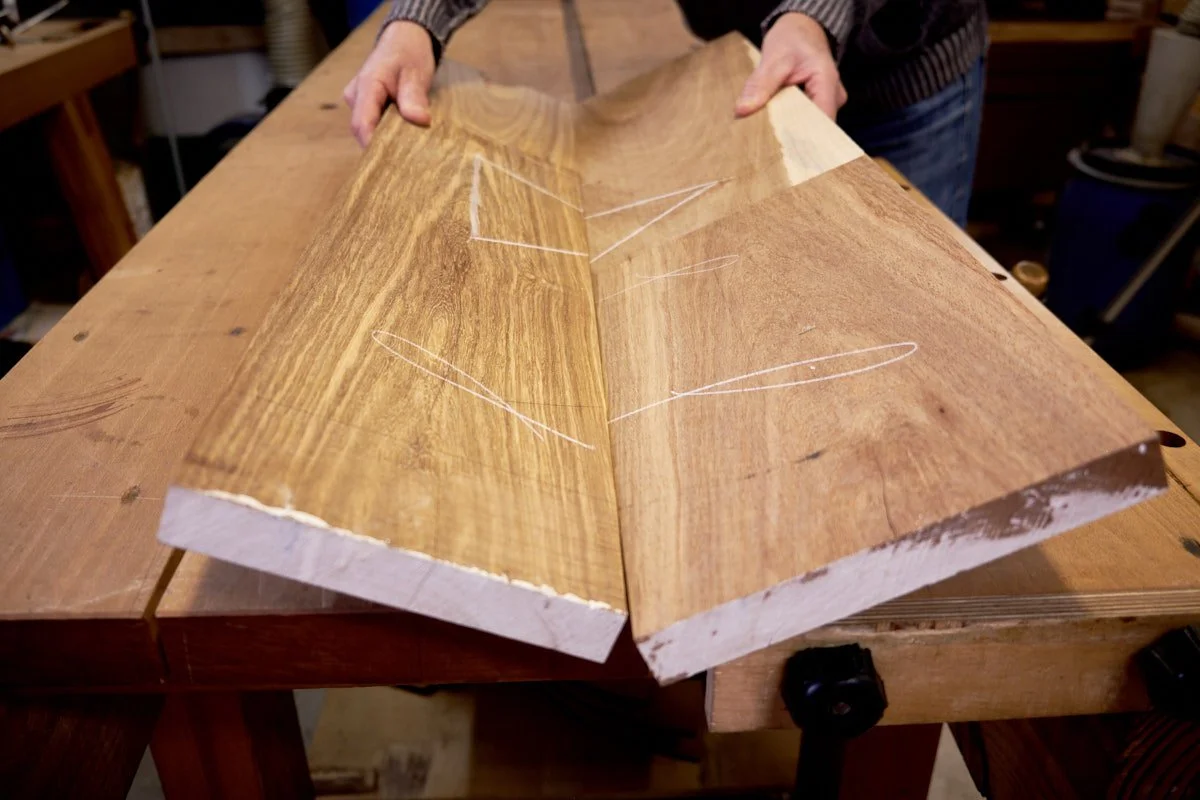
Place boards in final orientation, show faces up.
Fold like a book so glue edges rest on the bench.
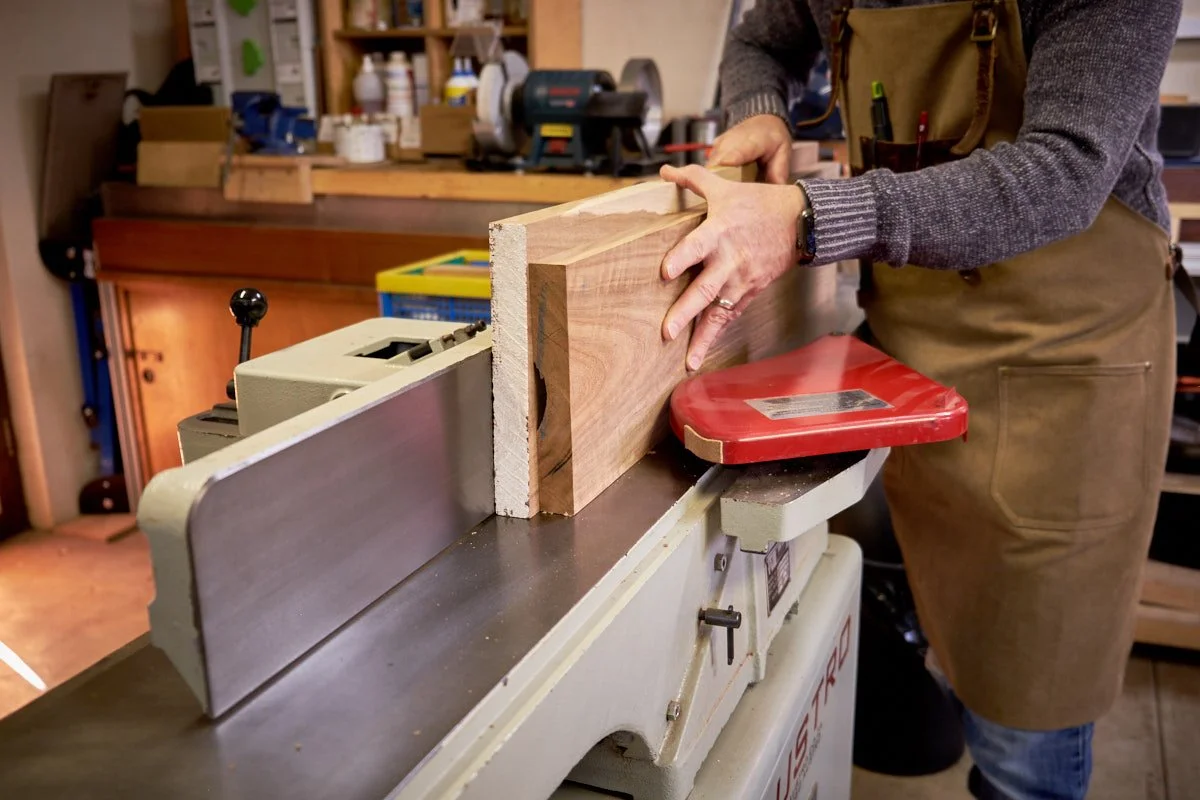
Joint both edges at once with light passes, keeping pressure even on the machine and the chosen reference face tight up the fence.
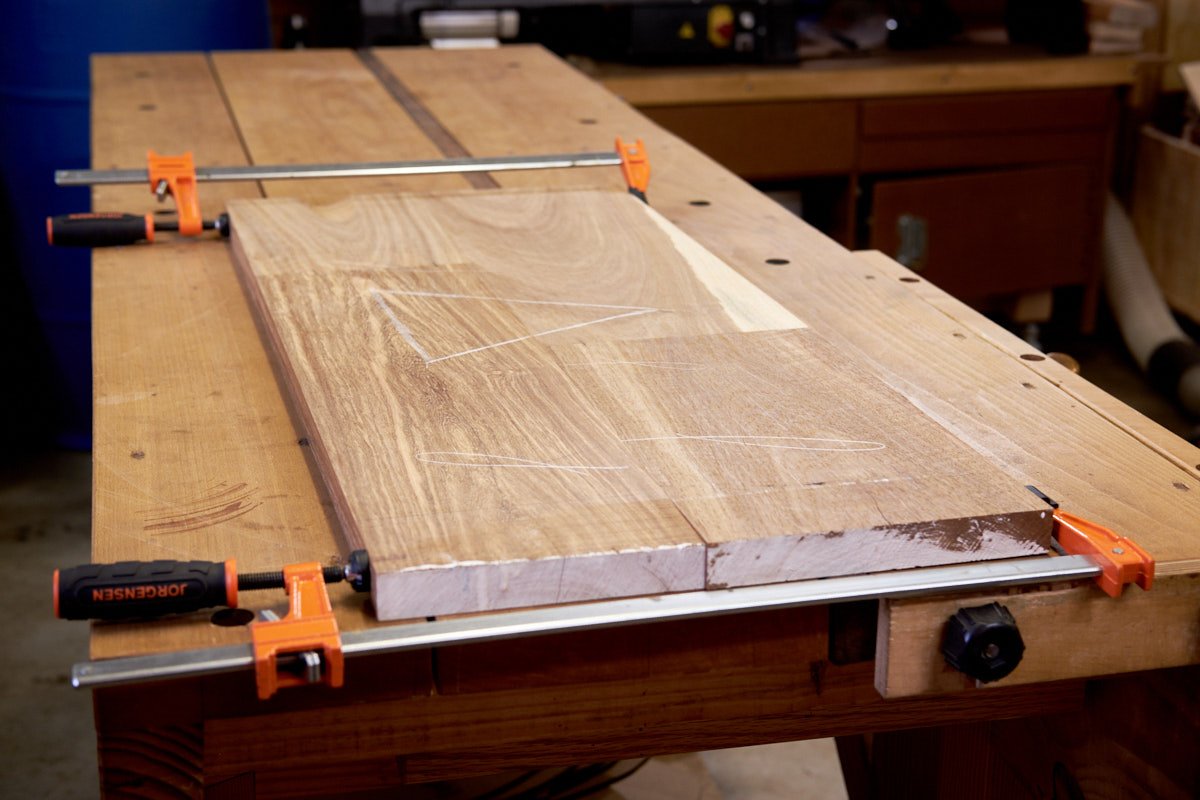
Open the book at your bench, clamp lightly at the ends, and check for gaps.
Repeat until you have a clean joint.
This works just as well with a hand plane—simply clamp the book in a vice and plane both edges together.
Pro Tip: Aim close to square. Too much slope and the boards may slip during glue-up. This technique is about making panel glue-ups simpler, not harder!

Step 2: Use Dowels, Biscuits, or Dominos to Align Panels
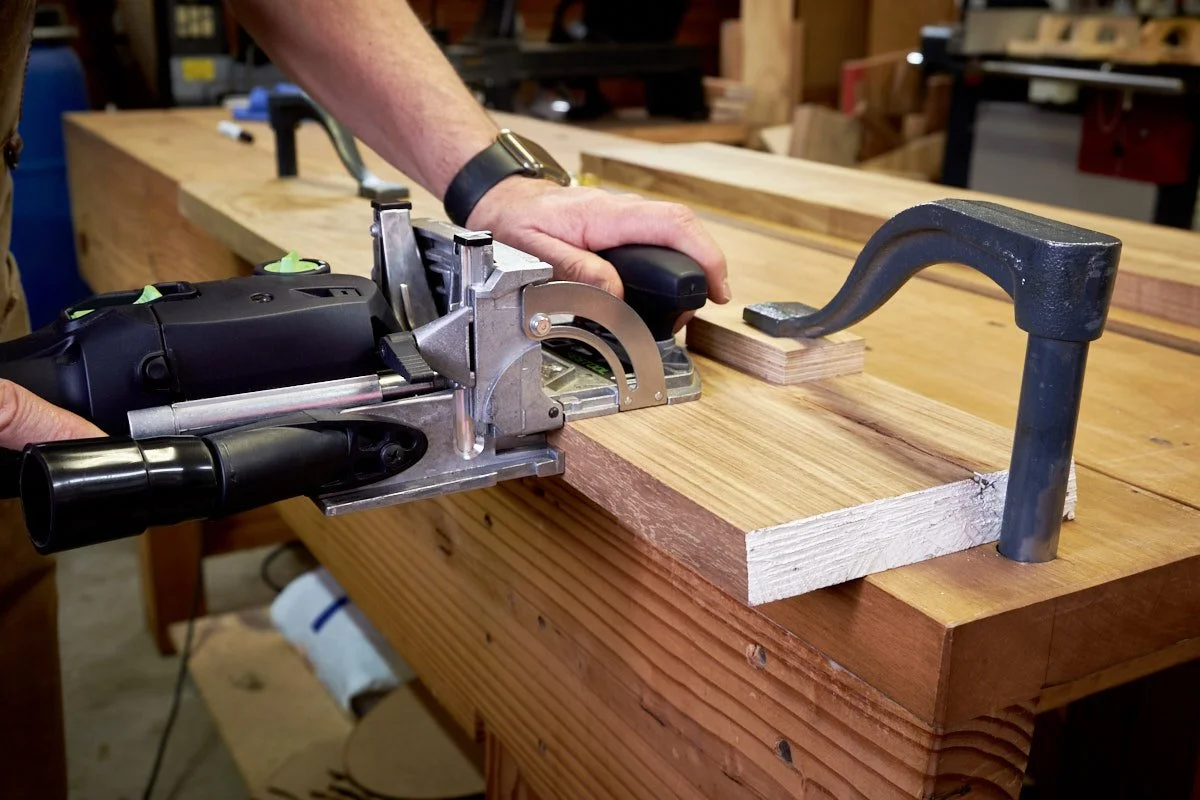
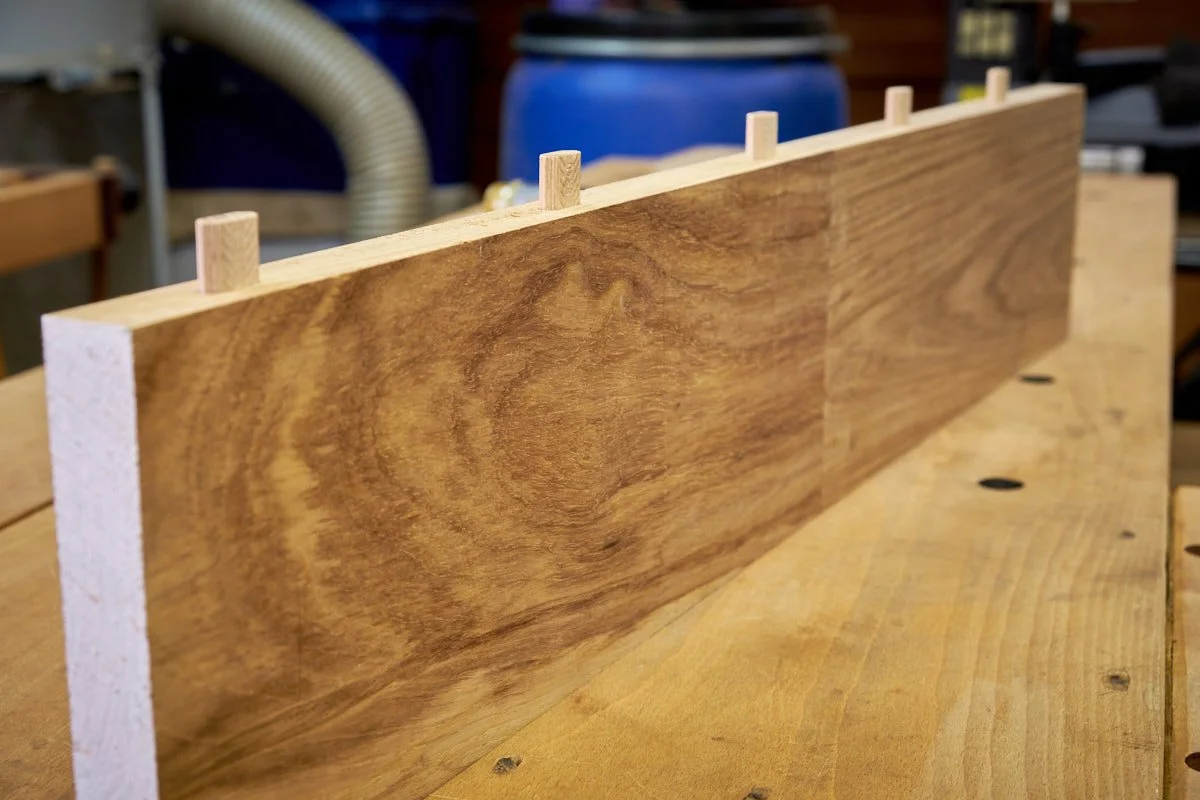
This step doesn’t just keep your panel aligned, it also saves time by cutting down sanding and cleanup later. Whether you use dowels, biscuits, or Dominos, the goal is the same: keep boards from slipping during clamping.
Clamping cauls will do the same and I have a few in the workshop, I just don’t seem to be able to develop a healthy relationship with them!
Strength debates aside, I’m only interested in faster, easier glue-ups. Avoiding cauls is a bonus.
Quick Steps:
Lay the boards edge-to-edge with show faces up.
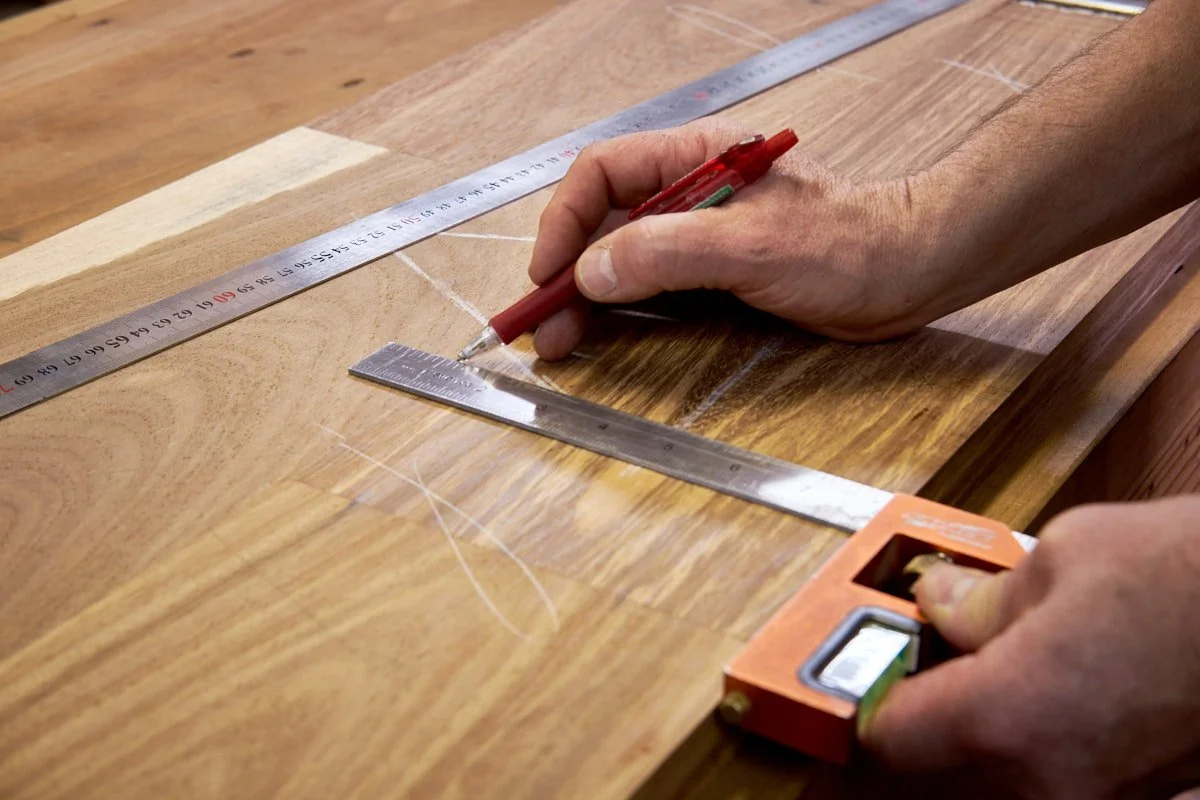
Align them in final position and mark joinery locations clearly, make sure to make the marks on both boards.
Cut joinery and install hardware (no glue yet).
Dry clamp to confirm alignment.
Pro Tip: Always reference your layout and joinery from the same face, in my case this is almost always the show face. That way, any small step ends up hidden on the back.
Avoid placing joinery too close to where you’ll later be making cross-cuts on the panel. Ask me how I know, unplanned breadboard ends work very well to hide visible Dominos on Shaker style table tops!
Step 3: Use a Glue Roller for Even Spread
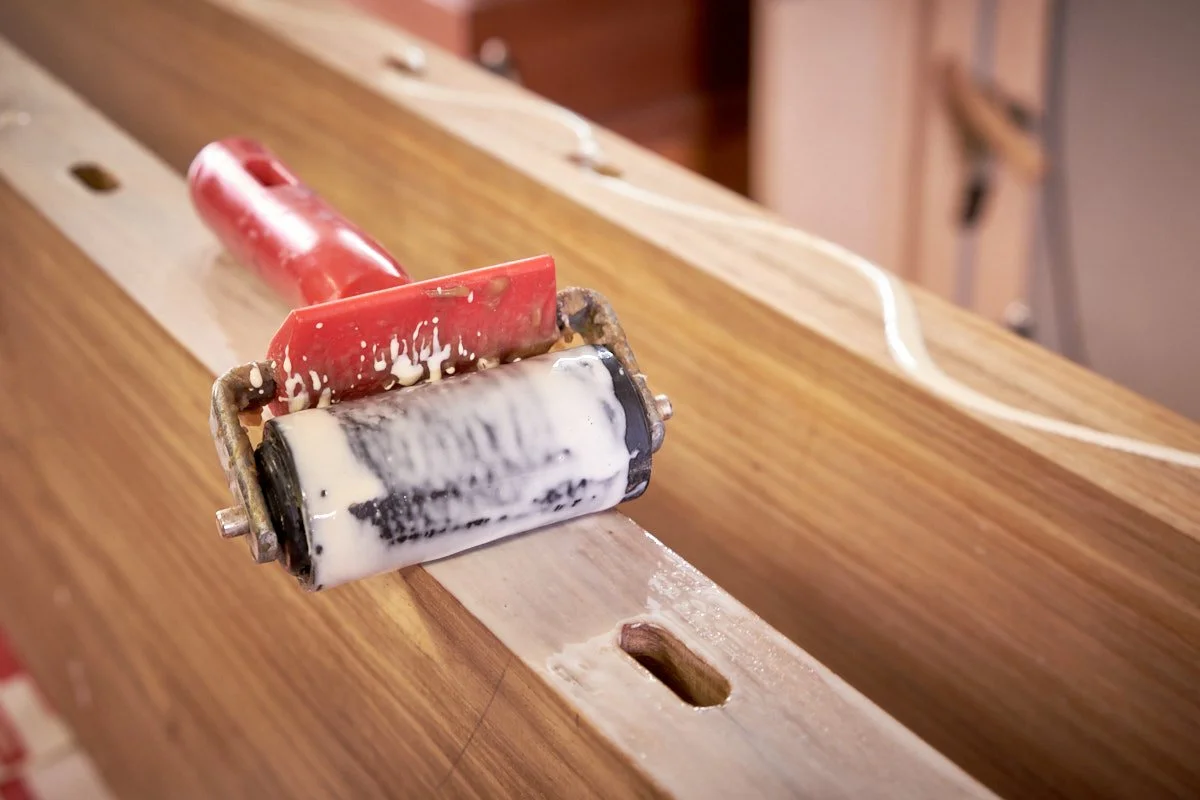
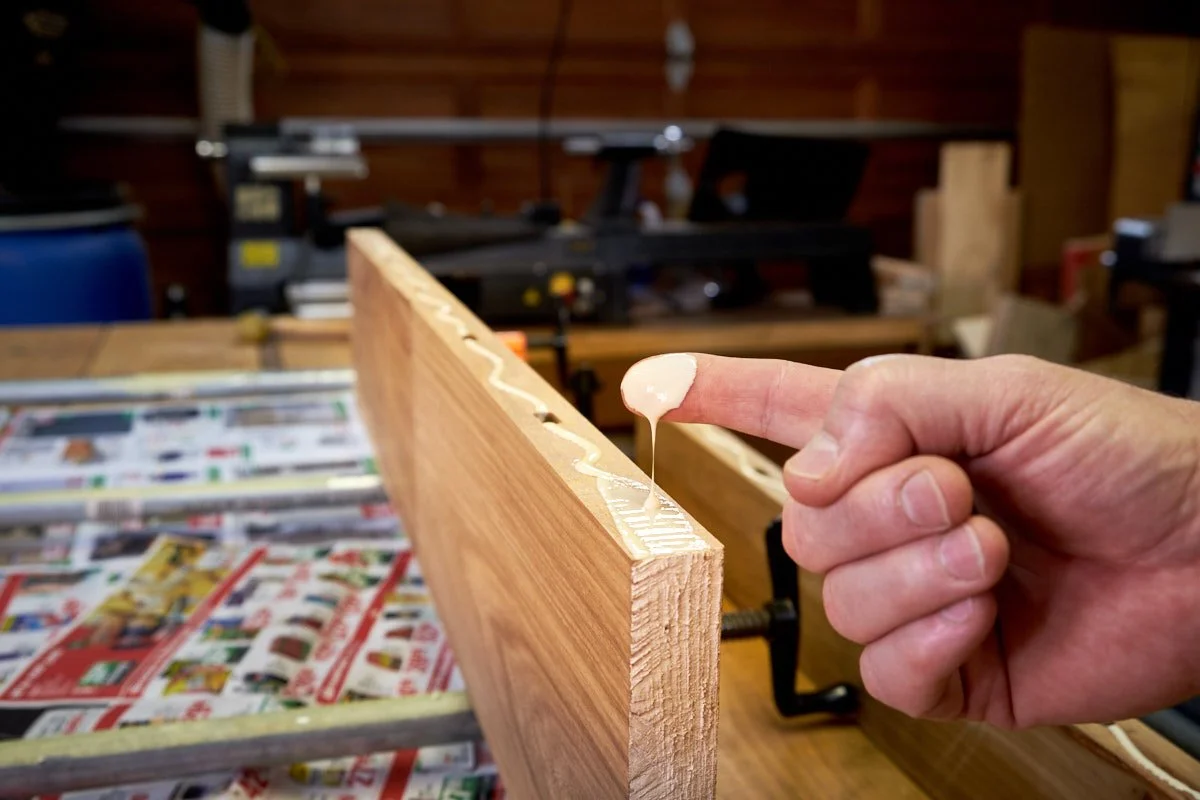
Fingers are fine for therapy, but a rubber ink roller is king when it comes to speed and control.
A roller avoids over-gluing, gives a consistent coat of glue across the panel and speeds up the process.
Quick Steps:
Clamp one board edge-up in a face vice.
Balance the second board edge-up on the bench.
Run a bead of glue along both edges (don’t overdo it).
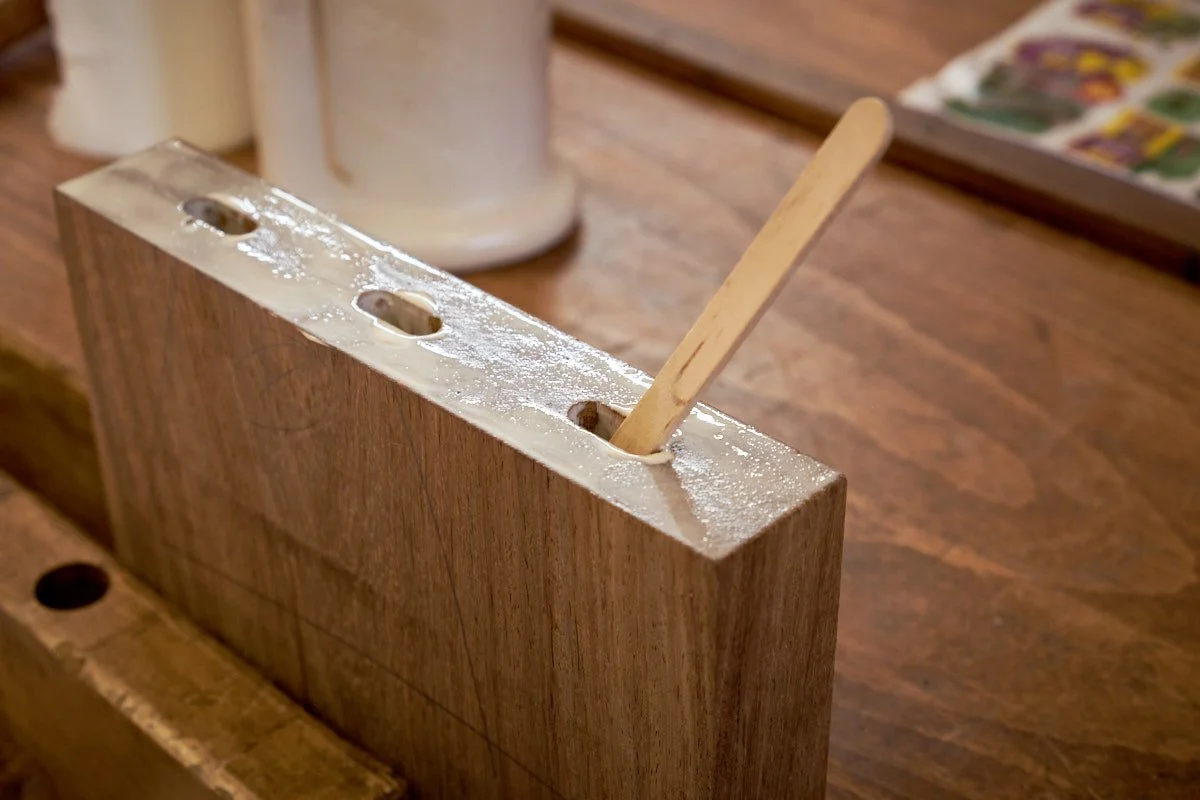
Add a dollop of glue into the joinery and spread using an ice-cream stick.
Spread the glue evenly on the edges with the roller, make sure to get it right up to the ends and edges.
Insert alignment hardware, bring boards together, and clamp evenly.
Look for consistent squeeze-out across the joint.
Even squeeze-out = well-spread glue.
Bonus Tip #1: Vertical Drying
Stand your clamped panel upright so excess glue runs off along the joint and drips down instead of pooling on or running across the faces. This makes cleanup much easier down the line. I often just lean the assembly against a wall or cabinet until dry.
Bonus Tip #2: Clean Sooner, Not Later
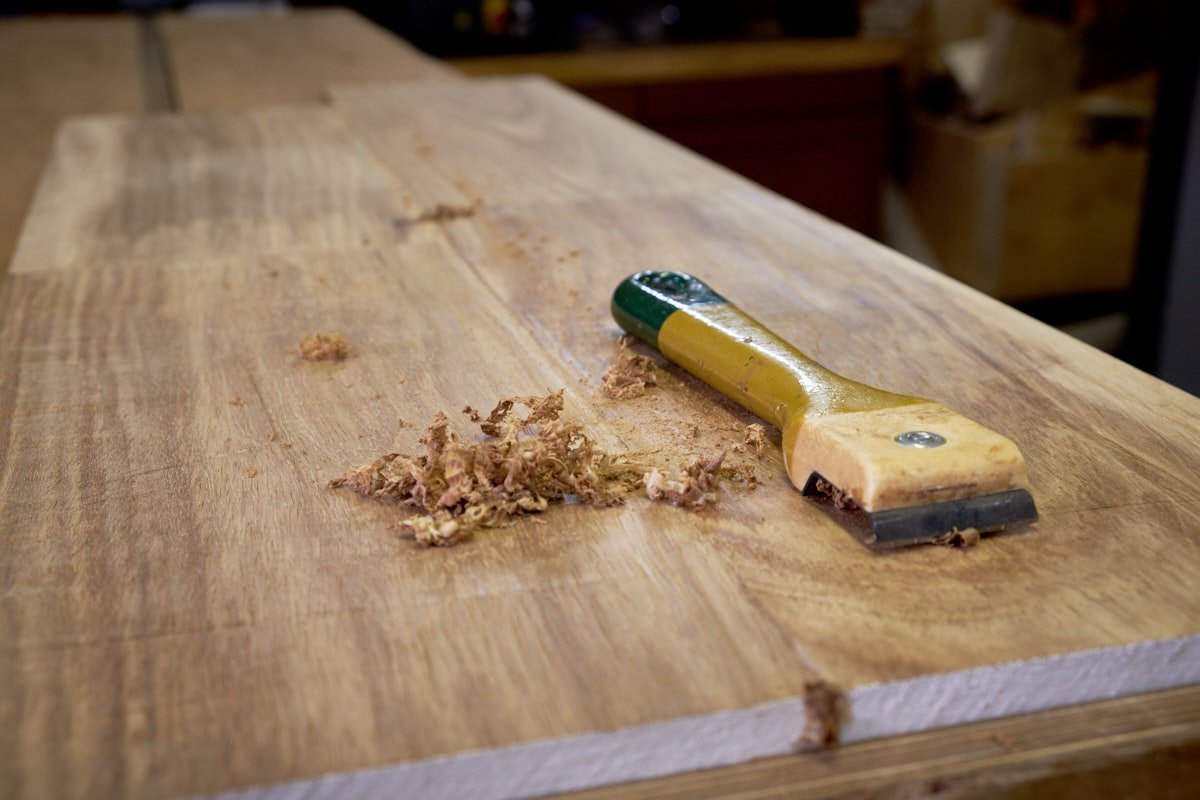
After the recommended clamping period, remove the panel and scrape squeeze-out while it’s still rubbery. Wait too long and hardened glue can tear wood fibres out of the joint during scraping.
Just remember: don’t stress the joint until the glue has fully cured.
Final Thoughts: Better Panel Glue-Ups, Less Stress
Five tips for the price of three, told you it was worth sticking around!
A big commission recently had me doing more edge laminations than ever before, and these tricks made the process faster and cleaner. The glue roller in particular kept me from drowning the joints in too much glue
A bad habit of mine!
Want a printable step by step reference to help with your own panel glue ups? Sign up and download my free Panel Lamination Checklist and keep it at your bench.
For ongoing access to woodworking infographics, checklists, and exclusive free plans, join the Sharpen & Shavings Club. It’s a once-off fee for lifetime resources plus an immediate shop discount.
Until next time, be safe.


My initial impressions of the Axminster Ultimate Edge. In this article I look build quality, speed, accuracy, and why it might just be your new favourite sharpening system.