Garage Unit Dimensioning and Joinery
Final Dimensioning and we also happen to get going on the joinery.
I enjoyed using the step by step process in my last post so much that I’m going to stick with that format for now, but before we get there some basic notes before we head into the nitty gritty.
At just over 2 meters tall cutting the sides to length would be problematic on the table saw.
With the cupboard 500mm deep the stock would be too wide for the available capacity of the miter gauge on the table saw, once again problematic.
Coming back to point 2 the question might be why I don’t use a cross cut sled to accommodate the wide boards and to be honest, I have over the last year or so lost my appetite somewhat for cross cut sleds and I am almost of the opinion that all the build videos on YouTube that happened to be en vogue at the time I started my journey in woodworking was a sinister ploy by ply manufacturers to boost sales or that YouTubers ran out of vid ideas at that time or possibly both!
That is a rant for another day though. Come to think of it, I am looking for blog ideas at the moment, maybe I should write one about why you don’t need one, a sled that is.
I had a large sled at some point but when I got tired of having to find space for it all the time, I dismantled it to make a smaller version and just never got around to it because I found I didn’t need one. I’m not anti sled mind you, but watch this space I feel a blog on its way.
Step 1 it is then.
Step 1 - Cut stock to final length:

Because of the reasons mentioned in the intro I broke out my Metabo KS 55 circular saw and track. While not essentially a thoroughbred track saw, when set up and used correctly it is dang accurate and luckily we know how to do both. I acquired this saw to do a project that involved 40 parallel slots in a curve bending exercise that will forever be know as THE project that has healed me from all misplaced desires to accommodate compound curves into customer projects.
Back to the matter at hand.
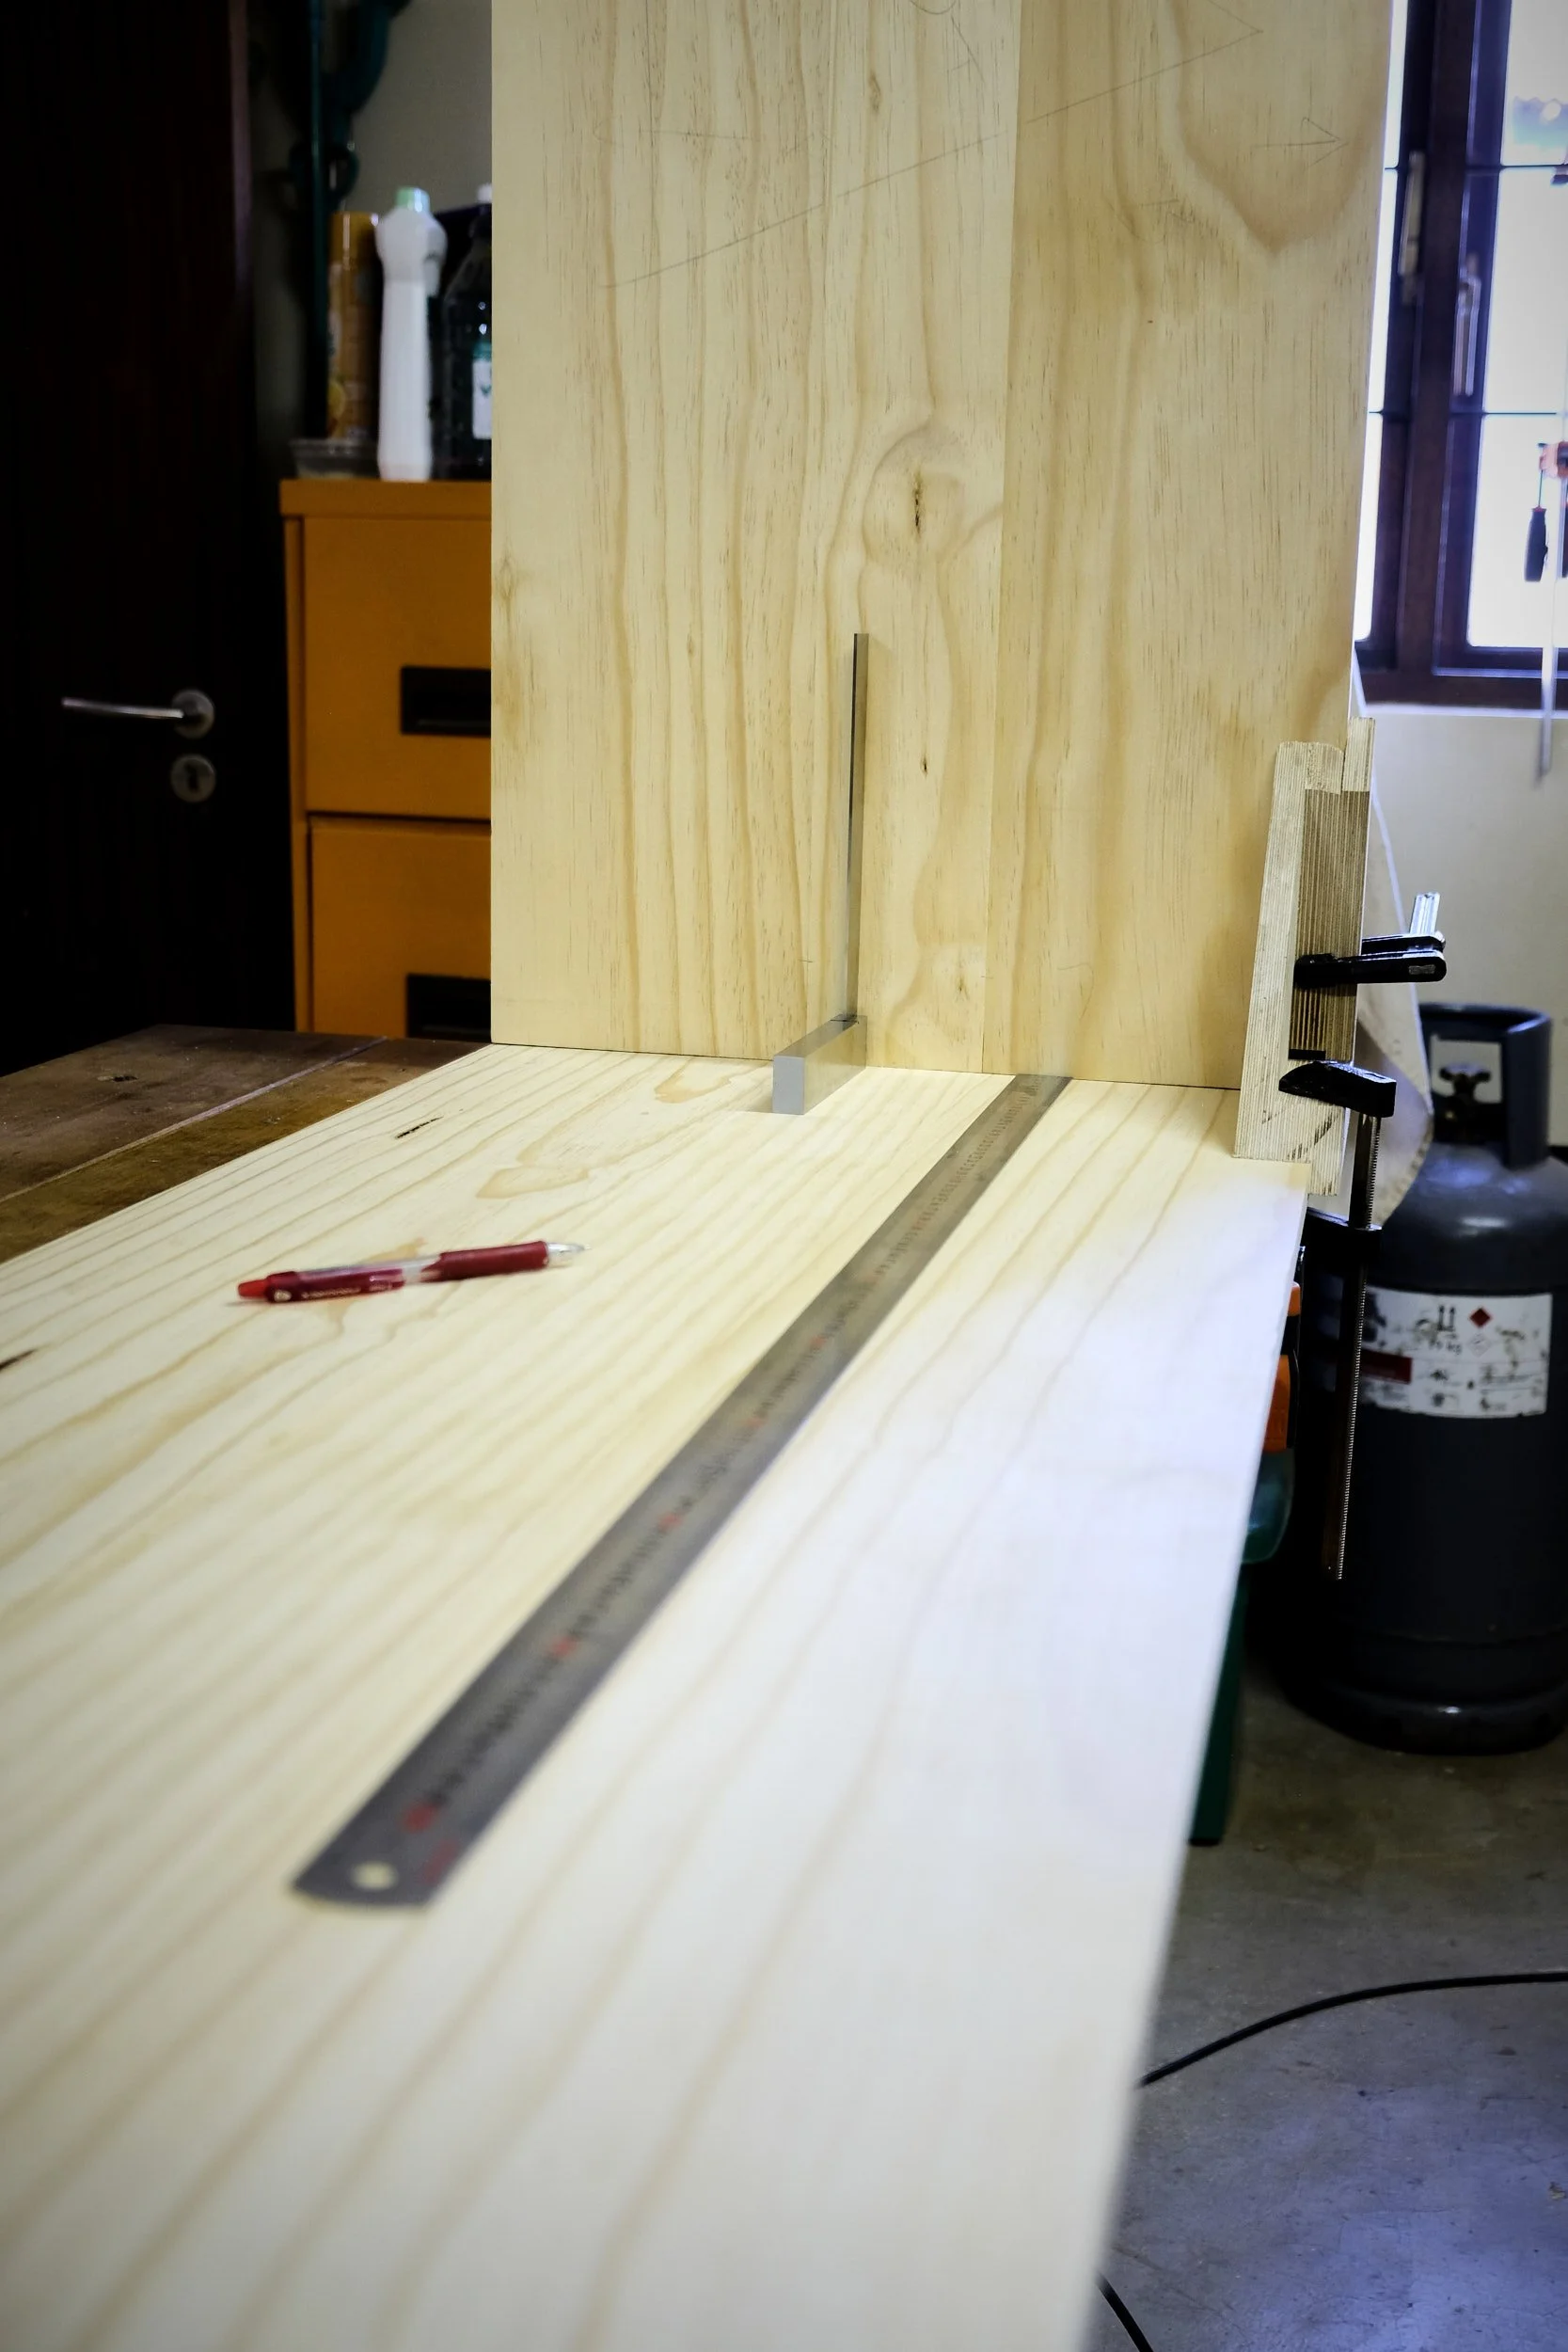
The length of the side panels being the most critical measurement of all were up first and after cutting one end off each panel making sure each cut was dead on square to what would be the outward facing edge of the carcass.
Once I had a “reference” end on each board I now had a starting point for my next measurements and cuts and with the total length marked on one side panel I placed one on top of the other and lined the freshly cut ends up as best I could which allowed both boards to be cut together to final length.
Pro Tip: Cutting components that should be the same size together is often a very good idea and will help a lot with accuracy down the line. A crucial step in the process is to make sure that the ends that will act as the reference are lined up as flush to one another as possible and if the workpieces may move during the cut as might be the case with a cross cut on a table saw it may sometimes be necessary to affix the involved components to one another in some manner, be it with a clamp or some form of double sided tape.
With the sides cut to length it was the turn of the two shelves and with these being the same final length they got the same treatment and were cut together.
The top, bottom and middle panels got an end chopped off square and only the bottom was cut to final length, whilst leaving the top and middle to be cut to length later.
Step 2 - Cut to final width:
Ha! Got you there!
Not necessary, remember that we had our laminations to final width after the final jointing step and glue up in the previous edition?
Step 3 - Start measuring out and first joint:
We all know by now that taking dimensions directly from technical drawings while building a piece is an absolute farce. We do know that, don’t we?
Tell that to the guy in my head who thinks he knows better. Taking measurements directly from workpieces is an age old woodworking practice and has many advantages over just cutting all stock to what the plan says the dimensions should be and trusting that it would all fit together. Why do you think that clamp manufacturers claim ridiculous clamping pressures on their products? It’s for guys like me who insist that the plan is correct and end up testing those claims to pressure into submission the last two edges that need to come together in a build - I seriously hope the glue guy’s specs are accurate.
This time though would be different.
With the left side as the starting point I placed this panel - outside face down - on my workbench. From the bottom of the panel I measured the distance of what would be the kick plate height from the bottom edge that will be standing on the floor after assembly and drew a line square across the inside face, using the front edge as a reference so that this line would be parallel with the bottom edge.
Then…….
Almost forgot what I did next!
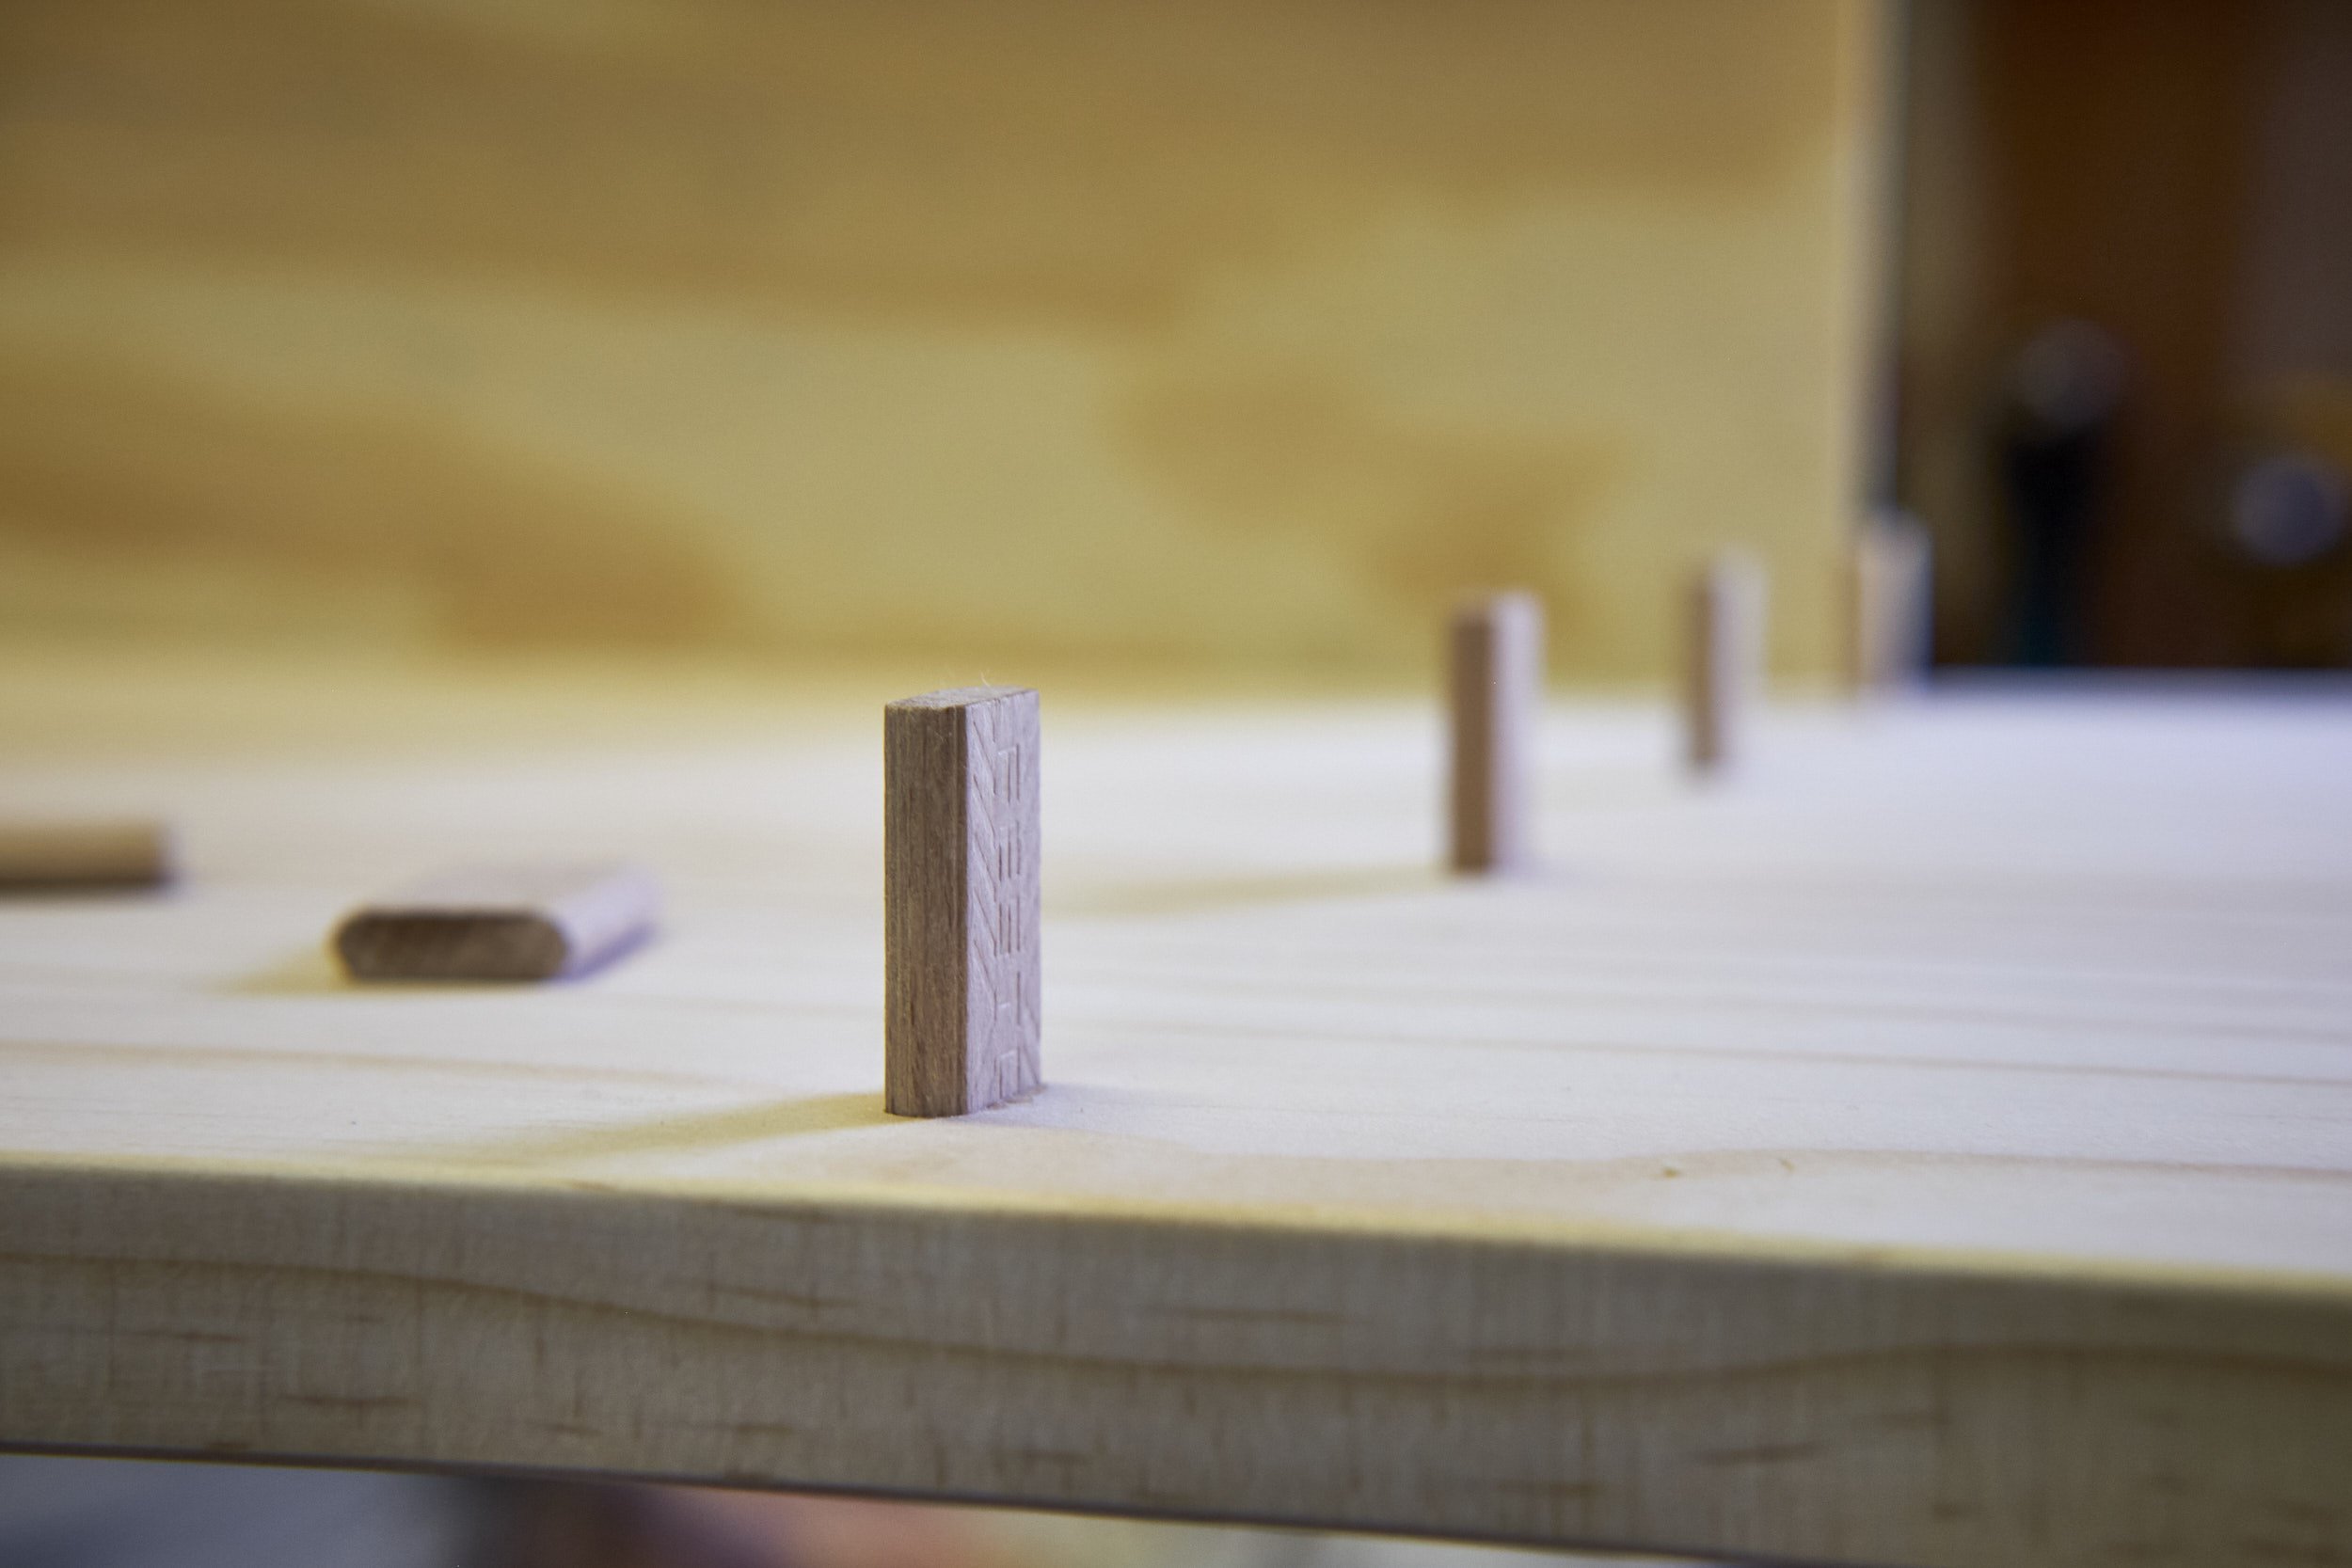
Then I cut the mid panel joinery using the Festool Domino DF500.
Nope, no I didn’t.
See I told you I forgot.
Before I cut the joinery I marked which face of the floor panel I wanted to face up and then offered what would later be the bottom edge of this component up to the line we marked at 80mm. I then made a mark along the top edge of the board resulting in two parallel lines across the side demarcating where the edge of the floor panel would be situated against the inside of the left panel.
Now we cut the joinery.


Before we carry on it’s time for the next pro tip.
Pro Tip: Mark your work!
It was the first time I did mid panel joinery using the Domino and what a revelation! Explaining the procedure in detail here will turn this post into an epic piece of literature, but suffice it to say that there will be another post forthcoming detailing this procedure. What I can say is that true to my word in the third instalment of The Peanut Saga I did mention that I would go this route and after some time spent on line and YouTube I found some info explaining how it’s done but surprisingly little about why it works, and boy does it work!
I love it when content creators give me blogging ideas, so look out for “Domino Mid Panel Joinery and How It Changed My Outlook on Life, Love and Everything Else” (SEO is going to love that one) coming soon to a blog near you.
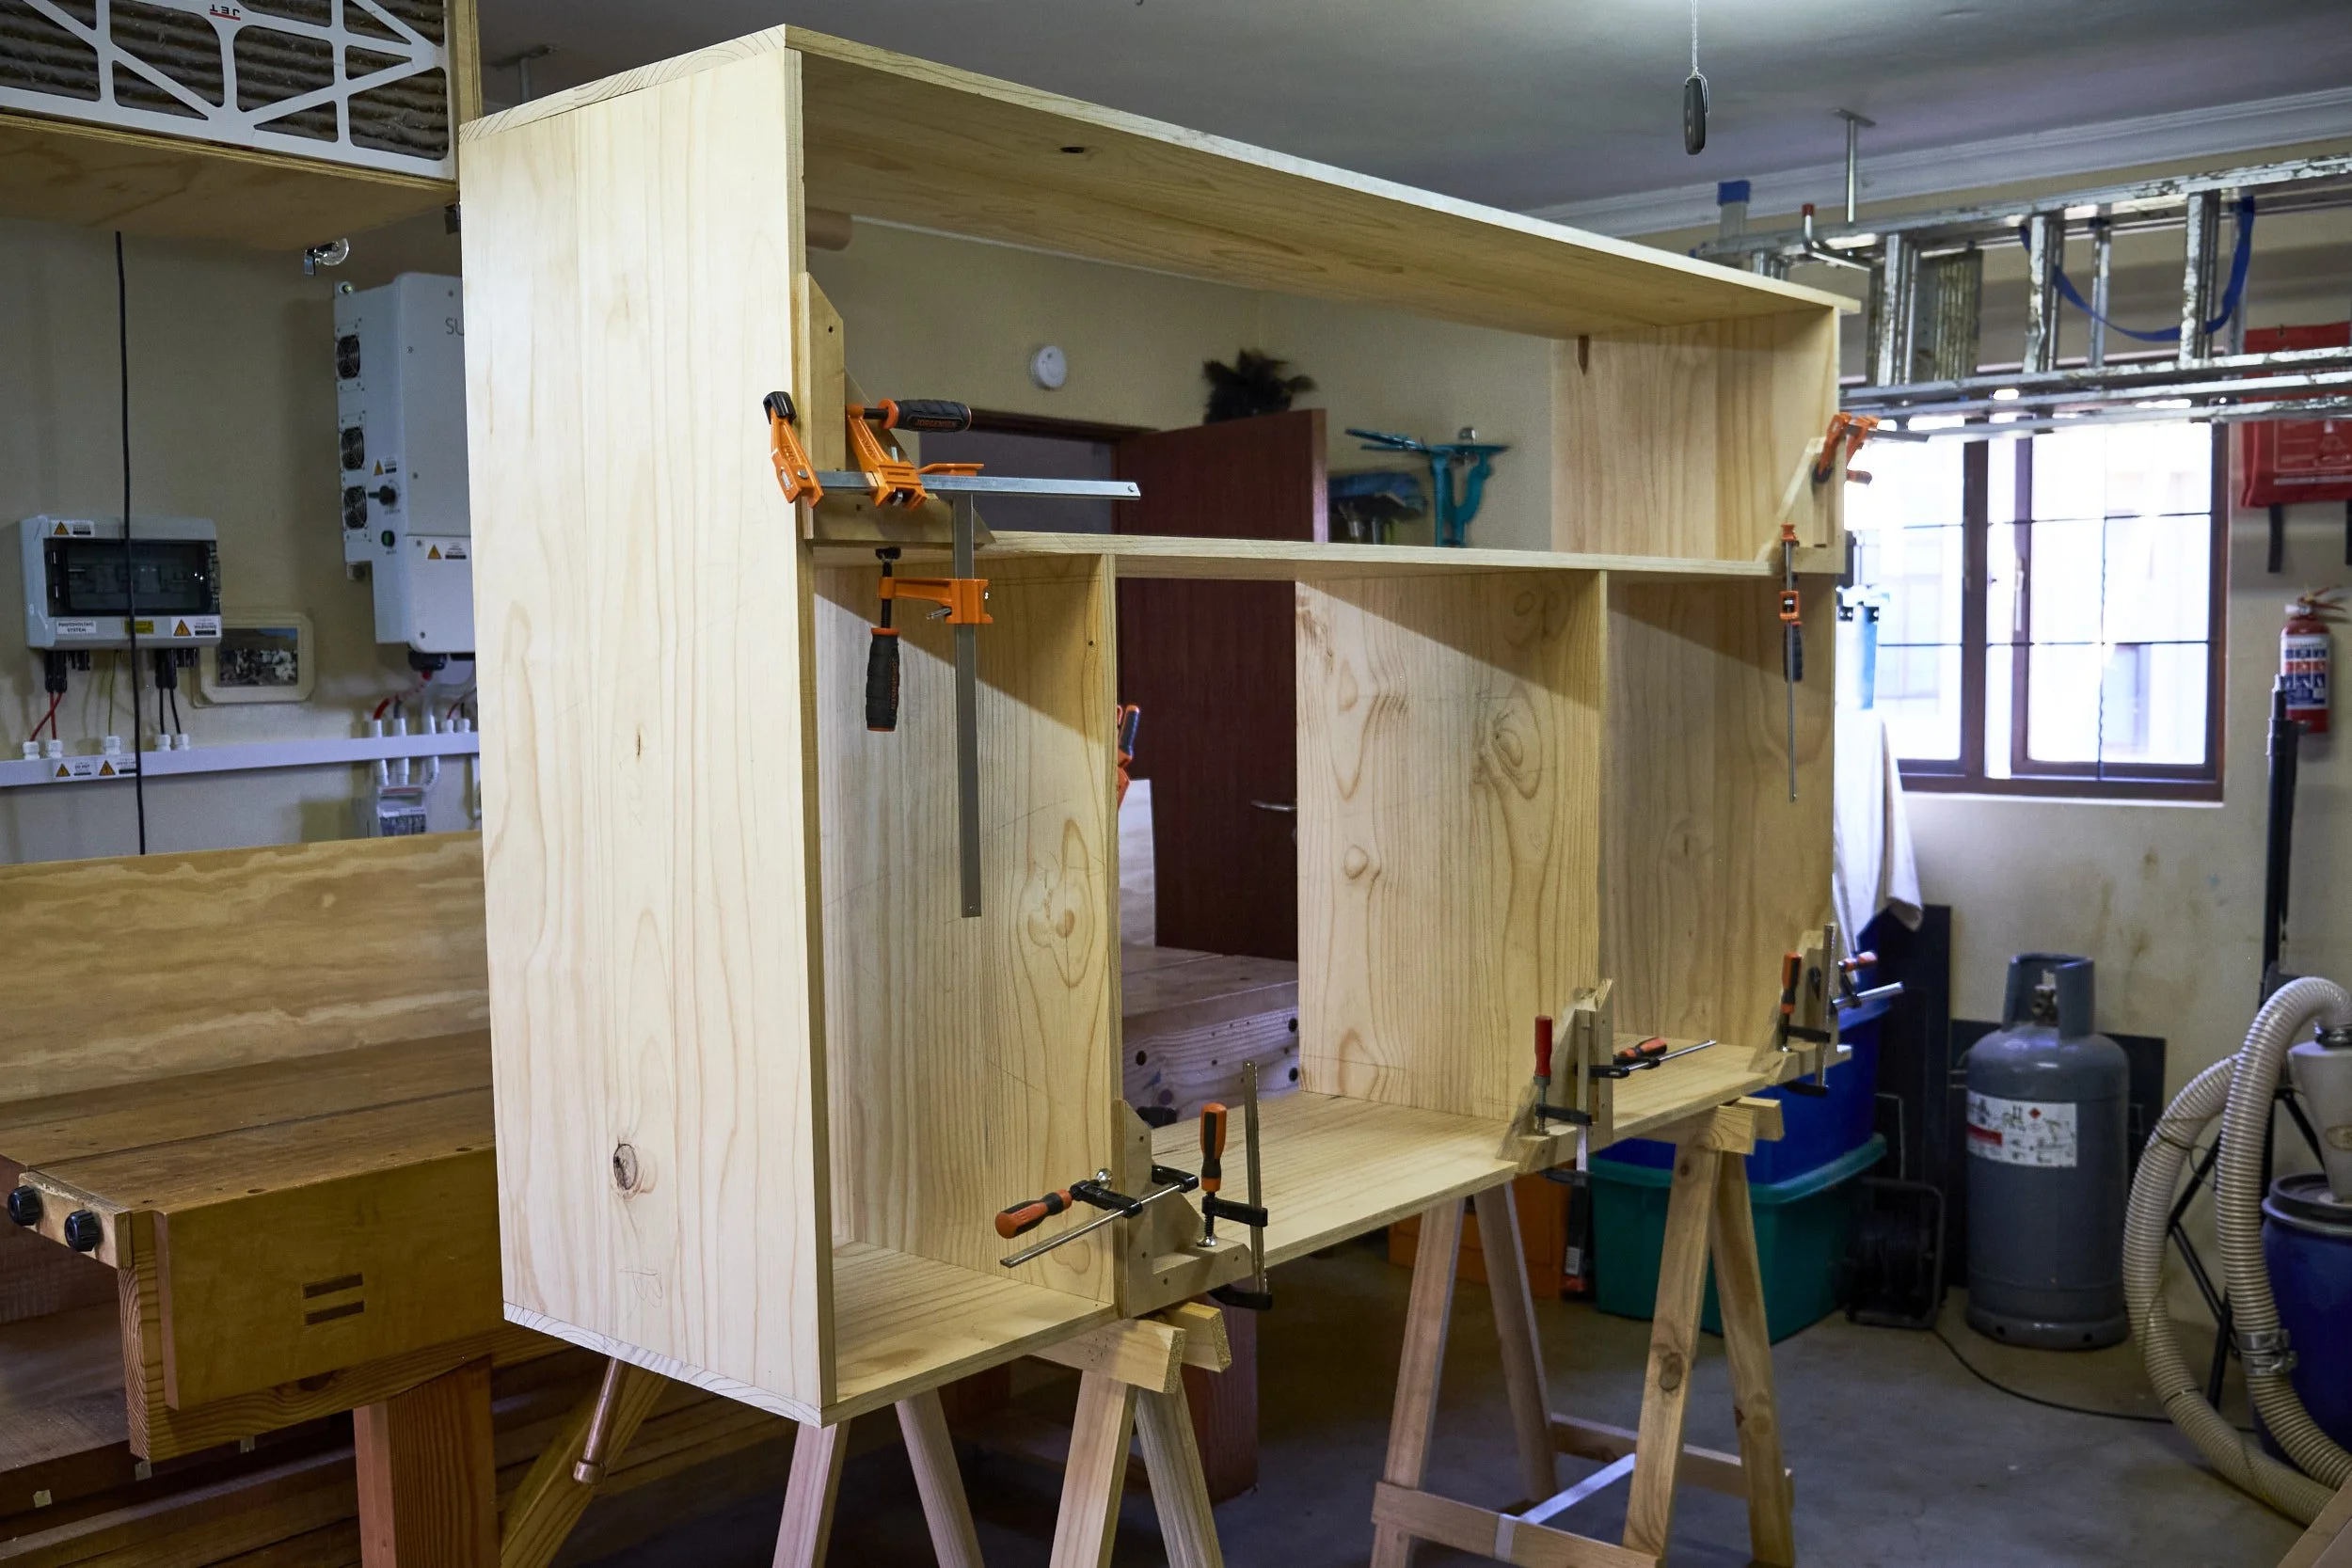
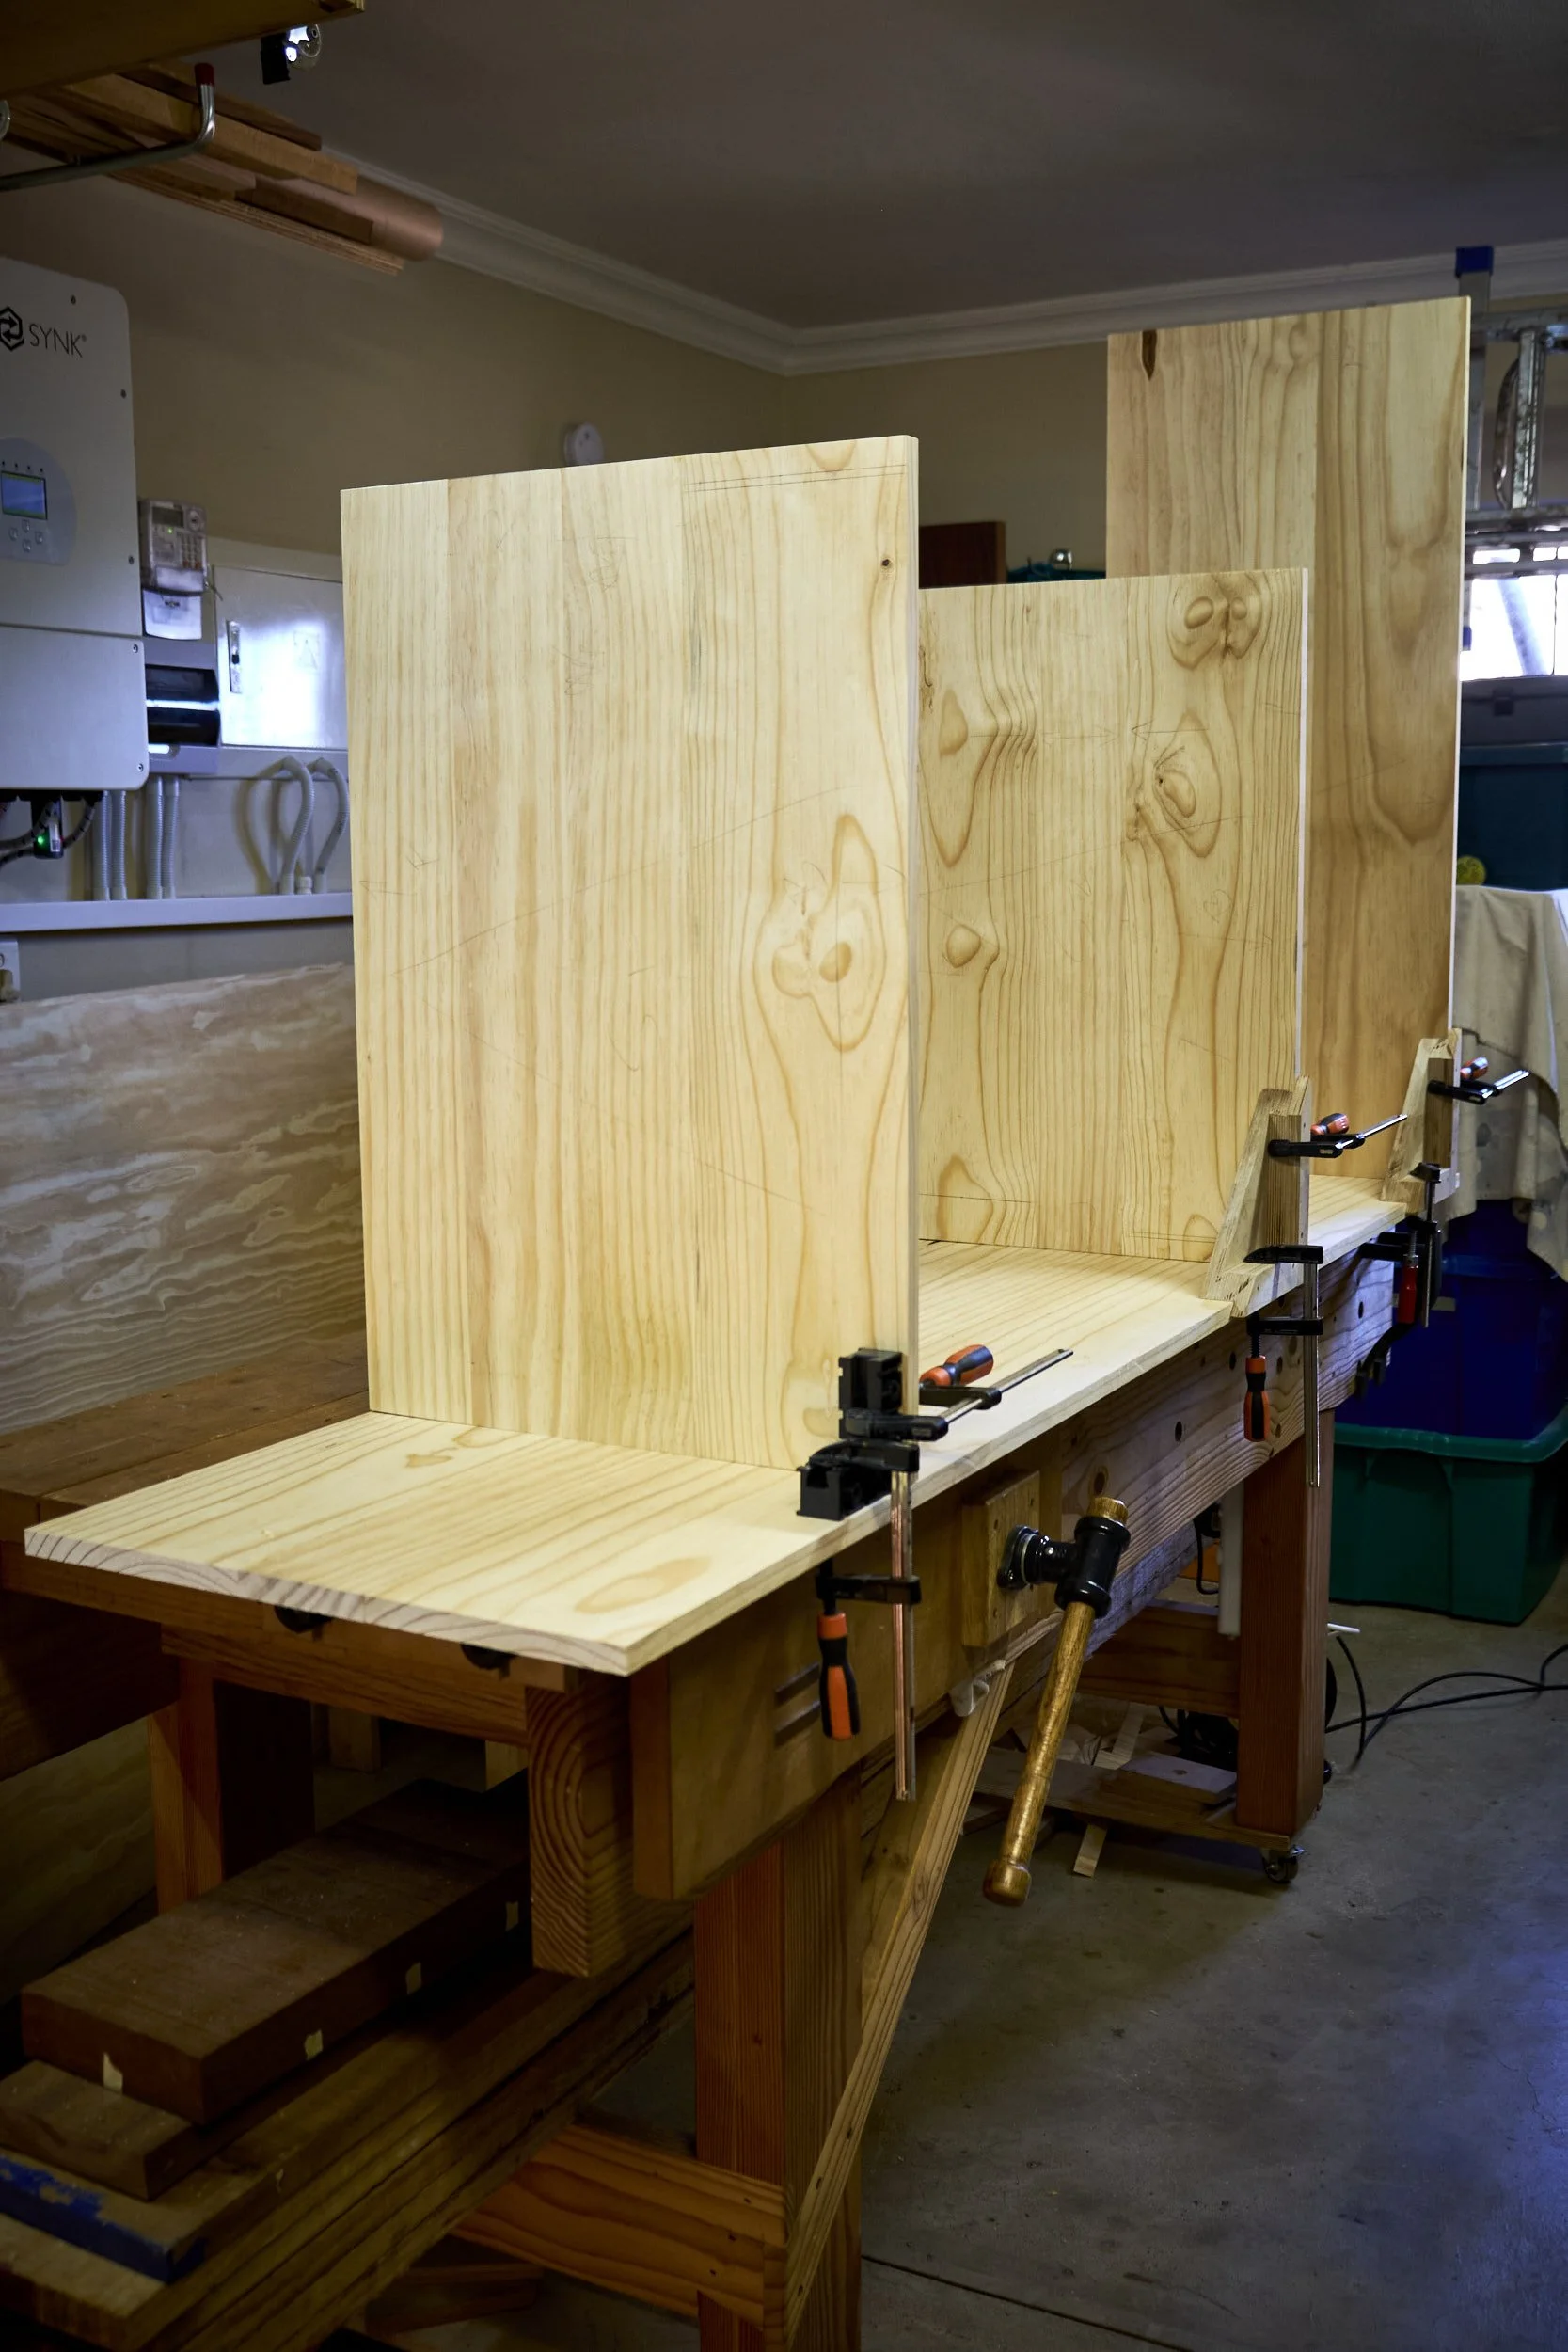
Mortises cut and dominos installed I positioned the floor panel onto the side and held my breath. It worked and the edge of the floor panel sat perfectly flush with the side panel face as well as front to back and nicely between the two lines demarcating the floor position. Phew, it was a good start but was it square? I used a DIY corner assembly jig to keep the floor up and once I had a hand free I checked the panels with a square and they met at a prefect 90º.
Not a bad start at all.
Step 3 - First shelf:
With the floor in place I used its top surface as the point from which I then measured the space between the top of the floor and the bottom surface of the first shelf. I took this measurement from the plan and it was 700mm. Once marked, a square line was drawn across the inside of the side panel and the first shelf was promptly offered up to this line to mark where the top surface of the shelf would sit.
I cut the joinery with the Domino machine, first in the side panel and then the shelf as I did for the floor. I fitted the first shelf and checked it the same way as with the floor and the results came out exactly the same. Edge flush, good front to back and square to the side panel face.
I was on a roll.
Pro Tip: Mark your work!
It’s always a good idea to know what goes where in a project and if measurements are taken directly from components it becomes especially important. Mark components in a way that is clear and understandable to yourself and in a manner that allows you to remember what each mark means. This will not only help you keep track of what goes where but also the orientation of each part within the greater structure. It will also ensure marking from the same reference points and edges for all components. Remember that marking disappears when components are sanded or planed so a way of marking that uses unseen edges and sides of parts will help it all go together in the end.
Step 4 - Second shelf:
Same as above but this time taking the measurement from the top surface of the first shelf.
The space between the top of the bottom shelf and the bottom of the top shelf was taken from the plan at 950mm. I cut the joinery and installed the top shelf. All was looking good up to this point, my luck was holding.
Step 5 - The Top:
I placed the upper surface of the top panel flush with the top edge of the side panel and marked the thickness of the top on the inside of the side panel using the bottom edge of the top panel as my reference. This line represented the bottom surface or “inside” surface of the top panel and I used this line to position the Domino to cut the joinery.
After cutting the joinery and placing the dominos I fitted the top panel in place, making sure it all went together square, which it did as well as flush with the top edge of the side panel.
Just for interest sake I measured the distance between the top shelf and the top panel and this was supposed to come in at 370mm according to the plan, and I measured 371mm. Close enough for me!
Step 6 - The Middle:
Middle up next.
With all joinery marked on the left side panel I could now use it as a template to mark the joinery on the middle panel.
According to the plans the bottom edge of the mid panel sits flush on the top surface of the bottom panel so this was where I started from. I first removed the installed top panel and shelves while leaving the floor in place. With the other components out of the way I could lay the middle board on top of the side panel with the face into which the joinery would be cut against the inside face of the side panel. The bottom edge was butted up against the floor panel with the back edge slightly overhanging the rear of the side, this allowed me to see the lines used to cut the panel joinery and these were transferred to the middle panel.
Next we used each respective shelf as a fence to cut the joinery for each, a friendly reminder to look out for the “Domino Mid Panel Joinery and How It Changed My Outlook on Life, Love and Everything Else” post with more details on this.
Once I had cut the joinery into the middle panel it was time for another dry fit and it all came together square and correctly aligned with the bottom edge of the middle panel sitting flush to the top of the floor.
Luck still holding and I started to believe it might be as a result of amazing skill that it all was coming together so well……
Step 7 - Middle to Floor:
With the components dry assembled in step 6 I used the opportunity to mark the position of the middle panel to the floor and then proceeded to carefully disassemble all parts again. With the shelves set aside the joinery was cut into the middle and floor panels after which all of it was brought back together again to check the fit and alignment.
This was going swimmingly and I pressed on!
Step 8 - Cut the middle and top:
I was now happy with the fitment of components and I used the side panel marking for the top section to mark out the final length of the middle panel seeing as its top edge would be butting up against the bottom of this panel. Similarly the final length for the top was marked out using the floor panel as template.
The track and circular saw was broken out one last time and the final two components cut to length.
Step 9 - Middle to Top:
Marking out the length of the top using the floor panel gave me the opportunity to do the layout for the middle to top panel joinery at the same time and this was duly cut, again using the Domino.
And everything was dry fitted again - there is a pattern forming here - the fit was great and everything lined up nice and square.
Step 10 - Right side panel:
I finished off with possibly the easiest joints of all and these were to connect the top and floor edges to the right side panel.
The top panel and floor panel layouts for the right panel was taken directly from the joinery layout on the left panel when it all started in step 3.
I cut the joinery and took a long coffee break to consider the fate of the universe should this piece of the puzzle not fit as it should and headed back to the workshop for another dry fit.
Keep in mind that dominos sit proud of the surface they are installed into, so some forethought was required to plan the sequence of how it all went together.
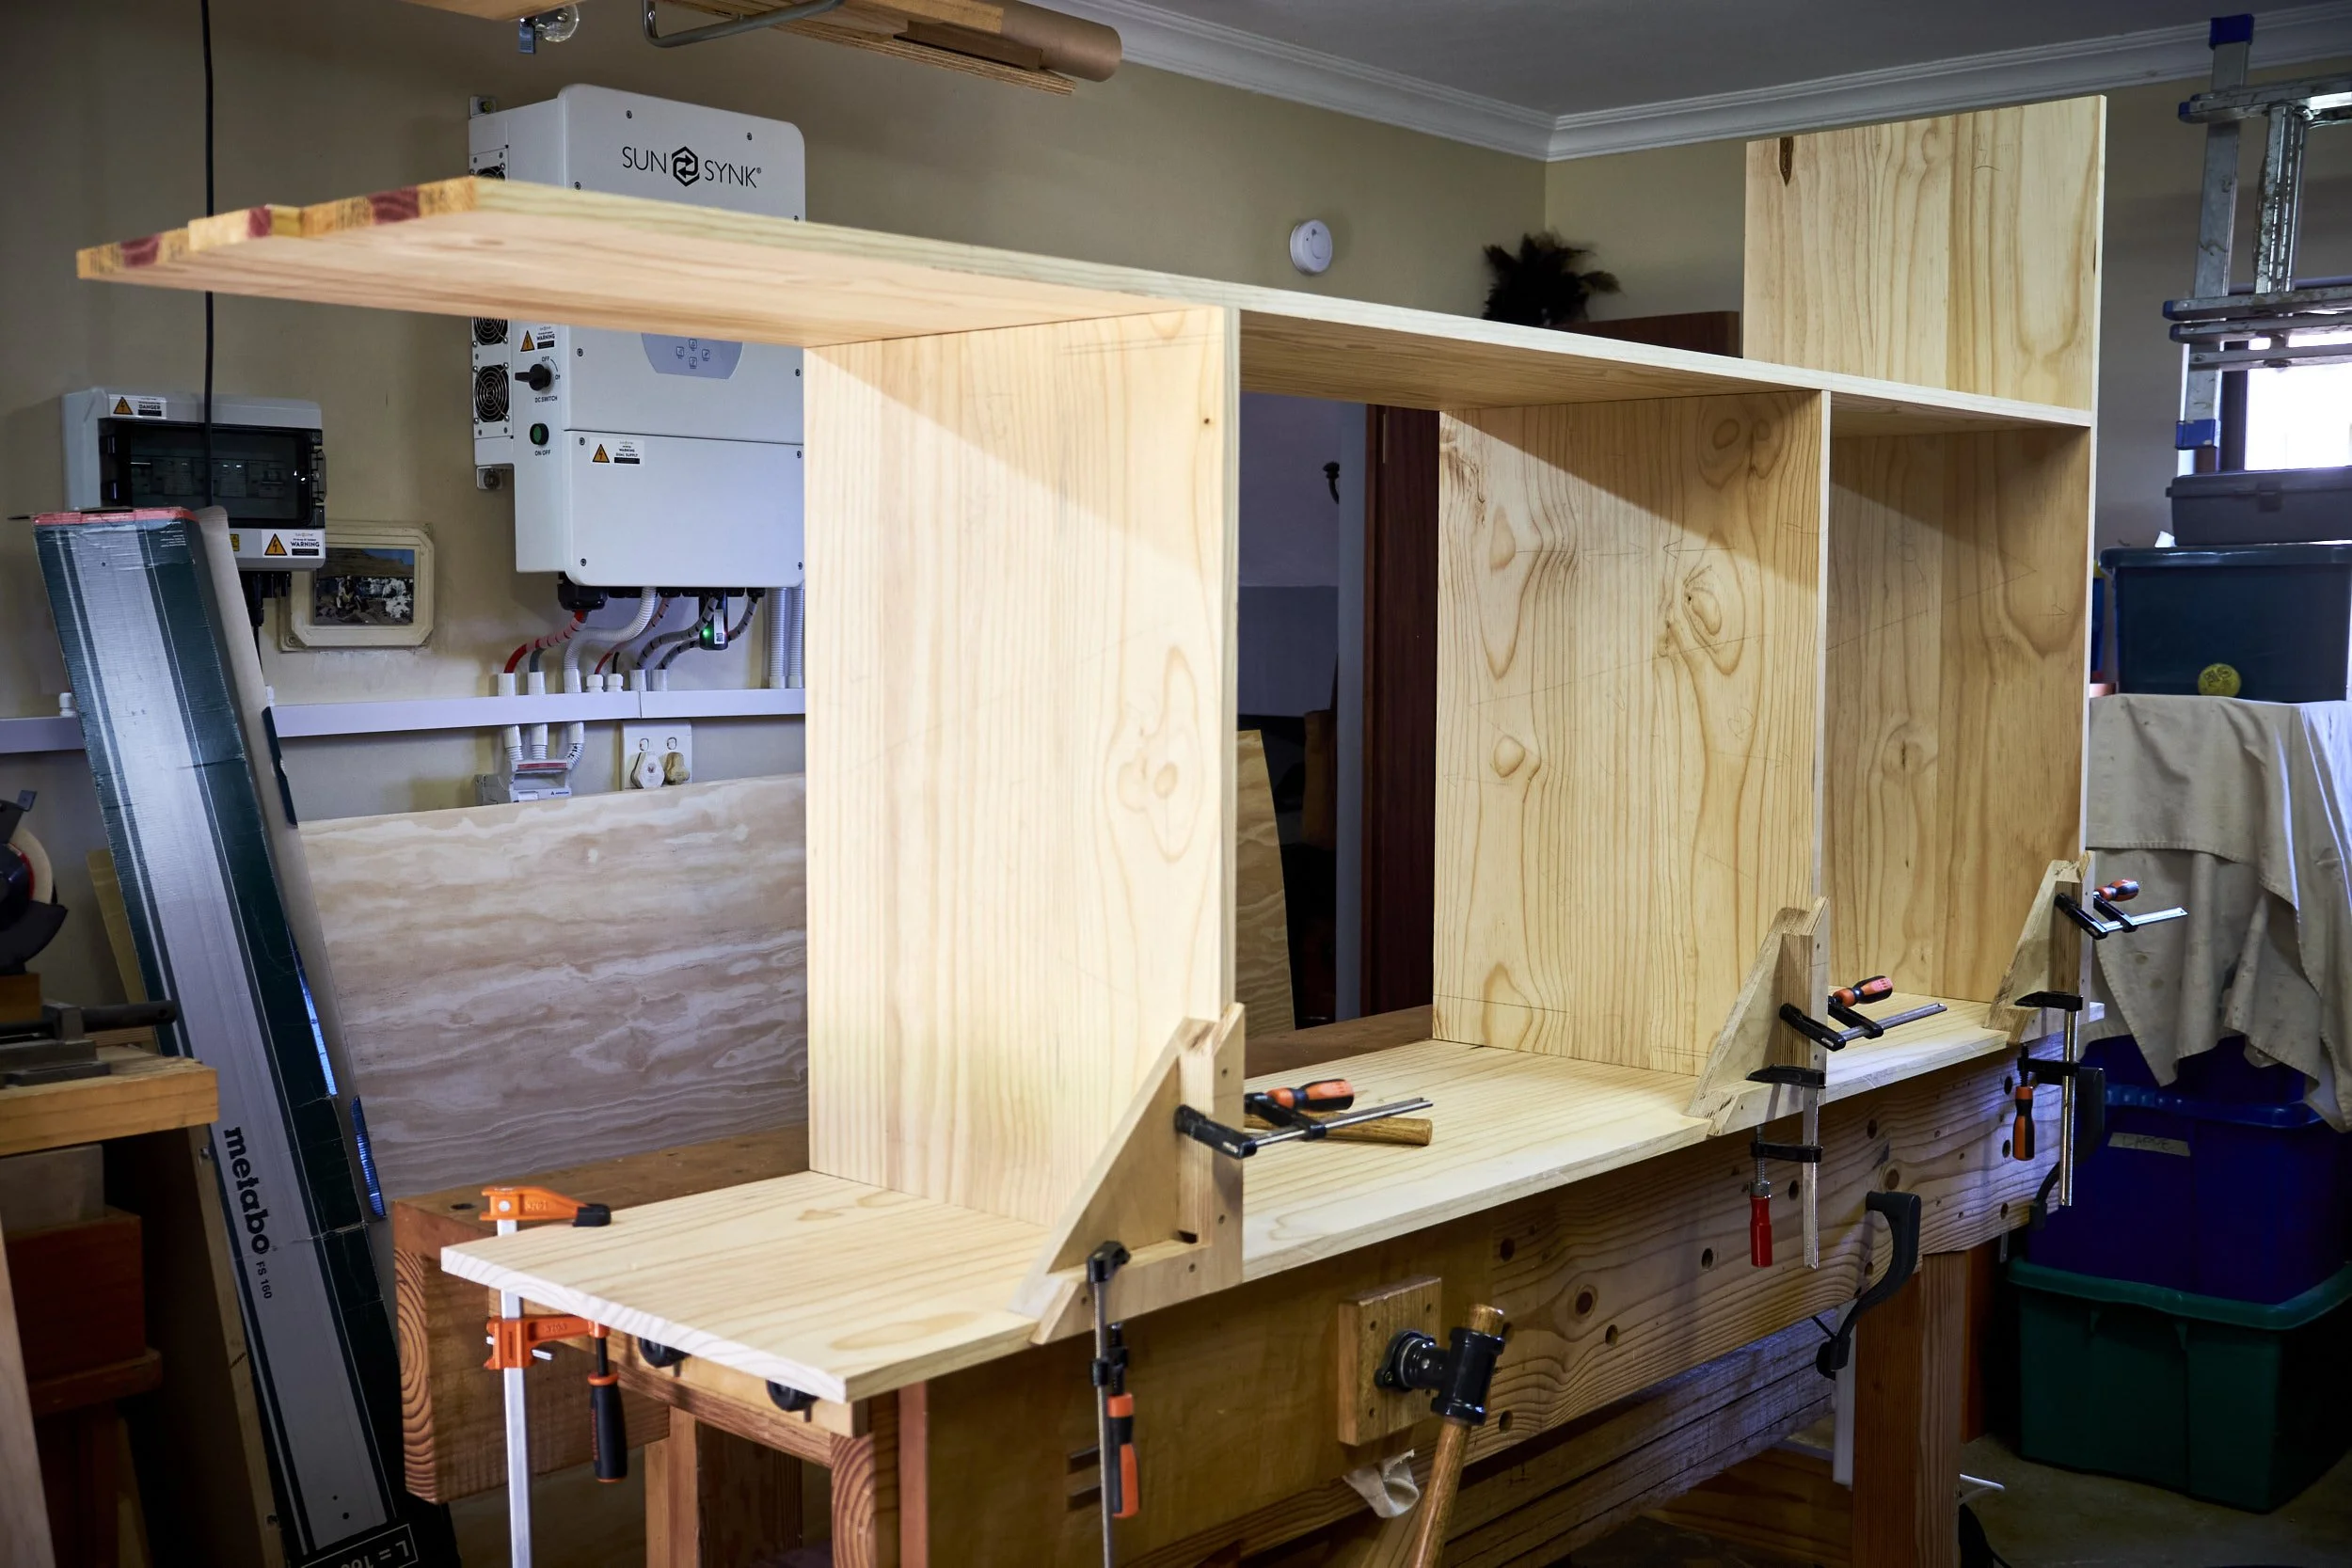
Left panel first (it was still on the bench anyway), shelves next (held up with assembly squares), then middle panel onto the shelves, bottom or top next (depends on the side of the bench I was standing at, at the time) and lastly the right side panel.
Of course the height of the whole assembly above the workbench surface was such by the time that the right panel went on that a step and careful balance was required to get it into position.
Pro Tip: Taking measurements directly from components in a project is an age old tradition in woodworking and is a skill worth developing. Sometimes you don’t even need a rule or a tape measure to record a dimension and you can even mark a distance on an off cut and transfer this to the workpiece to be cut. Always make sure that you take measurements from the same reference edges or faces, mark these clearly so that you don’t forget which one was used. This method of taking measurements straight off components is a useful way of taking slight variances in stock processing and inaccuracies in joinery into account.
Step 11 - Measure for and cut back panels:
I now had the carcass assembled and could measure the actual openings between panels to get the dimensions for the plywood sections that were to go into the back of the cupboard.
I measured each opening’s length and width, added 10mm to each and jotted the numbers down on a printout of the plan along each corresponding edge. The 10mm was added to so that the panel could be cut oversize to fit into the 5mm slot that I would be cutting into each carcass panel to recess the back panel edge into.
Out came the trusty Metabo circular track and saw and the 4mm ply sheet was promptly chopped into the four required panels with the final dimensioning to size on the table saw.
Step 12 - Cutting slots:

This step we did on the table saw.
I set the blade height to roughly 5mm deep and the fence from the blade edge at 5mm as well, this would result in a 5mm deep slot that was positioned 5mm from the back edge of the workpiece. The setup was tested on a piece of scrap and after a minor adjustment I got the depth dead on, on the second try no less.
The carcass was disassembled again and all dominos removed for the next procedure.
Placing the rear edge of each panel against the fence I cut the back panel slots into each using my markings to make sure that the slot was being cut into the back of the panels and not the front - this is why we mark stock.
On some panels like the shelves and the middle I had to cut opposing slots into both faces and in case of the top and floor I made sure that I cut the slot into the bottom and top faces respectively.
My blade on the table saw has a 3mm wide kerf leaving a slot that is too narrow to accommodate the panel width of 4mm. I moved the fence 1mm away from the blade and tested again on the same piece of scrap. Taking the slotted test piece to a 4mm back panel edge it fitted well and I repeated the cuts on all the panels, widening the slots to accommodate the panels.
Pro Tip: Make test cuts when setting up your table saw. I like to keep offcuts from dimensioning components for this purpose, these are the same thickness and will very quickly give an indication of the suitability of your setup. If you know you won’t have any offcuts from main components at a later stage, process one or two waste pieces at the same time as you process your stock to ensure the same dimensions. This is much less wasteful than sending prepared components to the firewood pile after cutting it wrong.
Step 13 - Last dry fit:
Yes, we dry fit again and this one is the most important of all as it will tell us if the whole thing will come together as it should. It also serves to prepare us for getting a bendy 4mm ply panel into straight slots, an exercise that comes with its own frustrations and believe me one that is best partaken of in the absence of glue.
During the dry fit we found that the top panel didn’t want to sit flush with the middle panel edge and investigation showed that the back ply panel had a slight bump along one edge. We marked the offending spot with an X and worked the bump down with a block plane until we got the joint to meet without any gaps.
The hardest part to come together by far was the right panel and the dry fit certainly kept the best for last. After the top and floor was installed I slotted the back panel in place and it being by far the longest it was also the bendiest. We finally figured out that once the right panel was placed in such a way that the dominos started into their respective mortises that the back panel went into the slots at the bottom and top corners with the middle popping out of the slot. By slowly working the panel into the slot from each end working towards the middle it would eventually pop in the slot and the right side could be seated flush to the top and floor sections. This would require some planning to get right during the glue up process.
And there it was, all assembled ready to be taken apart again for the glue up!
Step 14 - Sanding:
After disassembly each panel was sanded.
Not much to say here except that we worked through each grit starting at 80 and ending at 220 on each panel until all markings had been removed.
After a couple of days marking, cutting, assembly, disassembly and sanding, lots of sanding, I was ready to commit glue to joints and that is where we’ll start next time so we’ll see you there.