
Garage Unit Glue up
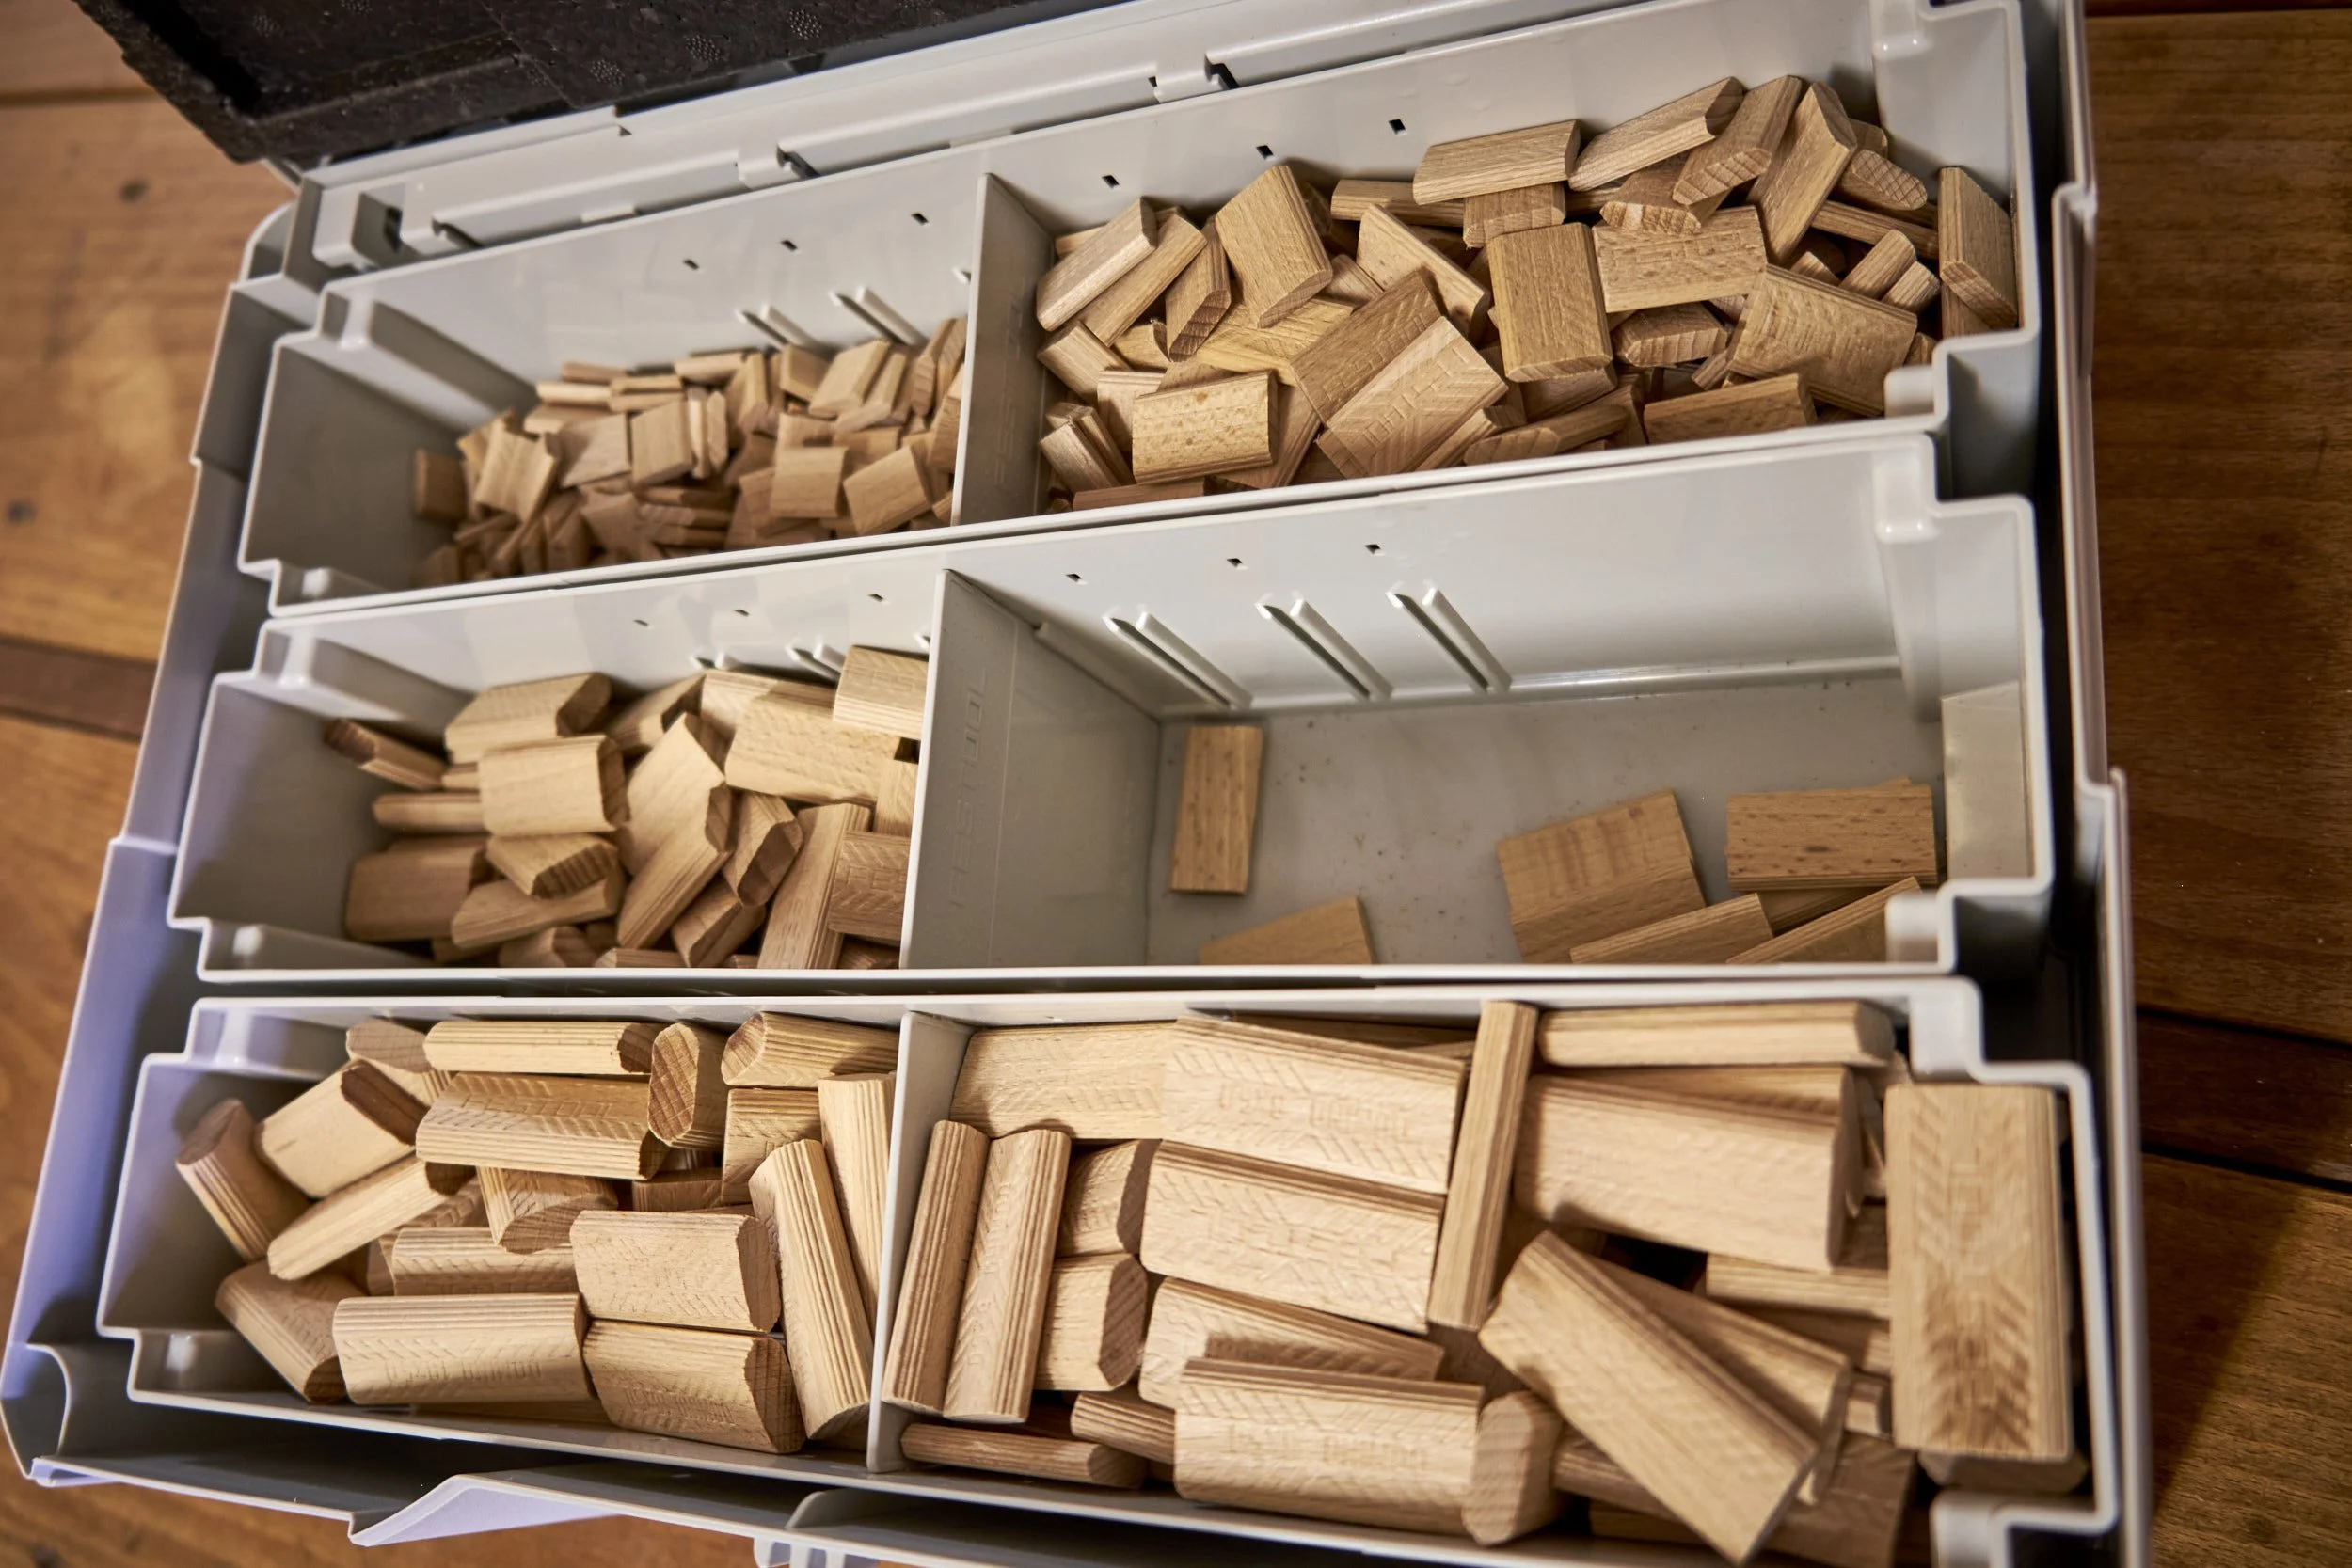
Now we get to the fun part, the glue up!
Indeed so much fun that I didn’t take any photos of the process, I have one image and a short vid that I’ll share at the end of the blog.
I am being facetious here but hey I’ve decided to give you the day off on this one. After the our last marathon together doing all the cutting, jointing, dry fitting and sanding you deserve a break so this one will be short.
Intense, as some glue ups tend to be but short nonetheless.
Before I commit any glue to a Domino or a joint I would like to remind you of the advice given here.
Some additions I would like to make to this Pro Tip on this occasion in particular is that a glue with a longer open time is useful, I use Titebond III, another would be that the more parts go together the longer the clamps need to be so breaking out the pipe clamps may be a good idea (make sure the hardware is installed onto the correct pipe length….) and lastly that this assembly is best done on a couple of saw horses that leave space under the bottom panel for clamping, if assembled on a workbench with the panel flat on a surface it may result in a clamping nightmare.
GlueBot in hand I cautiously approached the first joints.
Step 1- Glue in the shelves:
The shelves went in first and this part was simple enough. Making sure that they were perfectly square to the left panel was crucial as this would form the base for the rest of the assembly, for this reason I also allowed the joints to dry properly before going on to the next step.
After the bottom shelf was glued and clamped I installed the back panel that would go between the two shelves applying only a short section (100mm) of construction adhesive directly into the slots cut in step 12 of the previous post, focussing only on what would be the middle area of each back panel side. This construction adhesive being flexible when dry allows movement whilst keeping the panels in their slots during construction. The top shelf was then glued in place and clamped before leaving it to dry.
I installed the remaining back panels that went above the top and below the bottom shelf next in preparation to glue in the middle section.
Step 2 - Middle:
With the shelves glued and set, I moved on to installing the middle panel on top go the shelves. Here I used clamping cauls over the top of the panel along each joint with the shelves to ensure even pressure along the whole width of each.
Being quite “bendy” the 4mm back panels were a pain to get into their corresponding slot in the middle section but some tapping with a mallet got everything lined up, this was a foreshadowing of some struggle to come and I cannot stress enough the importance of preparing for any glue up by dry fitting and having all hardware and consumables ready before committing any glue to a joint. Running around looking for stuff during a glue up is a sure fire way of getting frustrated and speaking gruffly with oneself.
Side panel, shelves, middle and back panels together the internal structure was now more or less together and I moved on to the top and floor panels.
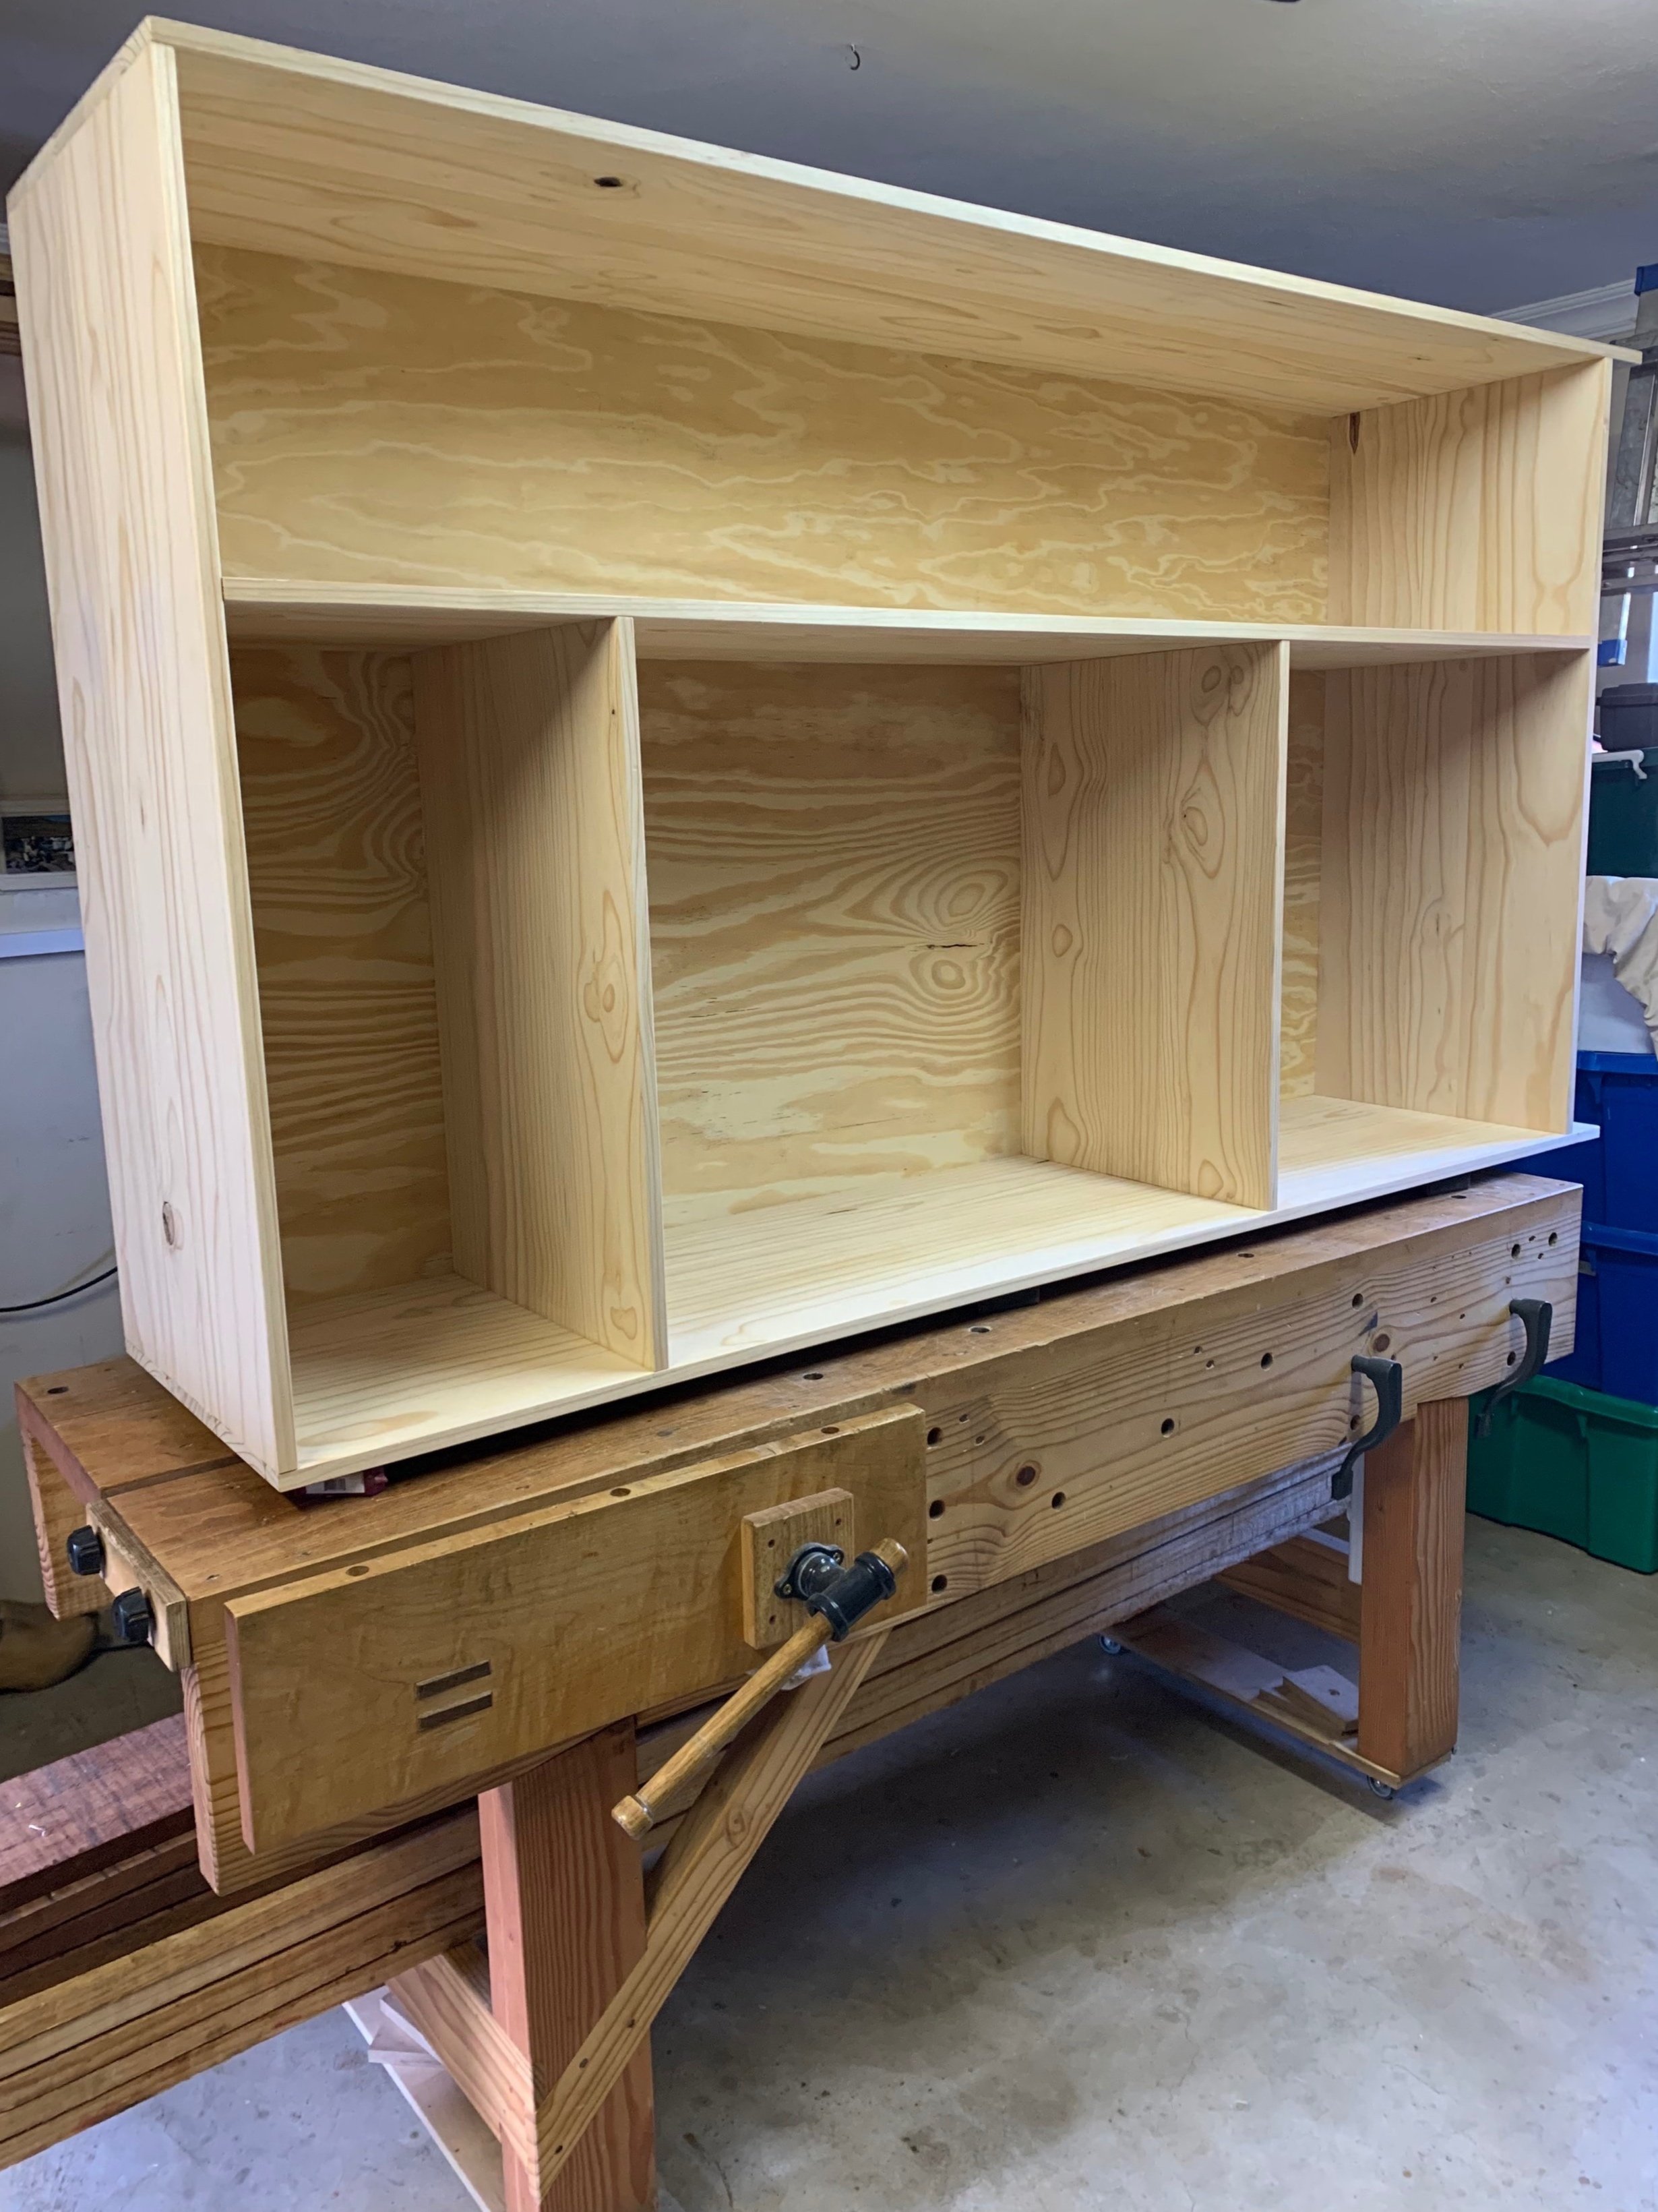
Step 3 - Top and Floor:
Each was glued in, in turn and I used pipe clamps for pressure down onto the side panel joint, using a caul across the bottom of the joint for even pressure. To pull the top and floor sections into the middle panel I used shorter clamps between the shelves and the particular panel being glued in place.
Remember my mention that you need to make sure that the pipe clamps were of the correct length? Guess who was rummaging around the workshop for longer pipes.
Once happy that the glue had set up sufficiently for the floor and top I slid the final back panel in place before getting on with the right side panel.
Step 4 - The hard side:
Don’t tell my wife but I think glue ups give me grey hair rather than my occasional jibe that being married does. Married life makes me lose hair, about that I have no doubt, but the jury is still out on the grey part.
One would think that this would be one of the simpler joints to get together but the last dry fit provided some warning that this wouldn’t be the case. Due to the long distance between the top and floor panel, the 4mm thin ply back panel with its flexible nature conspired to make for a nervous few minutes and some choice words.
When doing the dry fit I was able to walk around the cupboard and tap the panel from the front and the back to get it to seat into its slot, I took my time doing this and with no glue involved it wasn’t an issue. However once I applied glue I couldn’t afford to keep walking around the unit to get the panel seated so I needed to work from one side, preferably the back because it was easier to see where the panel got hung up. Being my inventive self, I came up with a way that would allow me to pull the panel outwards towards me if needed, going away from me was easy and a mallet would suffice for this purpose.
Pro Tip: To pull the panel towards me I needed something to hold on to as I had nowhere to grip the panel. Noting during the dry fit where the problem areas were bound to be I installed scrap wood to that area on the back of the panel, using some double sided tape to do so. It needs to be tape with tenacity to work and another option would be the masking tape and cyno trick.
This gave me a handle to pull sections out towards me and into the slot with the mallet used for coercing the panel away from me.
I am happy to report that my plan worked, with some pulling and tapping later the right side panel was installed and all that was left was to install the kick plate and the rear support.
Step 5 - Bottom support:
The kick plate and back support were easily installed between the left and right sides with the carcass still on its side and after reinforcing the kick plate with dowels (a favourite when strengthening joints after the fact) the glue up was complete.
As soon as I had some help available we flipped the carcass onto its feet and I could finally admire my handiwork without having to turn my head sideways!
On to the doors and this too was a first for me having decided to go the rail and stile route.
So next time we see one another I’ll tell you about the door assembly and how much I dislike installing hinges.