Garage Unit Laminations
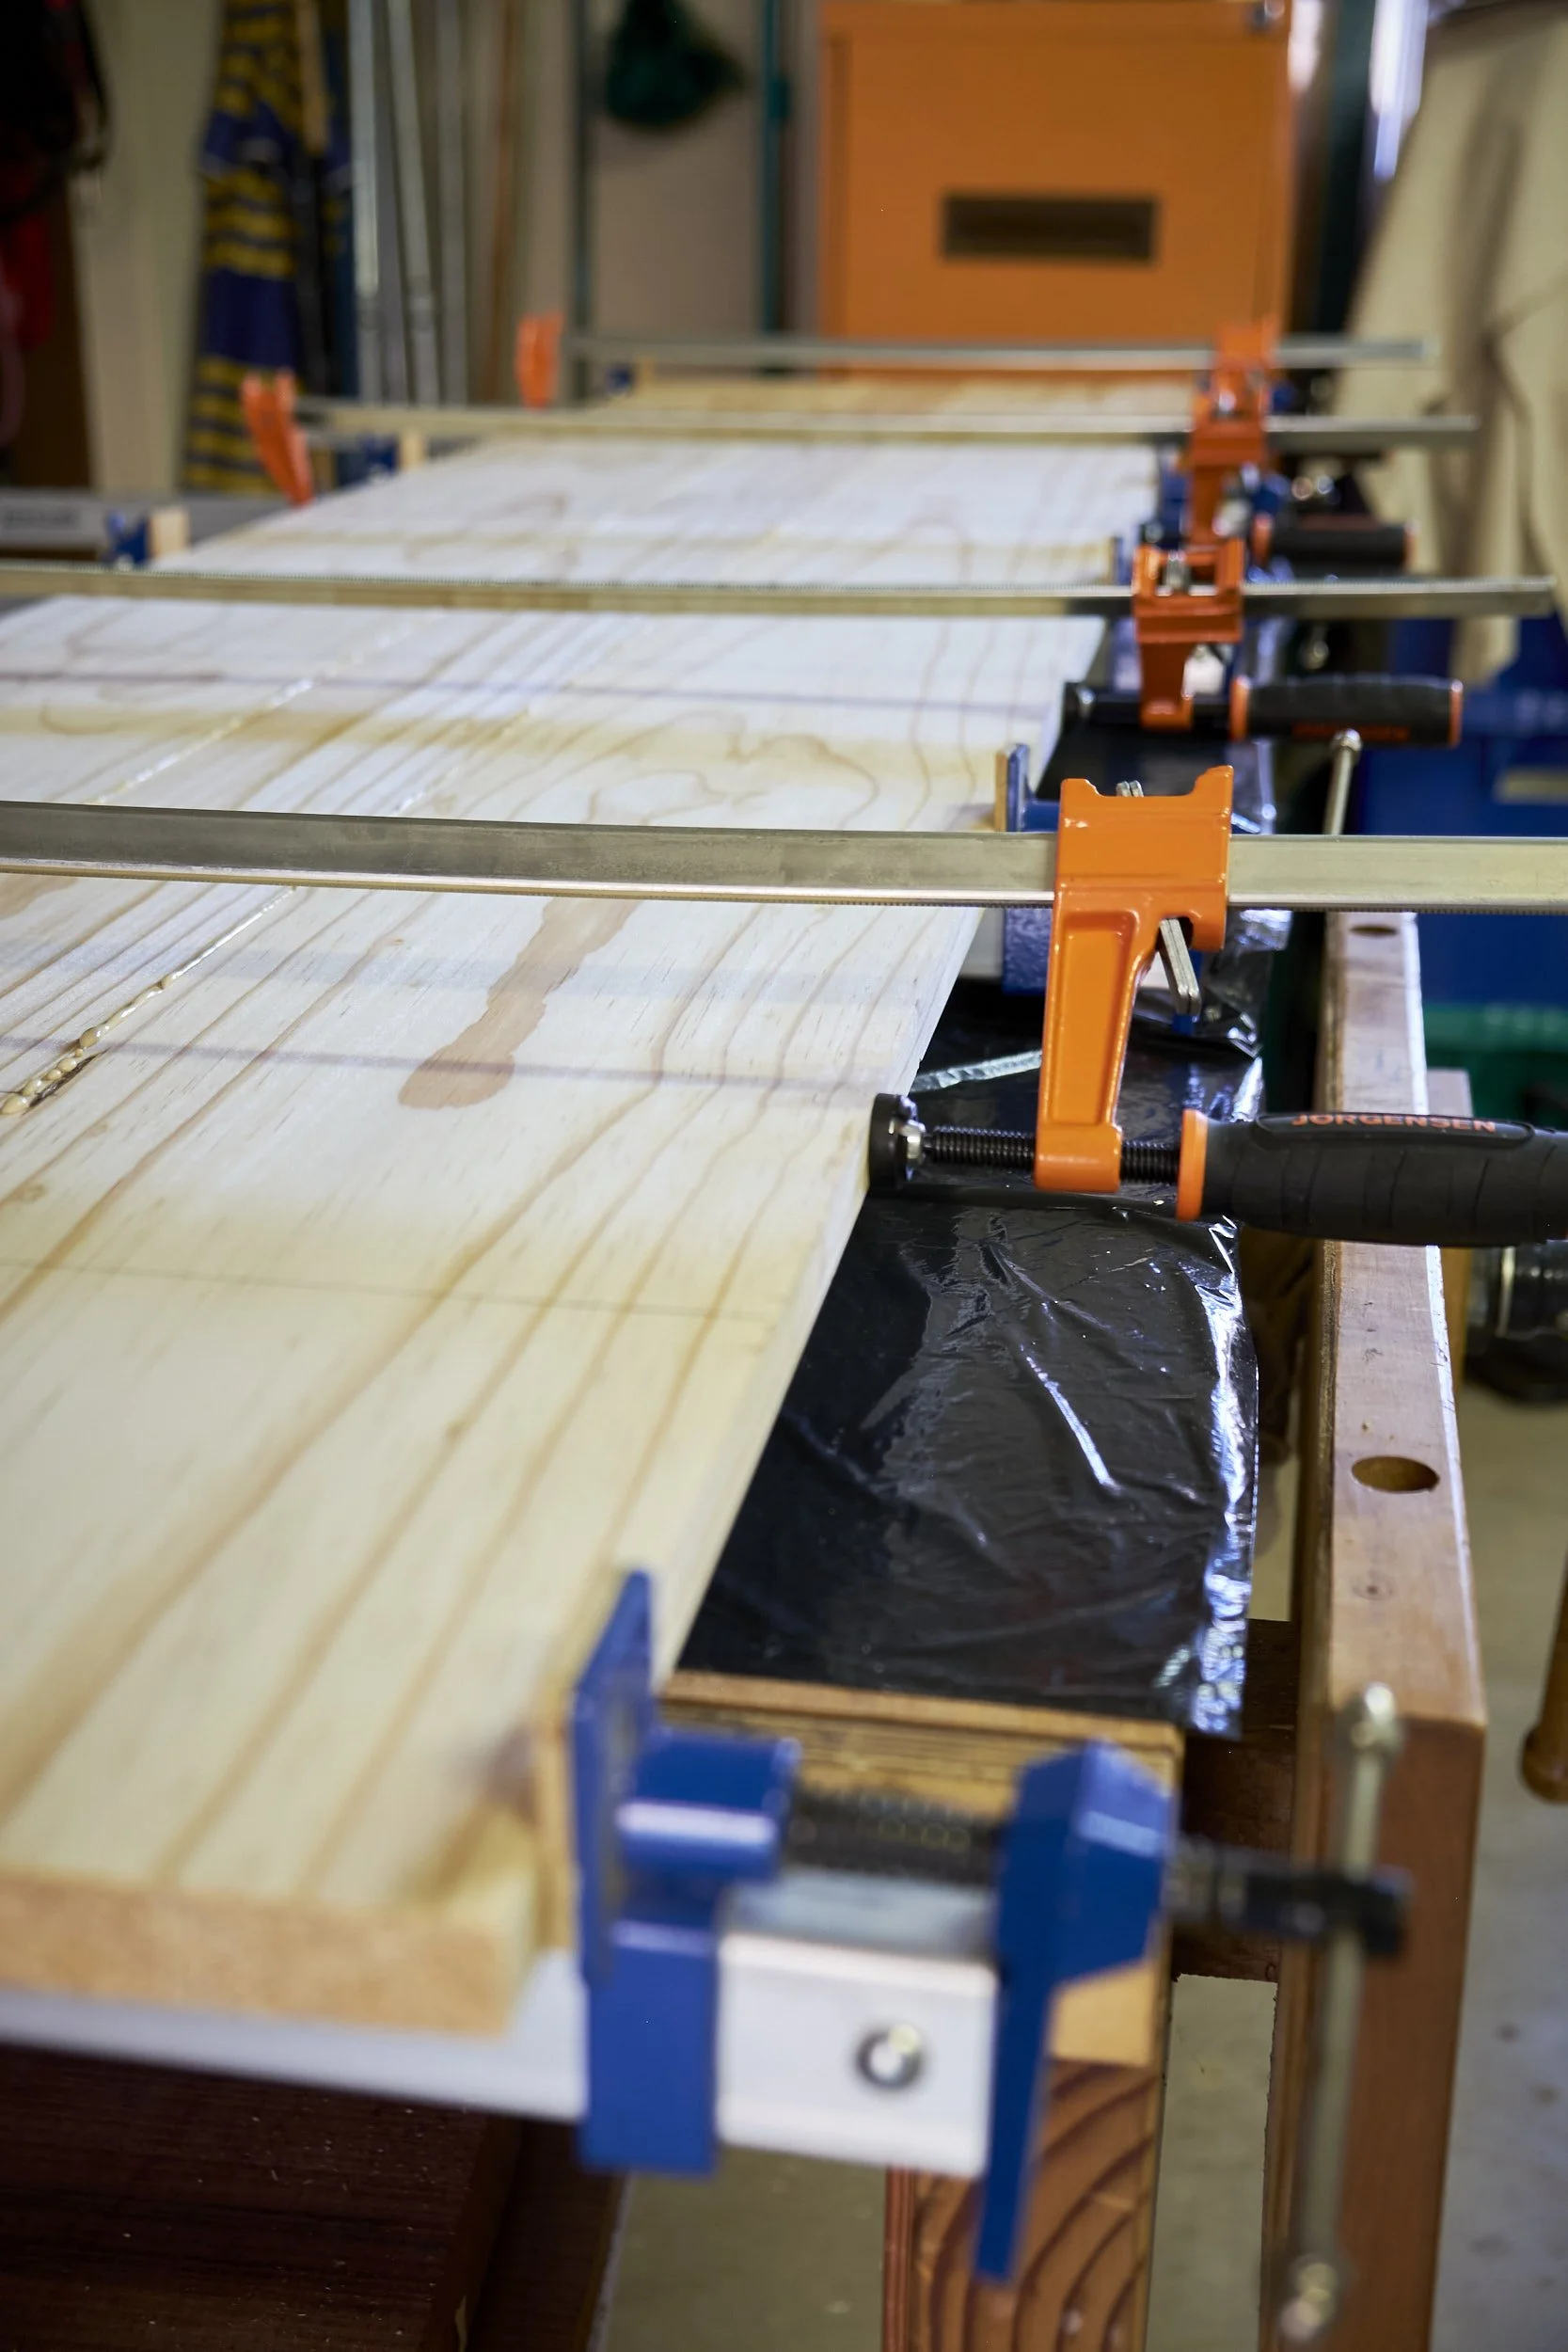
With at least one face flat on all the rough lumber we continue to the next stage of our garage cupboard project.
The next step in building what is turning out to be a rather substantial cupboard we move on to the final planing to thickness, jointing, dimensioning and finish with the laminations.
We’ll be working through this process in a step by step manner.
Step 1 - Thicknessing:
In our last edition we mentioned that we would be aiming for 20mm thickness or at least 18mm. One or two planks came to the party a bit stubborn and we went all the way down to 18mm thickness to get all stock to the same dimension. This being the first time building this particular design we may have been slightly concerned that 18mm could possibly be on the thin side but these worries were fortunately unfounded as you will see in the final assembly, with the unit being every bit as strong as we could have hoped it to be.
The plans call for 18mm but it was originally designed to be built from ply and I can confidently confirm that this dimension is good for pine as well.
Step 2 - Jointing:
With the stock to the final thickness we moved on to jointing one edge of each plank. It’s sometimes a good idea to only joint an edge square once the stock is planed parallel on both faces. Edges of planks are just as prone to tear out as any other wooden surface and if you are aiming to put a somewhat final “finish” on an edge it helps to have both faces flat before coming to the jointing step. This gives you the opportunity to choose the face that will be placed against the jointer fence and orient the grain such that the material being removed from the edge is supported by fibres behind the cut resulting in a better finish.
If only one face is flat you are often unable to joint an edge to a smooth finish because you can’t orient the workpiece against the fence in a manner that will allow the necessary fibre support, being effectively forced to cut against the grain.
At the risk of going down a rabbit hole on this one I feel I need to go into this reasoning in a bit more detail, possibly a lot more!
Ok, maybe not right now, but it is coming. For now just accept that we need one edge as close to perfect as we can get it, this is for reasons that will become clear in a bit.
Of course all edges were checked for square and marked accordingly. Checked, because my jointer fence is temperamental and does tend to go out of square if not kept under close supervision.
Step 3 - Cutting to final width:
Ready for that rabbit hole? Here we go…..
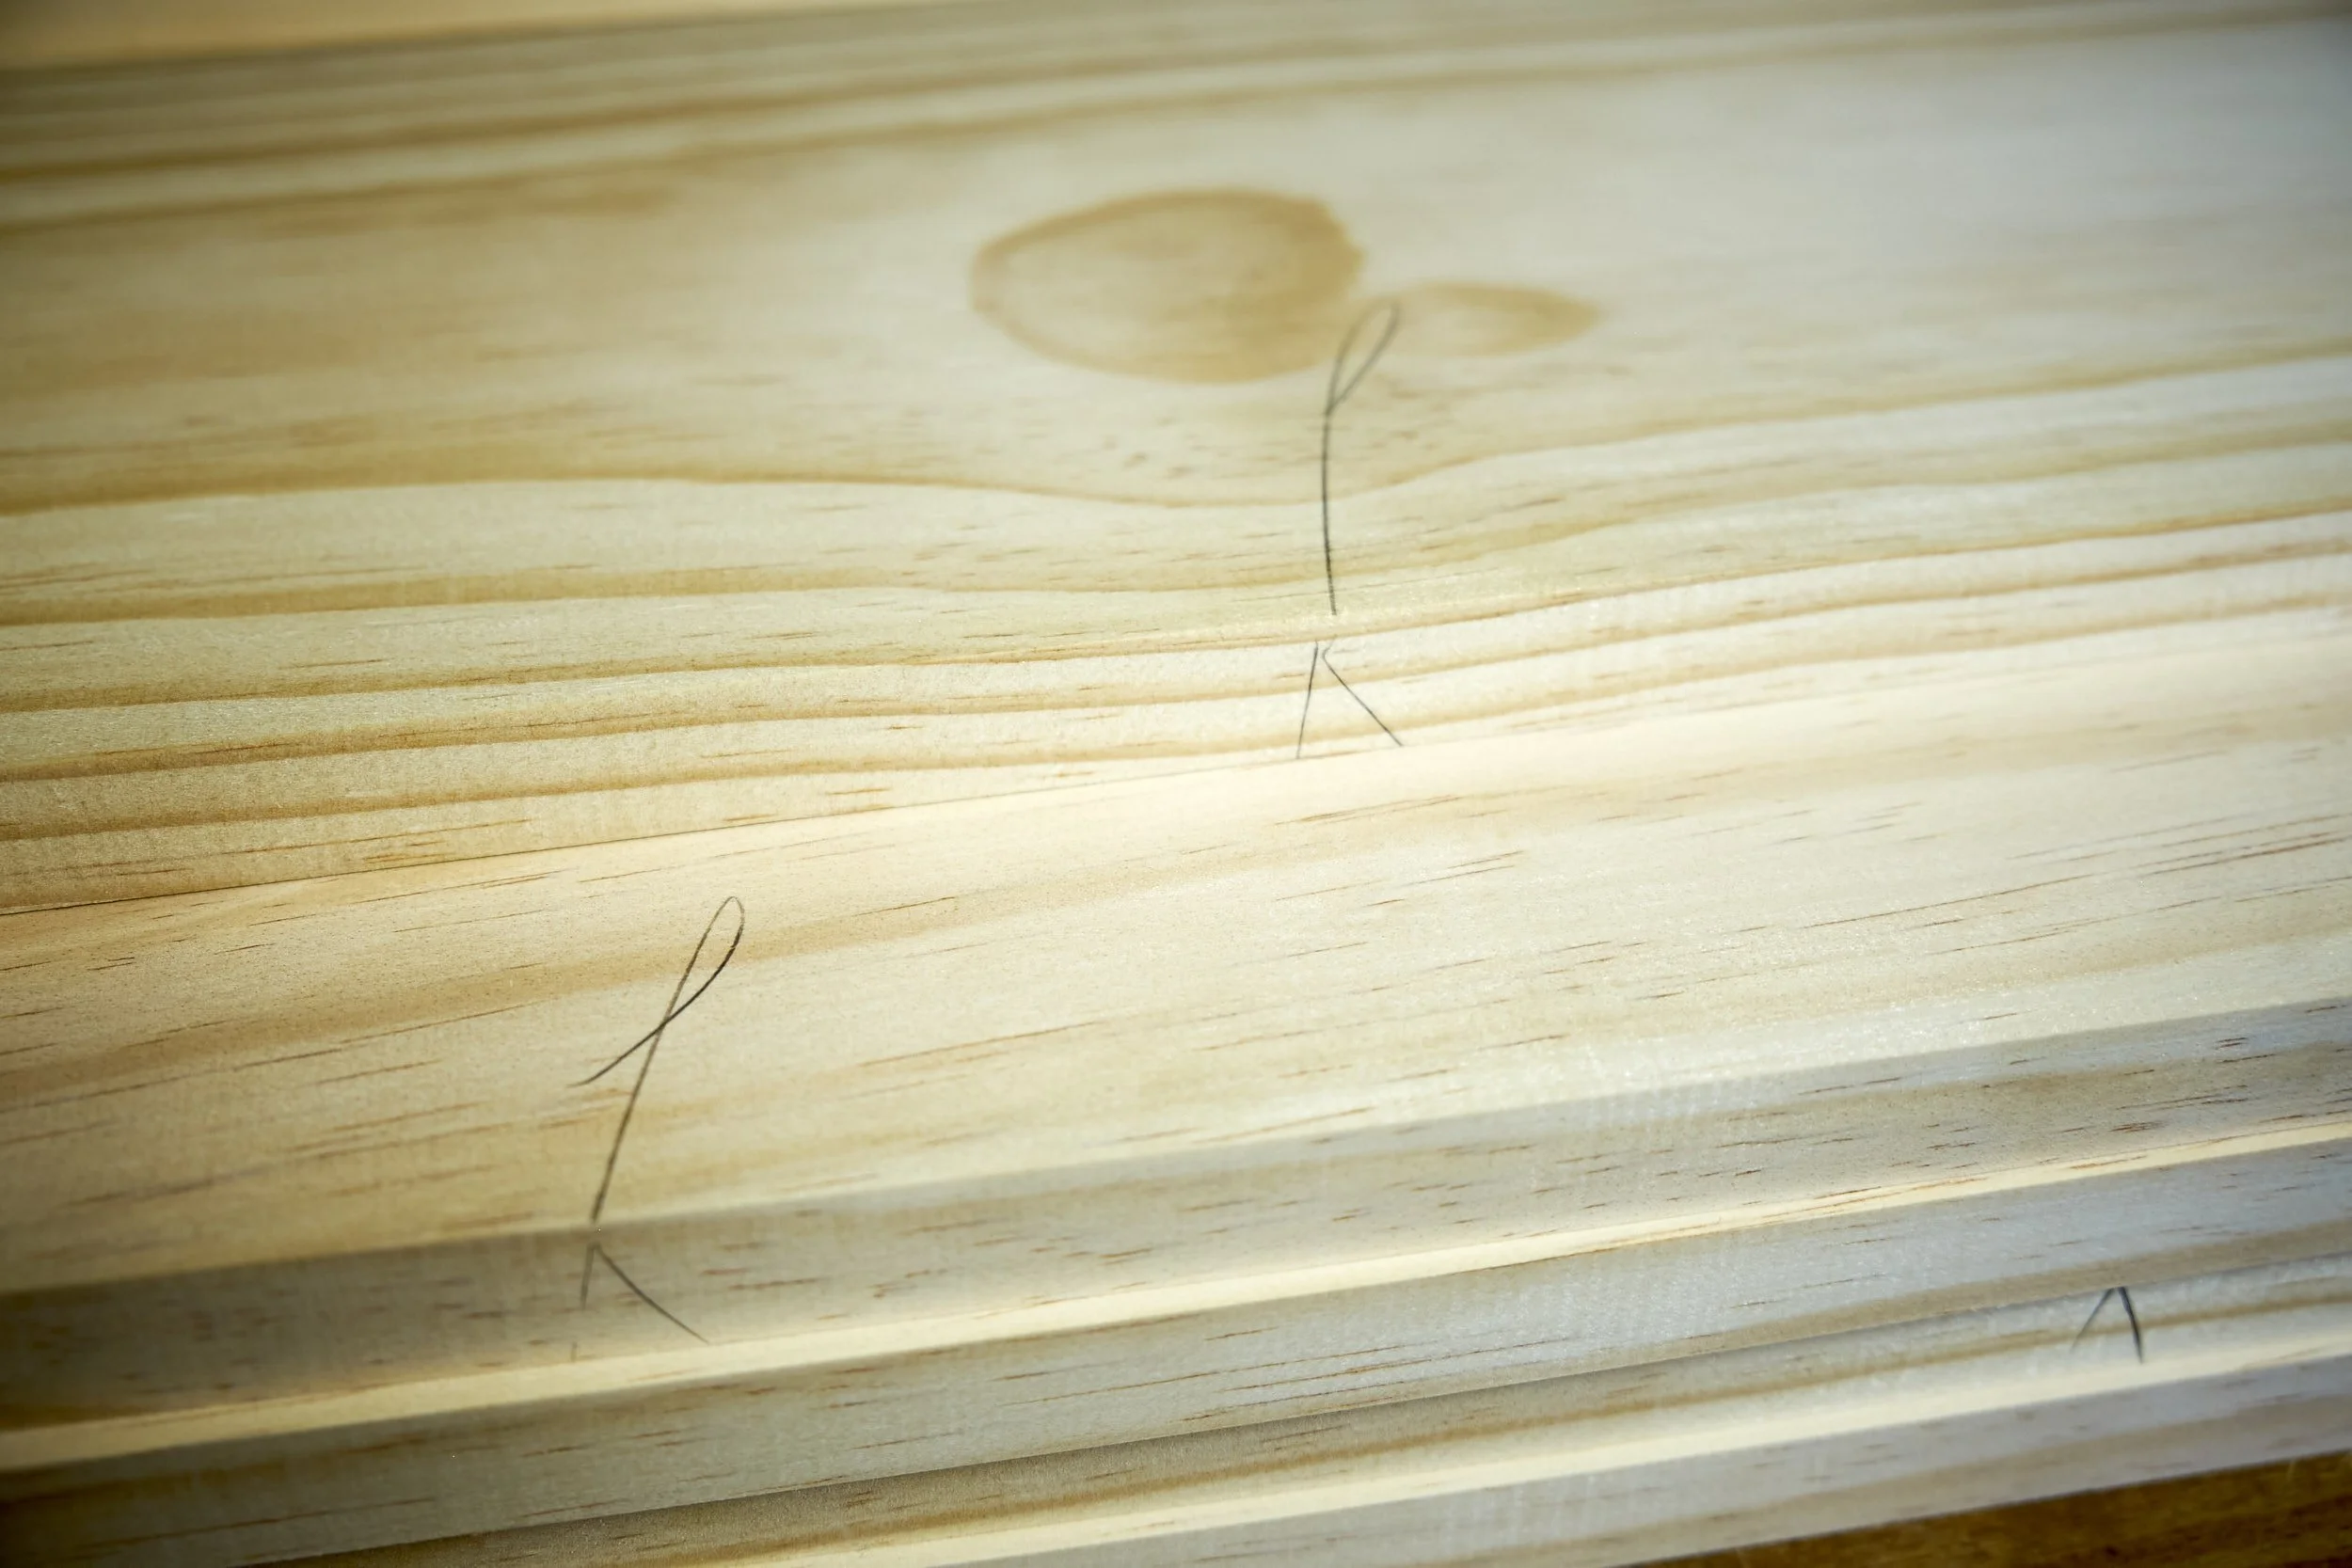
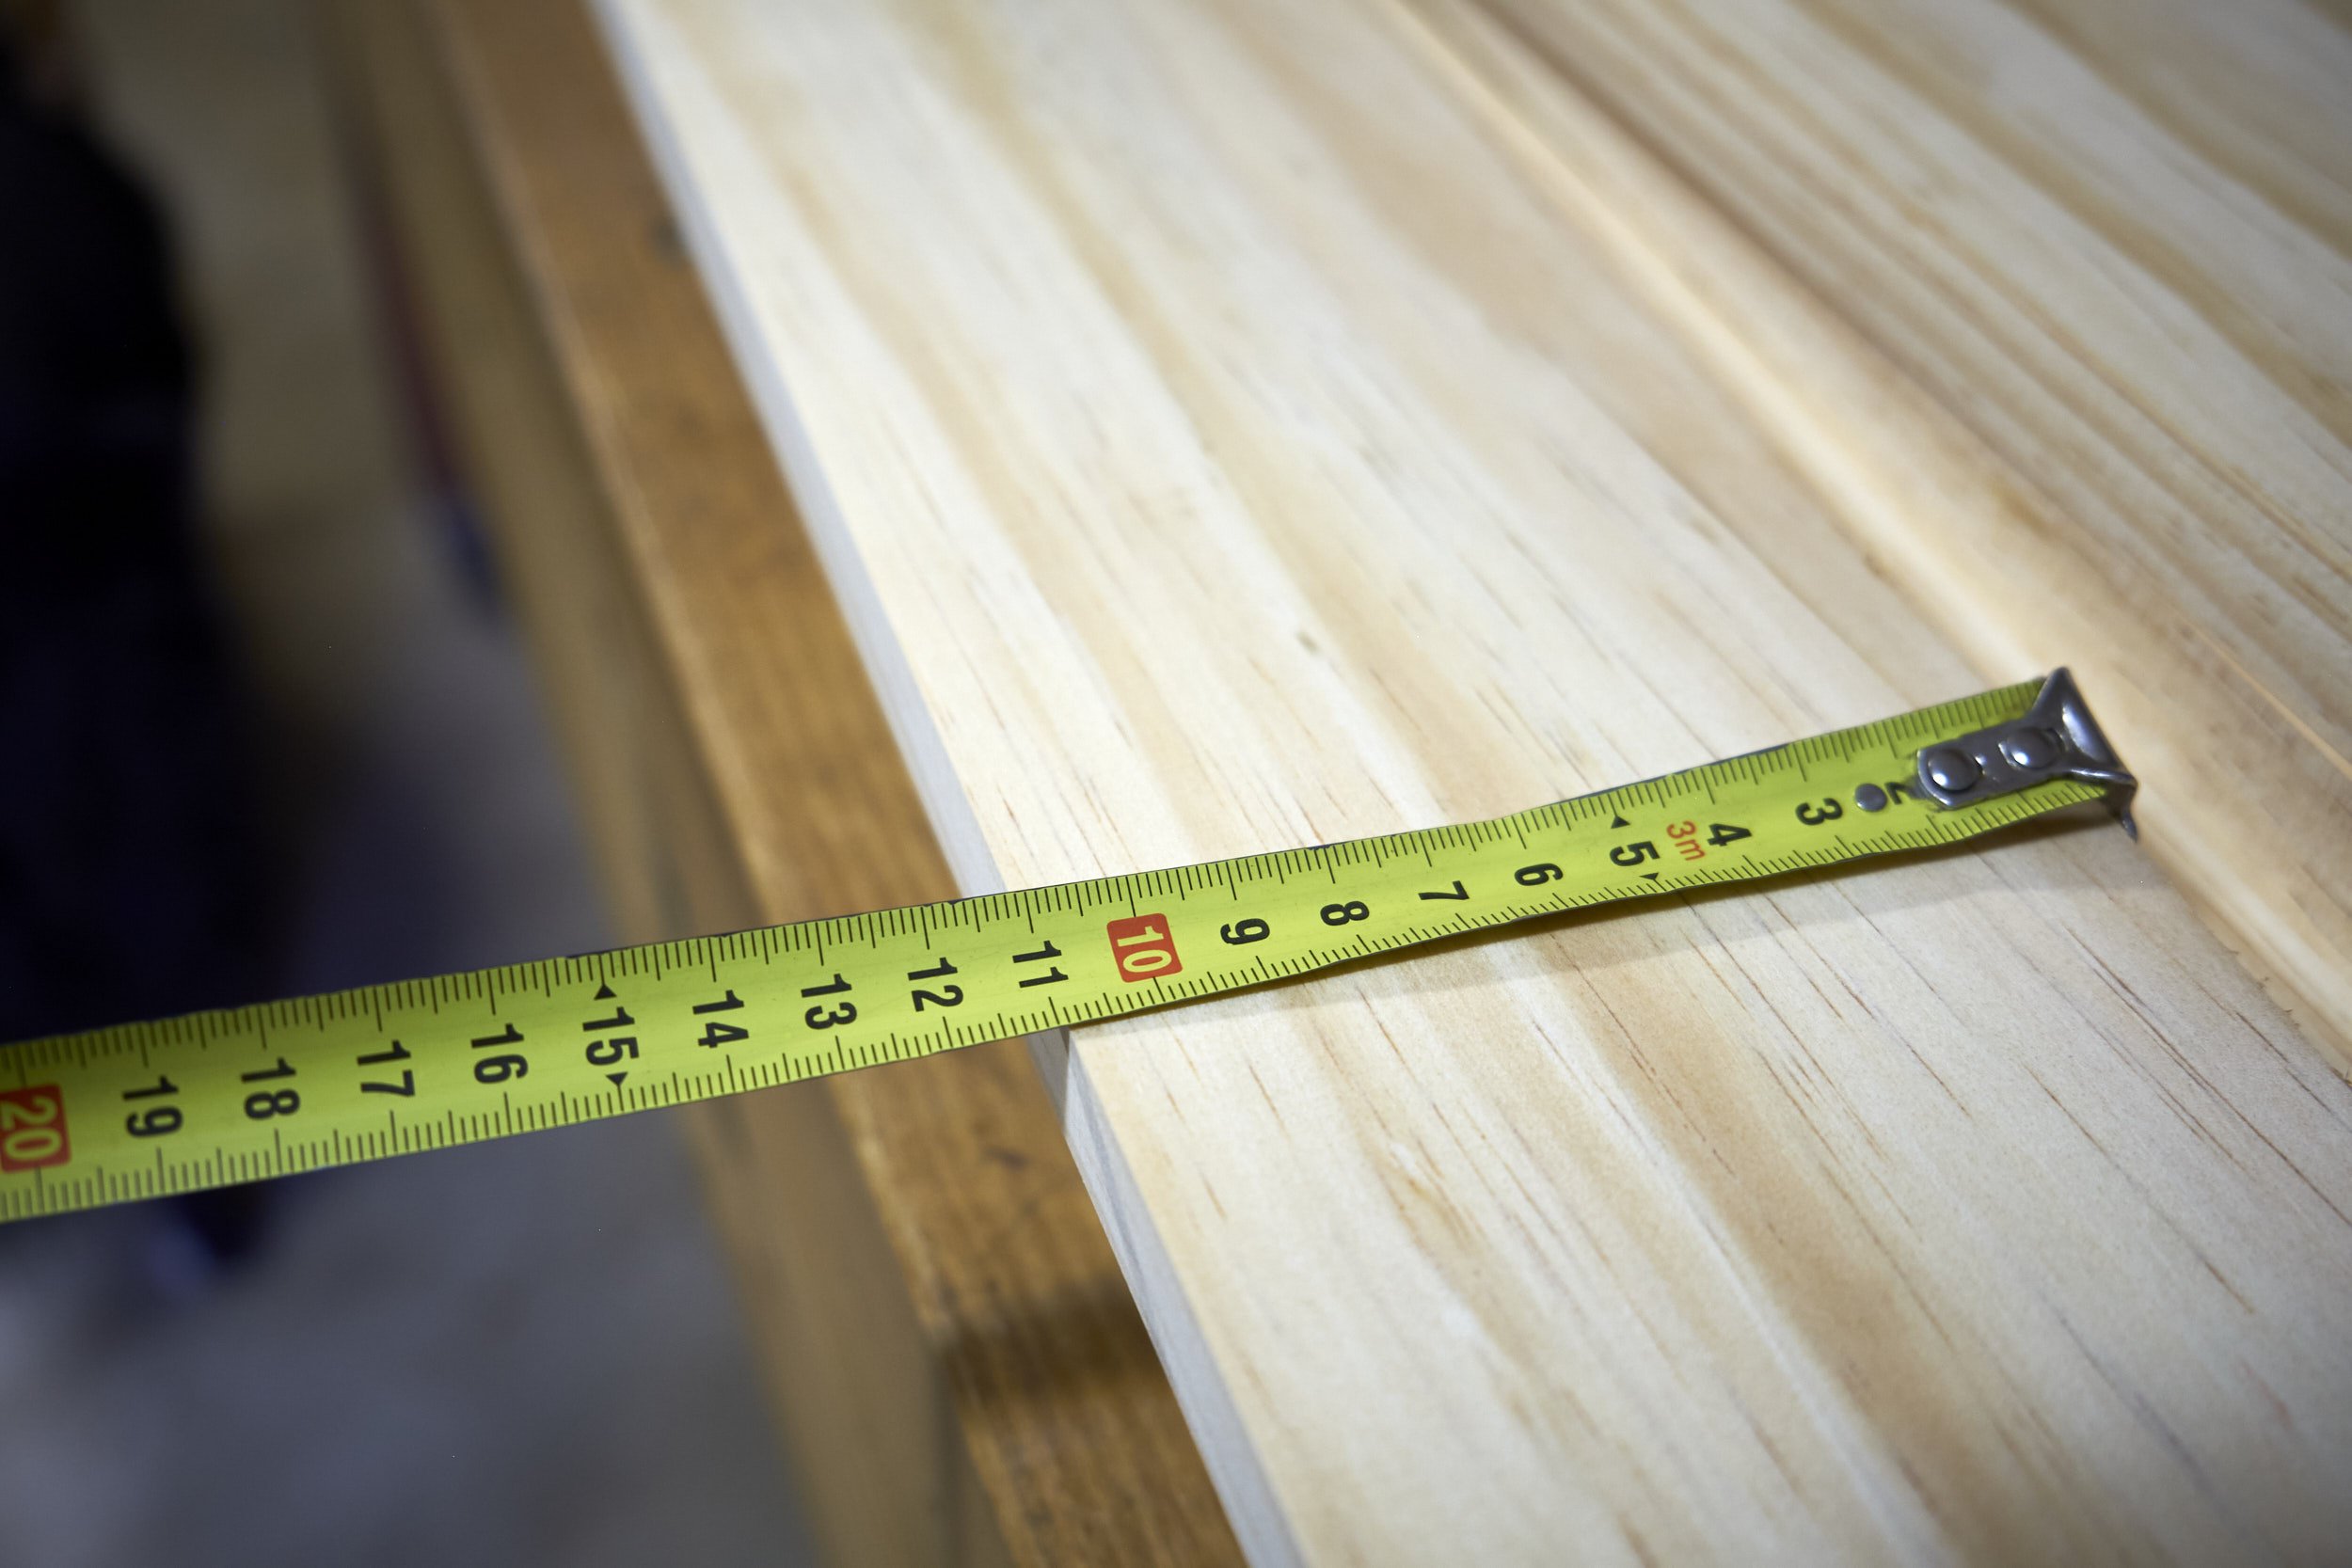
You may recall in the first instalment of this project that we were planning to make up the final width of components by laminating three sections together namely one section of 100mm, sandwiched between two sections of 200mm wide each. I might also have mentioned that we would rip some rough stock to just over 200mm so that we could easily flatten a face using our 8 inch jointer. This results in boards that are only 205mm wide on a good day and that is without any material removed to joint an edge yet!
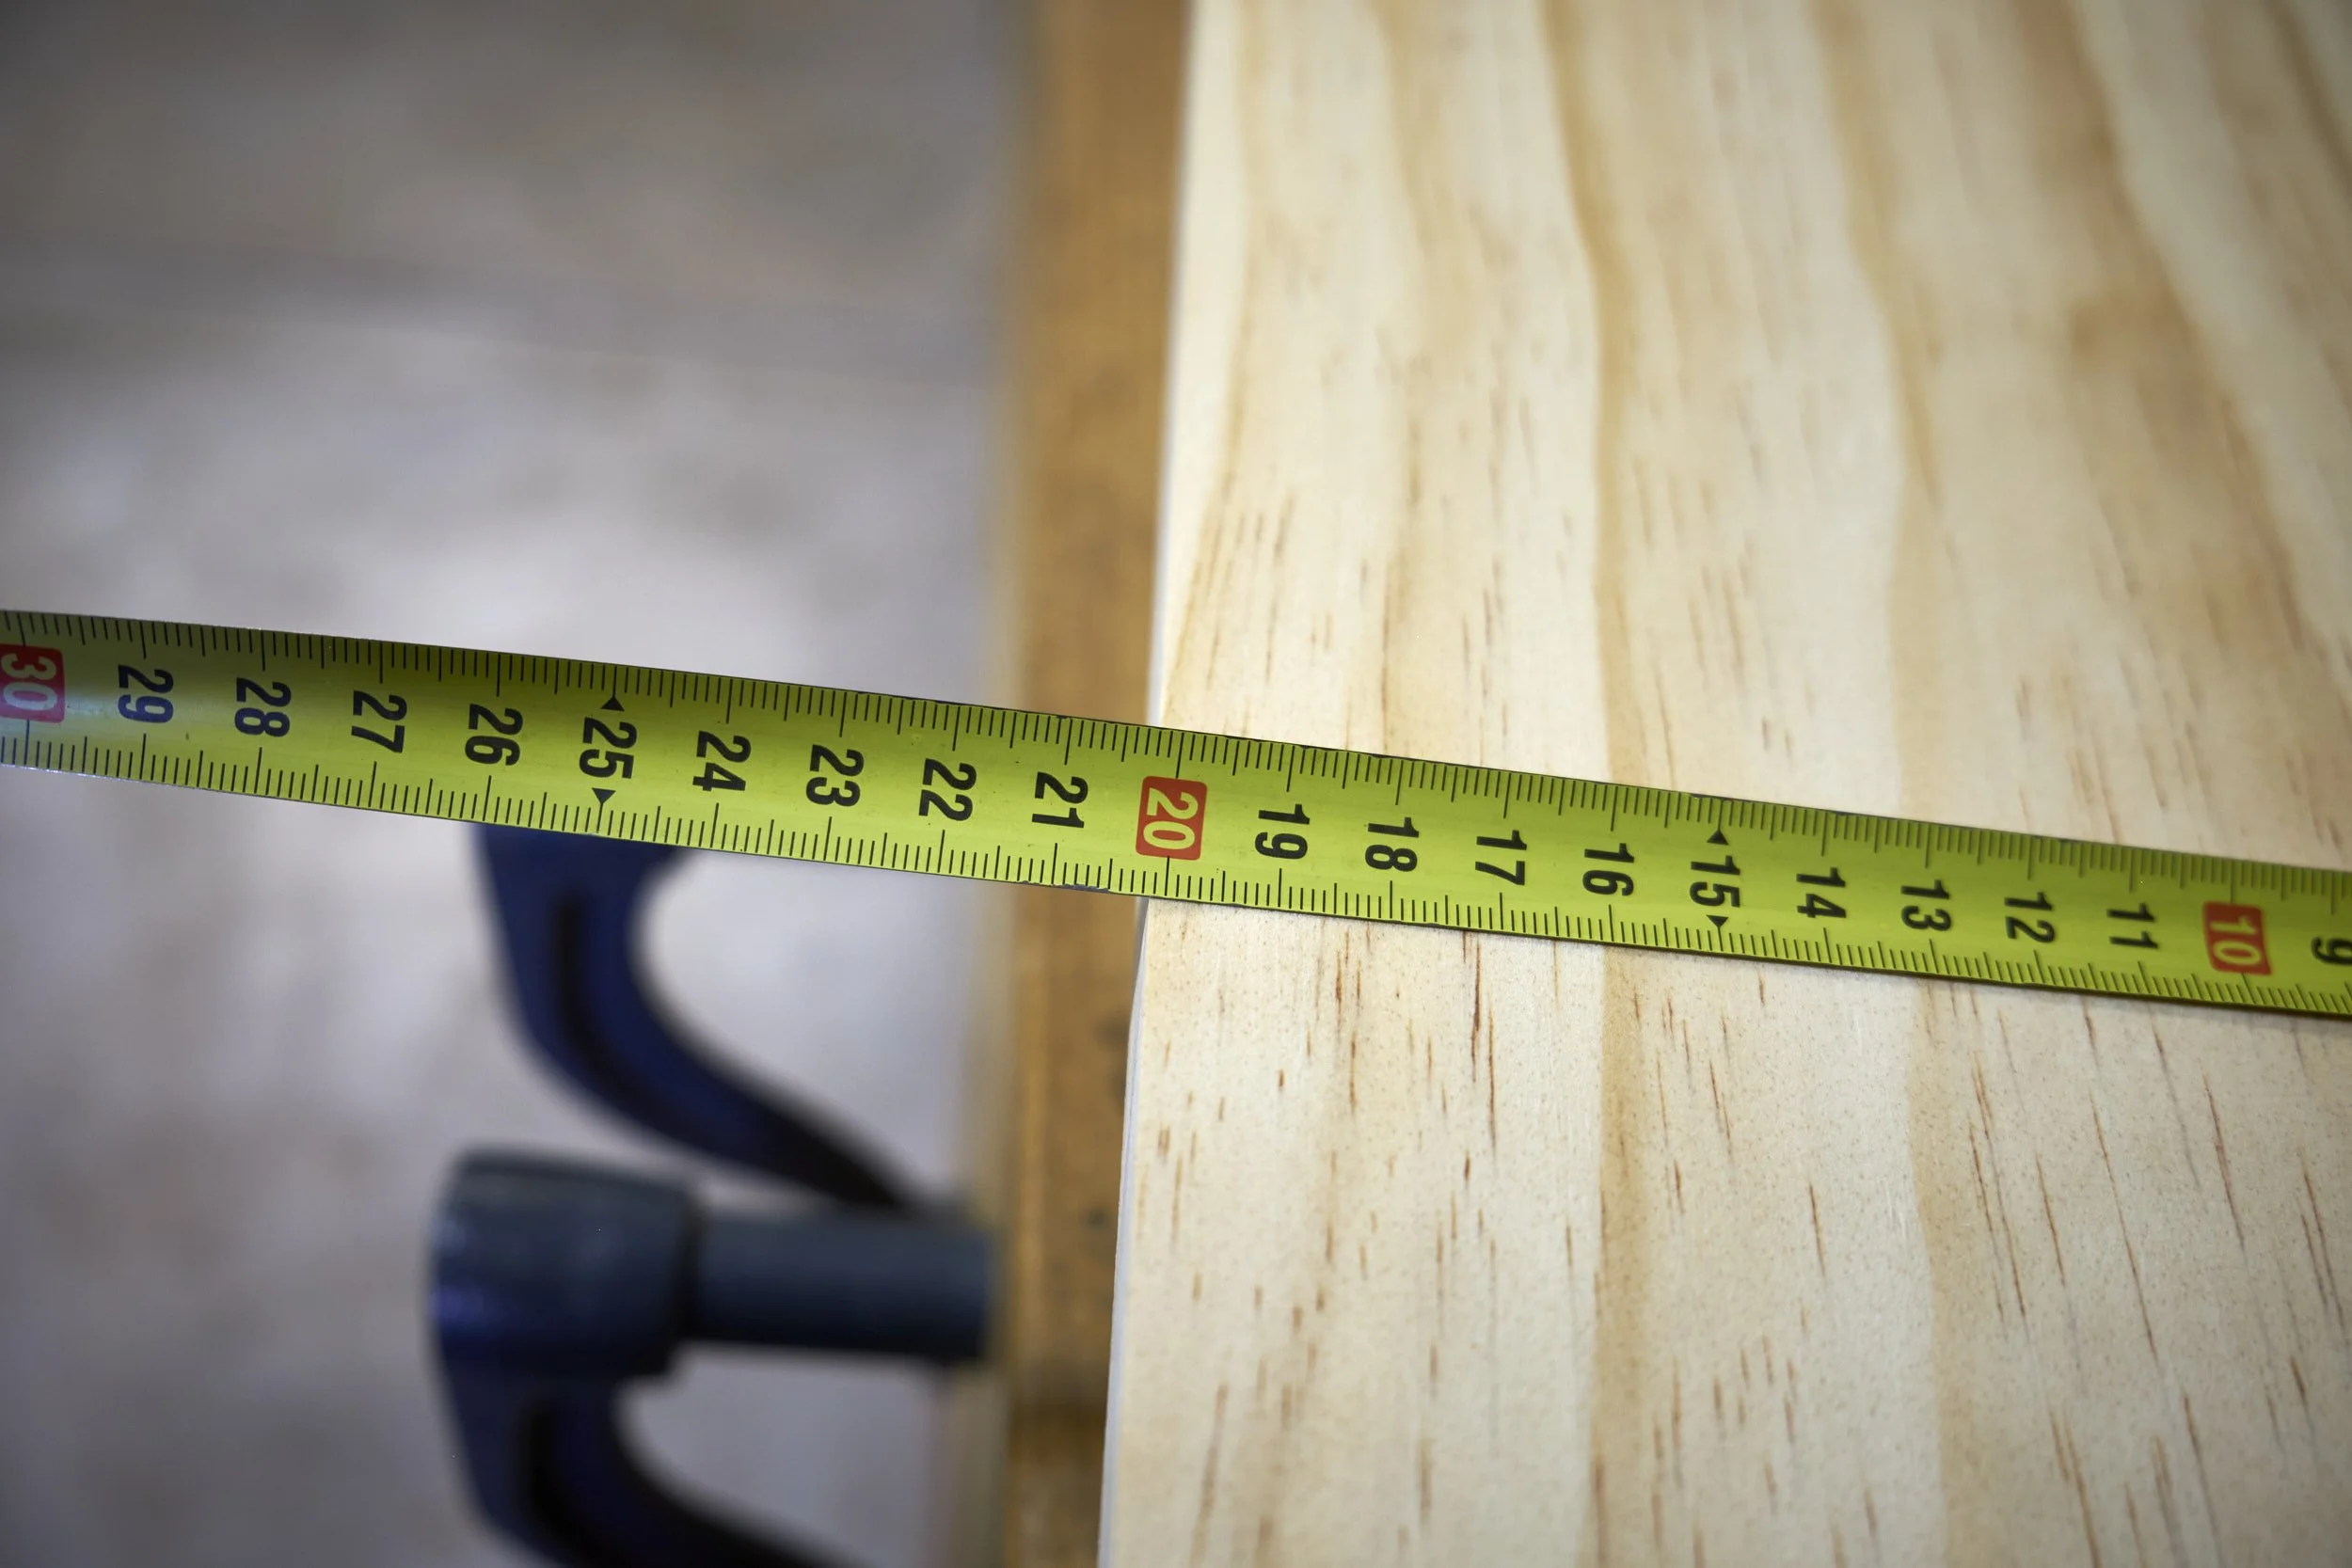
Cutting it thin so to speak and the image says it all.
Although not being particularly risk averse personally it isn’t as close as one may think, considering that we have lots of meat left on the middle section of this lamination.
I’ll explain.
Remember that the total width of the raw stock was anywhere between 225-235mm and by cutting these in half they would not only comfortably fit on the jointer but I would have around 10mm extra to contribute to the final width of the laminations should the wider sections come in too narrow after removing the remaining rough edge on the table saw.
It is then for this reason that I needed as clean an edge on the 200mm planks as possible in step 2 so that it wouldn’t be necessary to clean up any jointed edges later, resulting in narrower boards.
Of course all this planning would be rendered moot if all the wider planks came out at the desired 200mm in the first place, and guess what? They did!
Granted, when I ripped the 200mm stock to final width to clean up the remaining rough edge I took off less than the blade width on some boards but I got 200mm out of all of them. This left us free to rip the remaining sections to 100mm as planned, without having to mix and match sections to make up the required 500mm.
Pro Tip: When ripping components to final width on a table saw gang the different components of the same width together i.e. first rip all stock that needs to be 200mm wide together before moving on to the 100mm sections. This way you avoid making small changes to the fence position going back and forth that may result in stock not being the same dimensions.
My table saw dust collection efficiency drops through the floor when I’m not taking a cut with the whole blade inside the cut. Me and the area around the table saw was a pretty mess!
Stock to width, it’s on to step 4.
Step 4 - Final Jointing:
What, more jointing!?
Having selected the combination of planks to make up each lamination I like to assess the quality of each edge to make sure that I will have a seamless joint and if I see any gaps I do the following.
First mark each lamination with a cabinet maker’s triangle and write the number of each lamination starting with 1, don’t skip marking at any stage in a build you will regret it.
If the lamination is arranged on a work surface in front of you take the bottom edge of the board closest to you and lift it up.
Now lift up the furthest edge of the next board in the sequence up as well and place the resulting inside faces against one another.
You have now effectively closed the adjoining pieces to be laminated together like a book with the edges that will be glued together resting on the work surface.
Take both workpieces together to your jointer and push them through the jointer with the face furthest from you against the fence as you would normally do with a single workpiece.
Only take one or two passes and go back to your bench to check the quality of the joint.
If happy with the joint, move your attention to the middle and upper workpieces (furthest away) and close them up like a book.
The “un-jointed” edge of the middle section should now be facing the work surface together with the opposing edge of the next piece of the lamination.
Push this final combination through the jointer like the first two and check the joint.
You should now have edges that will come together with the minimum amount of clamping pressure leaving nice seamless joints.
I neglected to mention that the depth of cut on the jointer needs to be set to the minimum, remember you are finessing the joint and not re-jointing your boards.
Why does this work?
If your jointer fence is not absolutely square to the out-feed table then you risk two plank edges not coming together flush, resulting in having to remove more material than one can afford, to fix any issue. Closing workpieces like a book and jointing them together results in any inaccuracy on the fence to be offset when the edges are brought together leaving a clean joint. The cool thing is that this principle also holds true if you joint edges using a hand plane that may not be set absolutely square.
I have filmed a vid explaining this and will update the blog with links to where it may be found once I get around to doing the edit.
So what about screwing up the final dimensions that I was fussing about a step ago? Well if you are disciplined and only push workpieces through the same number of times and the jointer depth setting remains the same during the process you should theoretically remove the same amount from each section resulting in laminations with final dimensions that are very close to one another and if the jointer is set for a very fine cut you can get to within a mm of the final expected width.
Pro Tip: Remember you are often aiming at a ballpark dimension and being a couple of mm over or undersized isn’t the crisis that many would like you to believe. What is more important is that all the parts that should be the same size are just that and in the case of this project it doesn’t really matter if the final width of the components are 501mm or 498mm as long as they are the same and if they are the joinery will go together just fine.
By the way I have yet to have a customer take a rule to a project and complain about a piece being a couple of mm too large or small.
Step 5 - Failed IQ test:
I will from this day forward refer as such to any process involving glue and two or more pieces of wood or anything for that matter that need to be attached to one another using said vile substance.
Bringing glue anywhere near a piece of wood results in anything from slight angst to sheer panic together will all intelligence leaving the room at the same time. I once bragged on social media that a panel I was about to glue up only needed two clamps to make and invisible seam, with video proof no less, just to be forced to break out about 5 more to complete the process.
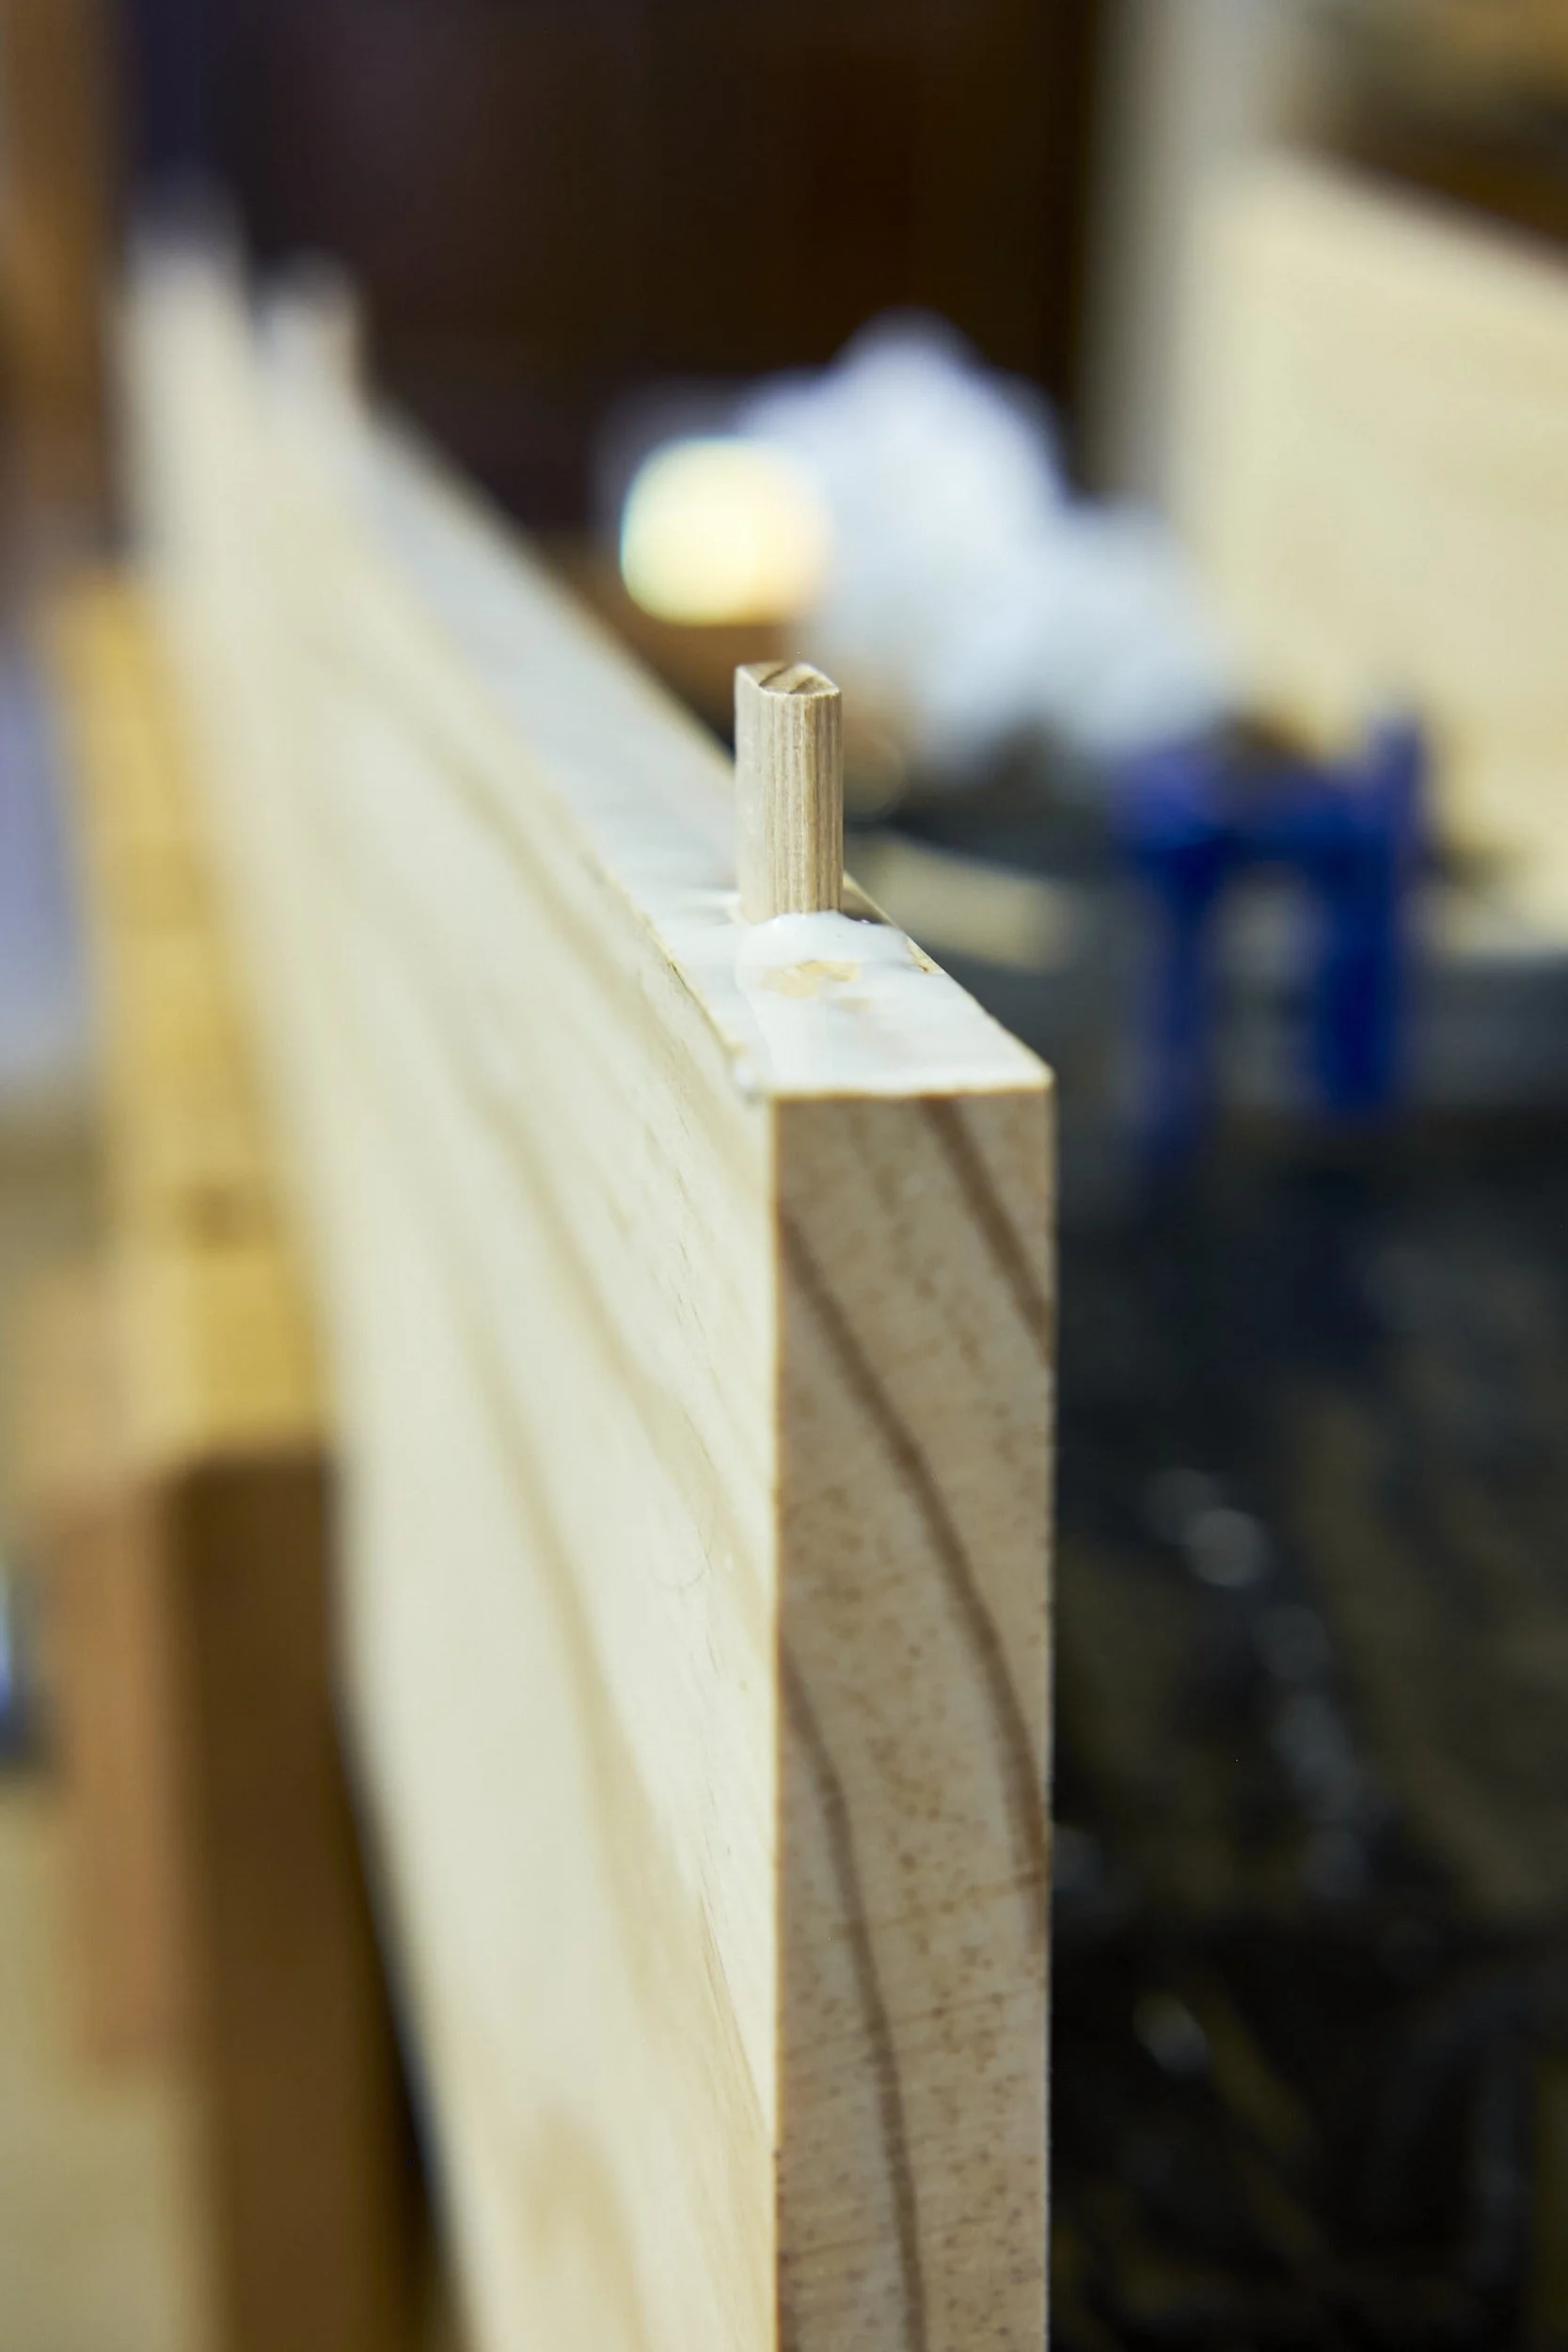
To help keep my head about me during the whole process I use the Festool Domino to align the board faces to one another. This serves two purposes, the first to help manage slippage between the board edges - glue is an amazing lubricant - and the second by aligning the top faces of the boards I have much less work getting all the panels flat after the glue becomes dry. The latter is especially useful as my planer can only handle panels of just less than 340mm wide and I have been known to glue tops up in sections just so that I can use the planer to do all the flattening dirty work, on my behalf.
Pro Tip: Glue up can be stressful and most woodworkers can share a story of panic or two. One of the best ways to manage the process is to be prepared. Firstly dry-fit all glue ups before committing any of the liquid stuff, this includes all clamping procedures, especially if there are unusual angles or little space. Secondly have all ancillaries at hand, be it applicators, brushes or towelling to remove excess glue. Thirdly make sure you have enough glue on hand to complete the job, don’t laugh! I have very nice Glue Bots and have passed up on doing a top up just to have to use different types of glue on a single glue up.
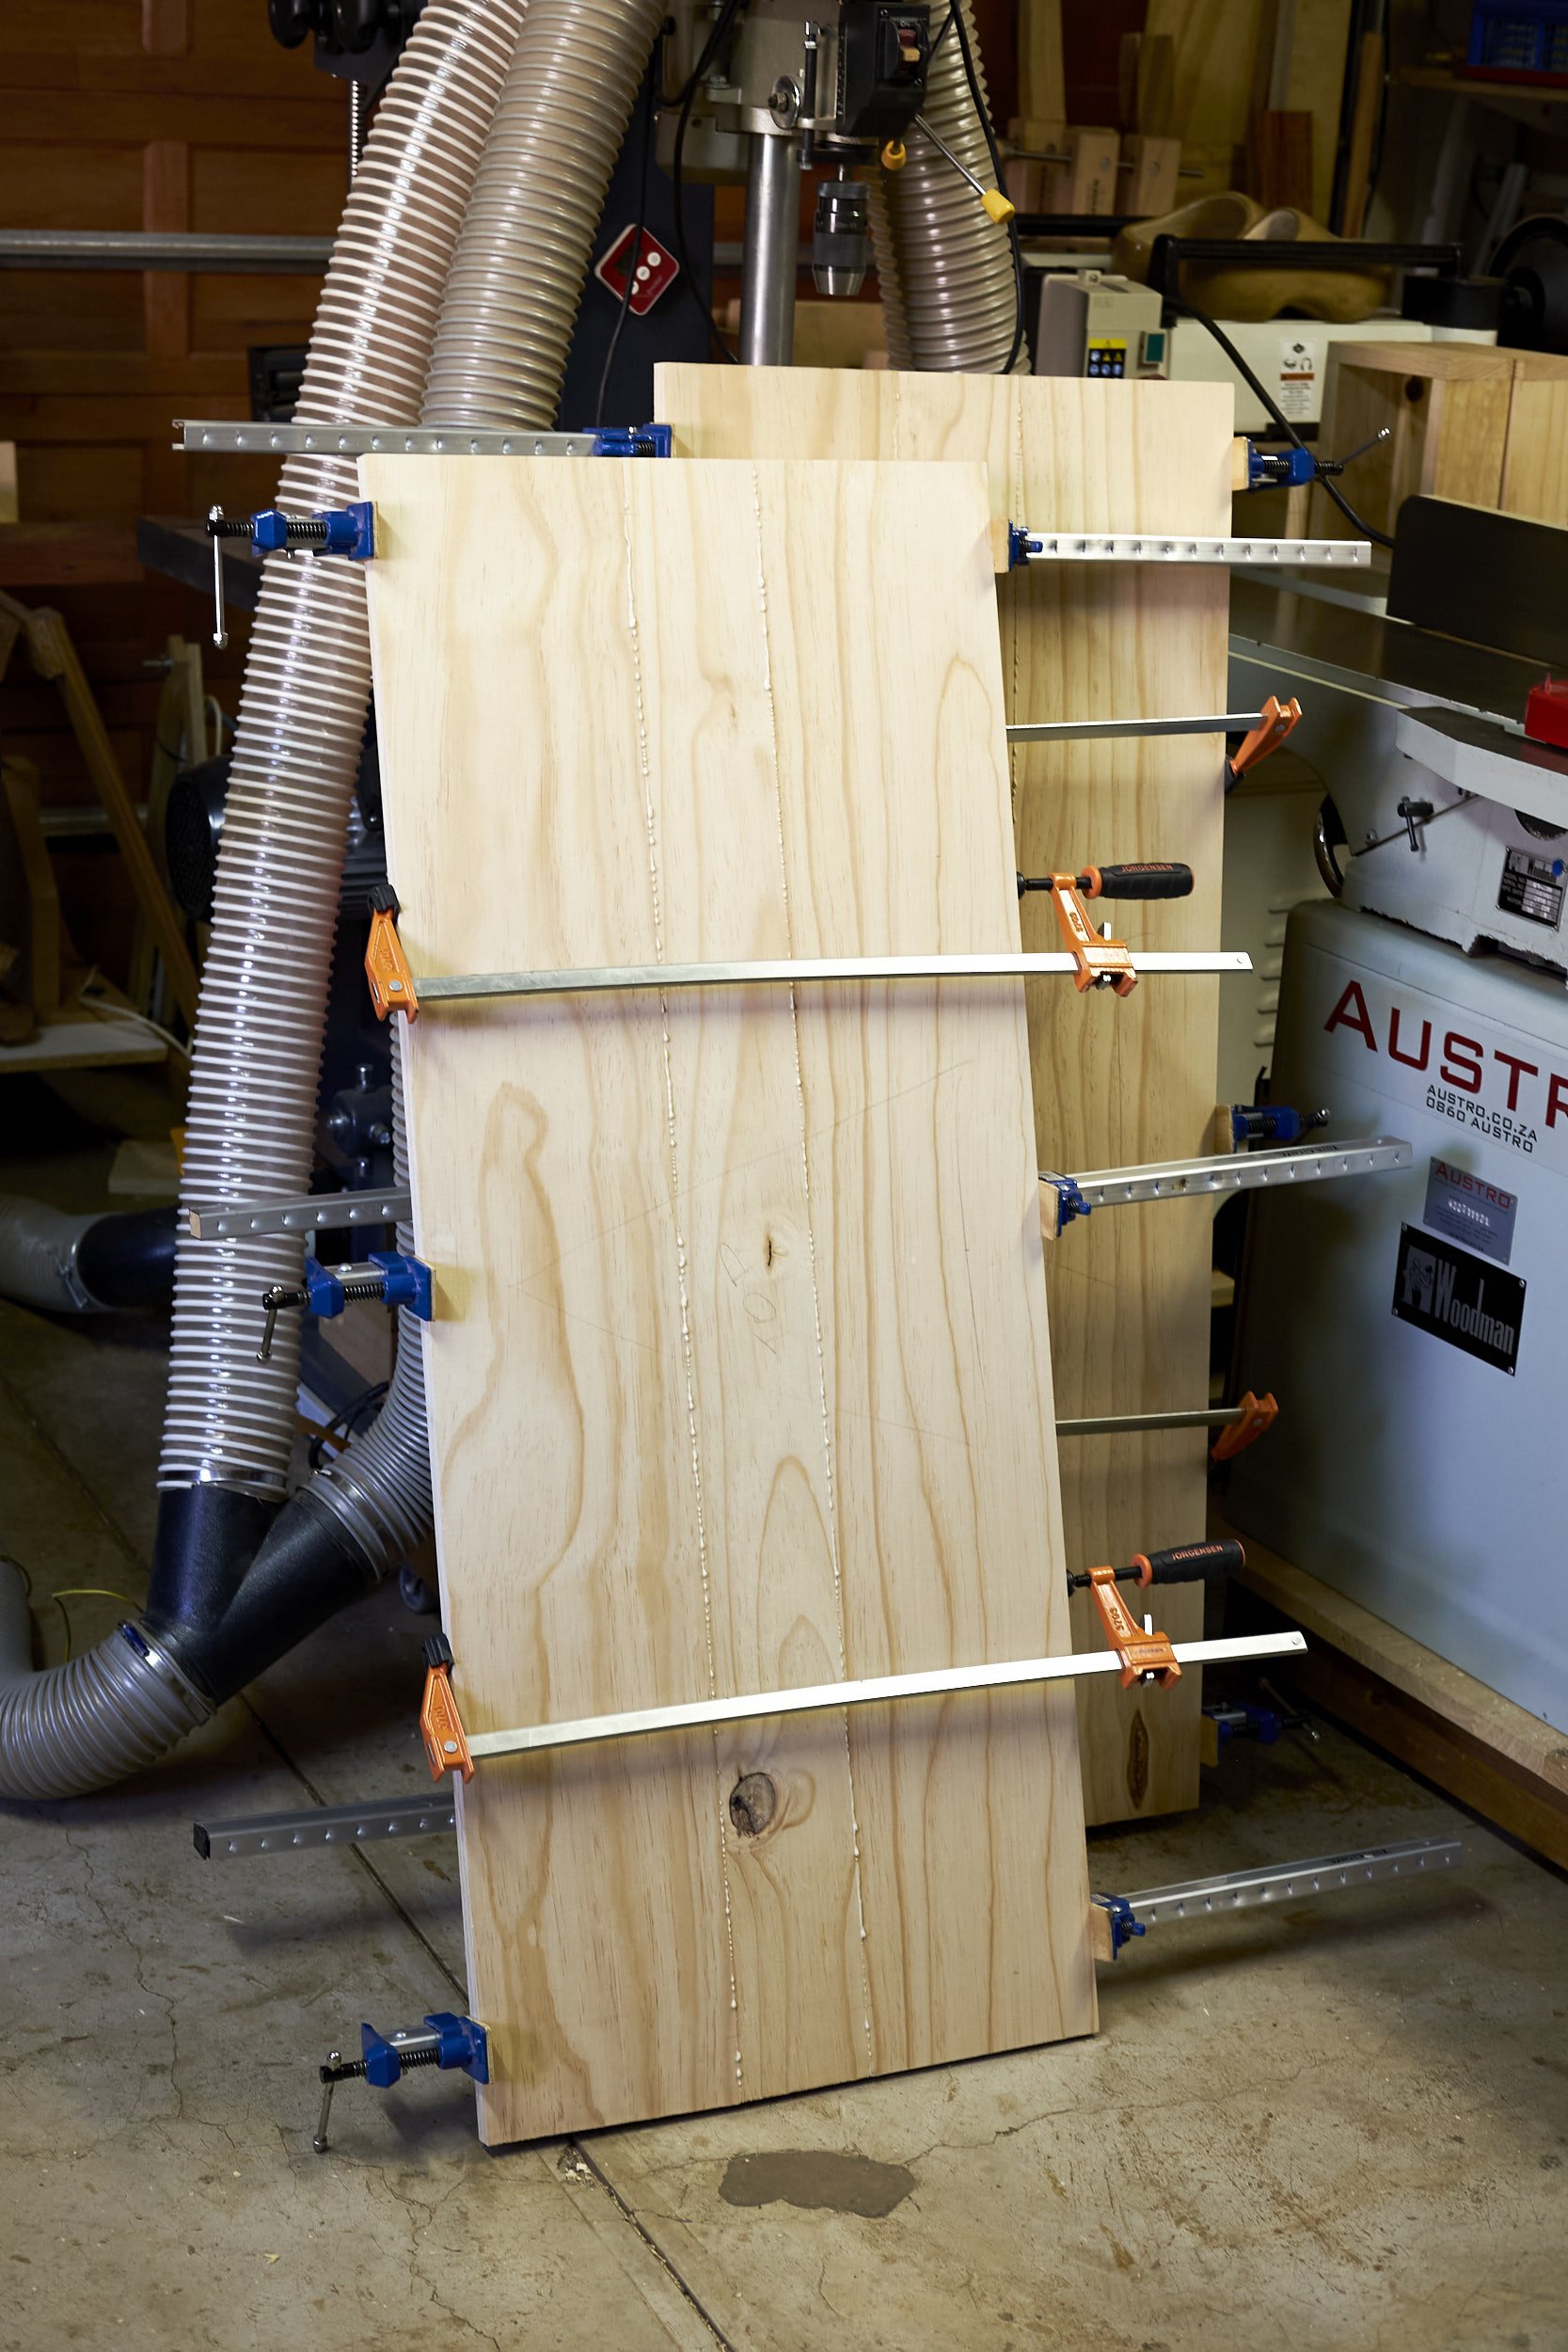
I started lamination with the sides and each panel was left in clamps for at least 4-5 hours and because of the size of each they were glued in turn. I made sure to clean up any squeeze out as the excess glue filmed over as I do not like removing glue once dried. Next up were the two shelves and the panels forming the top and bottom of the unit and these were cut to rough size first, making it easier to complete these panels at the same time.
With the panels together and dry we were on to the joinery but not before we did some research on mid panel joinery with the Festool Domino, remember the Peanut Saga where I came to the conclusion for the joinery I wanted to use on a customer project?
We’ll see you in the next instalment where we start putting it all together.
Hope you have a good one!