
Jigs Maketh The Chair
I know, I know jigs do not make chairs, the maker does but humour me for a few minutes here.
Christopher Schwarz and Peter Galbert are both to blame for getting me into chair making just as Paul Sellers is for getting me into woodworking and Doug Linker is responsible for getting me started in whittling. Richard Maguire needs to carry some blame here too but he isn’t as guilty as Paul.
Do you think I could blame any of these guys for getting more tools? Don’t think my wife would buy that one!
Of all the gents in the list it would be Cristopher who would carry the lion’s share of the blame on the chair making spree I seem to be getting myself into. I’m on numbers 5 and 6 as we speak and I’ll likely be writing something on these in the next month or so, keep an eye out for my monthly newsletter to stay up to date on any news. Not receiving my newsletter? Be sure to sign up to become part of the community here and as a bonus you will get access to my free plan page.
Signing up is free and will not cost you a cent.
Since I’ve read Chris’ “The Anarchist’s Design Book” I’ve been itching to build one of his stick chairs and after getting my hands on the free download of “The Stick Chair Book” and purchasing his video series on making the Gibson chair I’ve been well and truly hooked.
Anyway this isn’t an article about my influences but rather the jigs that I use to build chairs. I would be remiss though not to mention a quote by Christopher in one of his books.
“And I’ll always choose learning a skill over making a jig.”
I do somewhat agree with that statement but it’s Peter Galbert’s jigs that have opened up the world of chair making in a big way for me personally. I credit his “Drilling Jig” in particular for dismantling the reservations I’ve had in starting my journey in chair making, and to quote Peter in his drilling jig video on YouTube.
“Drilling holes is not my passion, my passion is for shaping the wood and this gets me there faster.”
Back to my opening comment then.
The maker makes the chair but you can bet your bottom dollar that jigs make it easier and more accurate especially for the person just getting into this highly addictive branch of woodworking and to whom the thought of rake, splay and resultant angles makes their eyes water, not to mention figuring out where the sight line is supposed to go. Jigs also simplify the process and allows the new maker to learn while making objects that they can both be proud of and are functional.
Do jigs make for perfect chairs?
Absolutely not! I can spend a good hour showing someone the mistakes I had made on my chairs thus far and on the last pair in particular there was some work needed to get everything to line up just right, well almost but I won’t tell you what you need to look for. At this point in the process I’m afraid that the mortises are going to be gappy because I had to open up one or two to allow some movement in the legs and stretchers but I’ll only know how big the gaps will be once the wedges go in during assembly.
Come to think of it not even chair builders make perfect chairs, they often just know how to fix their mistakes!
Do jigs make you lazy?
It depends on the person using them and in my case I am looking forward to making a chair without the use of the drilling jig or laser guide one day. On the latest pair I drilled the mortises for the stretchers “free hand” so I’m heading in the right direction.
I’ll likely waffle on about chair making and why I believe I’m enjoying it so much at the end of the article but let’s get into the jigs starting with the one that has helped me the most.
Drilling Jig - Peter Galbert
This jig acts as a guide to drill the holes for the legs on the chair at the correct resultant angle. Alternate or traditional methods employ a combination of bevel gauges, spotters (someone watching that you stay on angle) or mirrors to position the drill and the bit at the correct angle. Christopher Schwarz uses a laser level to help with the process in his Gibson chair video series.
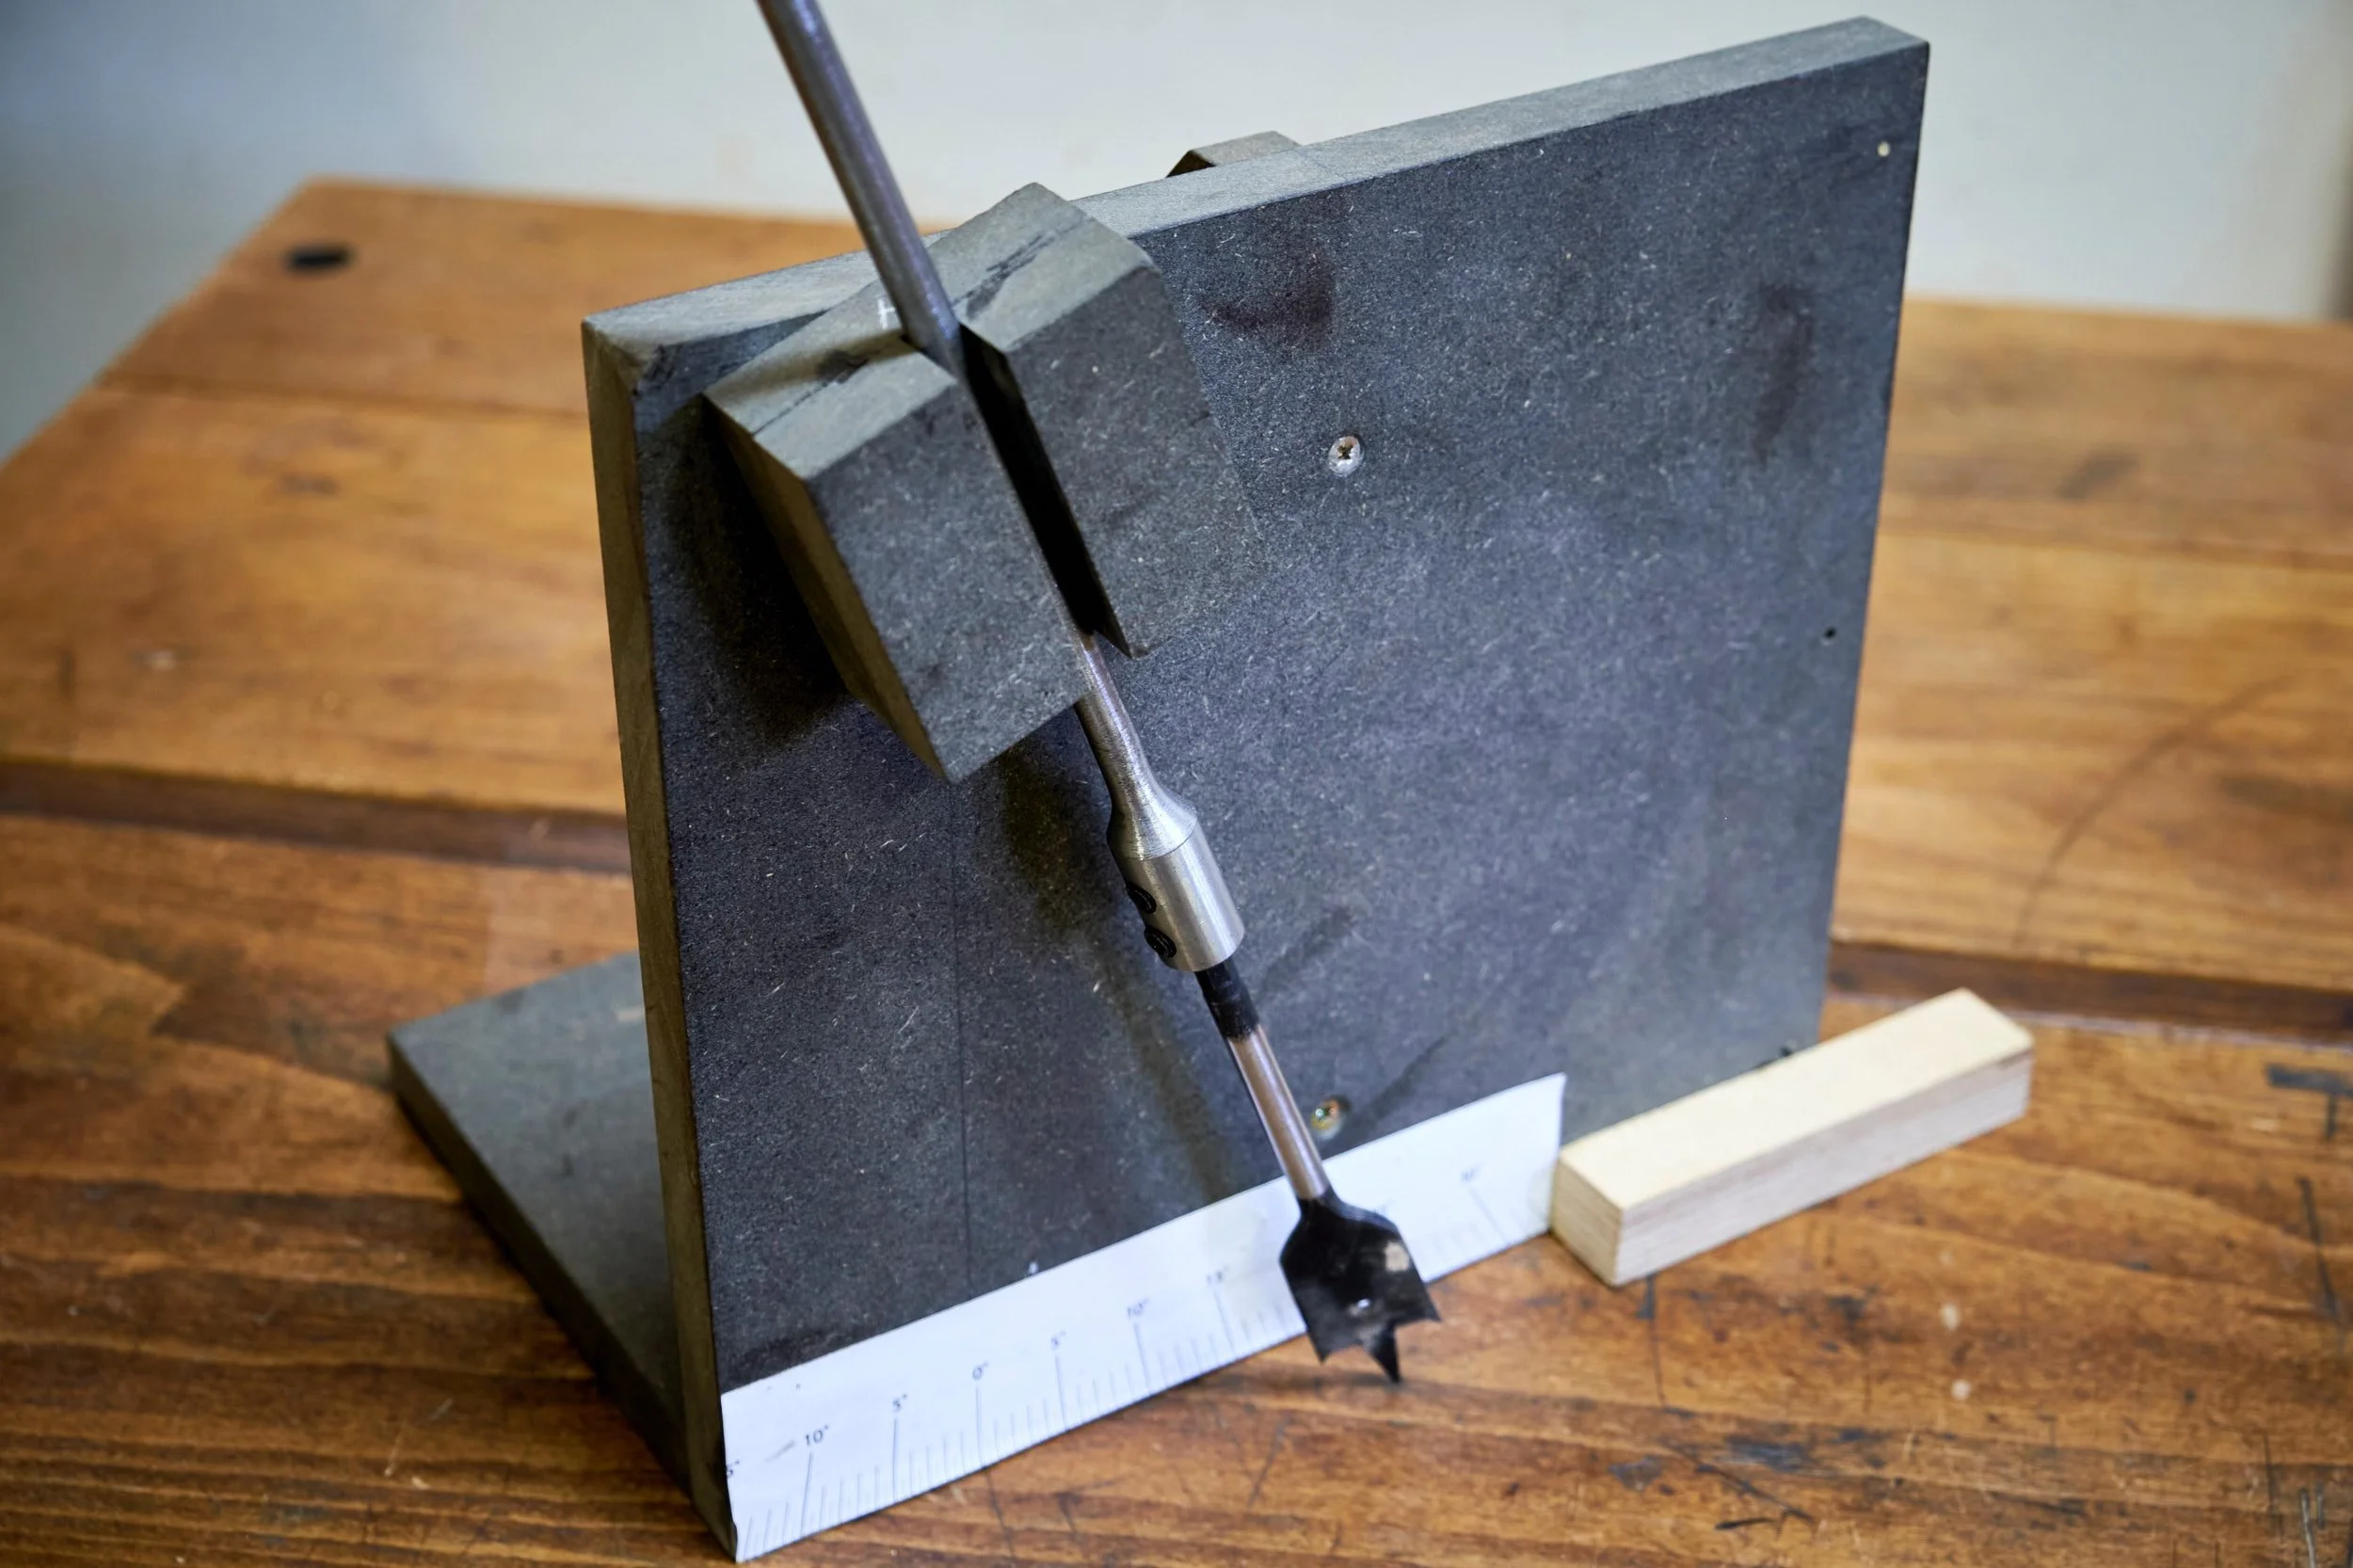
Working alone in my home workshop I do not have access to a spotter and I’m not keen on fiddling with mirrors, Peter’s drill guide is the perfect solution for me.
I do have a laser guide available and used this with some success to drill the mortises for the sticks on the backrests for the Irish style chairs I built last year and maybe I’ll “upgrade” to using this option in time.
Octagon Jig - Christopher Schwarz
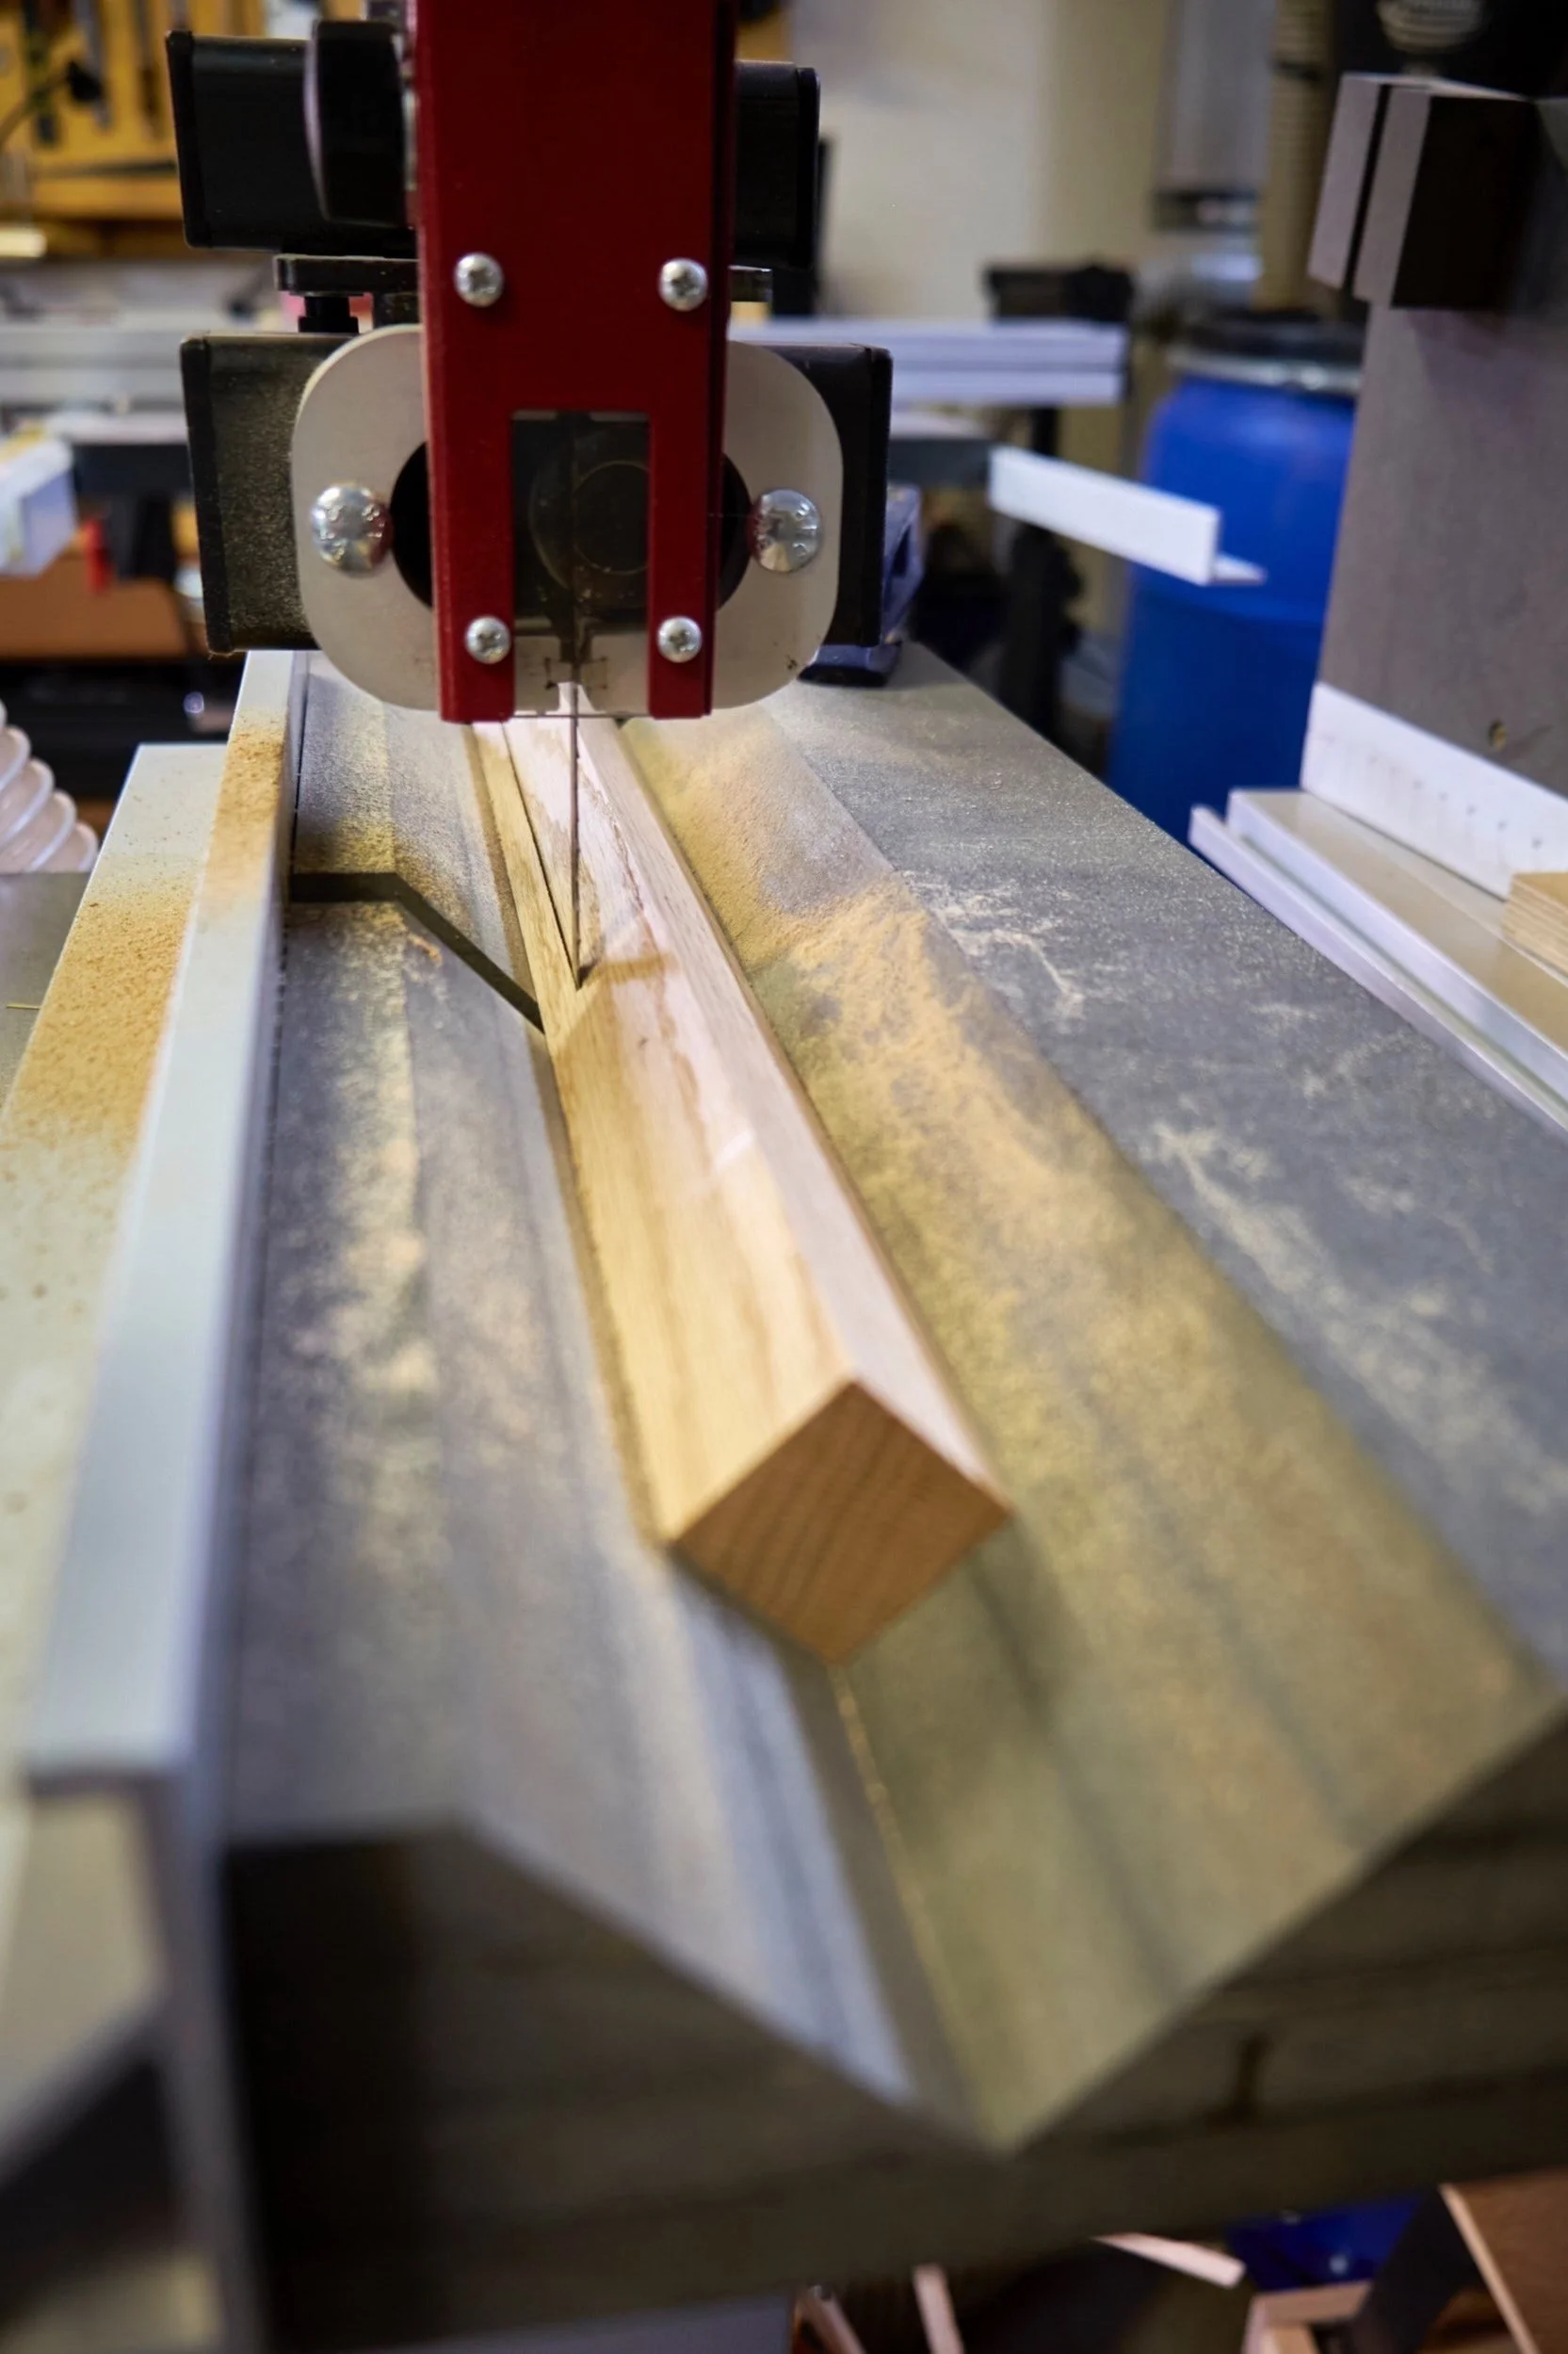
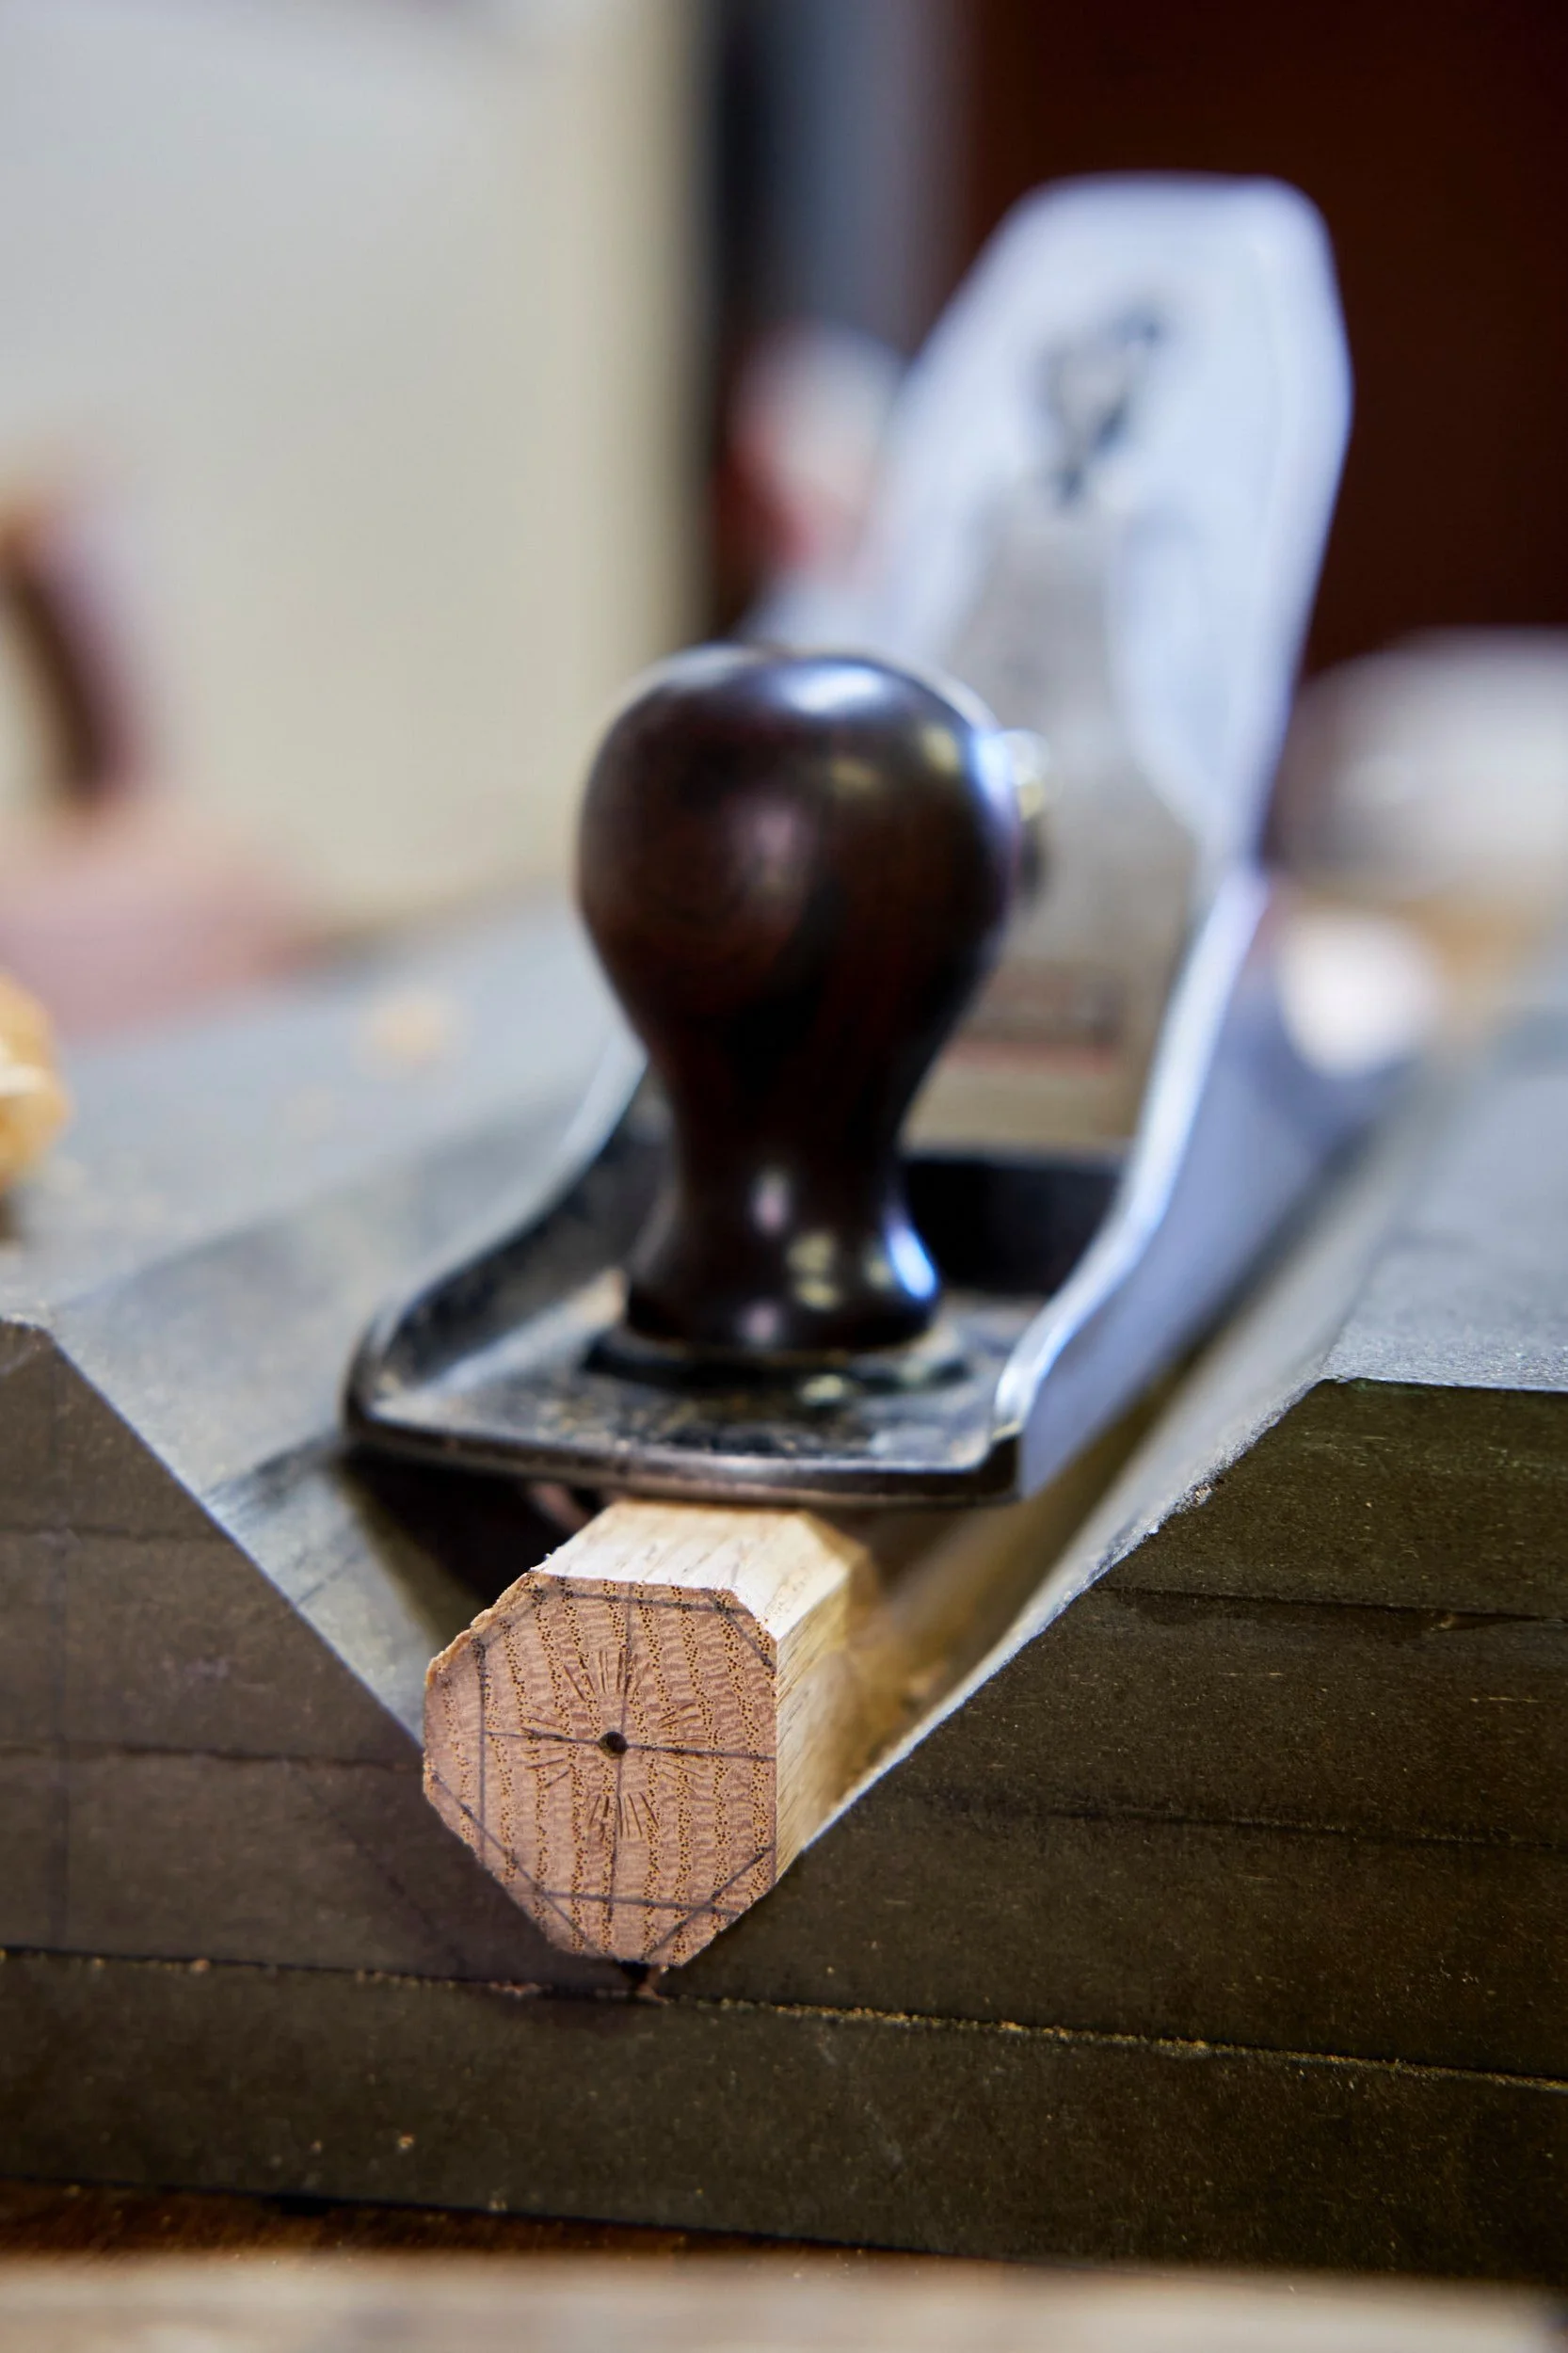
This is by far the most used jig of all and it’s used to turn square stock into octagons as well as taper octagonal parts.
I use it on the bandsaw to turn square stock into octagons and it makes the process fast, accurate and repeatable. You can also take the jig to the bench and use it to hold the square parts while using hand planes to do the same job that the bandsaw does.
When it comes to tapering though I use this jig exclusively with hand planes to get the job done.
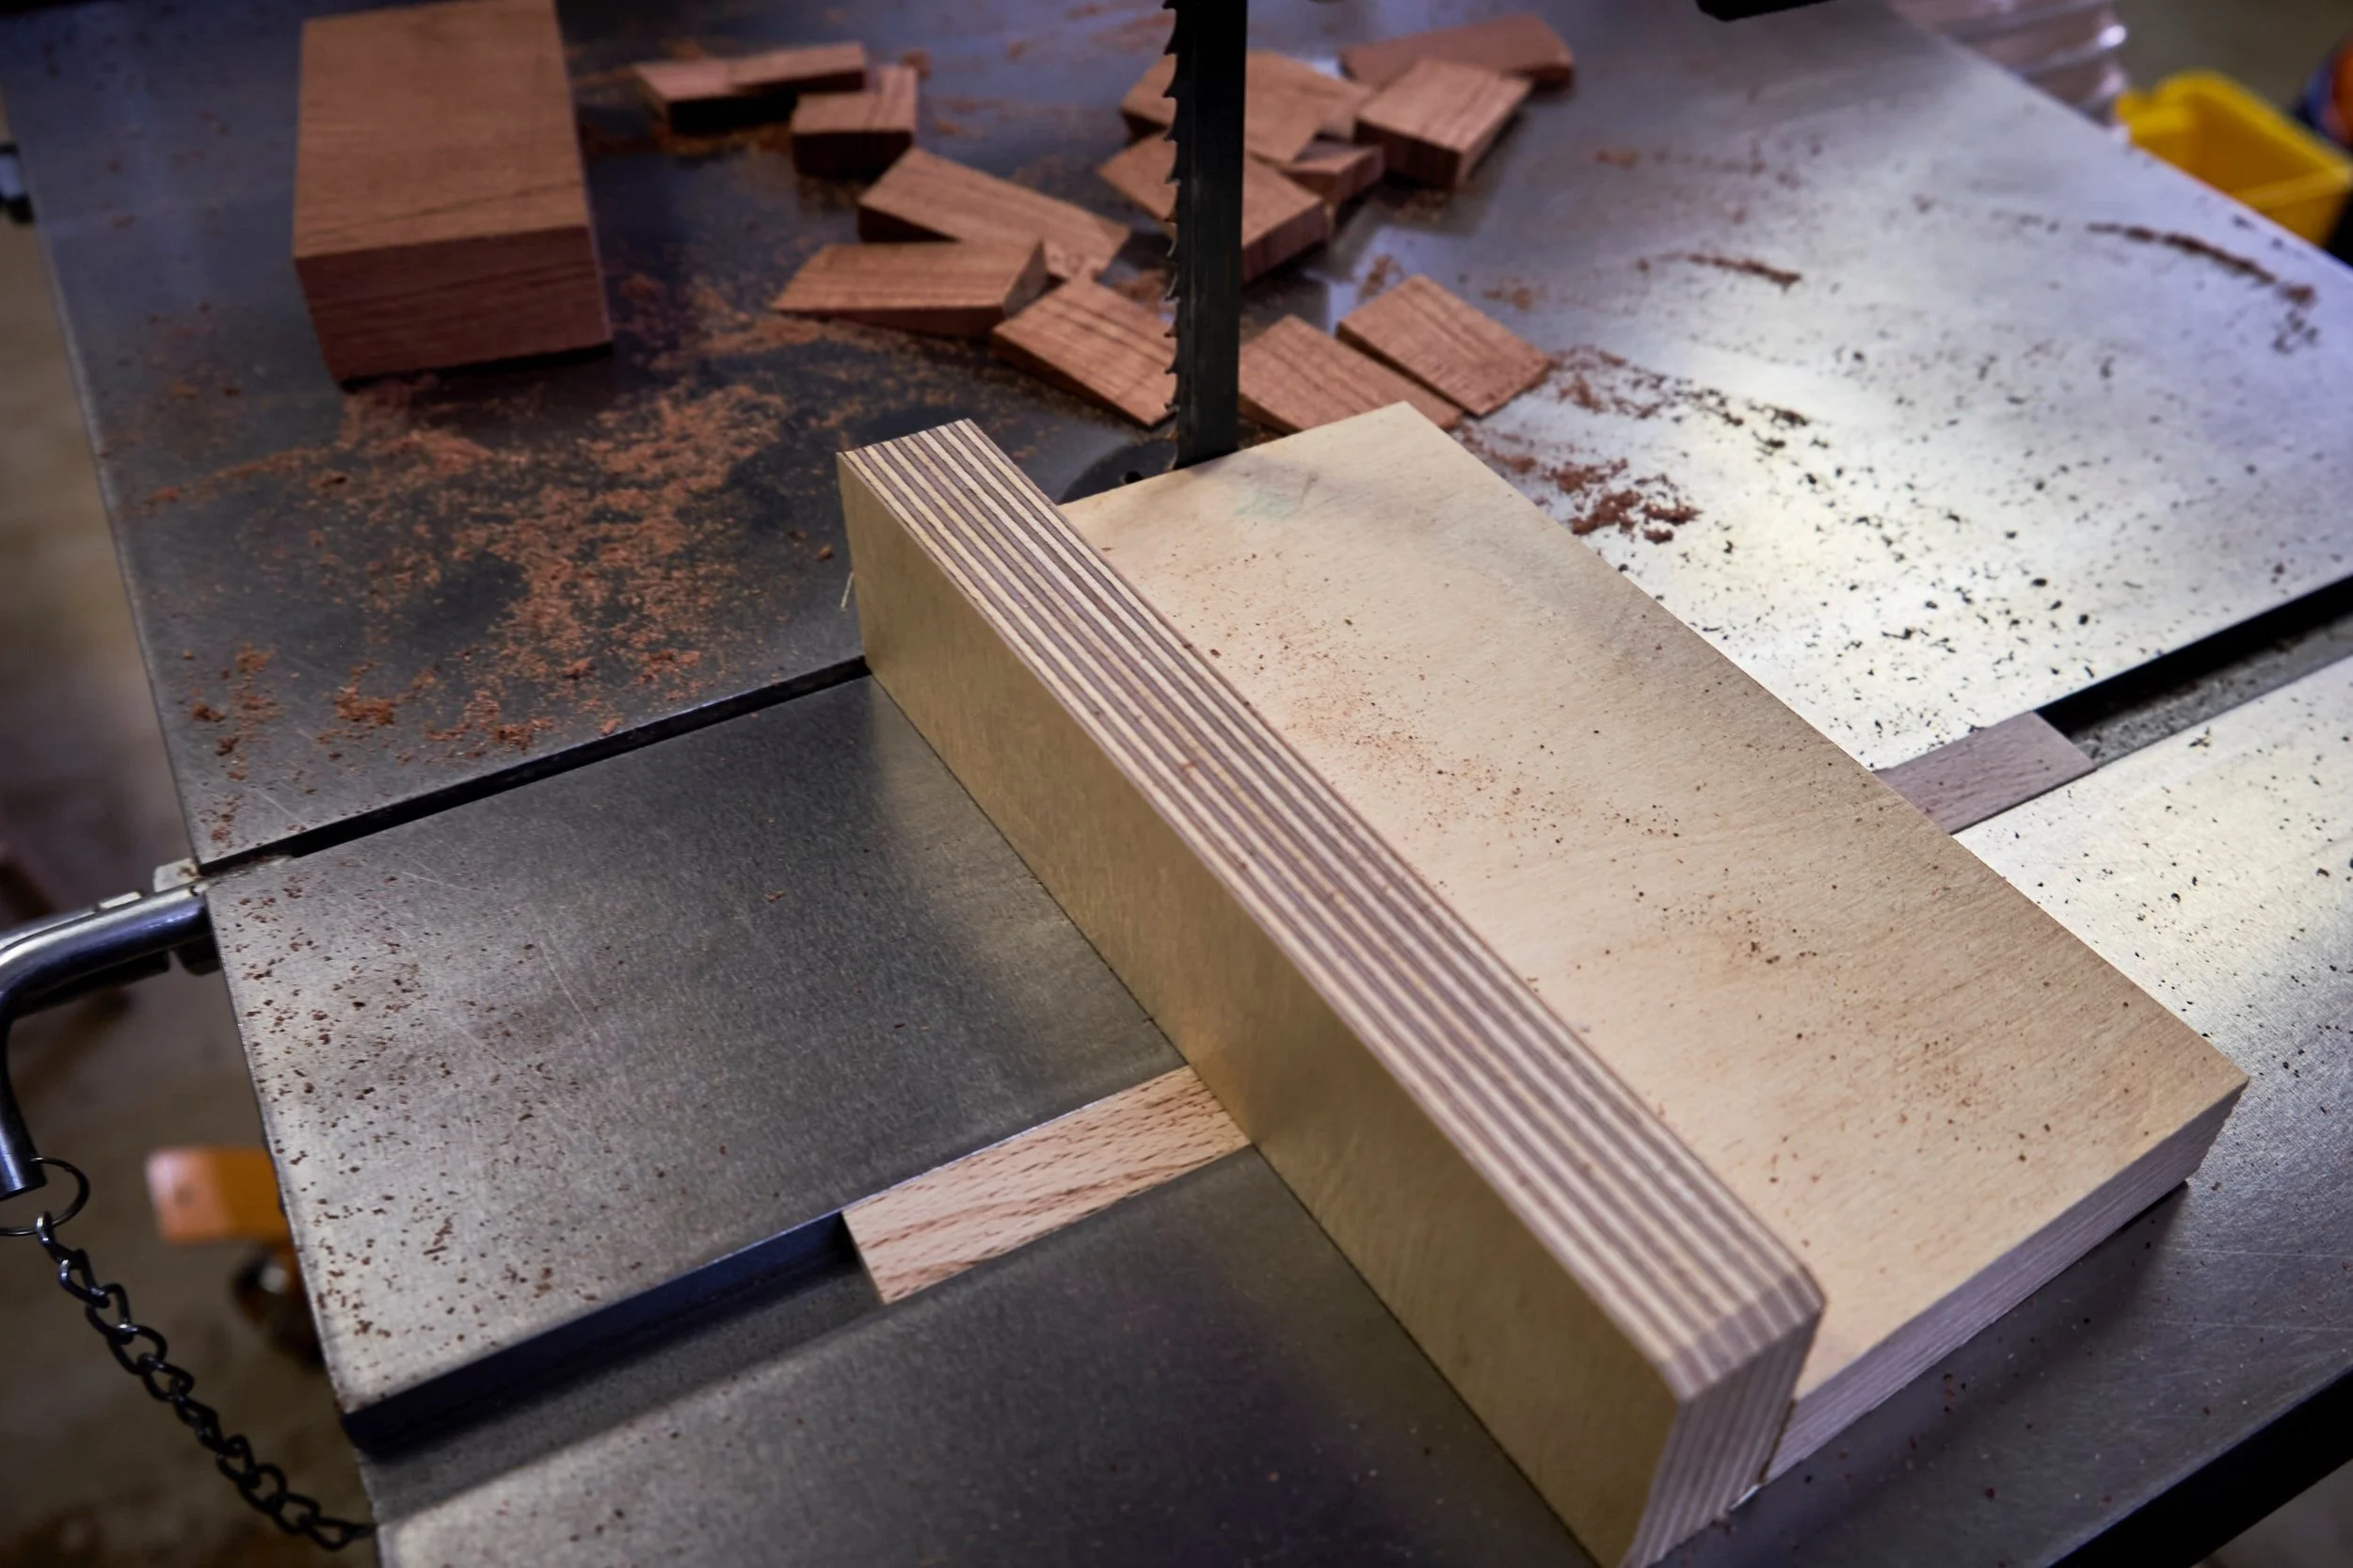
Wedge Making Jig - Christopher Schwarz
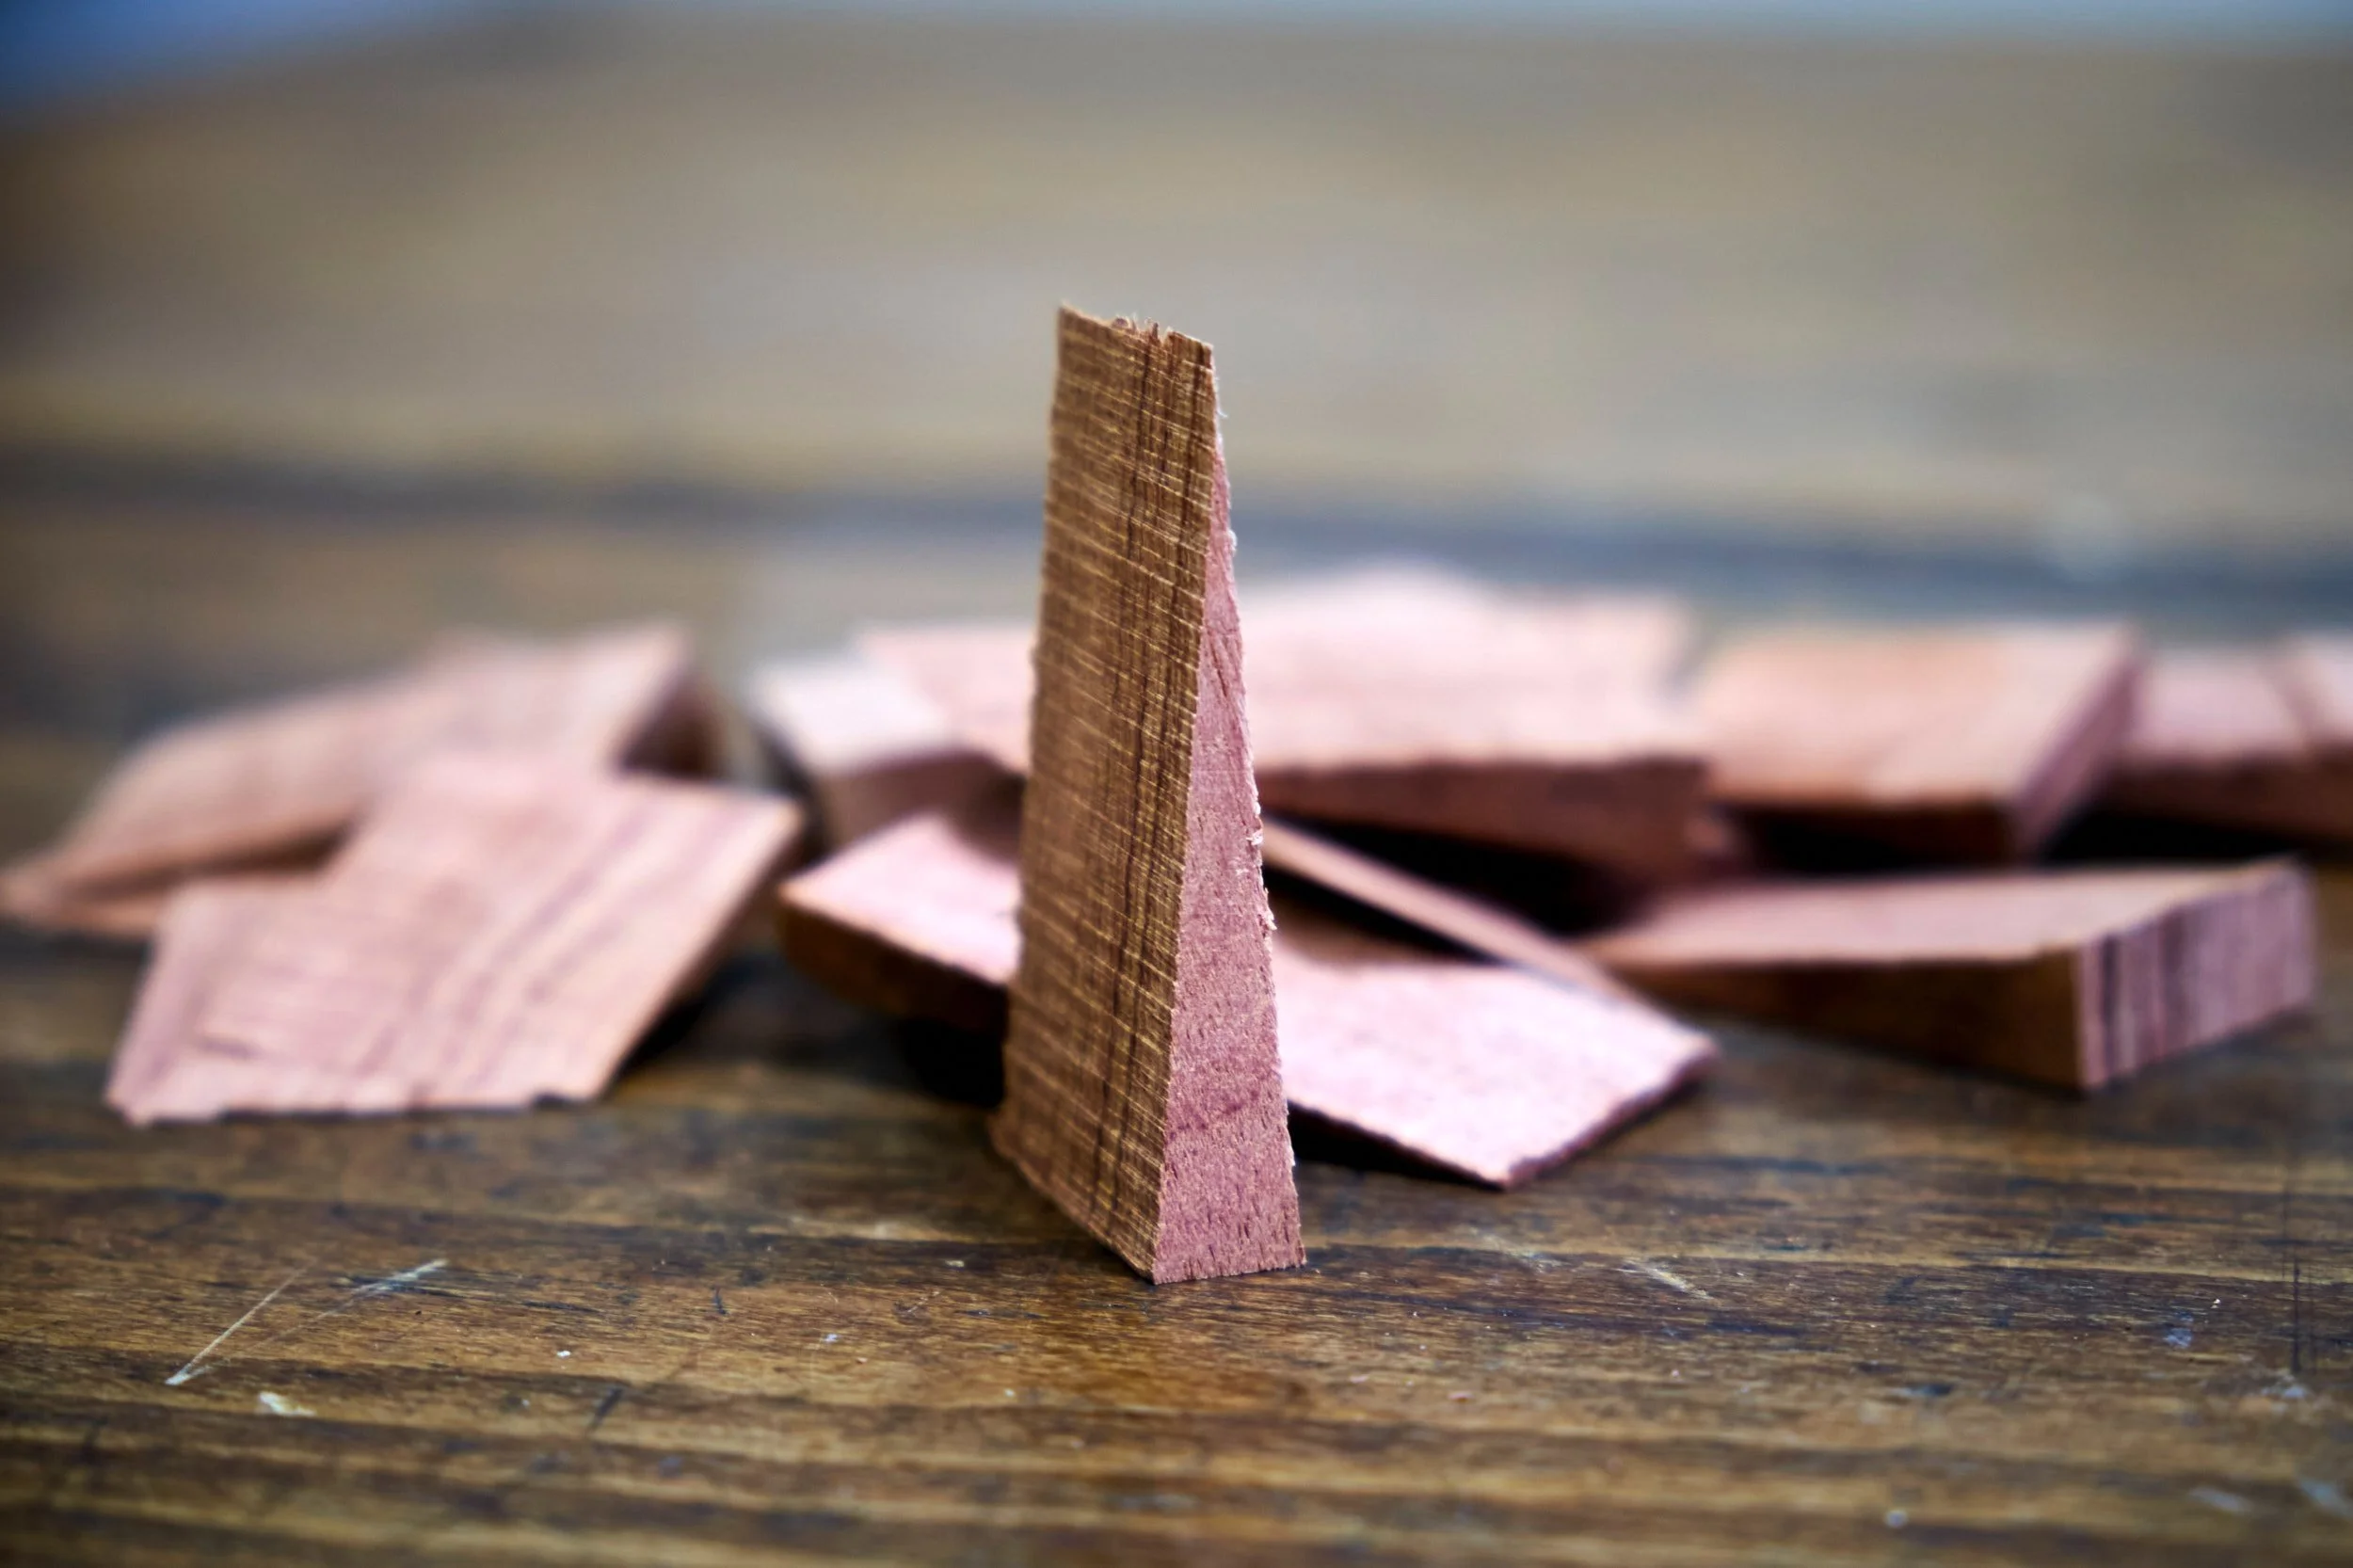
I only got around to making this one a couple of days ago and for the life of me I have no idea why I waited so long to make one!
Up to this point I’ve cut my wedges by hand and it was a right royal pain in the you know where.
It’s used on the band saw and set permanently at a 5º off of 90º and results in wedges that have a 10º included angle. I made mine over long and then cut the excess of on the bandsaw and now I not only have a zero clearance support for the wedges being cut I can also use the edge of the sled to eyeball where the blade will likely exit the cut and can thus adjust the length of the wedge on the fly.
Really neat little jig and after a quick test I’ll have to build more chairs simply because I have the wedges, sort of like my wife needing a new outfit just because she has the shoes!!
Sightline Rule - Peter Galbert
I haven’t used this one yet.
The purpose of this one is to indicate the position of the sightline and measure the angle at which the hole should be drilled for the leg mortises (resultant angle). To be able to use it you first need the rake and splay angles and one would primarily use it when building one’s own designs.
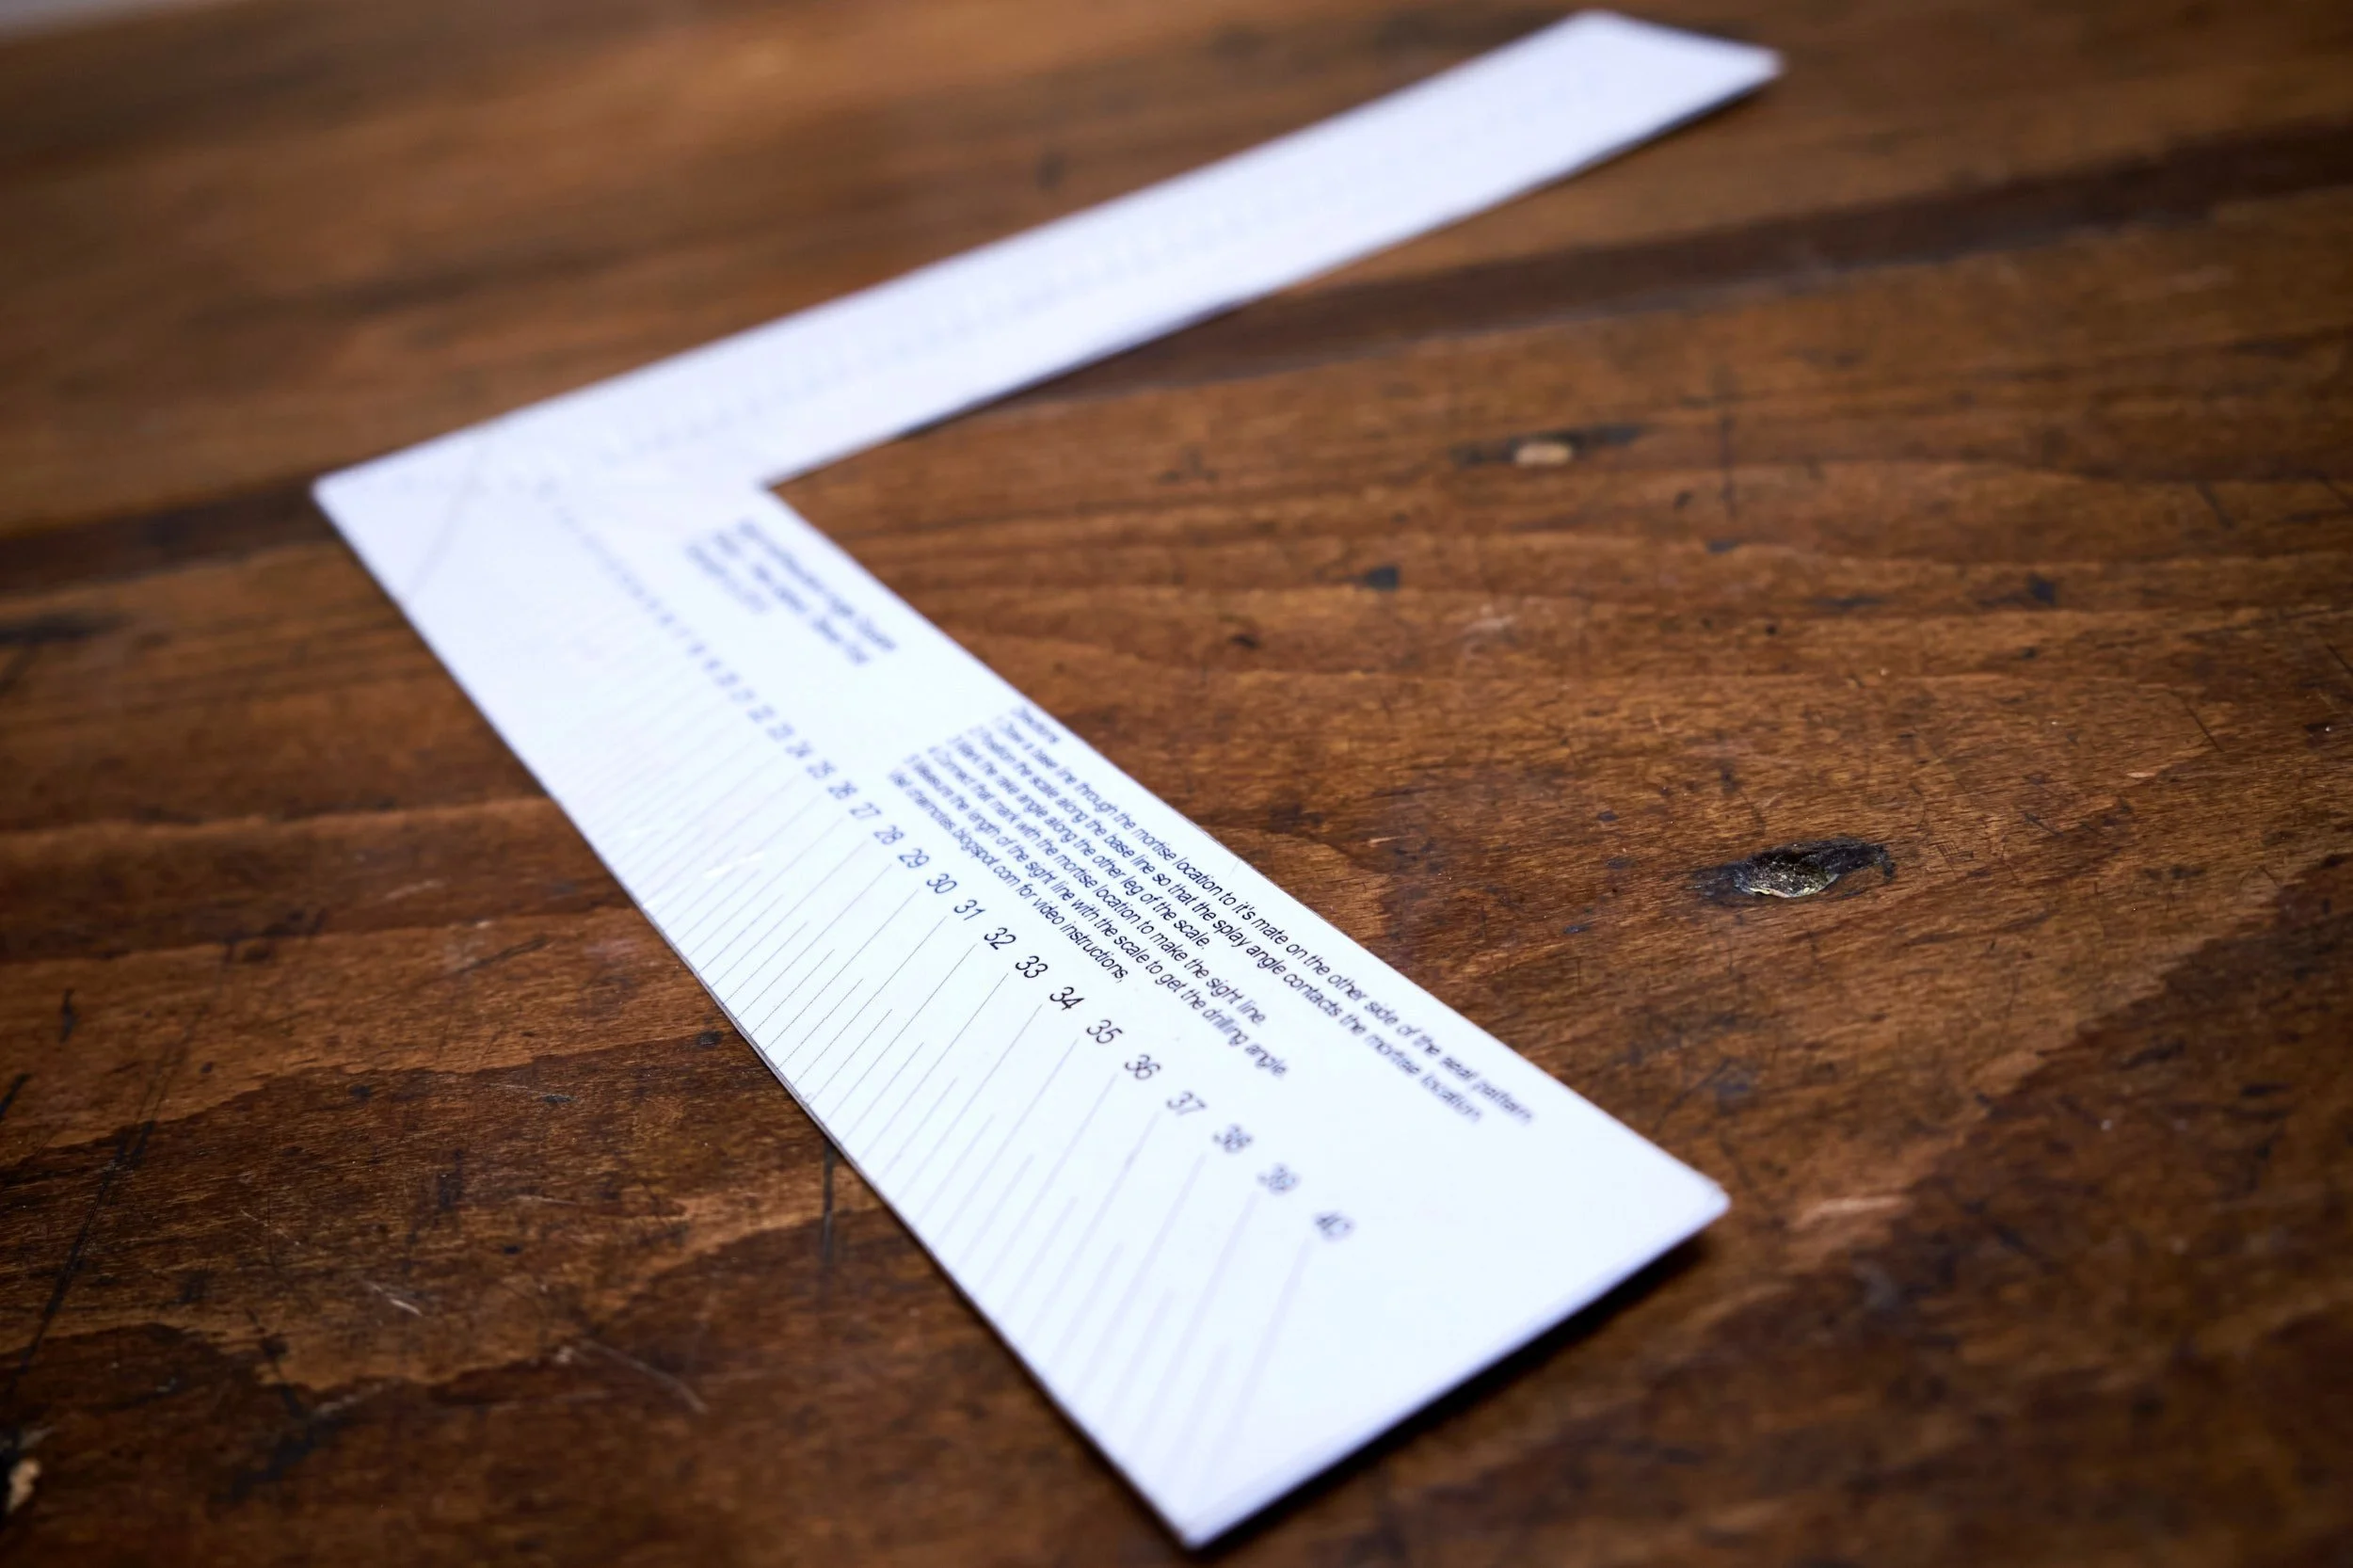
At the moment I’m working from Christopher’s designs so all the angles and sight lines are given on the plans. I do want to use the rule to see if I can “backtrack” the measurements to see how it works but I always forget to do it before I drill the mortises so I lose the middle of the hole that I should be measuring from!
Tenon Gauge Blocks - Me
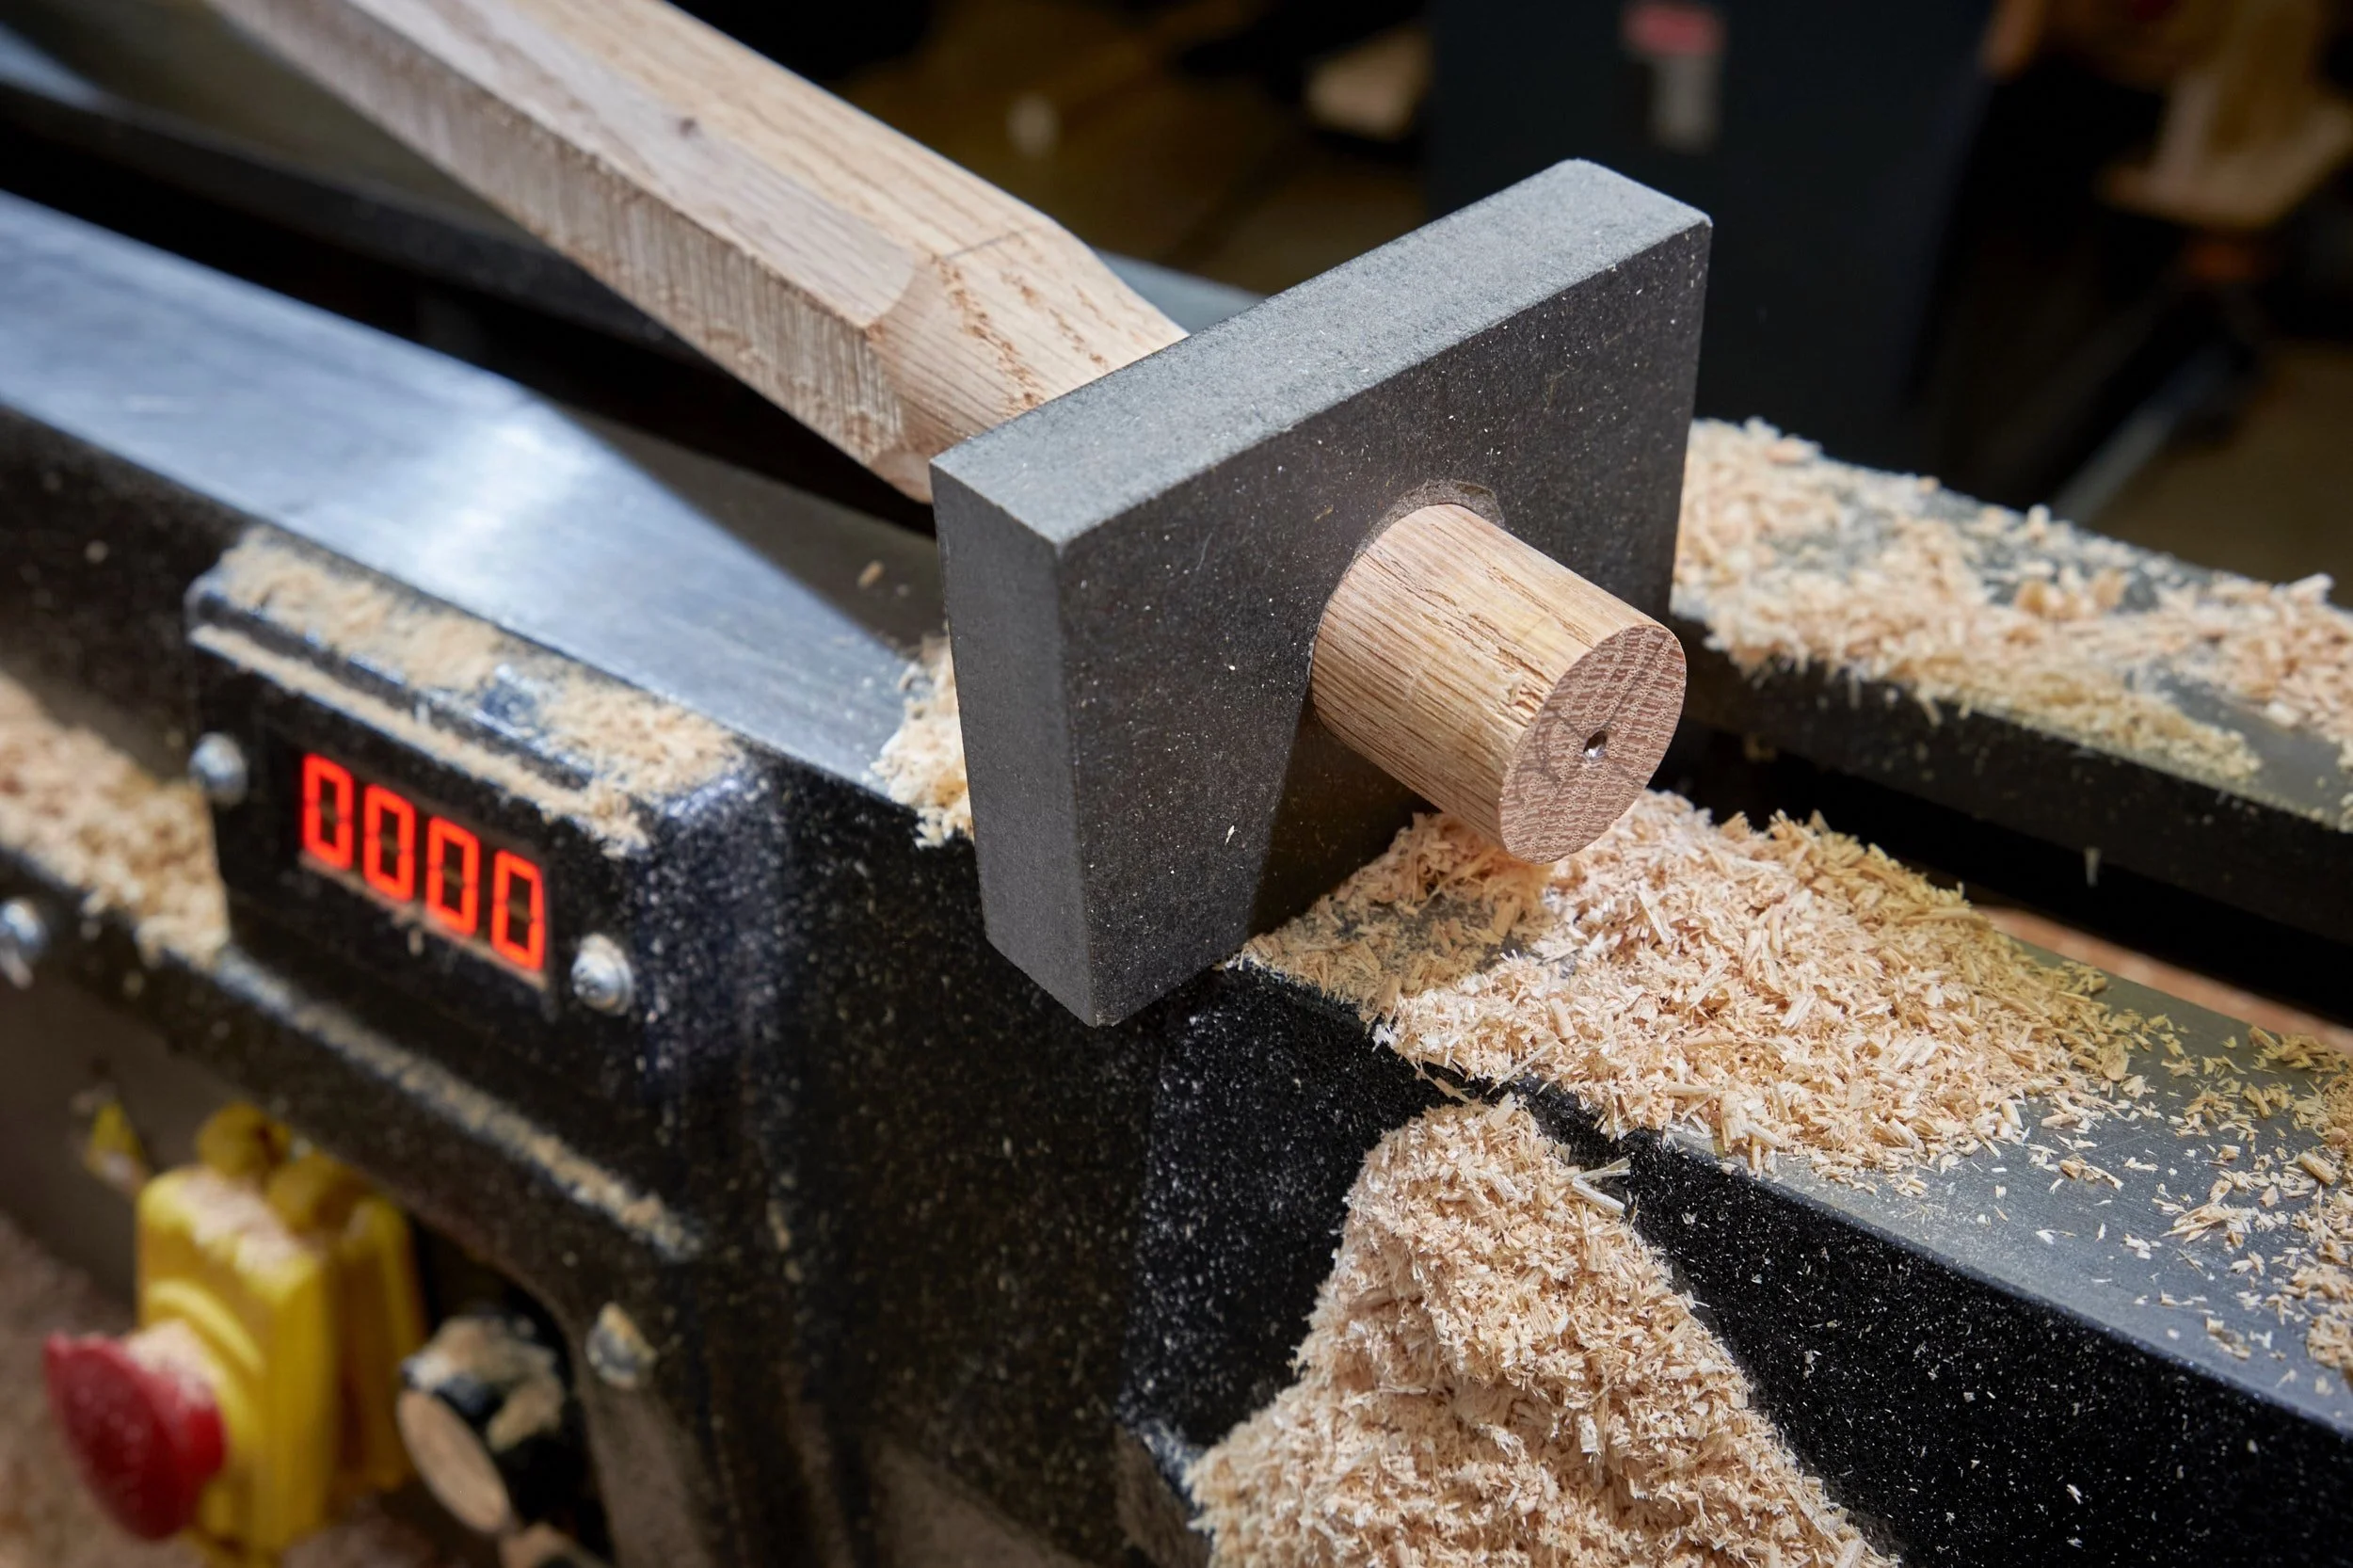
Both Christopher and Peter taper and ream their chair mortises and leg tenons but I do not have access to the tooling required to do the tapering and reaming on my own chairs. I use straight walled mortise and tenons to build my chairs and I turn the tenons on my lathe.
I’ve drilled holes into small square blocks using the same spade bits that I use to drill the mortises and once I get the tenons close to the right size I check them against the gauge blocks to see if they will fit the mortise. This process is much easier than taking the leg off the lathe and trying to check the fit against the mortises. Once I have a close fit to the hole in the gauge block along the full length of the tenon I will then take the leg to a drilled mortise for a fit.
Laser Level - Christopher Schwarz
I learned about using a laser level to help with the drilling angles of the mortises to take the back and armrest sticks from Christopher’s Gibson chair video series and used it on the chairs I built last year, it worked a treat.
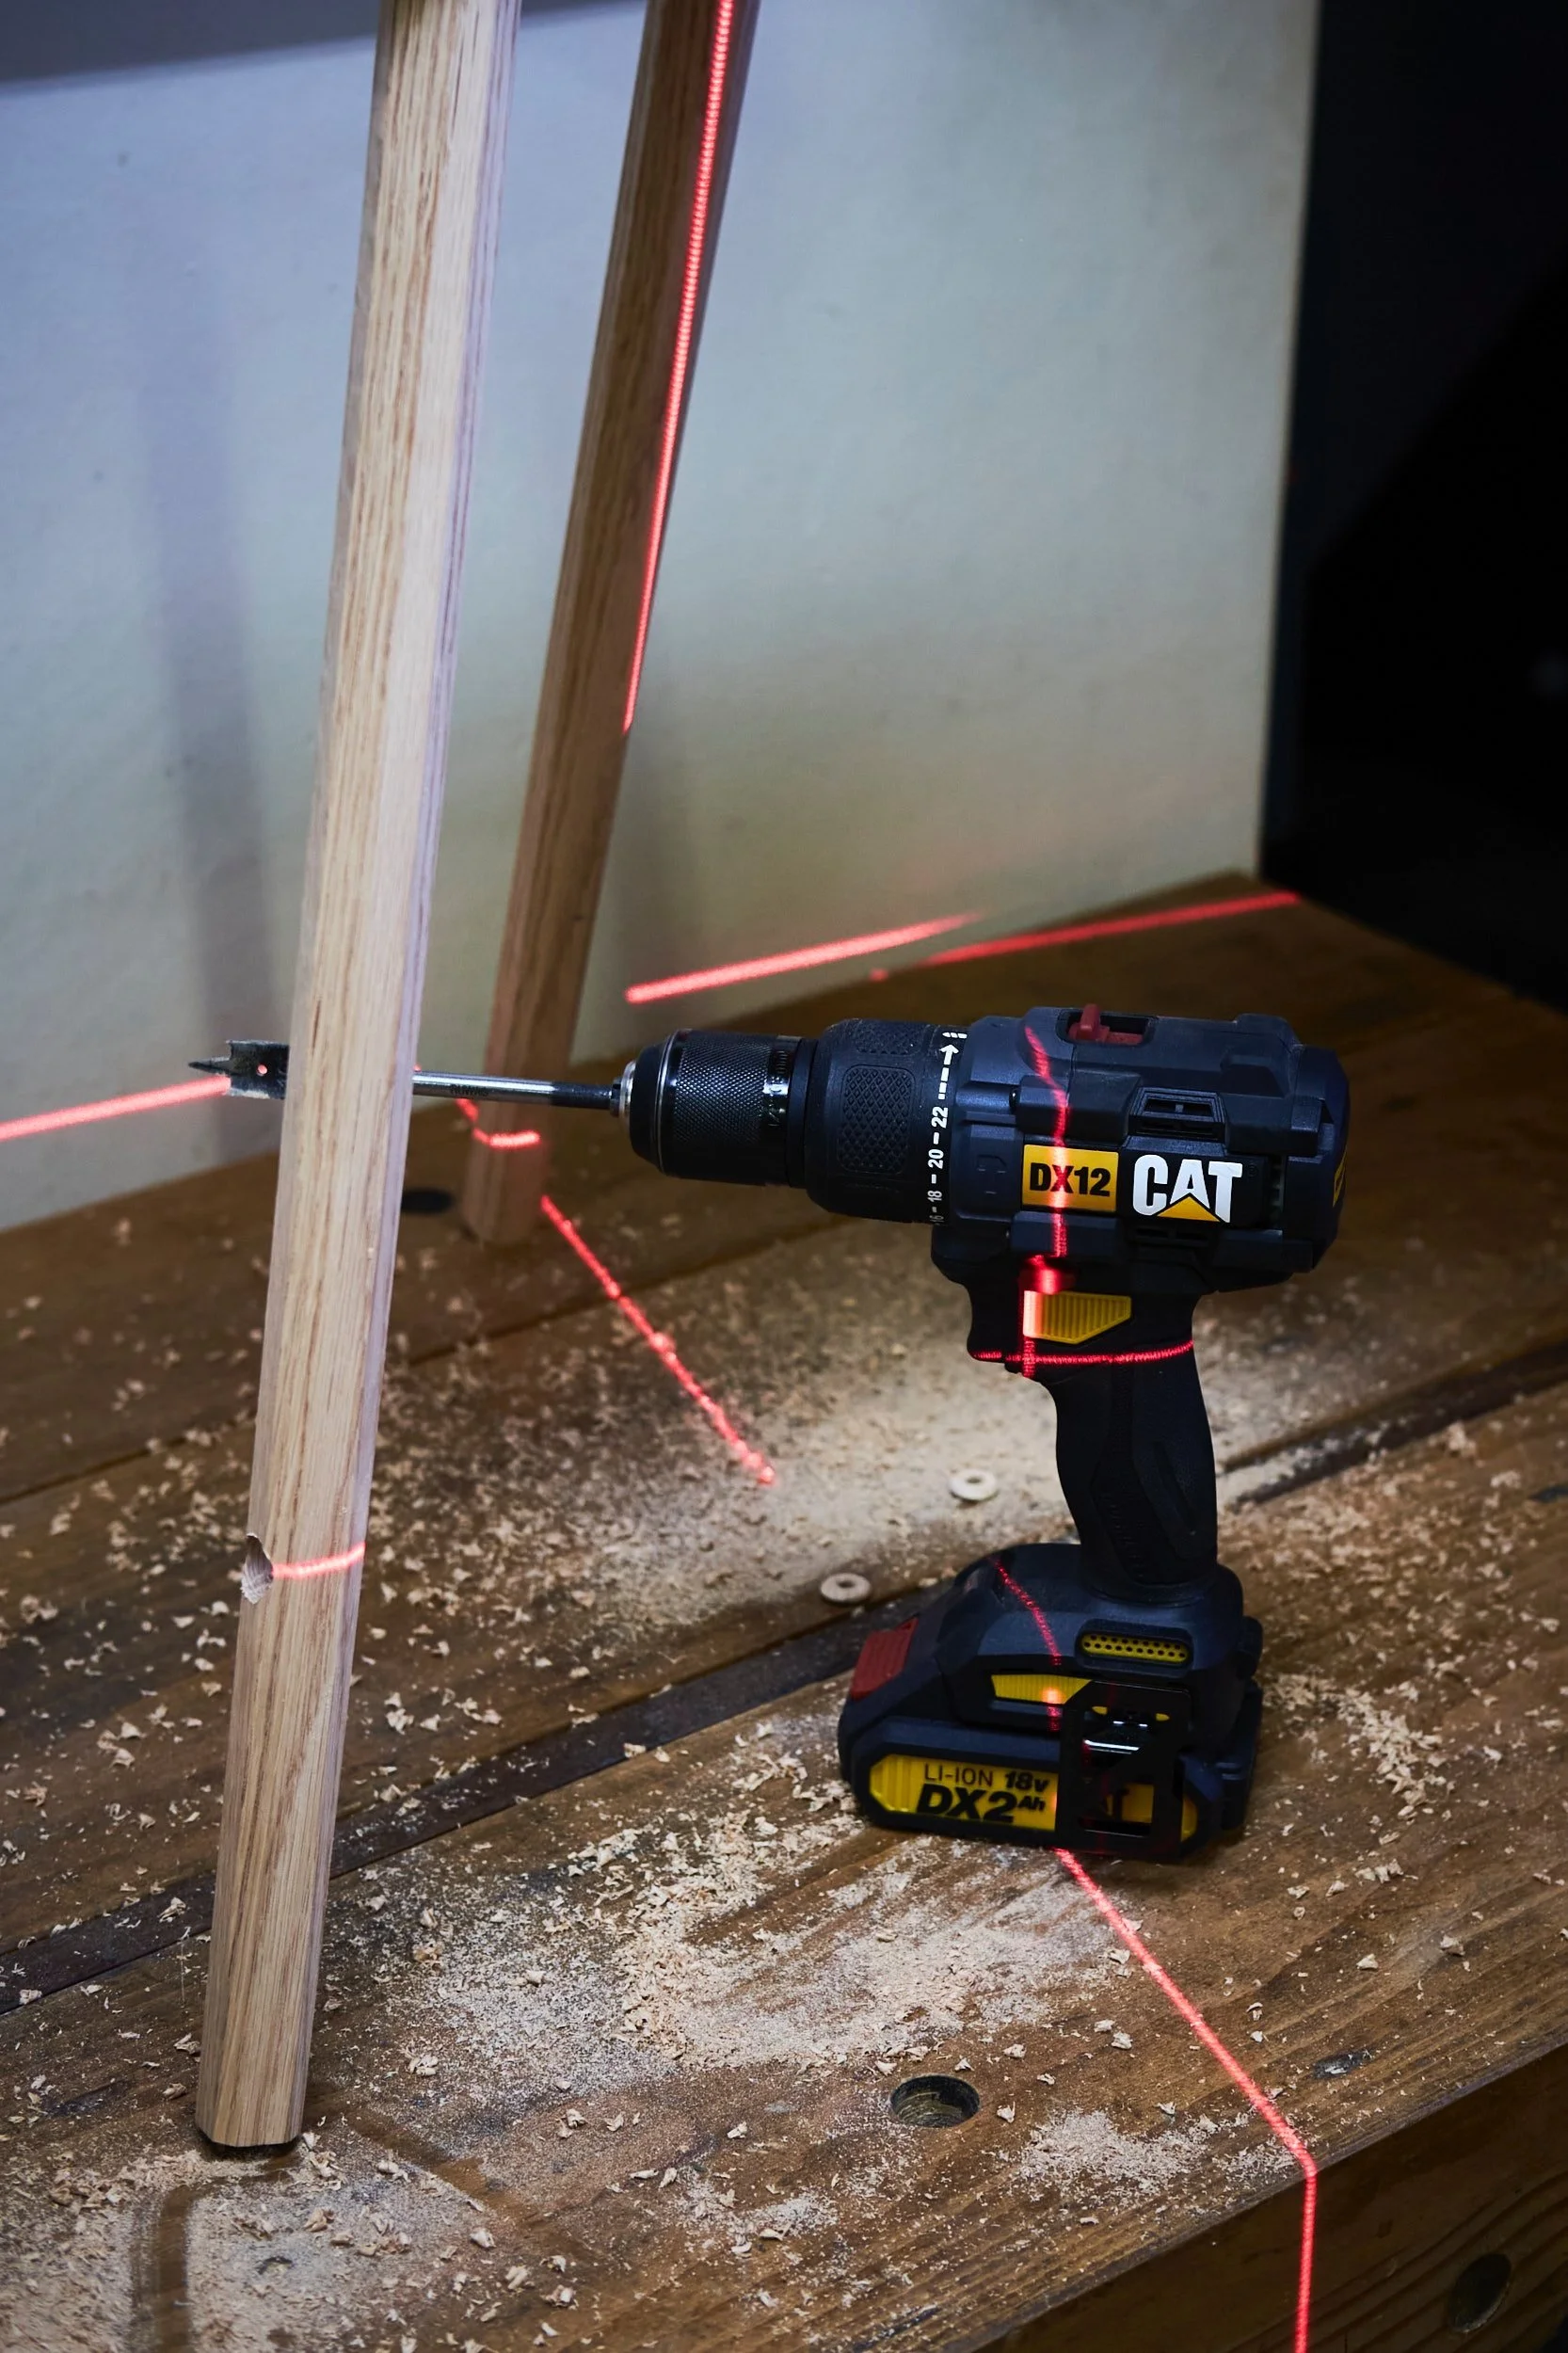
The one I use has a nice levelling feature and it’s really small so it’s easy to set into the correct angle and position using the ball head on one of my photography tripods.
The laser is red though and it can be hard to see at times, apparently green lasers work better.
Drill Extension - Peter Galbert
Not a jig per se but Peter’s drilling jig will not work without it. The position of the pivoting guide block is set high on the jig and you need to extend the distance between the spade bit and the drill so that the drill bit shaft keys into the slot made for it in the guide block.
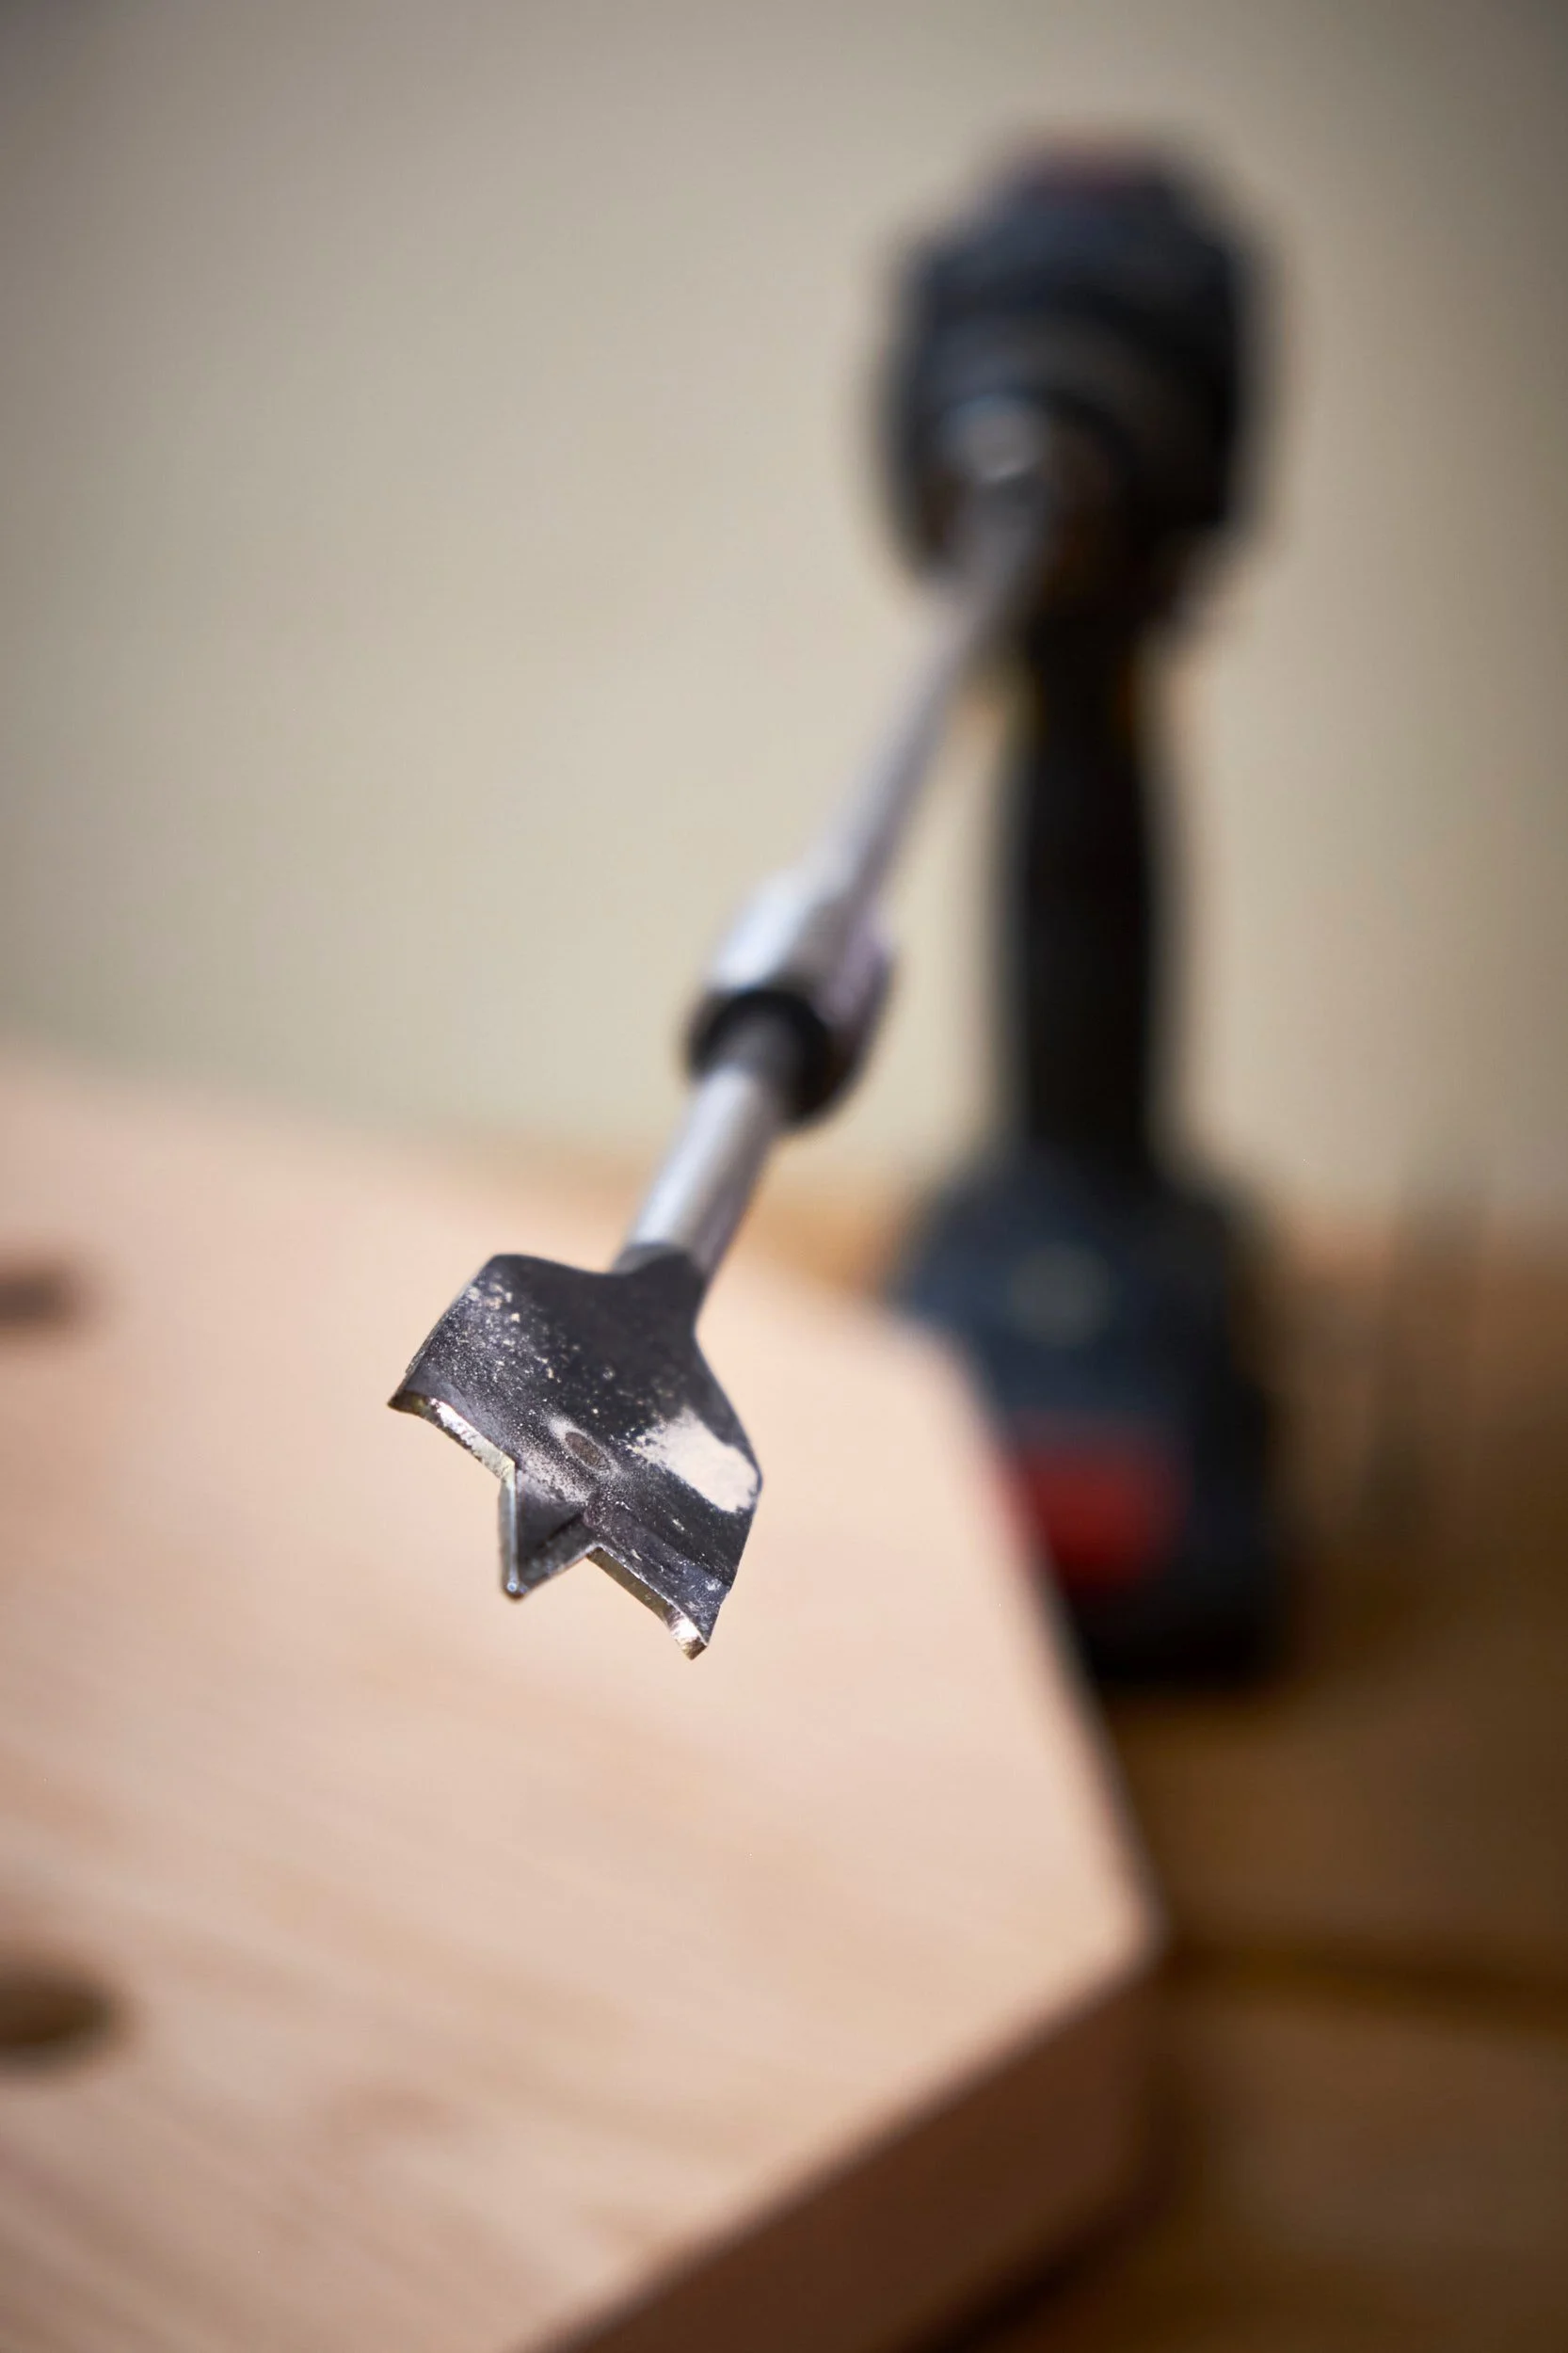
Luckily I have access to a wide range of extenders that are specifically made for the spade bits I use.
There you have it, a brief run down of the jigs that help me build my chairs. They work and if you have ever considered building a stick chair and have had doubts about drilling accurately at angles or if the geometry involved had put you off, you can now consider making your first chair by using some or even all of the ones I use.
I would strongly suggest giving it a try, making chairs is a surprisingly rewarding process.
By the way if you are interested in getting a copy of Christopher Schwarz’s “Stick Chair Book” you can select the PDF as a free download on this page.
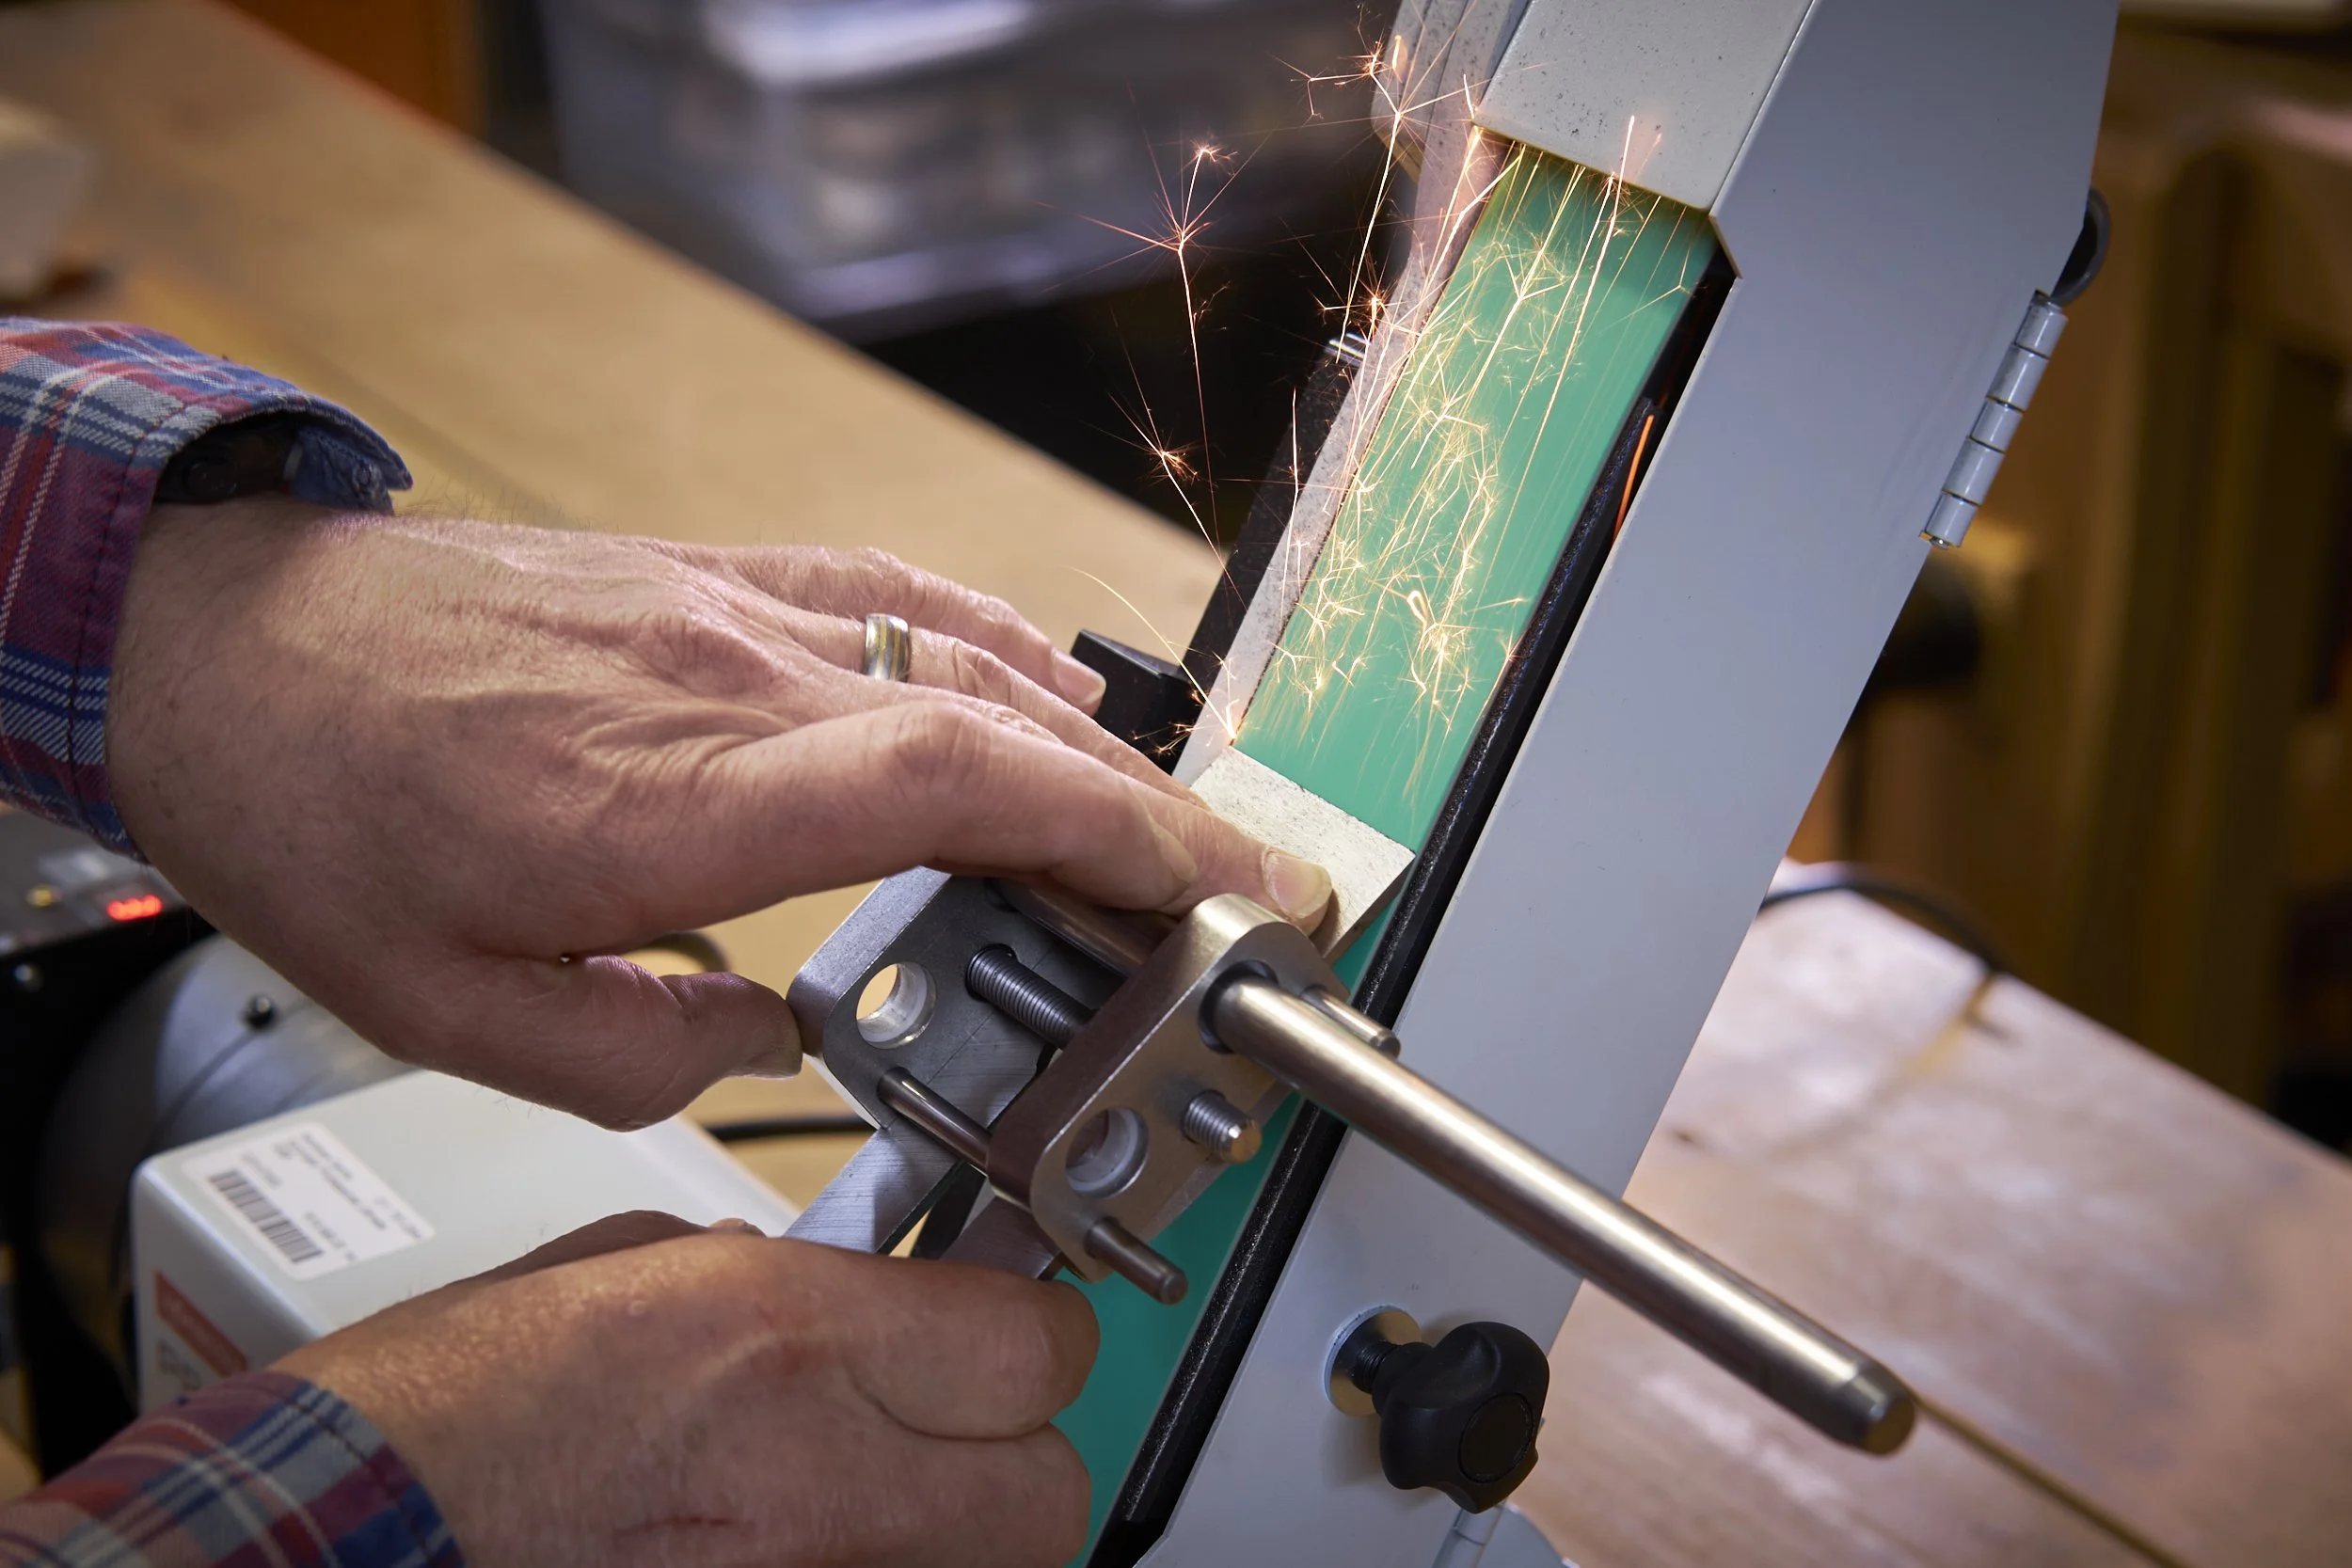

A hands-on comparison of the three most popular hand-sharpening systems — diamond stones, Japanese water stones, and the “scary sharp” method. I’ll share the real pros, cons, and quirks of each, along with what I actually use in my own workshop.