
Sharpening Jointer Blades with the Veritas Sharpener
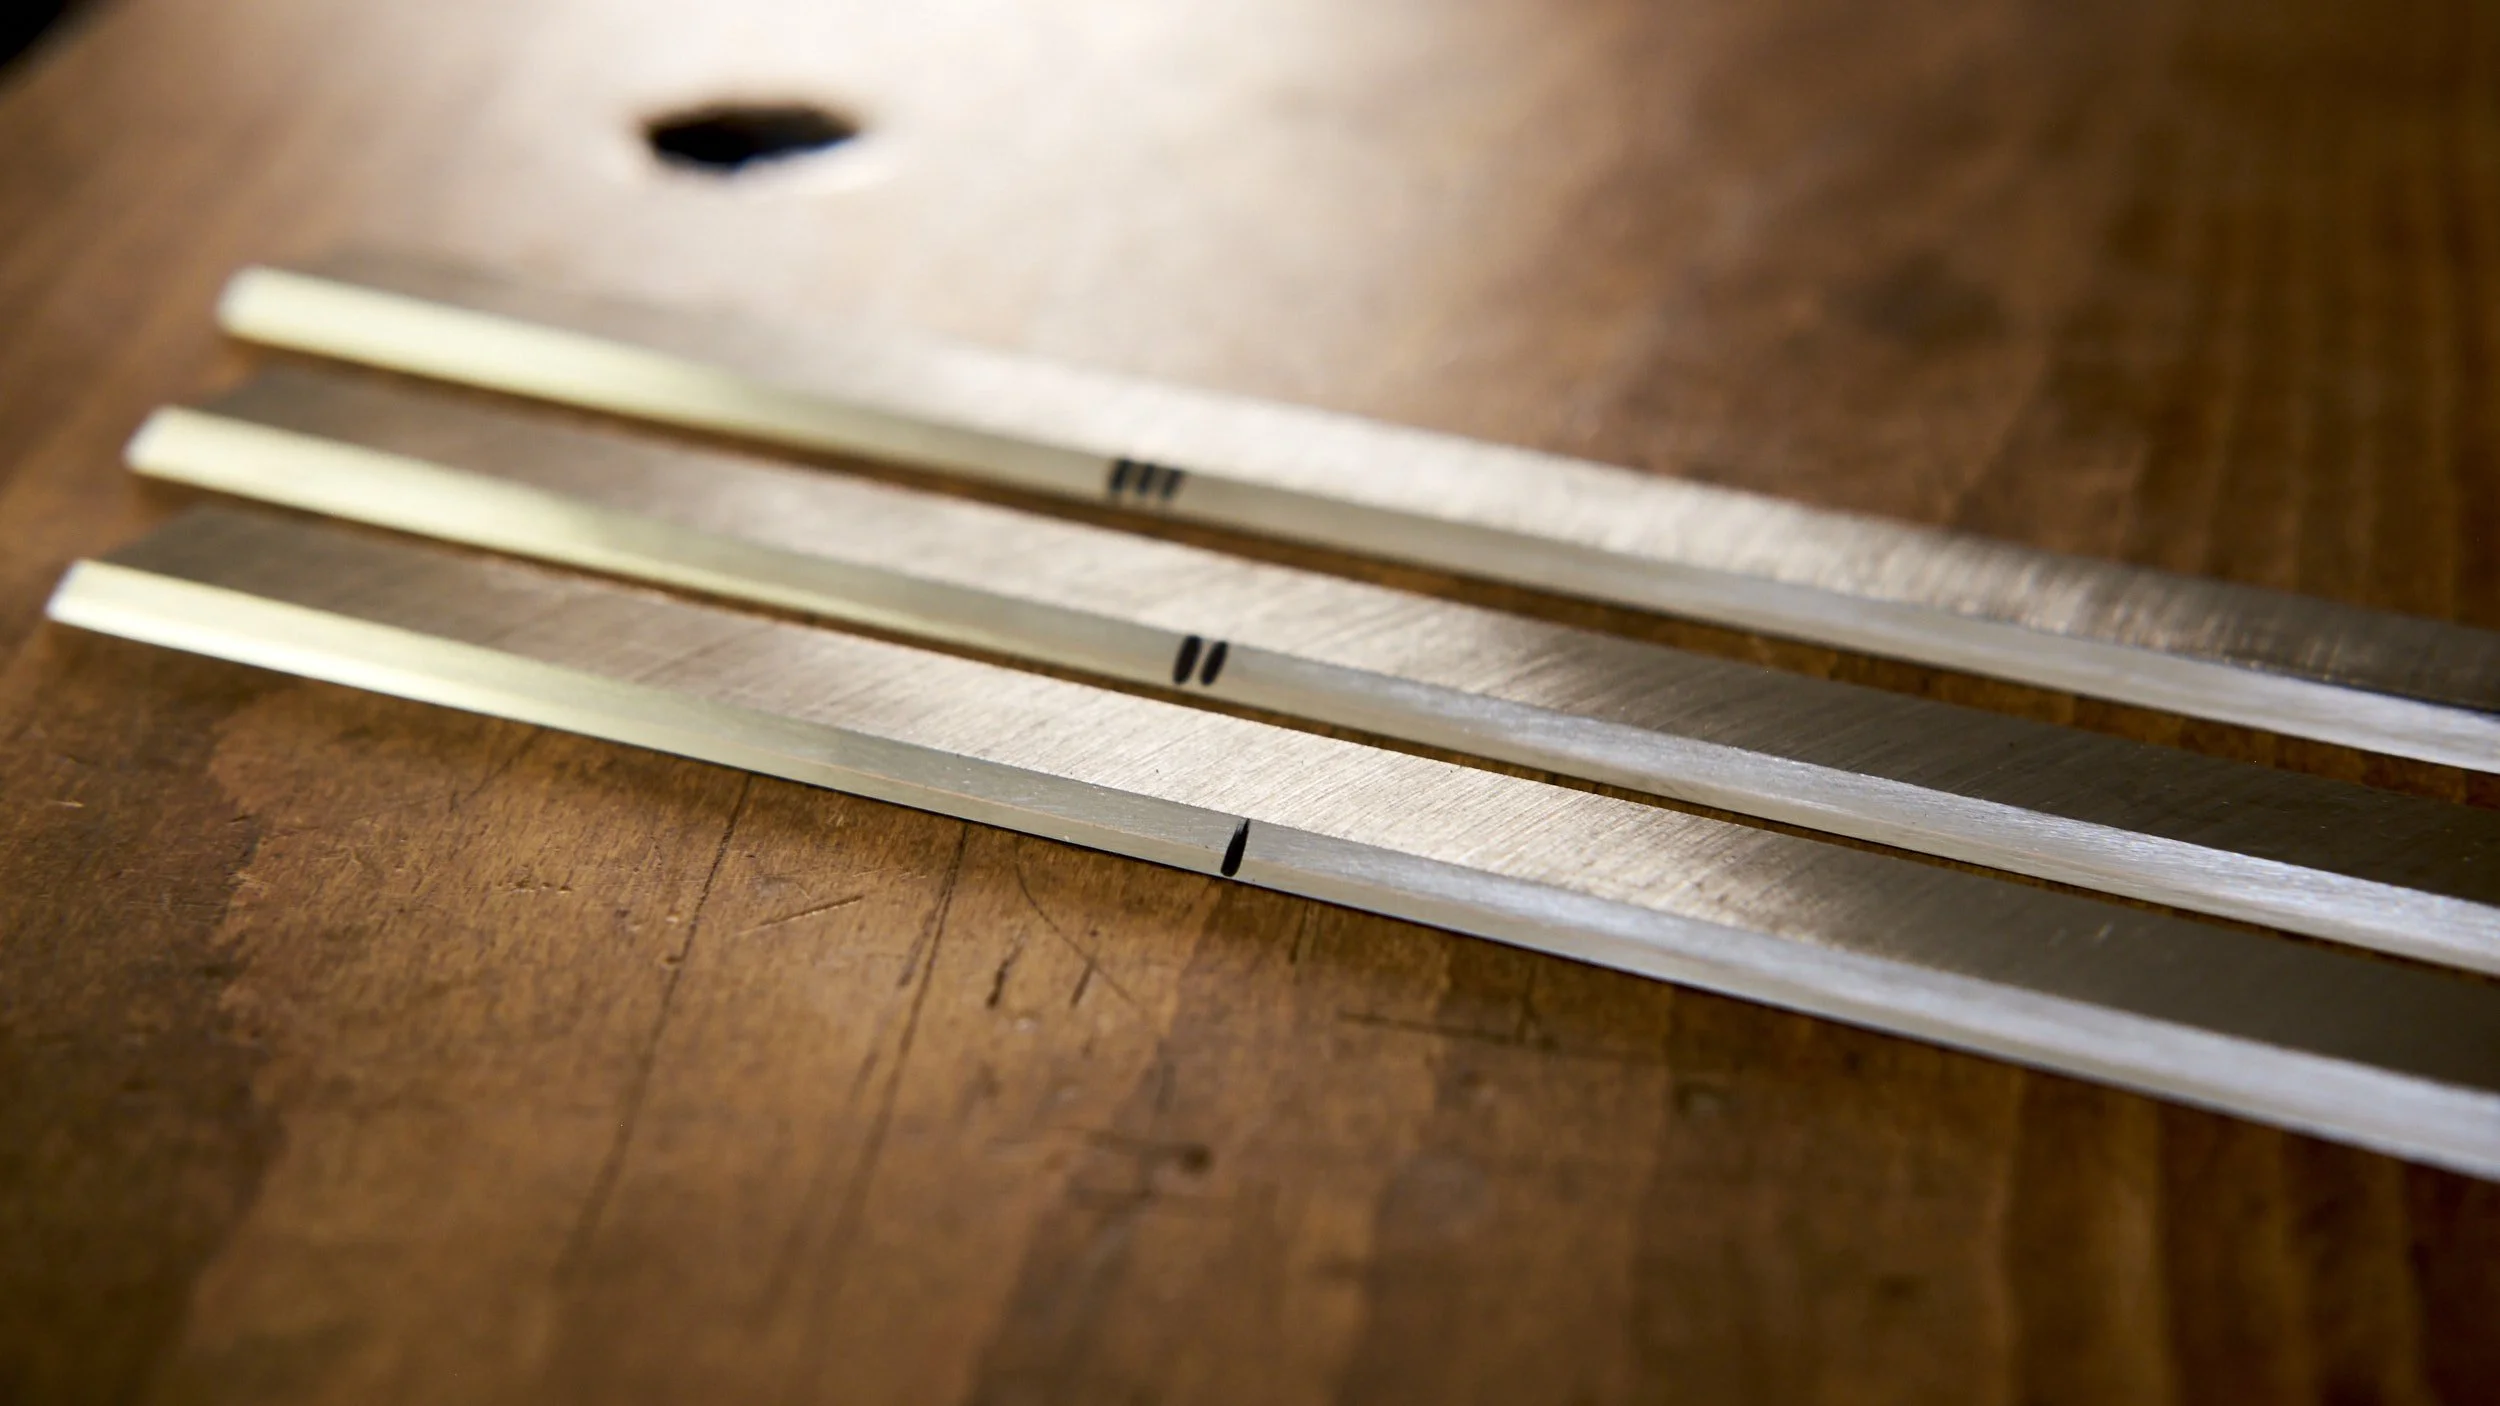
No, it’s not — at least not in my workshop!
I’m usually in the diamond plate camp for sharpening, but jointer blades are an exception. Today, I’ll show you how I use the scary sharp system with the Veritas Jointer Blade Sharpener jig.
In this guide, I’ll walk you through my step-by-step process for sharpening jointer blades with the Veritas jig using the scary sharp system. I’ll also share some practical tips and my honest thoughts on the tool itself.
Let’s jump in!
Keep in mind that when I mention “scary sharp” I am referring to the scary sharp system that uses abrasive sheets on a flat surface rather than the sharpness of the blade. In regard to sharpness I’m always aiming for scary on my hand tools but I’m much less fussy about reaching this level of sharpness on jointer blades and turning chisels.
I’ll explain the reasons for this later.
Why I Use the Scary Sharp System for Jointer Blades
Why the scary sharp system? Because the jig was designed to be used this way, and the box even includes a sheet of lapping paper. I tried adapting my diamond plate system for the jig, but it was a pain to manage, so I went with how the jig was designed.
The jig comes with a complete set of instructions in the box but I’ll be showing my method, starting by installing the blade into the jig. Then we’ll set the grinding angle on the jig by using the existing primary bevel as a guide and finally we sharpen.
Please keep in mind that as with all blades, these too need some prep before they can be sharpened and put into use. You can read more on blade prep here but for now it is important that the backs of the blades are flat and honed to the same level of grit at which the blade will be sharpened.
Let’s assume the backs are flat and jump into sharpening.
Step 1: Installing the Blade in the Veritas Jig
The user guide states that the blade should be positioned in such a way so that there is a ⅛ inch gap between the back of the bevel of the blade and the front edge of the jig. In my neck of the woods this would be just over 3mm.
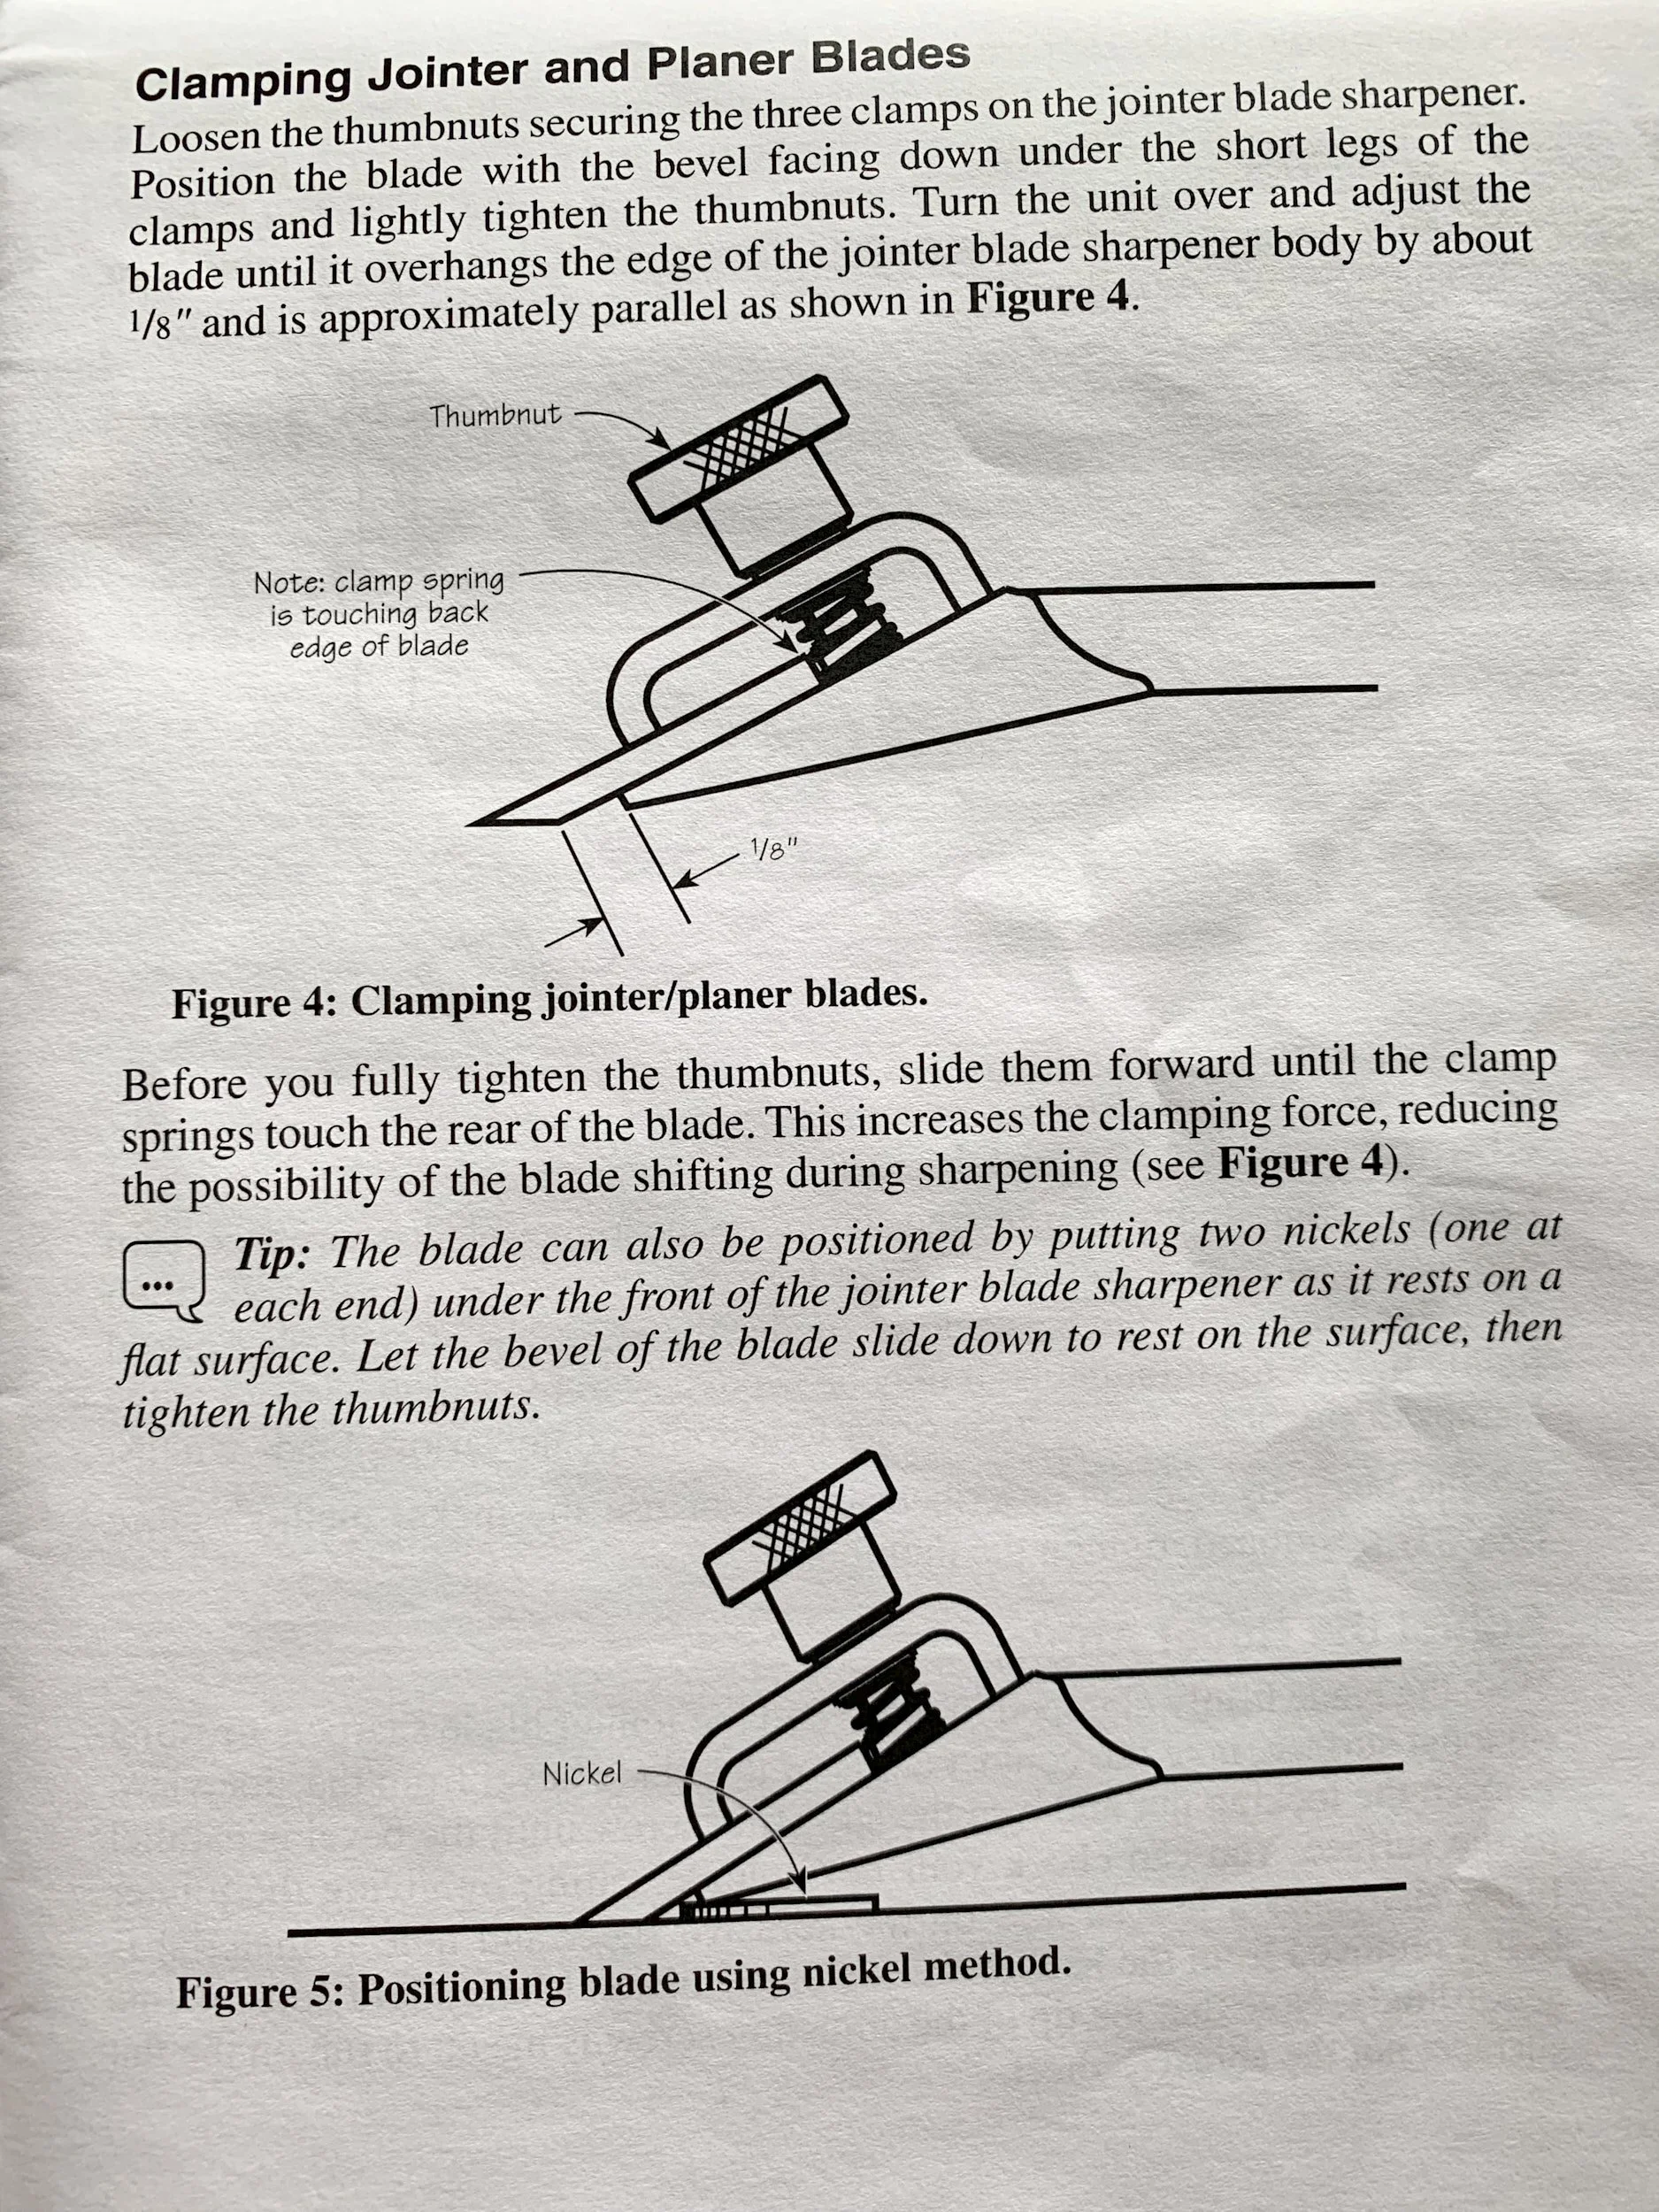
Don’t waste your time using this method it doesn’t work. This setting will cause the front edge of the jig to drag on the abrasive when sharpening the blade. If you happen to use this jig and this setting works for you, could we please set up a call so that you can explain what I’m doing wrong?
Veritas does offer an alternative to the ⅛ inch placement by using a nickel under the front of the jig. This image shows the two suggested methods.
As a South African I do not have access to nickels but I’m sure any small change will do the job.
If the methods suggested by Veritas do not work for you try the following.
Lay down 3-4 layers of masking tape on a flat surface. If you have extra space on the surface that you will be using to put the scary sharp abrasives on to, you can put the tape on the same surface and use this a permanent set-up guide.
Set the front part of the jig on the tape in a similar manner as you would do if you used the coins.
Install the blade so that the bevel is flush with the surface and tighten the clamps
Once happy set the two stops against the back of the blade and tighten.
The stops will ensure that all subsequent blades are sharpened to the same angle once the jig is set.
Be careful to have the clamp springs placed against the back of the blade and the clamps themselves positioned over the body of the jig. Both will ensure that the clamping force is as stable and even as possible.
Pro Tip: I label each blade, both before sharpening and installing them into the jointer. It helps me keep track of which blade I’m busy with.
Step 2: Setting the Jig Angle for a Consistent Bevel
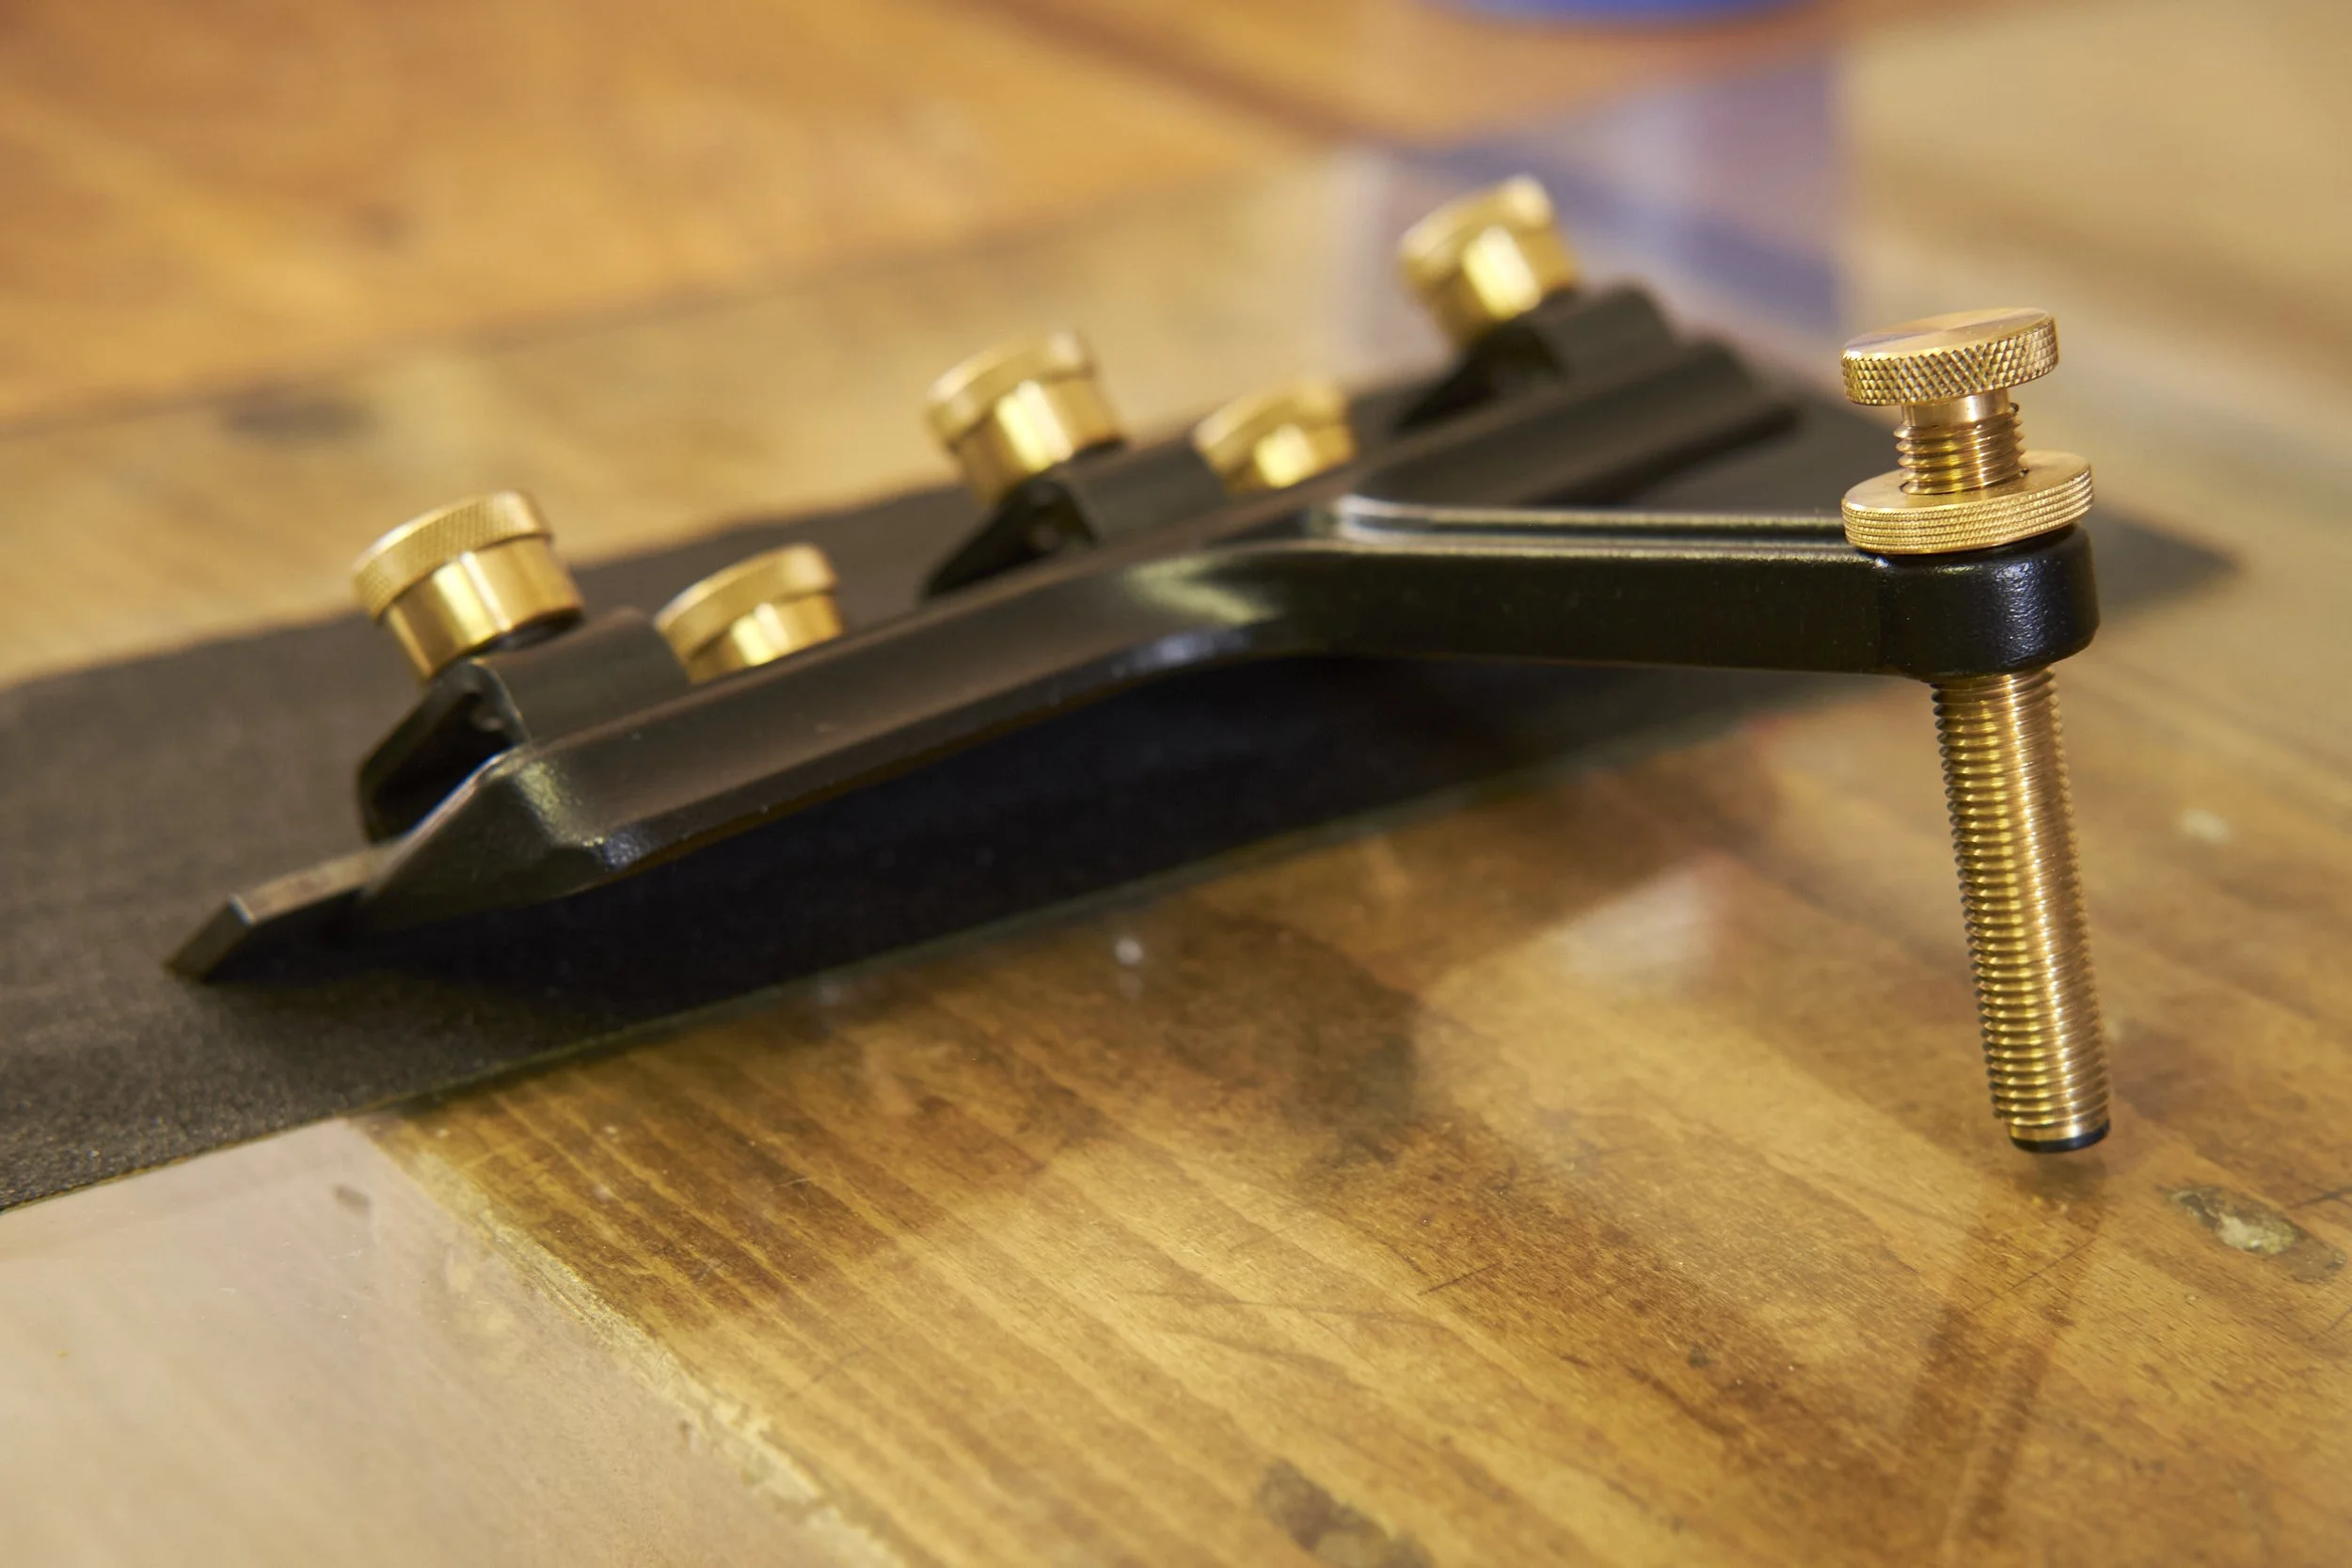
In this step we will be setting the angle of the jig in a way that will allow us to grind material away from the primary bevel.
What should that bevel be?
Although general consensus is that 25º is the accepted norm for hand tools the same cannot be said about jointers. It’s bad enough that woodworkers can’t seem to agree on an optimal bevel angle, but manufacturers do not agree either and that is if they even make the effort to state a bevel angle in their documentation in the first place!
Then we haven’t even started a discussion on secondary bevels yet.
Not being fortunate enough to have a bevel angle stated in the documentation of my jointer I try to match the bevel angle the blades came with. I also have an aftermarket set of blades that allows me to simply swop out sets as needed and these actually have a higher primary bevel angle than the set that came with the jointer.
I use the “sharpie” trick detailed below to match existing angles.
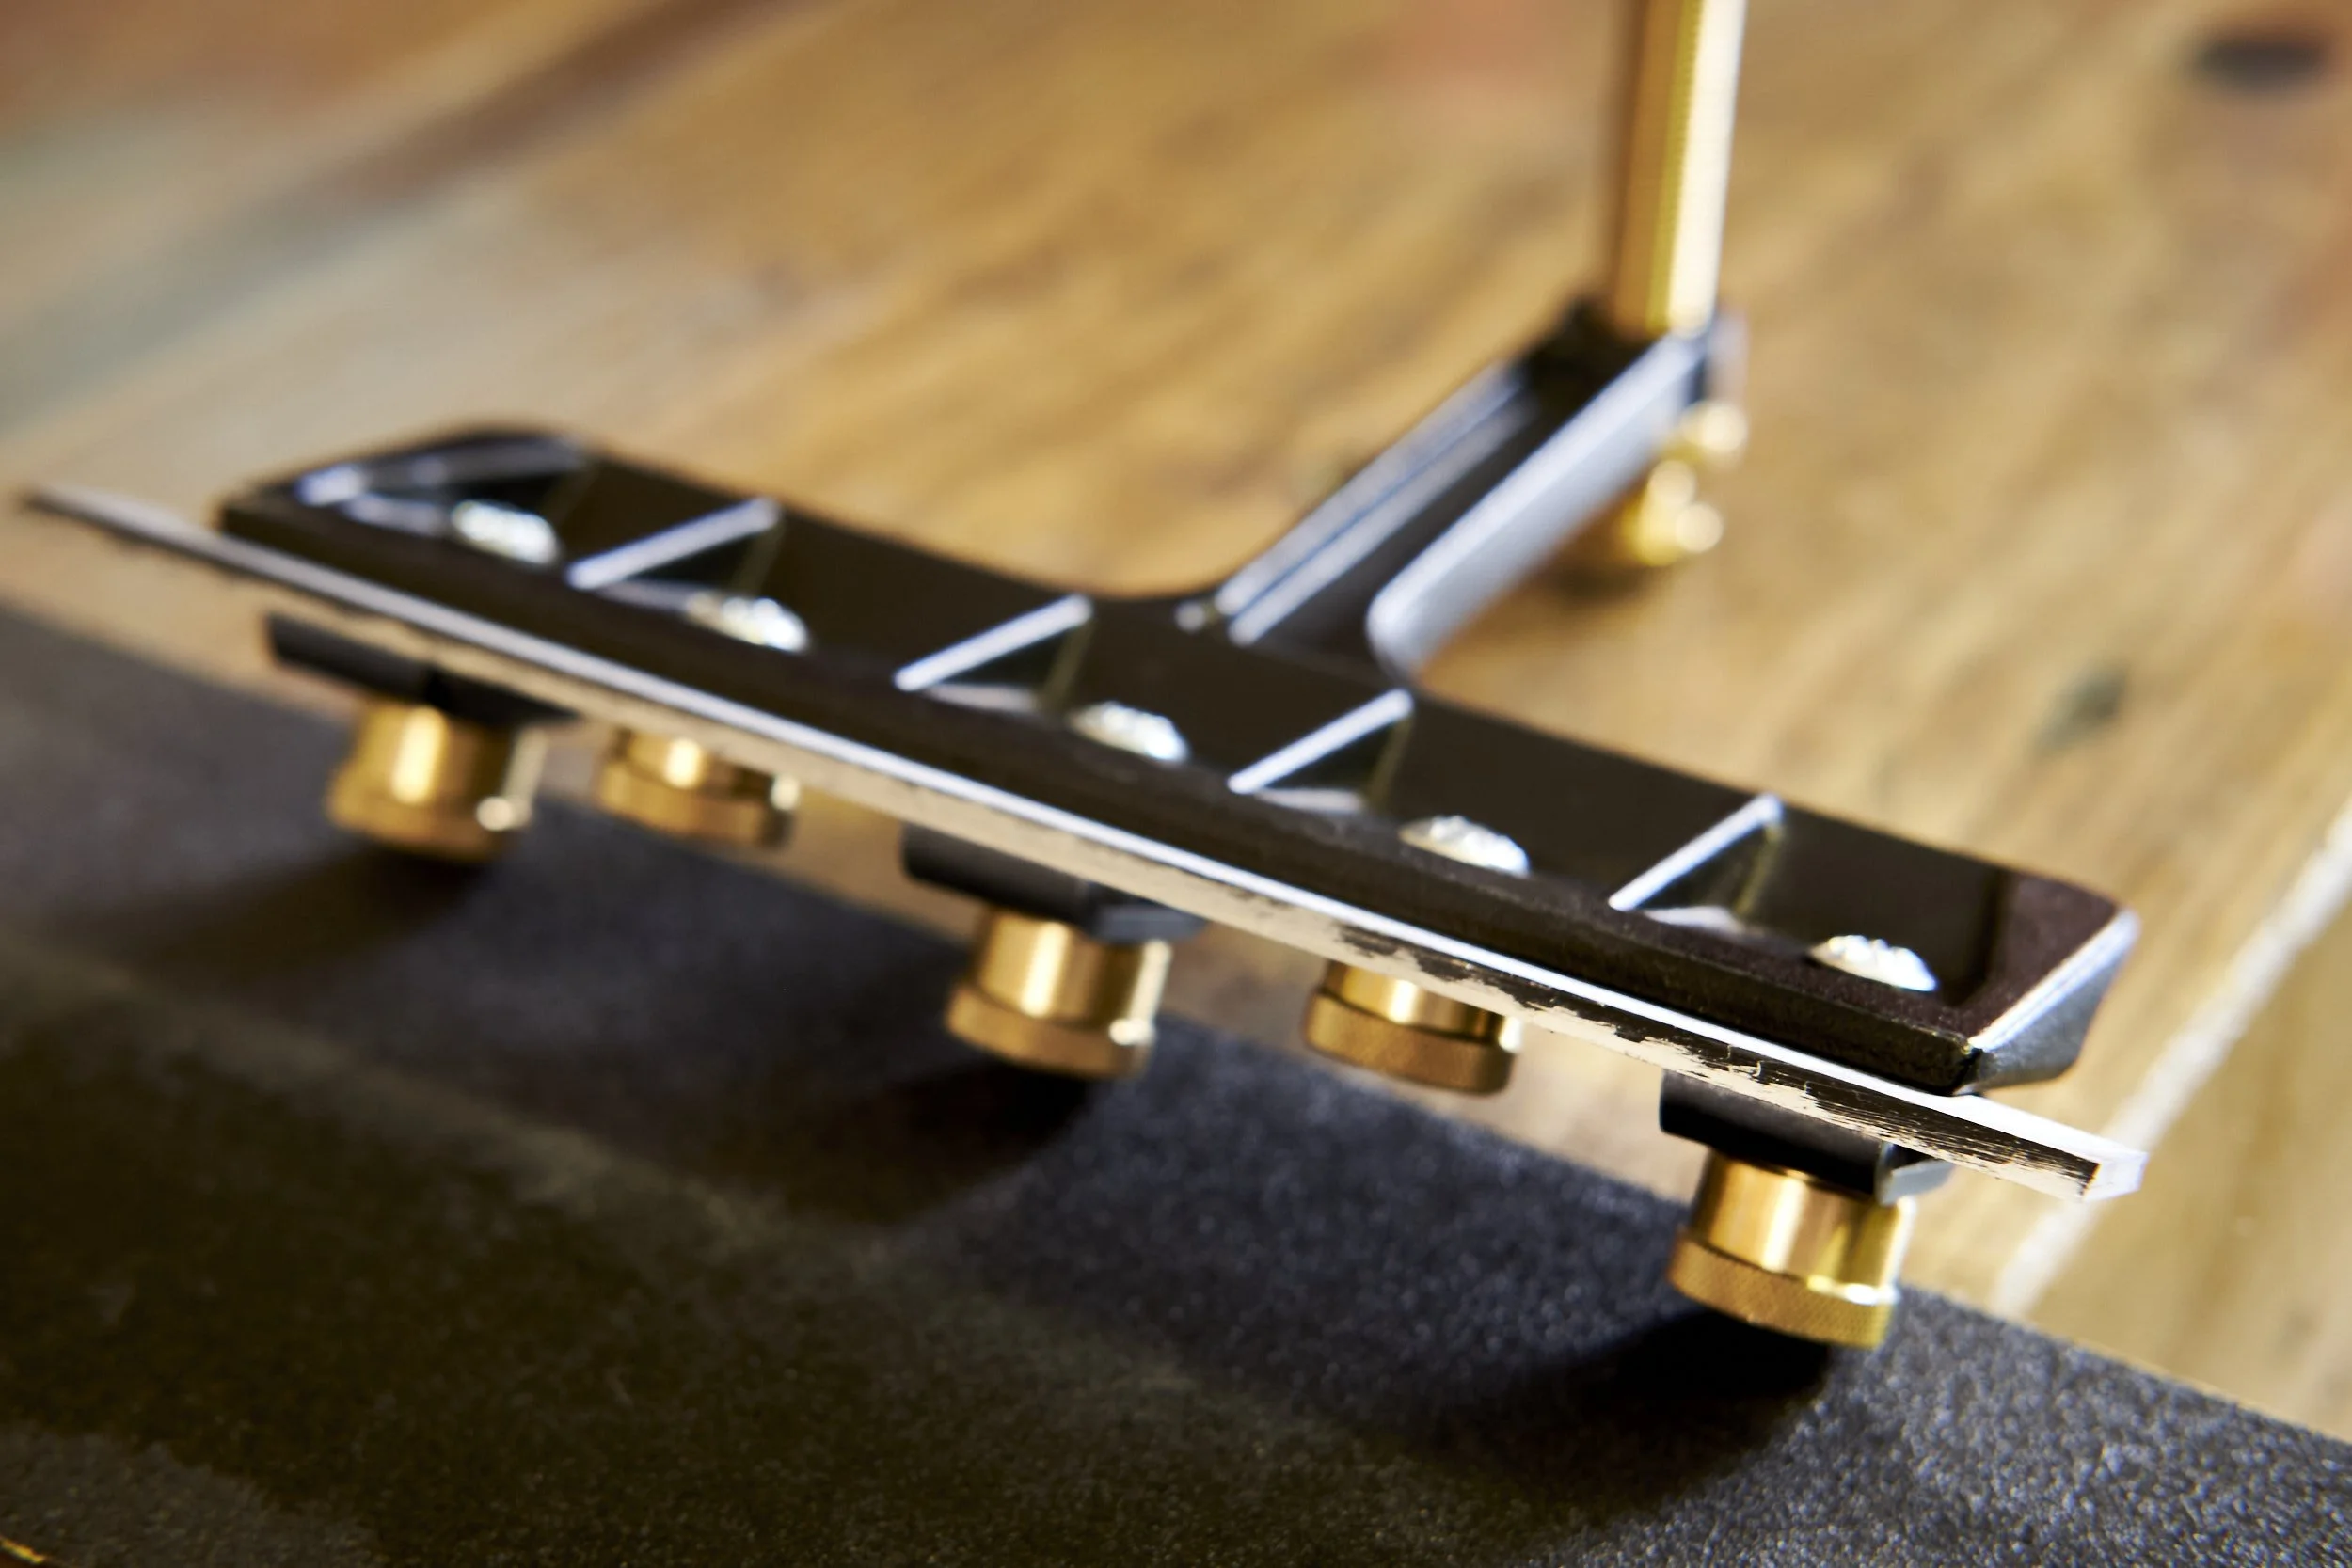
With the blade installed into the jig colour the whole bevel of the blade with a black “sharpie”. It doesn’t need to be this particular brand, any permanent marker will do.
Place the assembled blade/jig on the first abrasive that will be used during the sharpening process, bend your knees and eyeball the position of the bevel in relation to the abrasive.
If it looks as if the bevel is parallel to the abrasive continue to the next step. If not, turn the adjusting screw on the back of the jig either up or down to bring the bevel in line with the abrasive, tighten the lock nut.
Move the jig back and forth over the abrasive to start removing metal from the bevel.
After a stroke or two have a look at the blade to see where the black ink is being removed. If only from the front edge, retract the adjustment screw to lower the bevel. If from the back, advance the screw to lift the bevel.
Once the ink is being removed evenly along the full length of the blade you can continue to step 3.
Make sure you secure the lock nut once the jig angle is set, this will ensure that it remains at the correct angle through the rest of the process.
Pro Tip: I use the “sharpie” trick a lot to find and match bevel angles during sharpening. When you use this technique avoid using any liquid lubrication on your sharpening abrasives as it tends to wash the ink away and can give a misleading indication of where metal is being removed. Once you have the correct angles set up, go ahead and use the lube of your choice.
Step 3: Sharpening the Jointer Blades
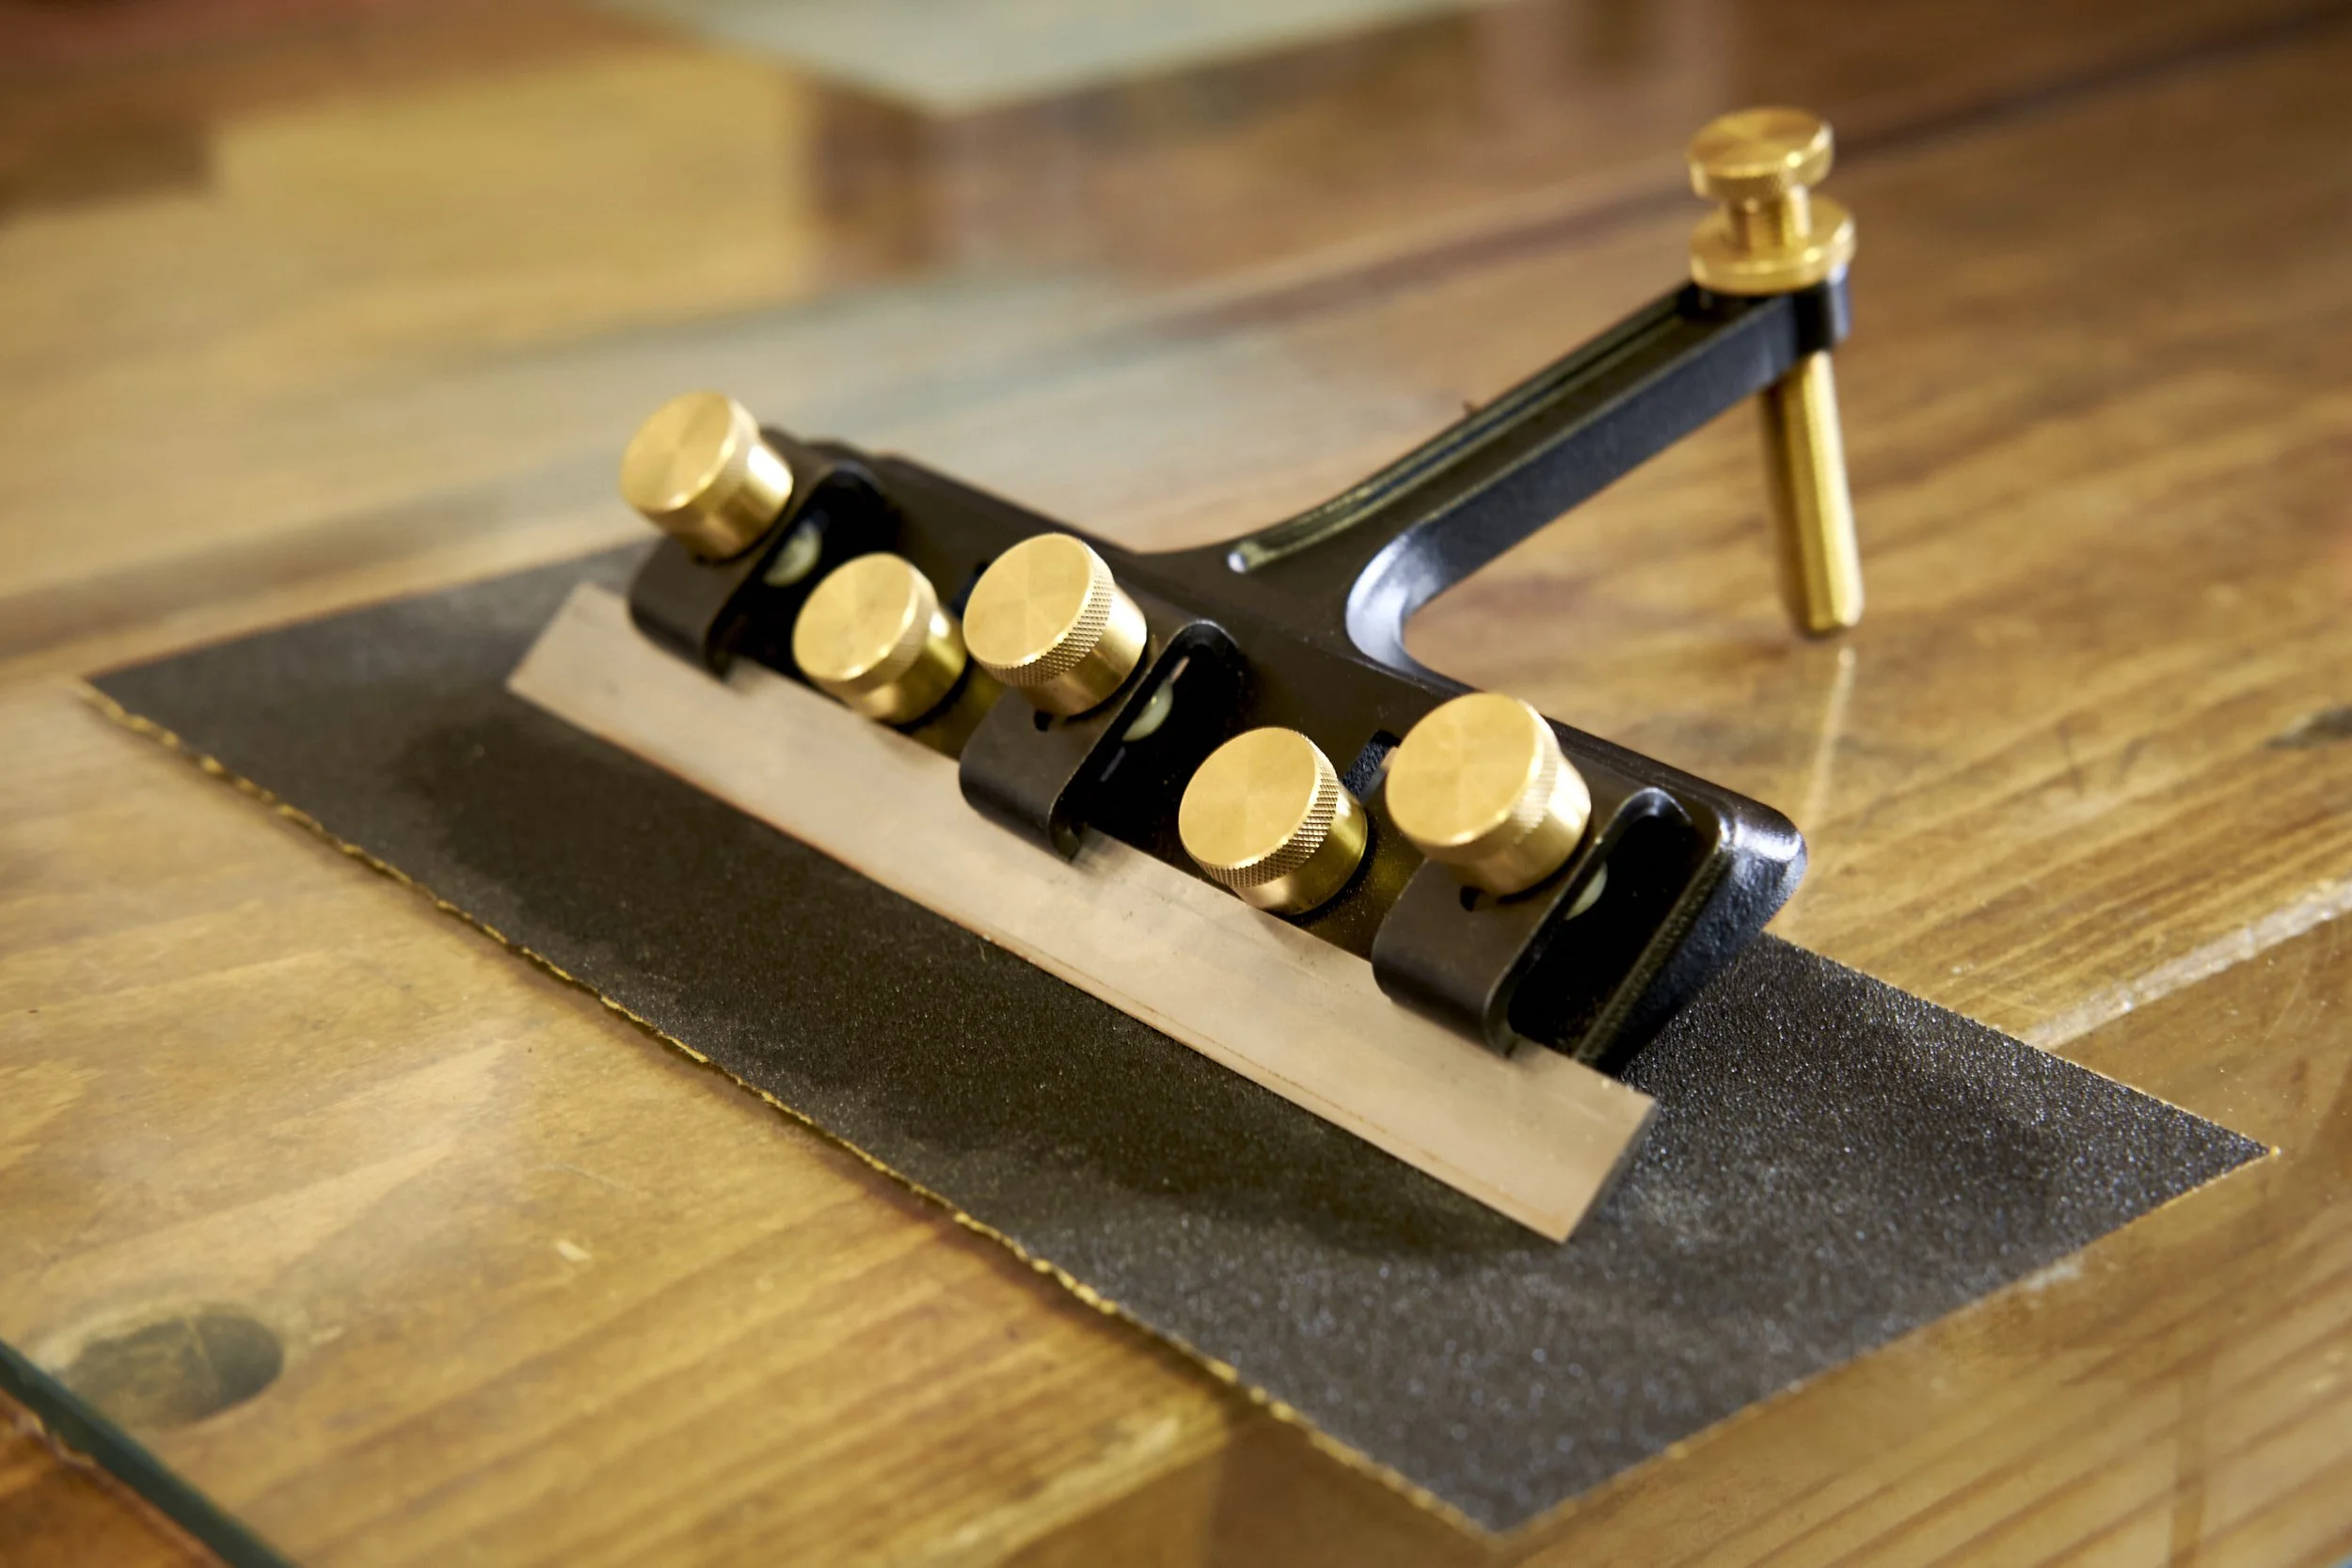
Last step to a sharp blade.
Move the jig back and forth on each successive abrasive moving up from the coarsest to finest.
Keep even pressure in the blade with one hand whilst holding on to the back of the jig with the other.
I grab the adjustment screw and work my fingers around the lock nut when doing so. The nut has a bad habit of working loose between grits, screwing up the angle setting, holding on to it helps keep it put.
Once sharp, move on to the next blade making sure to reference the back of the blade against the stops before securing the clamps. This ensures the same sharpening angle on each subsequent blade.
Pro Tip: Take each blade through the full sharpening process on all grits before swopping it out for the next. It will make the process much faster without having to swop out blades between each grit.
You will notice that the bottom of the adjustment screw is made out of a smooth plastic. This is designed to glide across a smooth surface and not an abrasive, be sure to leave enough room on the surface the abrasives are attached to, to allow for the jig to move freely.
Done.
Should You Use a Secondary or Micro Bevel?
My blades didn’t come with any but I may put on a secondary bevel during my next sharpening session. When feeling the jointed wood surfaces I pick up some lines which means that the blades have already been nicked within a couple of months of installation. A higher angled secondary bevel may result in a more robust and longer lasting edge.
What Grit Should You Sharpen to?
It depends on the sharpness required. I mentioned at the beginning that I usually aim for a high level of sharpness on hand tool blades. On the jointer as with turning chisels the workpiece or the blades move at a high speed and this momentum contributes to the cut. This means that less effort is required to remove material even by a less than absolutely sharp edge.
As long as the tool does not become dangerous to use as a result of dull blades, they do not need to be as sharp as a smoothing plane.
Surface finish isn’t paramount on a jointer either, as it’s a roughing tool.
I haven’t answered the question though have I?
I start at around a 100 grit sand paper and end at around 400 grit, with typically 2 to 3 grits in between.
I managed to drop a jointer blade about 40mm onto the back of my hand after forming a bevel on 100 grit and it drew blood. I believe 400 grit to be plenty sharp but I may try higher grits at some point to see if it provides a longer lasting edge.
Final Thoughts on the Veritas Jointer Blade Sharpener
All in all, I really like the Veritas Jointer Blade Sharpener.
Like most tools from Veritas, it’s built to last and performs well once you figure out the best way to set it up — which, in this case, definitely doesn’t involve that ⅛ inch gap!
For jointer blades, the scary sharp system is the easiest and most convenient approach I’ve found, especially when paired with this jig. The lock nut might loosen a bit during sharpening, but as long as you’re aware of it, it’s easy enough to keep it snug.
Thanks for joining me for this sharpening session! Next up, I’ll be diving into jointer setup, so stick around.
See you there!

What does it take to turn an idea into something that actually works? I share what 3D printing is teaching me about prototyping, from adapting designs and testing small parts to choosing materials, asking for help and staying organised.